
Prodrive Grp.N. chassis street build


Thread Starter
Scooby Regular
Joined: Dec 2002
Posts: 458
Likes: 0
Small update.
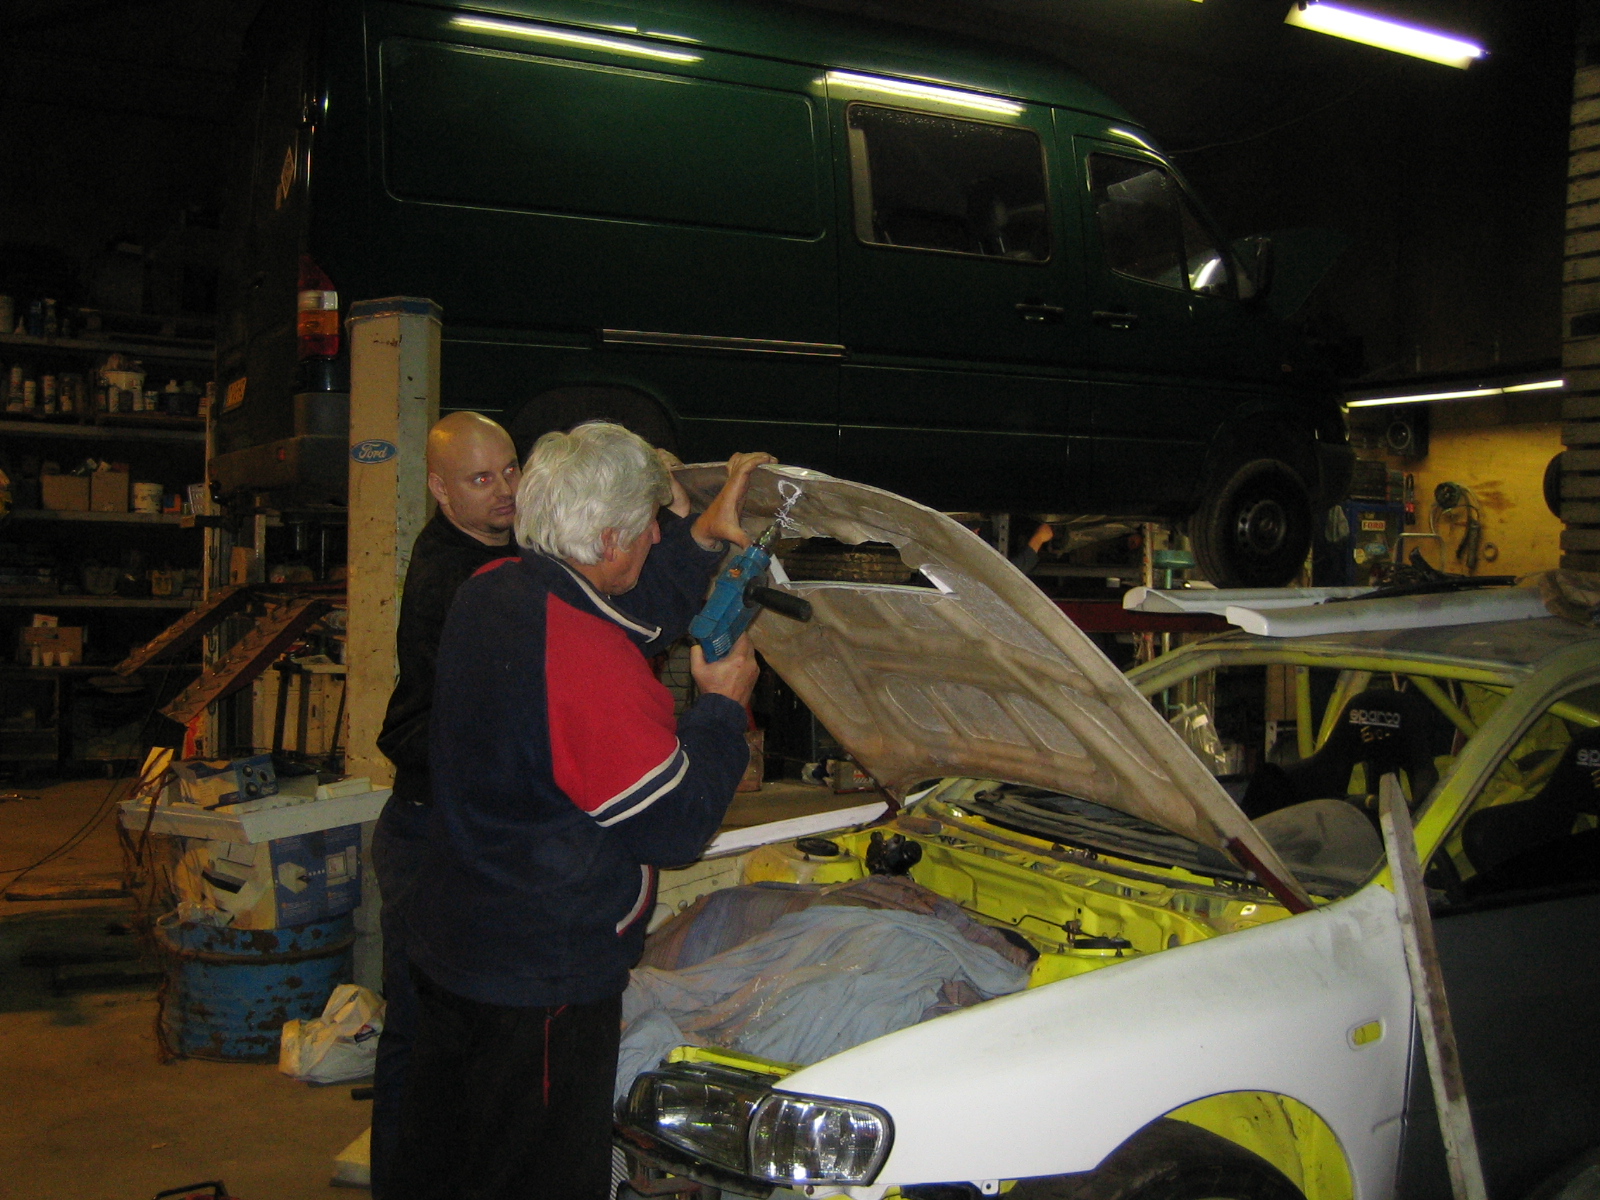
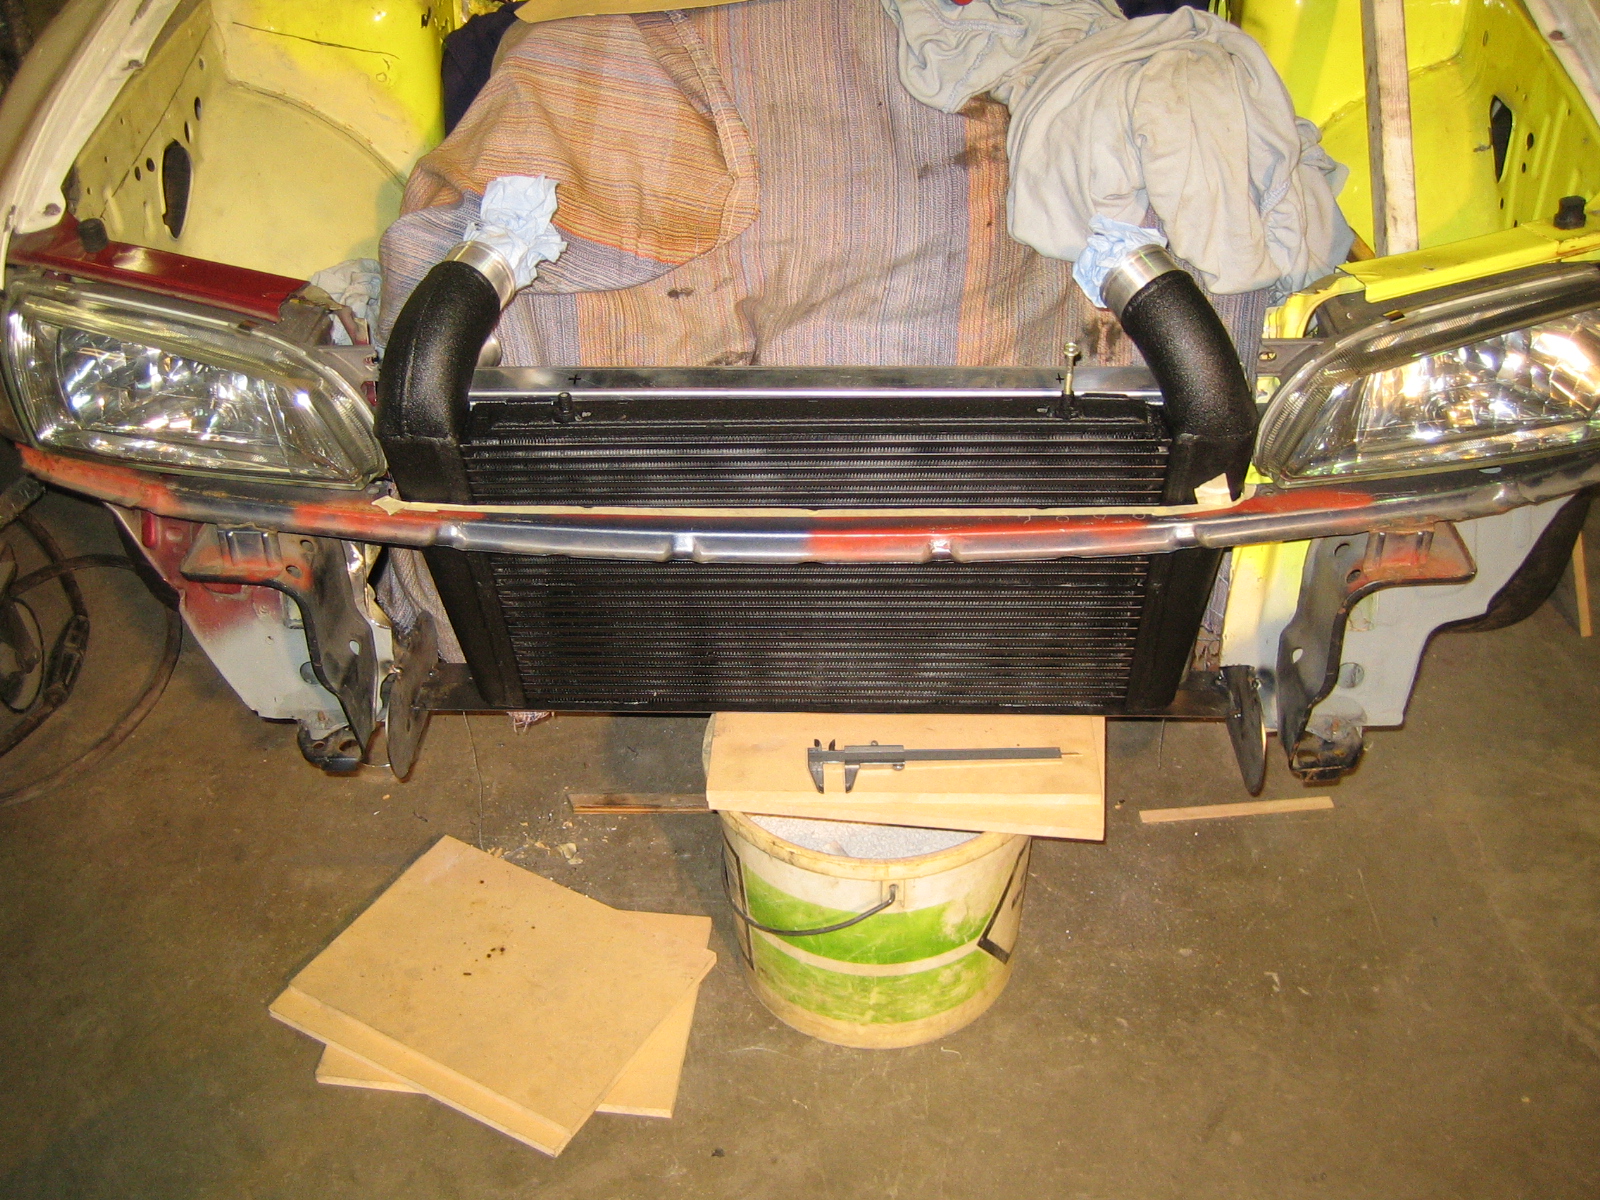
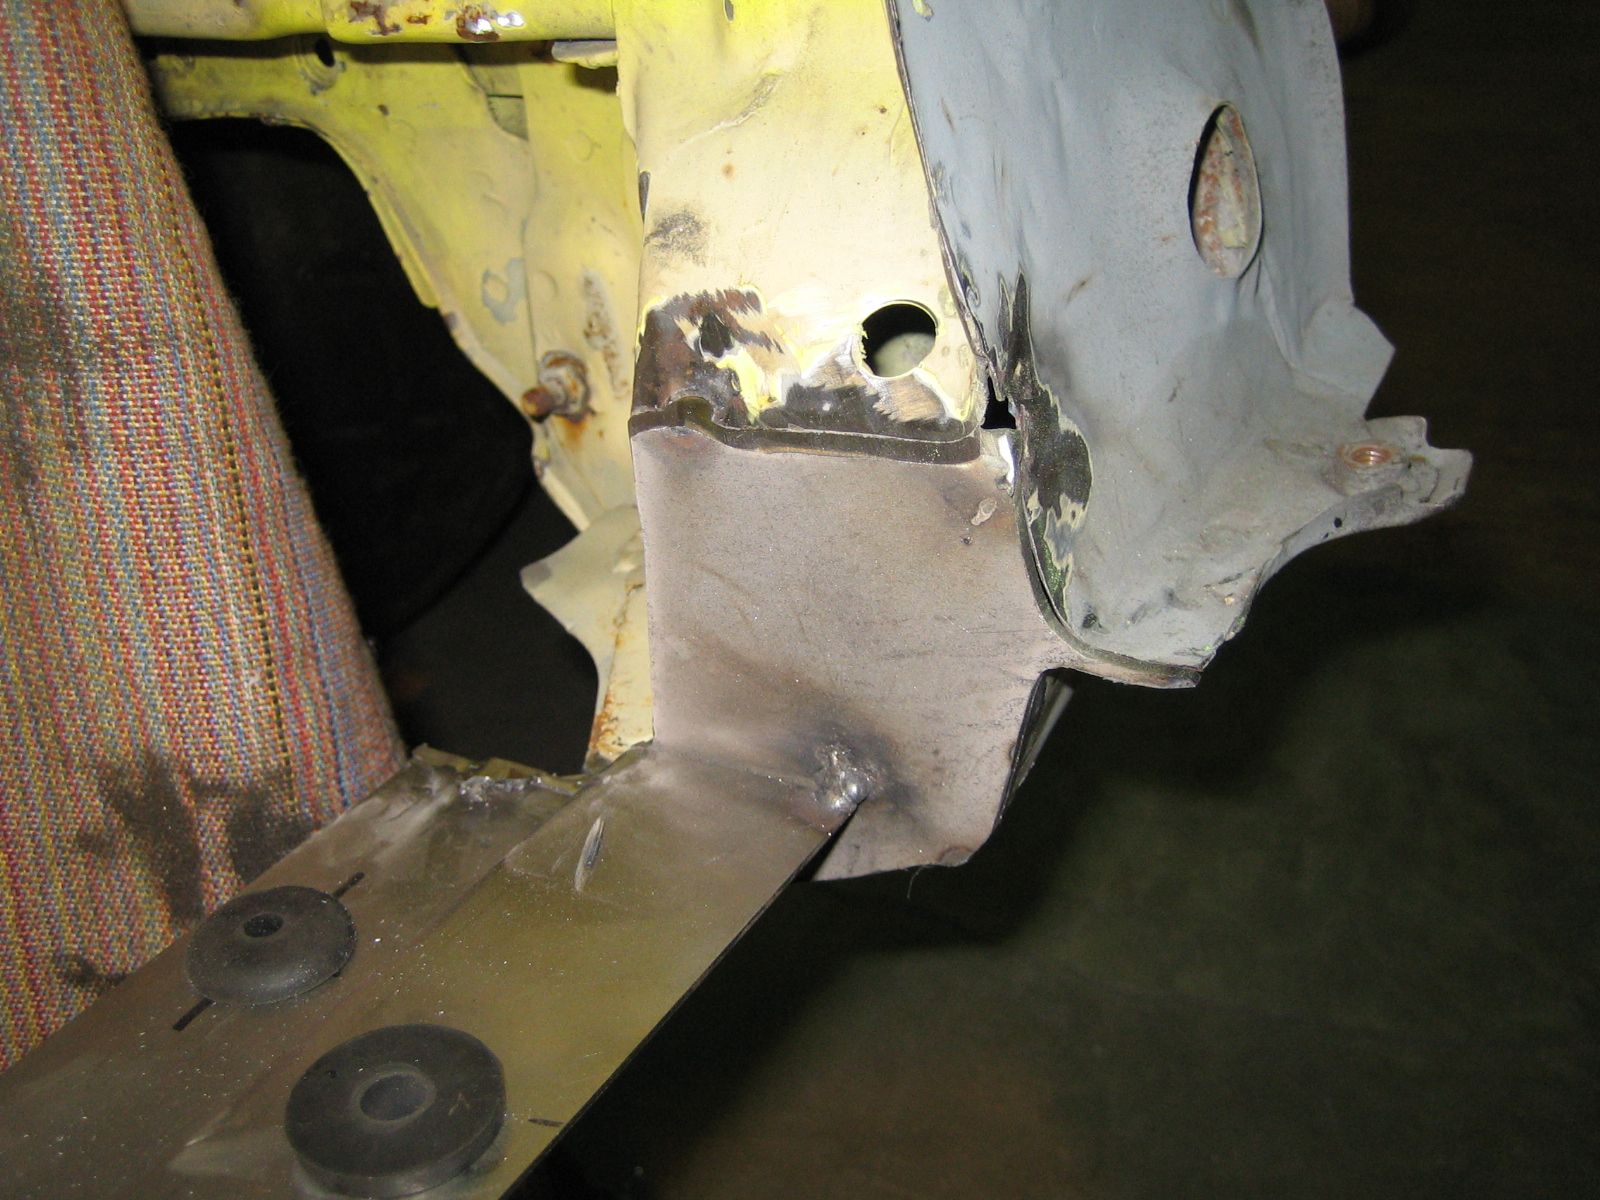
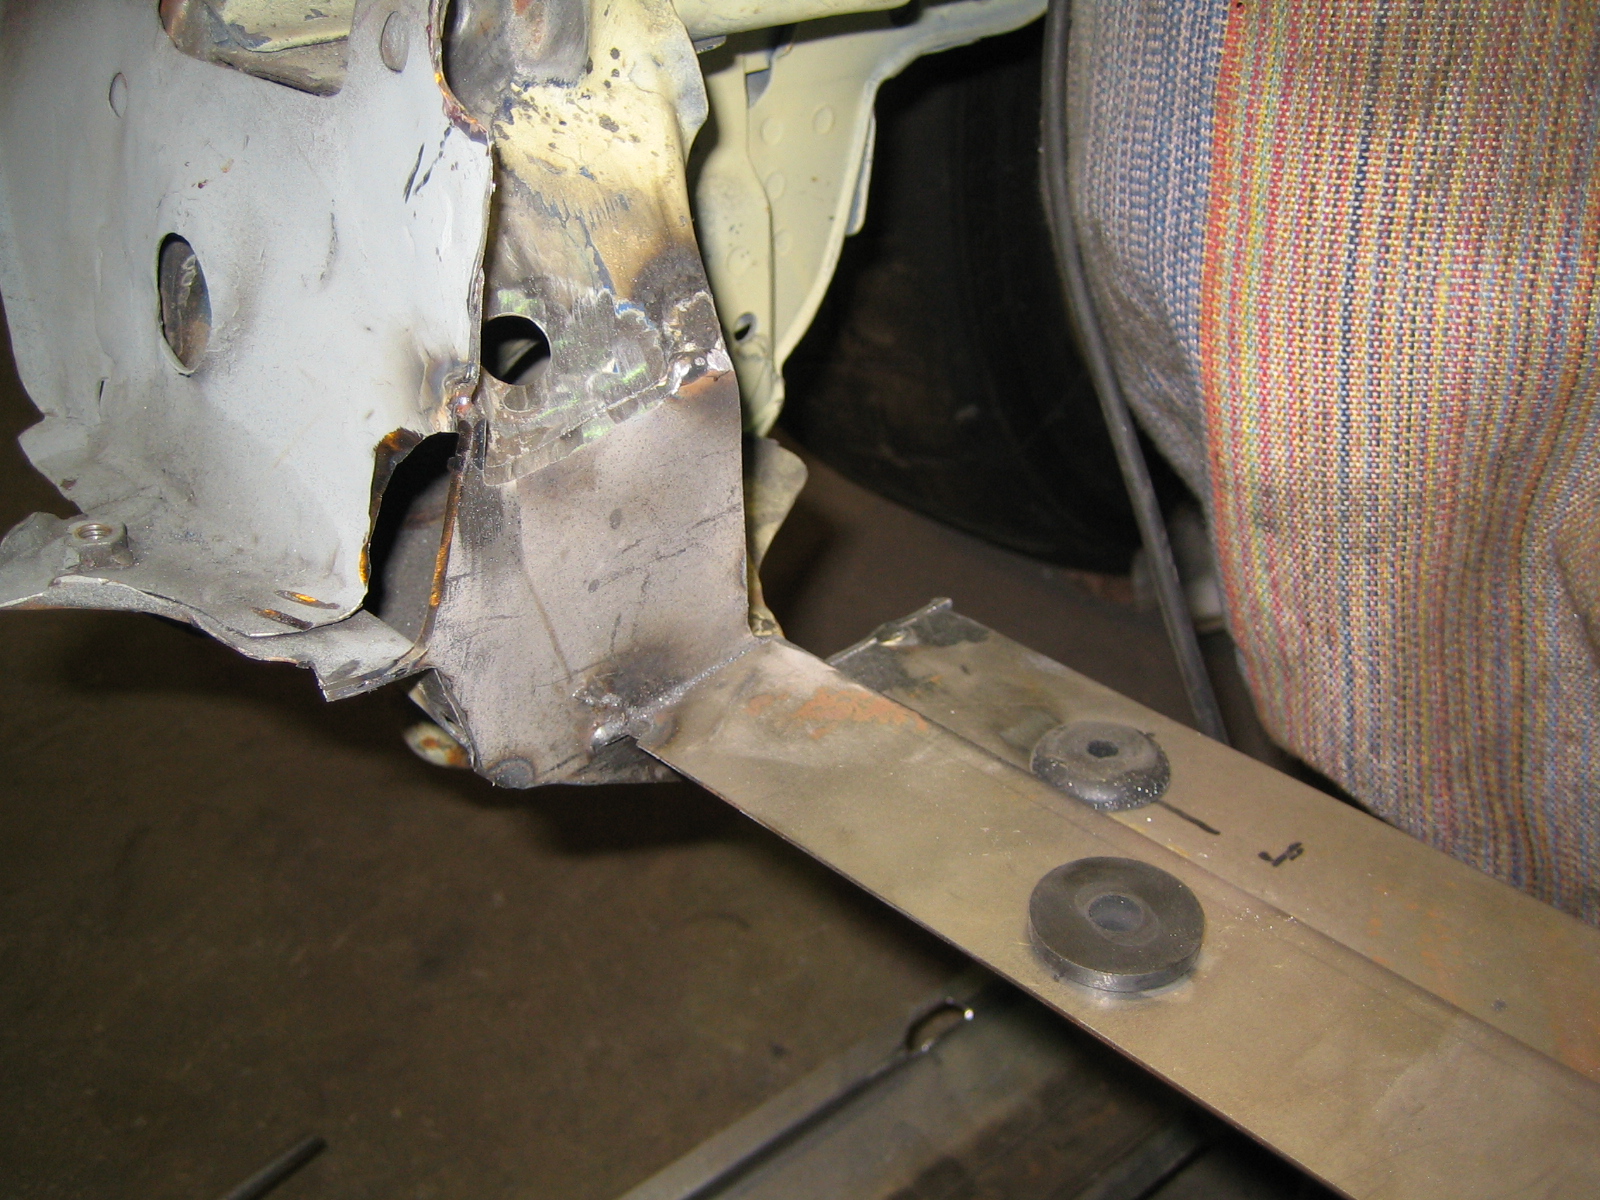
Today we started measuring for the beam that holds the FMIC and rad.
So the final position was to be determined.
Final position in the car:
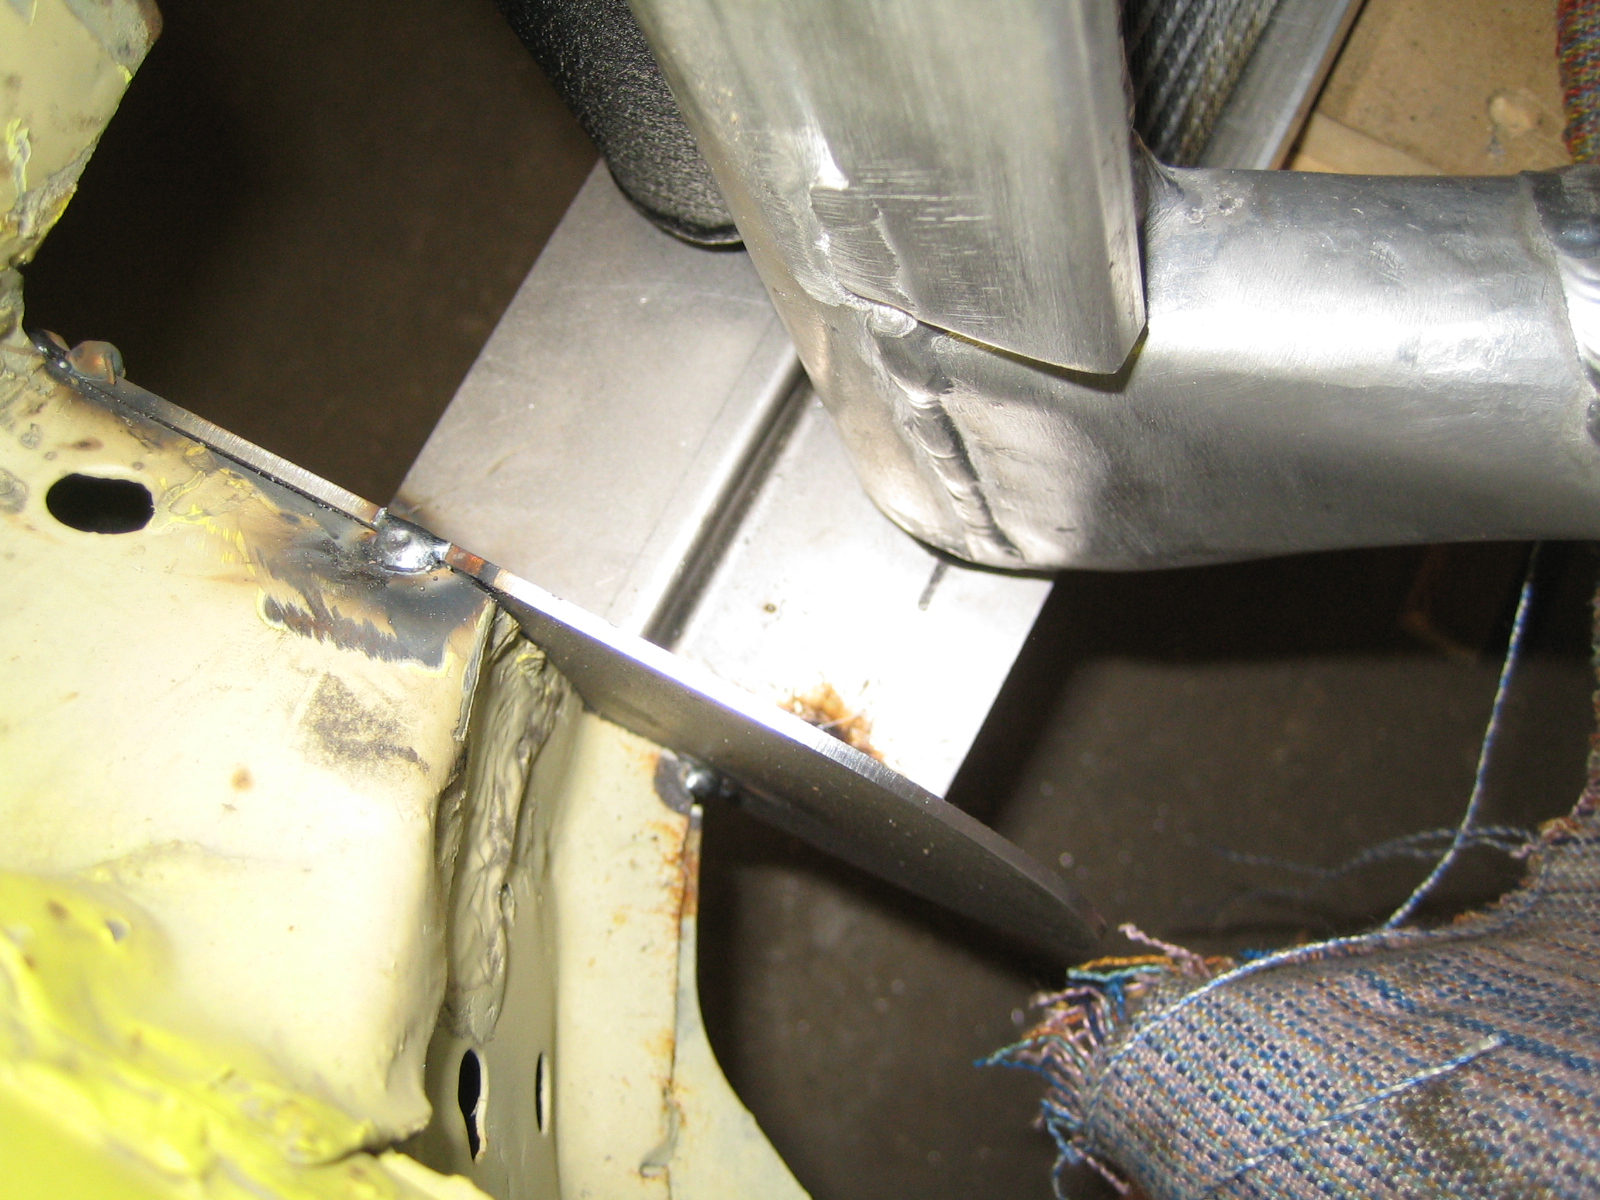
It was to high for the bonnet so we had to cut away a bit:
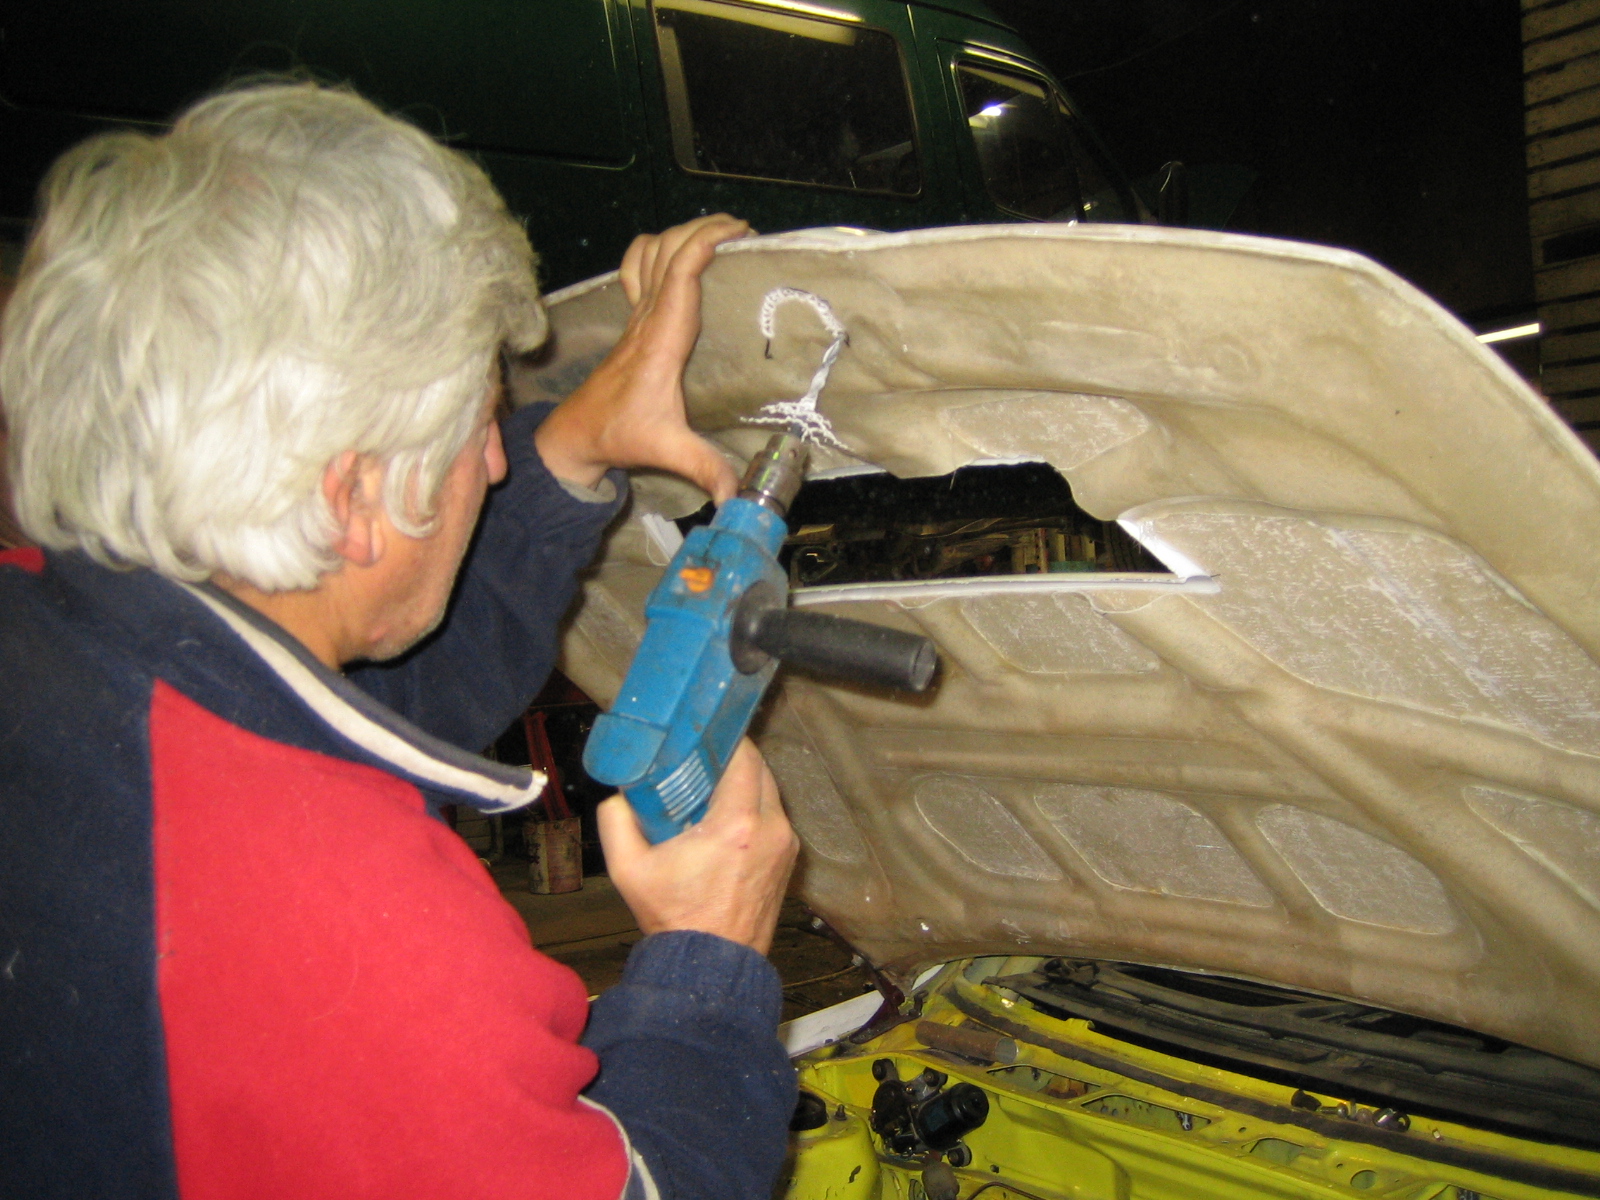
And viola:

By the end of next week we should have some more progress on this.
Today we started measuring for the beam that holds the FMIC and rad.
So the final position was to be determined.
Final position in the car:
It was to high for the bonnet so we had to cut away a bit:
And viola:
By the end of next week we should have some more progress on this.

Thread Starter
Scooby Regular
Joined: Dec 2002
Posts: 458
Likes: 0
As I said in a previous update we determined the final place of the FMIC and radiator.
Now the parts were here and we continued with the build.
First we put some 2mm plate at the cut off parts, they are way to big.
Later they will be trimmed back:
First up was placing and drilling the holes for the FMIC:
Then we determined and drilled holes for the radiator:
Next week the bottom part is ready then all is trimmed and welded together.
Thread Starter
Scooby Regular
Joined: Dec 2002
Posts: 458
Likes: 0
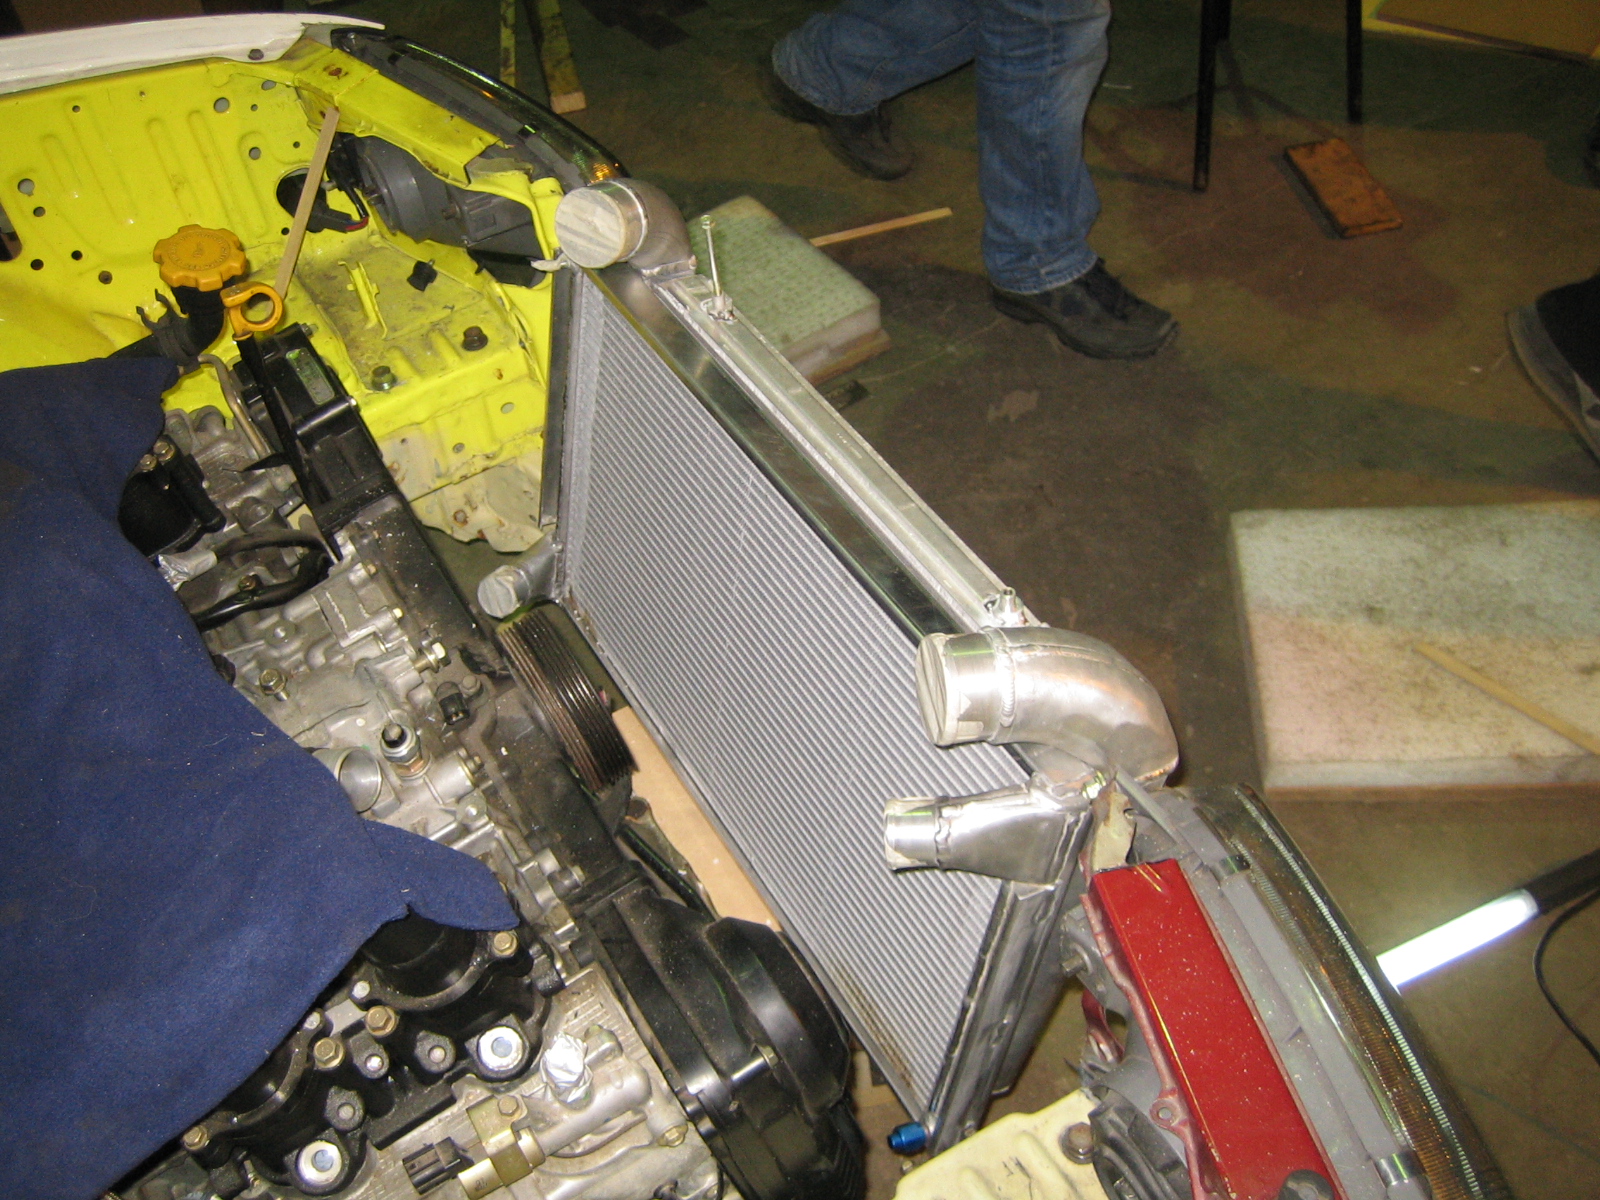
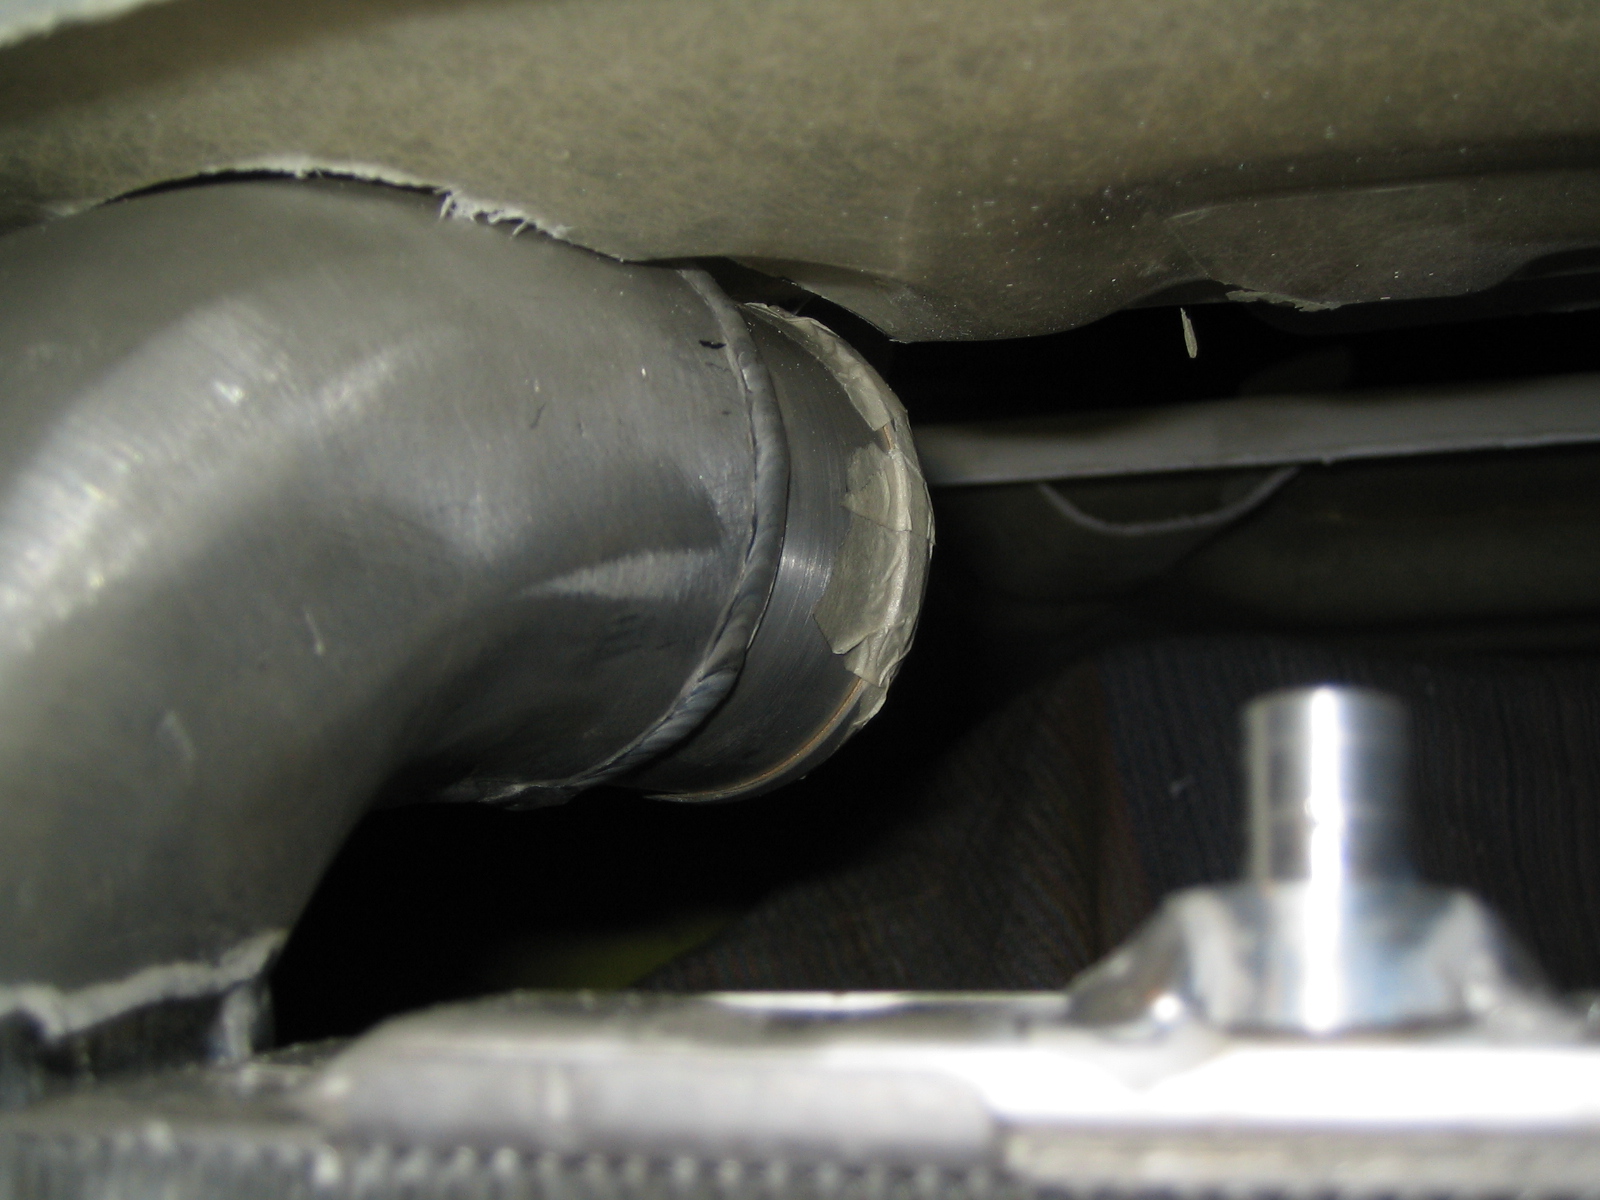
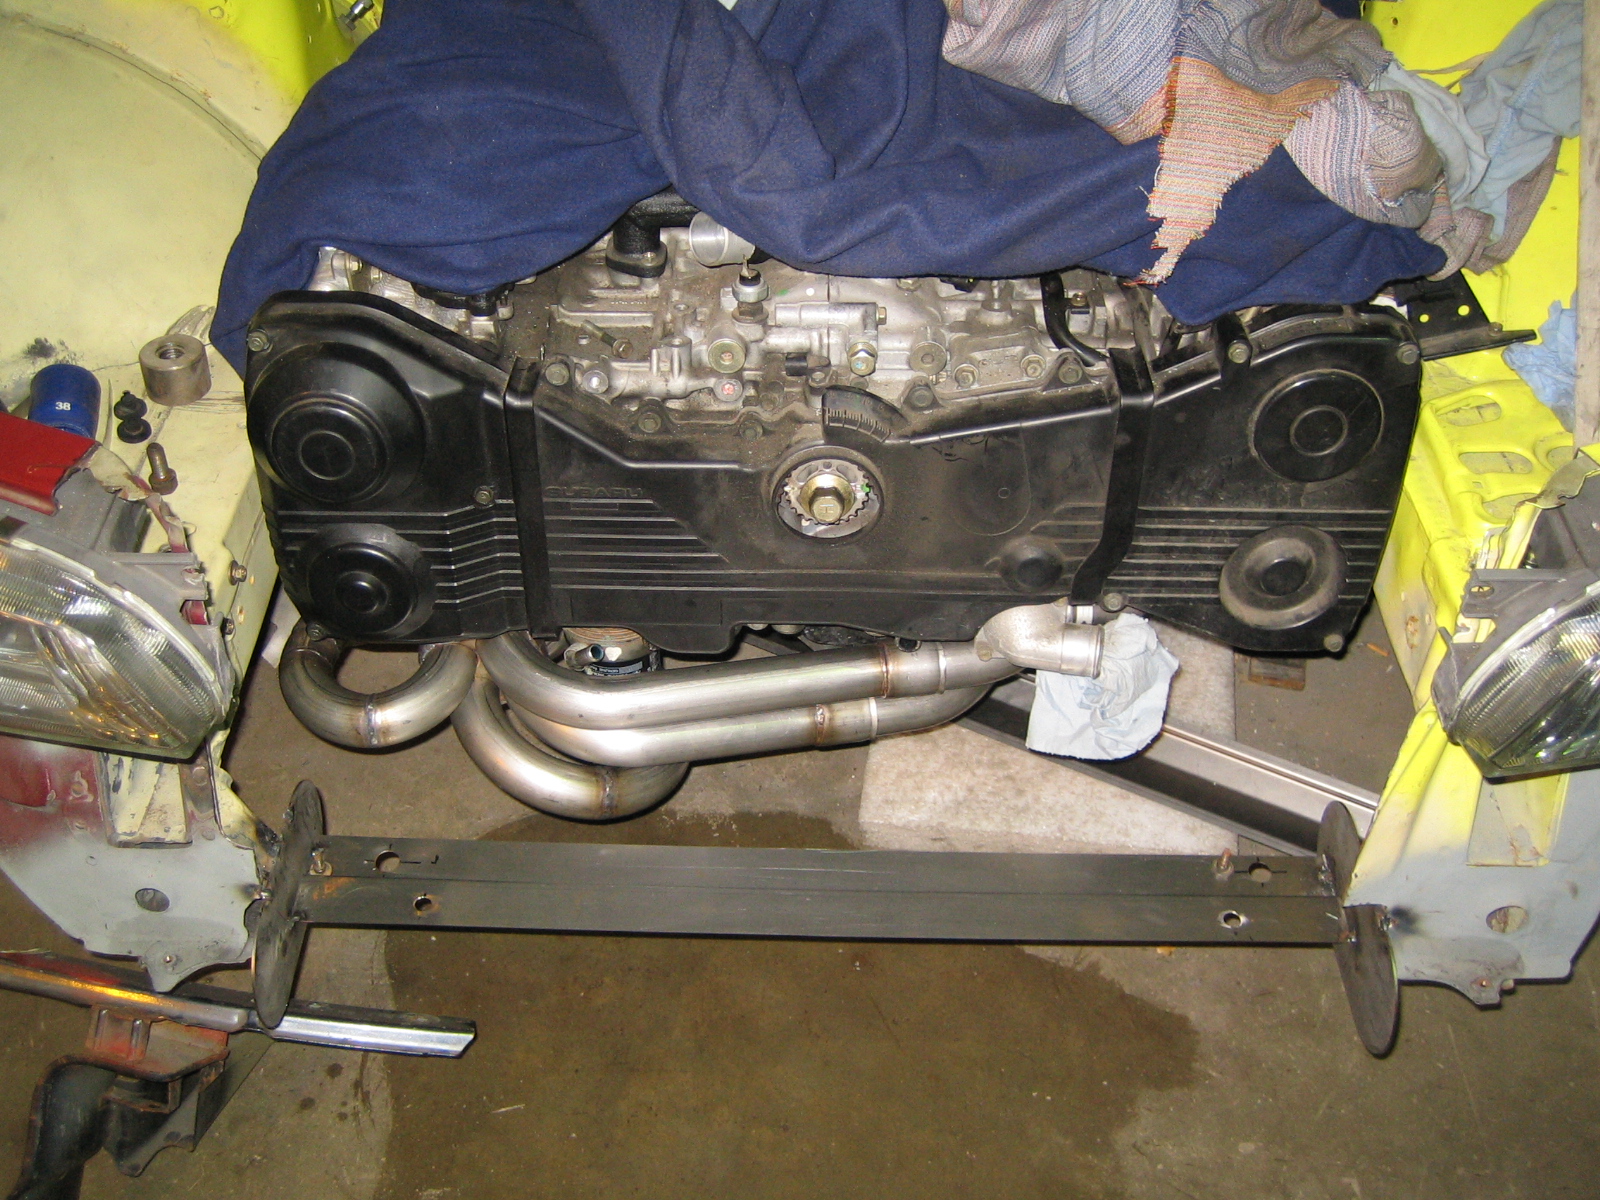
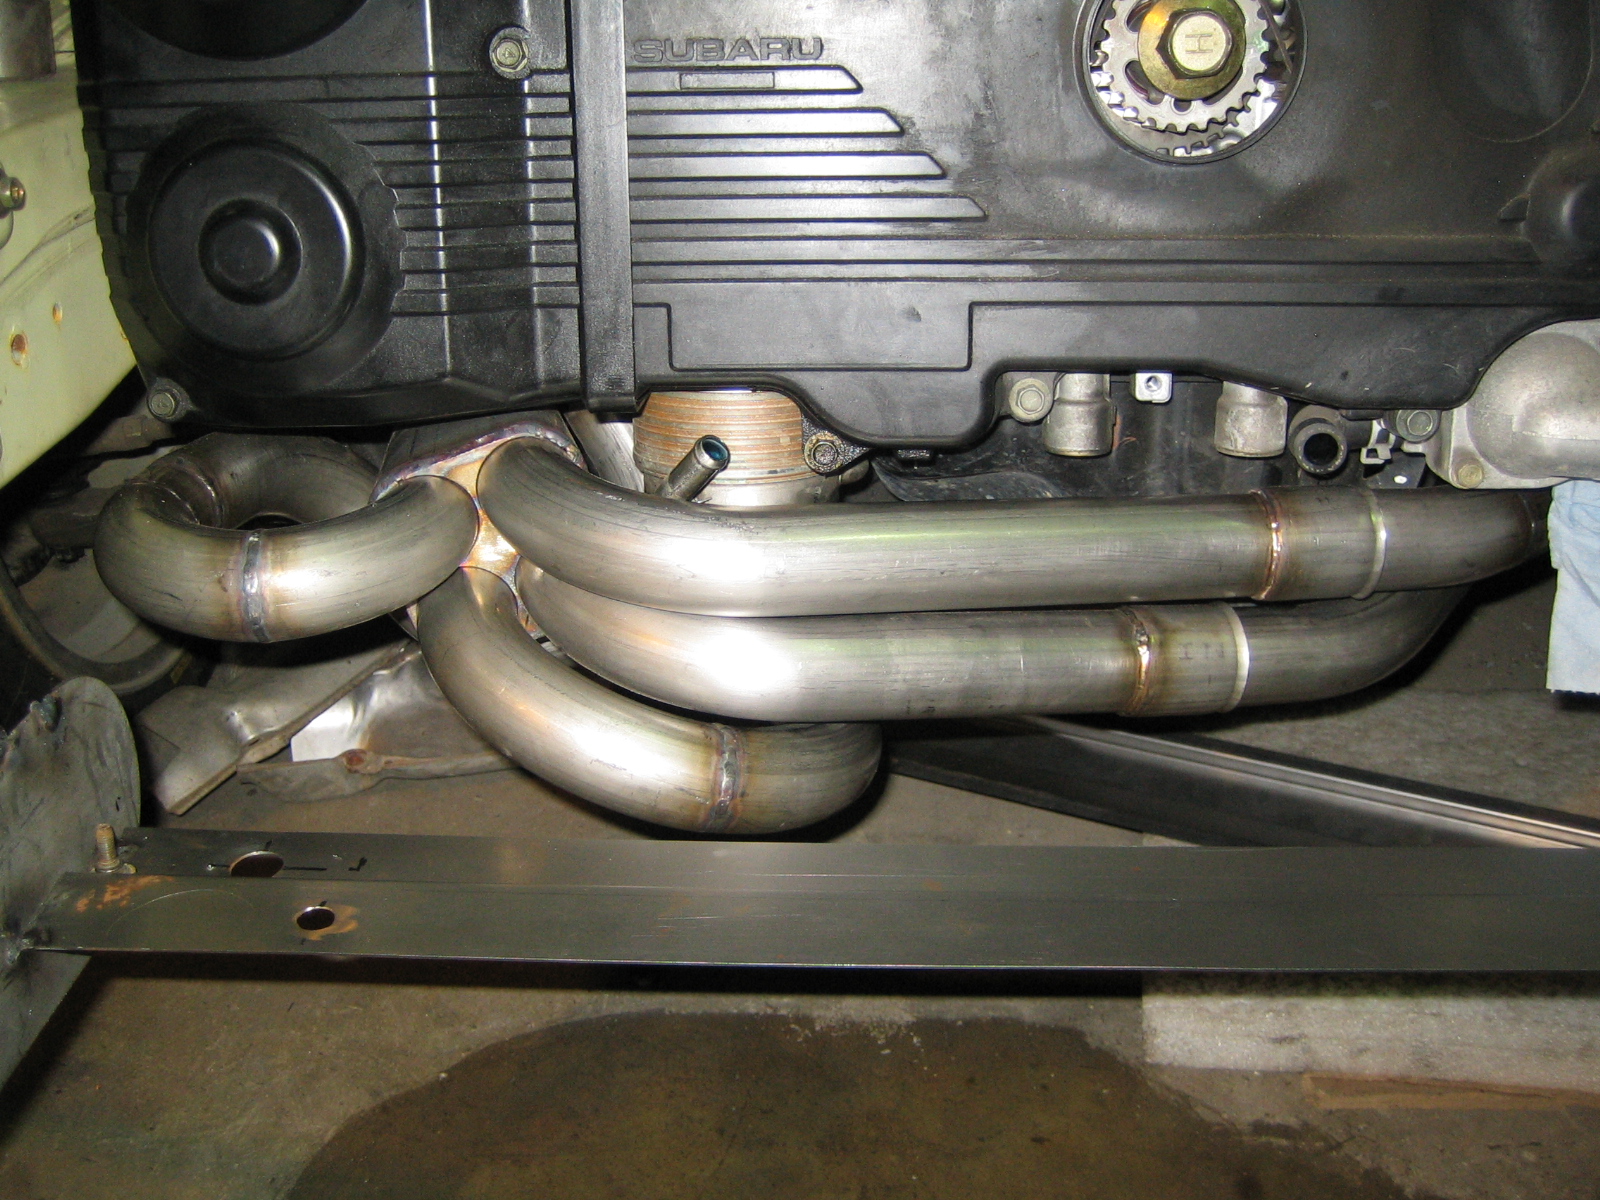
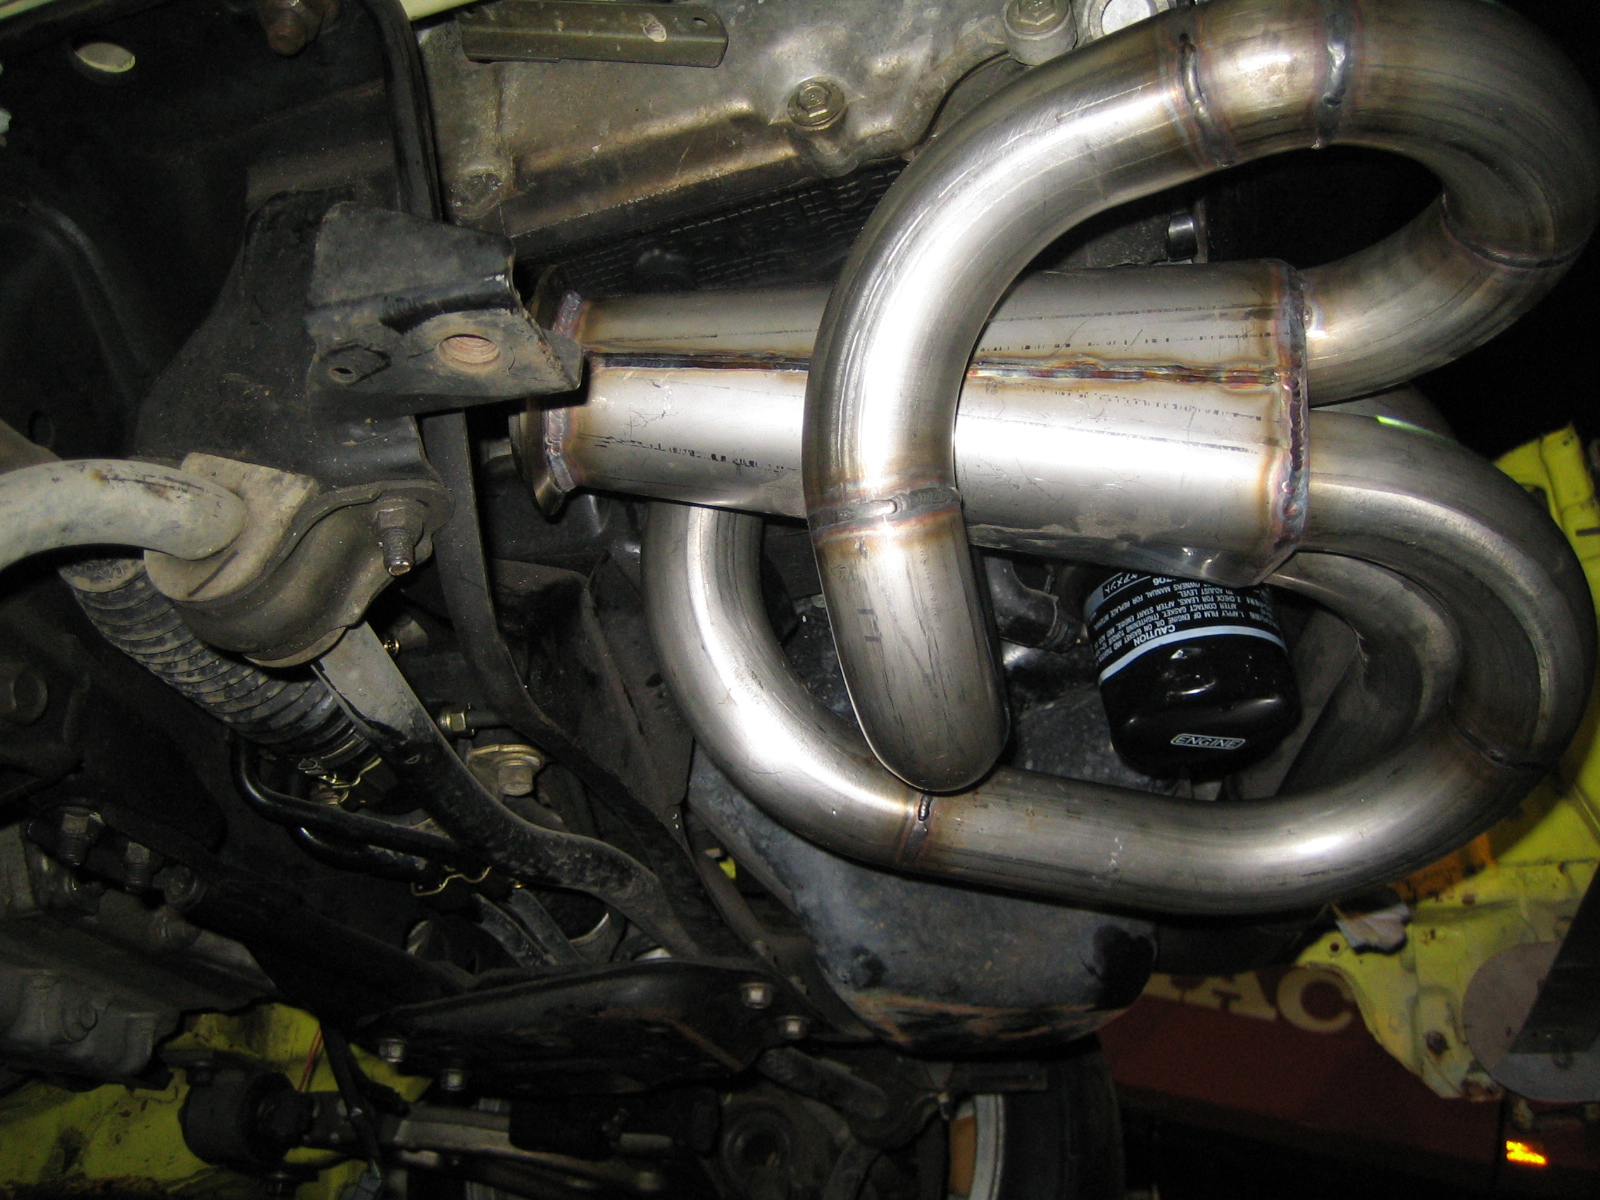
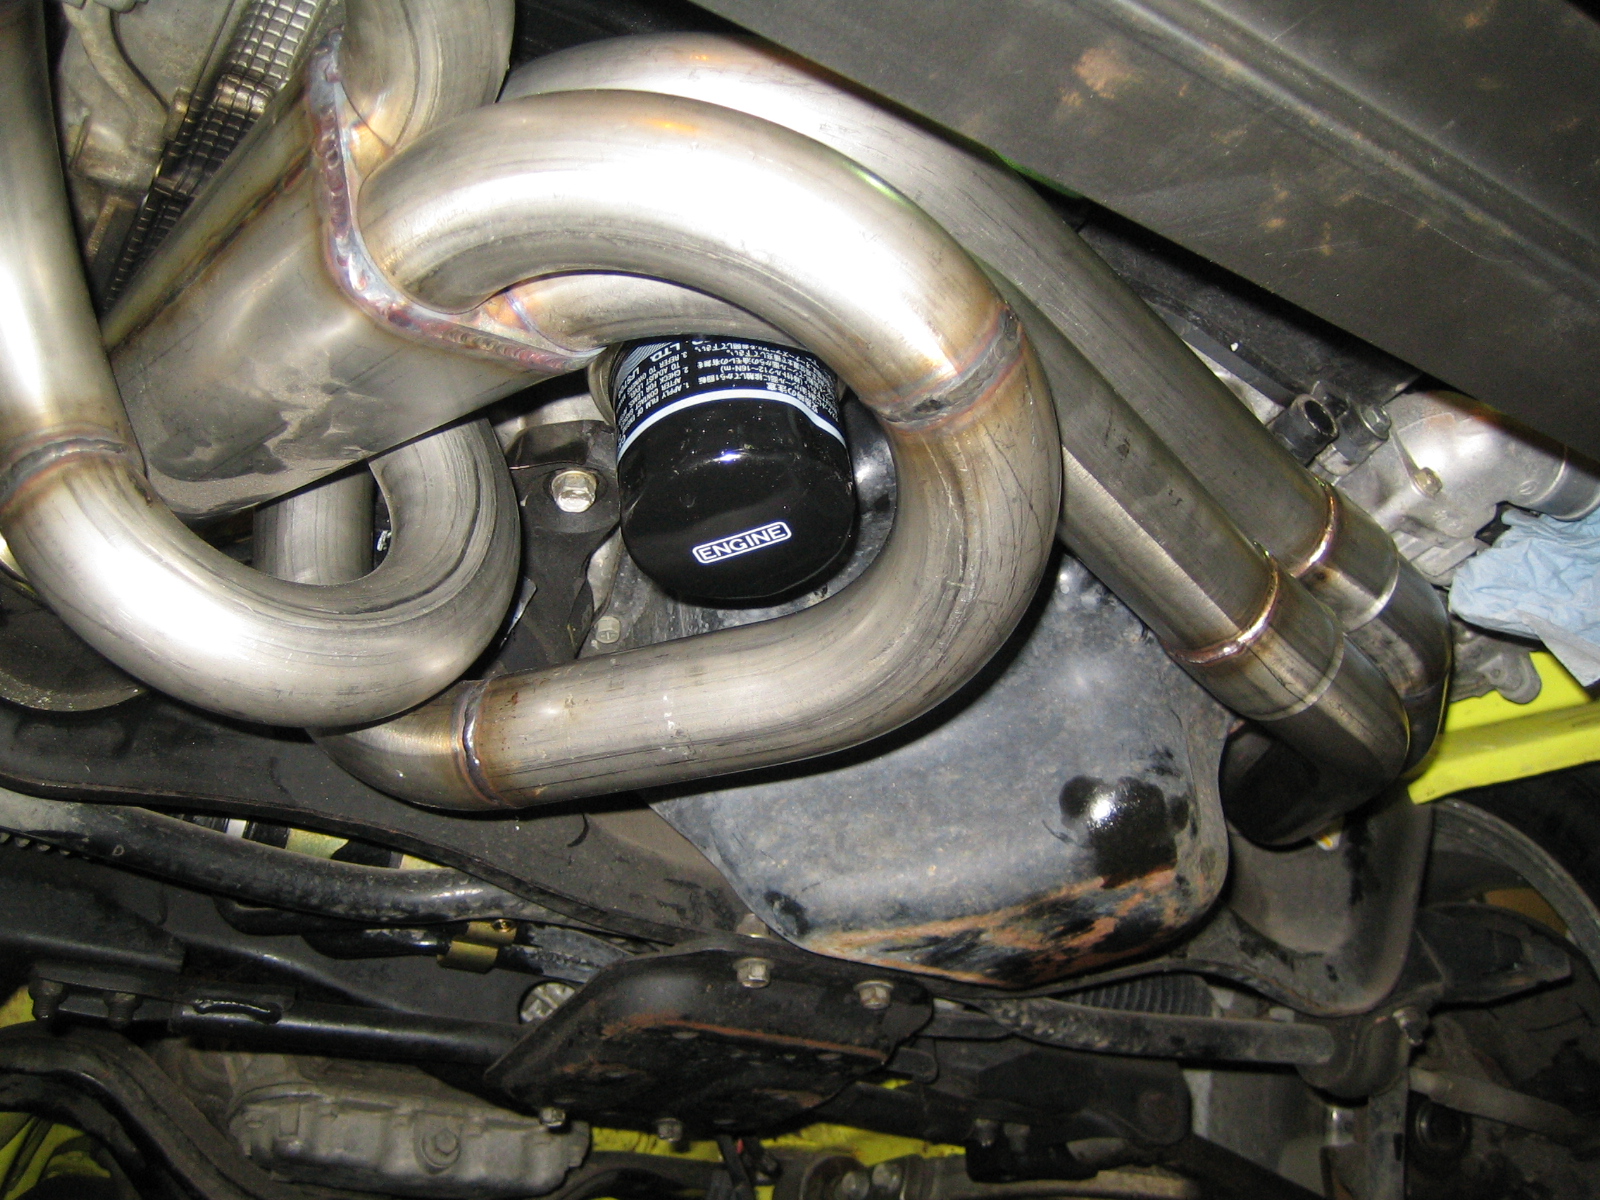
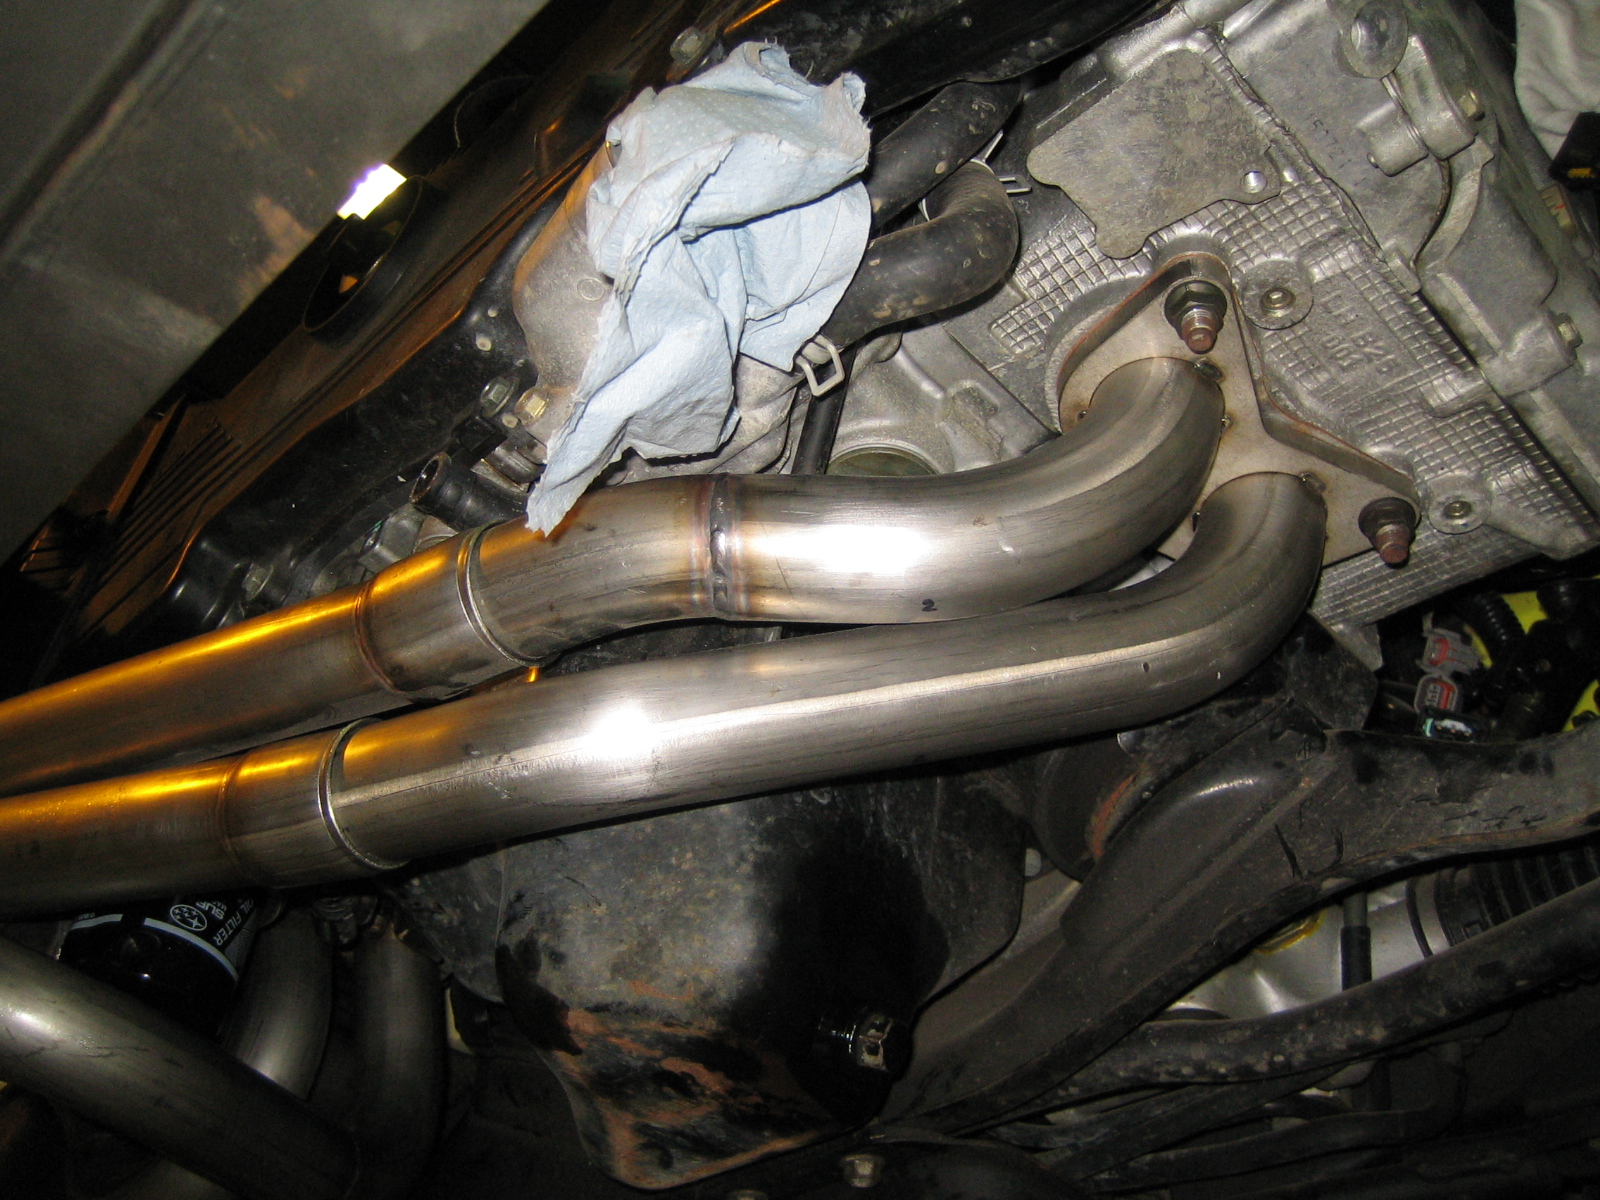
Got my new header, it's an equal length thingy so no more burble.
Stainless steel off course, but without it's final coating, that's for later.
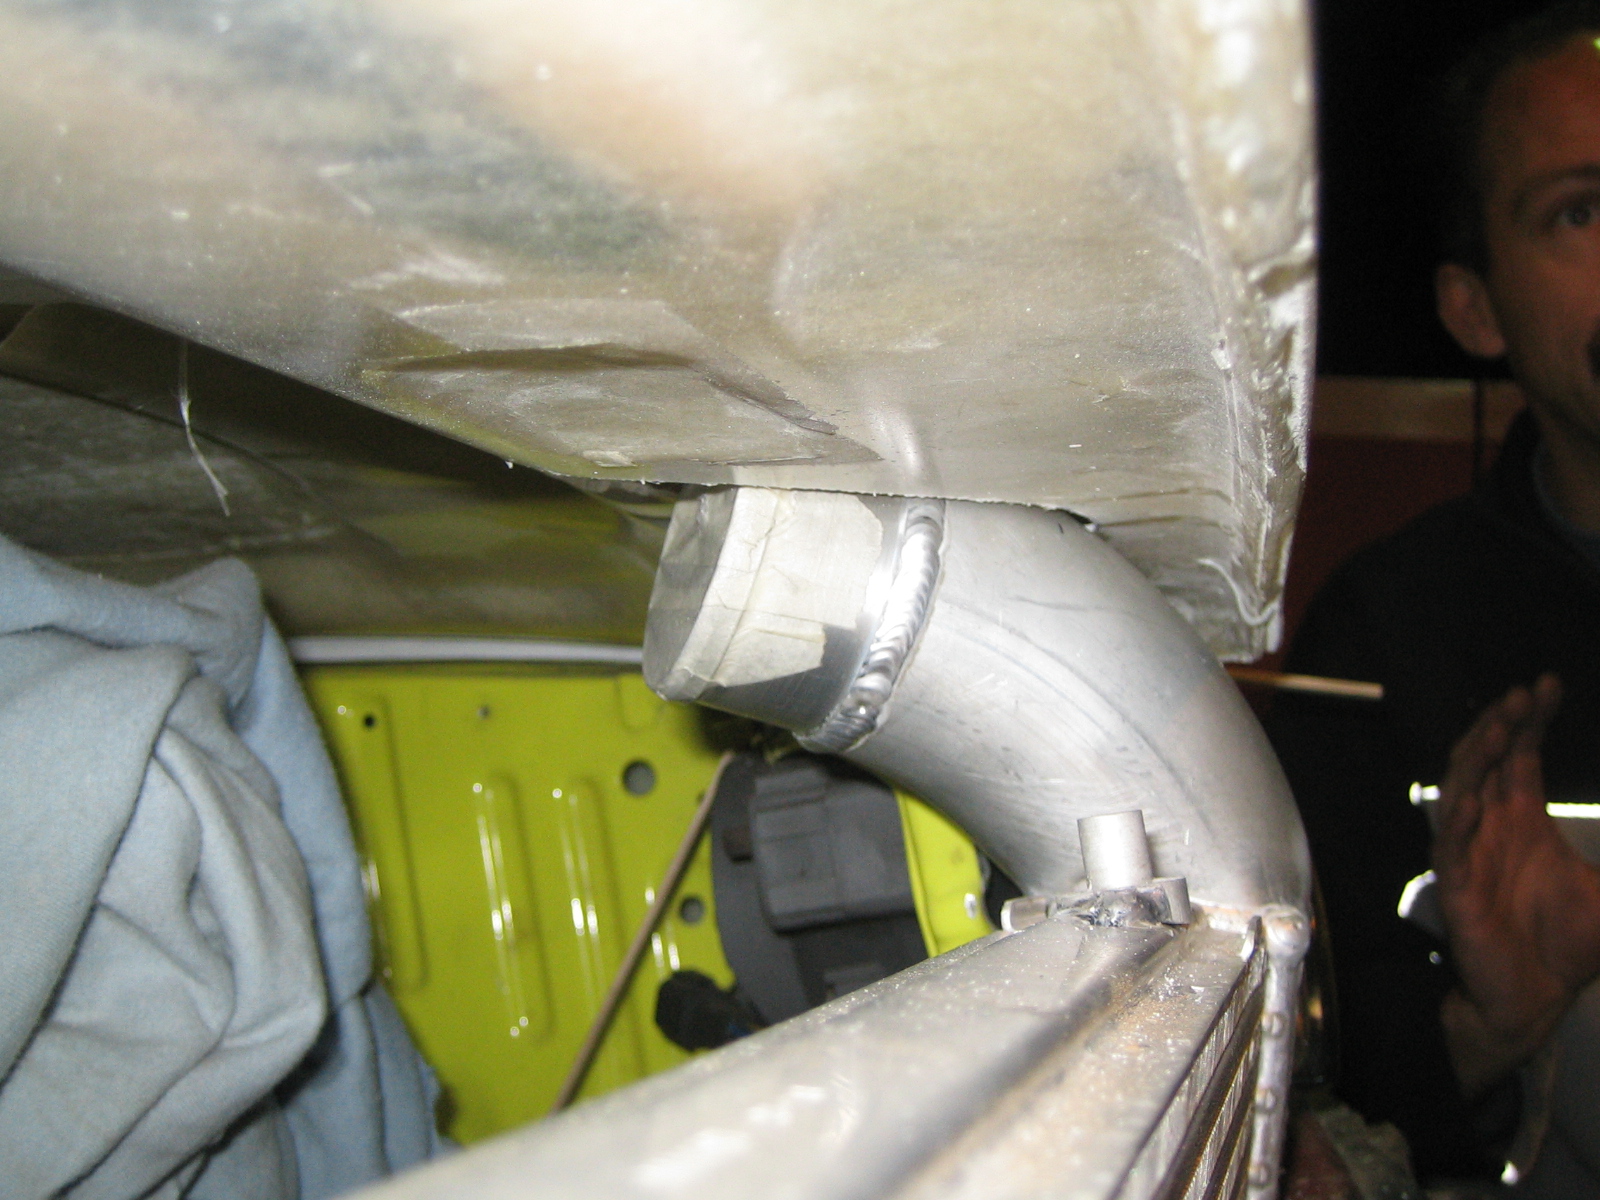
Uppipe has to be adjusted for the GT30.
Fits nicely:
Radiator is as good as done, the fans are on!
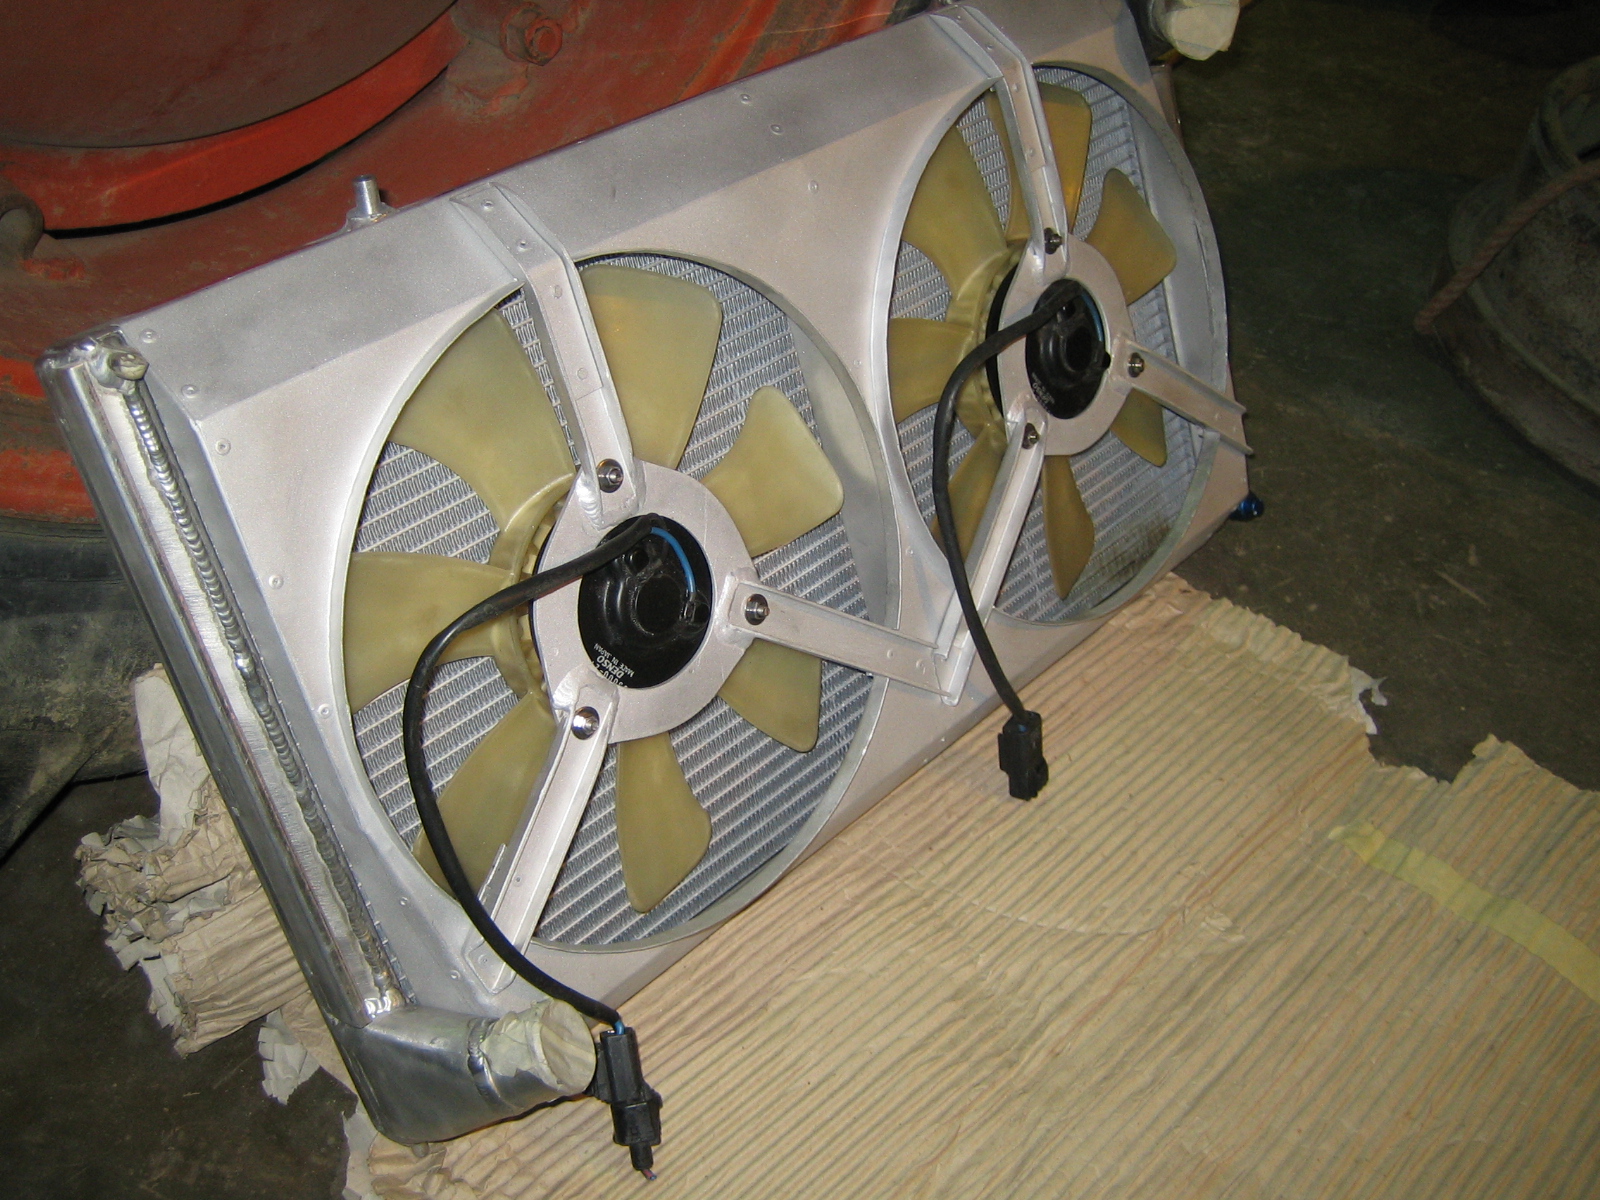
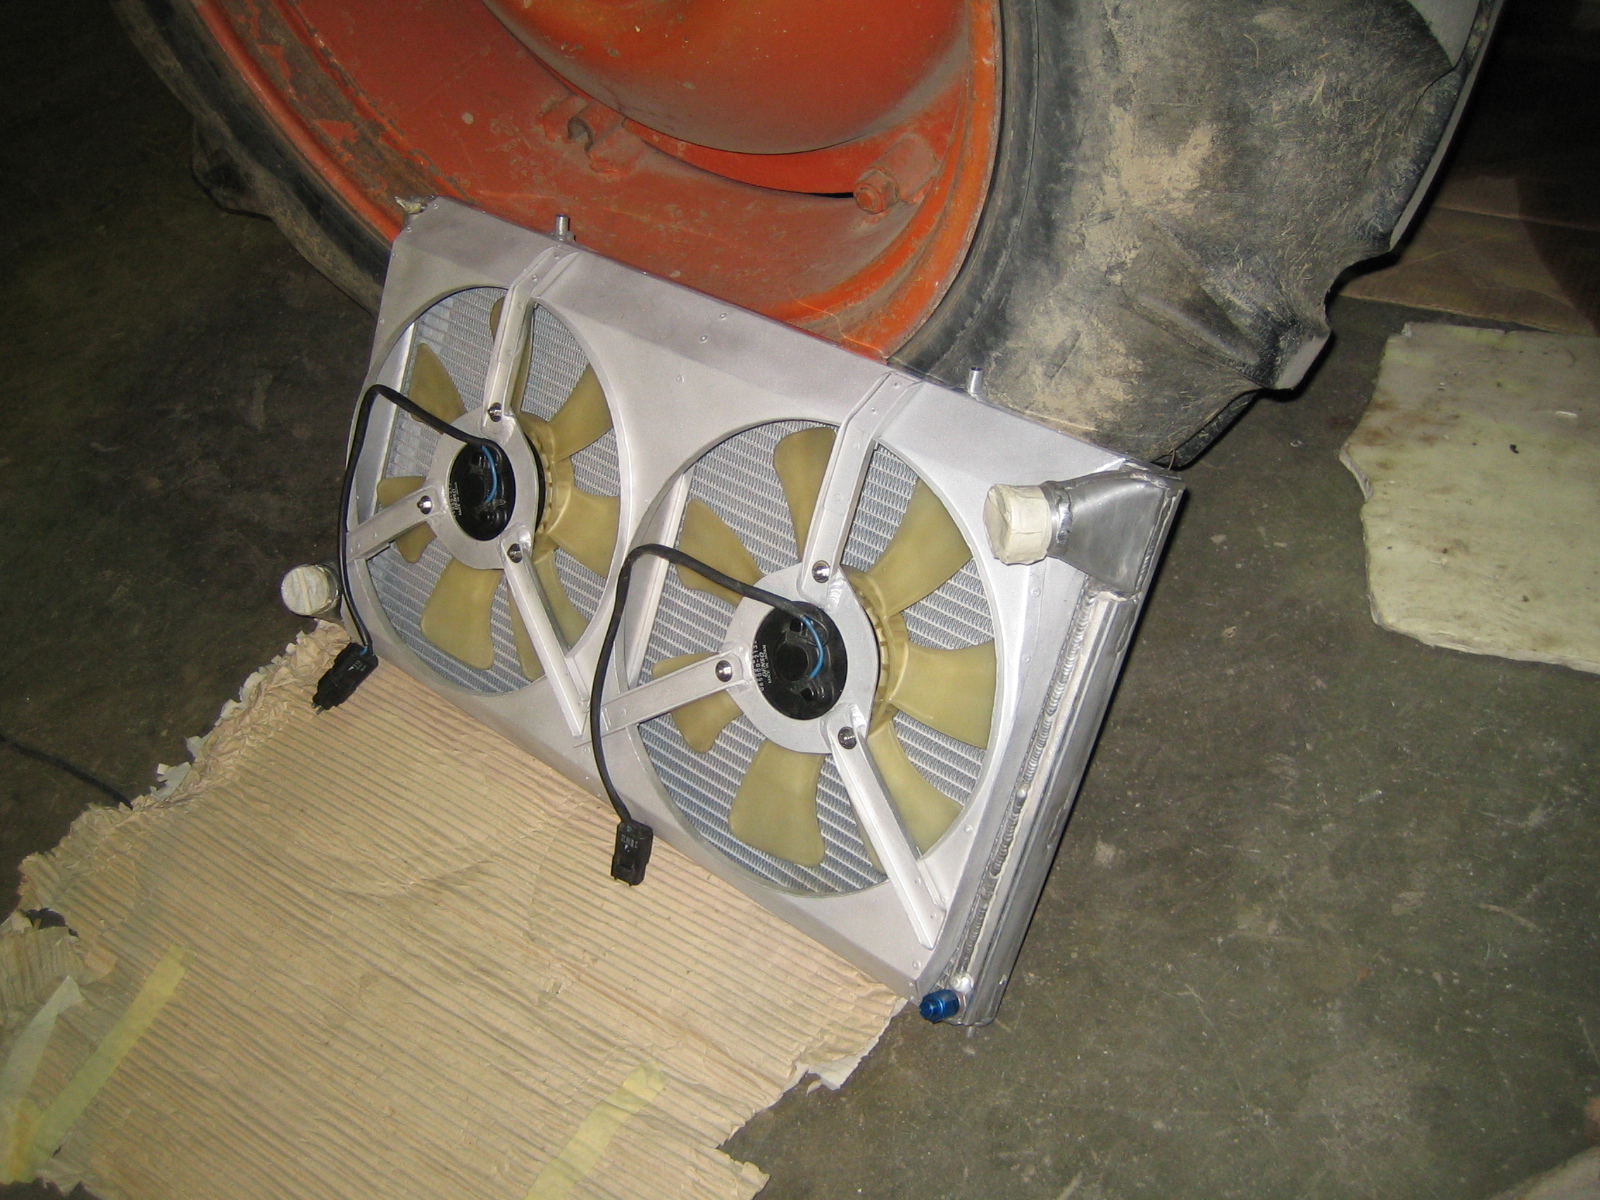
Next up is get everything fixed in it's final position and make the shrouding up to the bonnet!
Stainless steel off course, but without it's final coating, that's for later.
Uppipe has to be adjusted for the GT30.
Fits nicely:
Radiator is as good as done, the fans are on!
Next up is get everything fixed in it's final position and make the shrouding up to the bonnet!
Thread Starter
Scooby Regular
Joined: Dec 2002
Posts: 458
Likes: 0
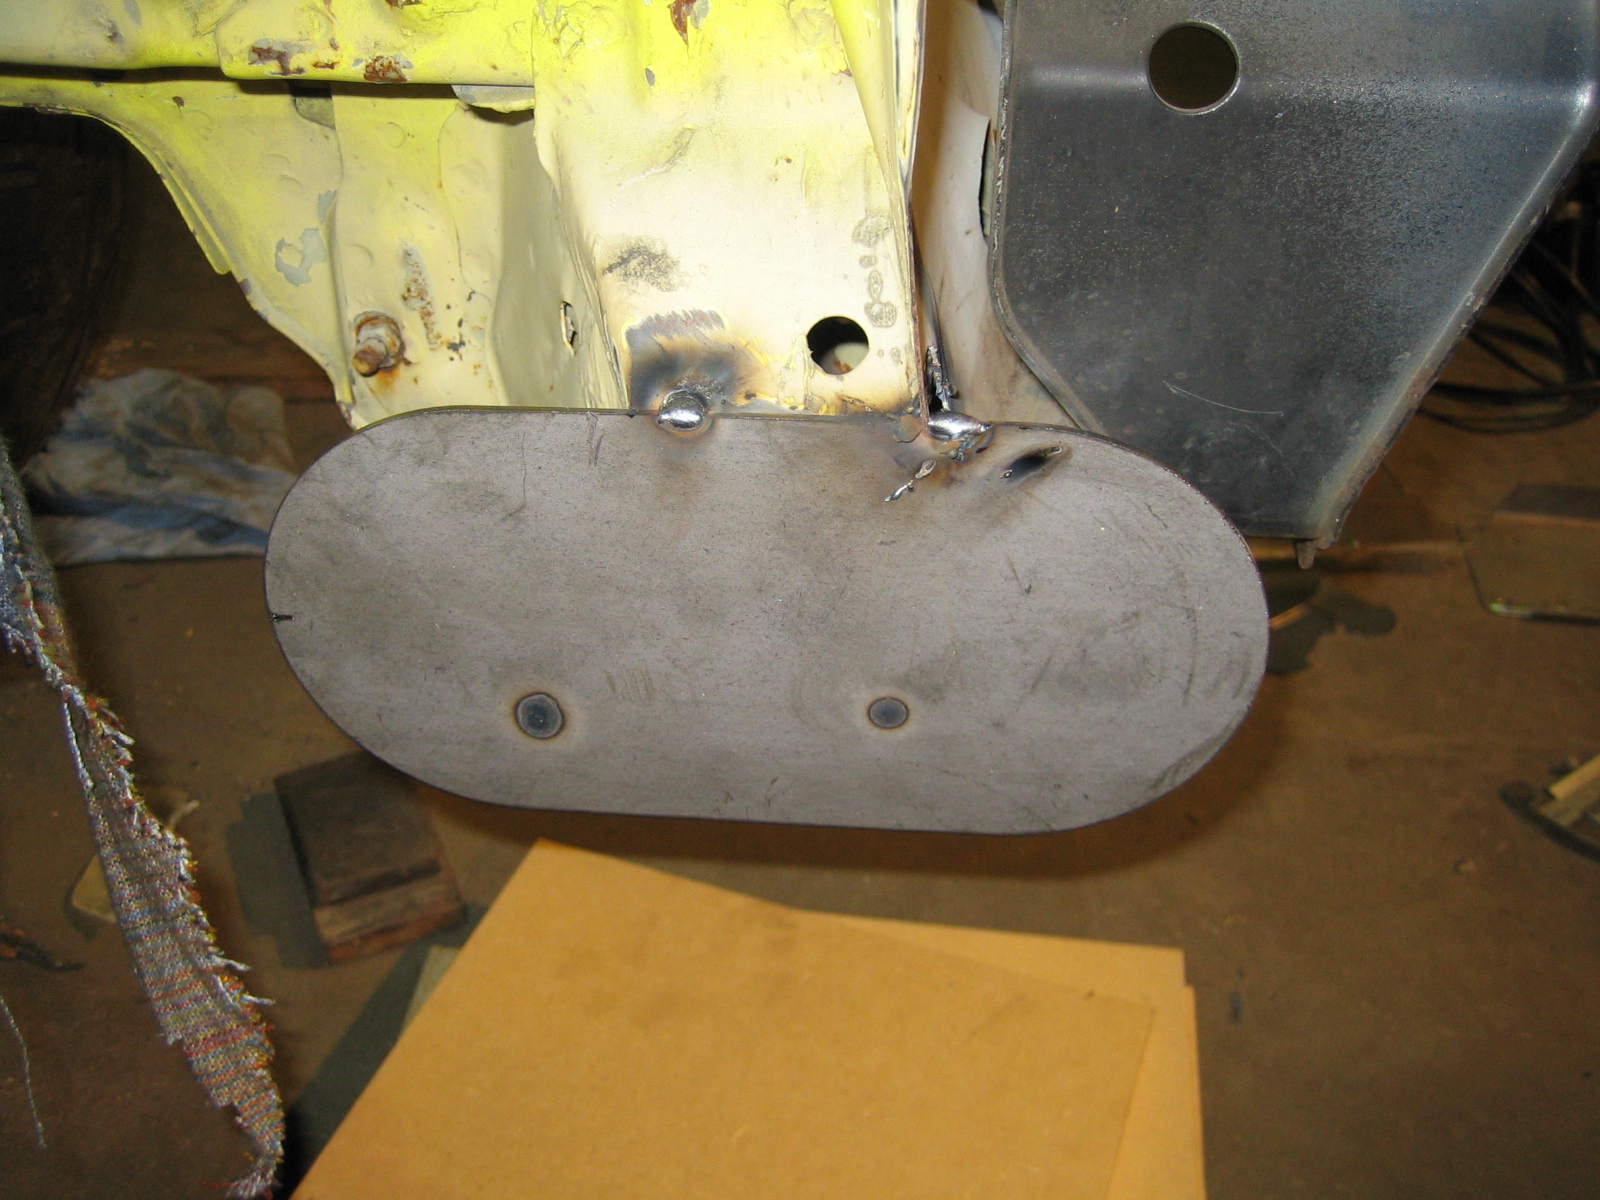
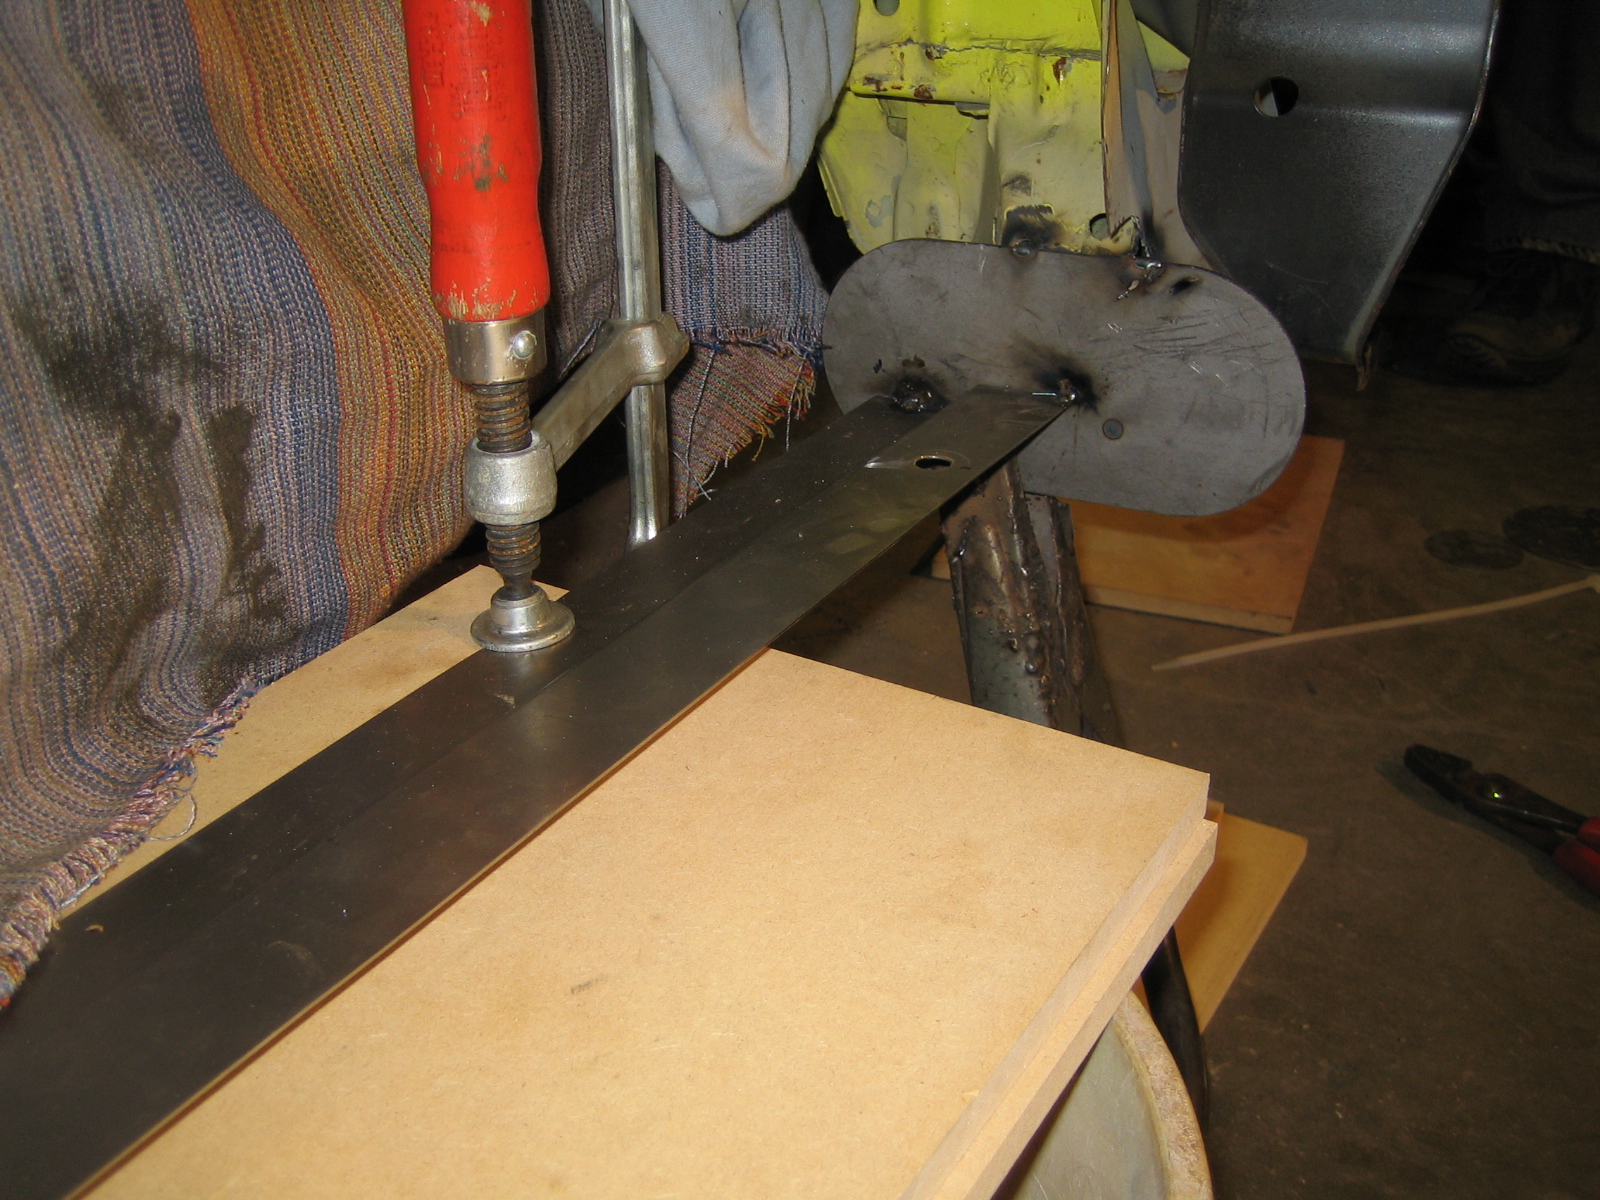
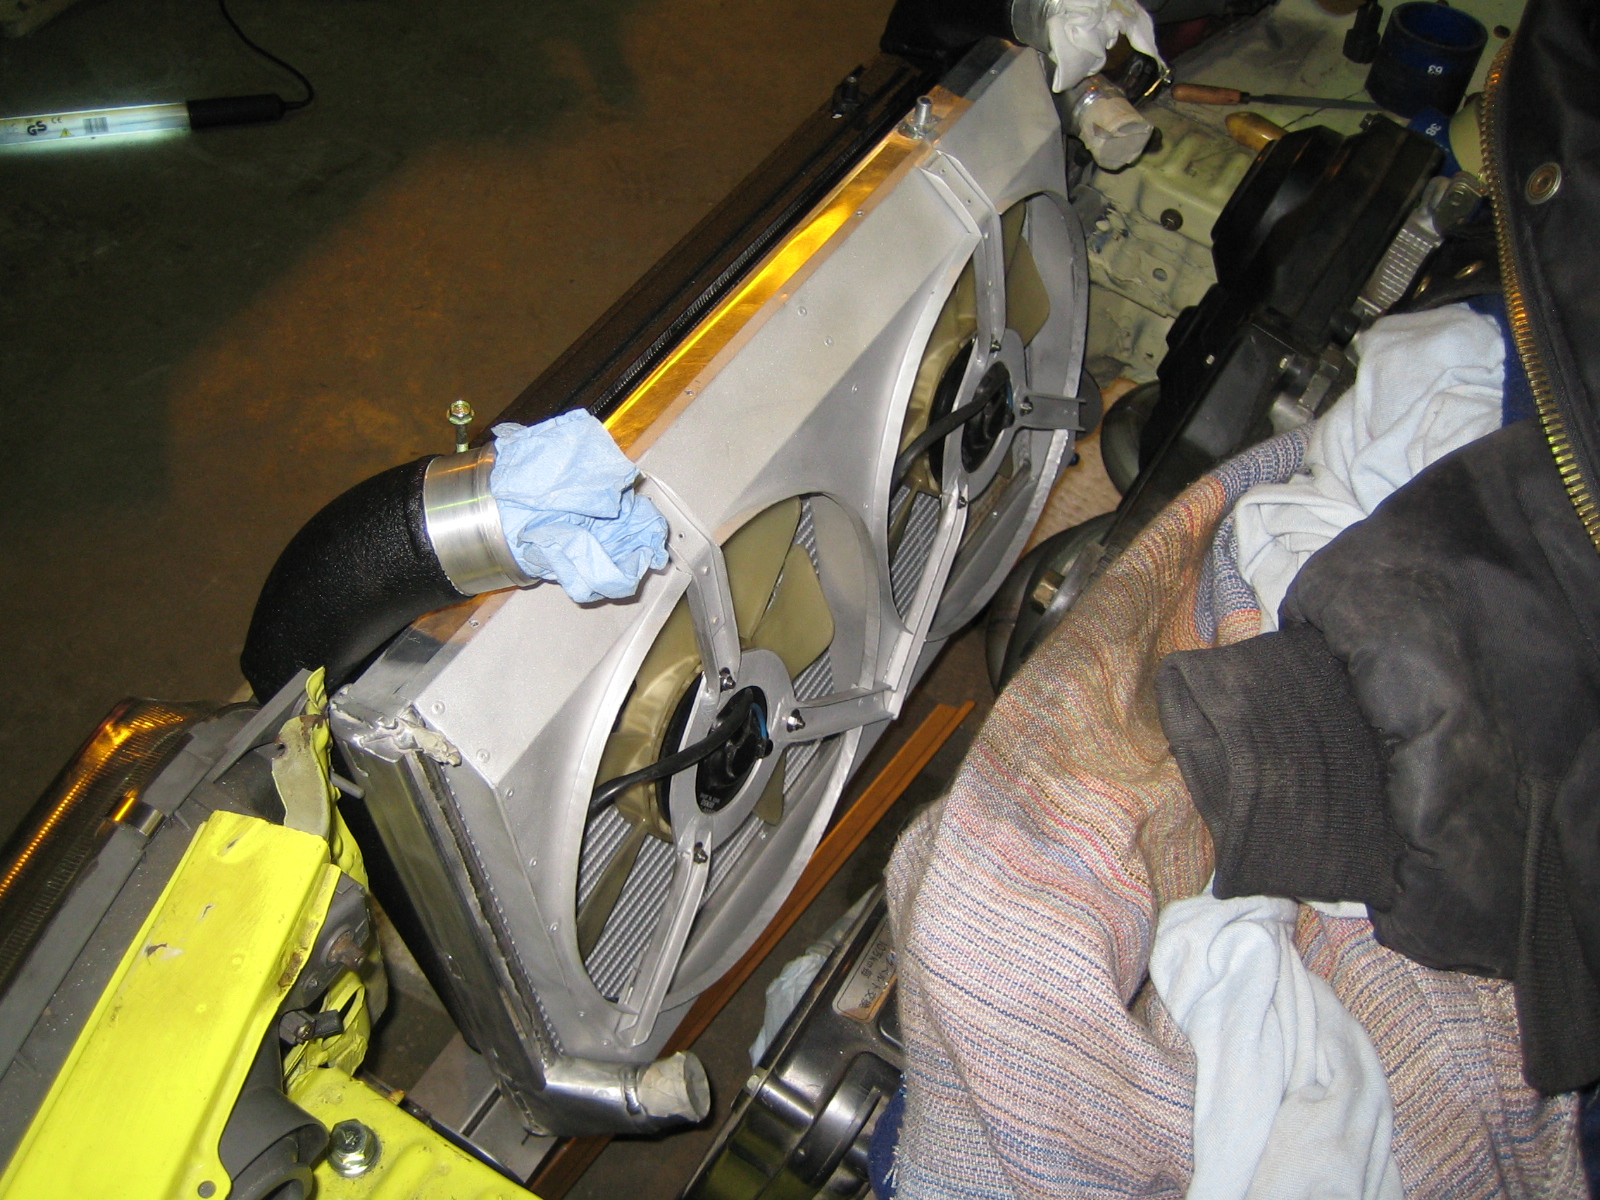
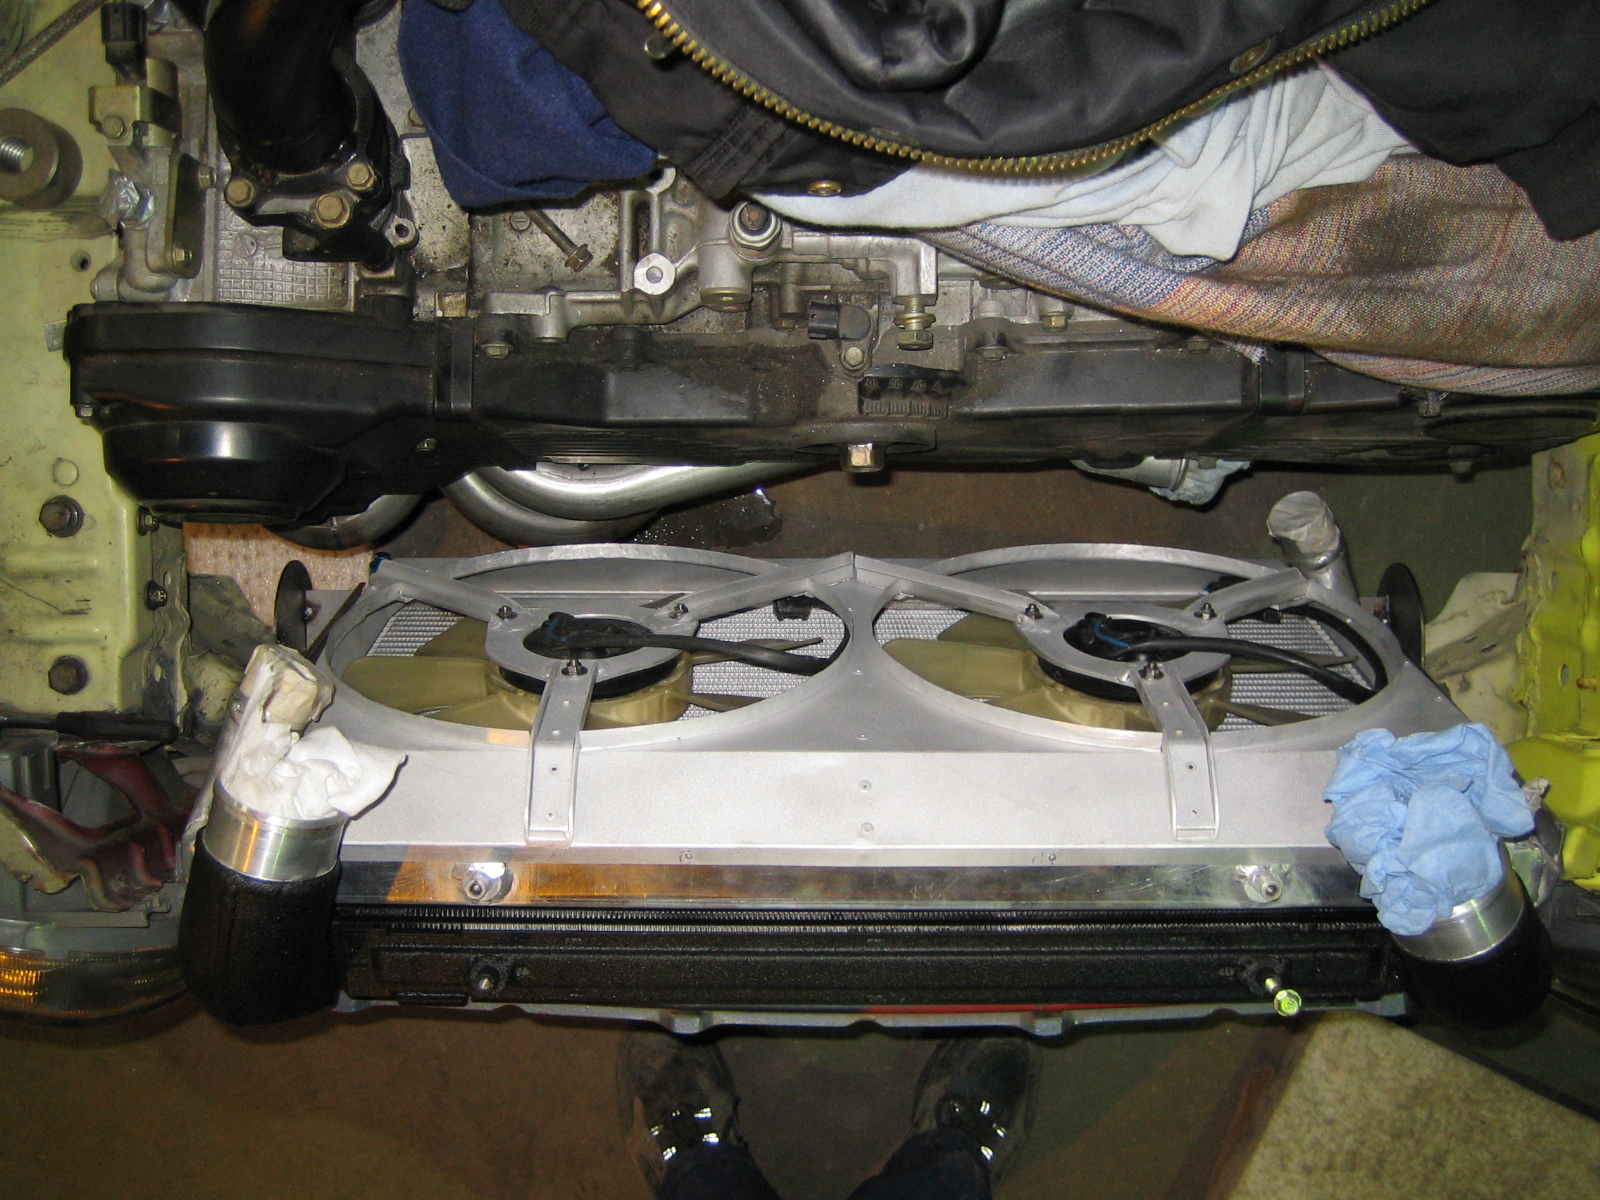
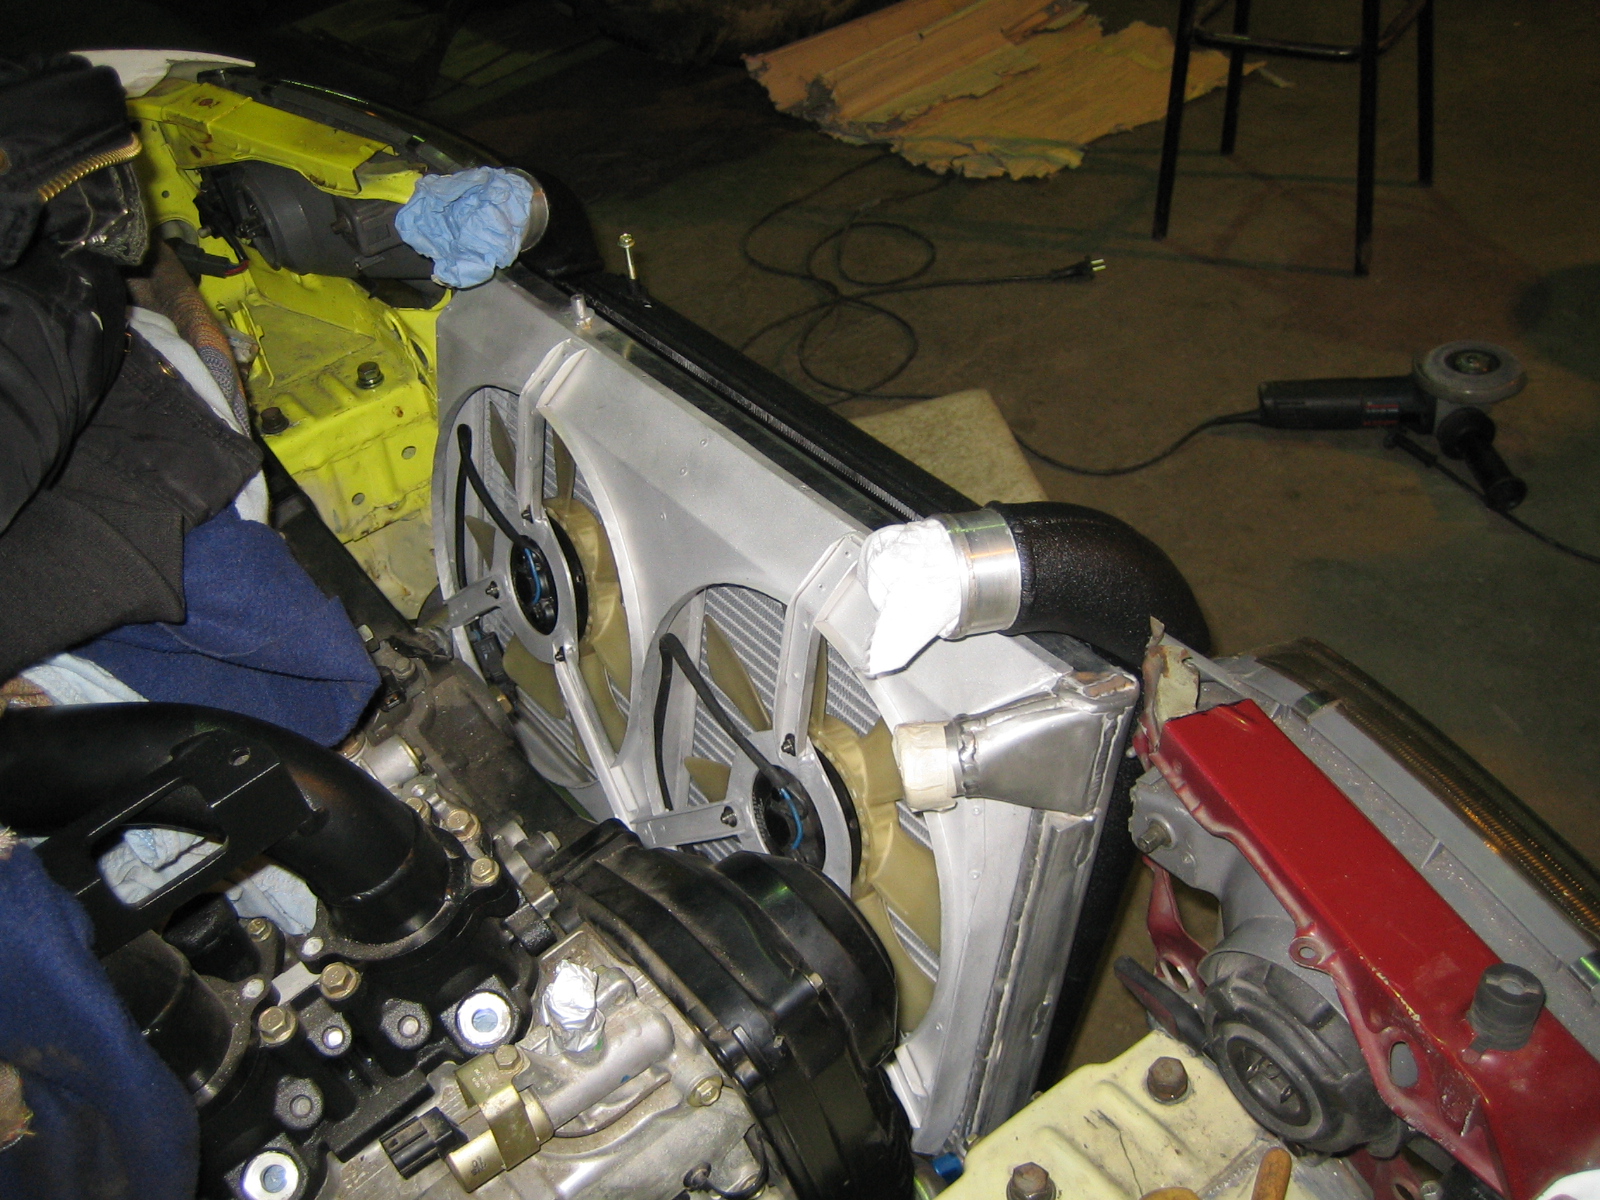
Few updates, it's getting warmer outside again, so I'm getting back to work.
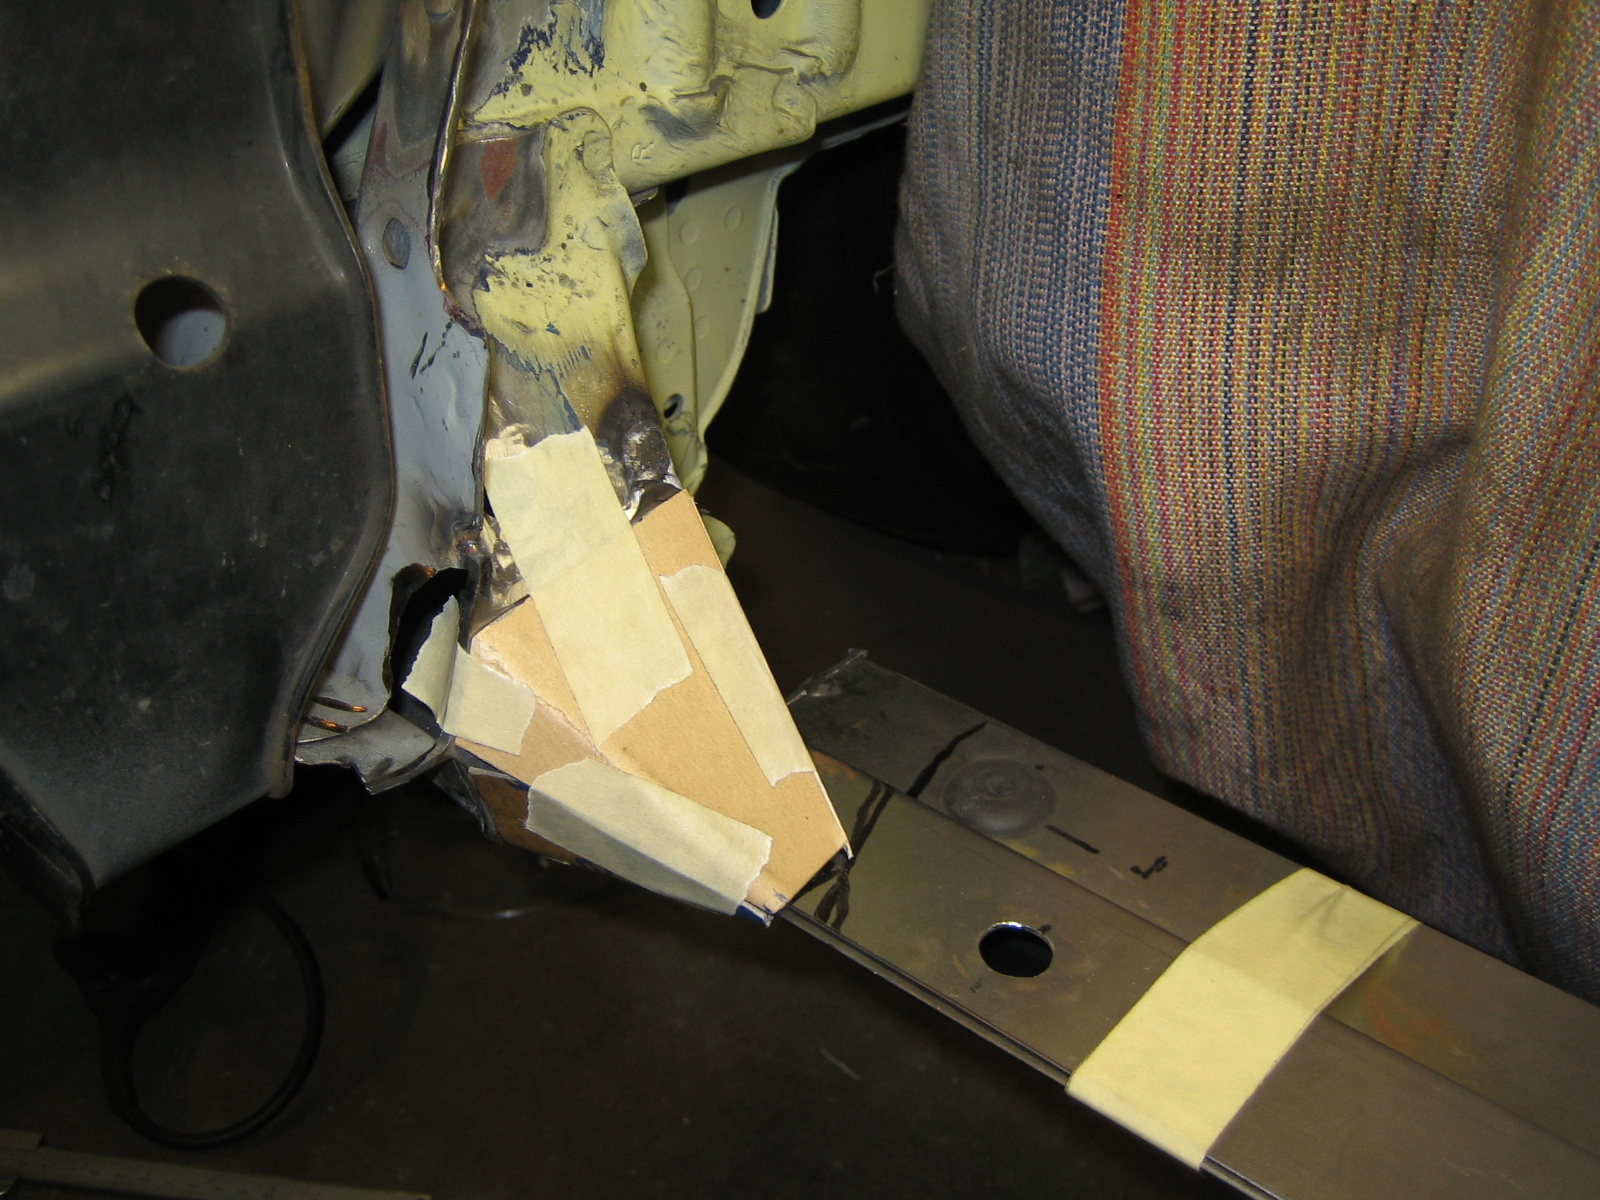
I did some more grinding on the cooler beams, made some cardboard templates aswell.
But I'm not satisfied with the lower beam, I think I will change that.
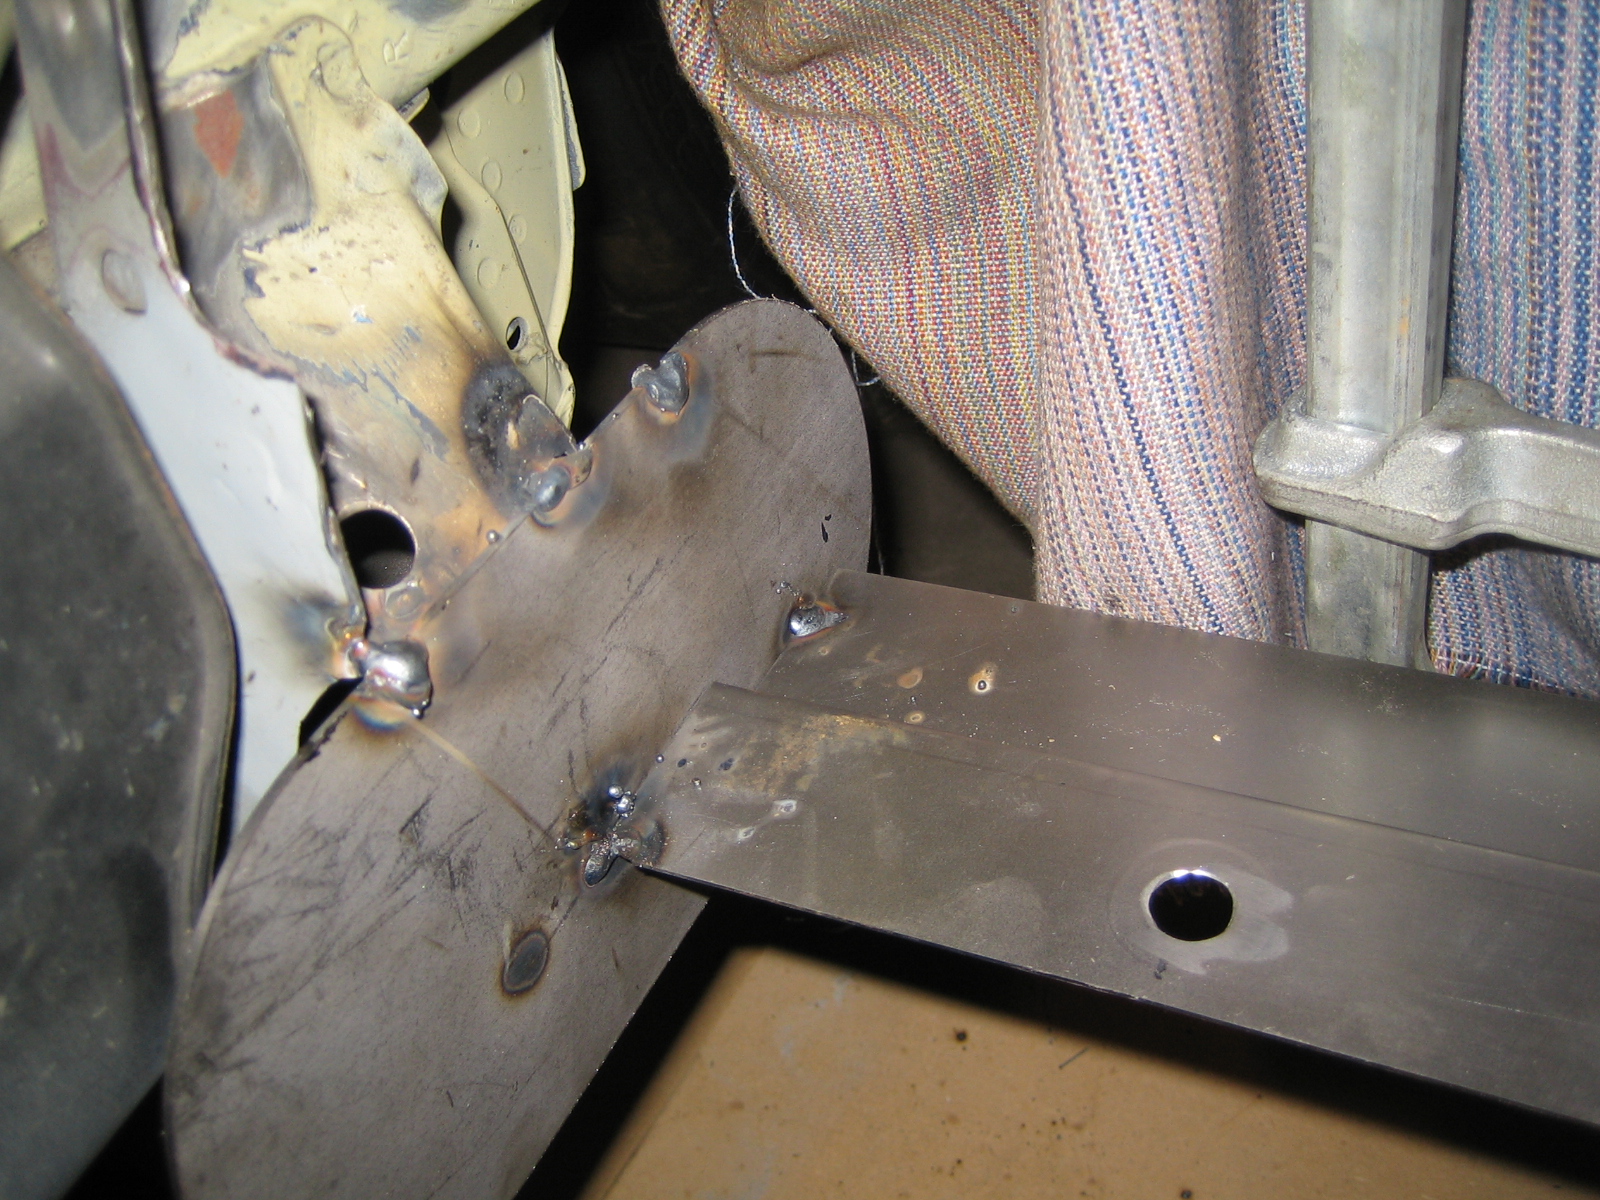
Trimmed the side plates a bit:
The templates, I want to make it look stock. :
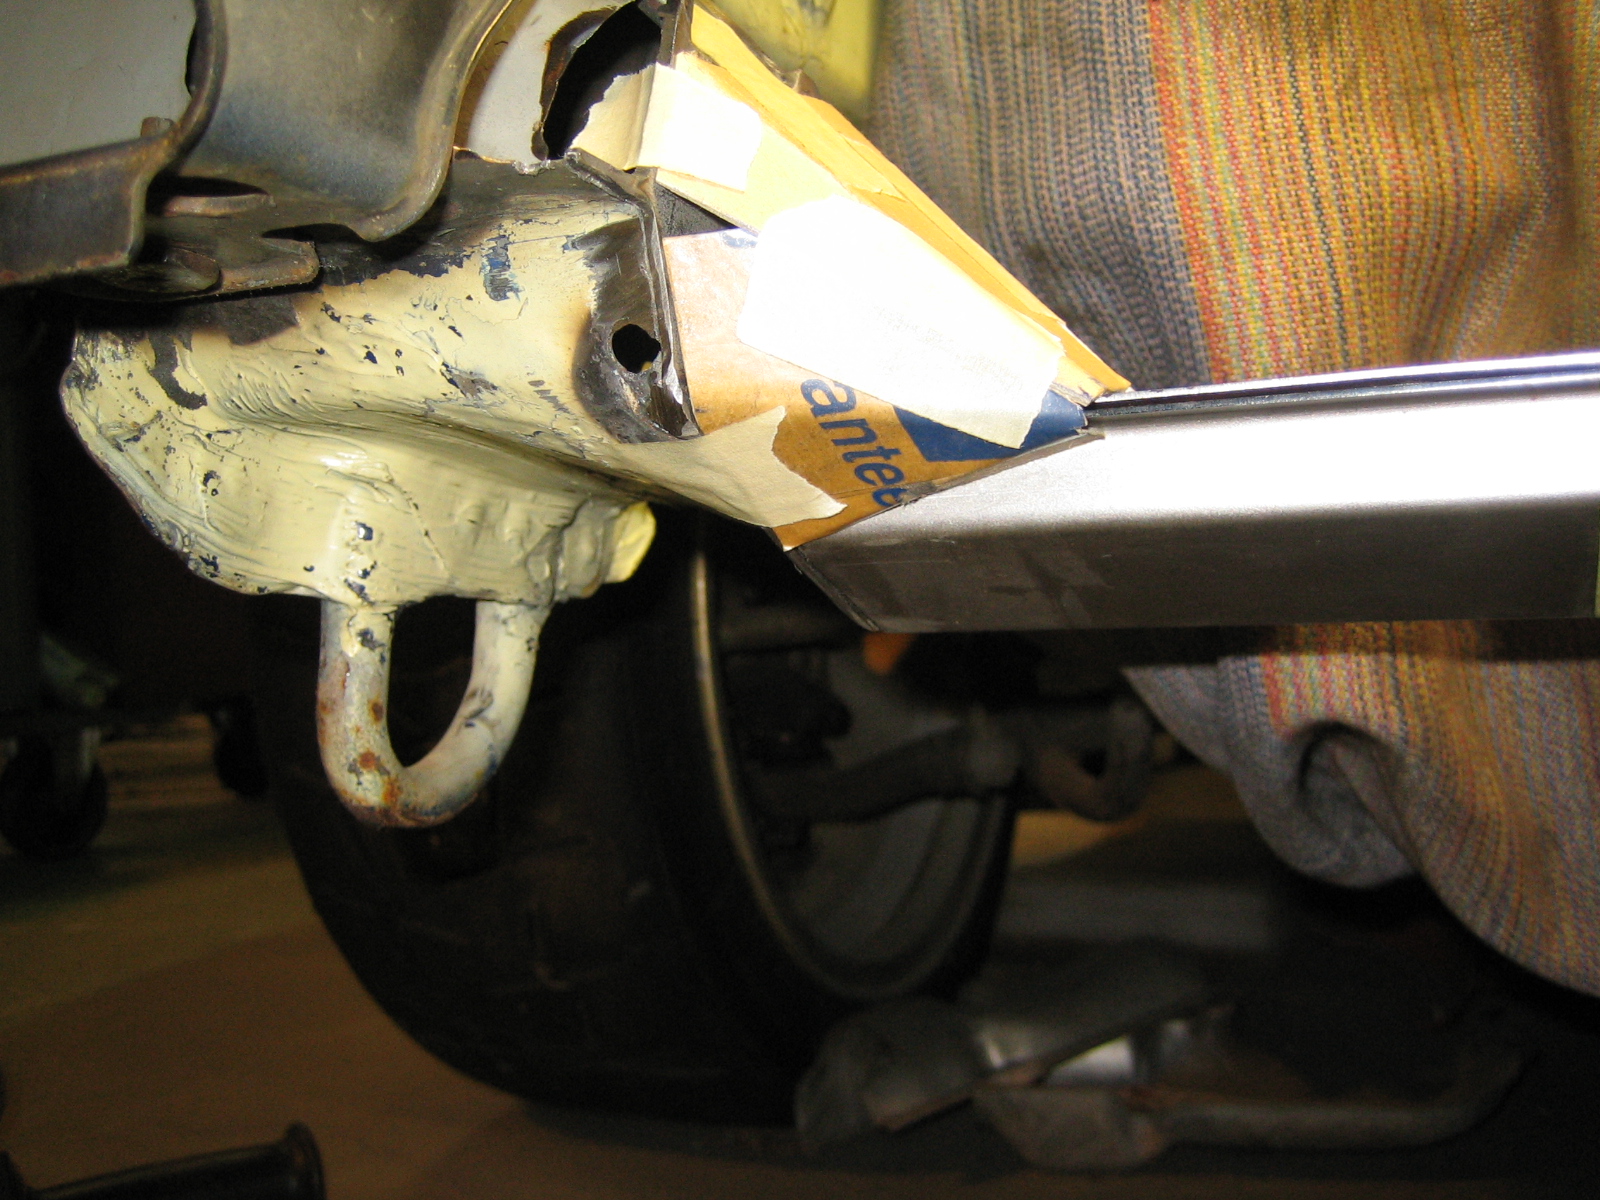
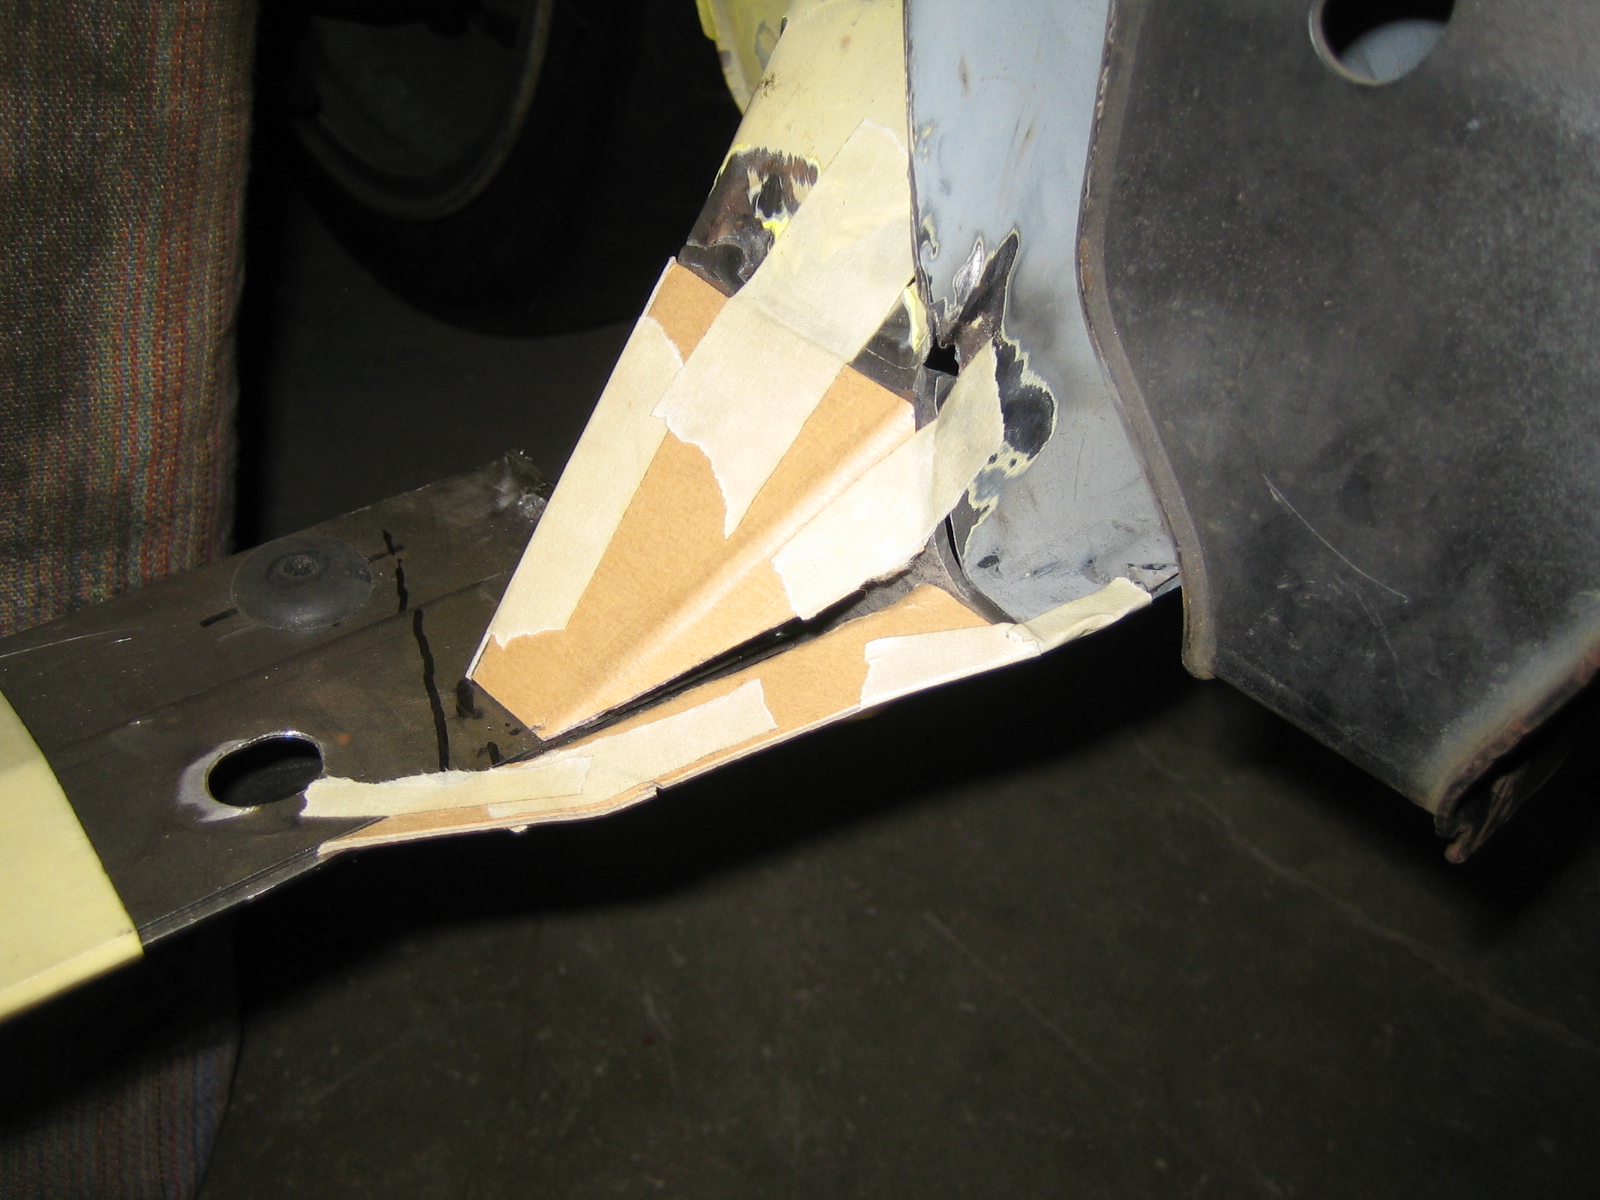
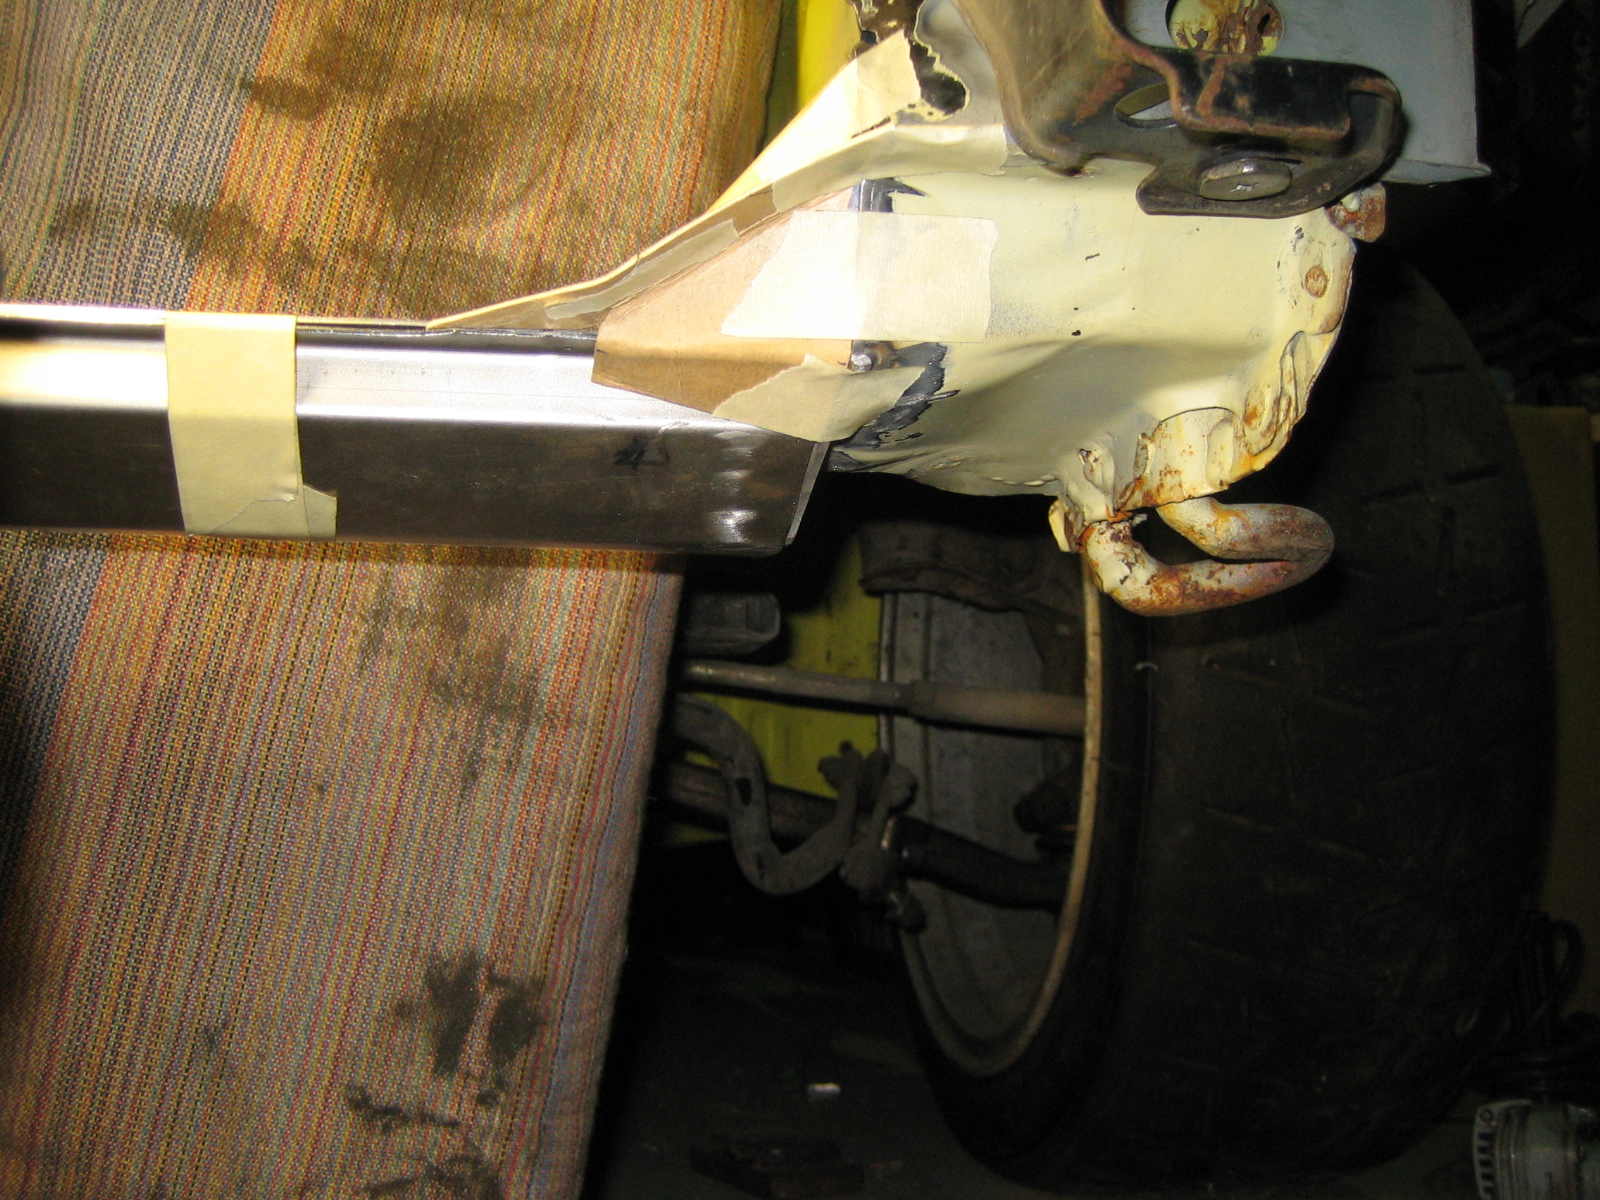
With the coolers in:
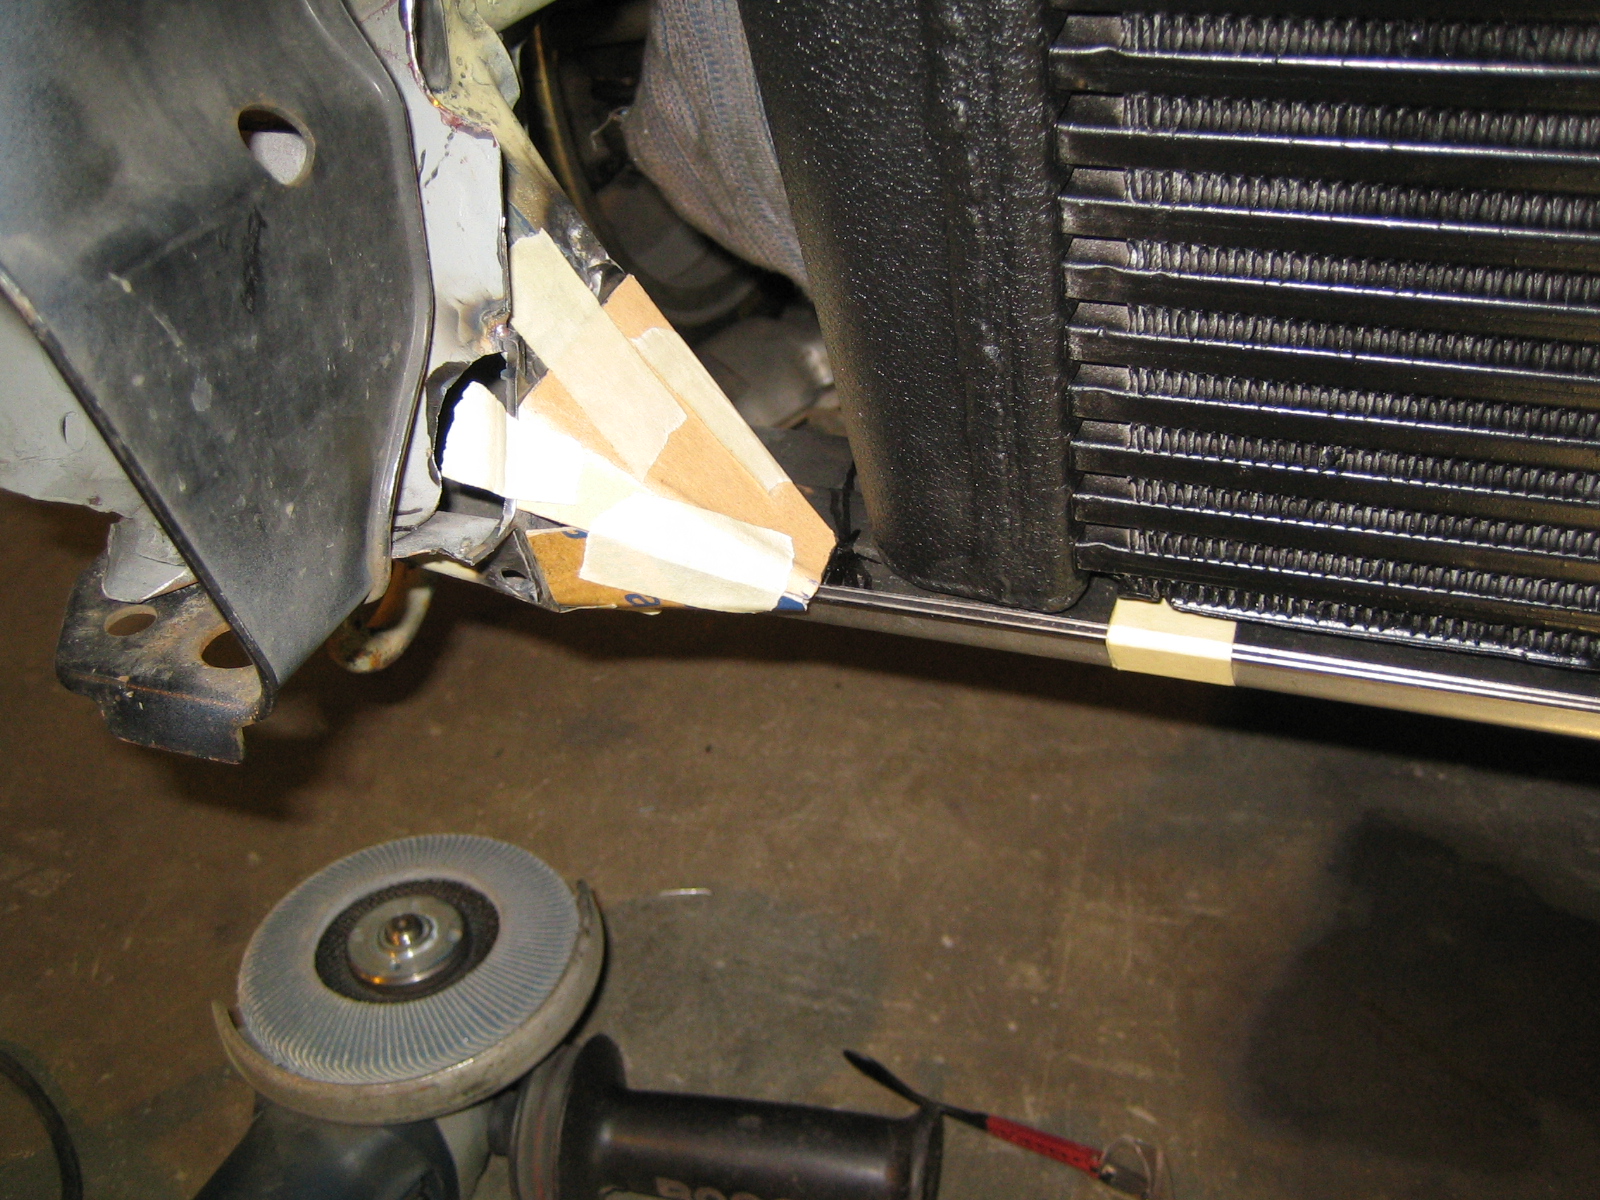
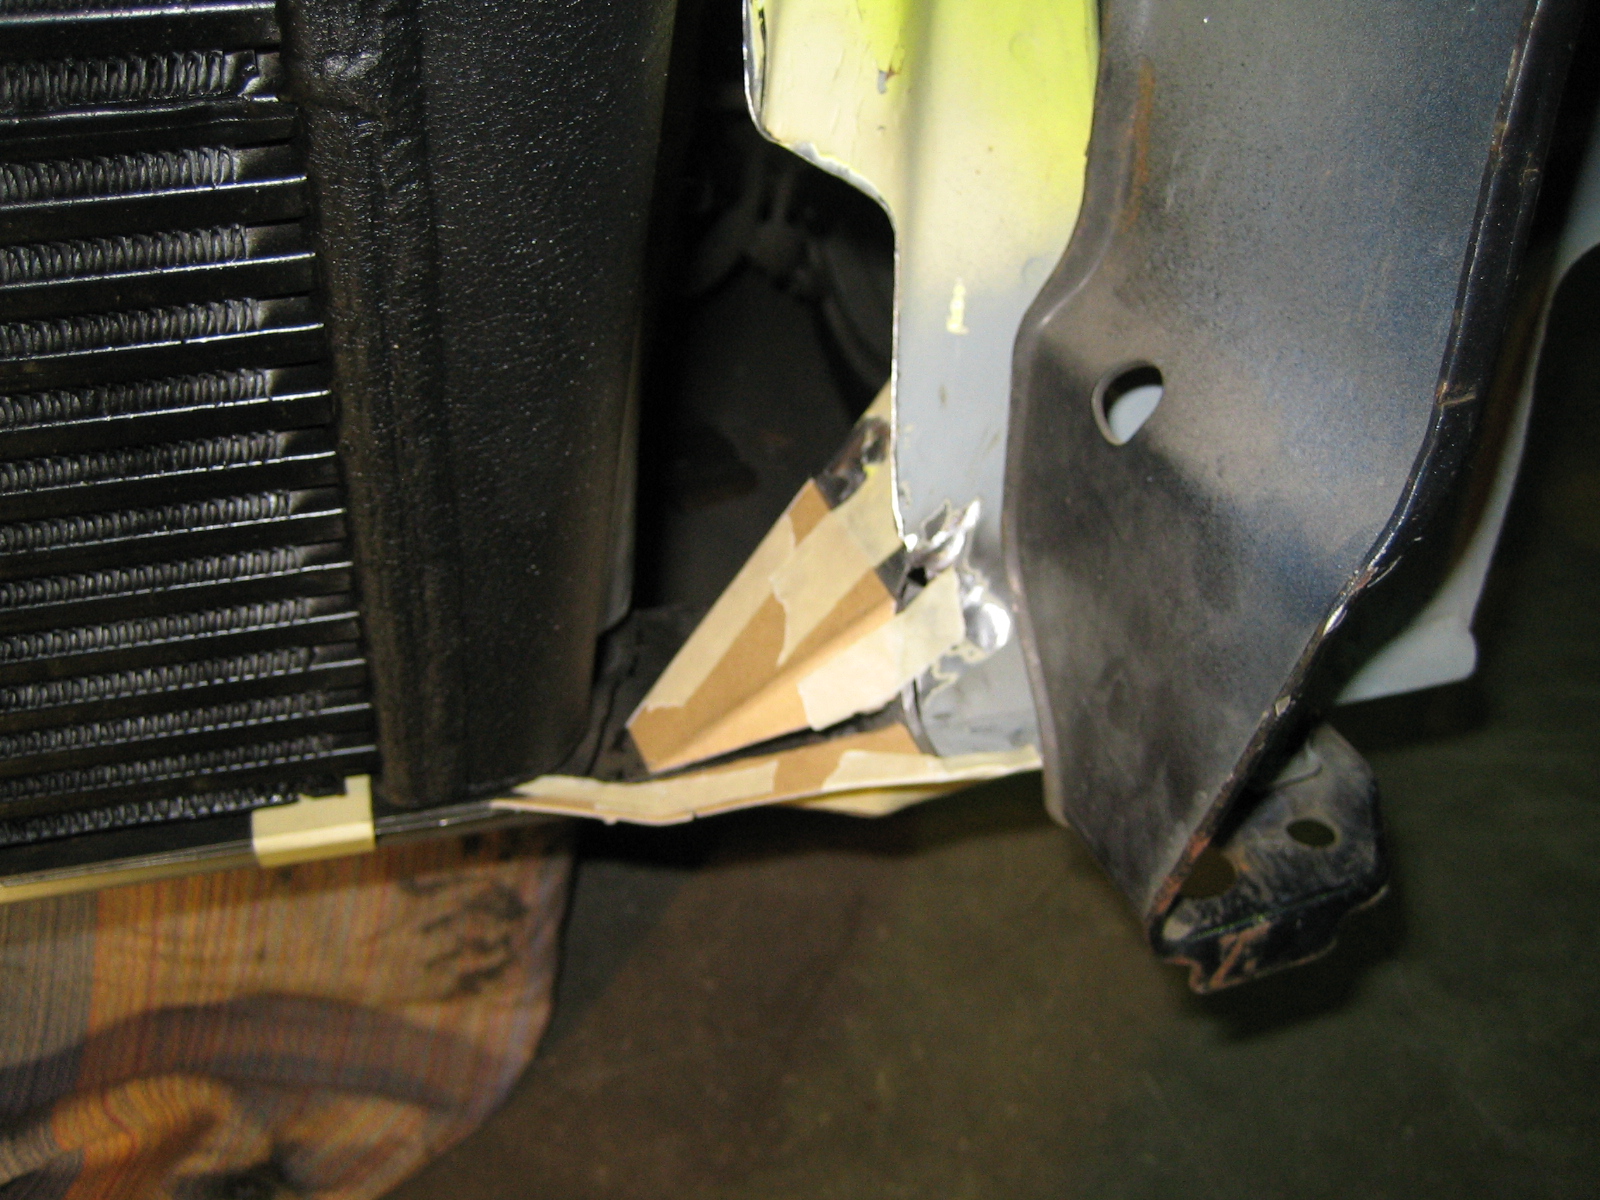
Nice, I like.
I did some more grinding on the cooler beams, made some cardboard templates aswell.
But I'm not satisfied with the lower beam, I think I will change that.
Trimmed the side plates a bit:
The templates, I want to make it look stock.
:With the coolers in:
Nice, I like.
Thread Starter
Scooby Regular
Joined: Dec 2002
Posts: 458
Likes: 0
Before I can go on with the coolers I need to fix the alternator and steering pump.
I want as much clearance for the shrouding as I can get, which means I need to build everything as close to the engine as I can.
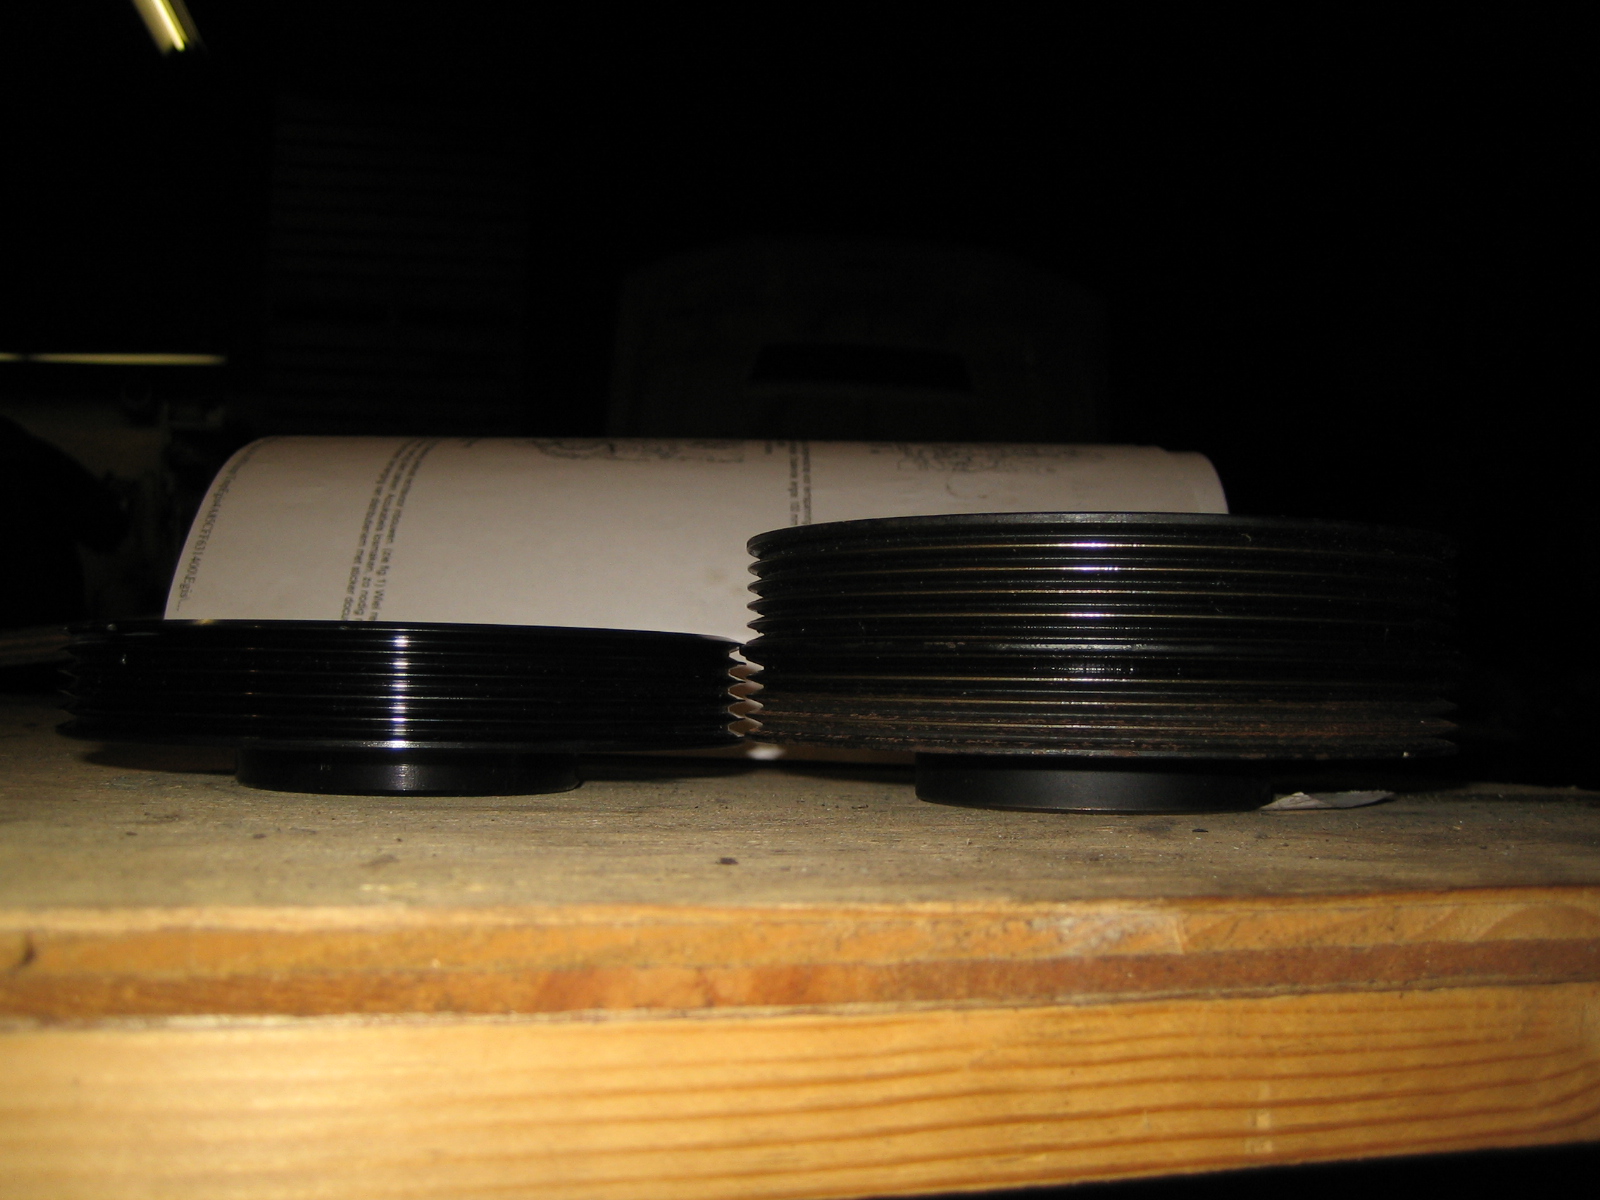
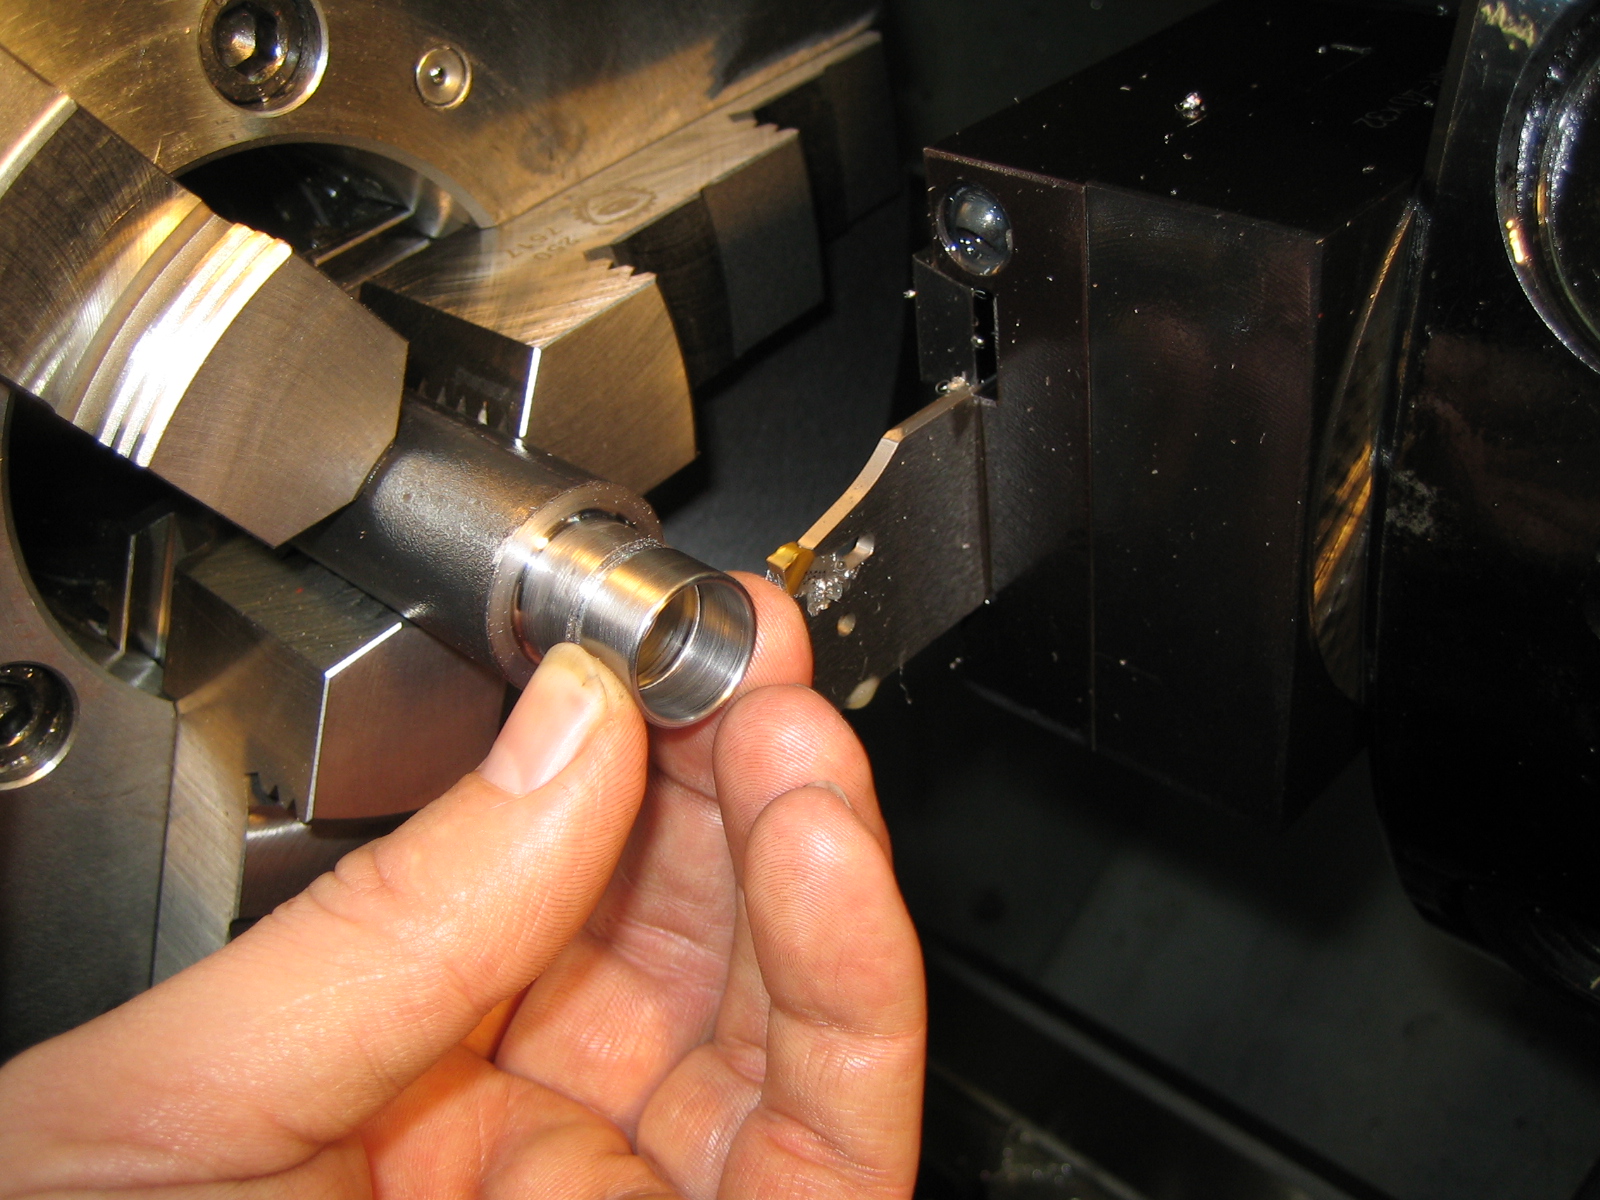
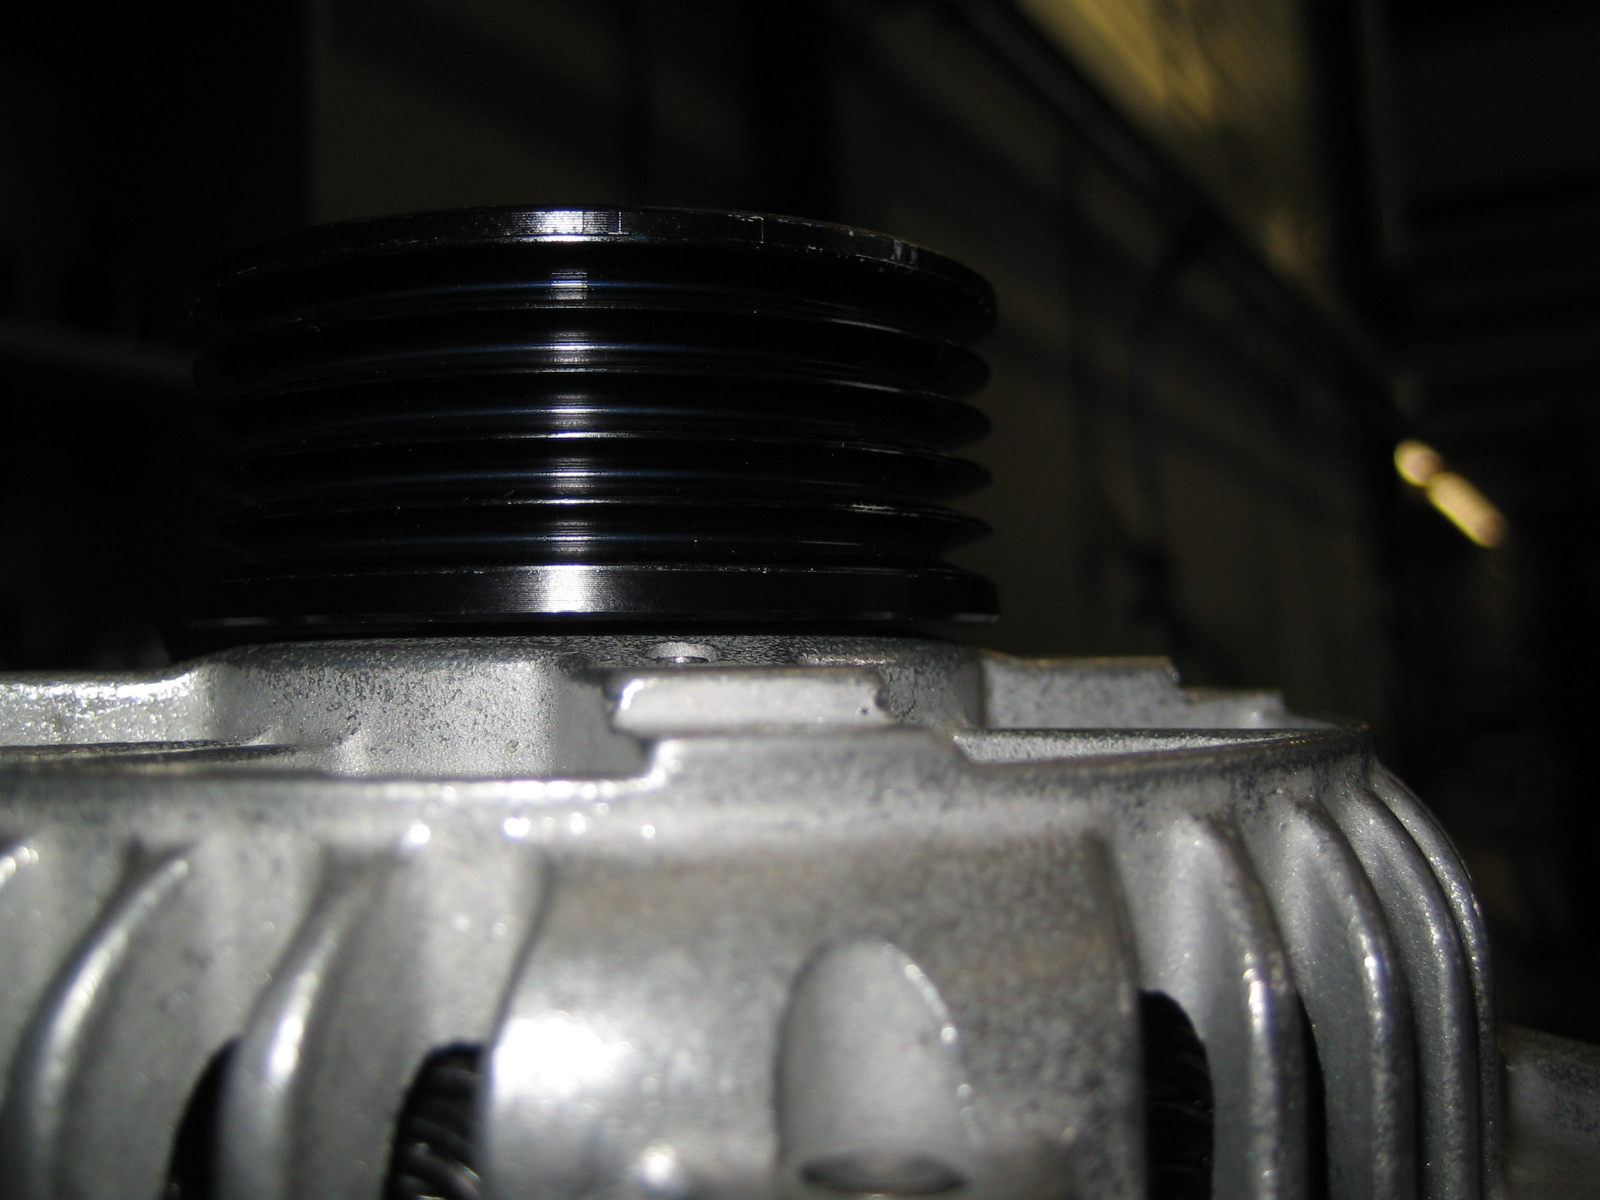
A good start is getting the crank pulley closer to the engine.
But all Subaru pulleys have the space that is taken up by the aircon pump belt, so I needed one made for me.
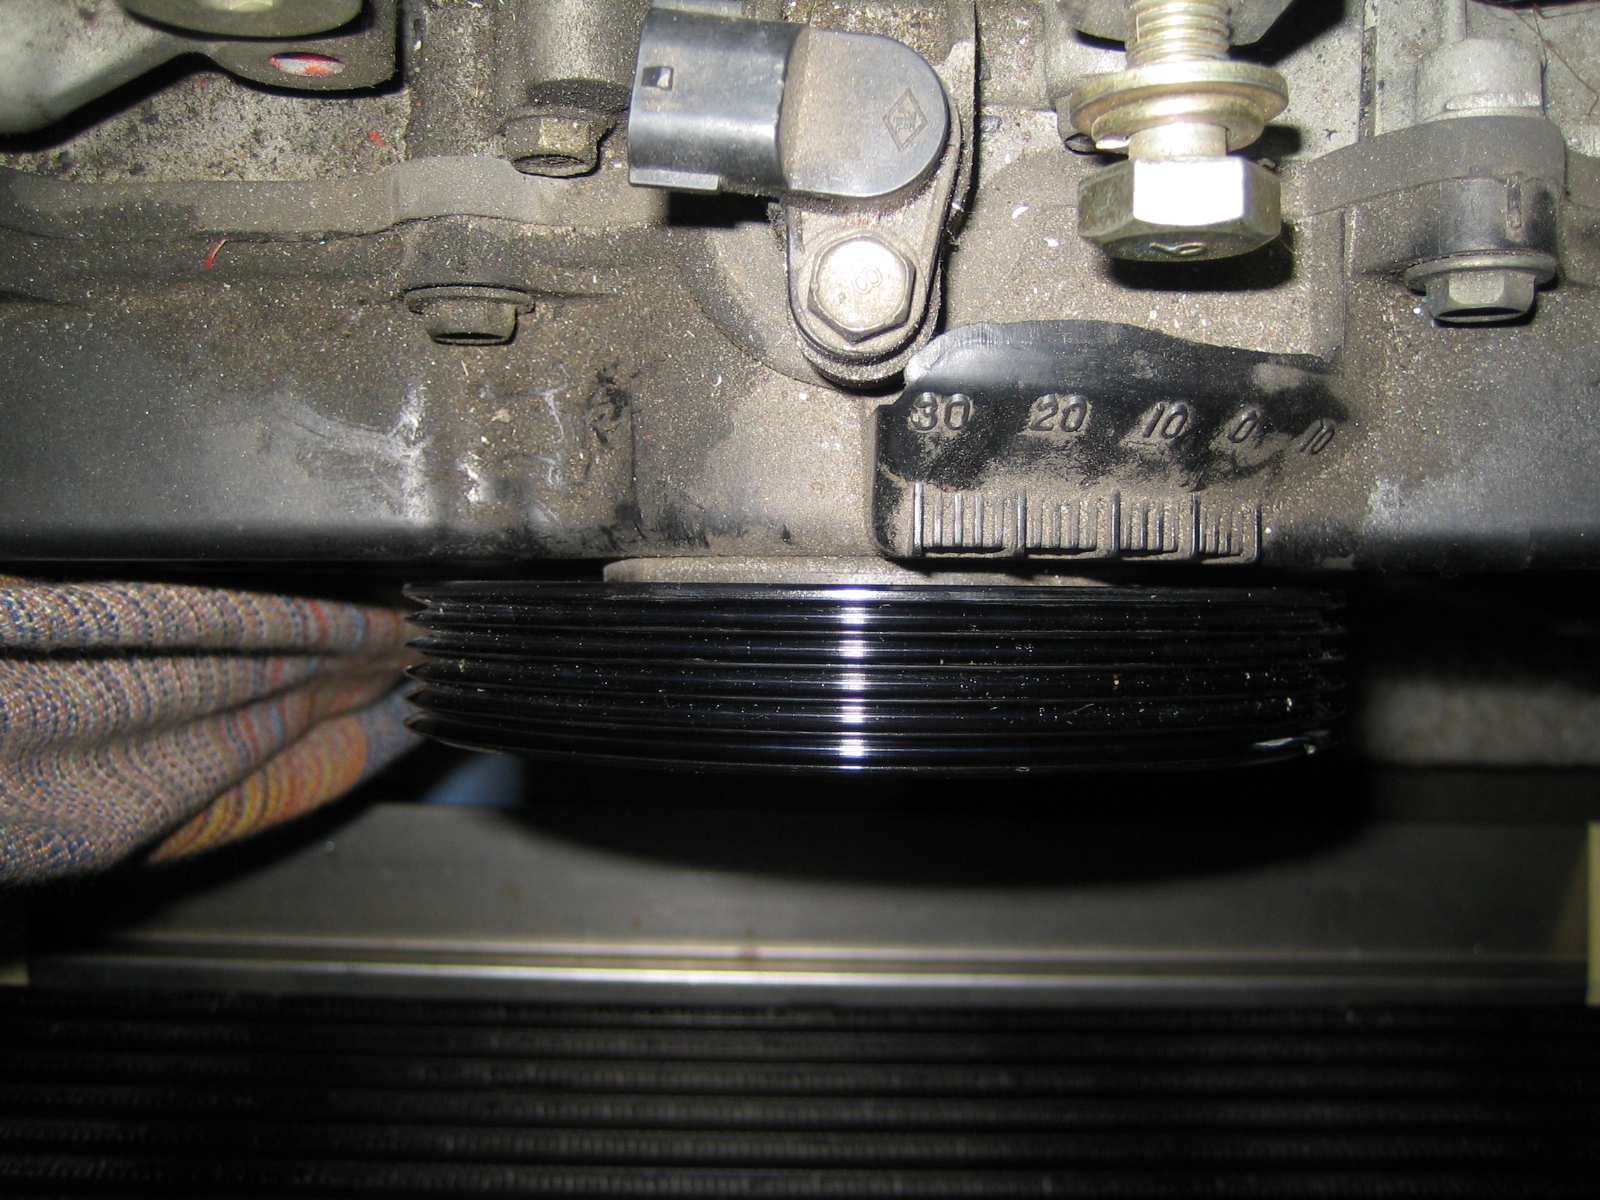
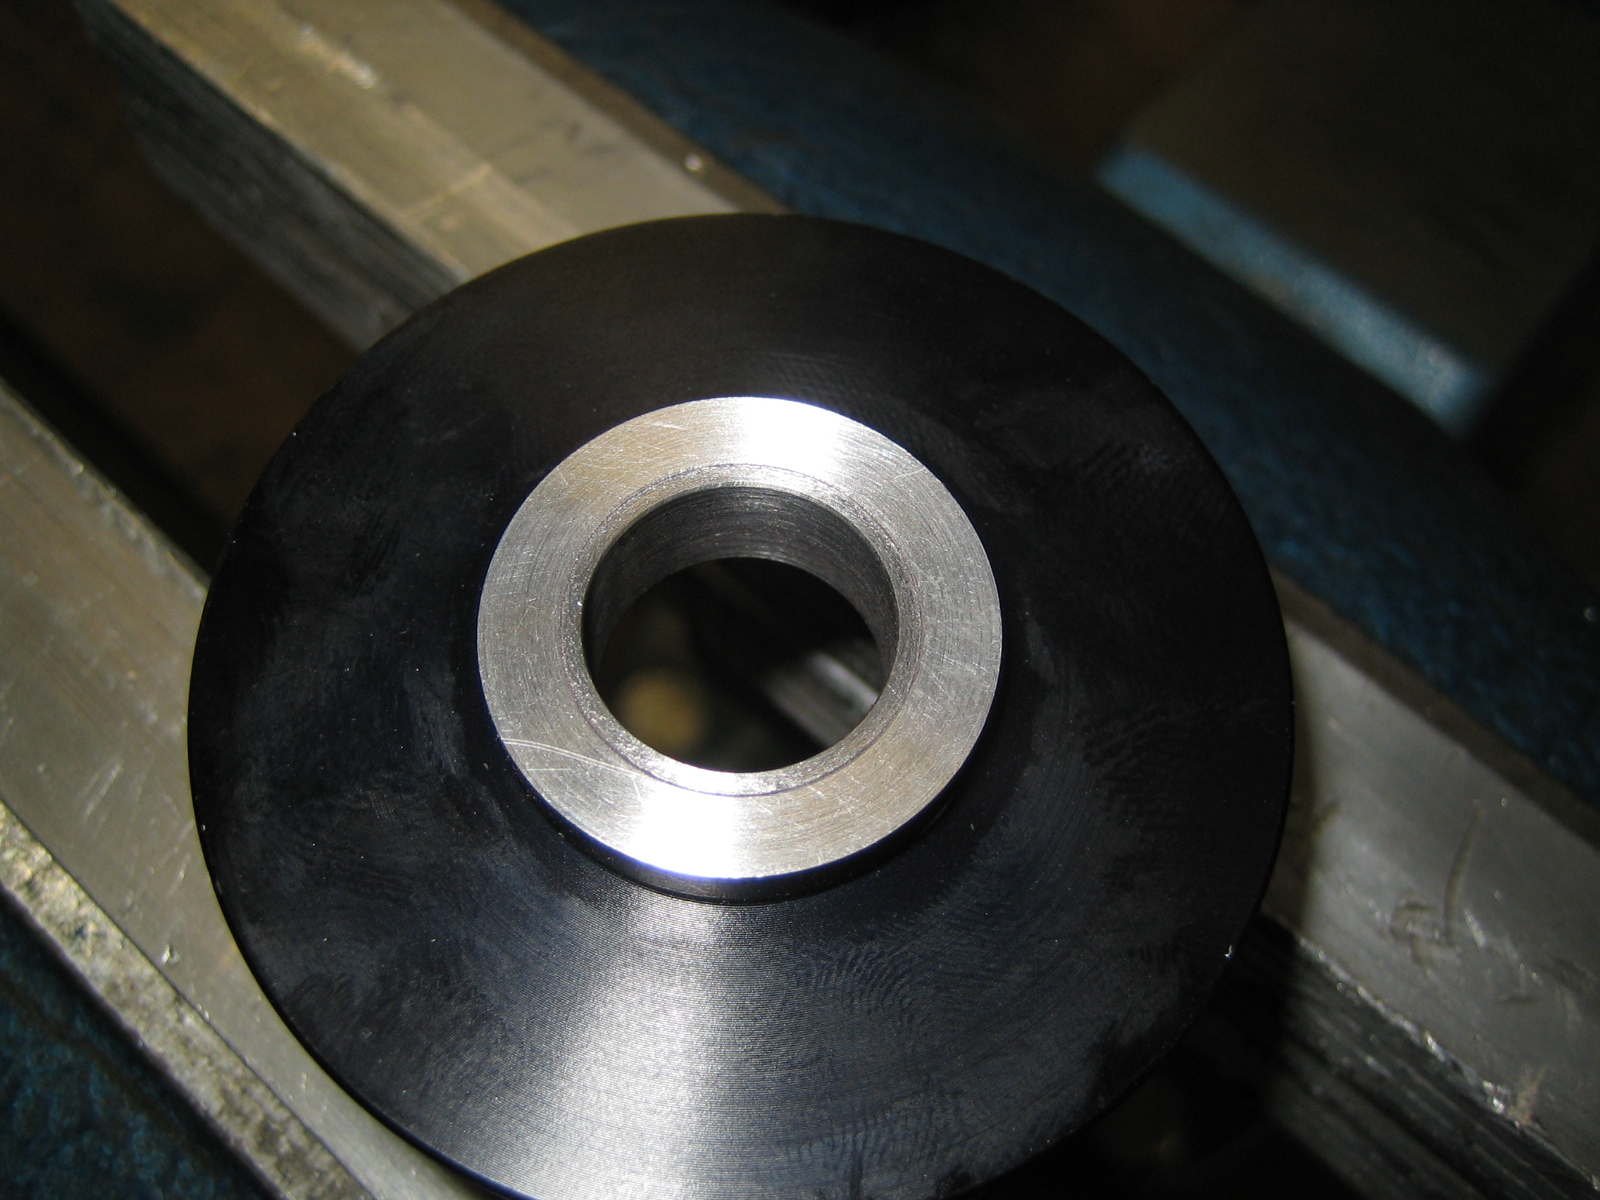
So I had one made and it clears up a lot of space, about 20mm's.
Close as possible to the engine, I think about 3 or 4mm:

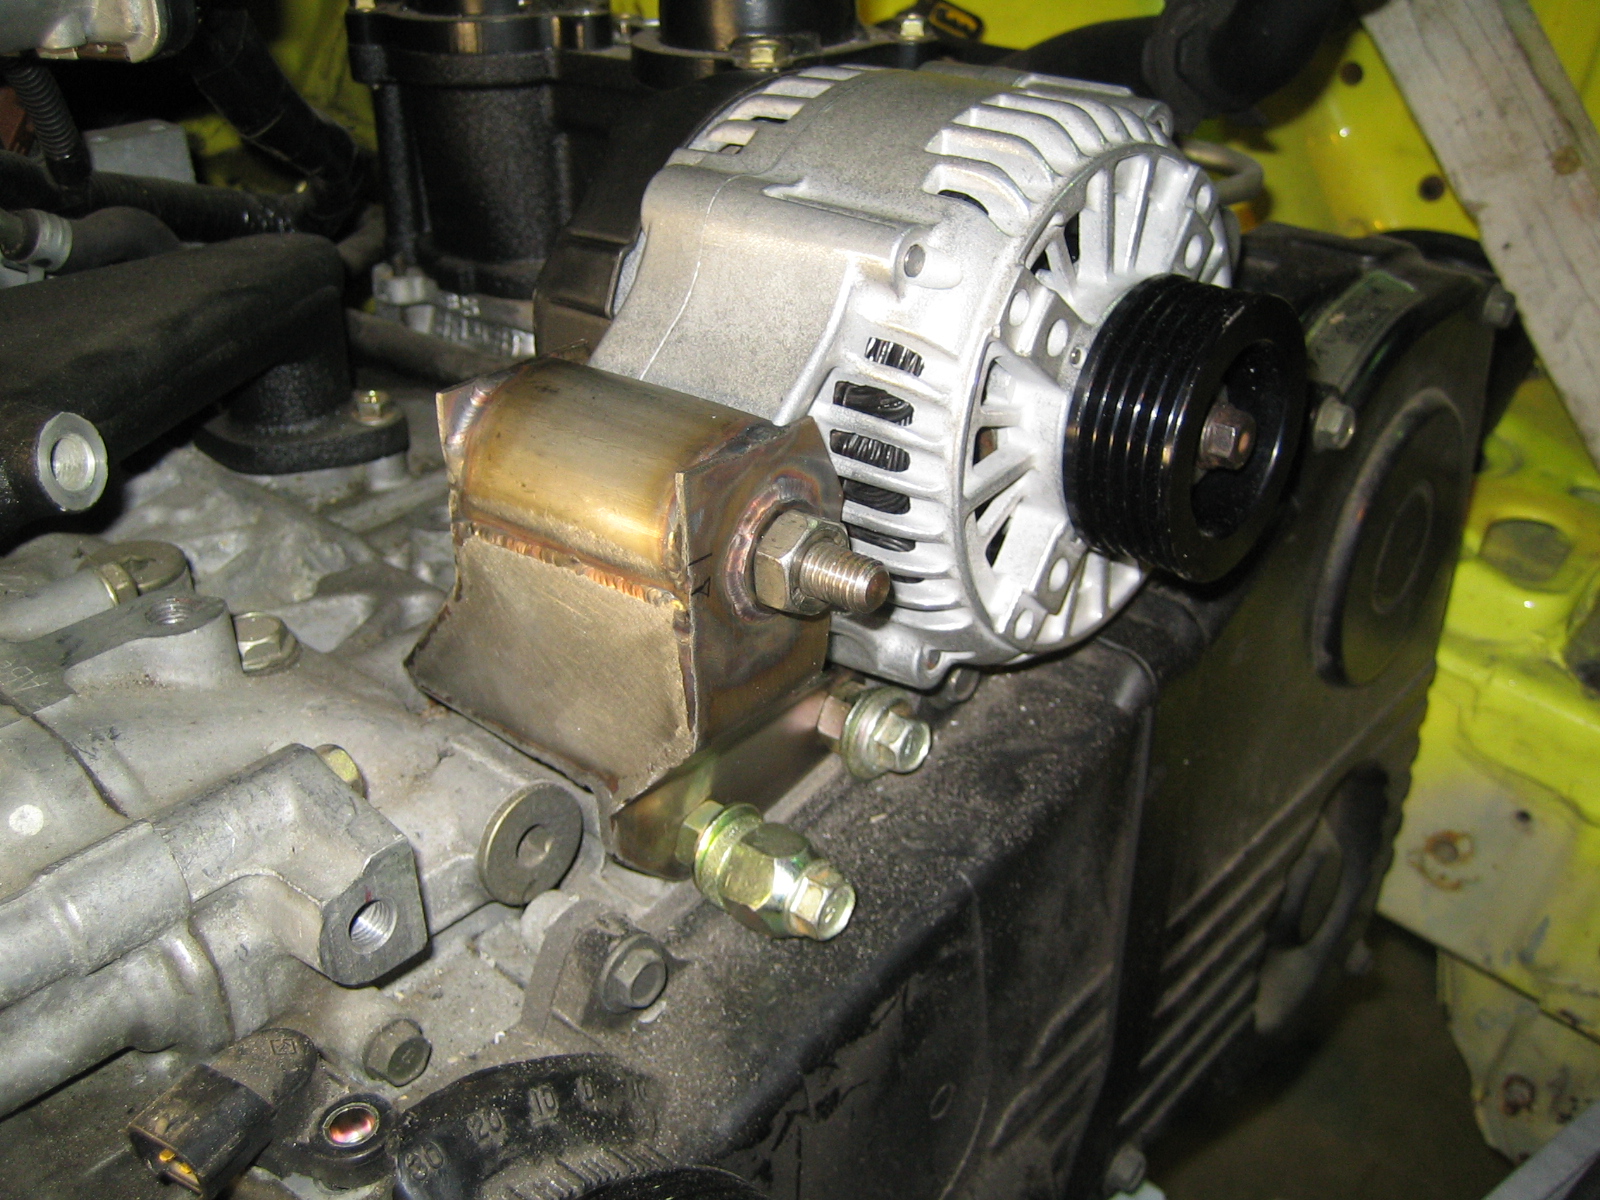
I got a smaller alternator, from 90 to 70 ampere, but unfortunatly the pulley on it was wrong.
I had an aftermarket pulley but that didn't fit either, so I that was fixed.
En viola:
I want as much clearance for the shrouding as I can get, which means I need to build everything as close to the engine as I can.
A good start is getting the crank pulley closer to the engine.
But all Subaru pulleys have the space that is taken up by the aircon pump belt, so I needed one made for me.
So I had one made and it clears up a lot of space, about 20mm's.
Close as possible to the engine, I think about 3 or 4mm:
I got a smaller alternator, from 90 to 70 ampere, but unfortunatly the pulley on it was wrong.
I had an aftermarket pulley but that didn't fit either, so I that was fixed.
En viola:

Thread Starter
Scooby Regular
Joined: Dec 2002
Posts: 458
Likes: 0
Well, to show the project isn't completly dead, a small update.
I dropped the alu bracket for the alternator because I thought I could make it more difficult on myself.
So it's going to be stainless steel now, should be lighter too!
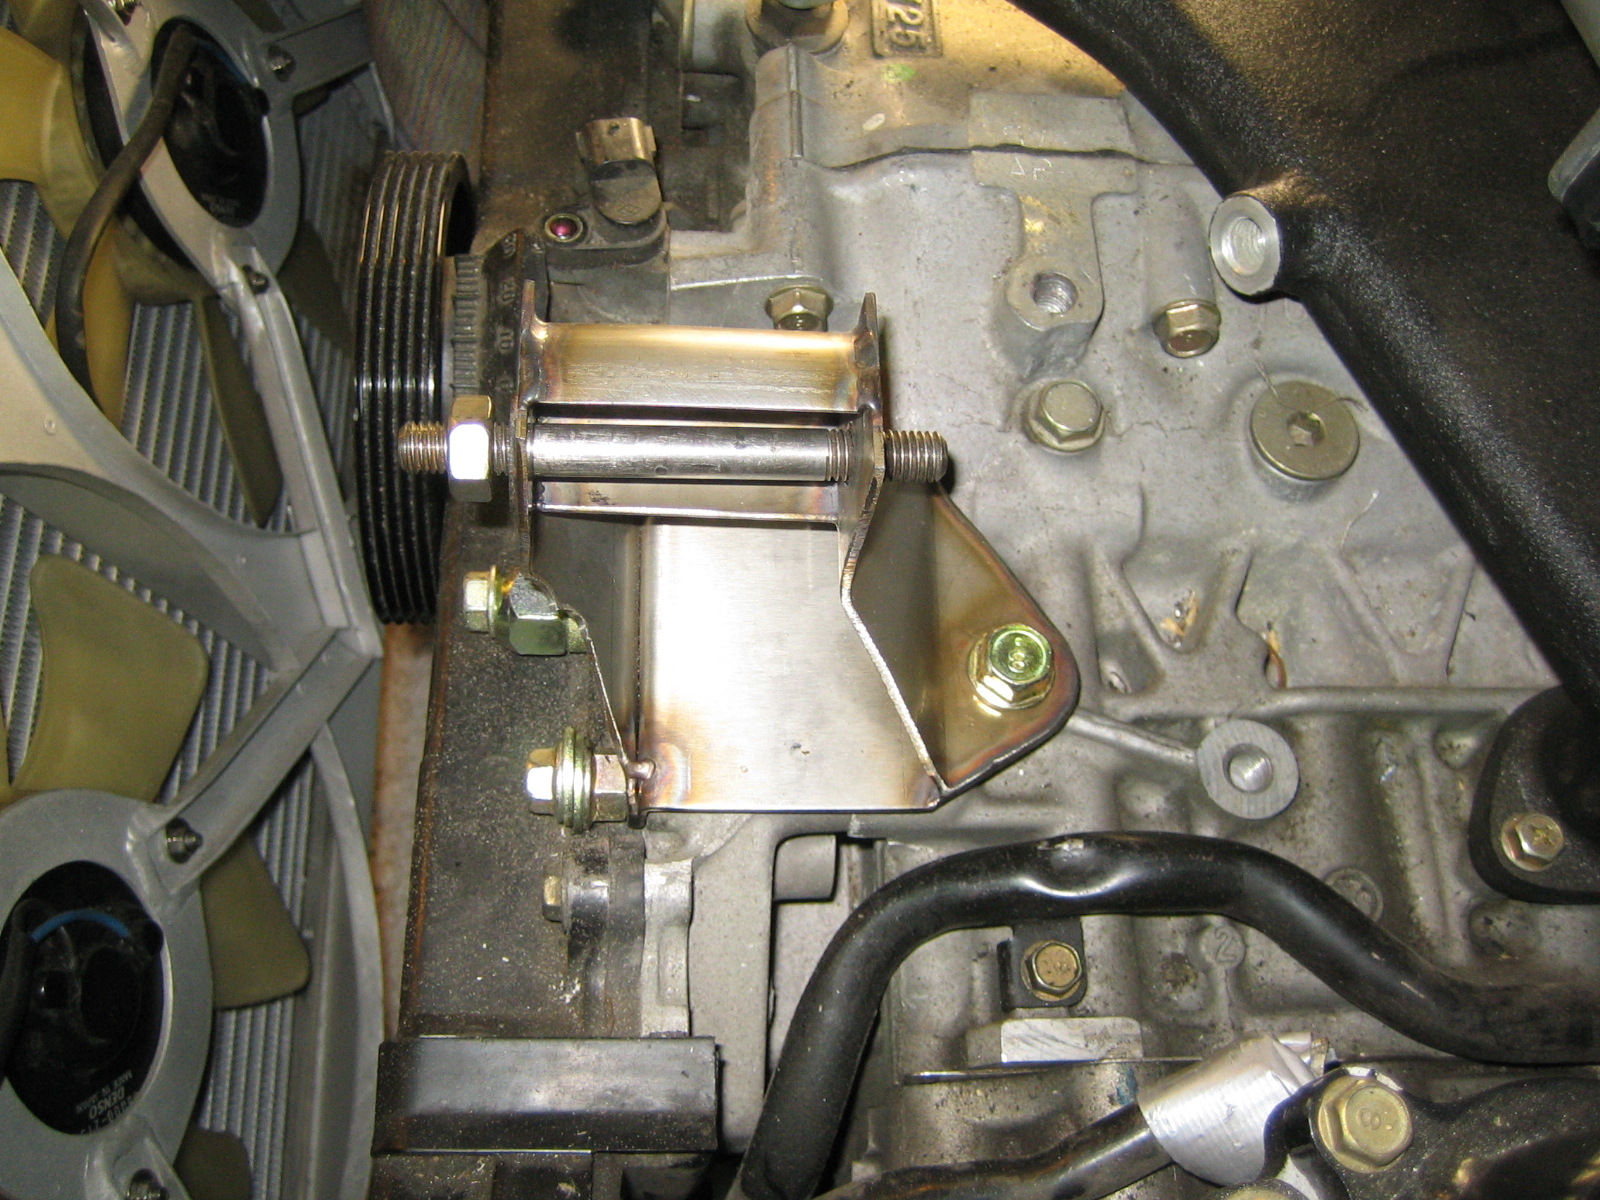
This is only the alternator as you can see, the powersteerpumpbracketextension is on it's way.
I dropped the alu bracket for the alternator because I thought I could make it more difficult on myself.
So it's going to be stainless steel now, should be lighter too!
This is only the alternator as you can see, the powersteerpumpbracketextension is on it's way.
Thread Starter
Scooby Regular
Joined: Dec 2002
Posts: 458
Likes: 0
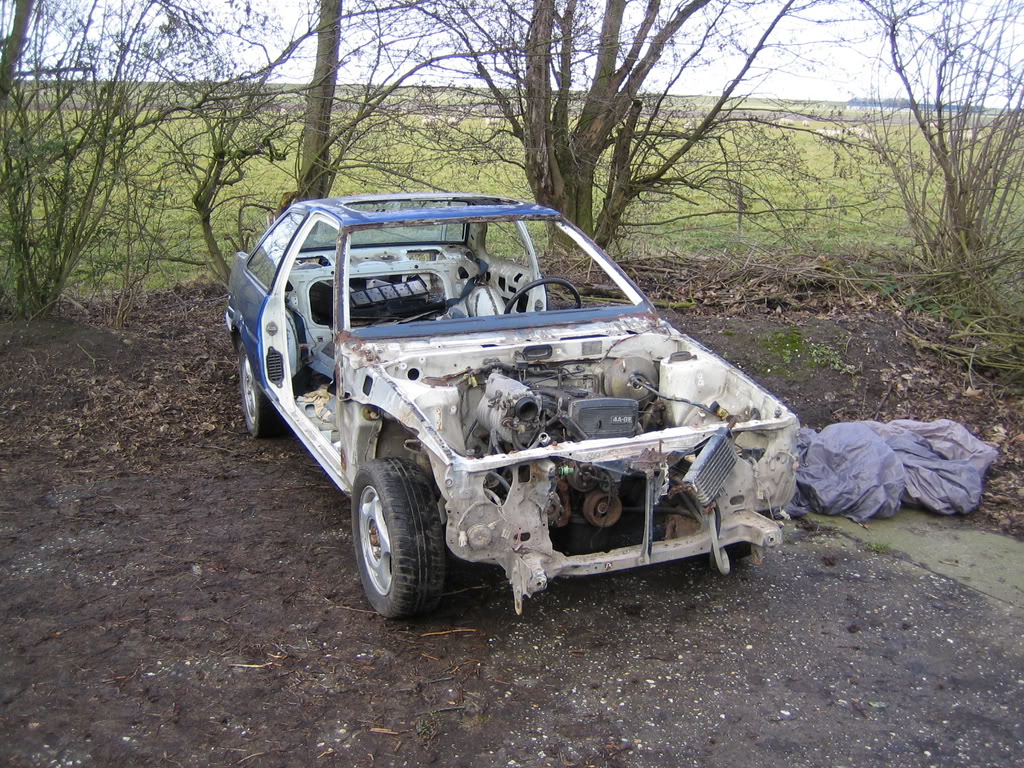
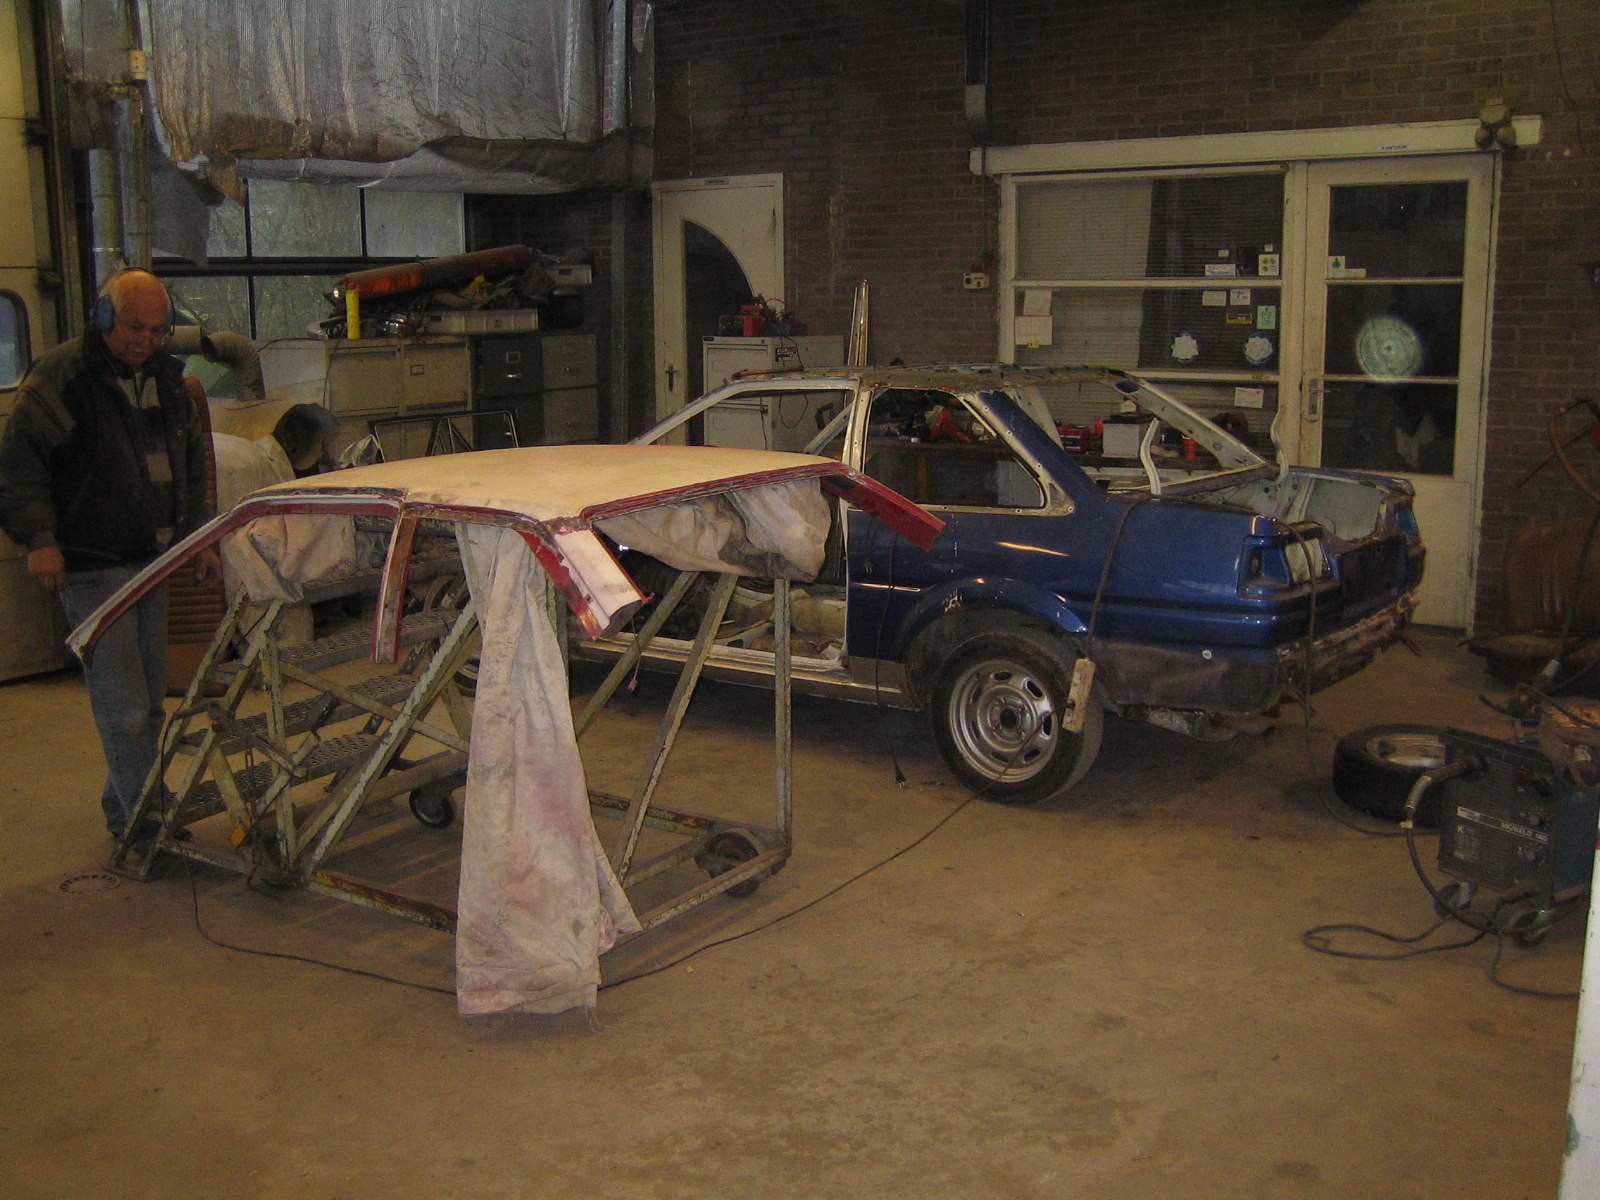
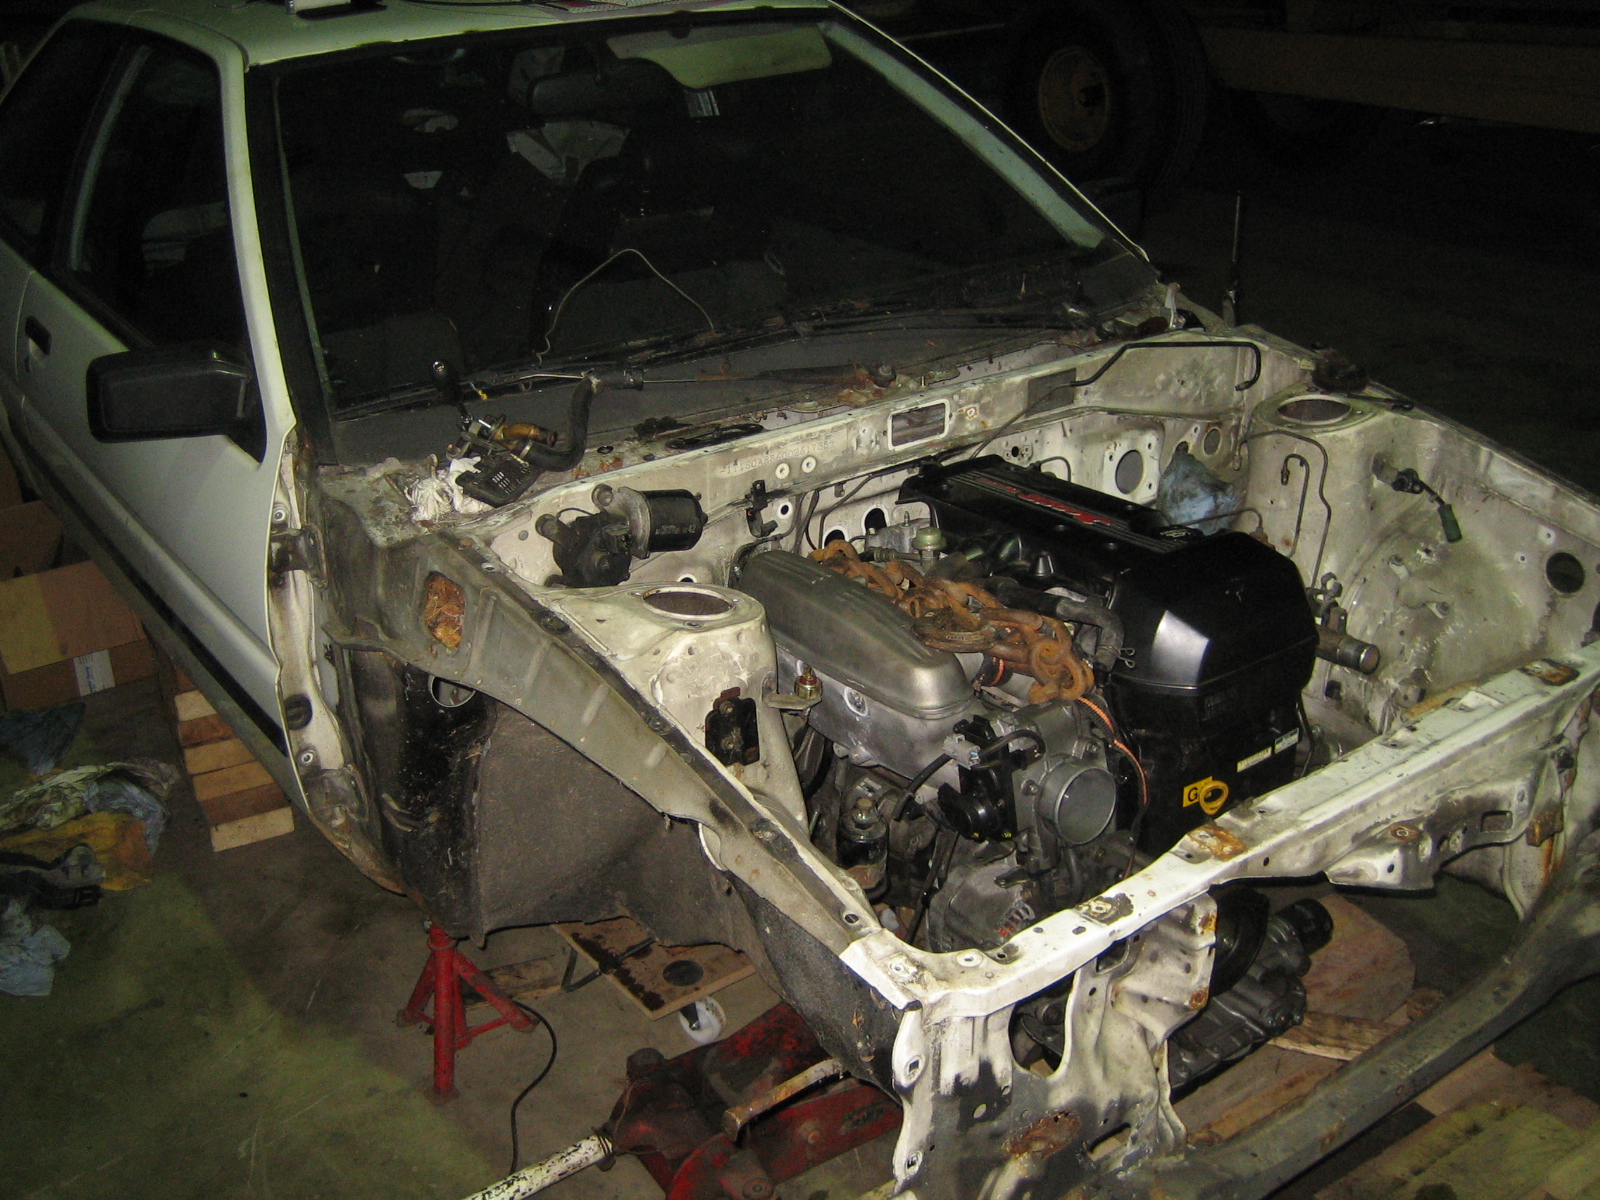
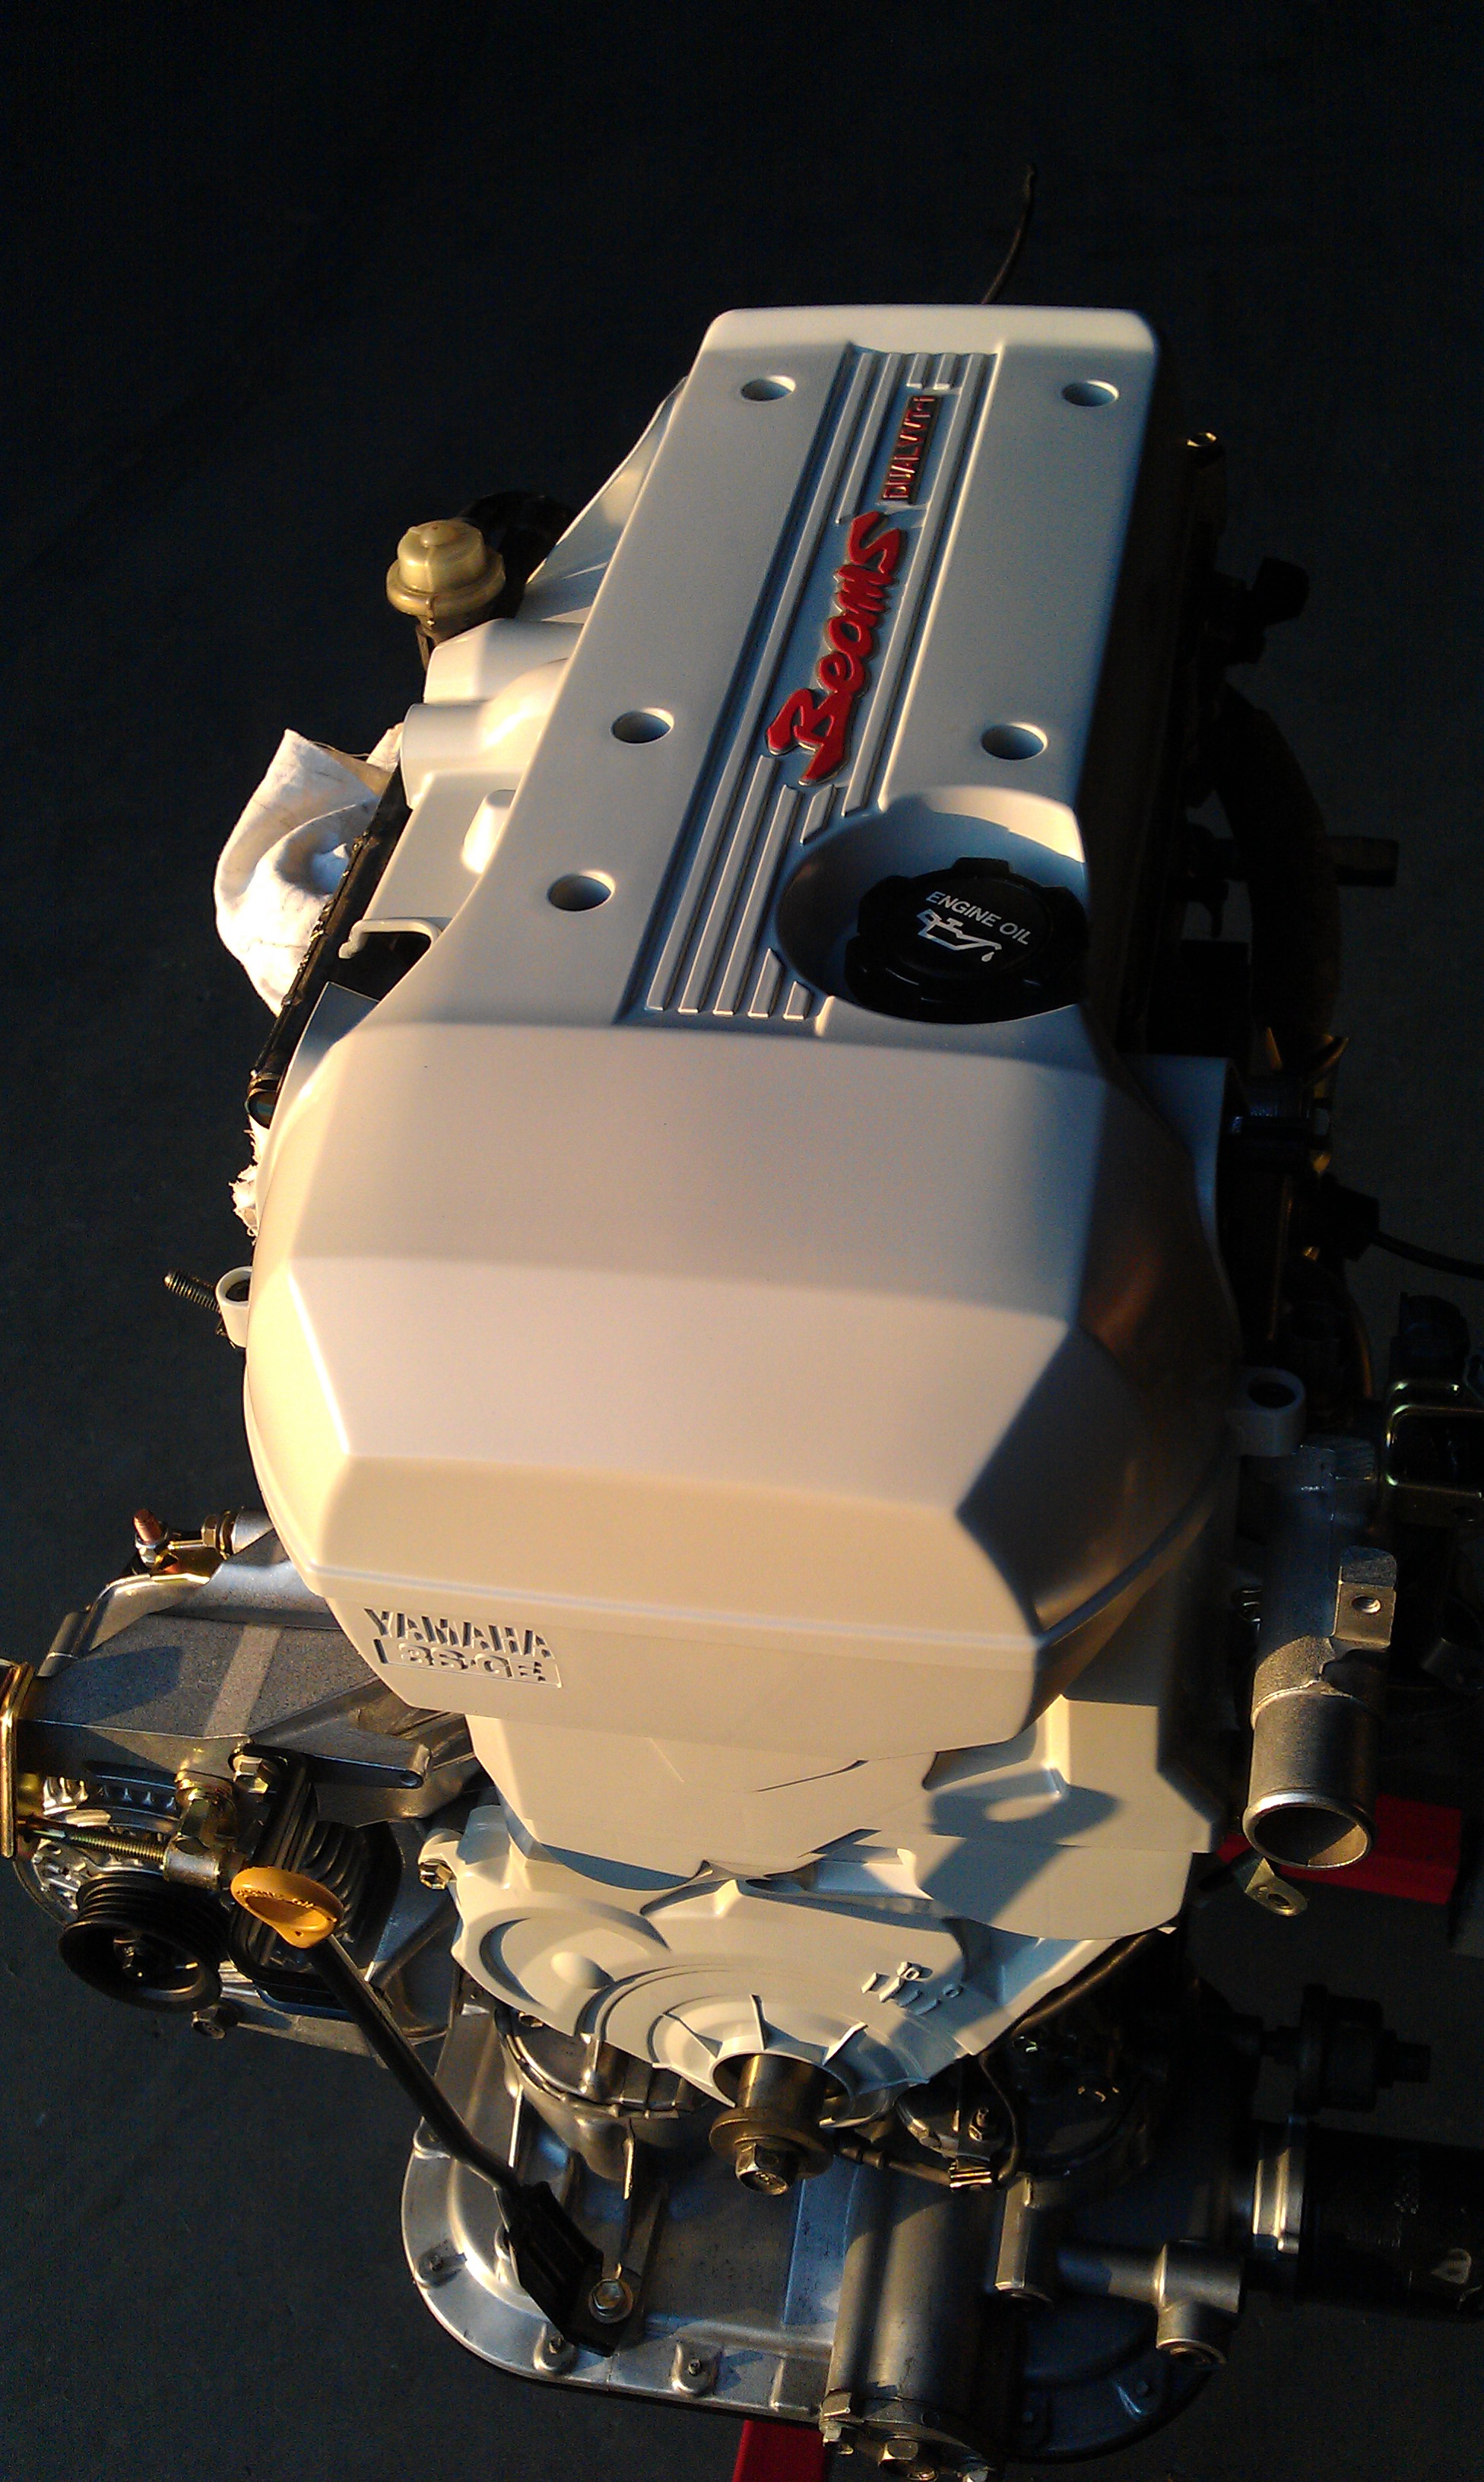
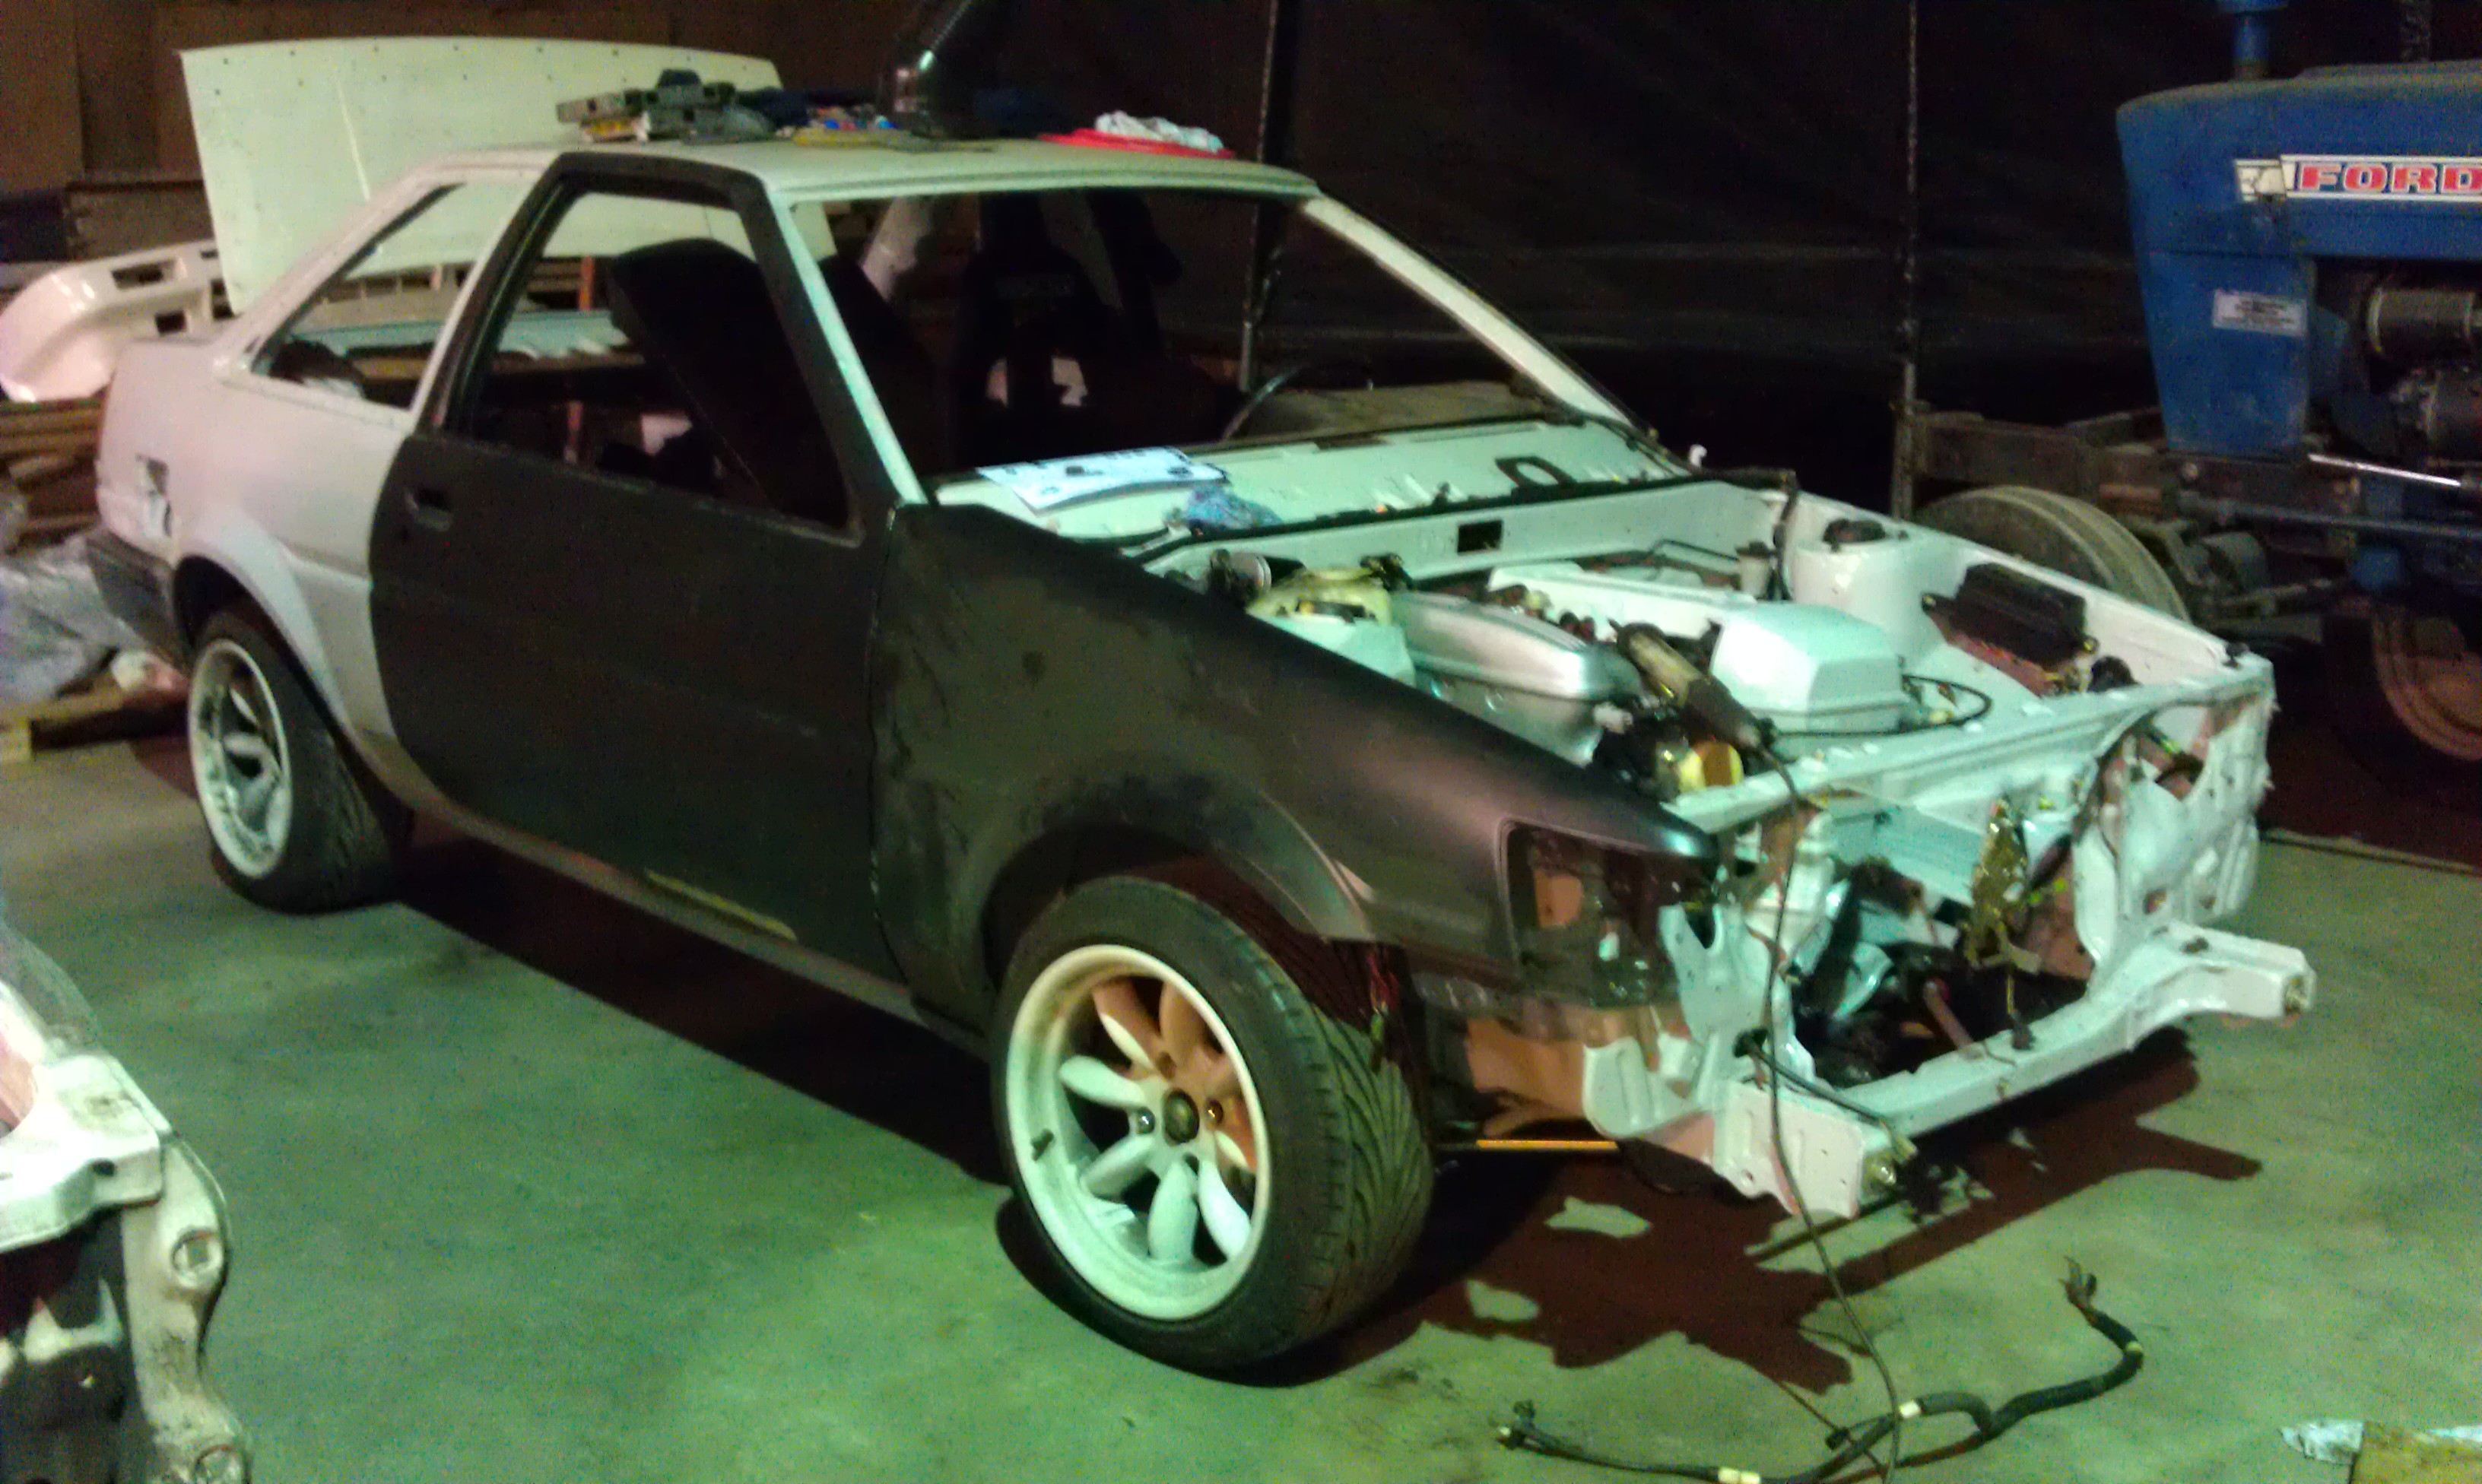
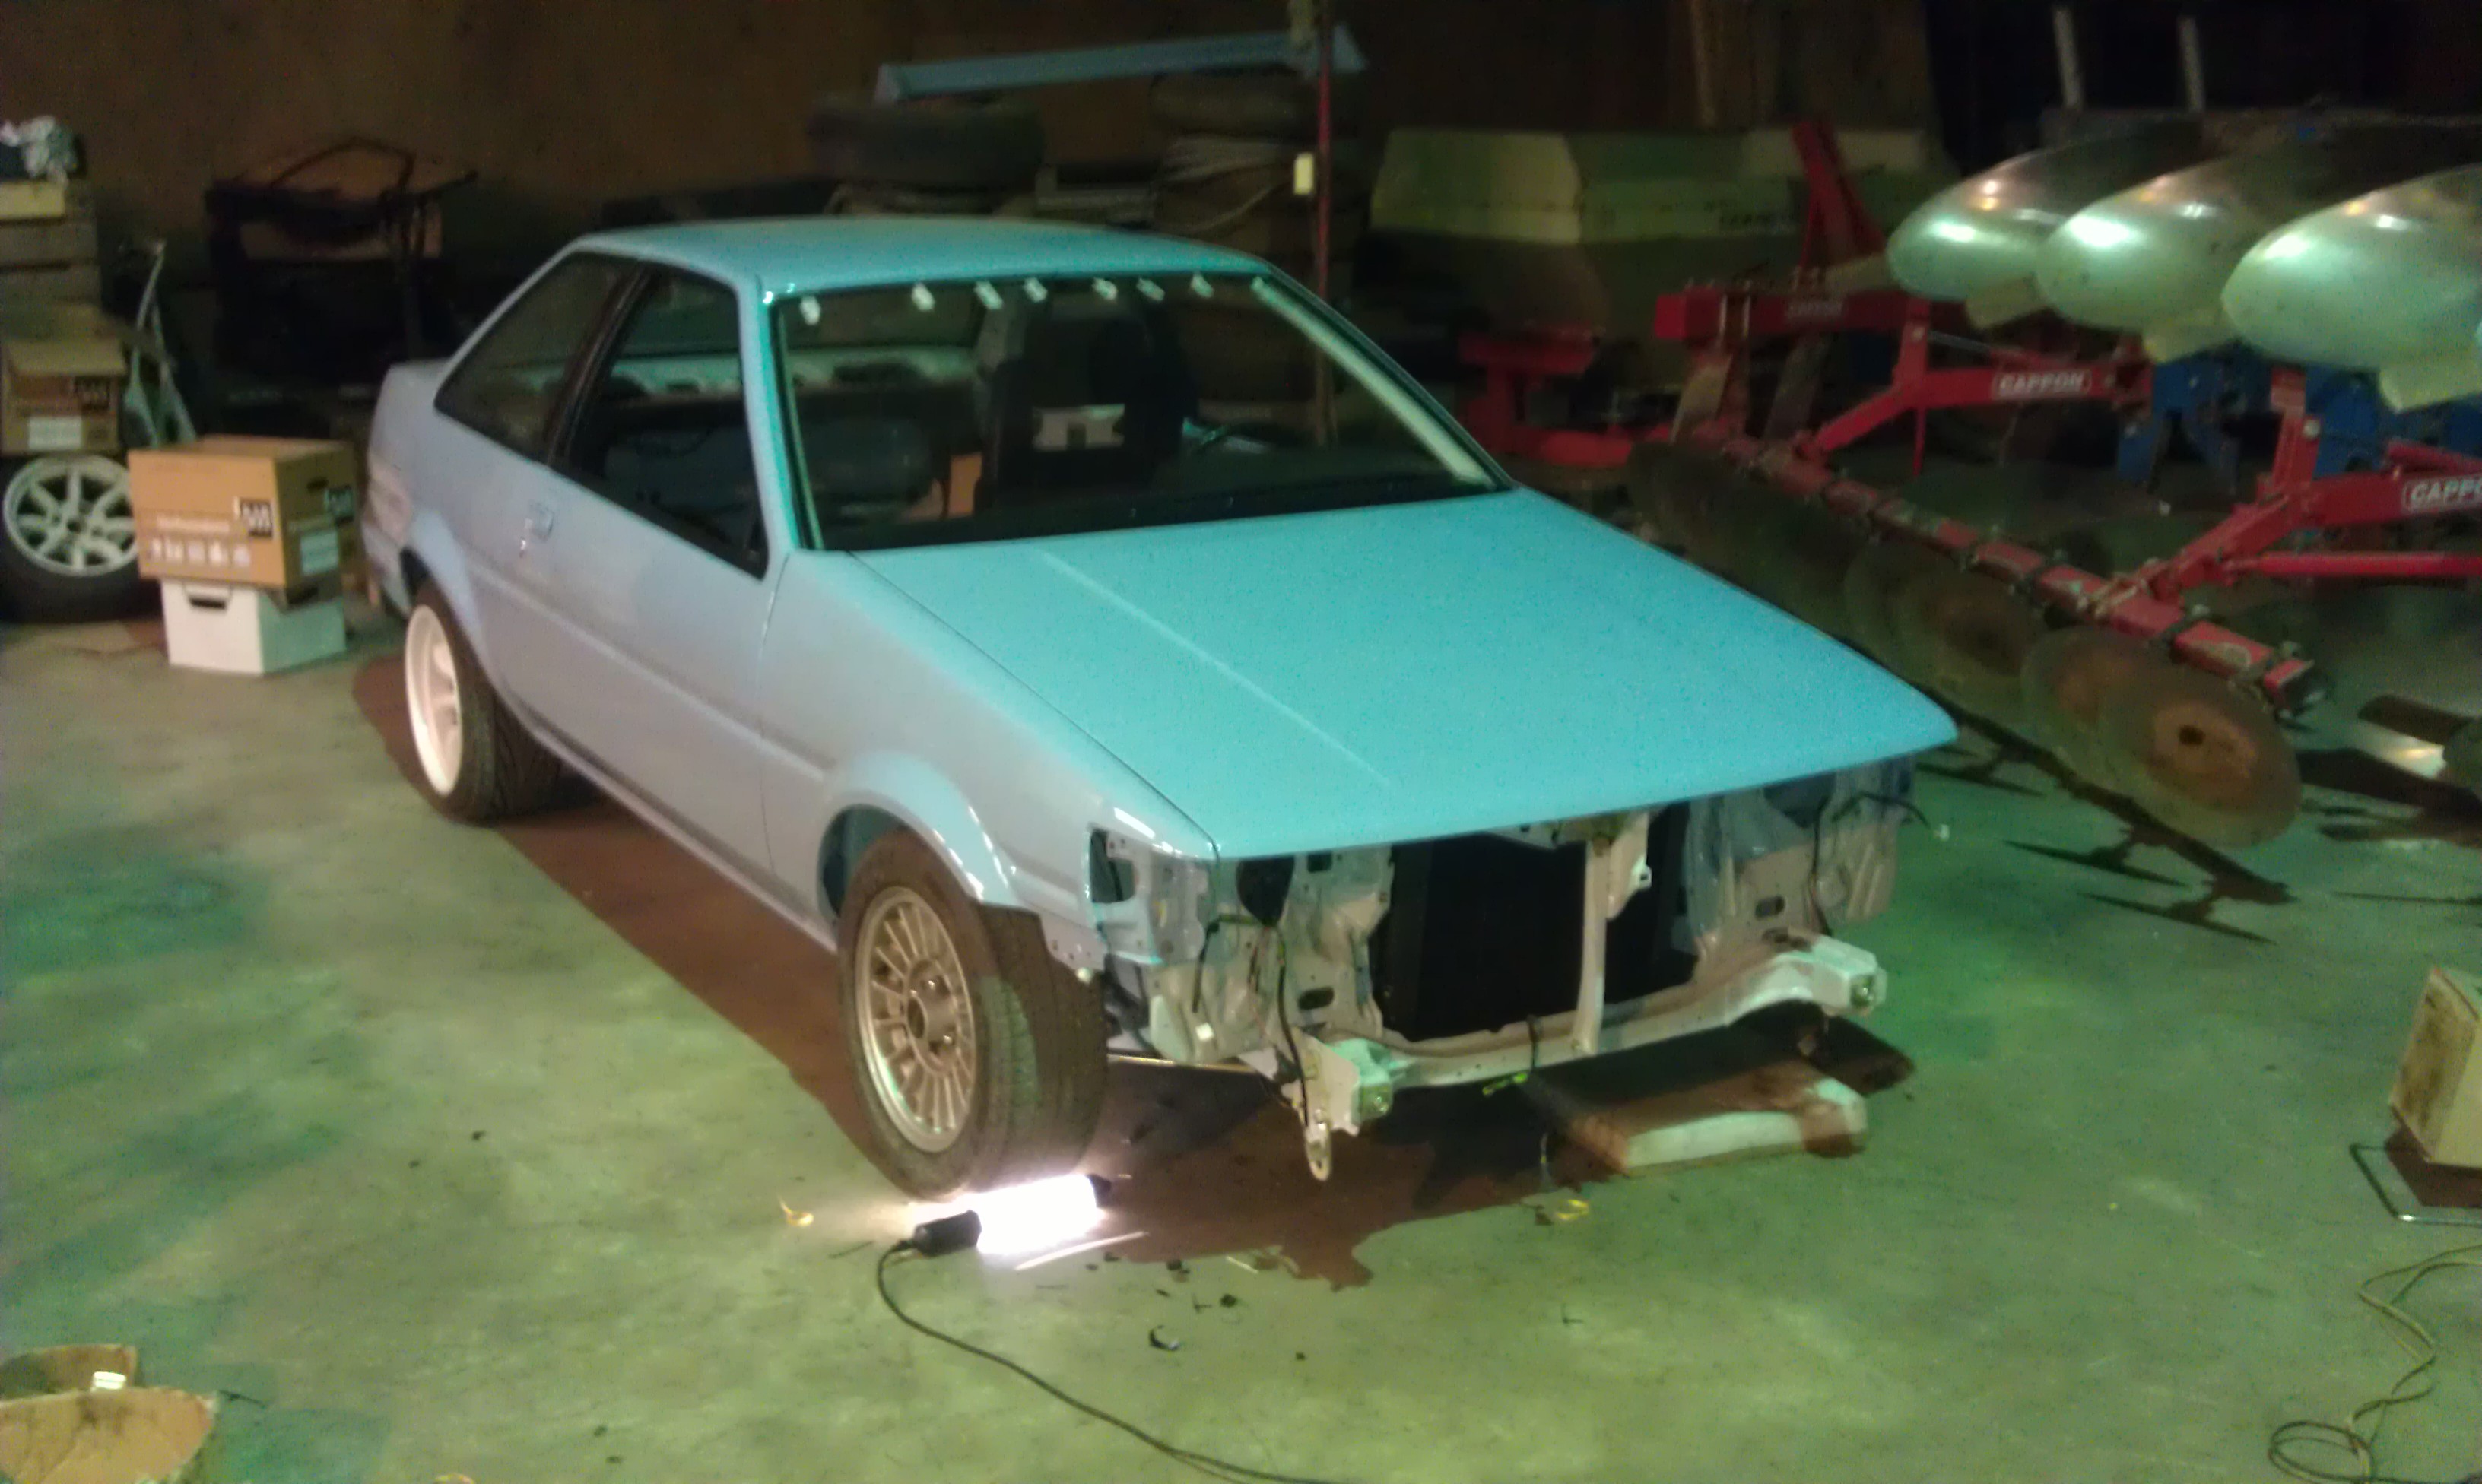
Right, 4 years on and I'm back!!
Reason for the quiet is that I had a daily driver that rusted away harder than I could fix it, so I decided that I had to build that car first.
Unfortunatly it turns out I cannot do a normal rebuild so this project went nuts also, but I finished it now. (almost)
It went from this:
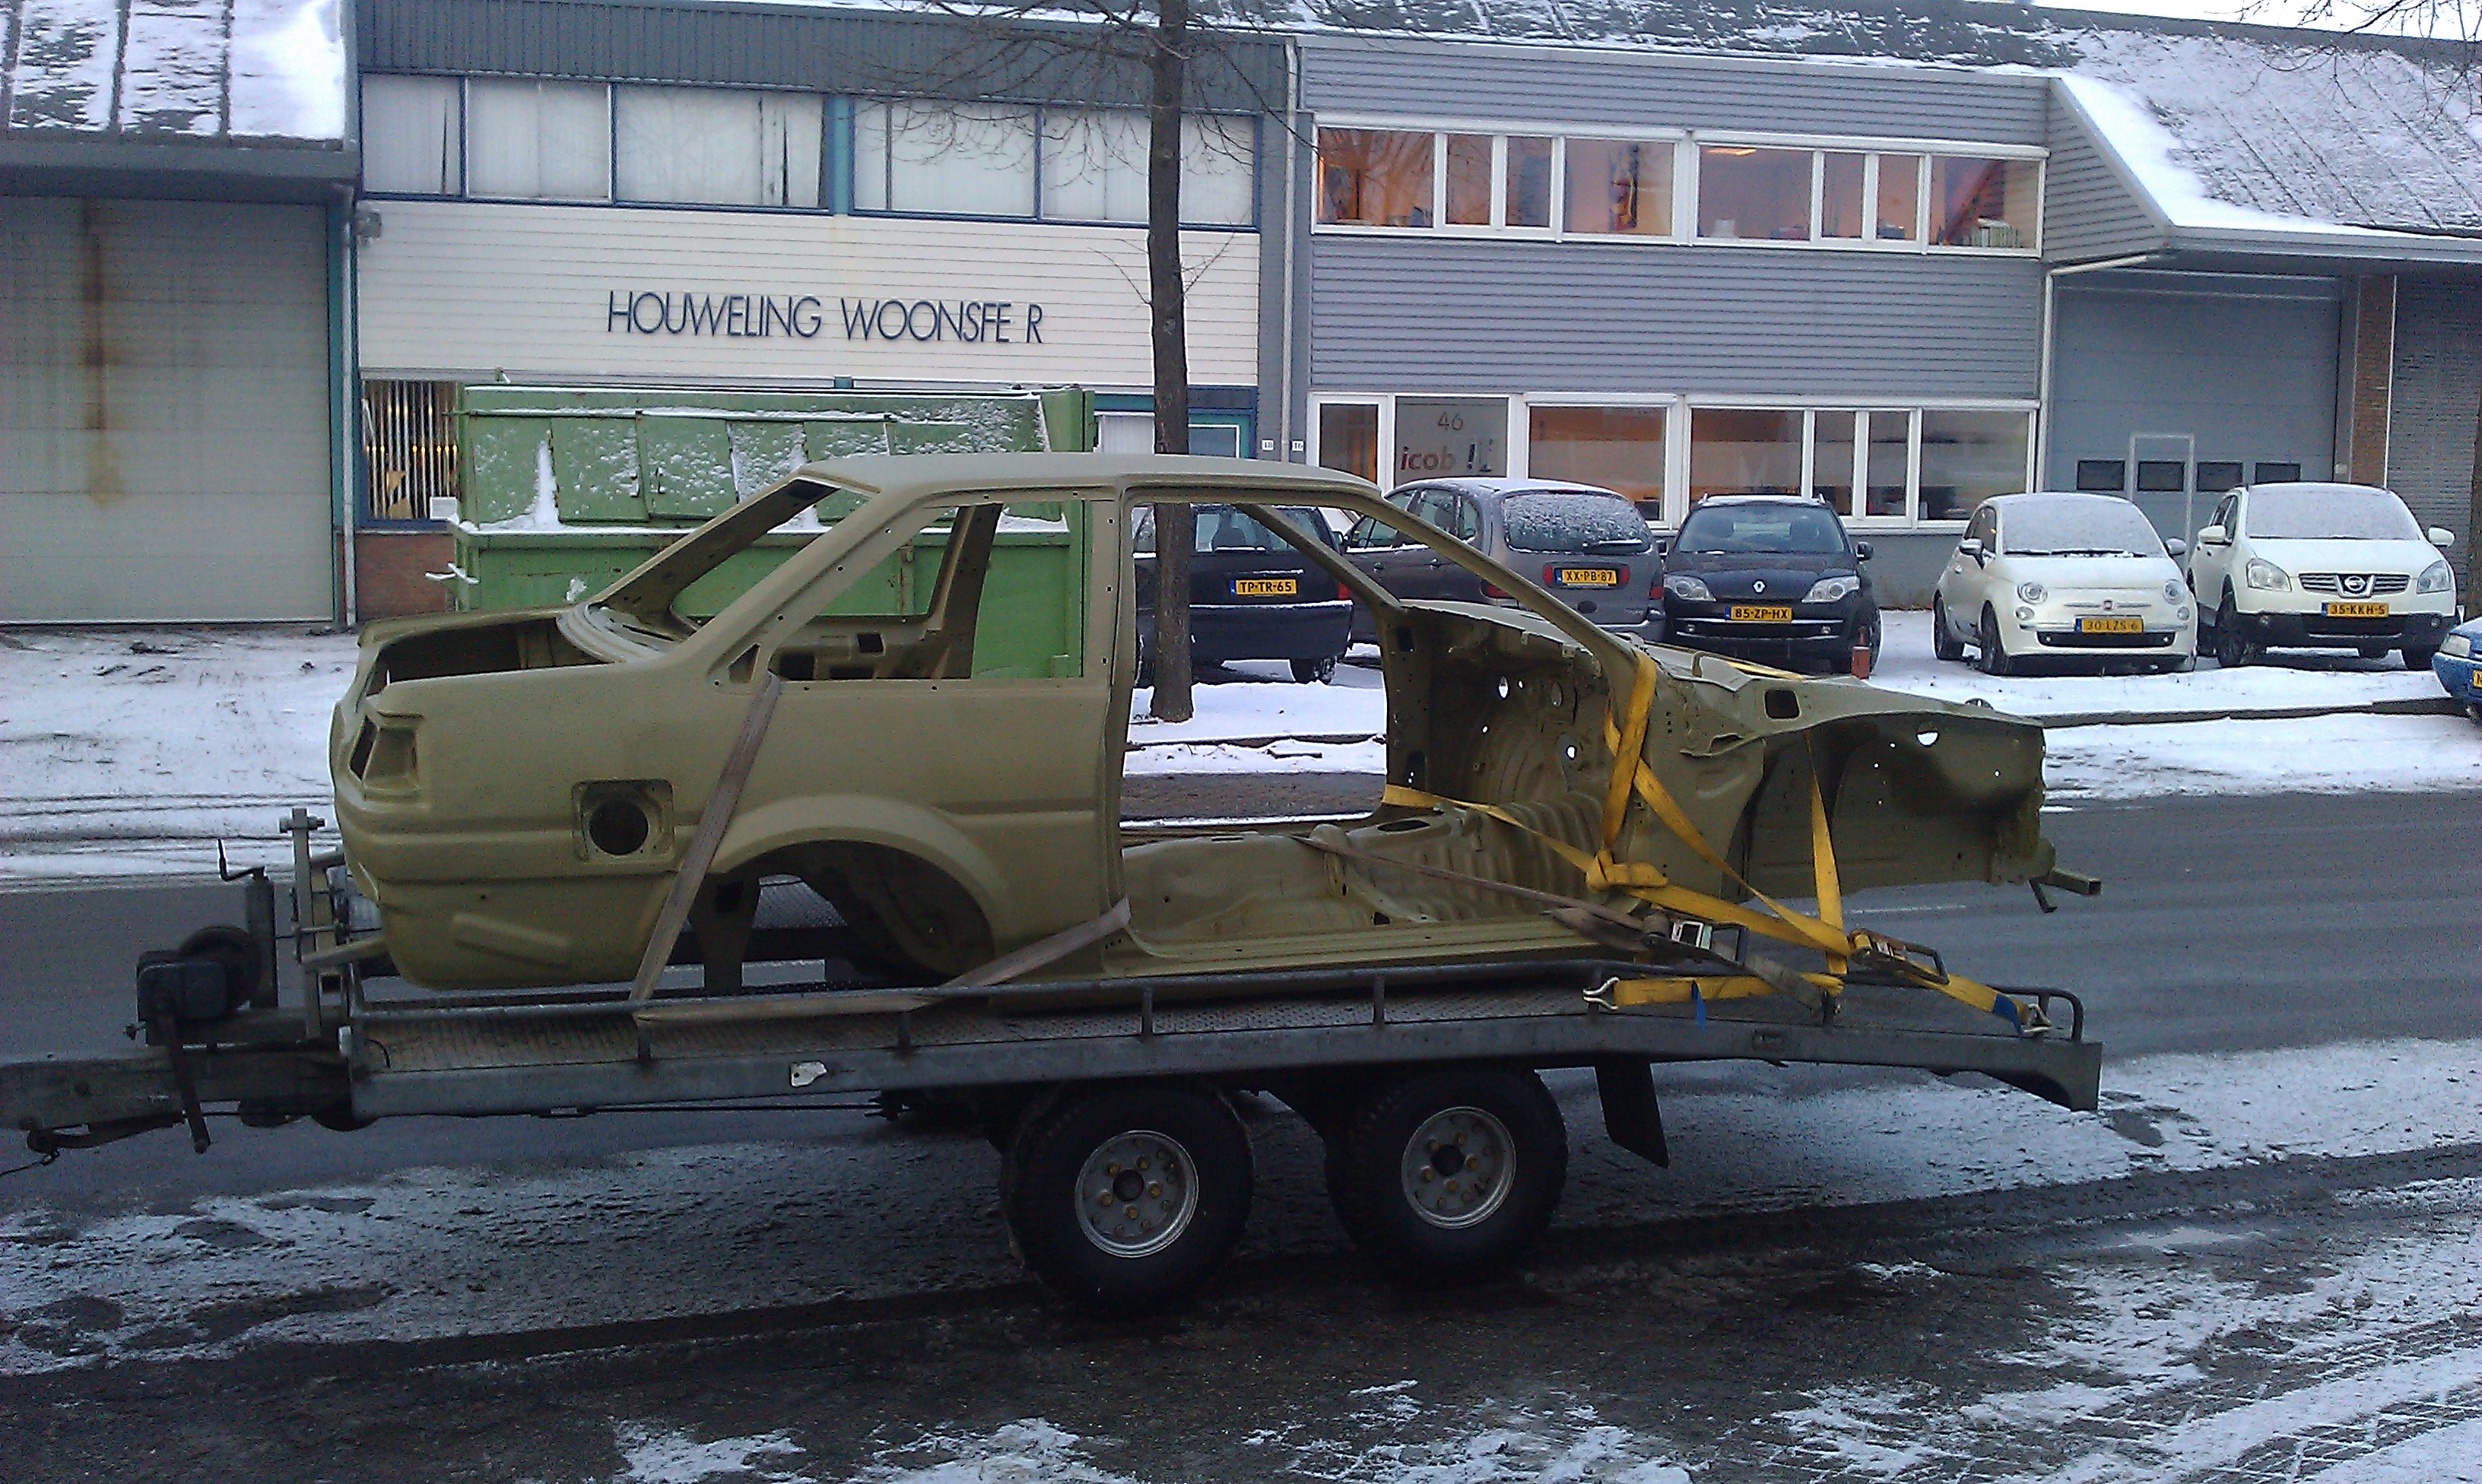

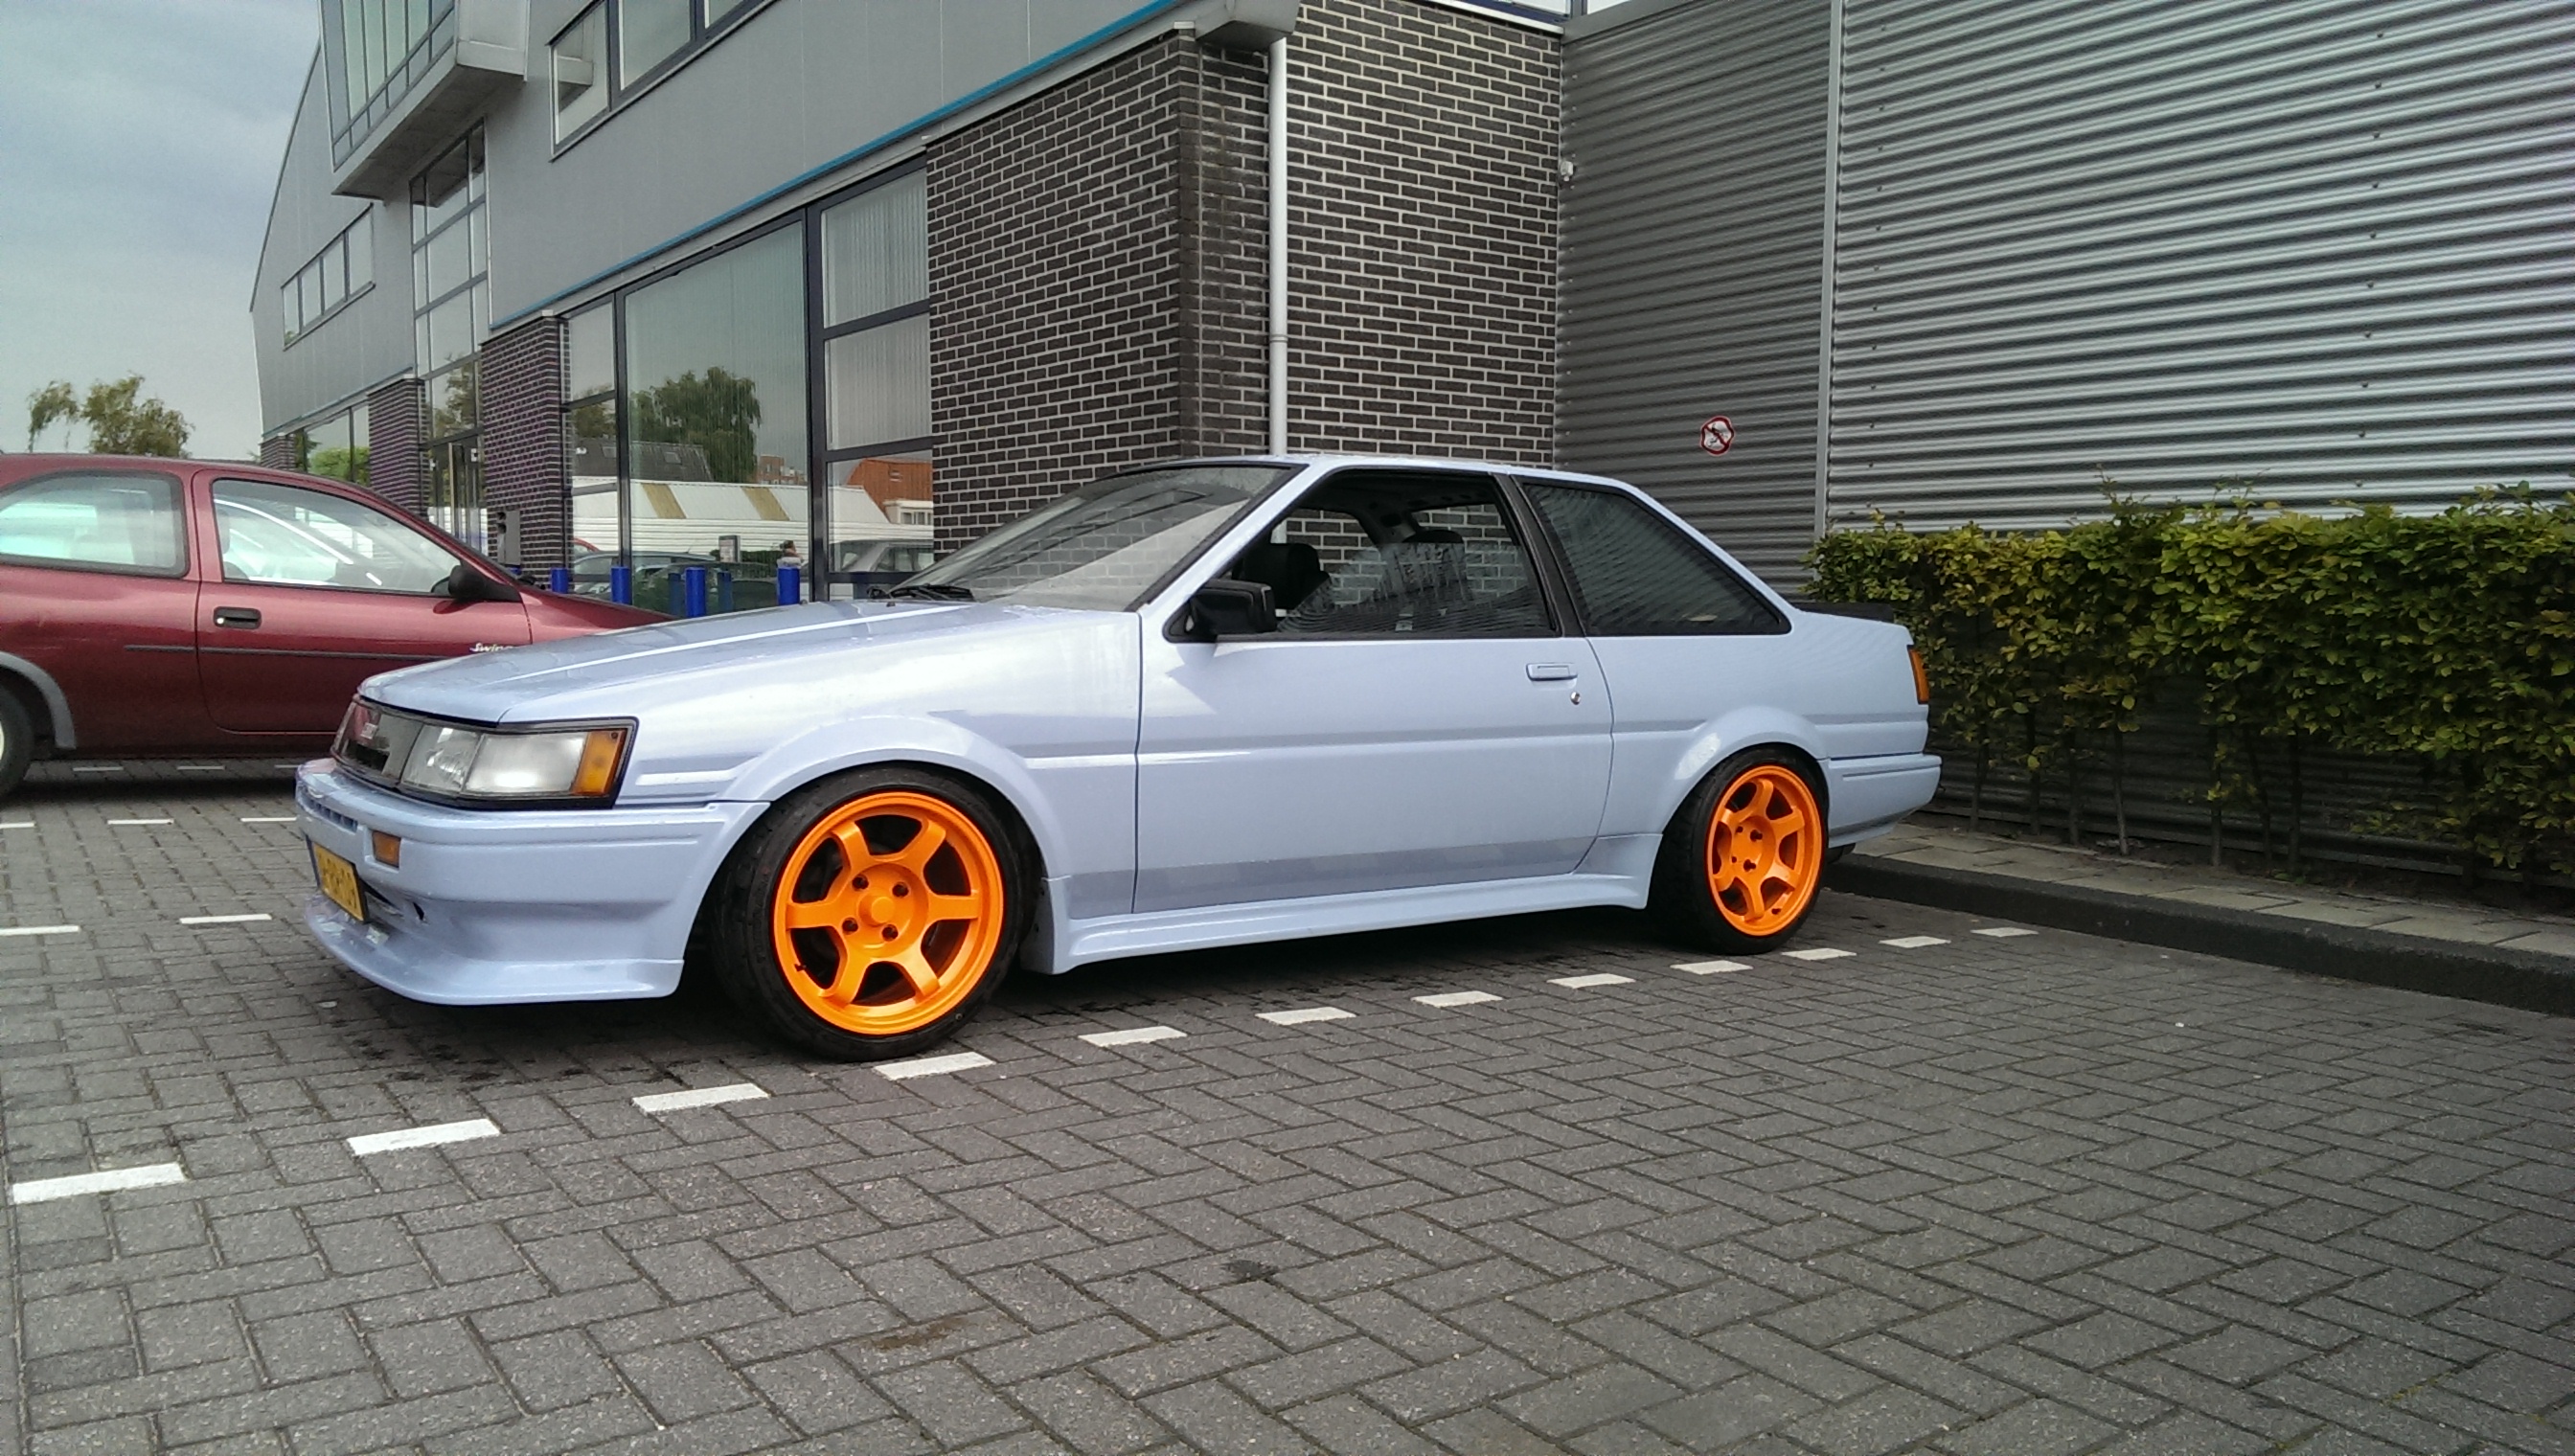
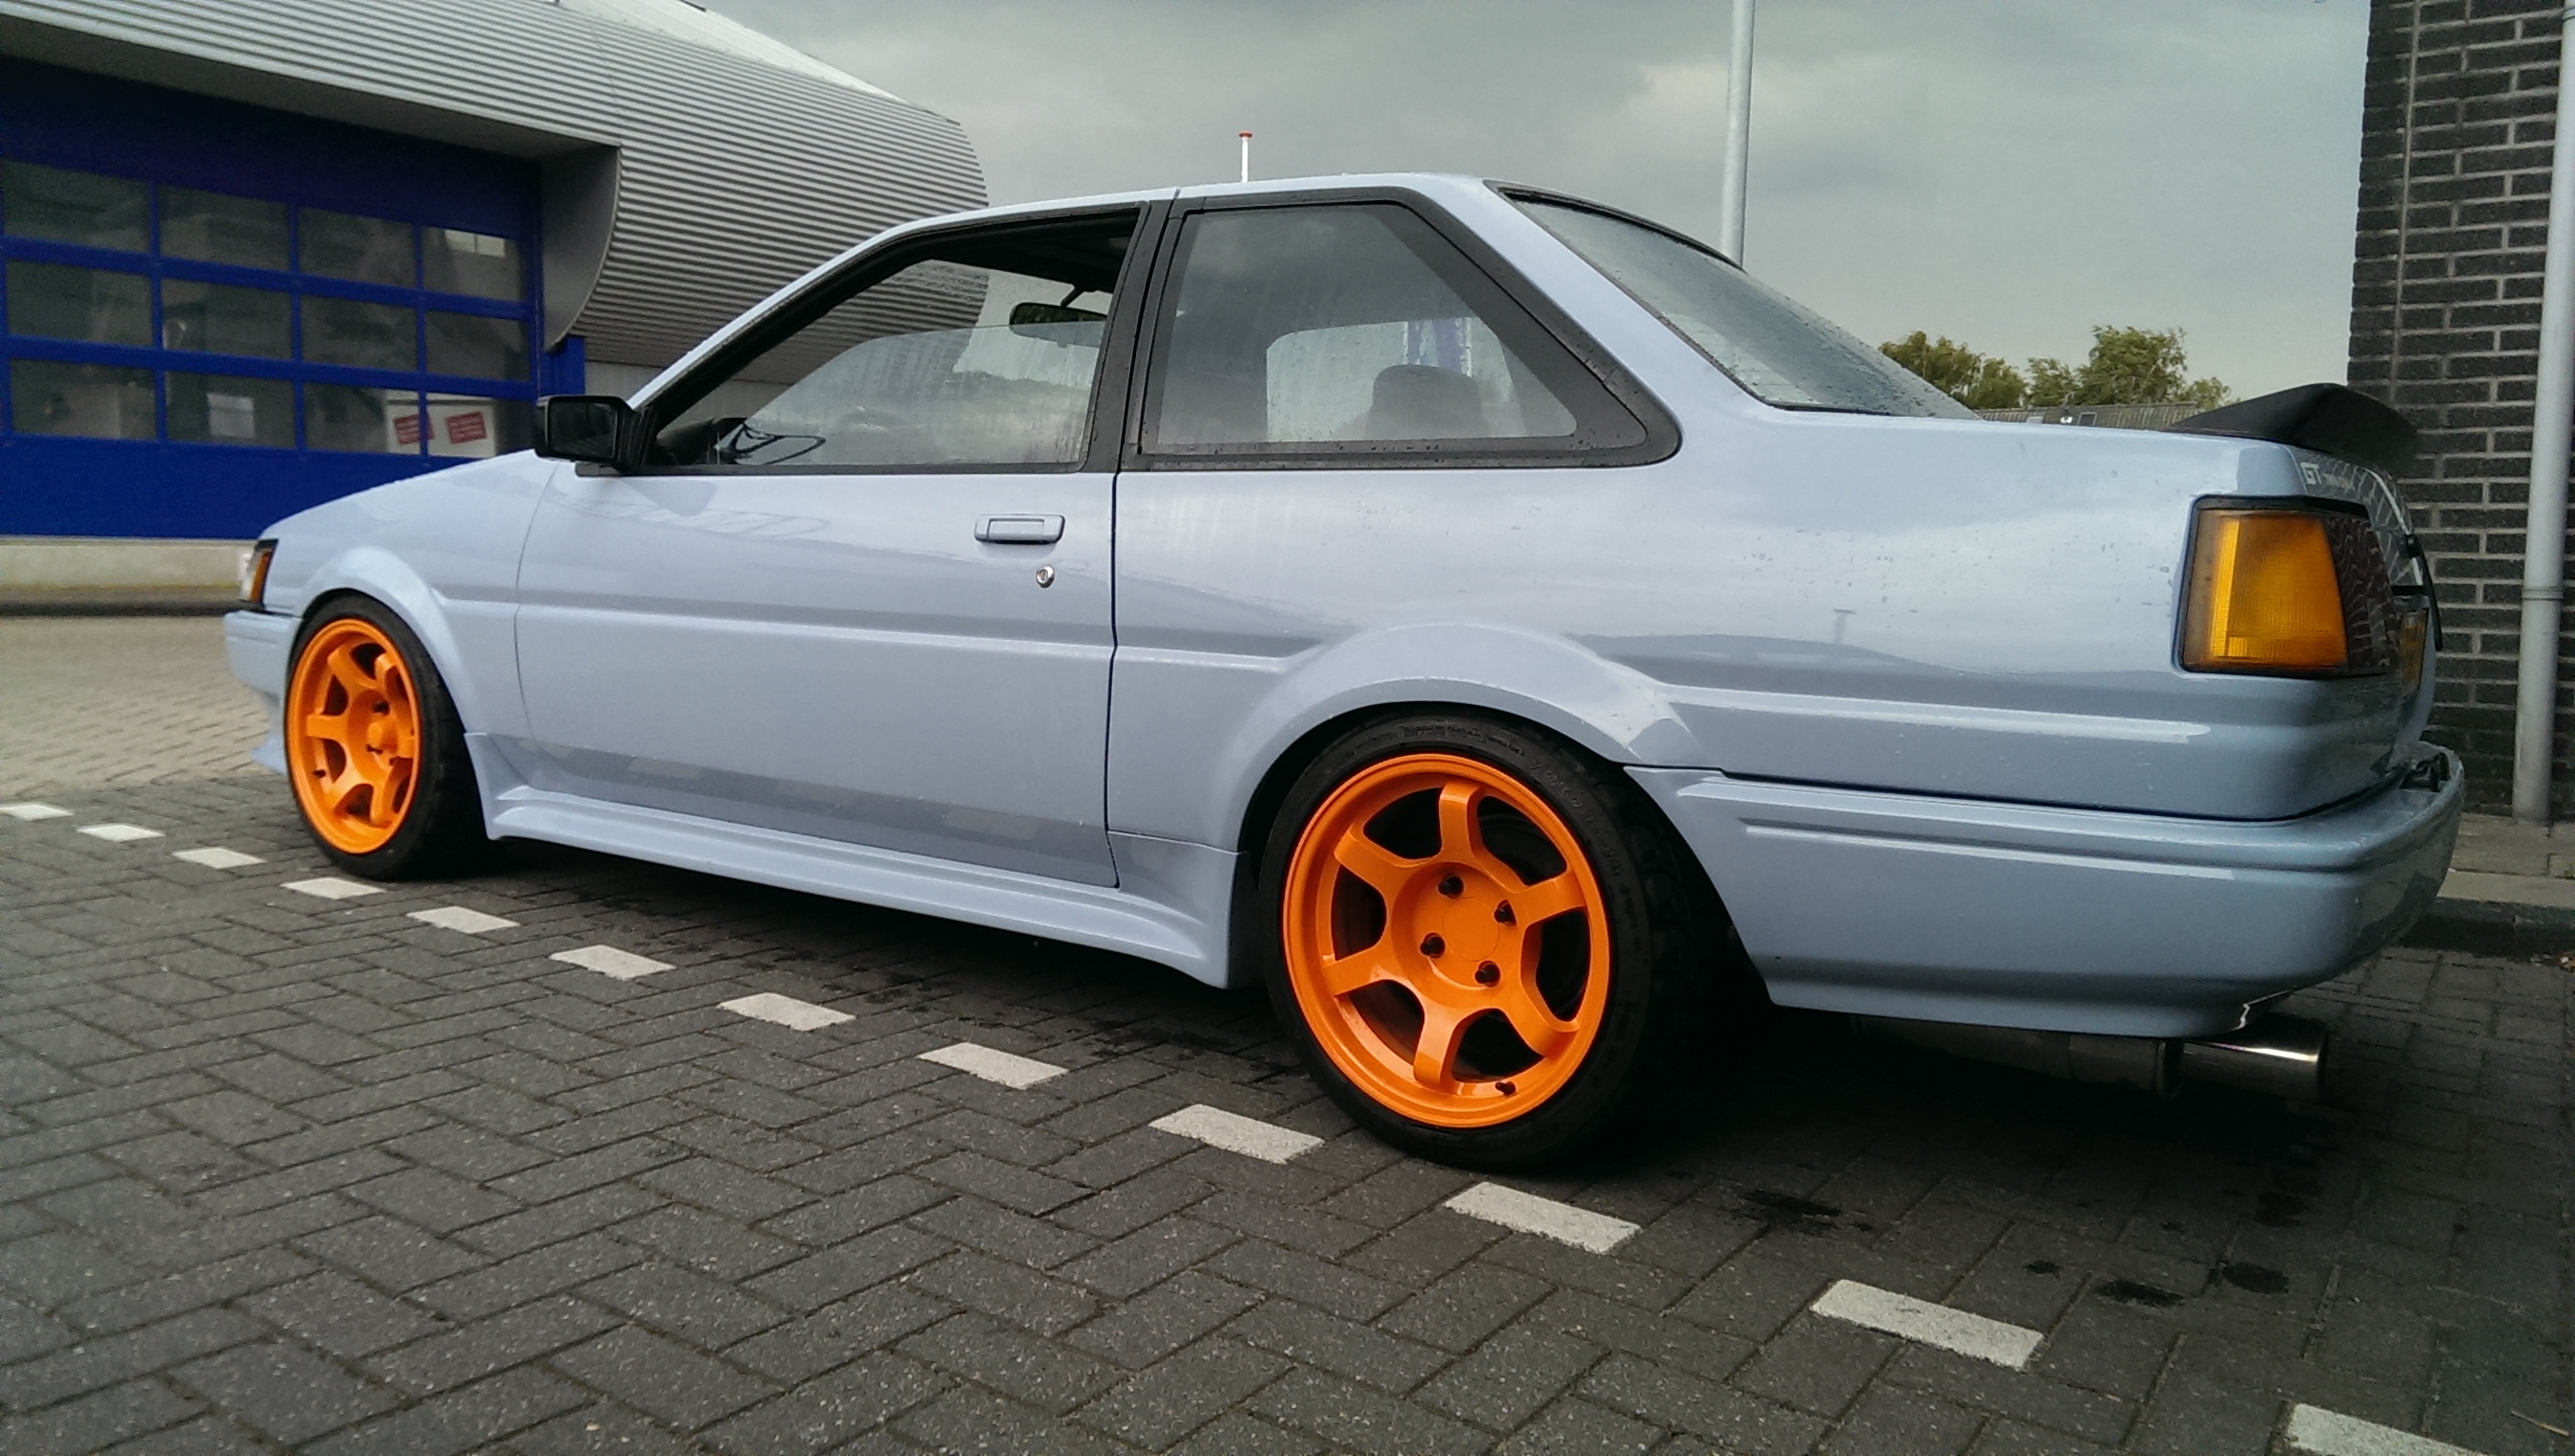
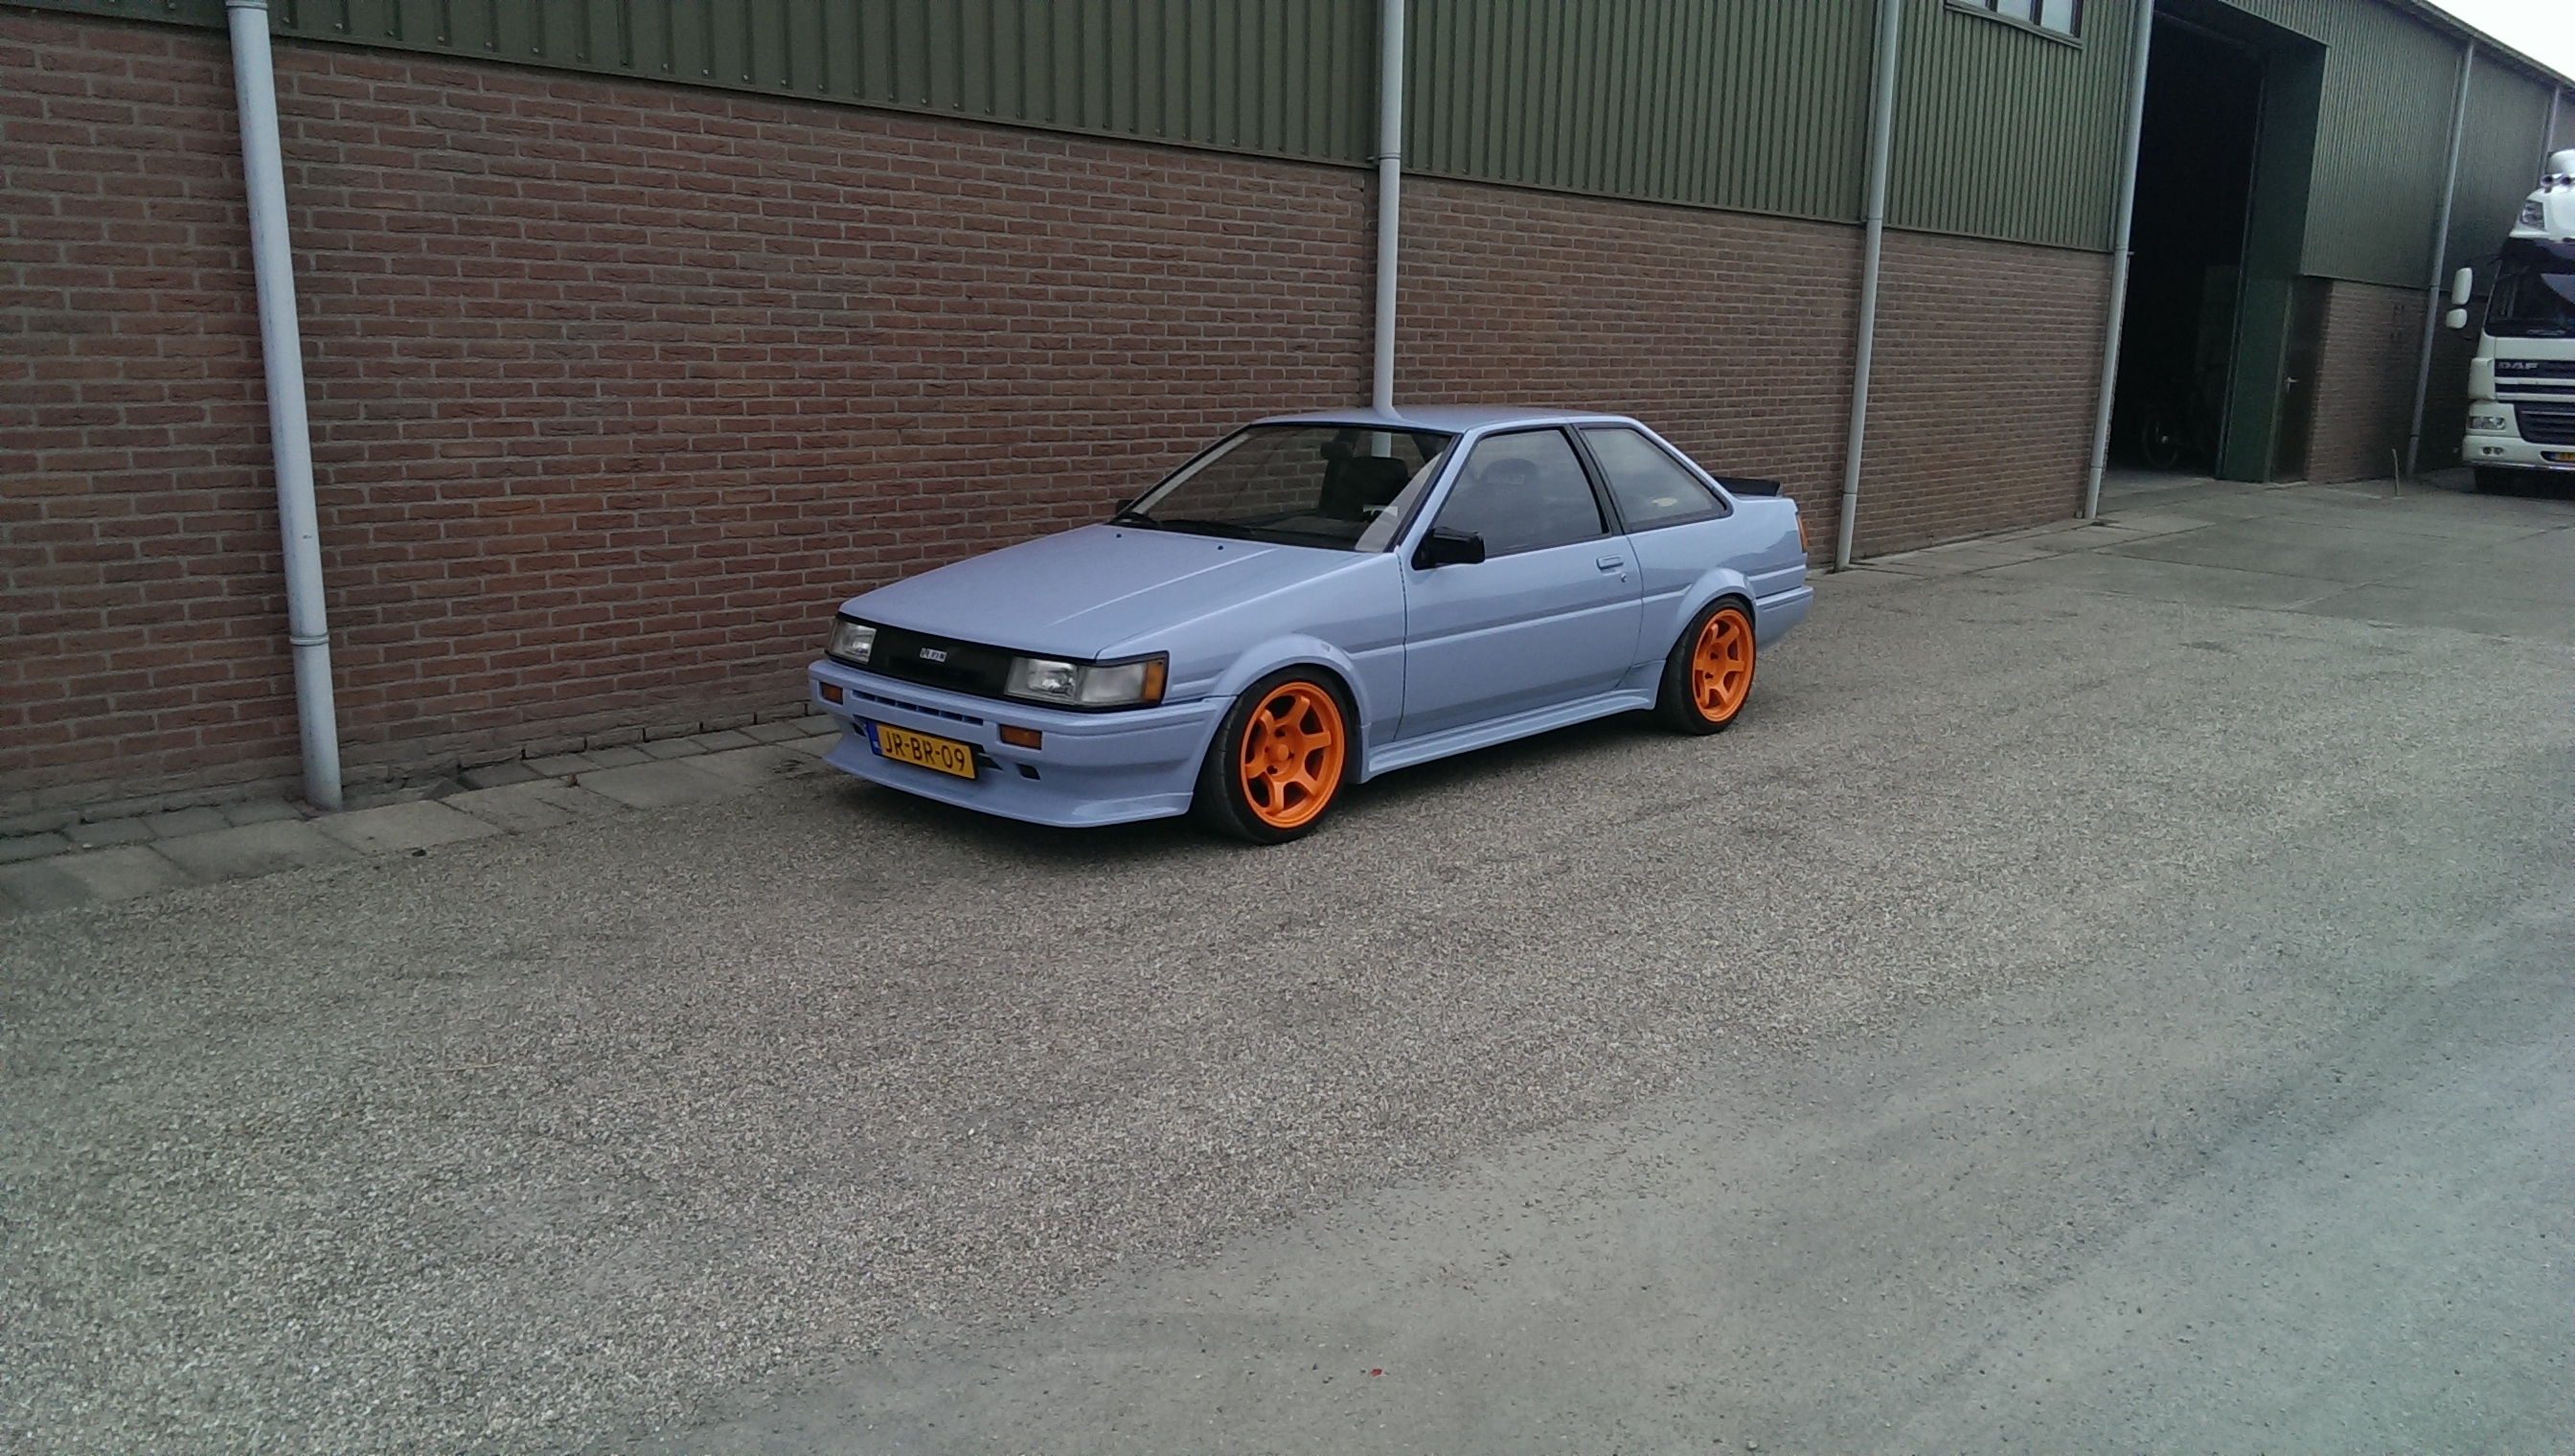
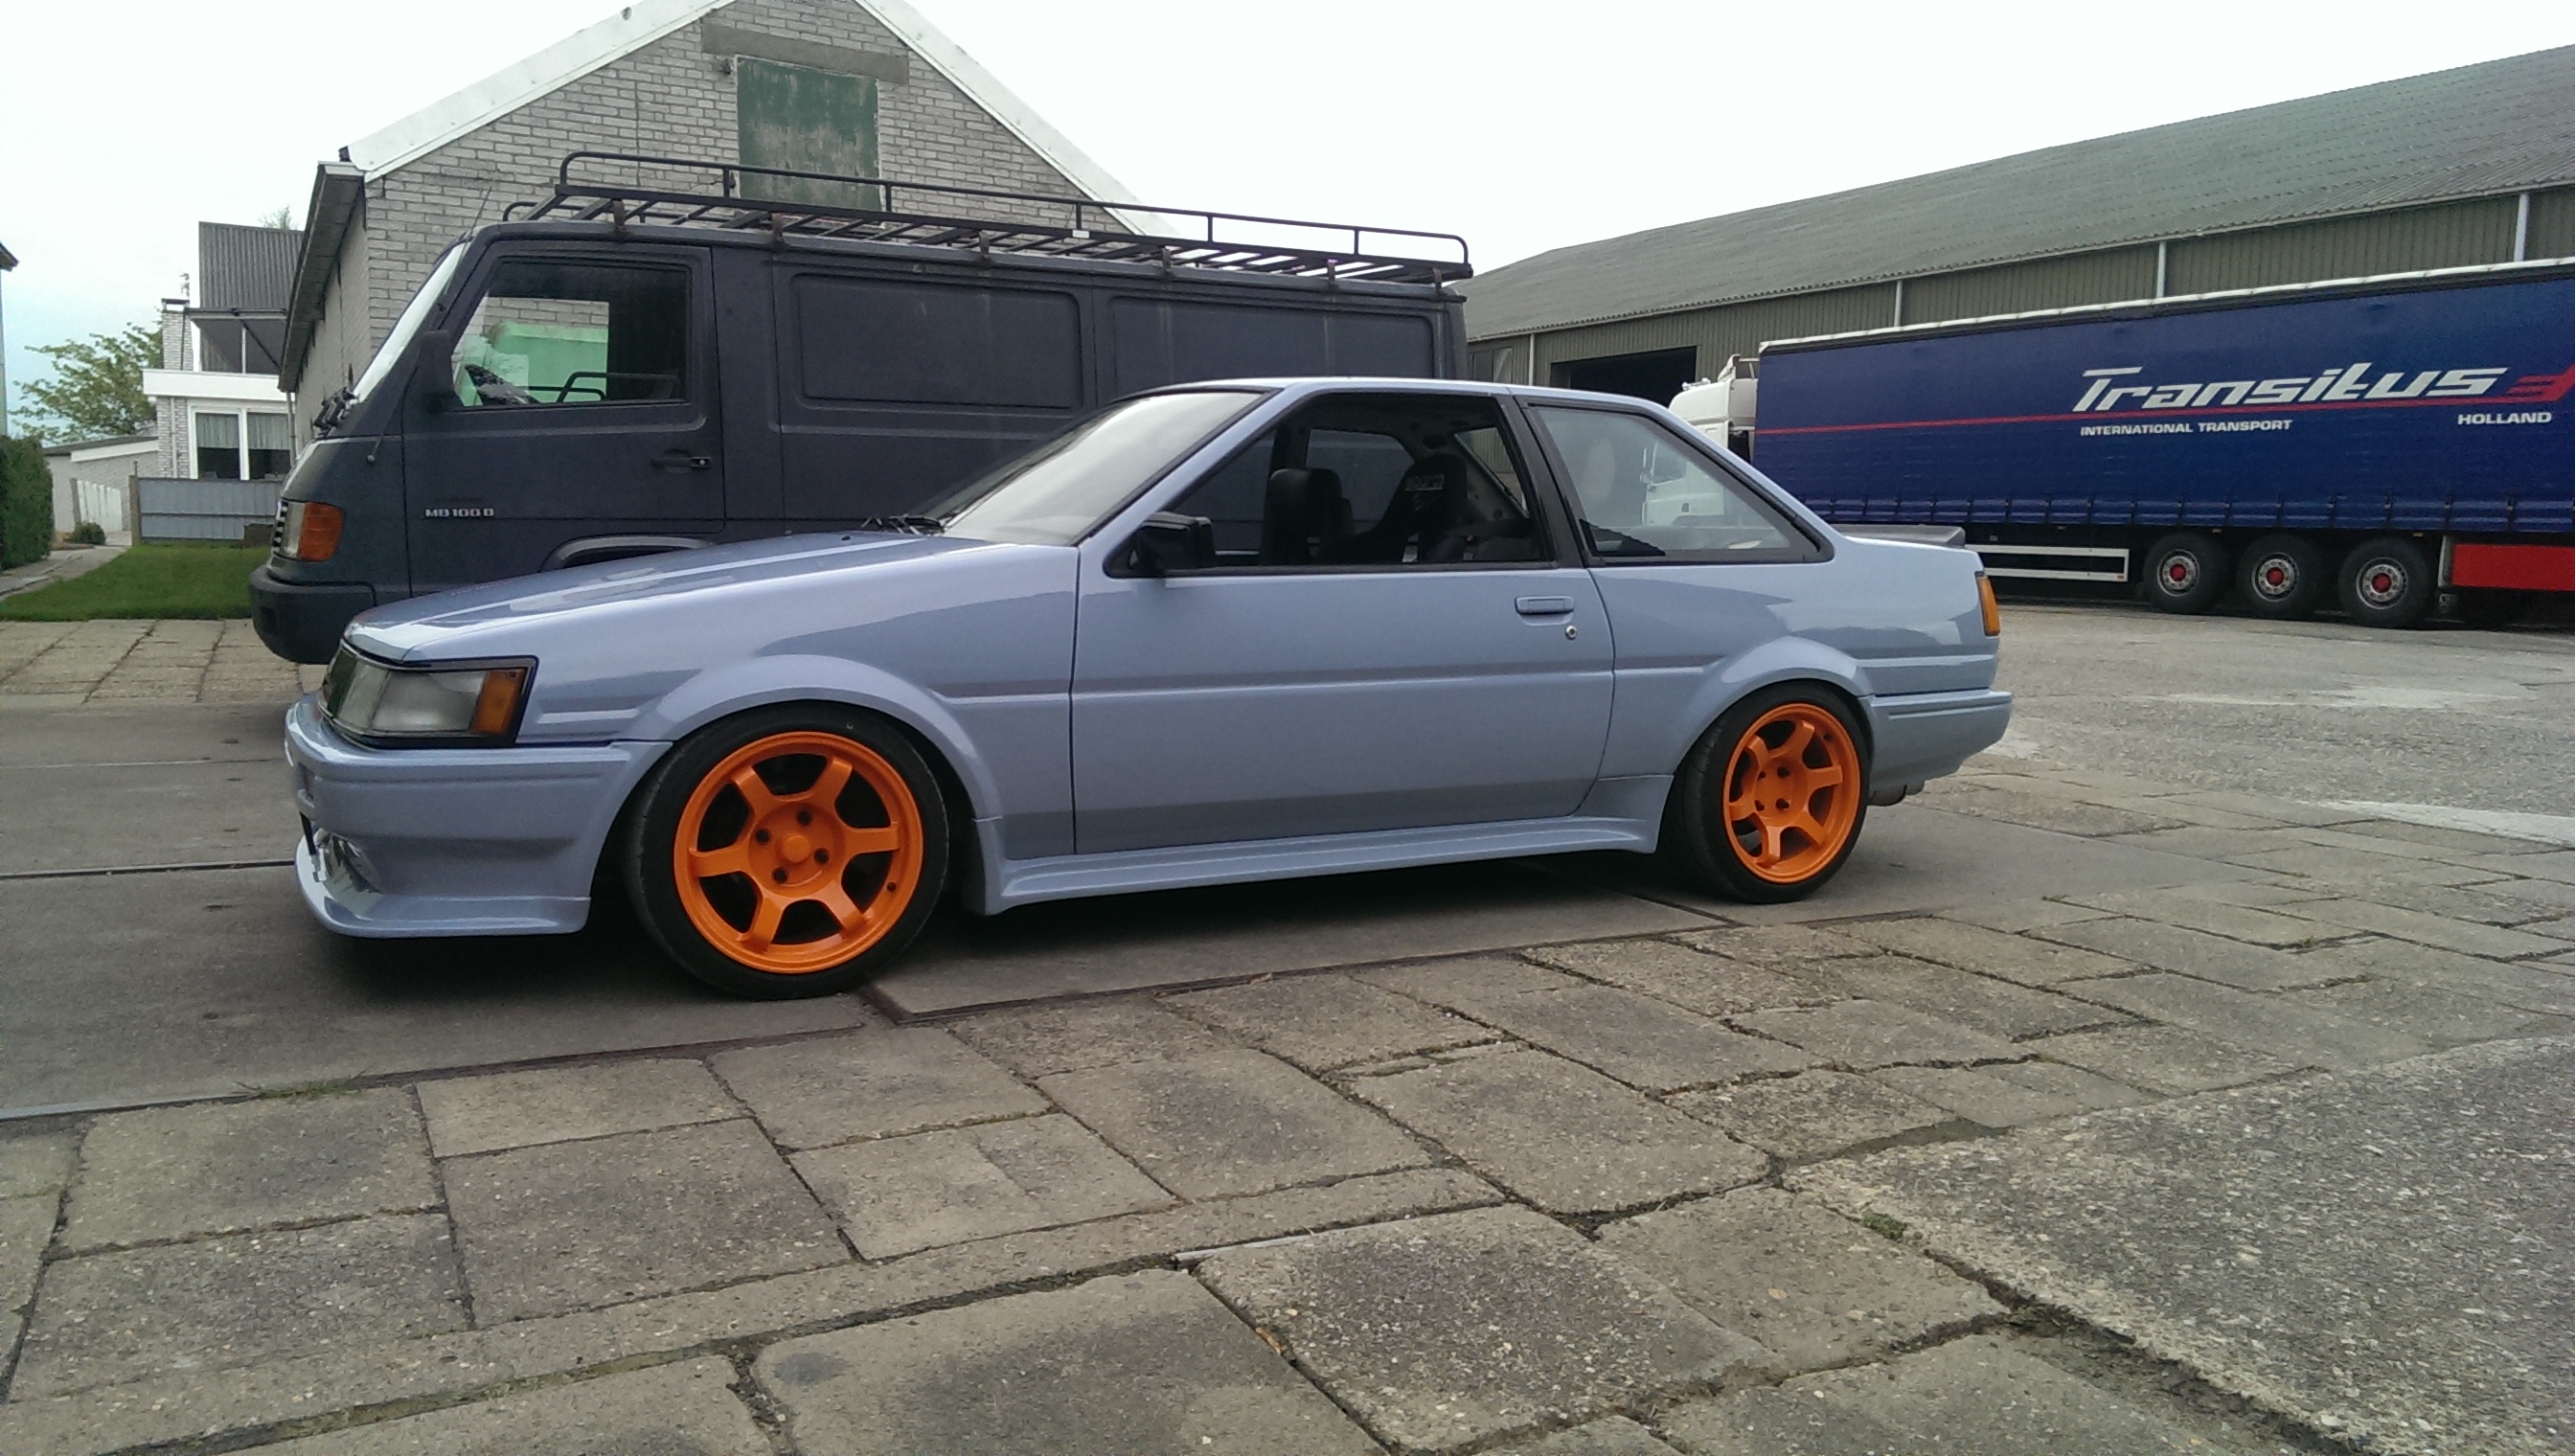
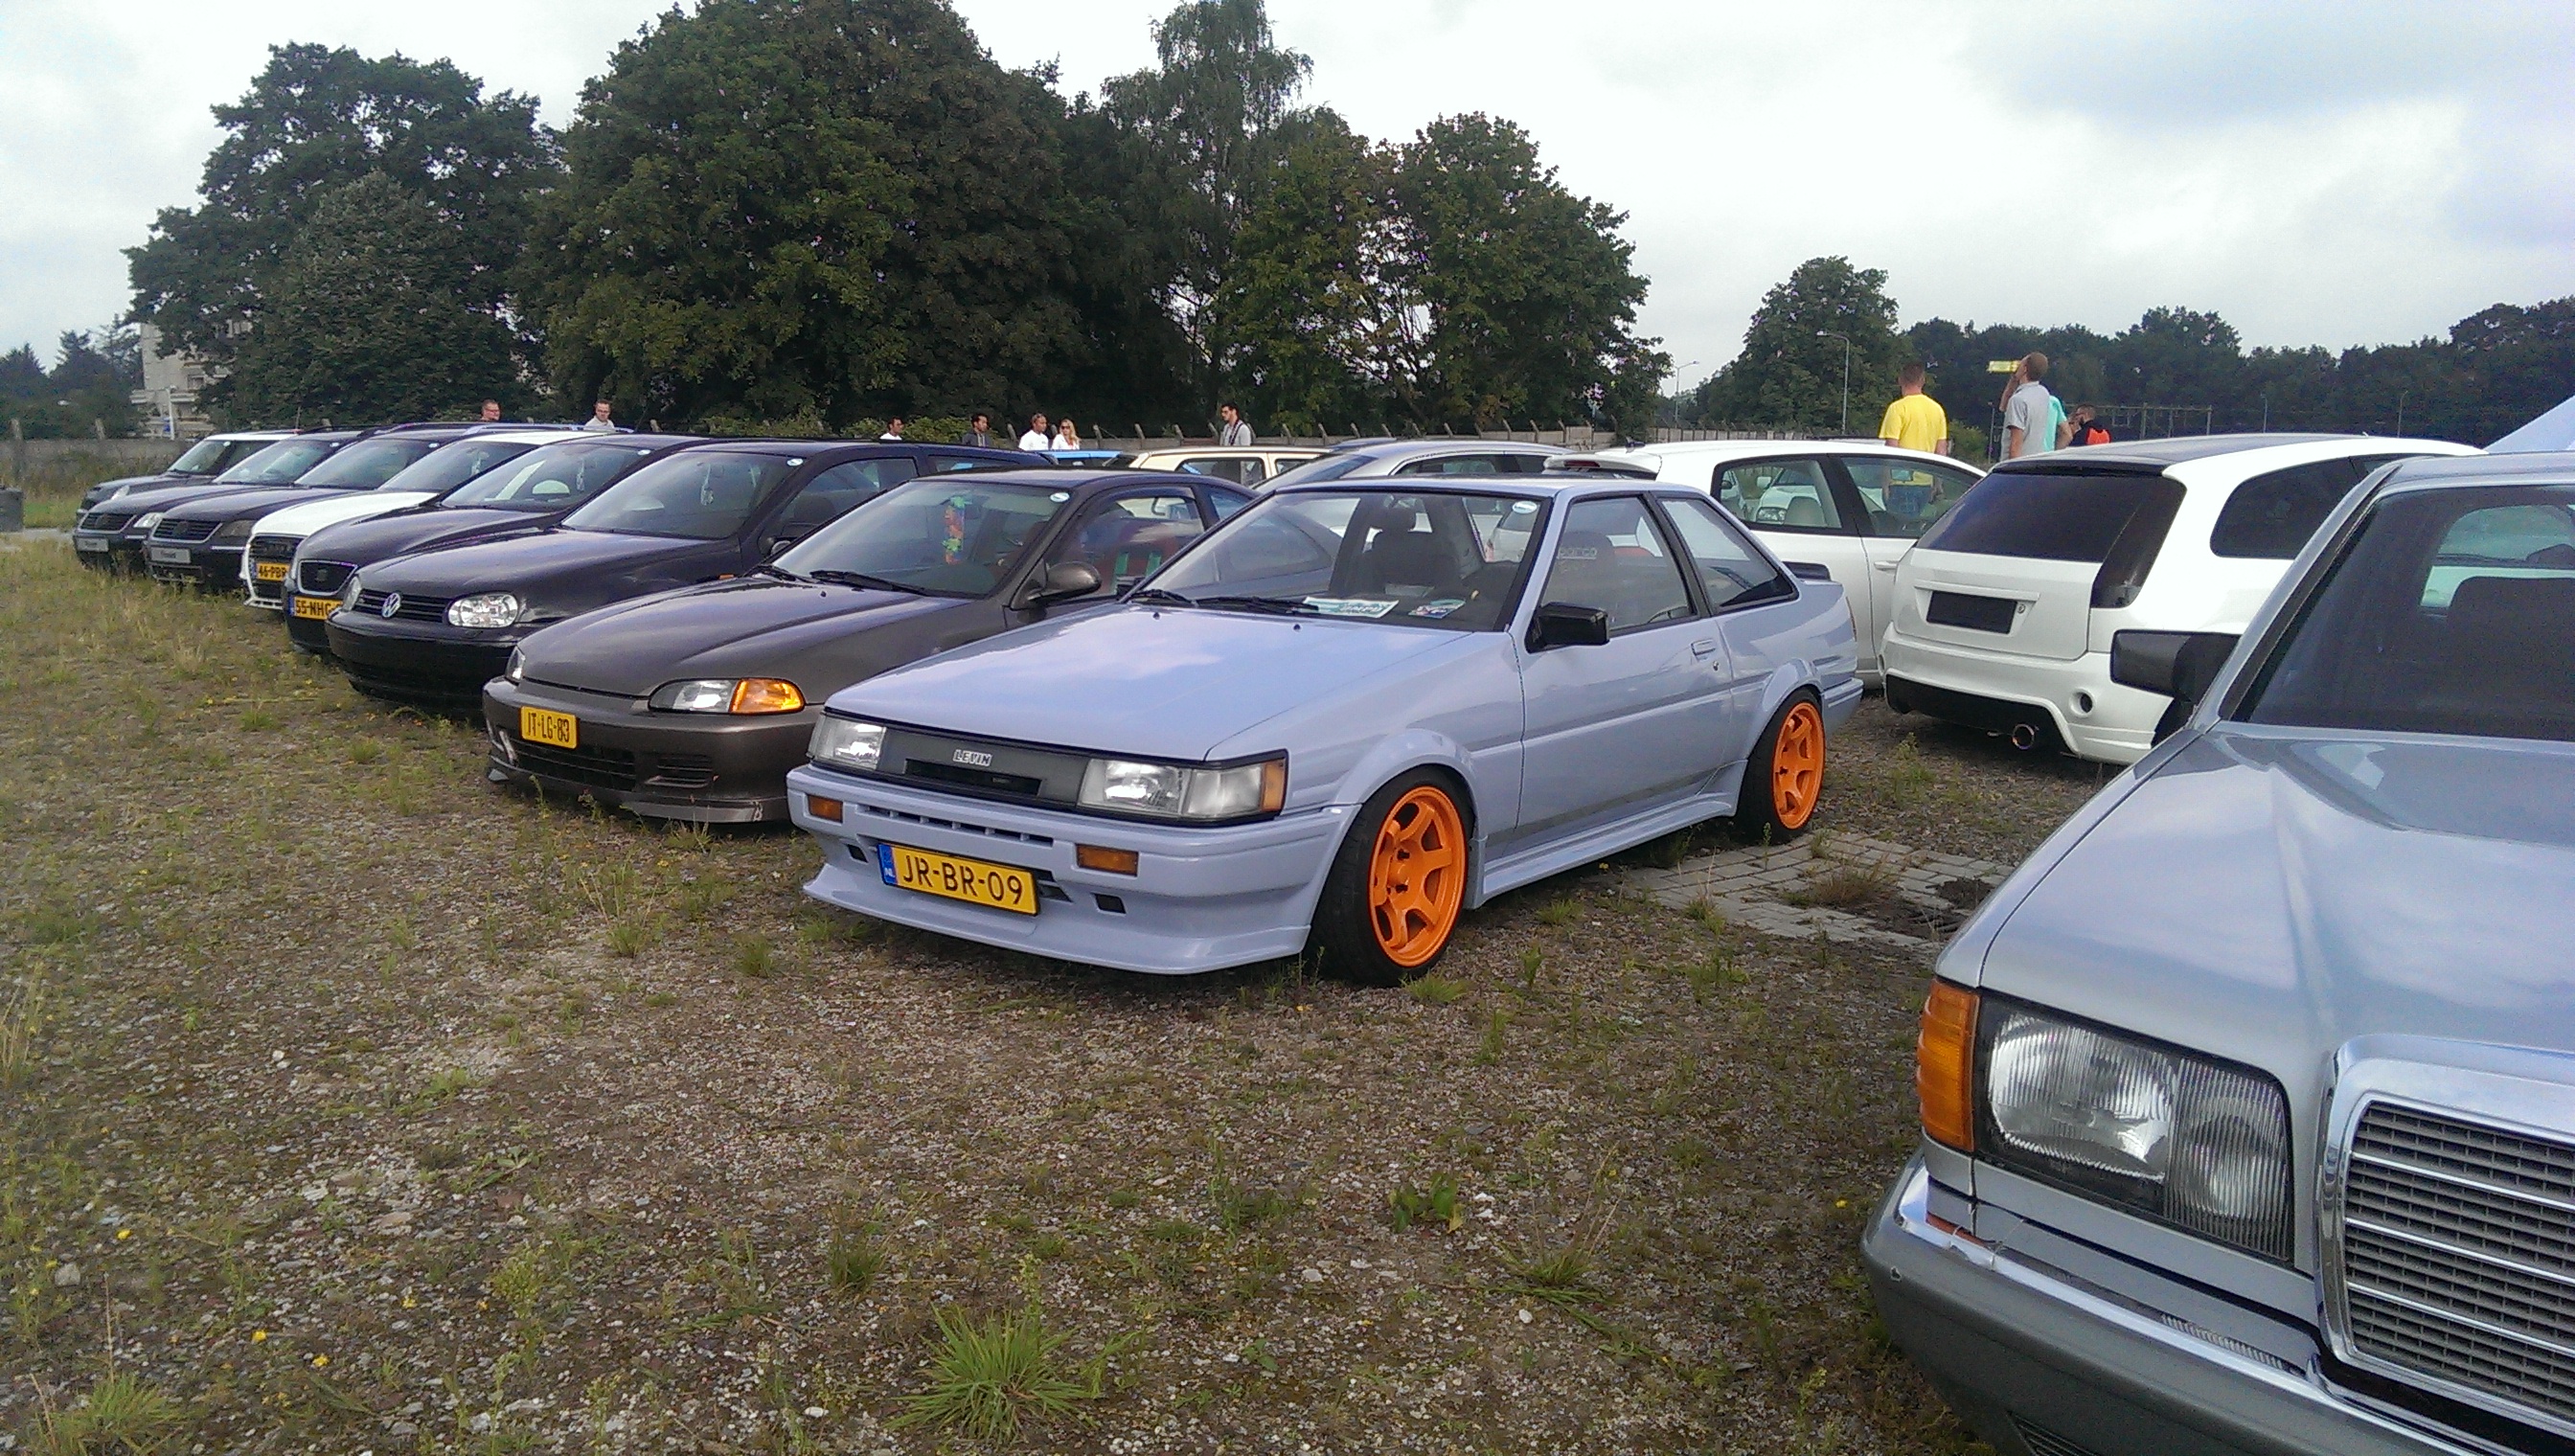
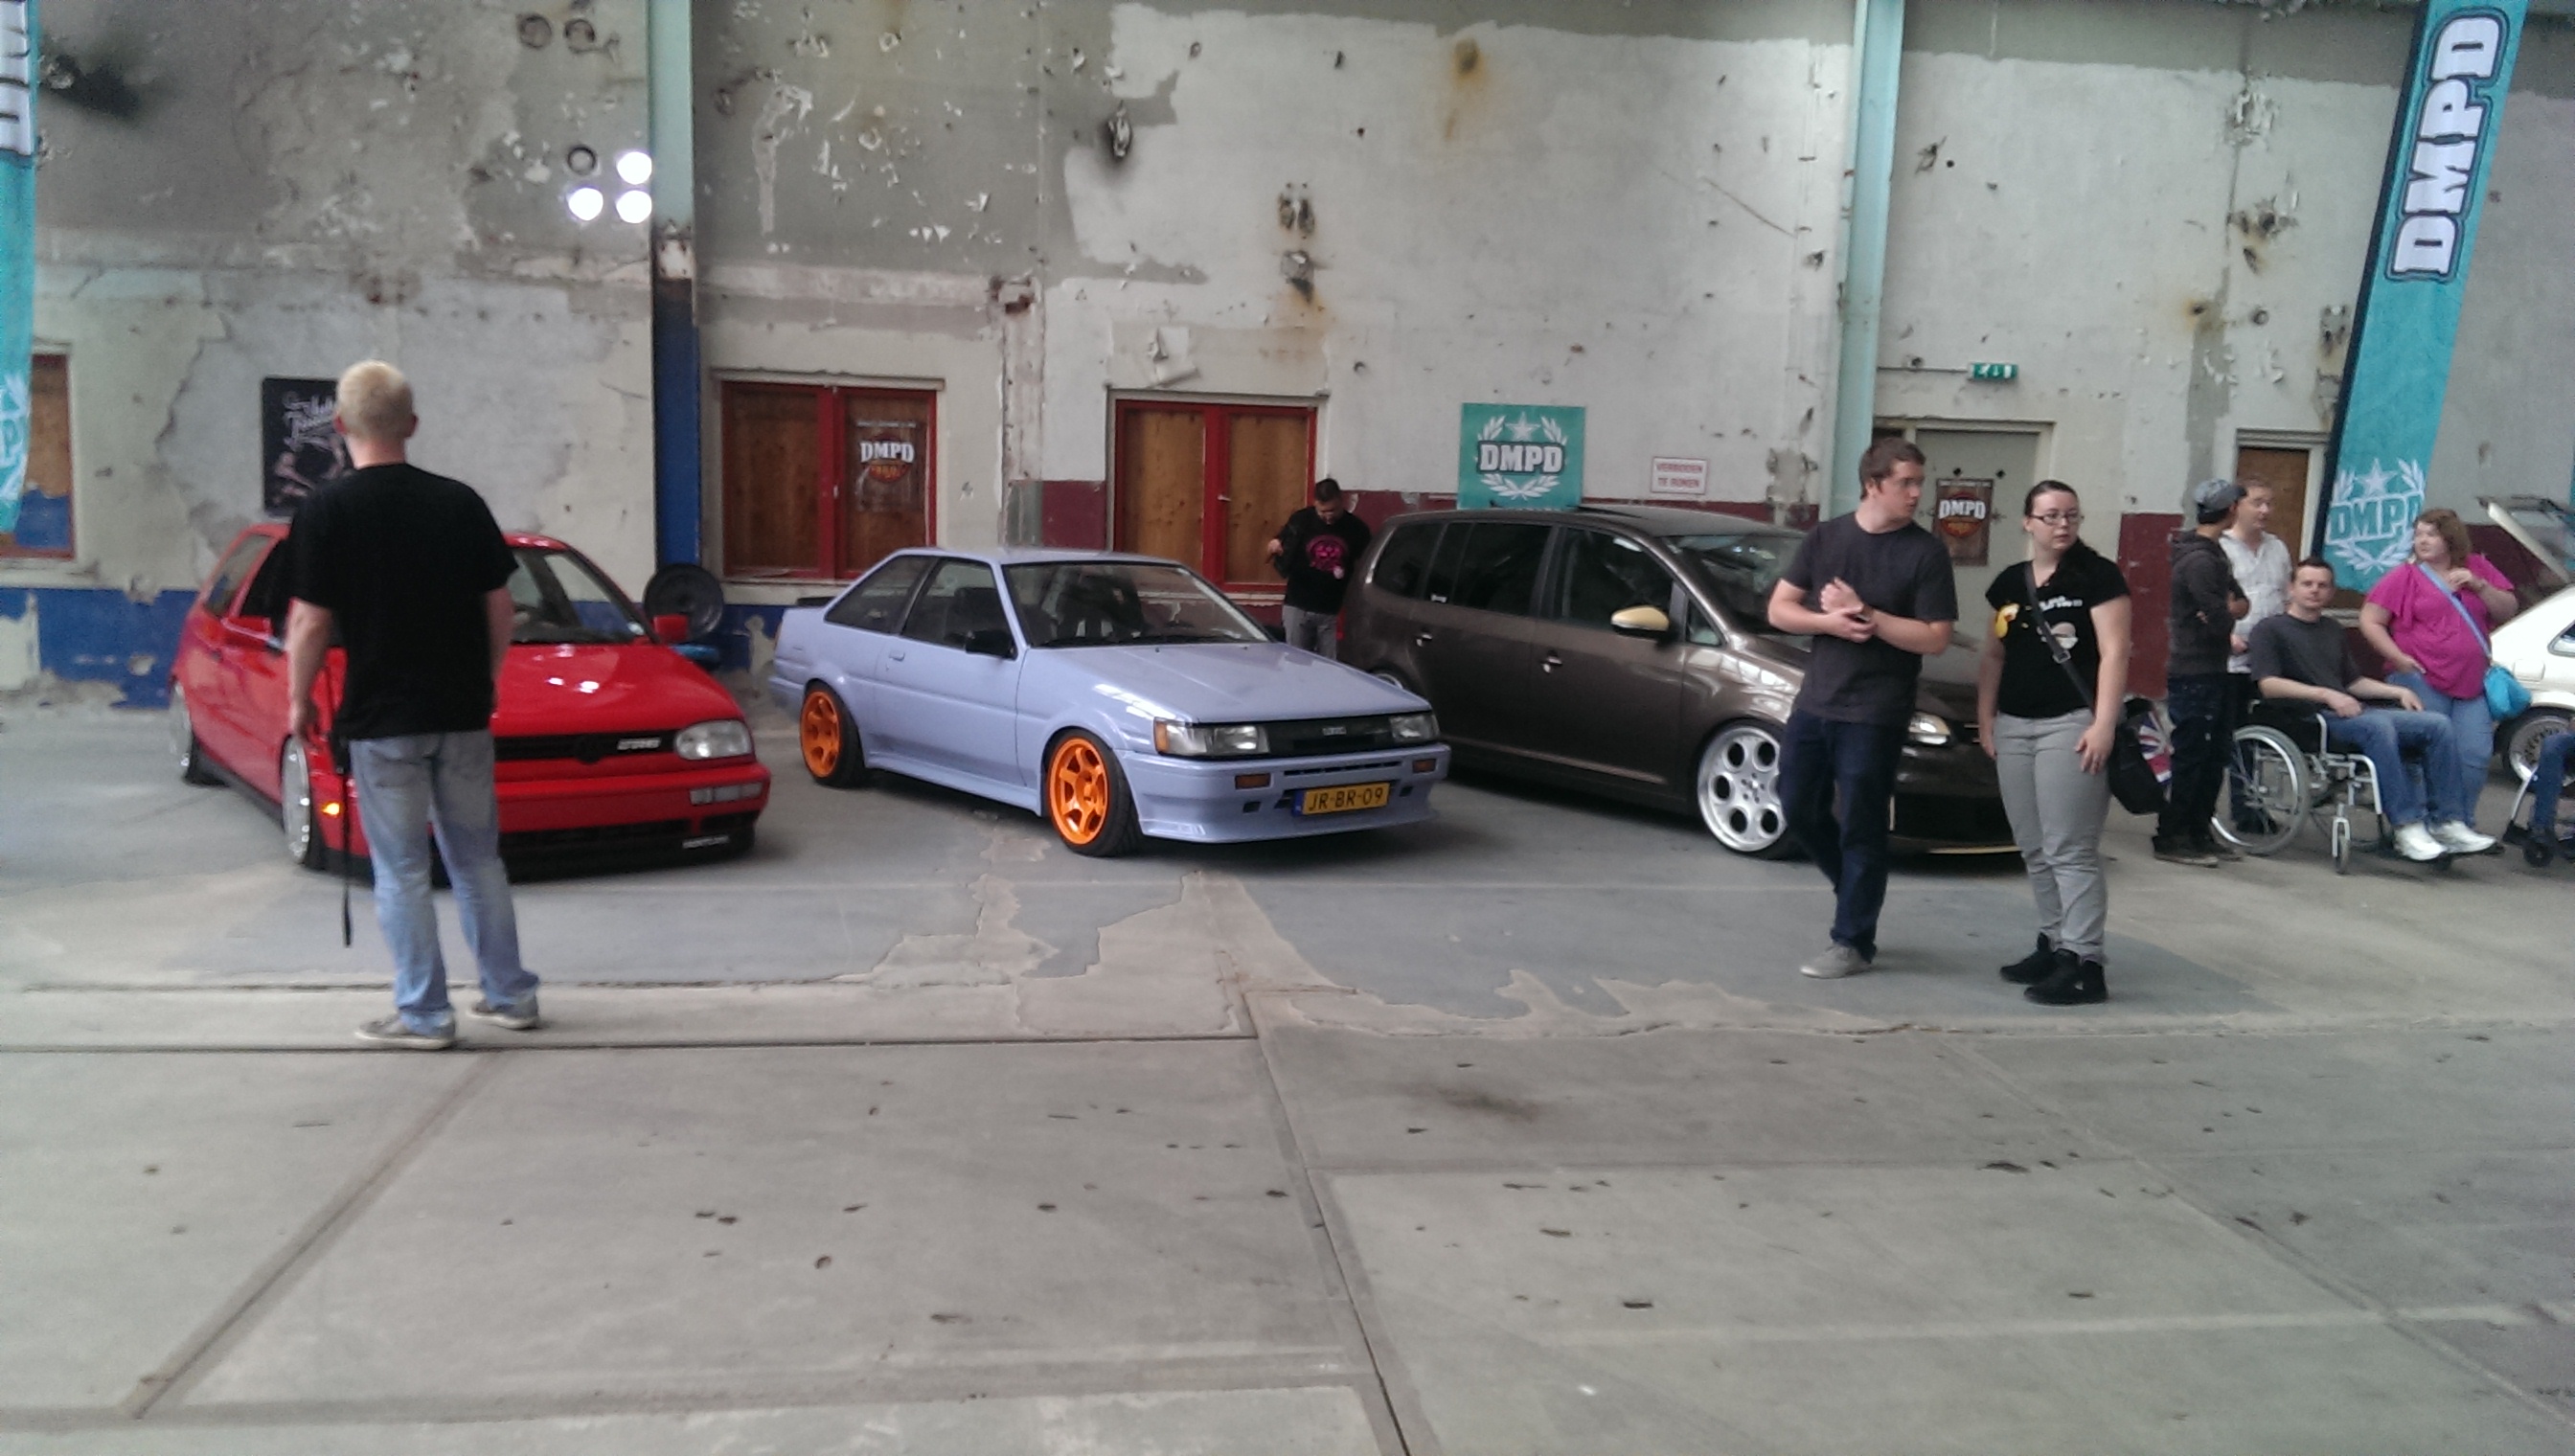
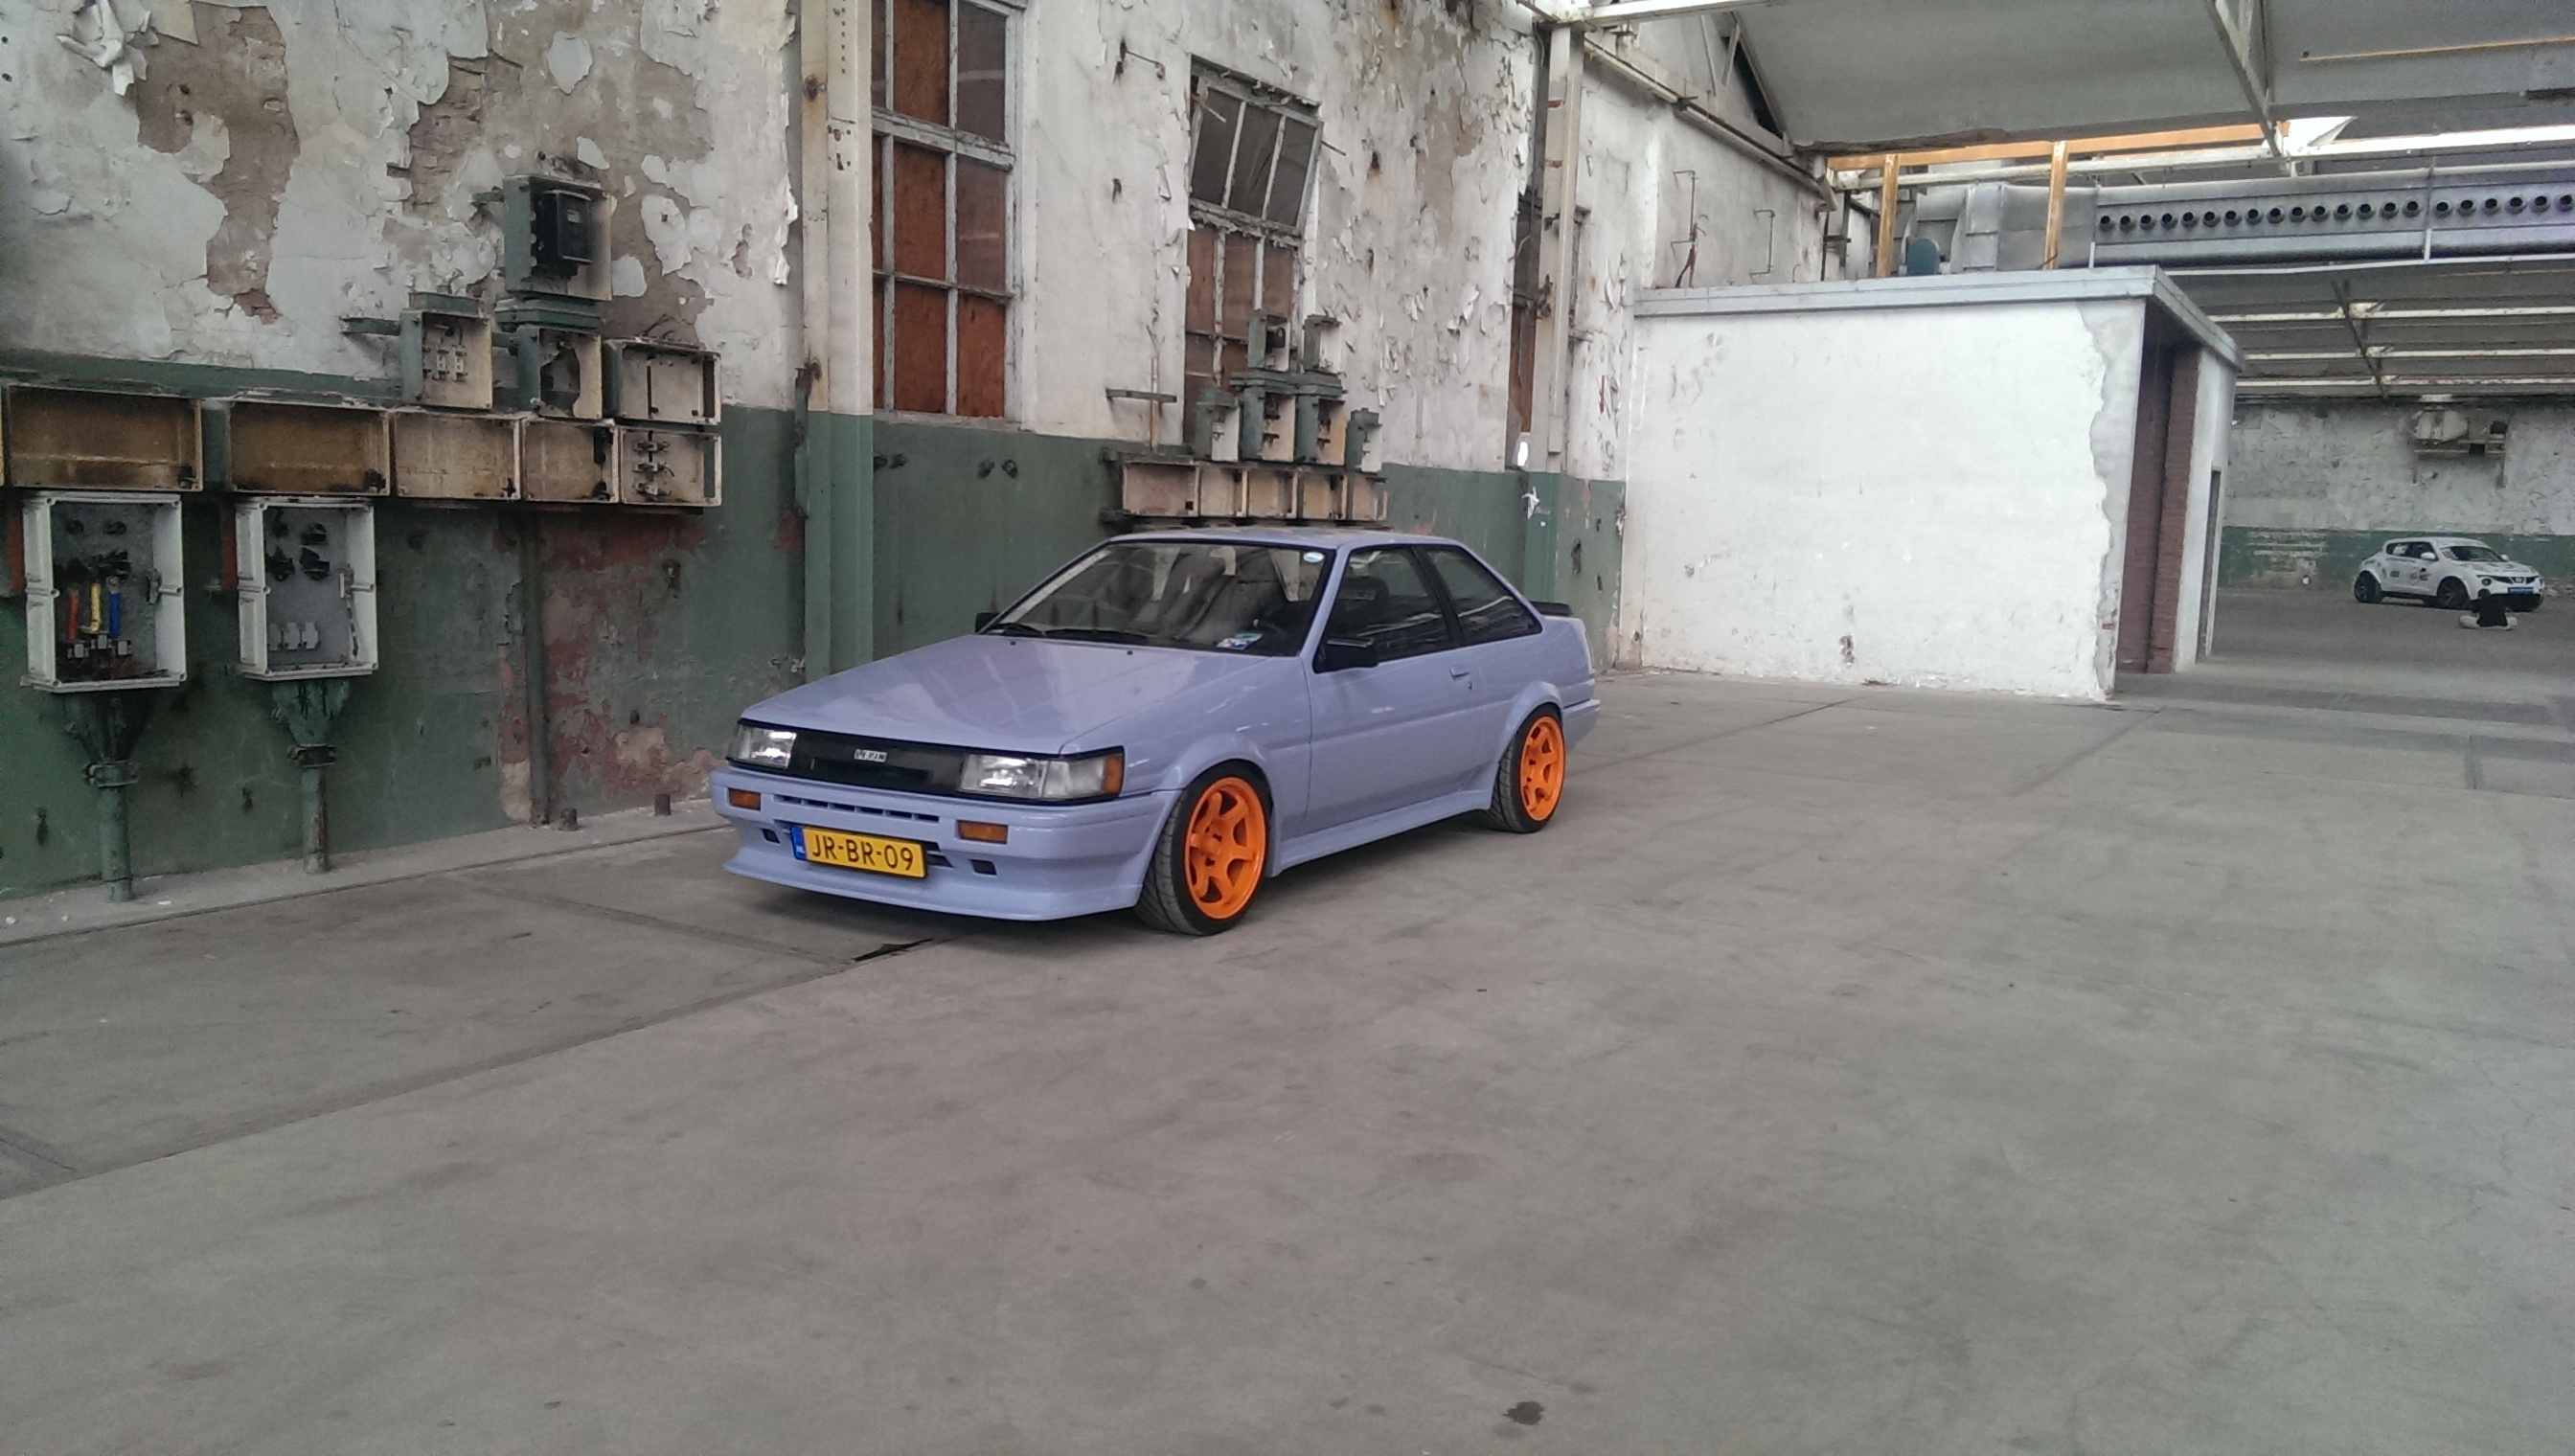
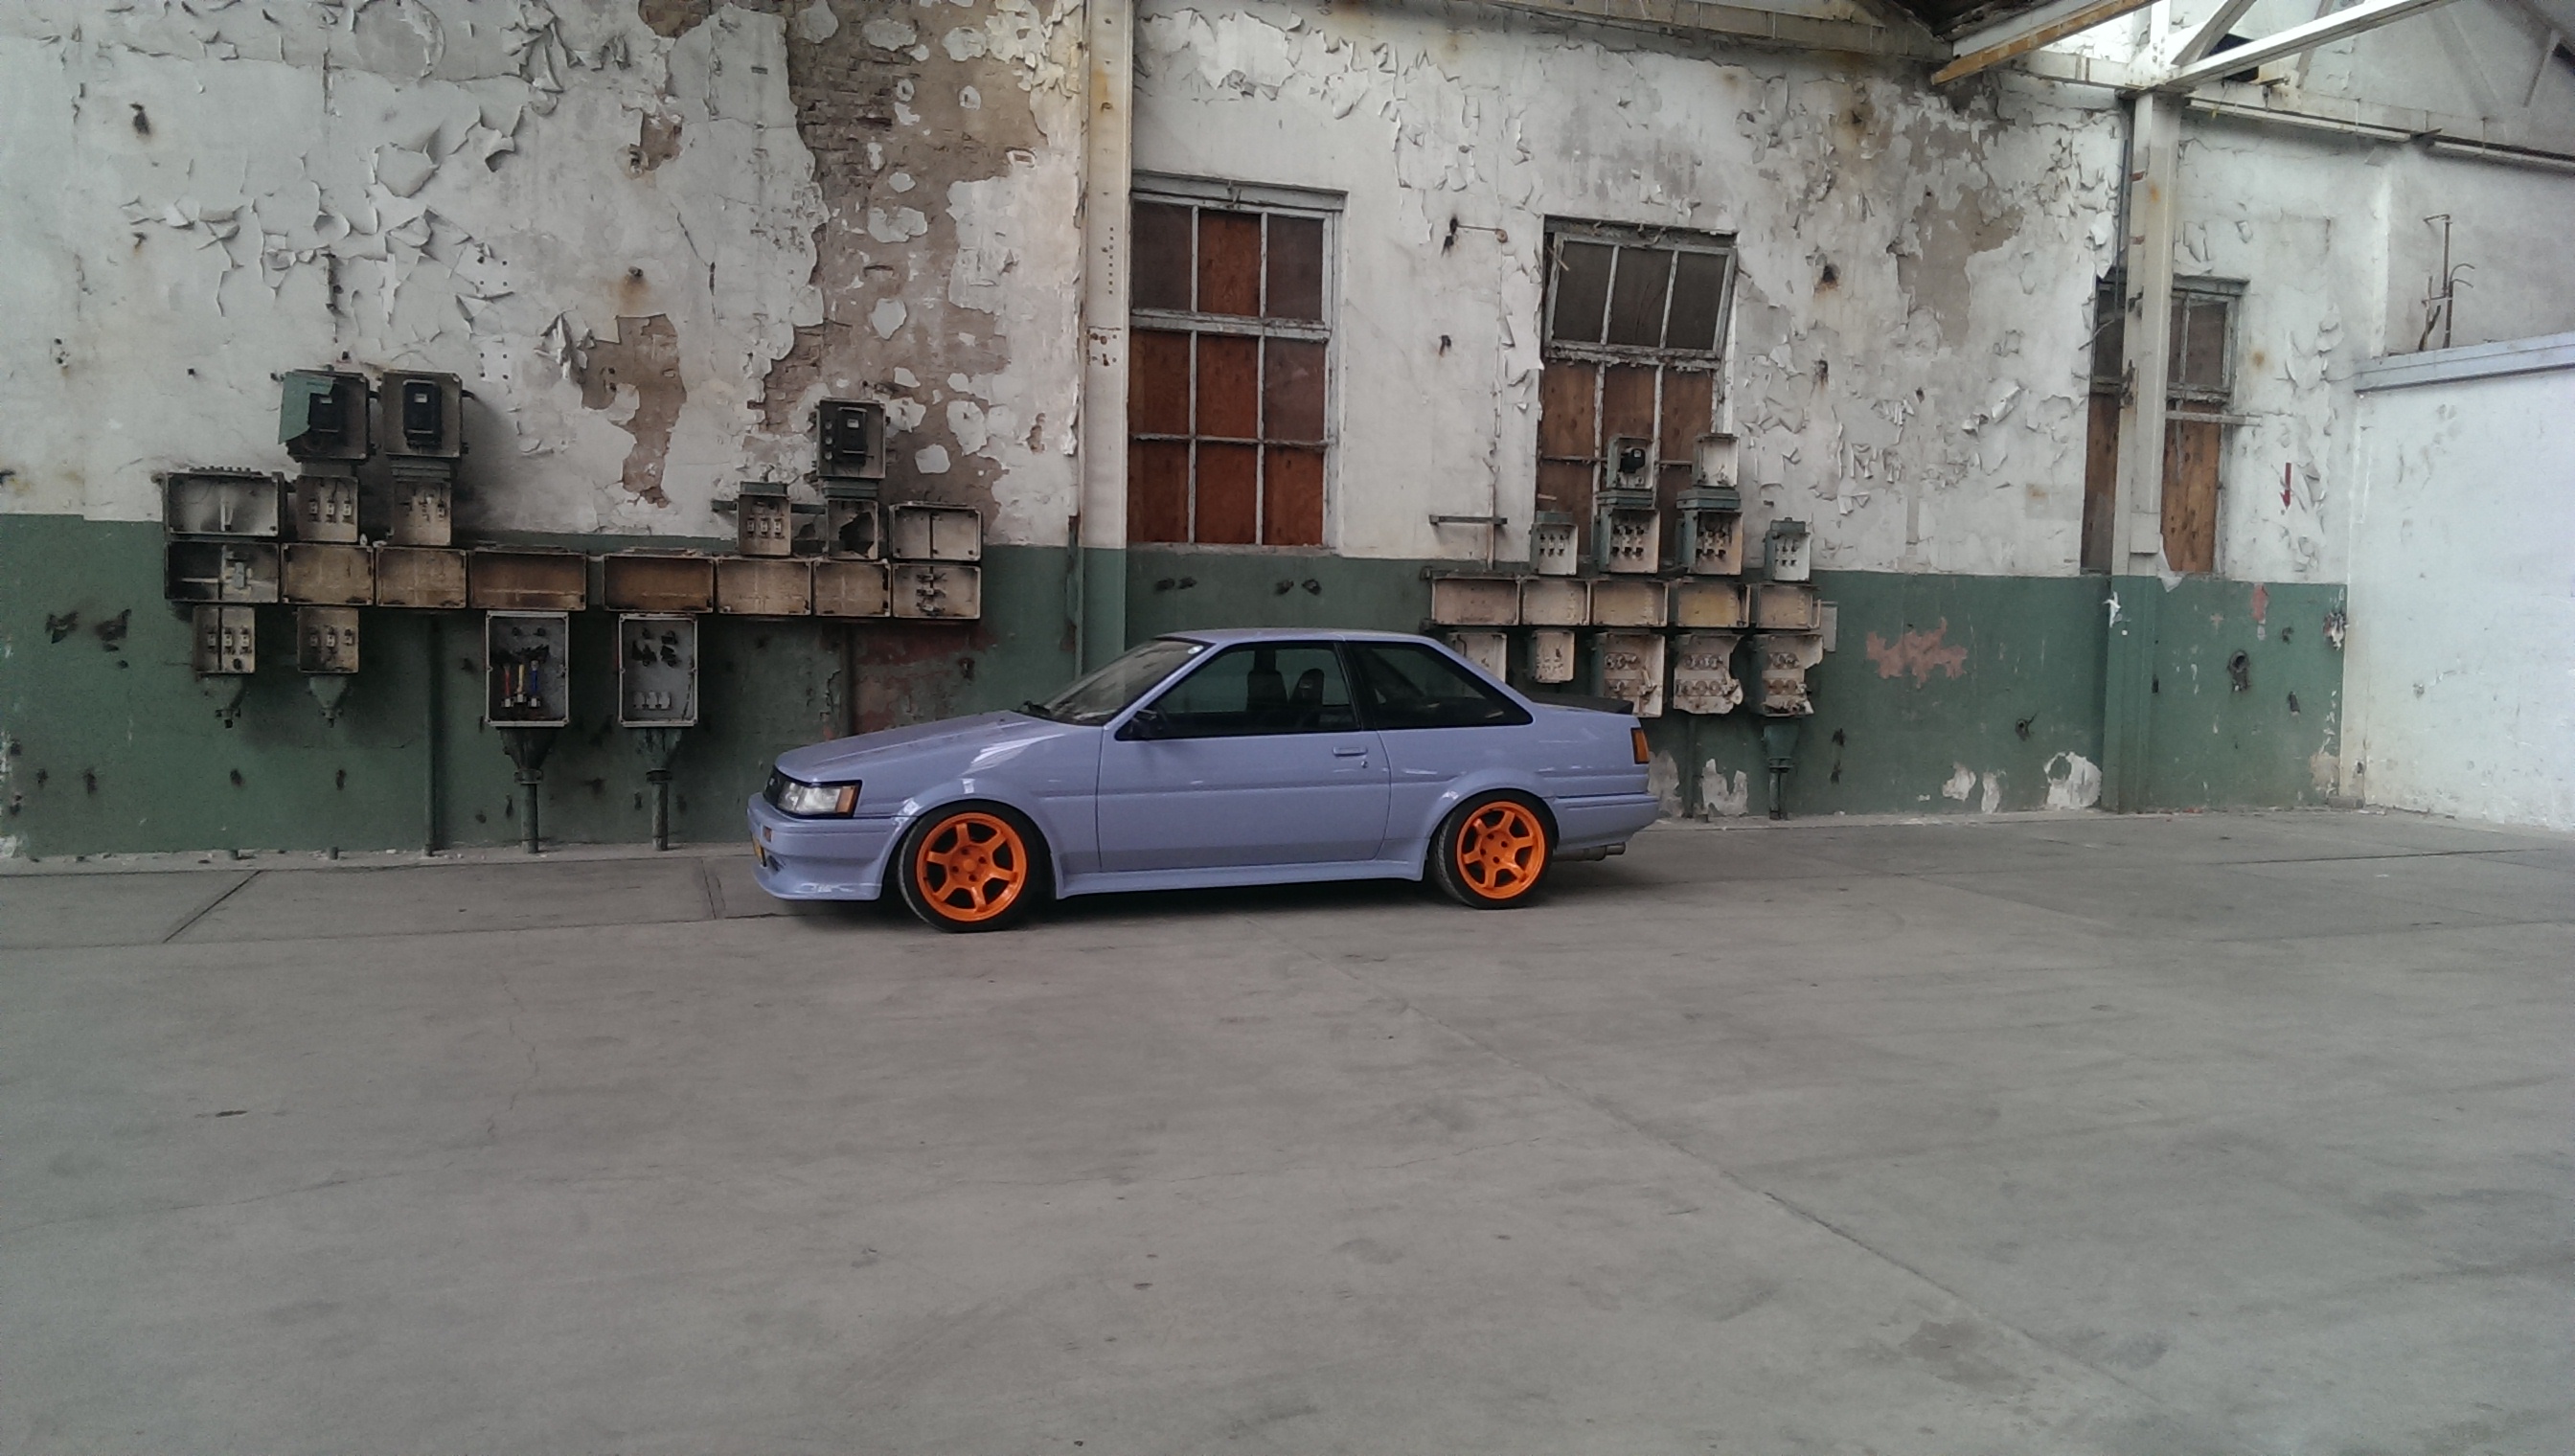
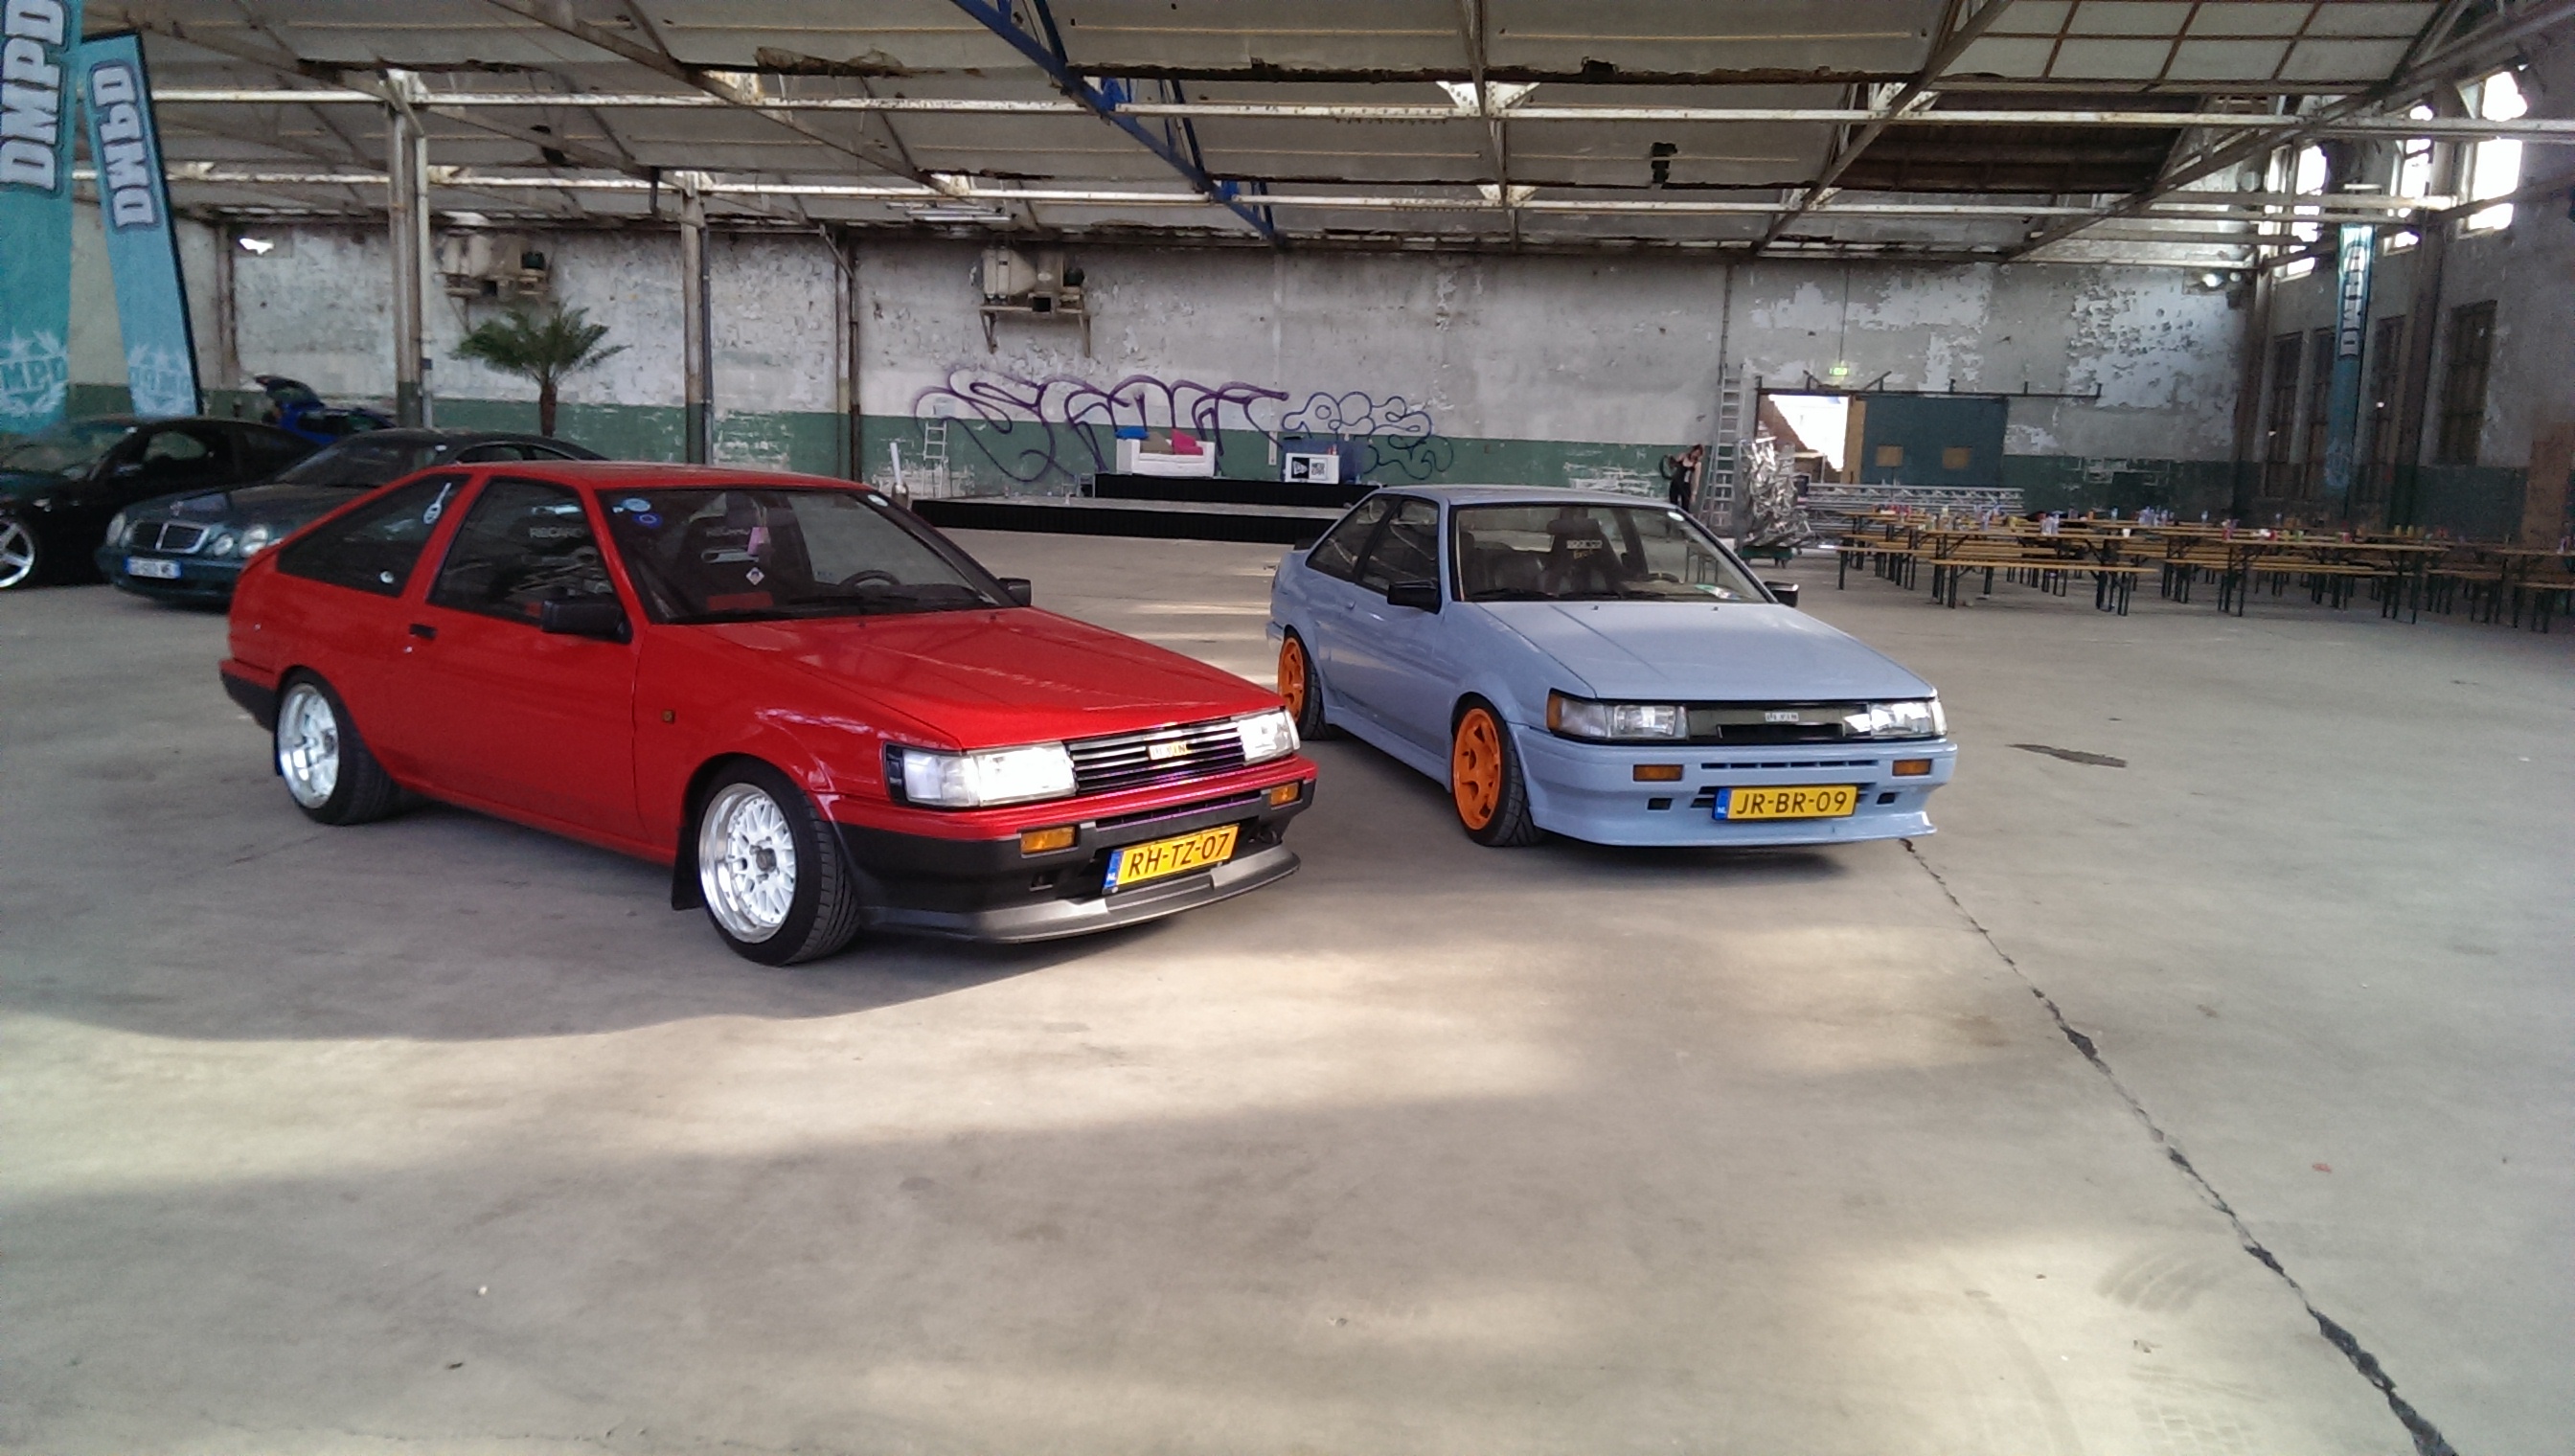
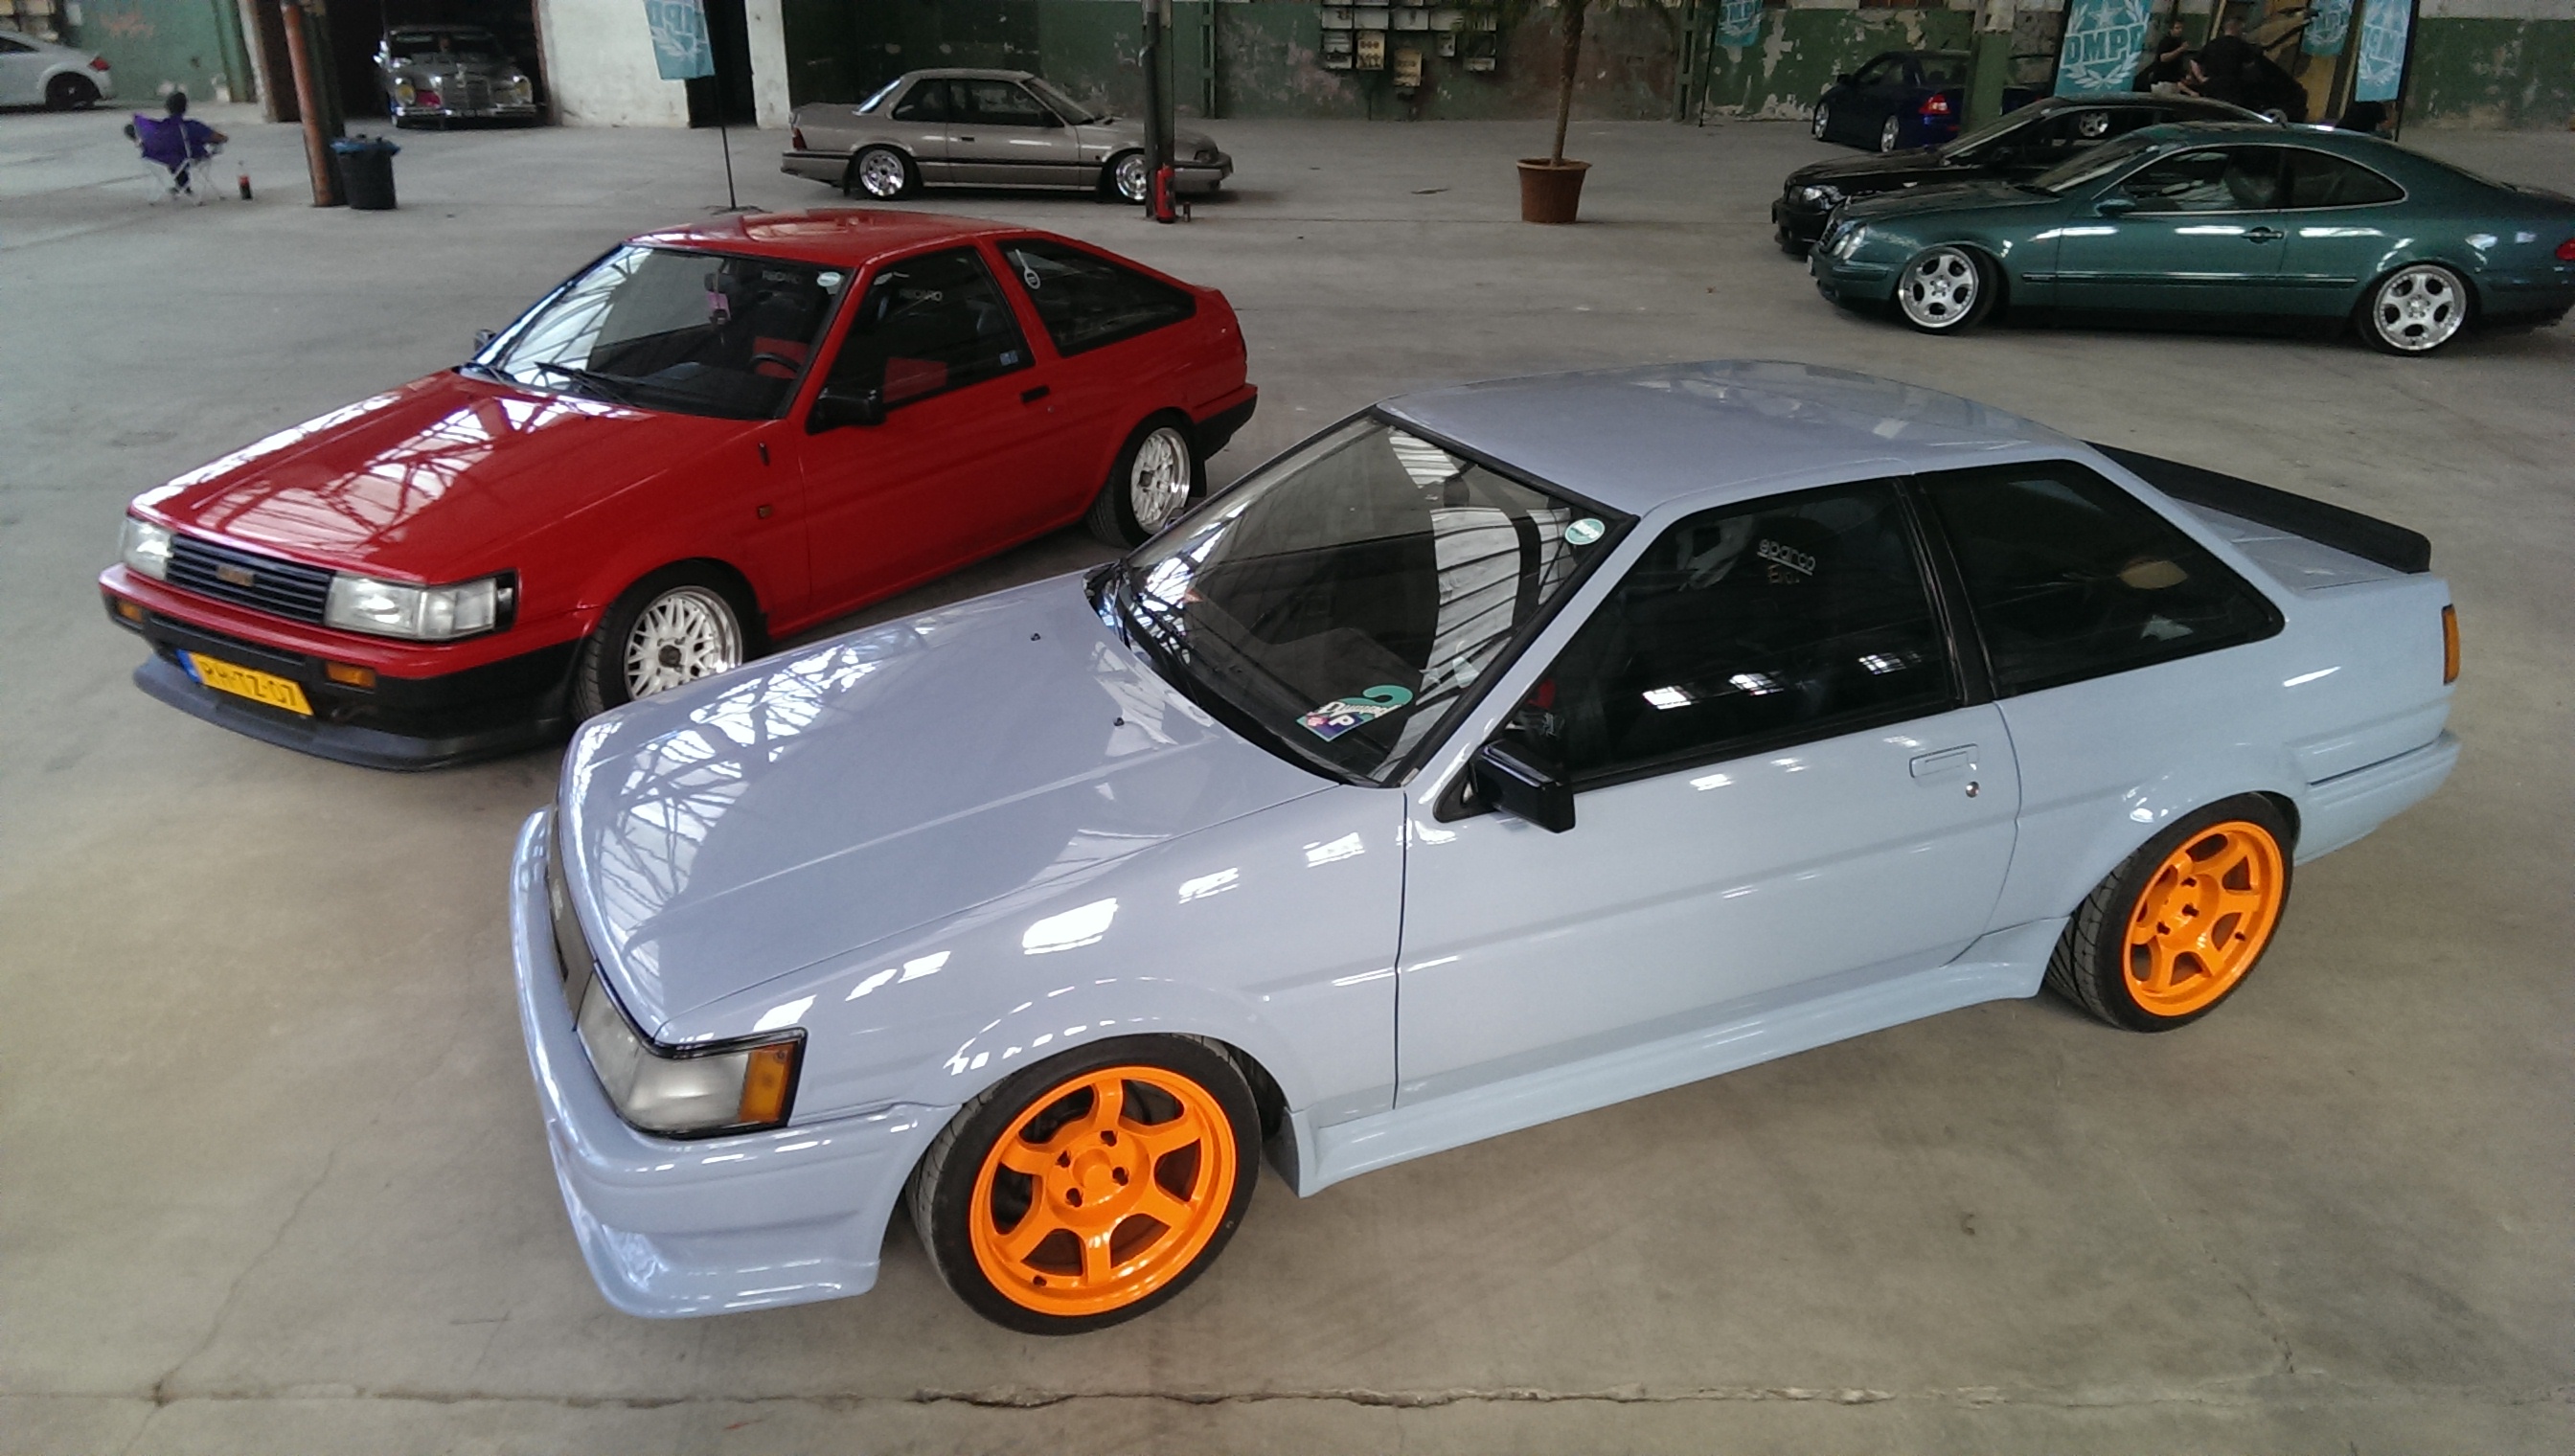
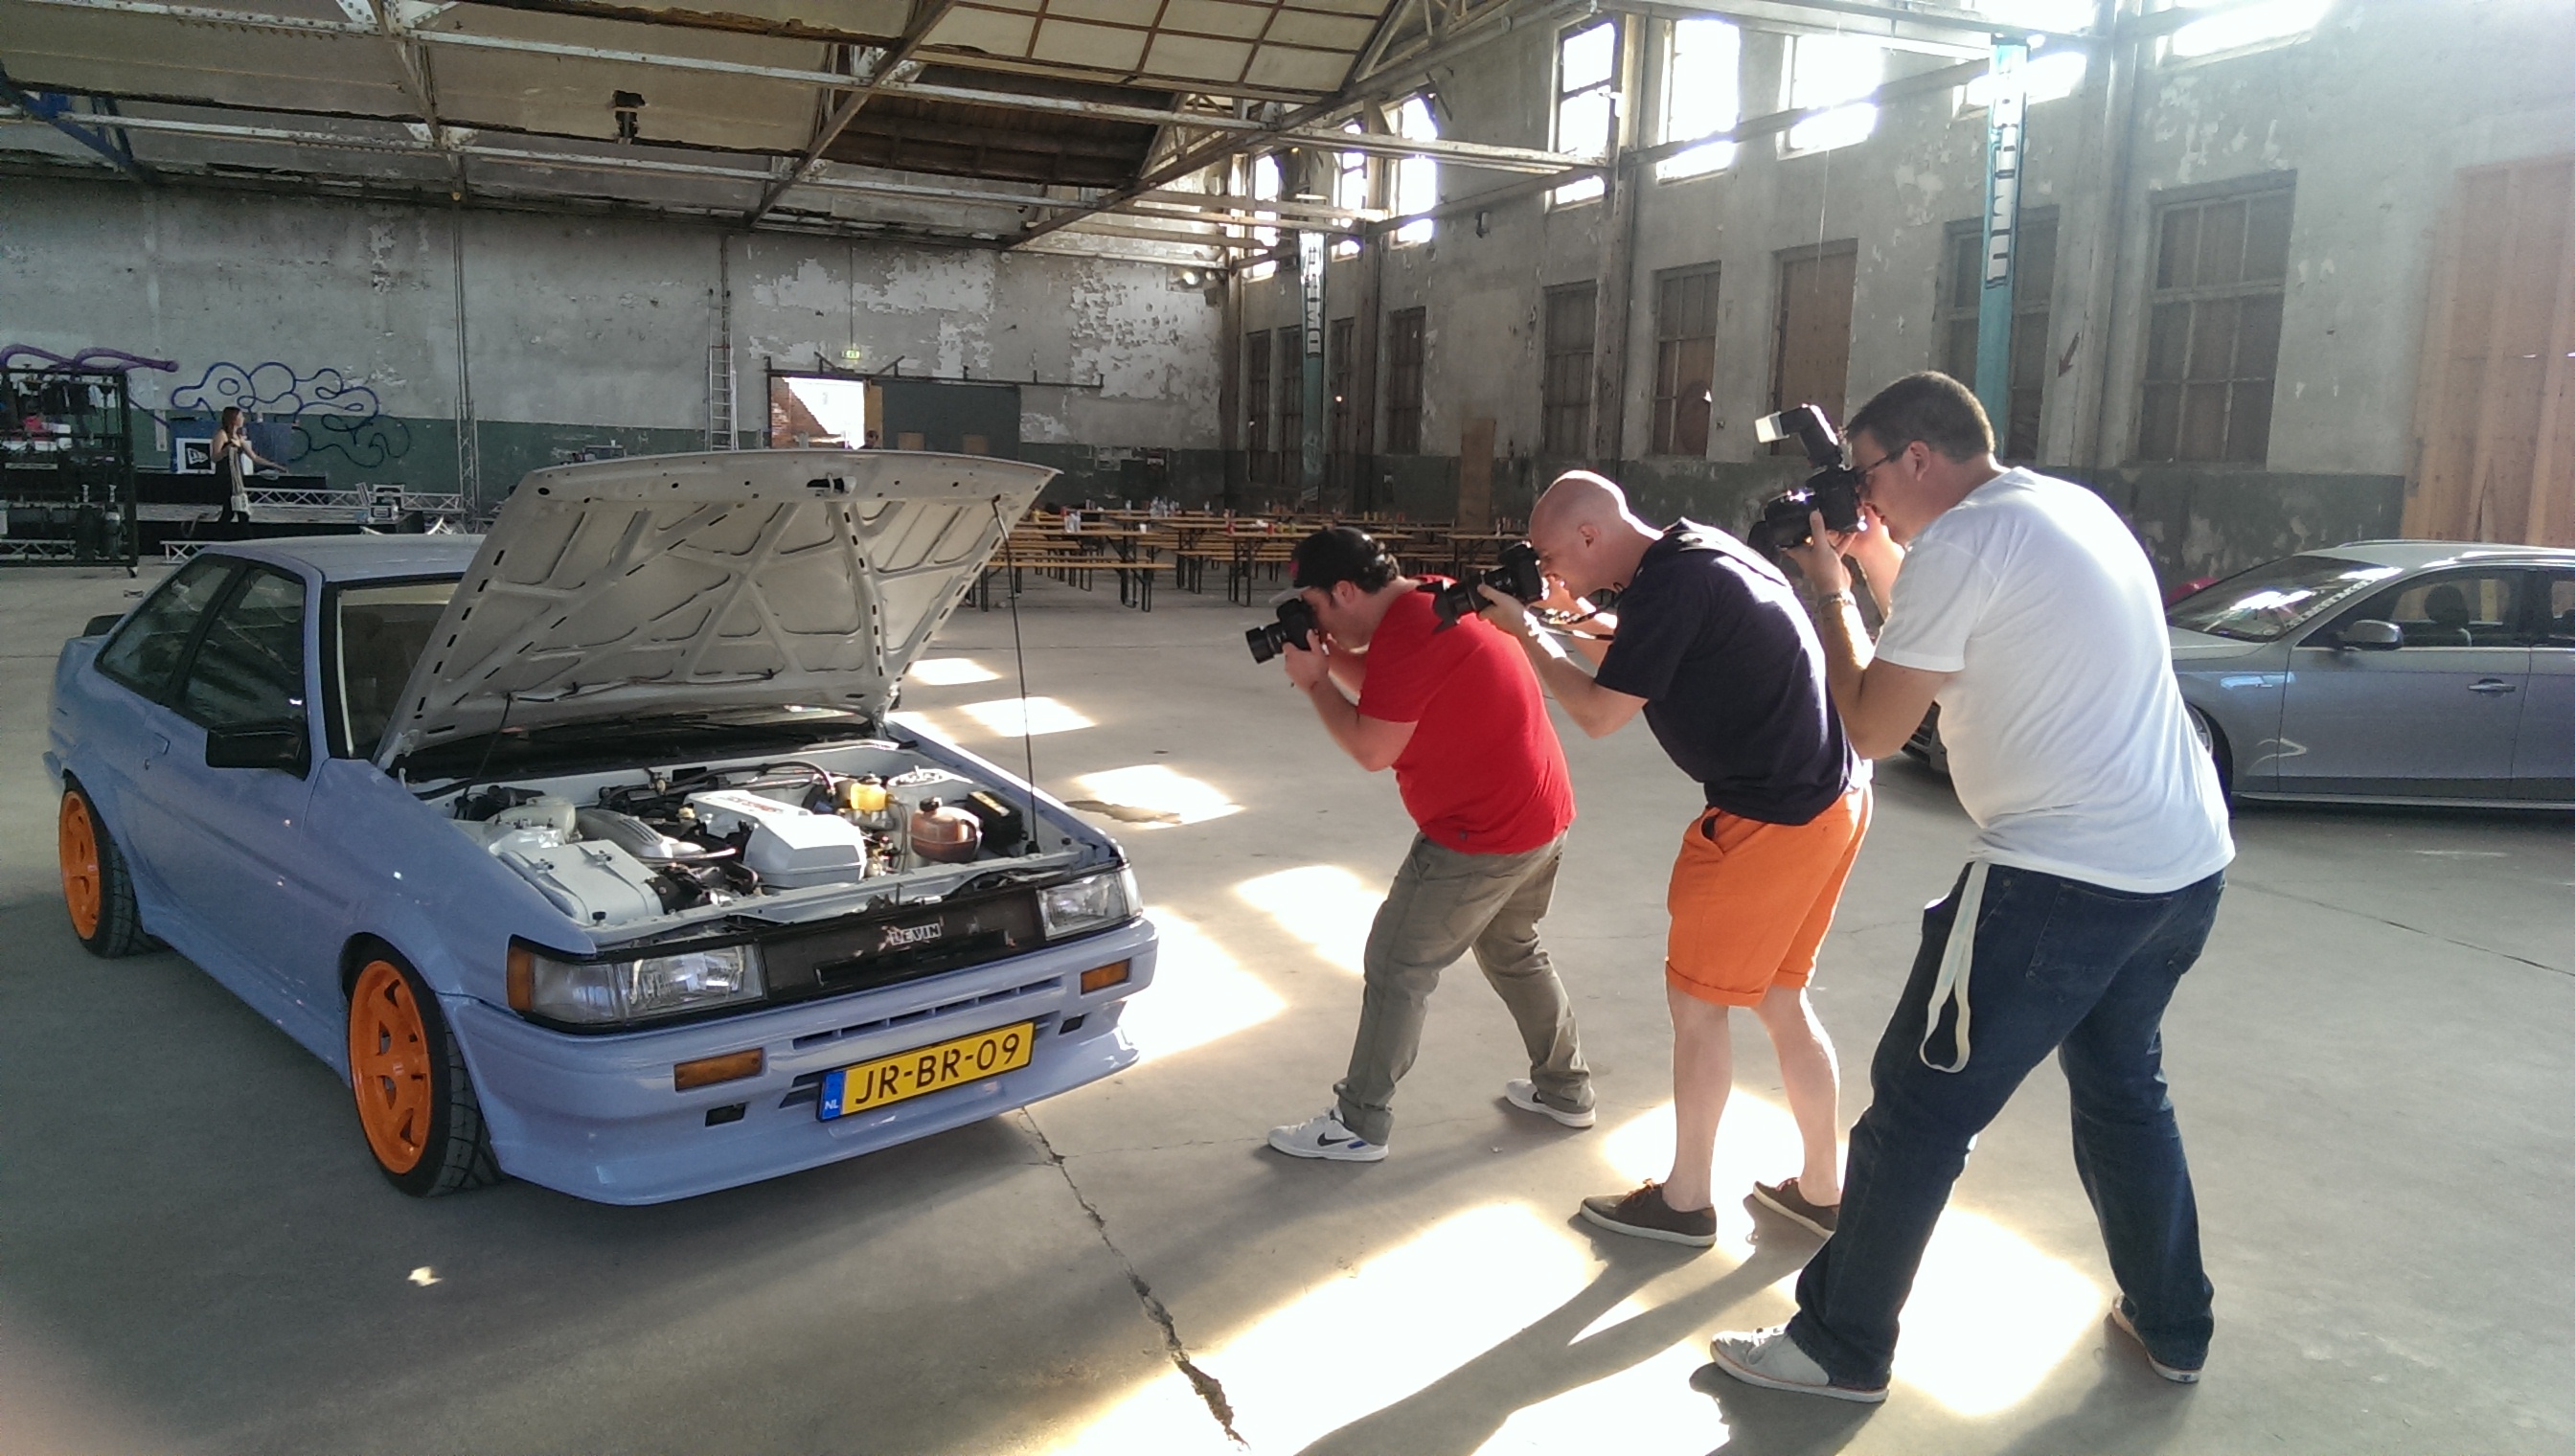
A full report is here:
http://www.aeu86.org/viewtopic/ae86/p/157844#157844
So now I am going to start up the Impreza project again.
Reason for the quiet is that I had a daily driver that rusted away harder than I could fix it, so I decided that I had to build that car first.
Unfortunatly it turns out I cannot do a normal rebuild so this project went nuts also, but I finished it now. (almost)
It went from this:


A full report is here:
http://www.aeu86.org/viewtopic/ae86/p/157844#157844
So now I am going to start up the Impreza project again.
Thread Starter
Scooby Regular
Joined: Dec 2002
Posts: 458
Likes: 0
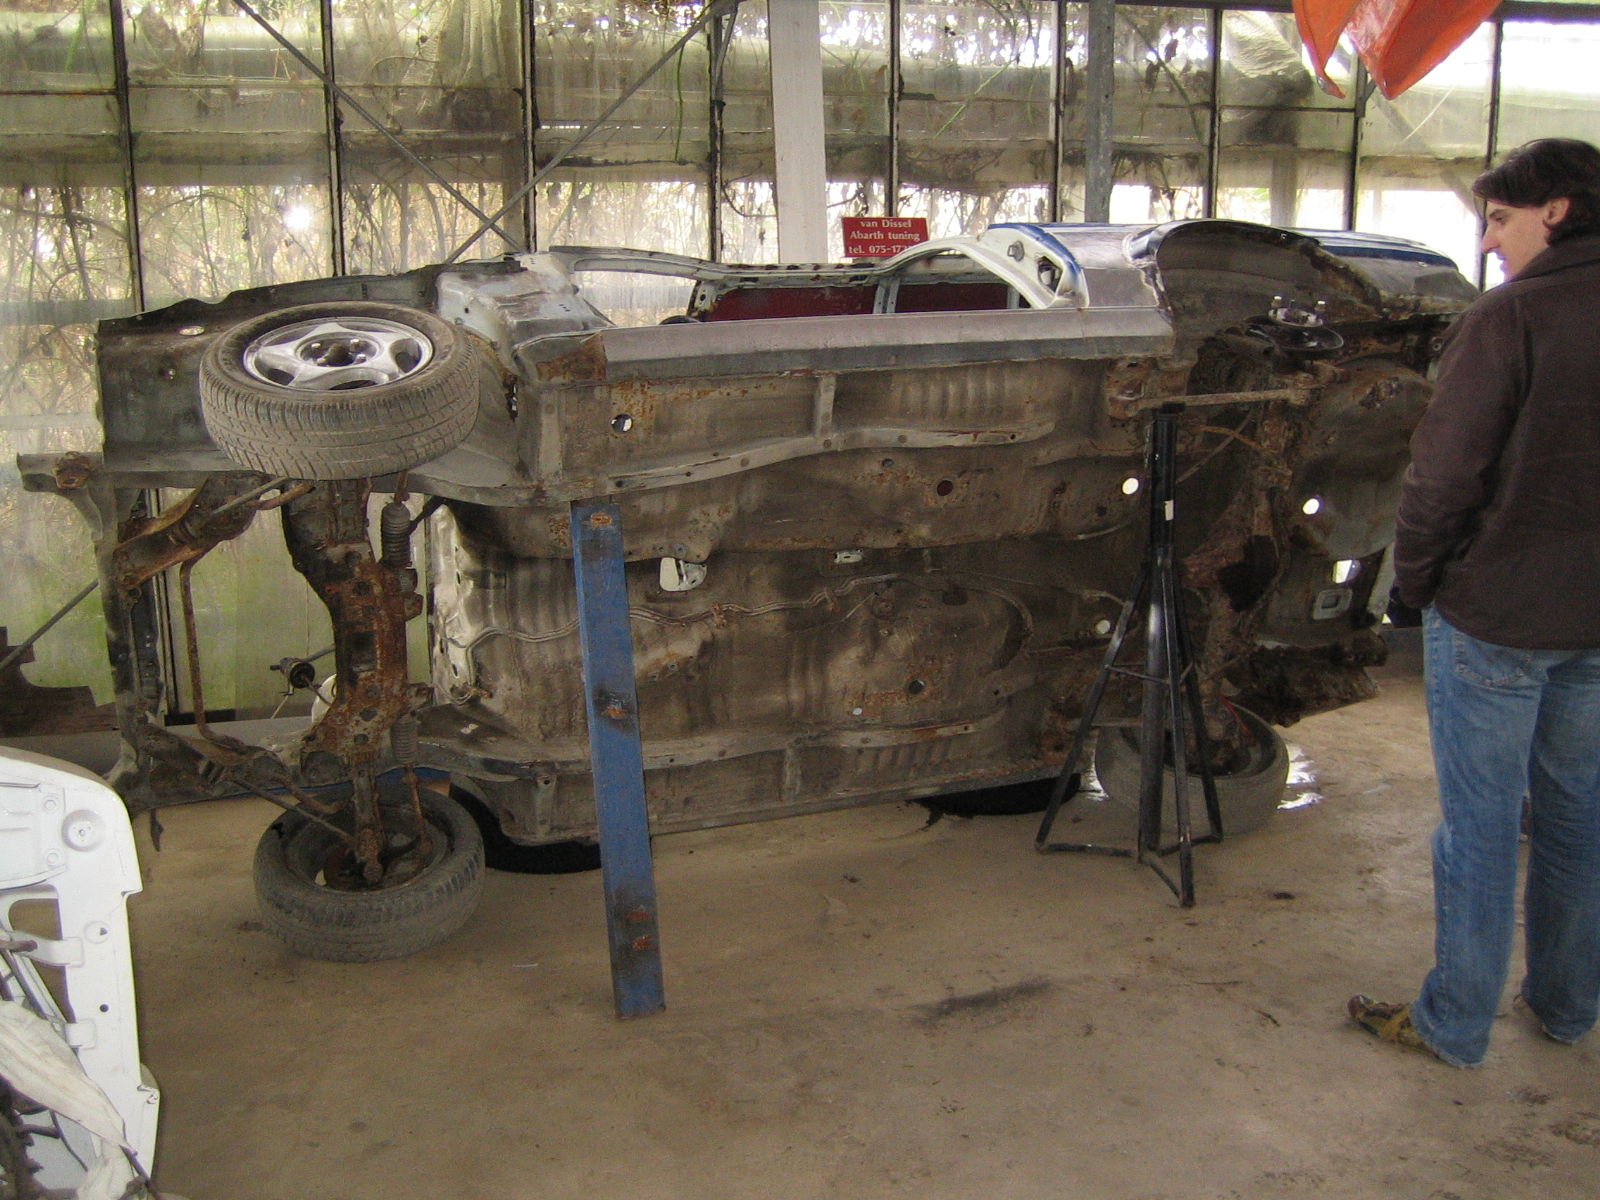
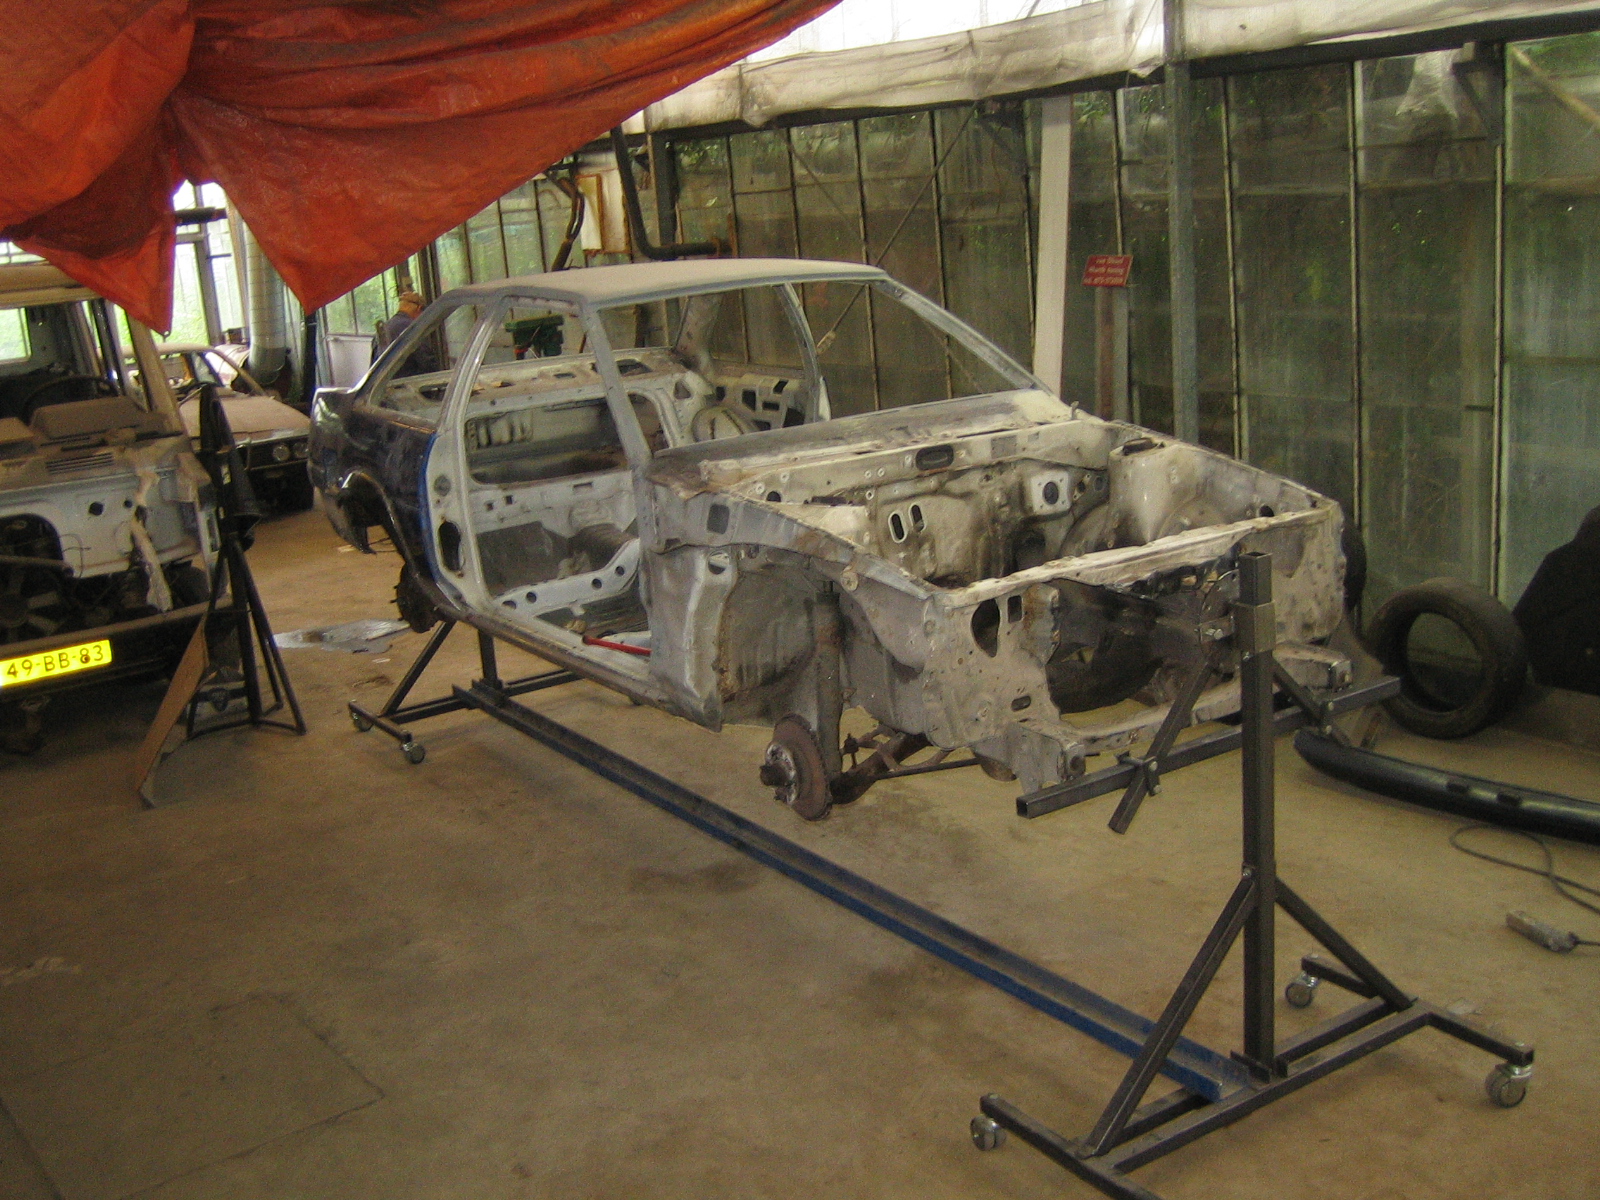
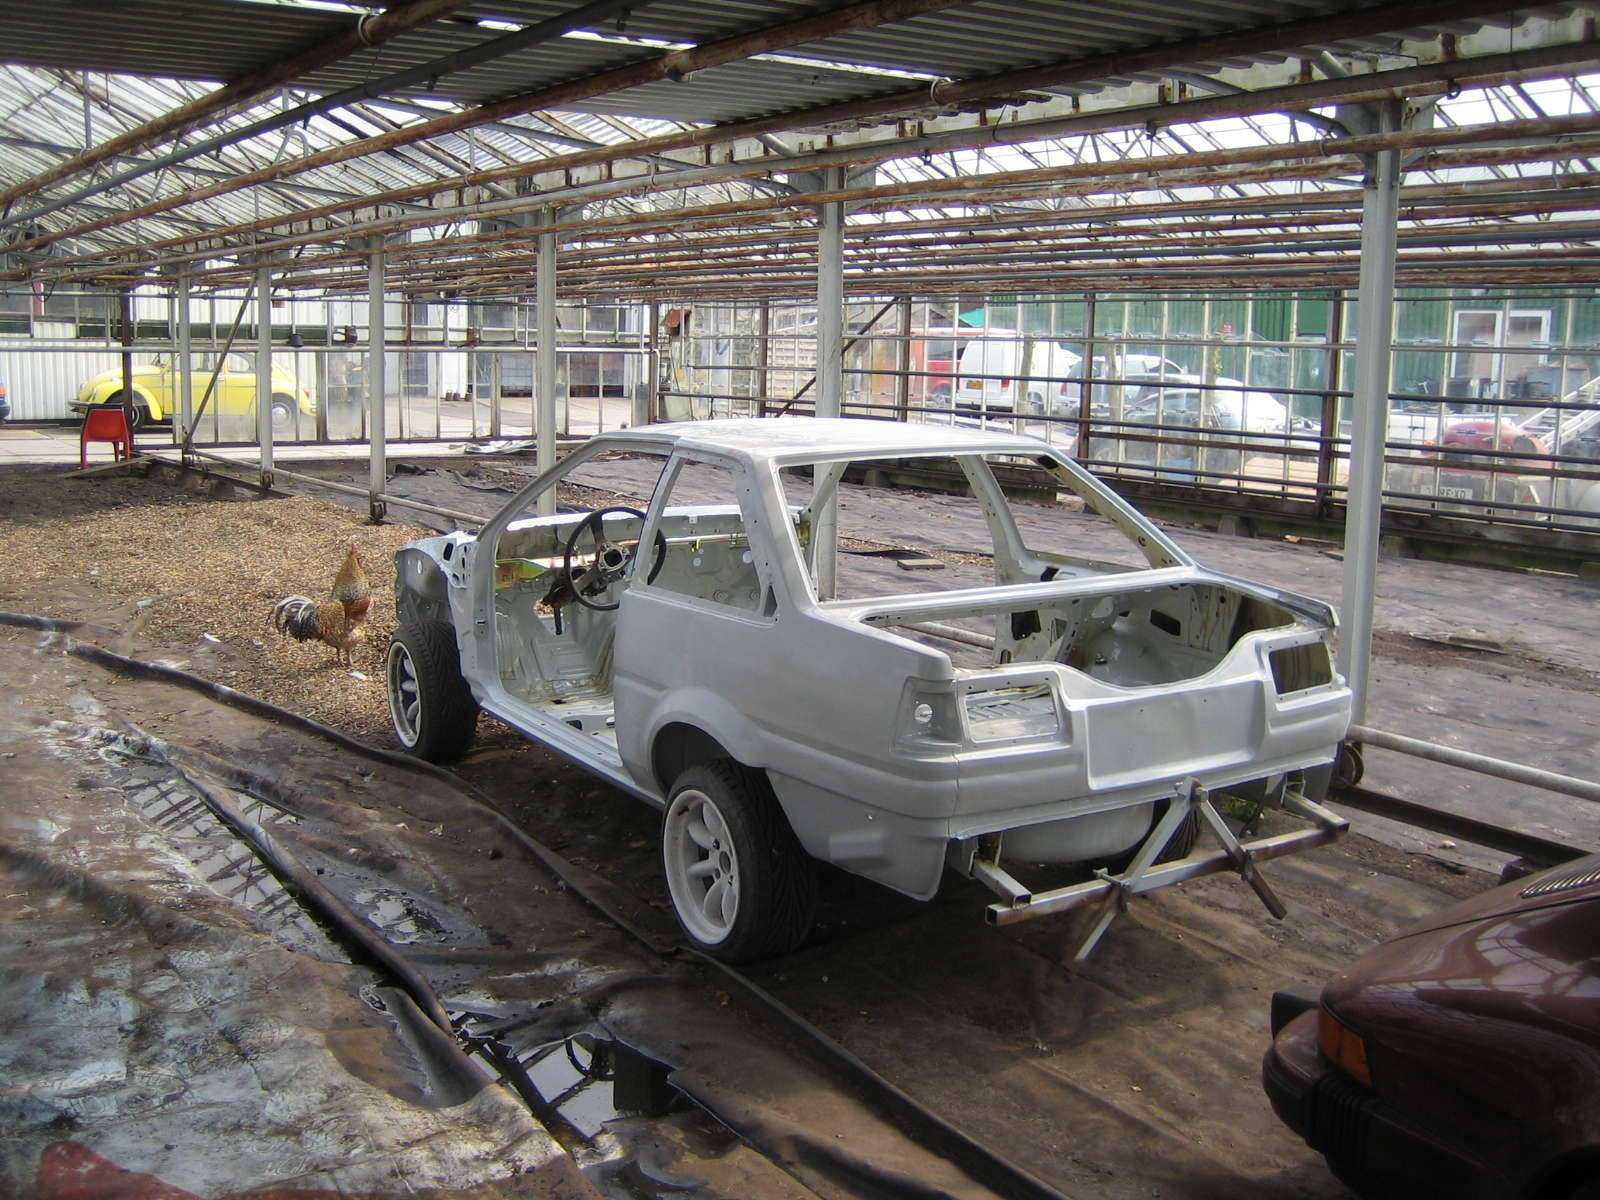
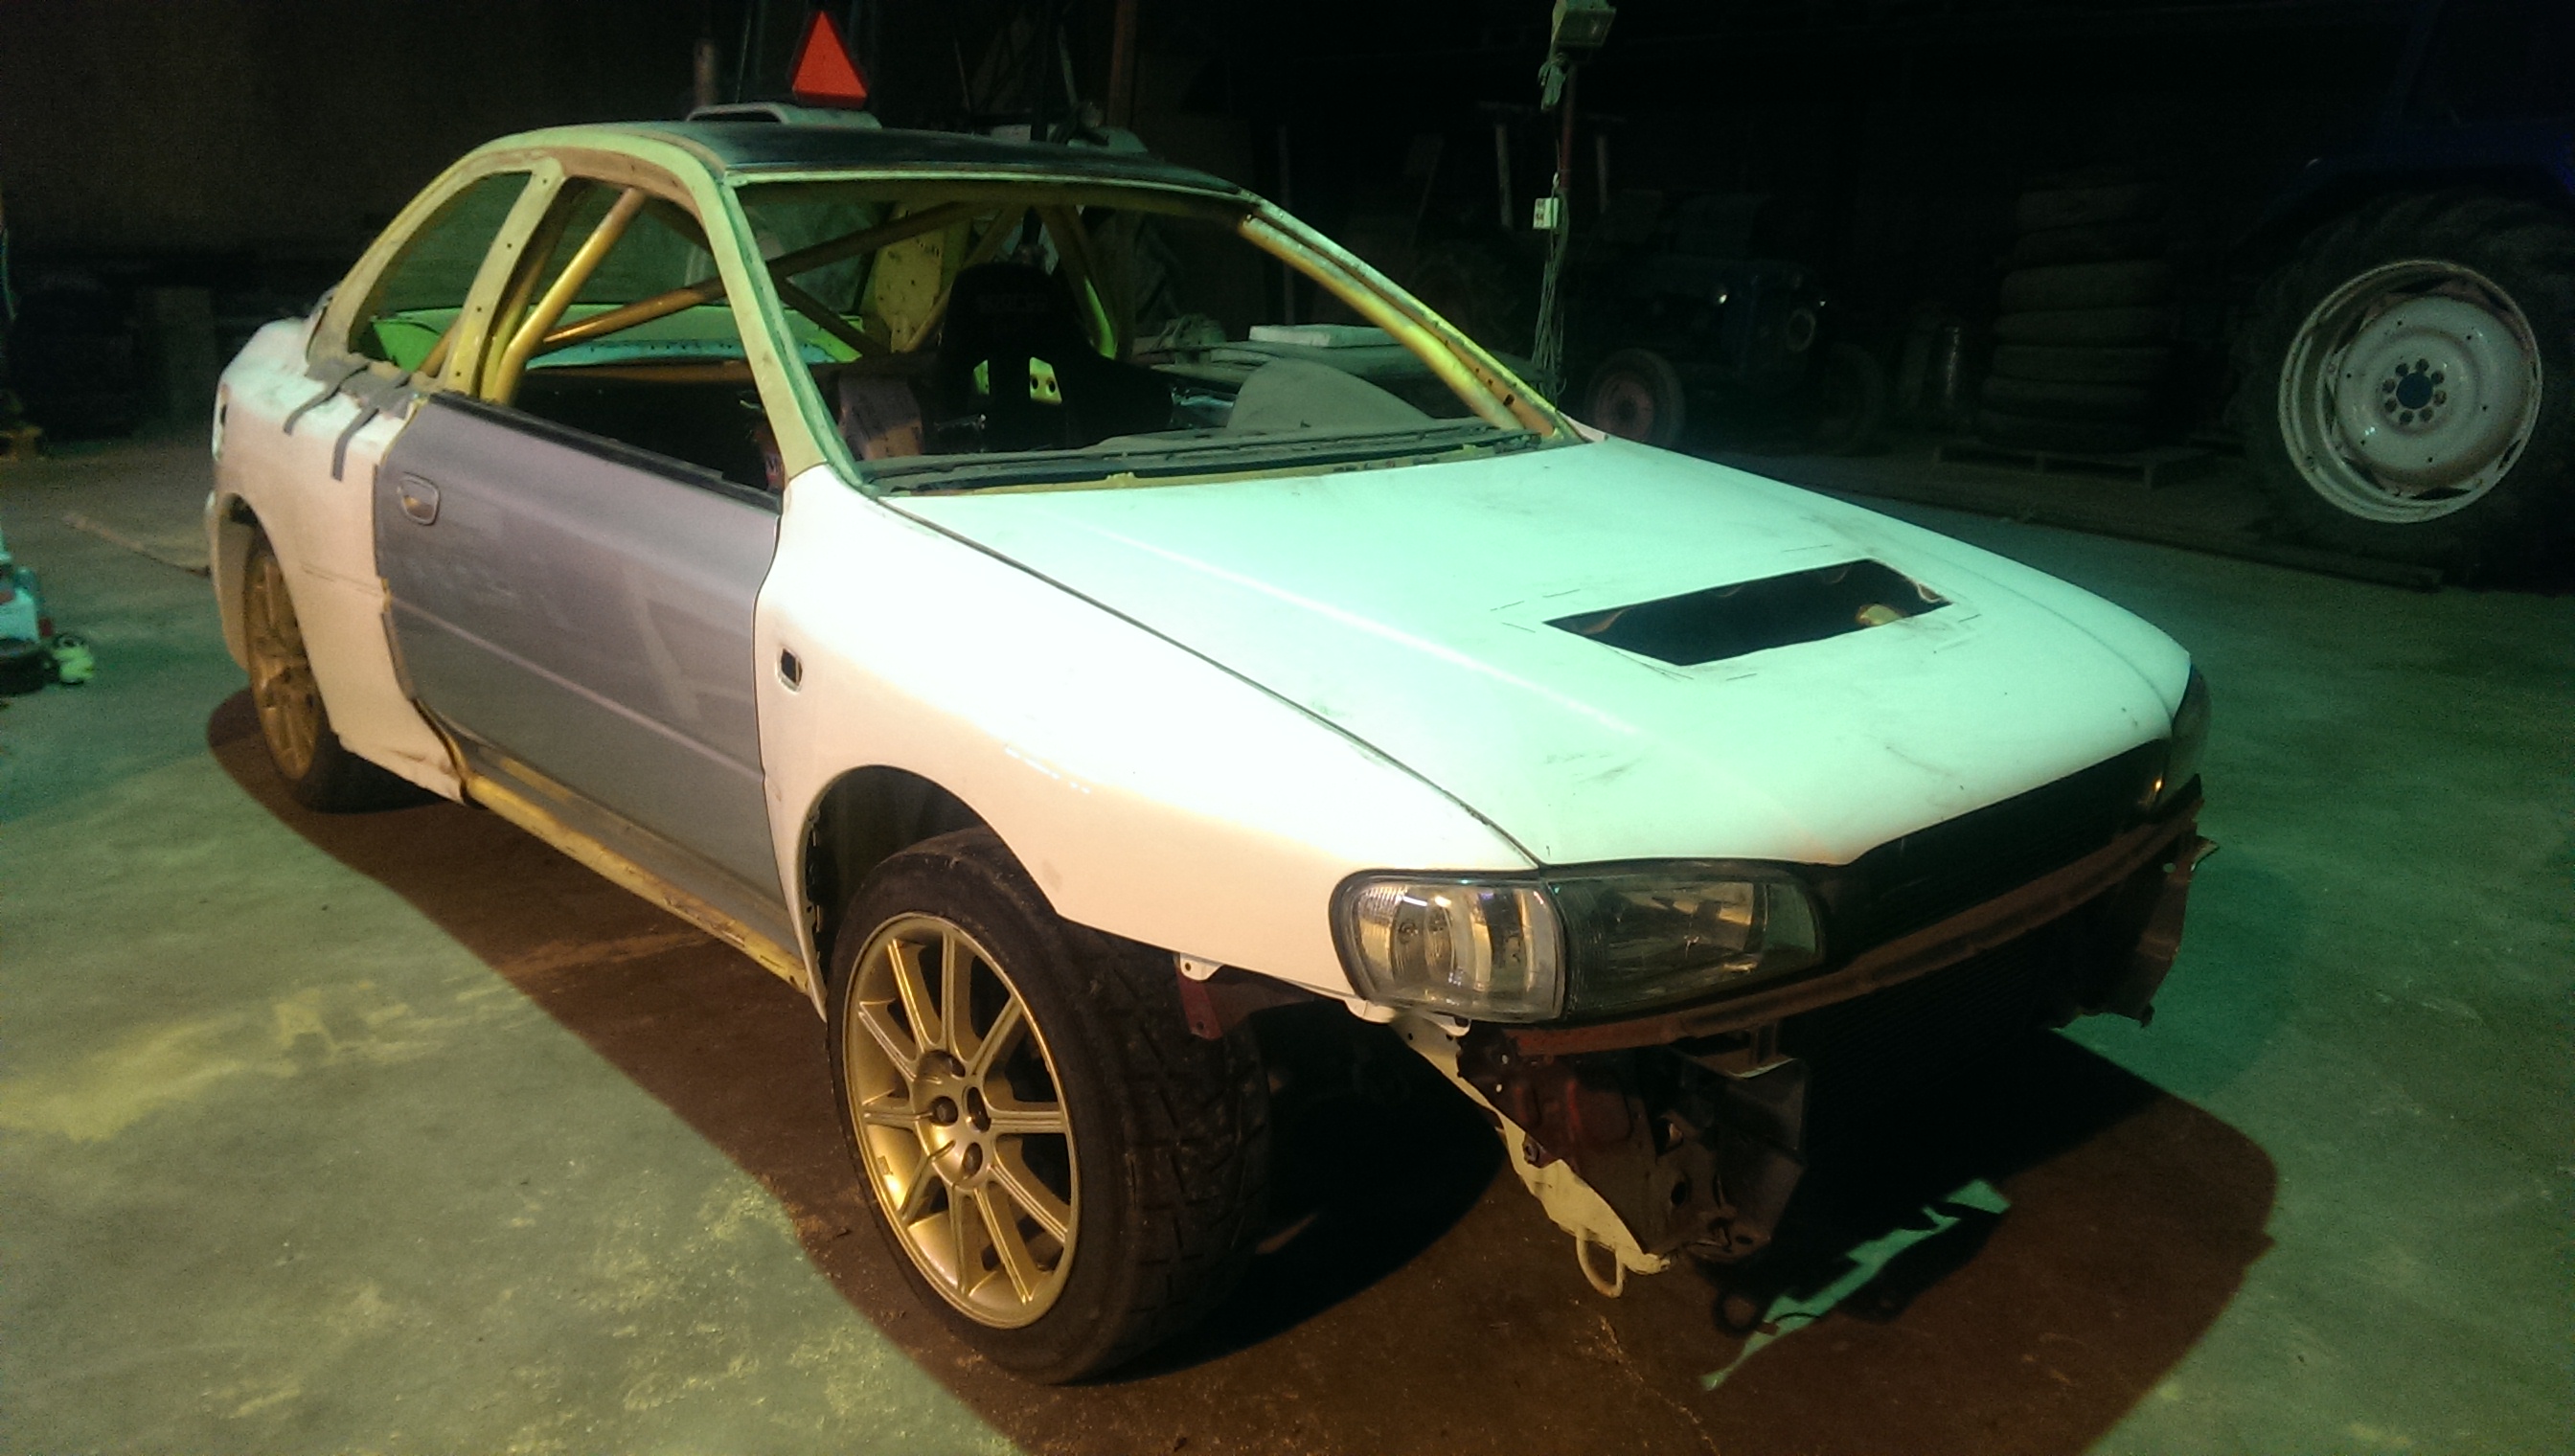
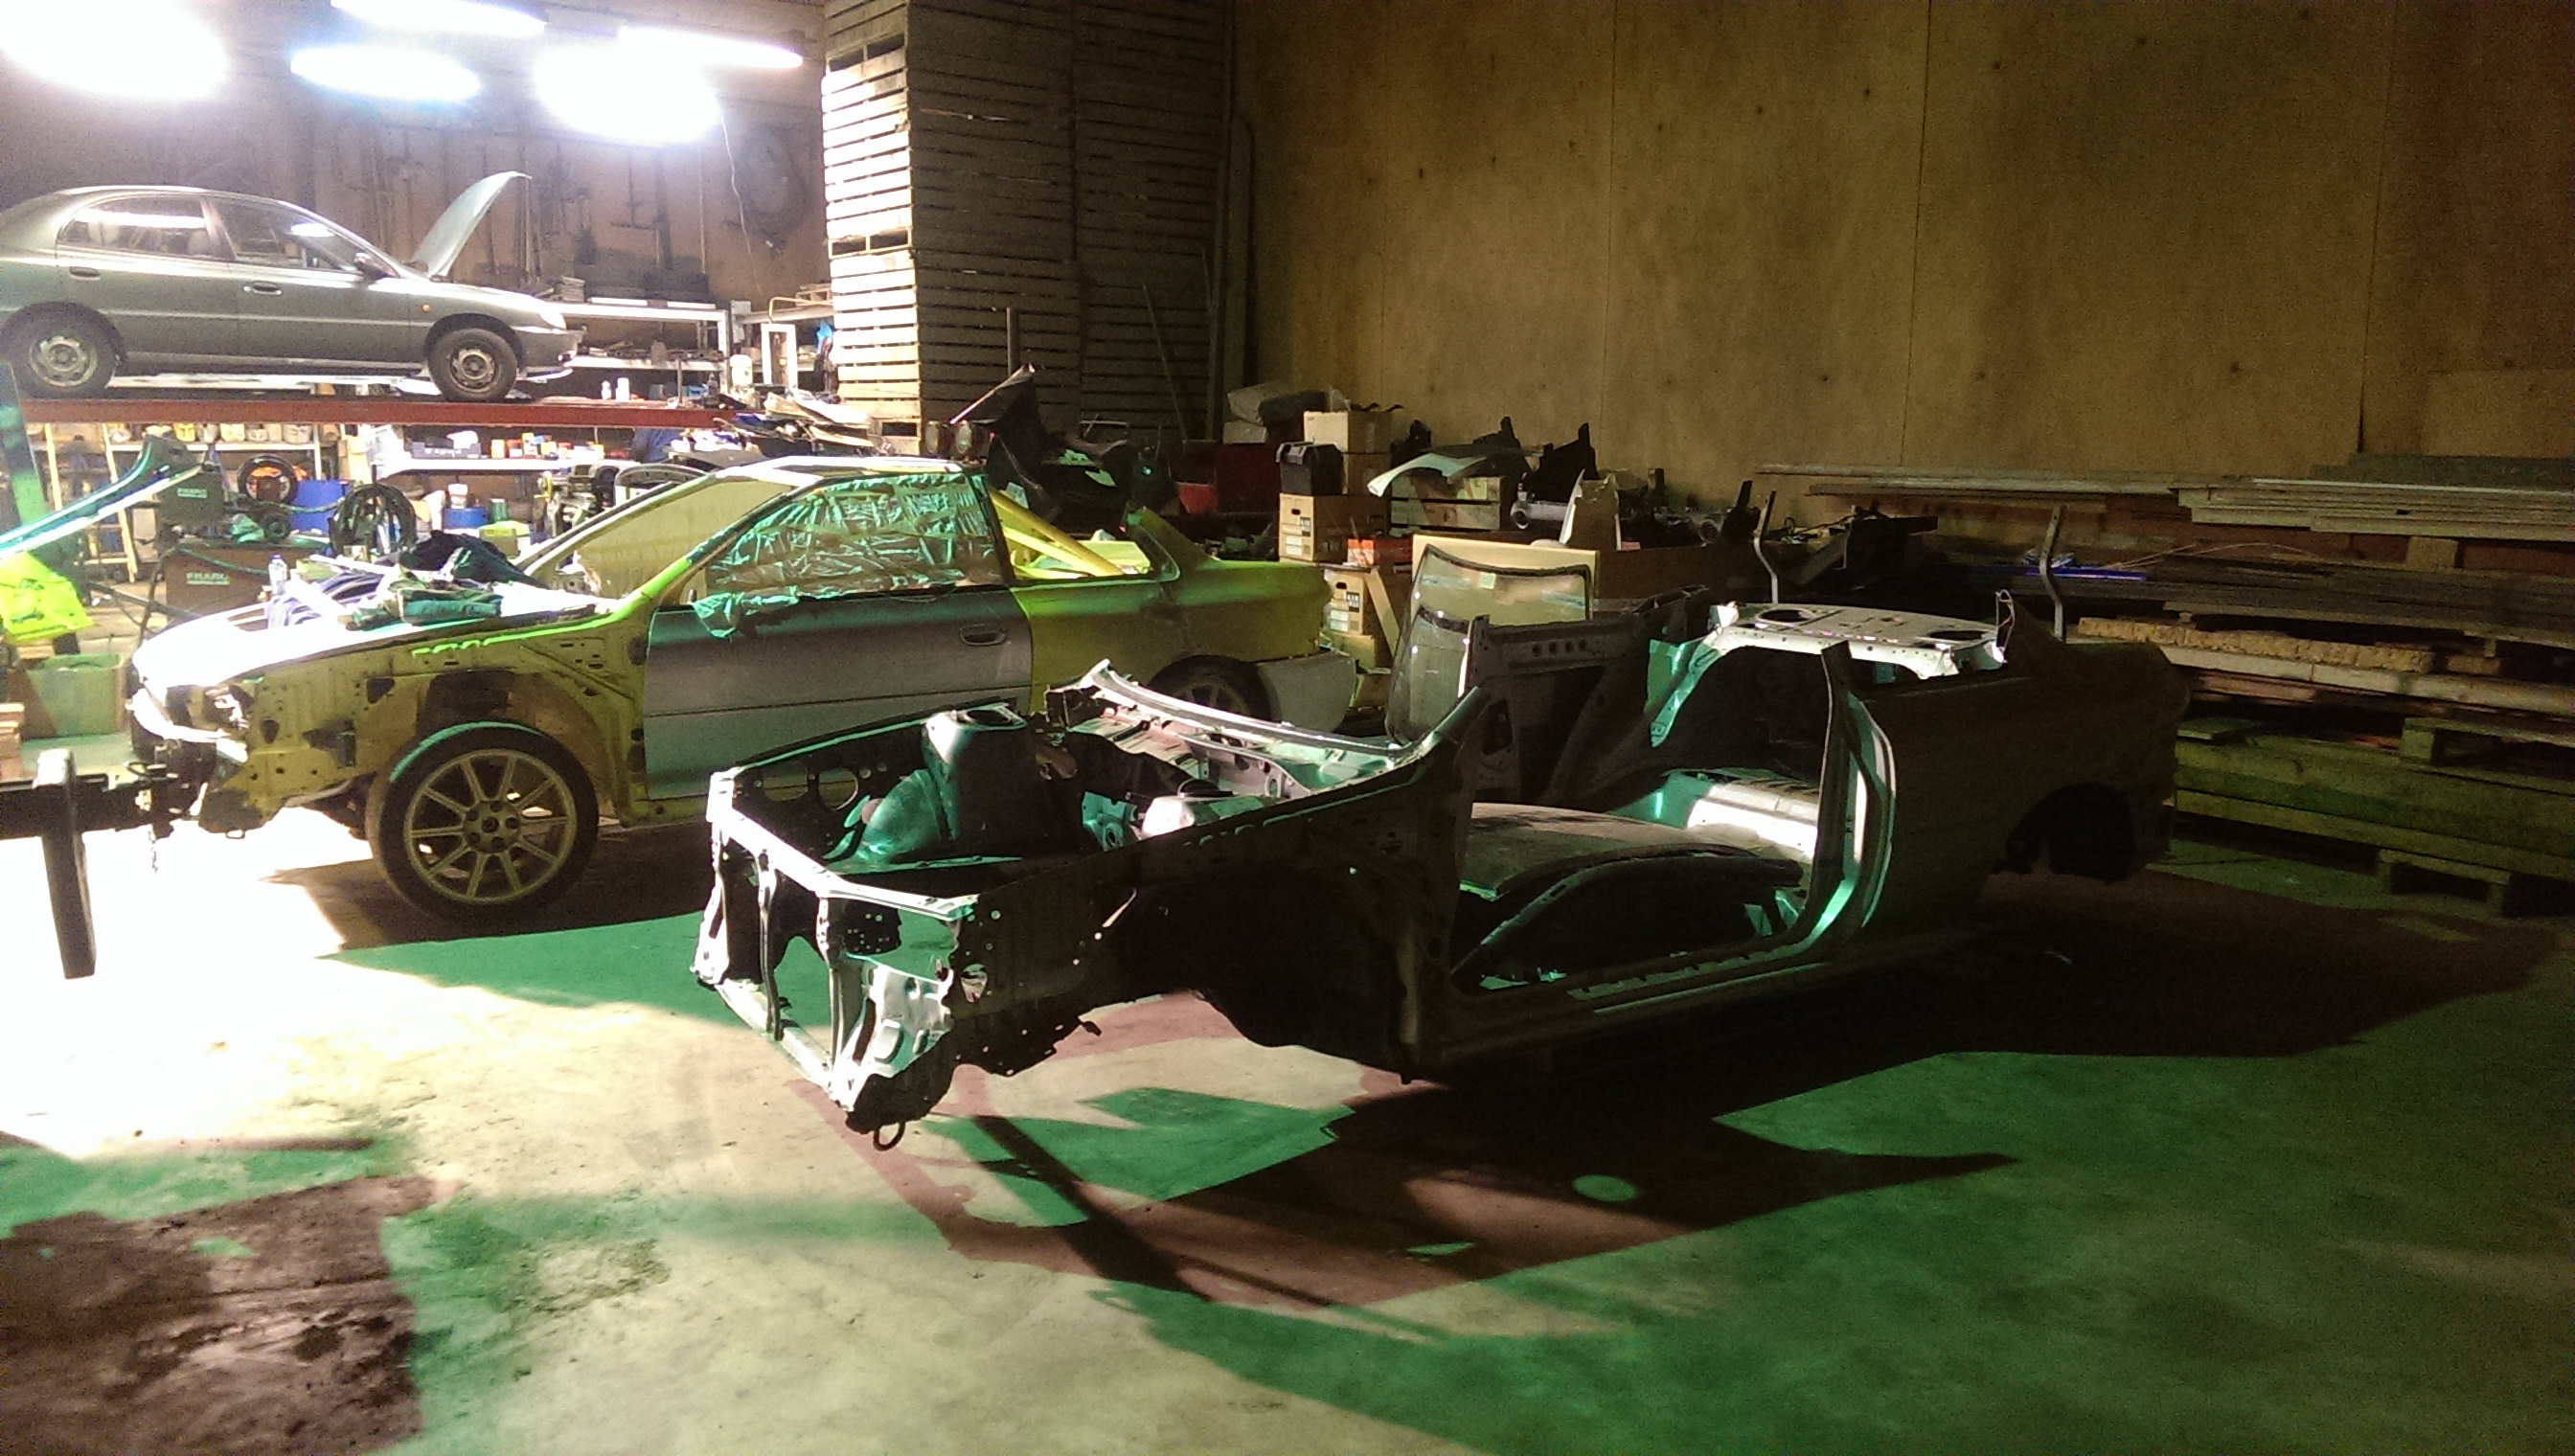
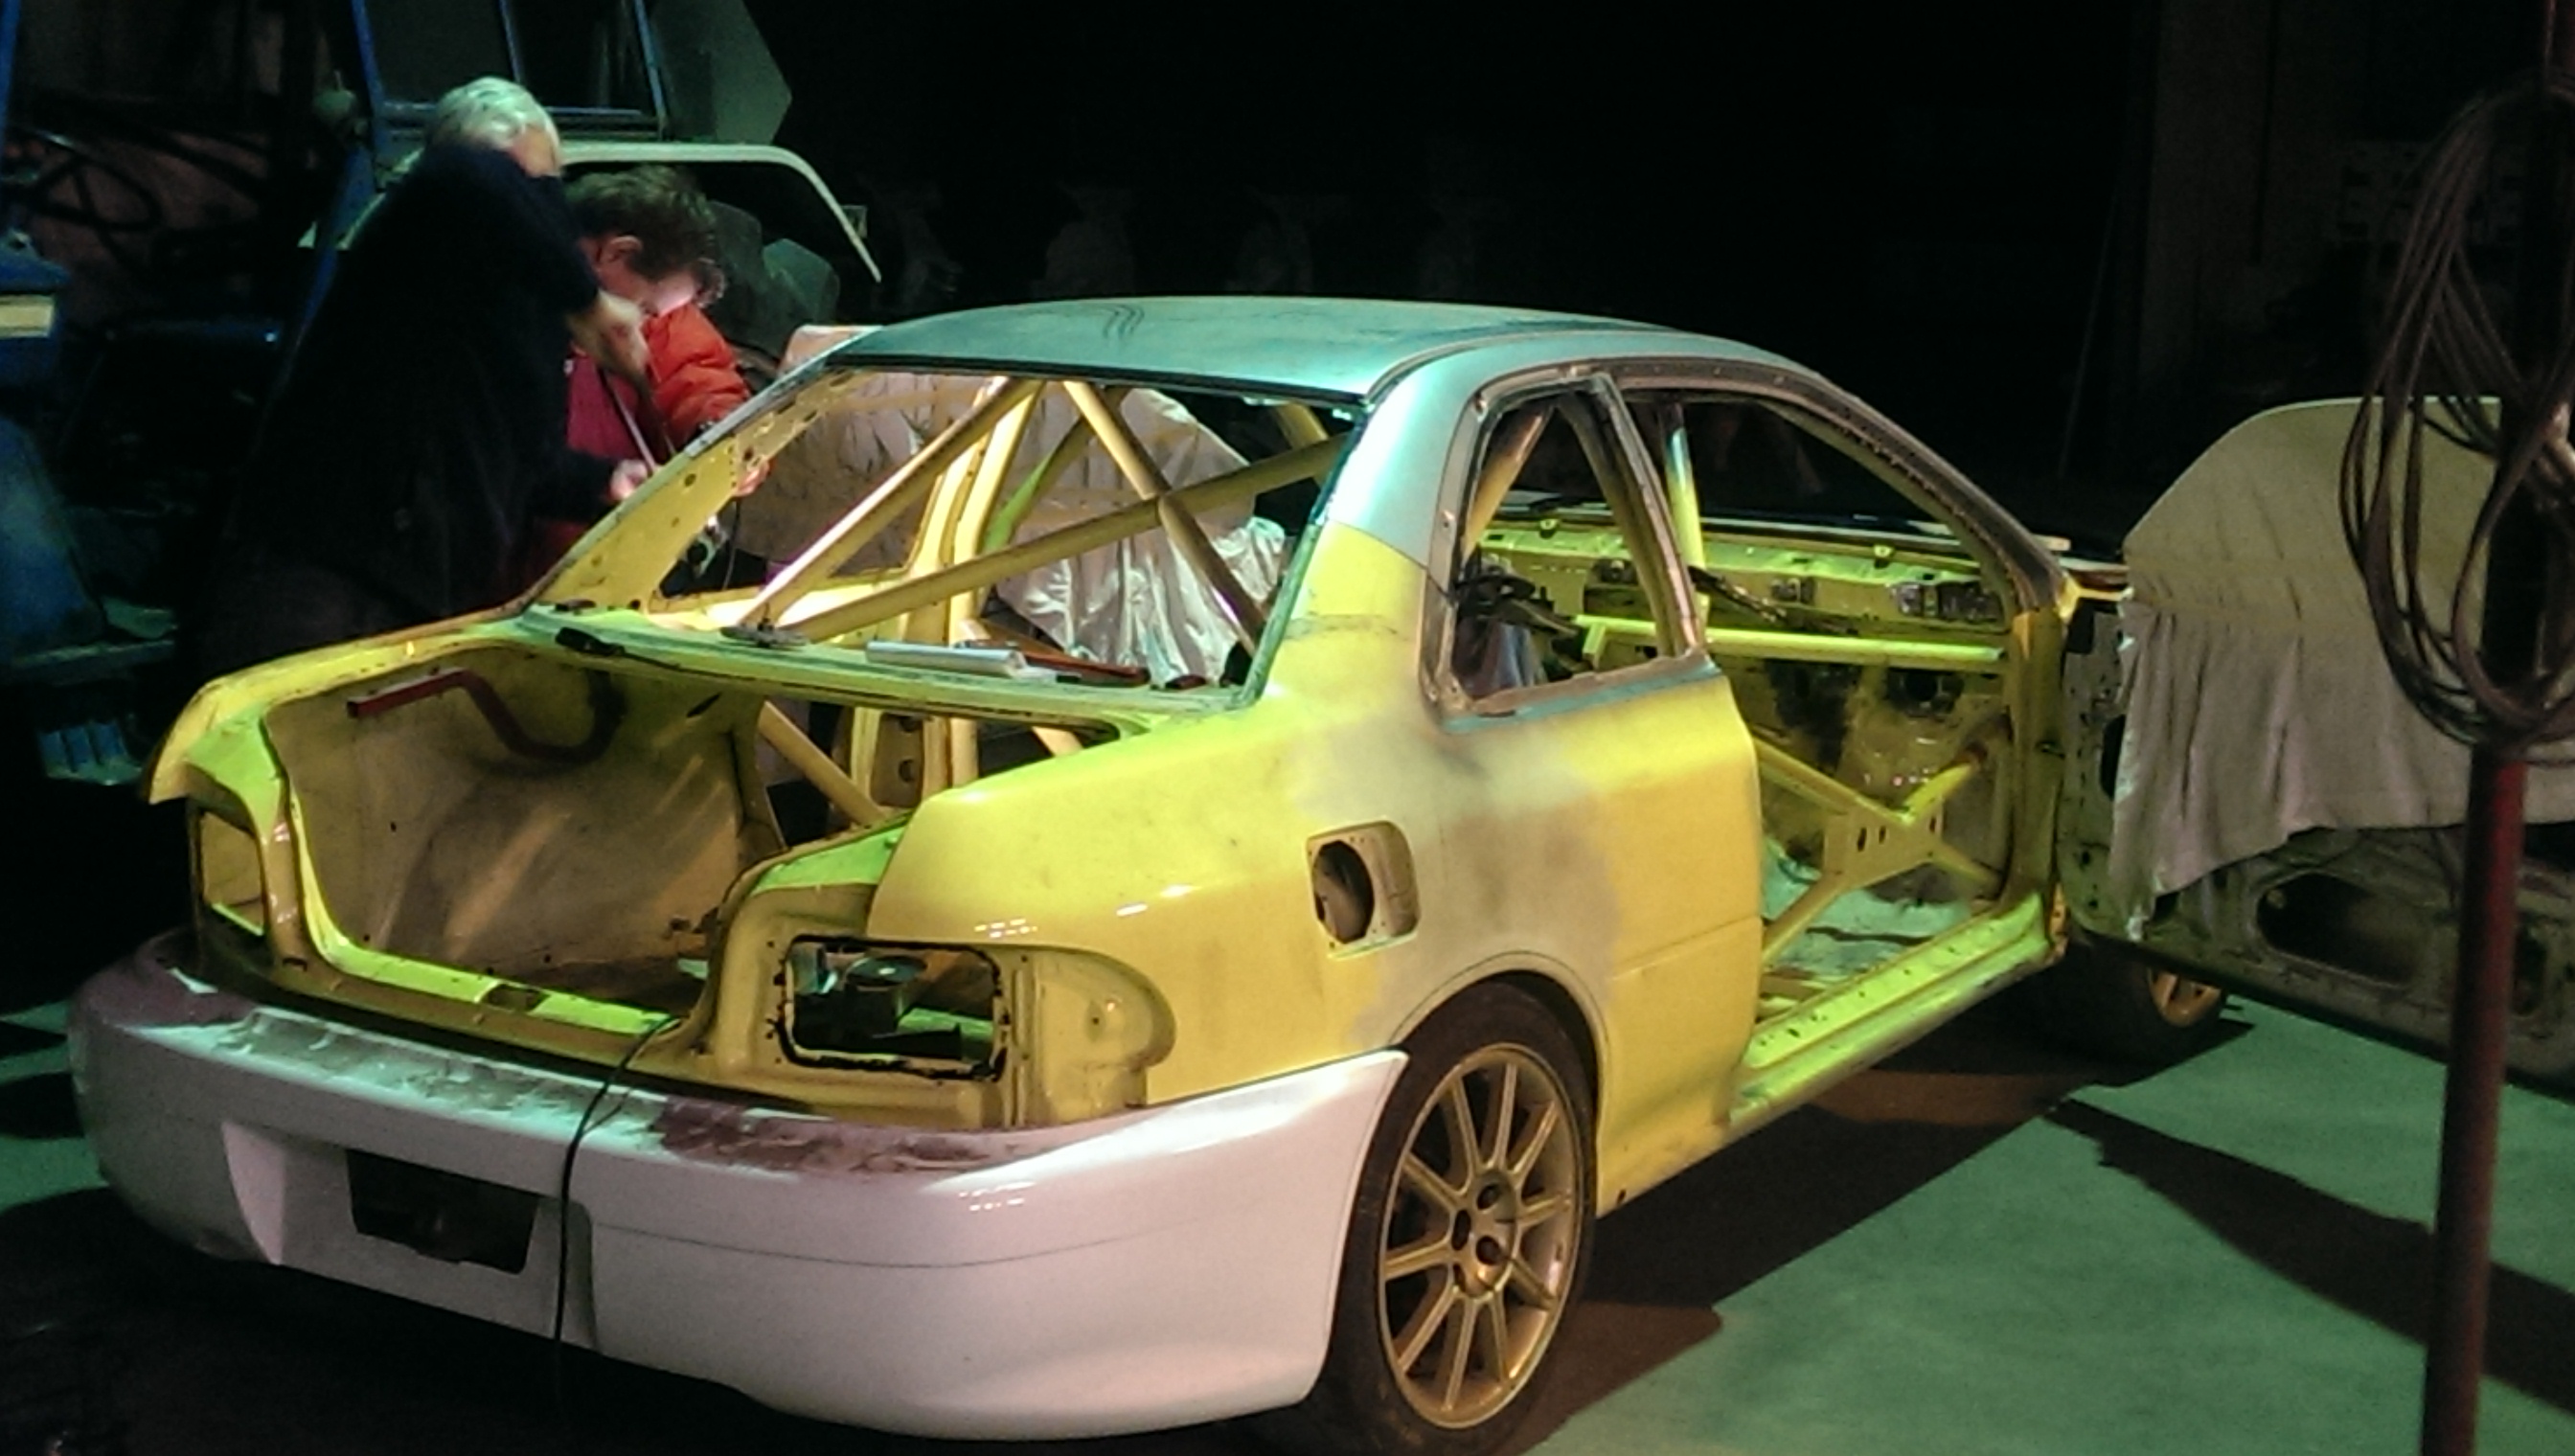
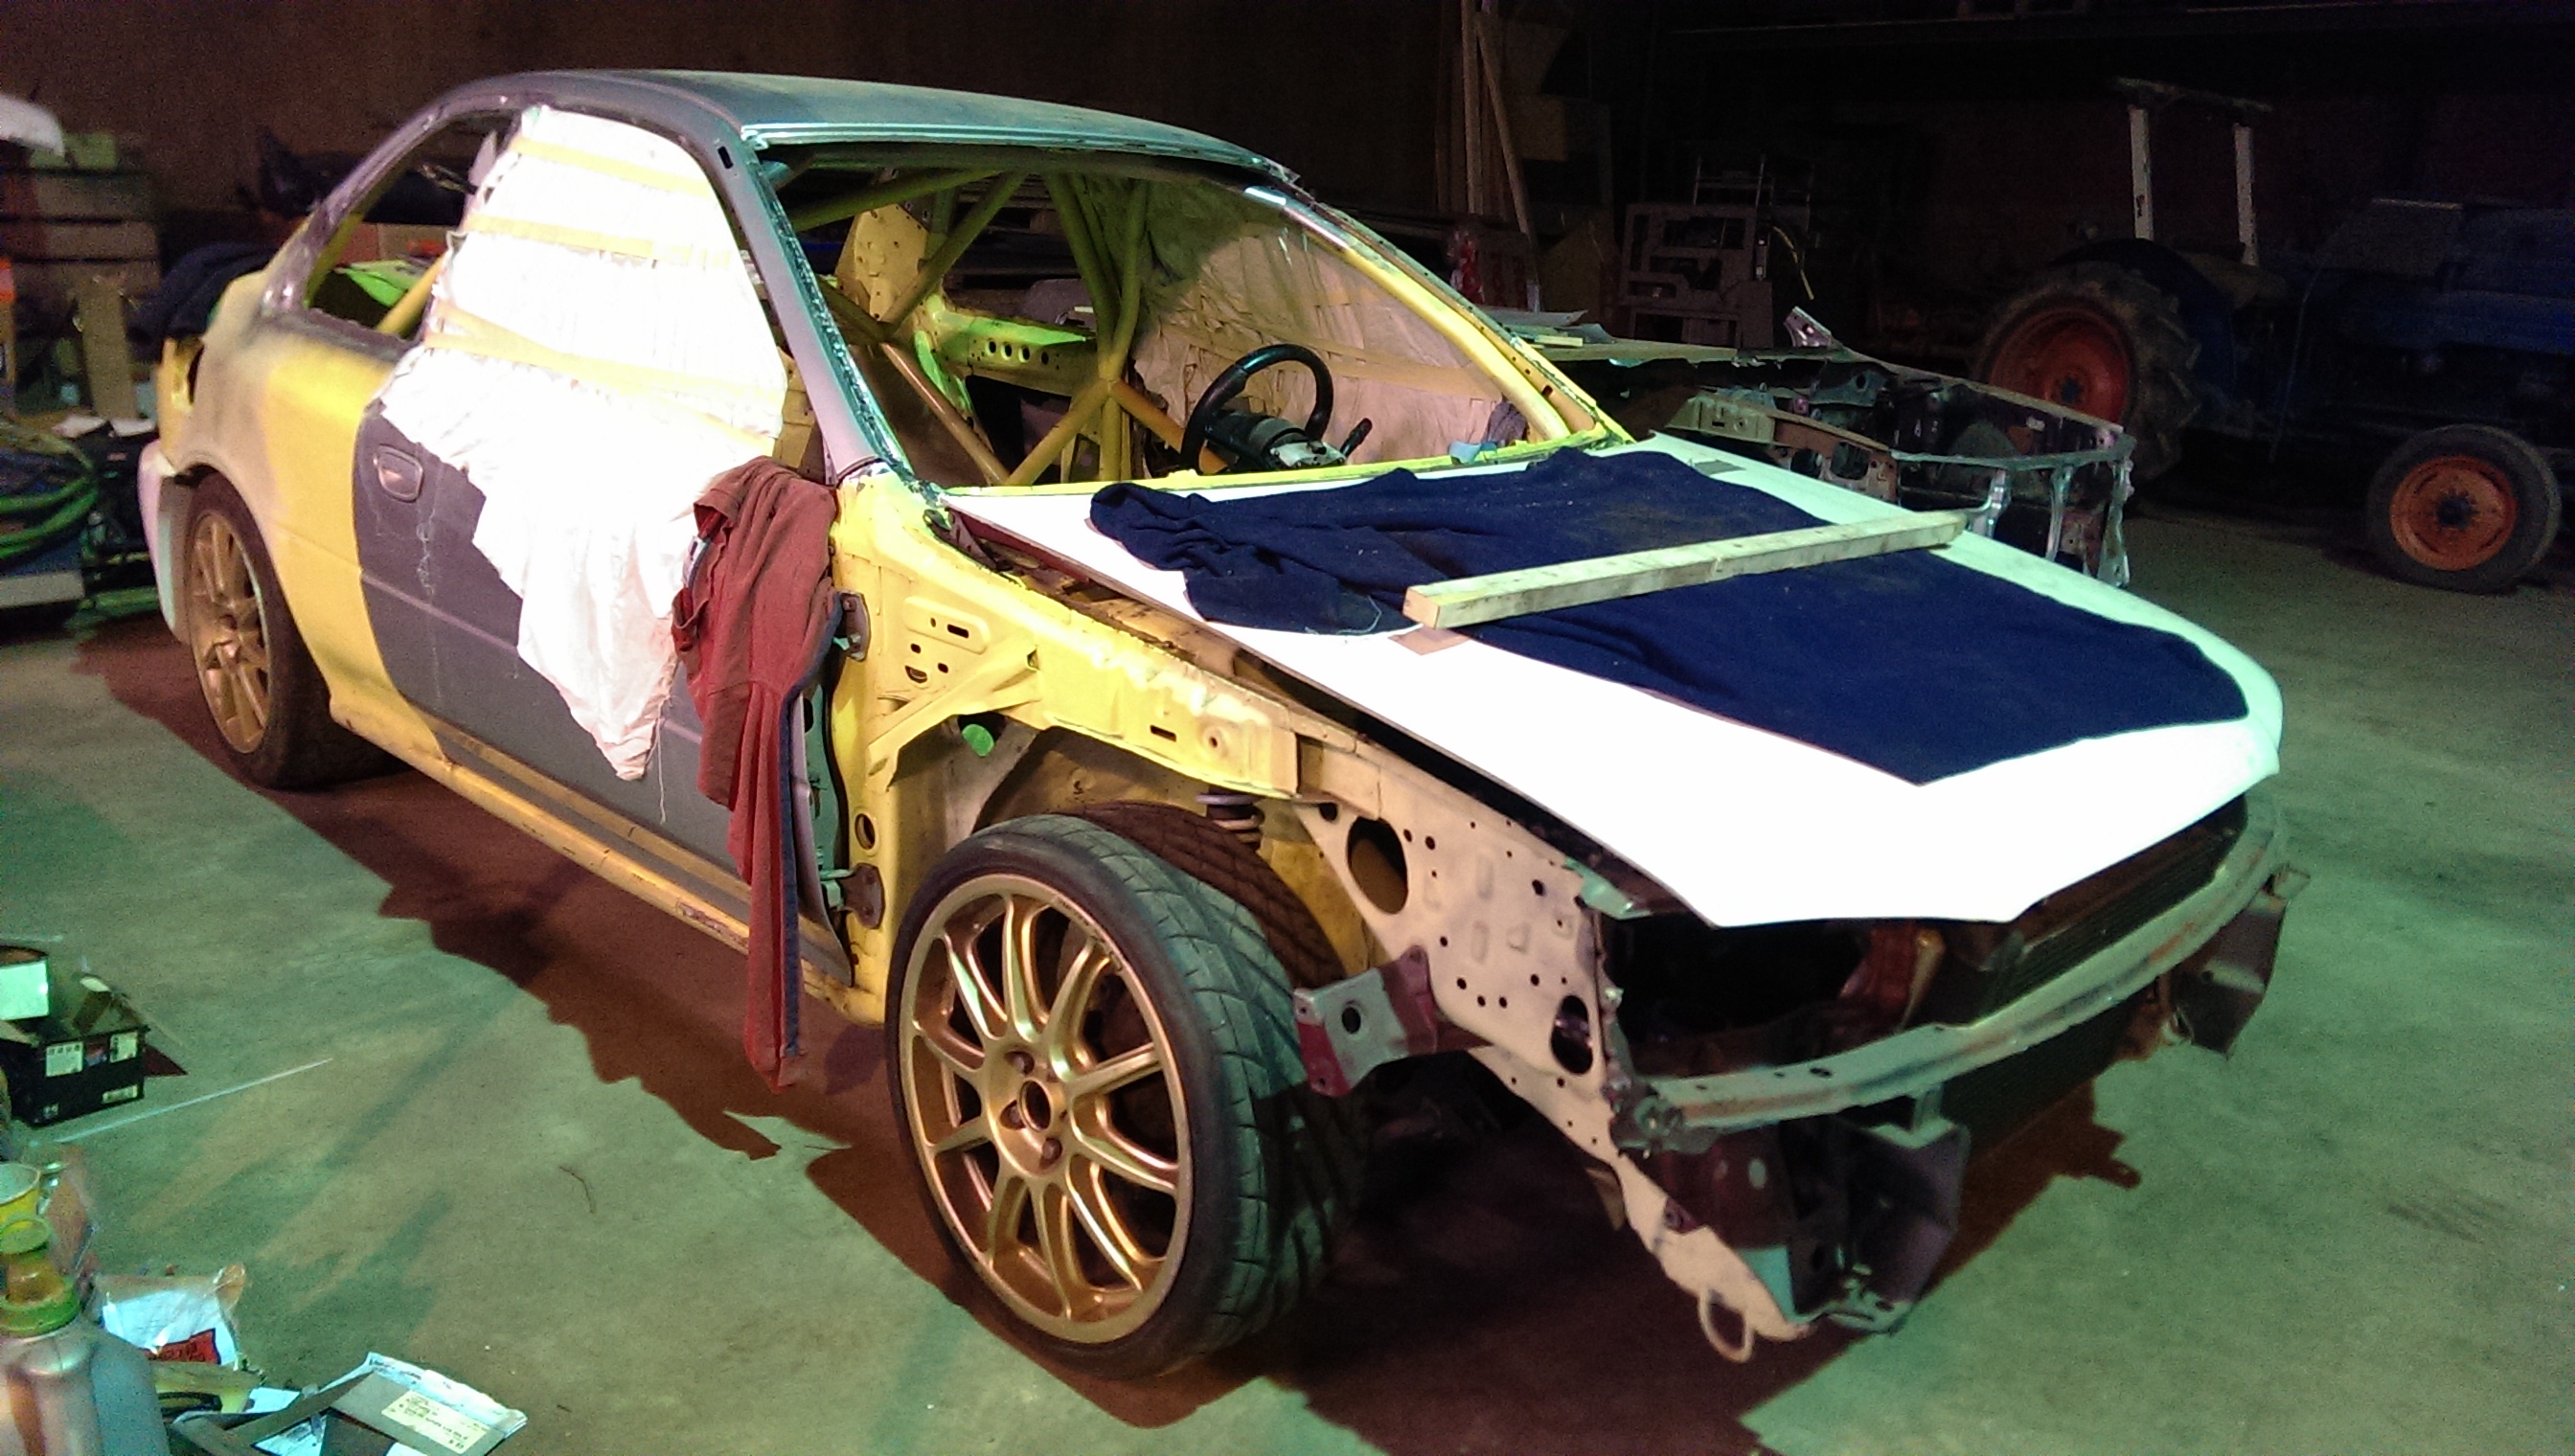
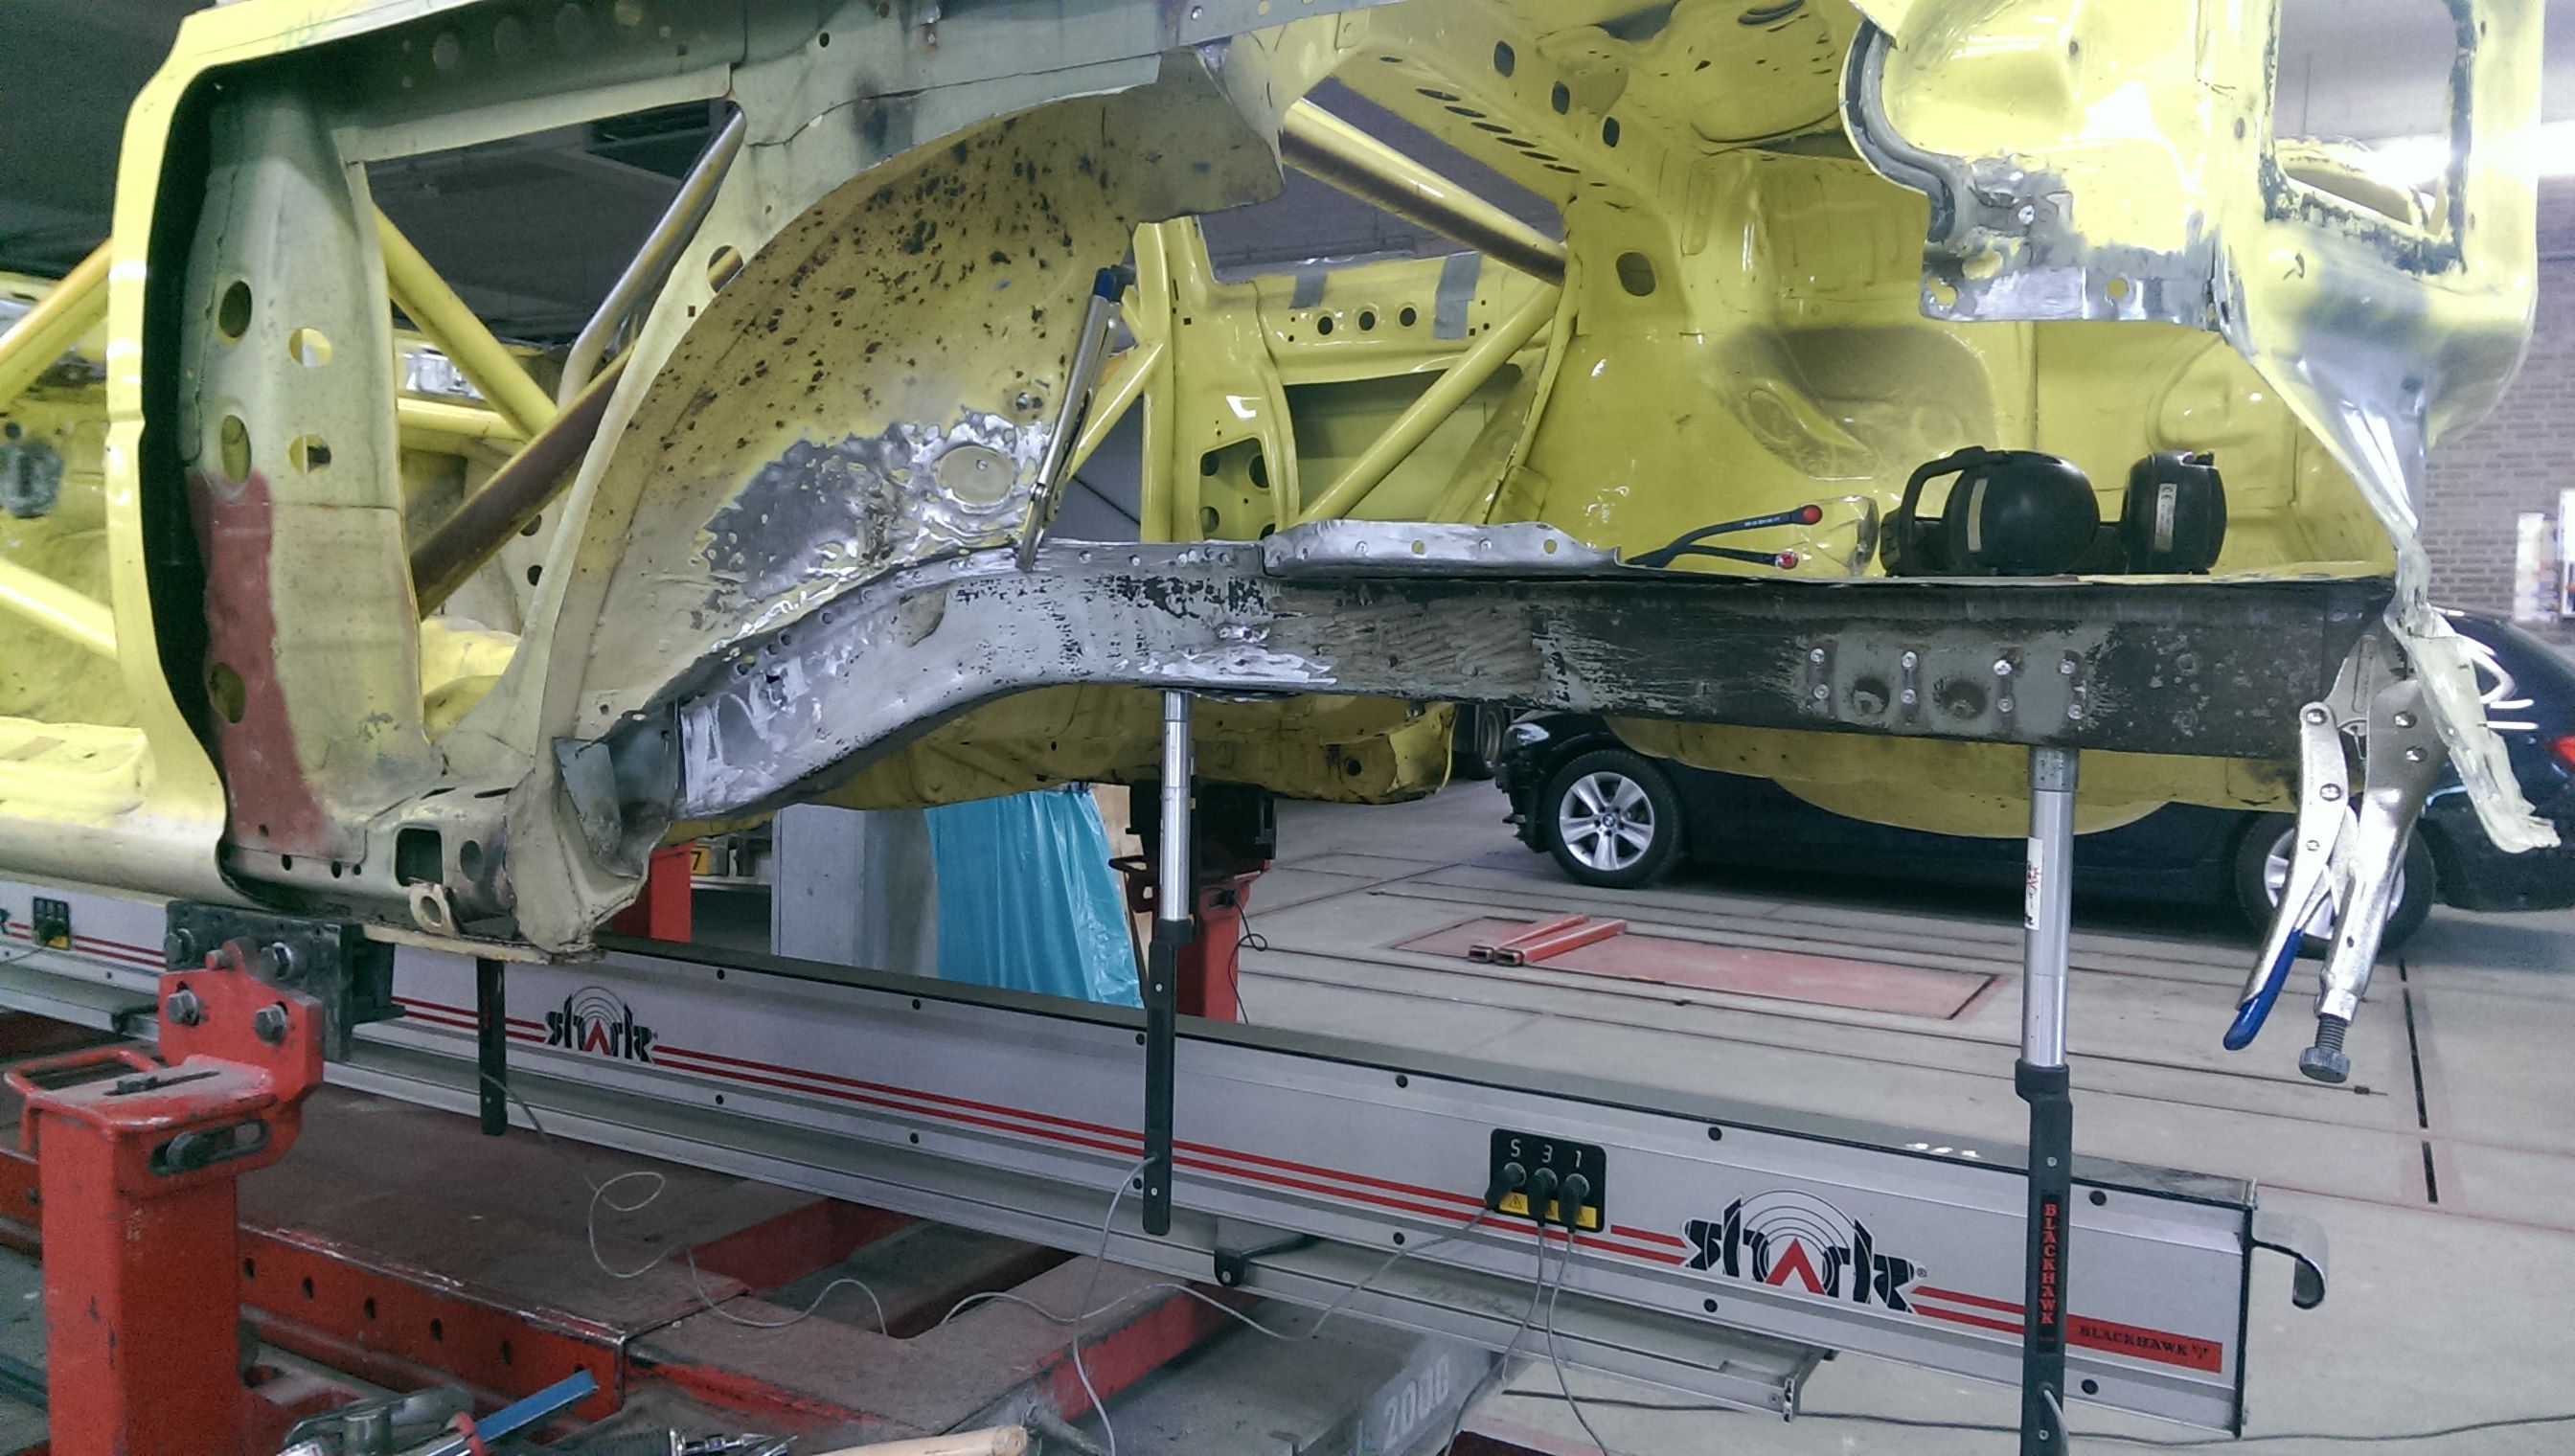
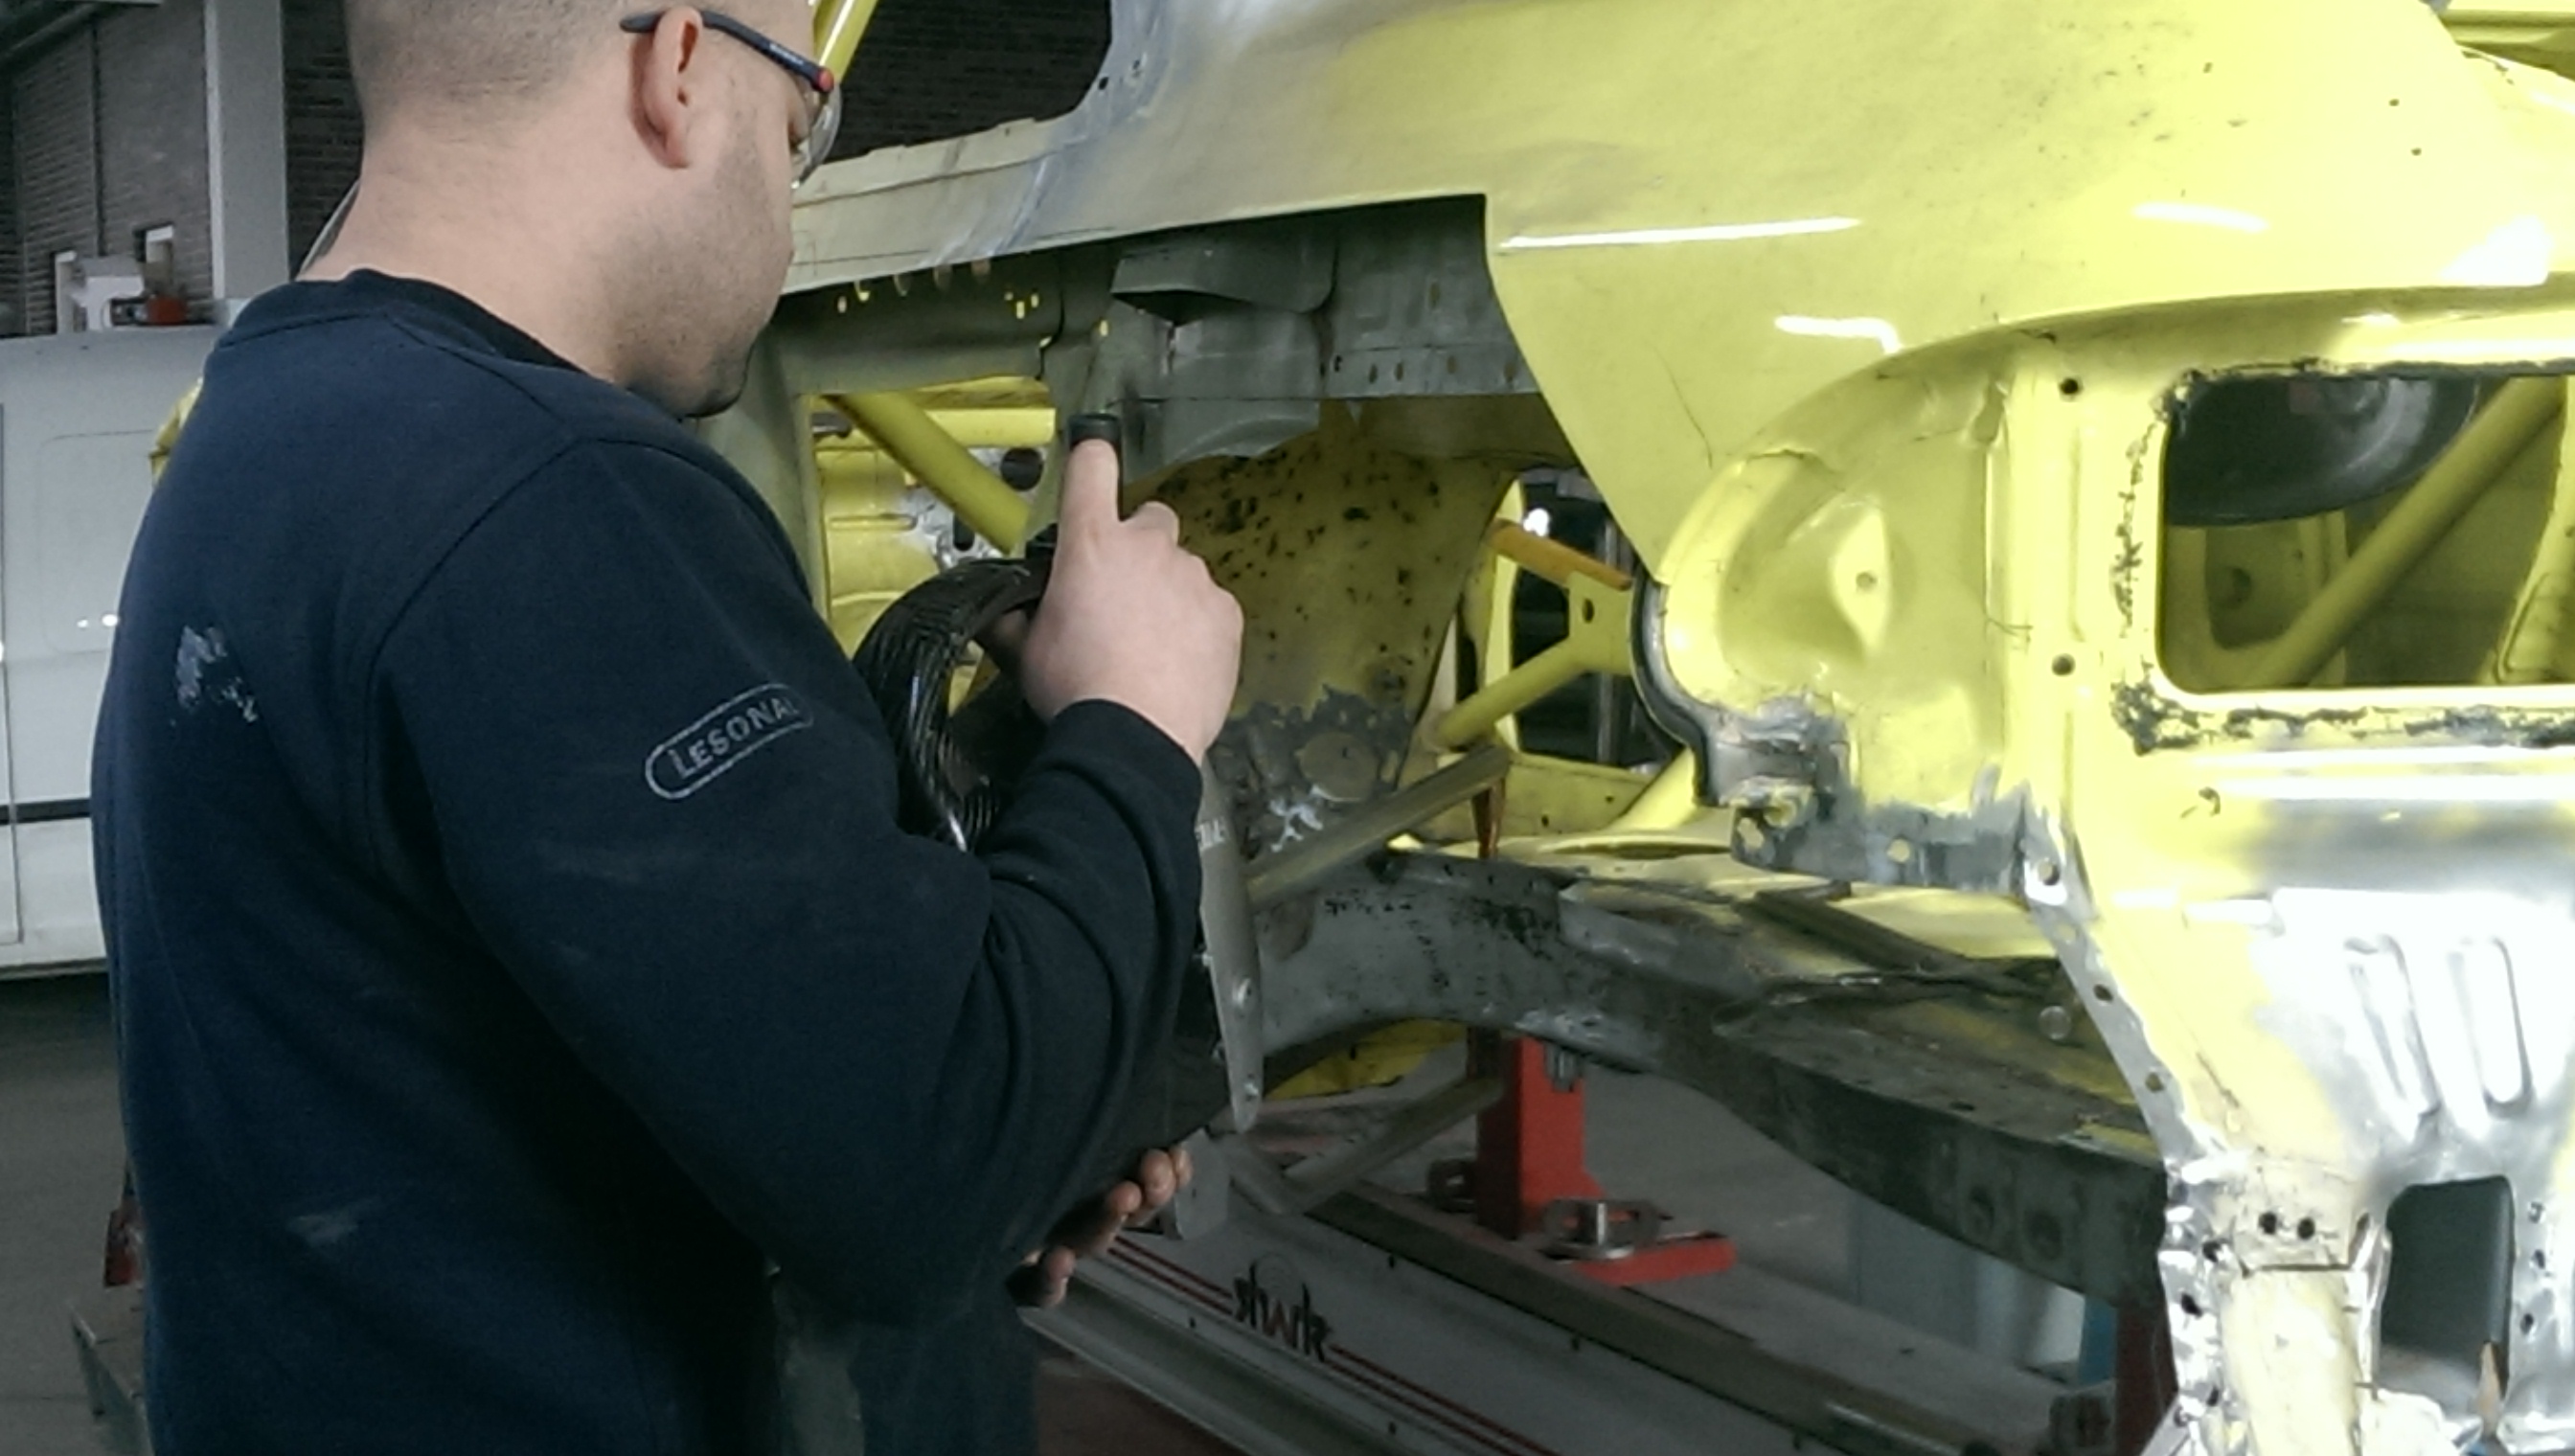
Thursday I started working on the Impreza again after 4 years.
Unfortunatly the chassis I bought was more damaged than I was told so I still have much bodywork to do.
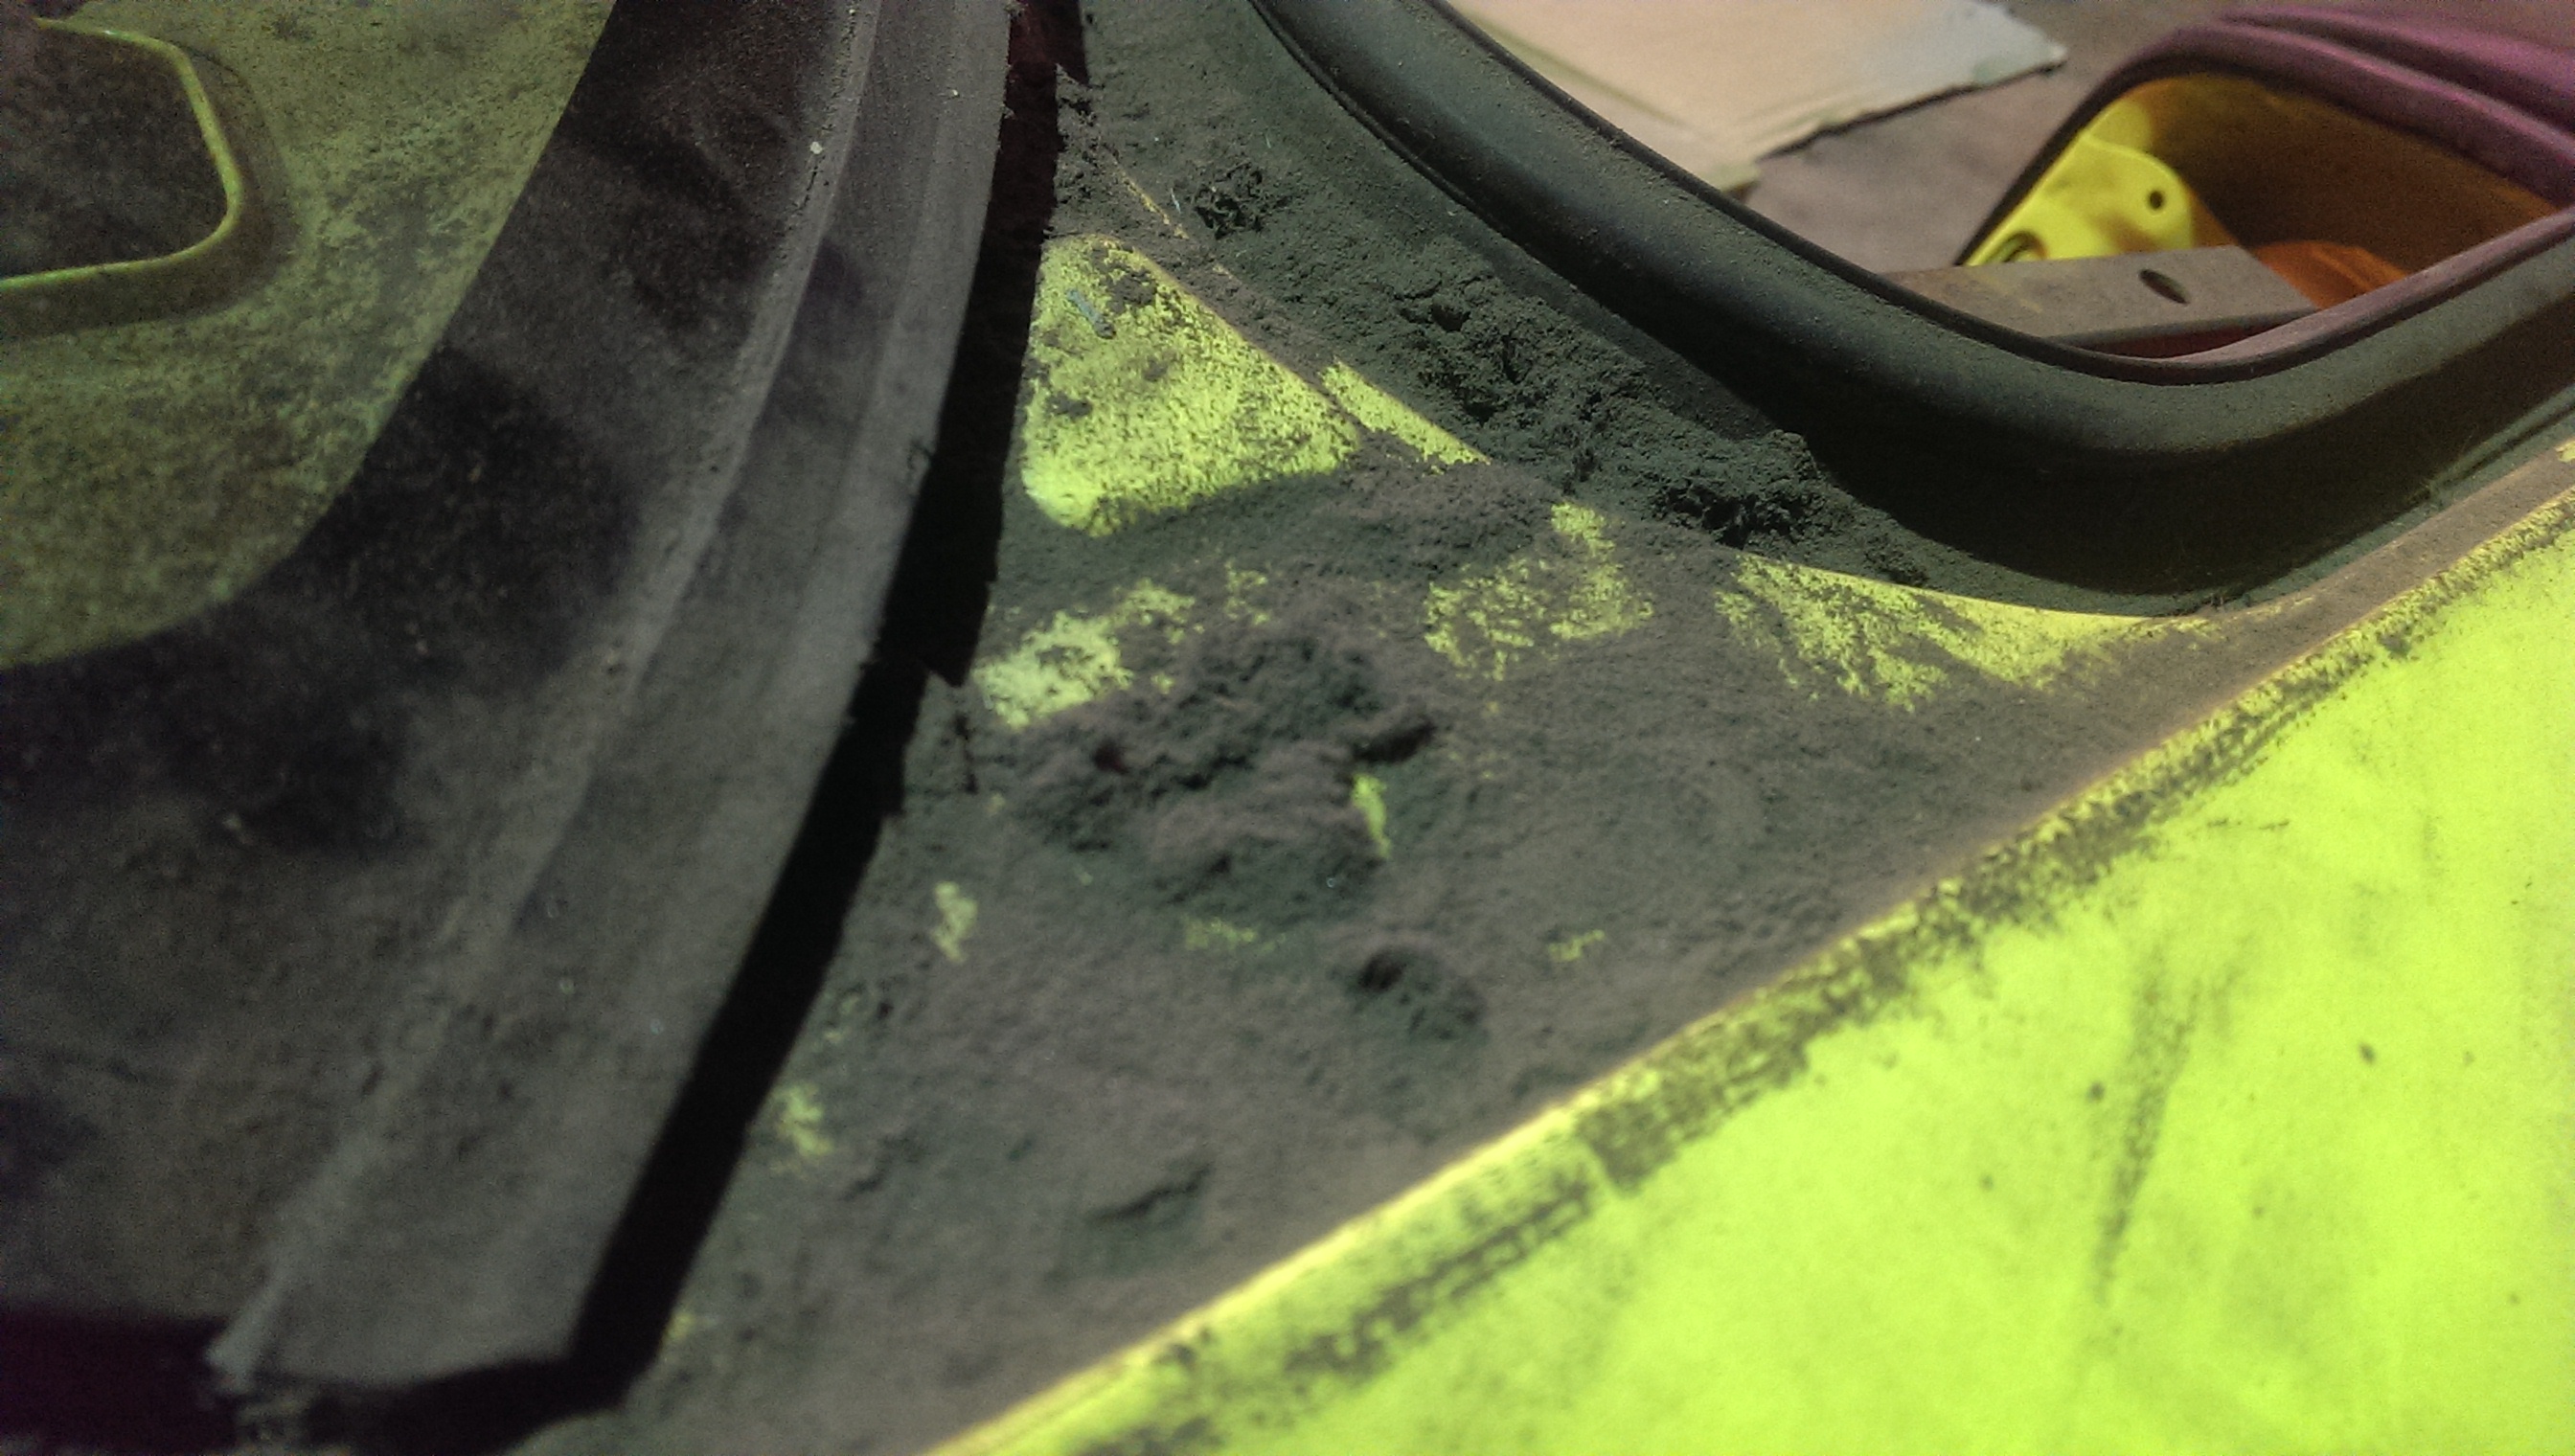
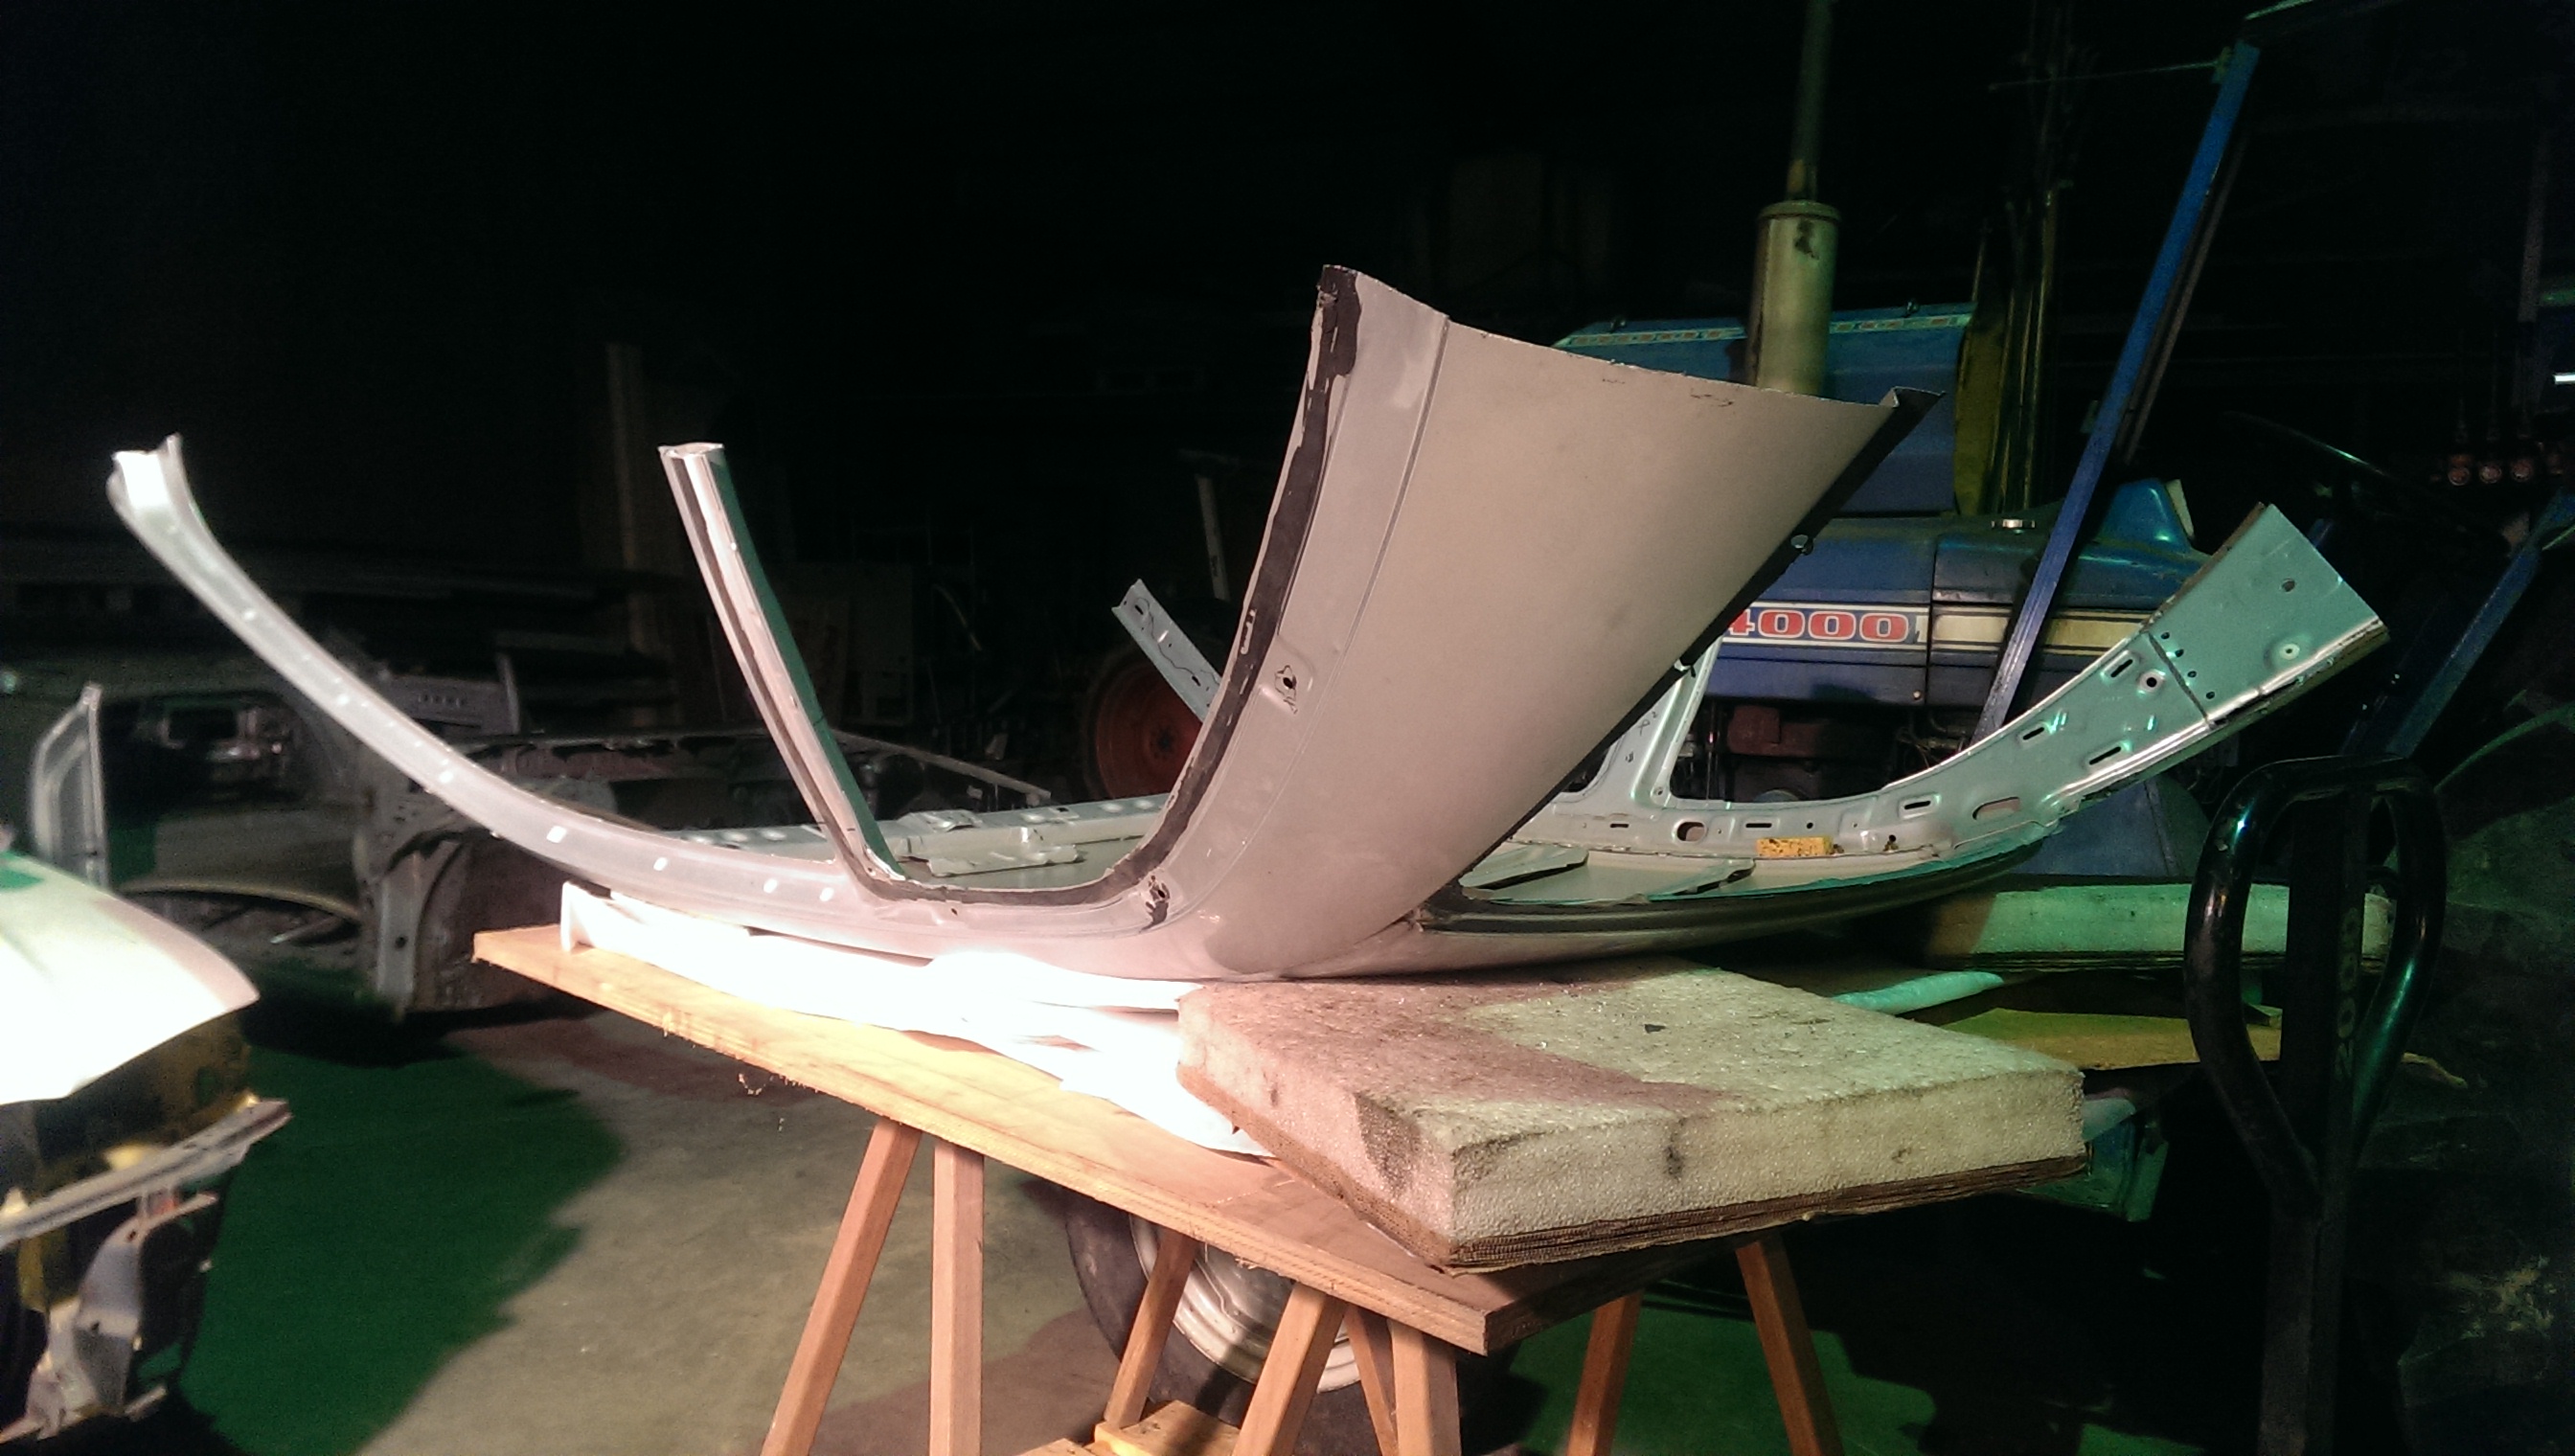
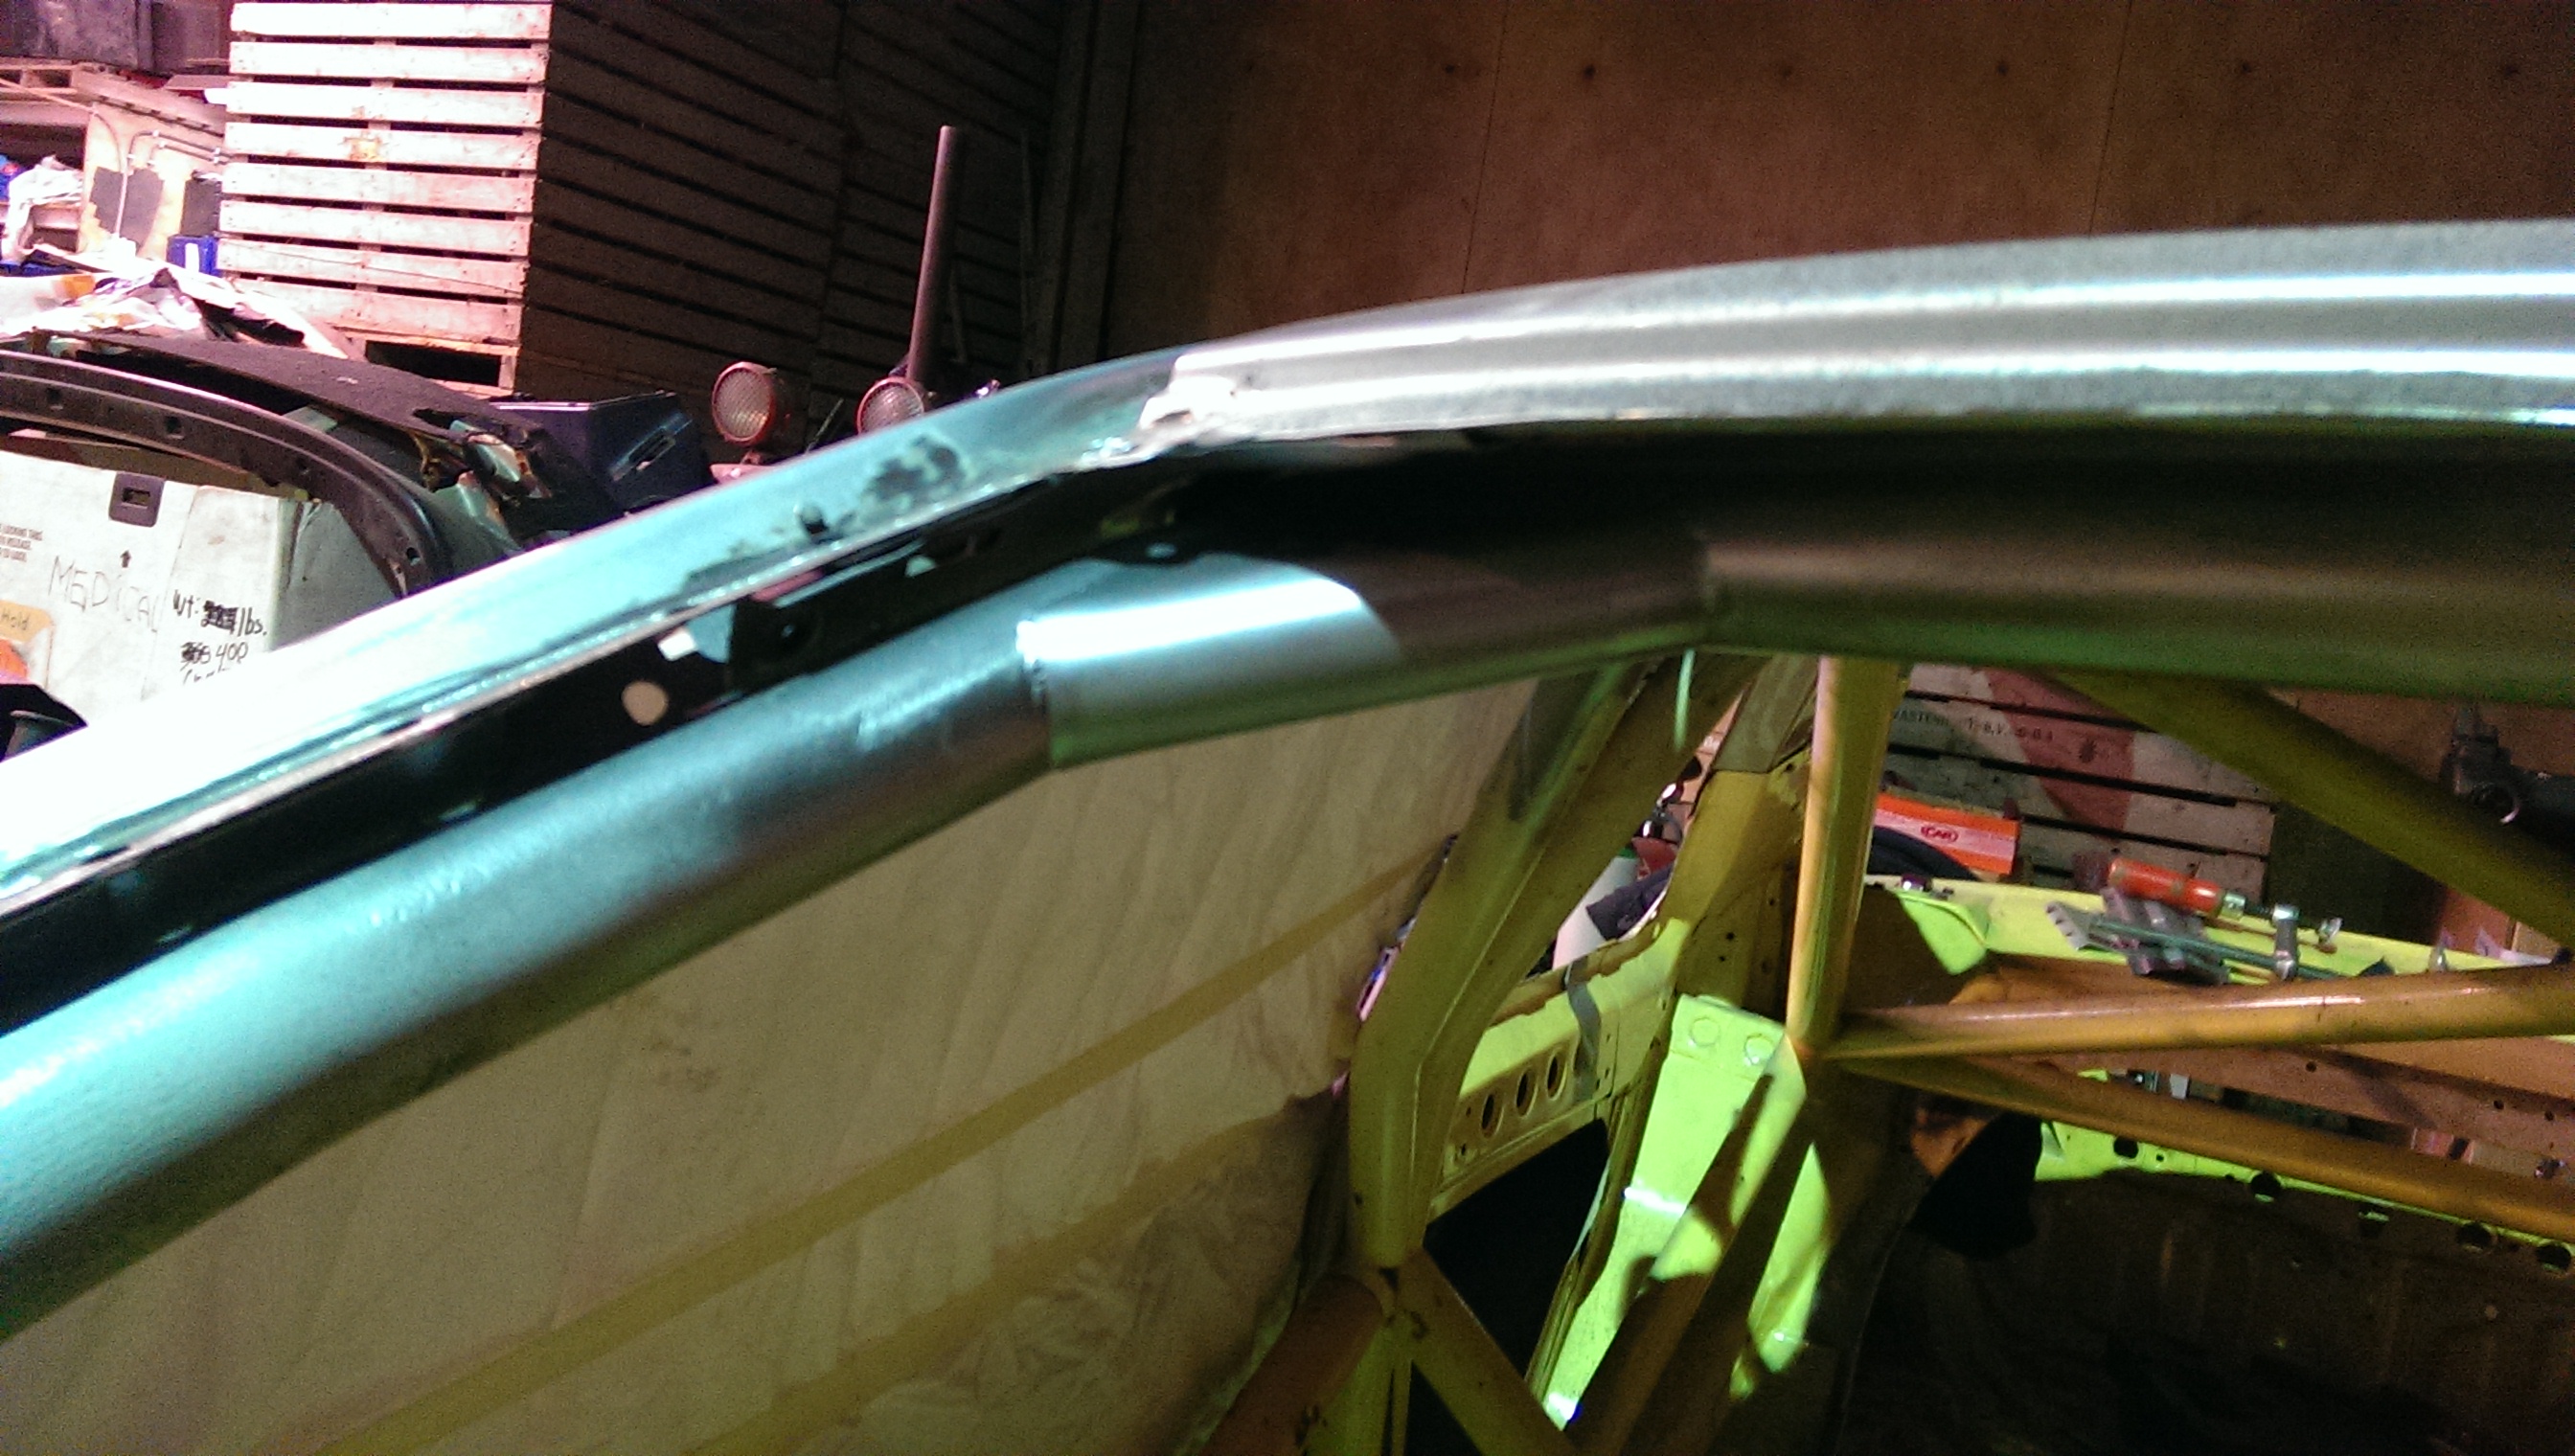
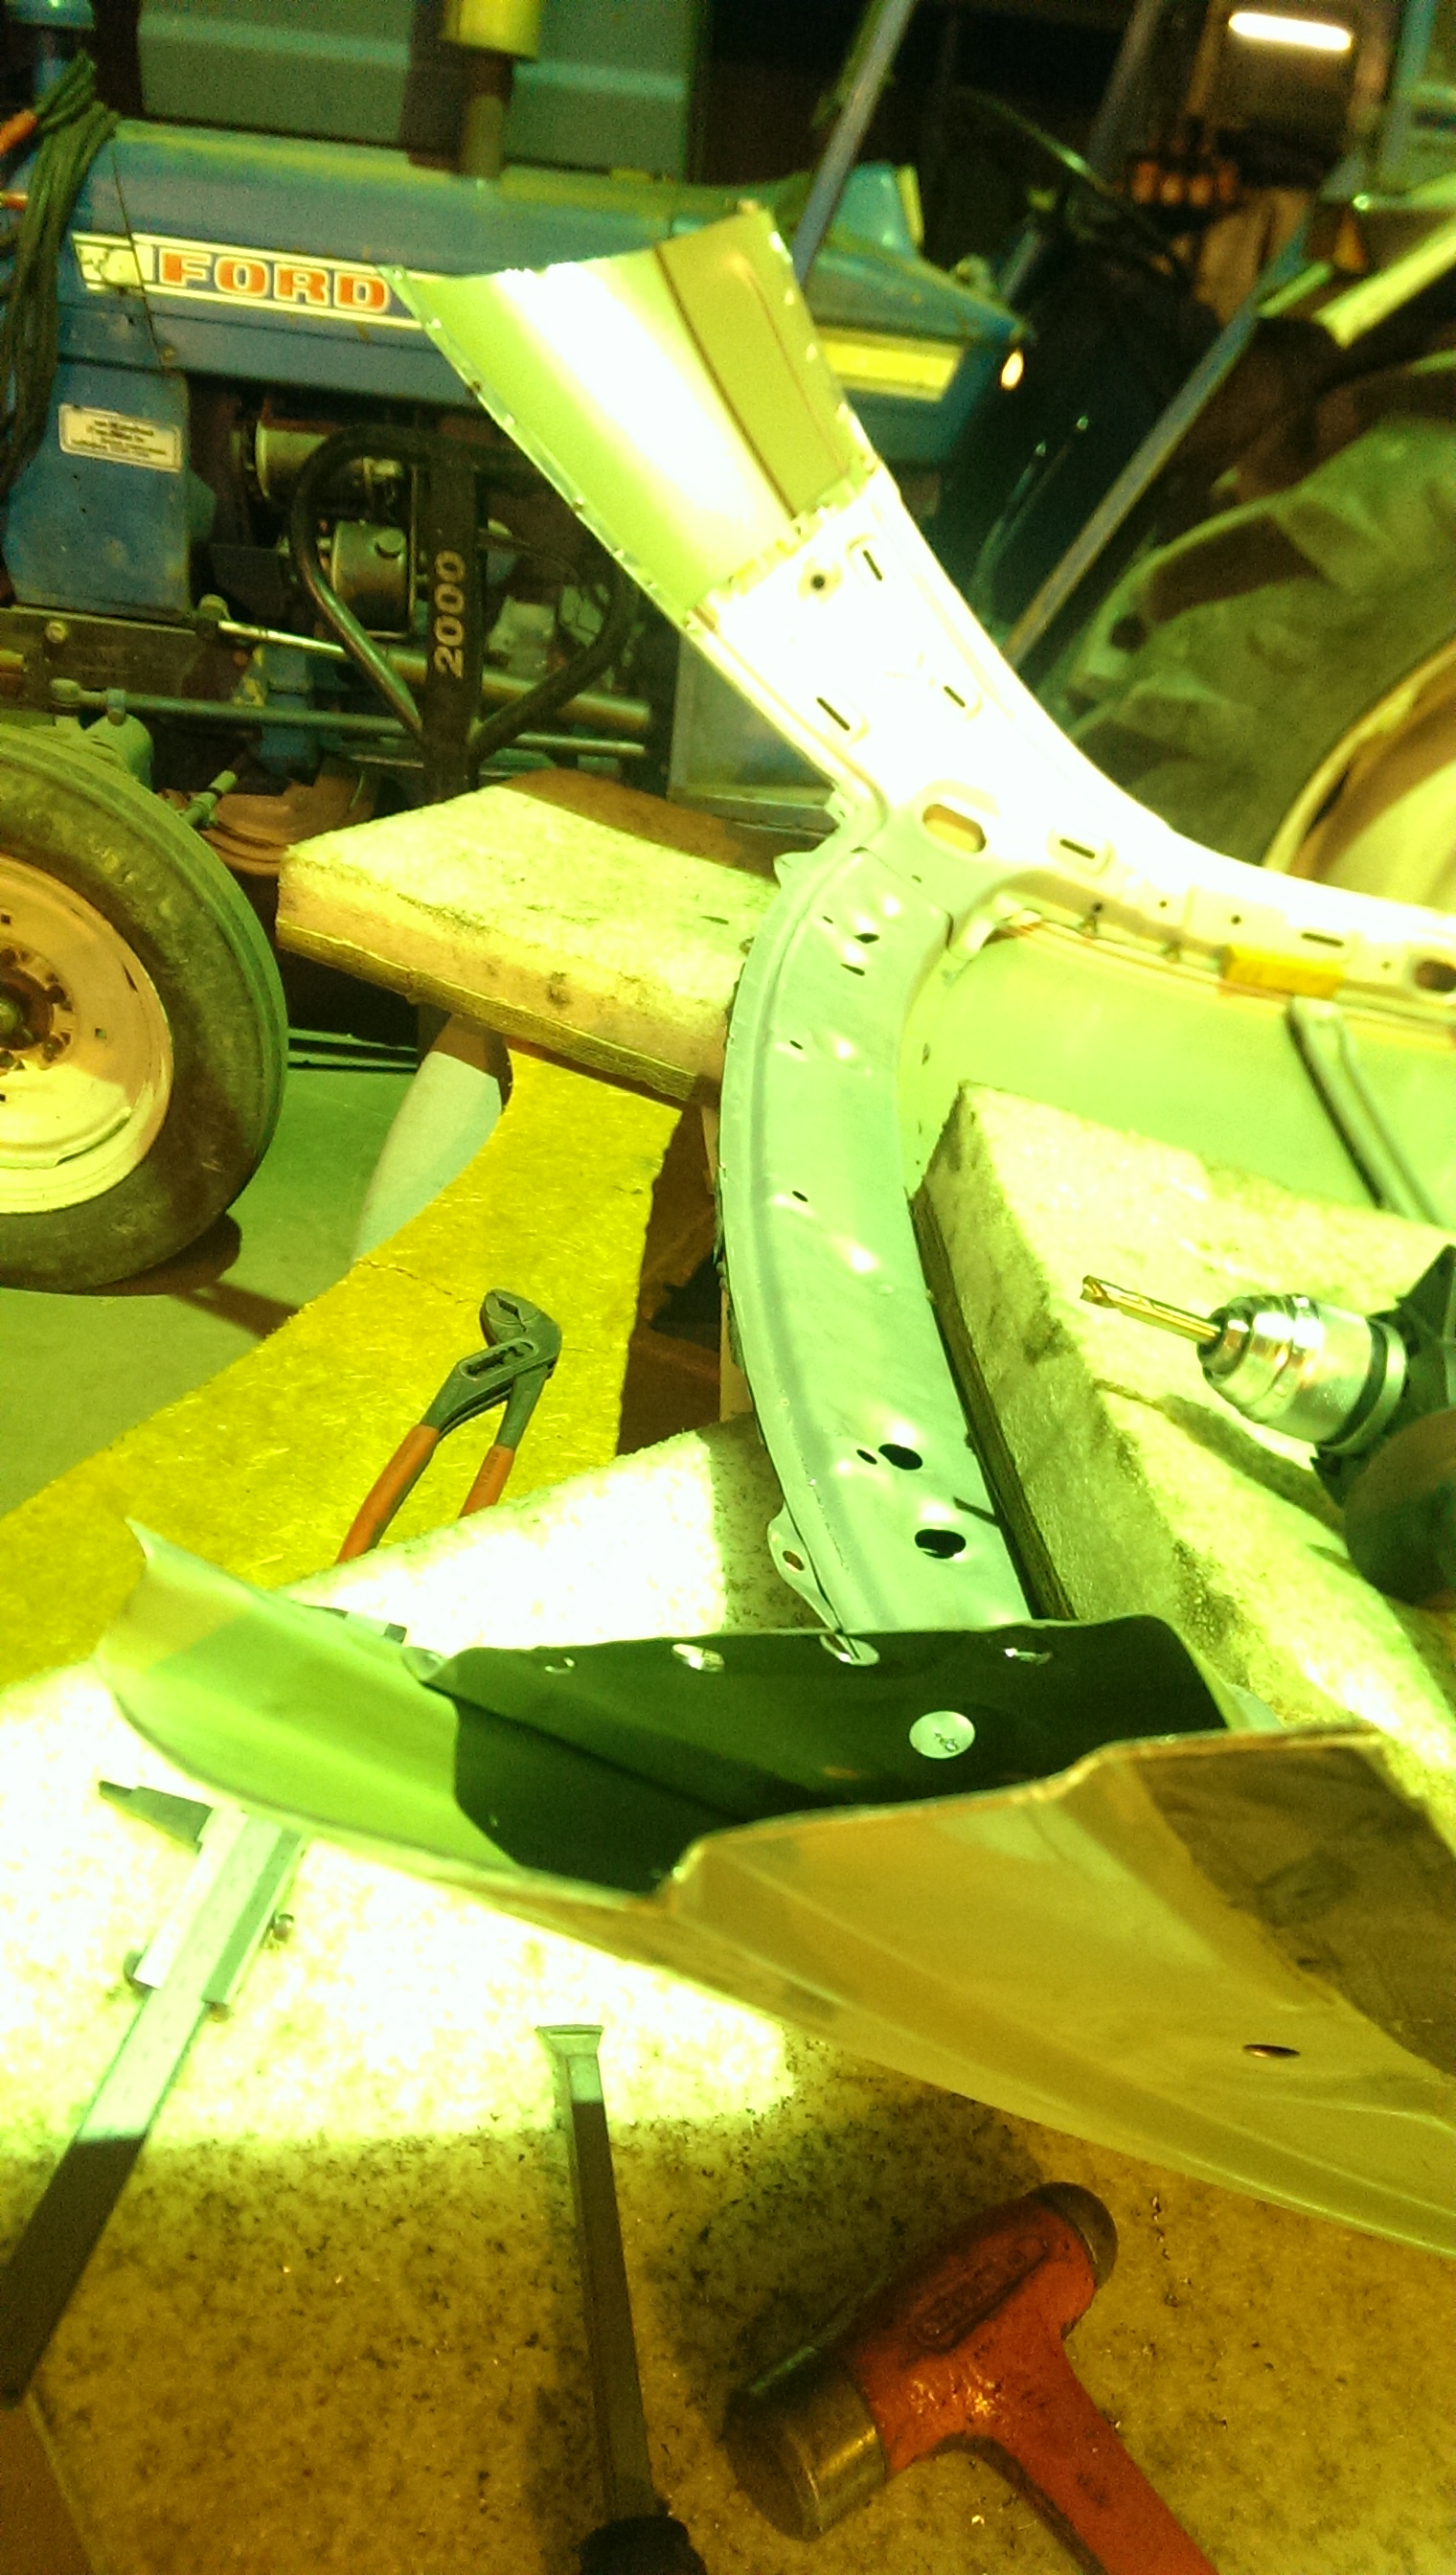
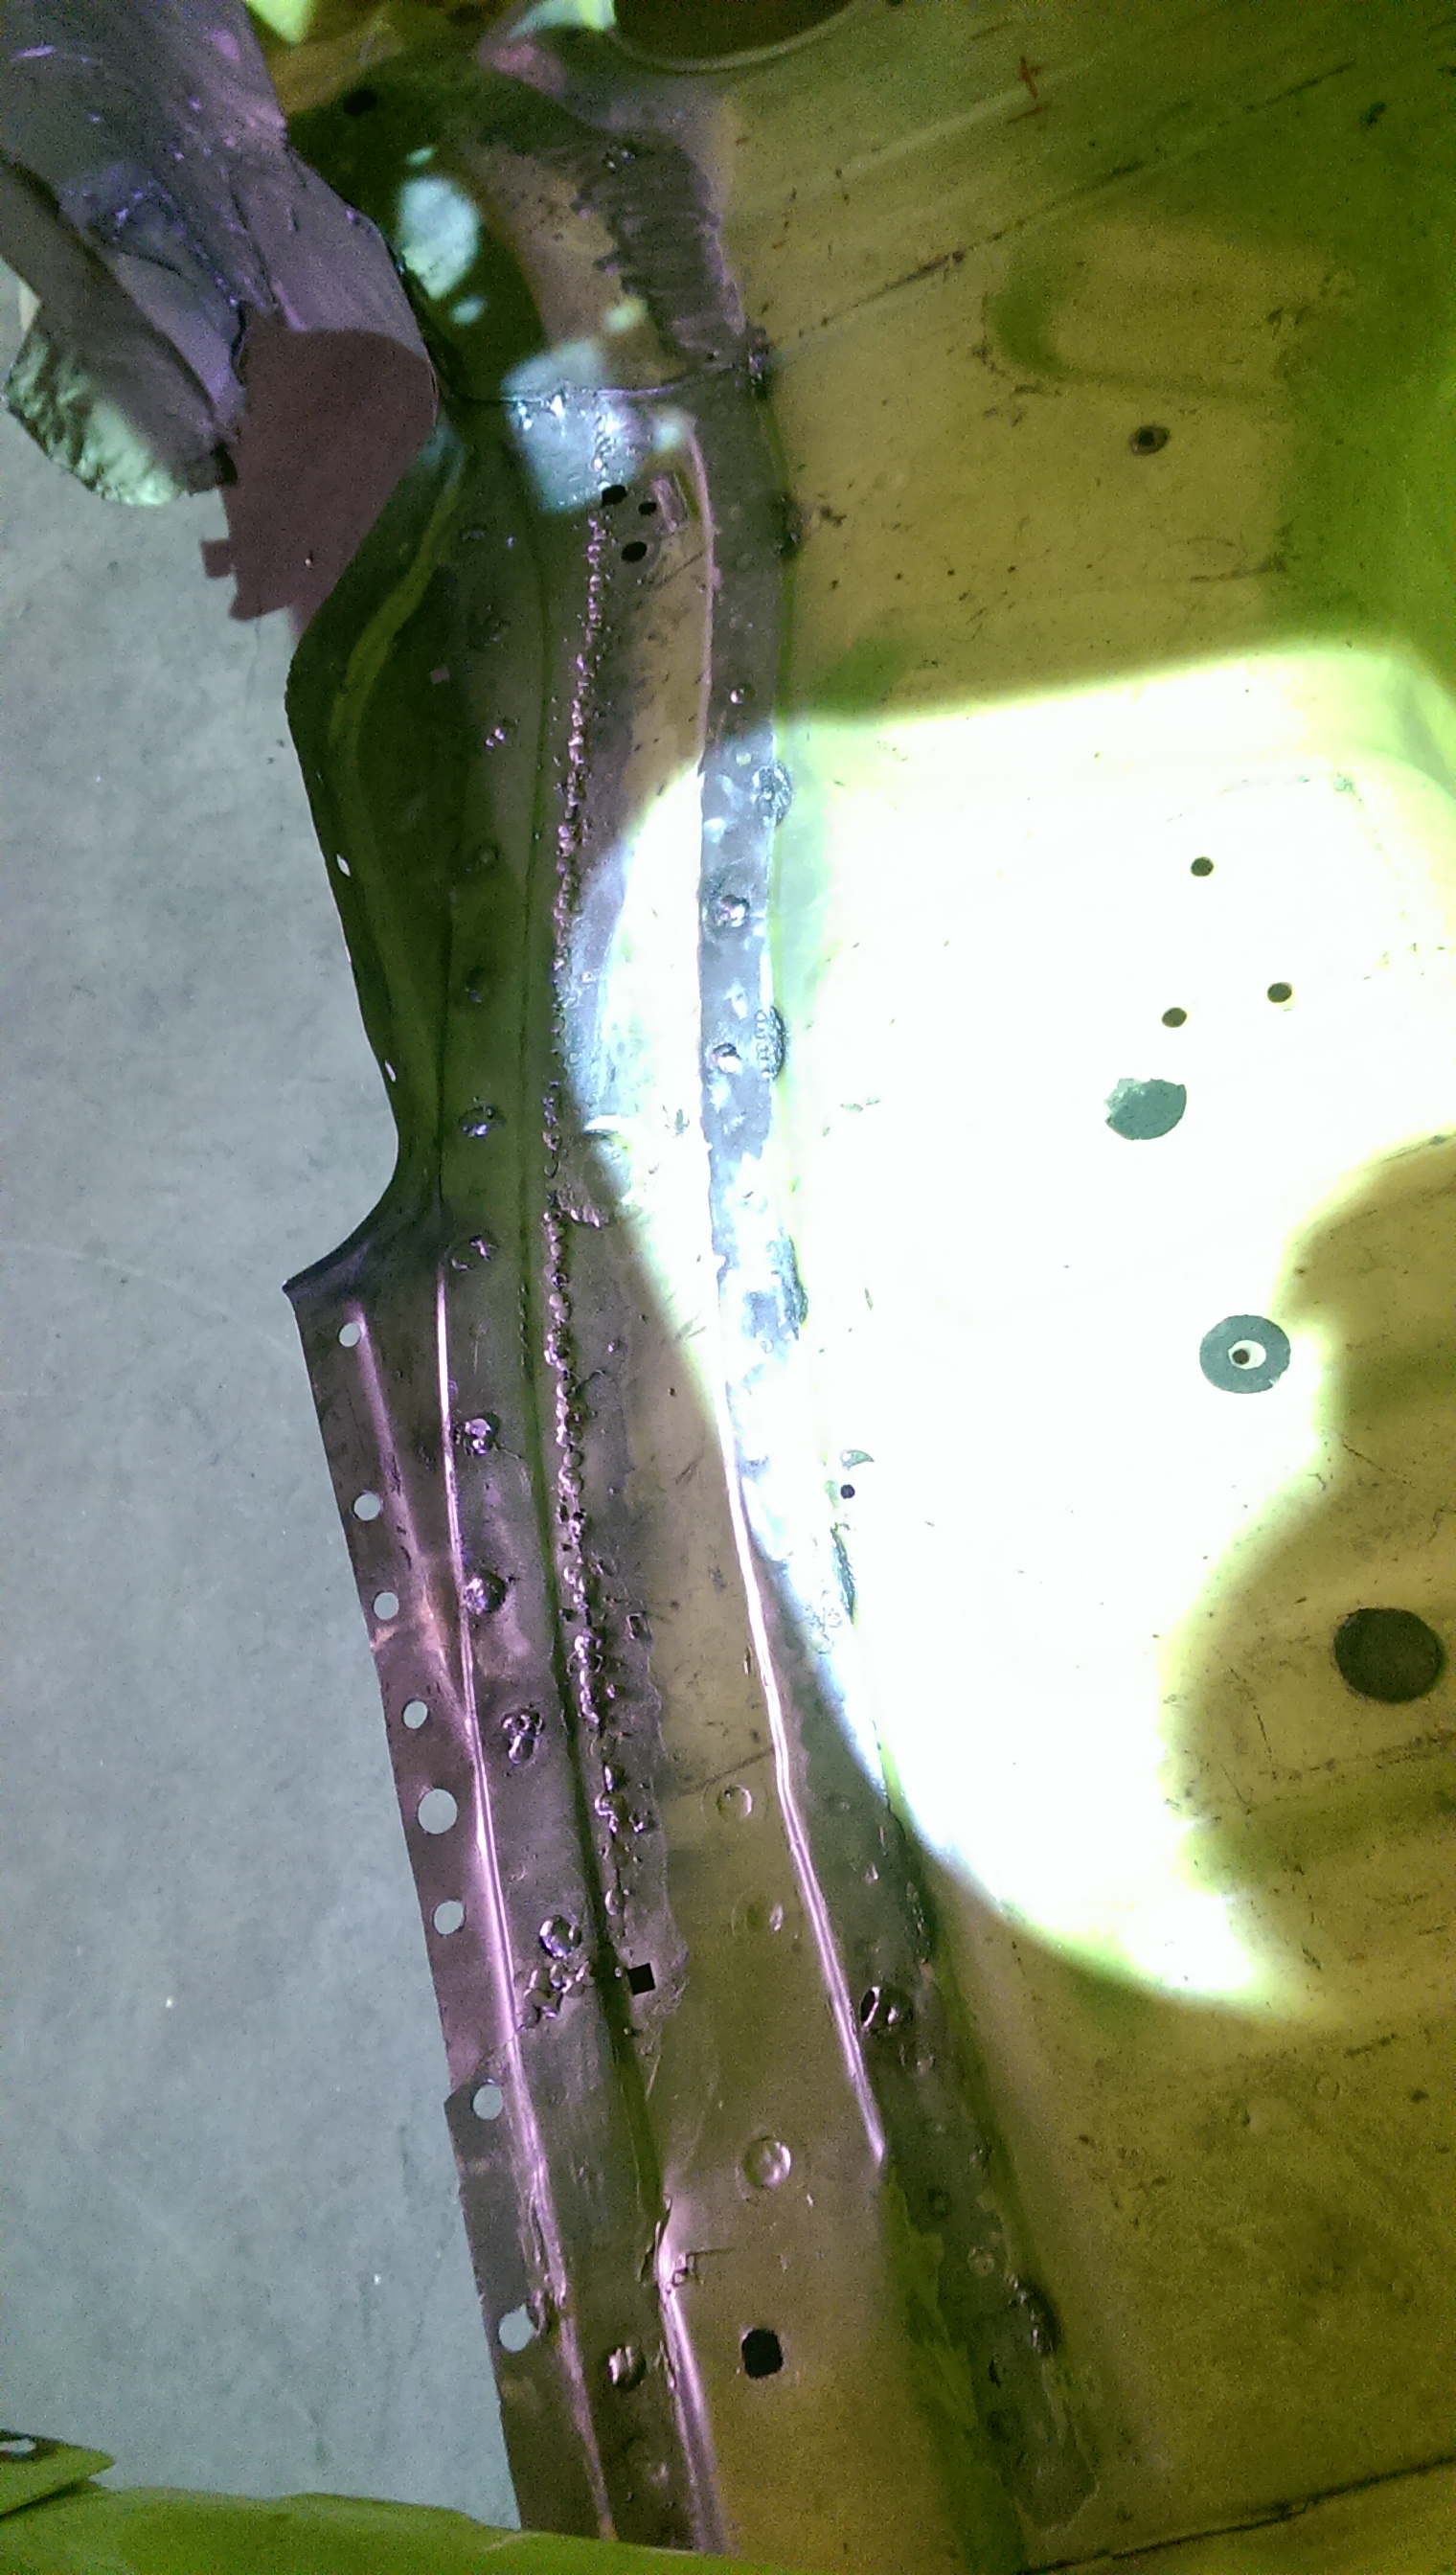
The a-pillars are so much off the right angle I need to replace them, so I started with removing the roofskin.
Dusty much??
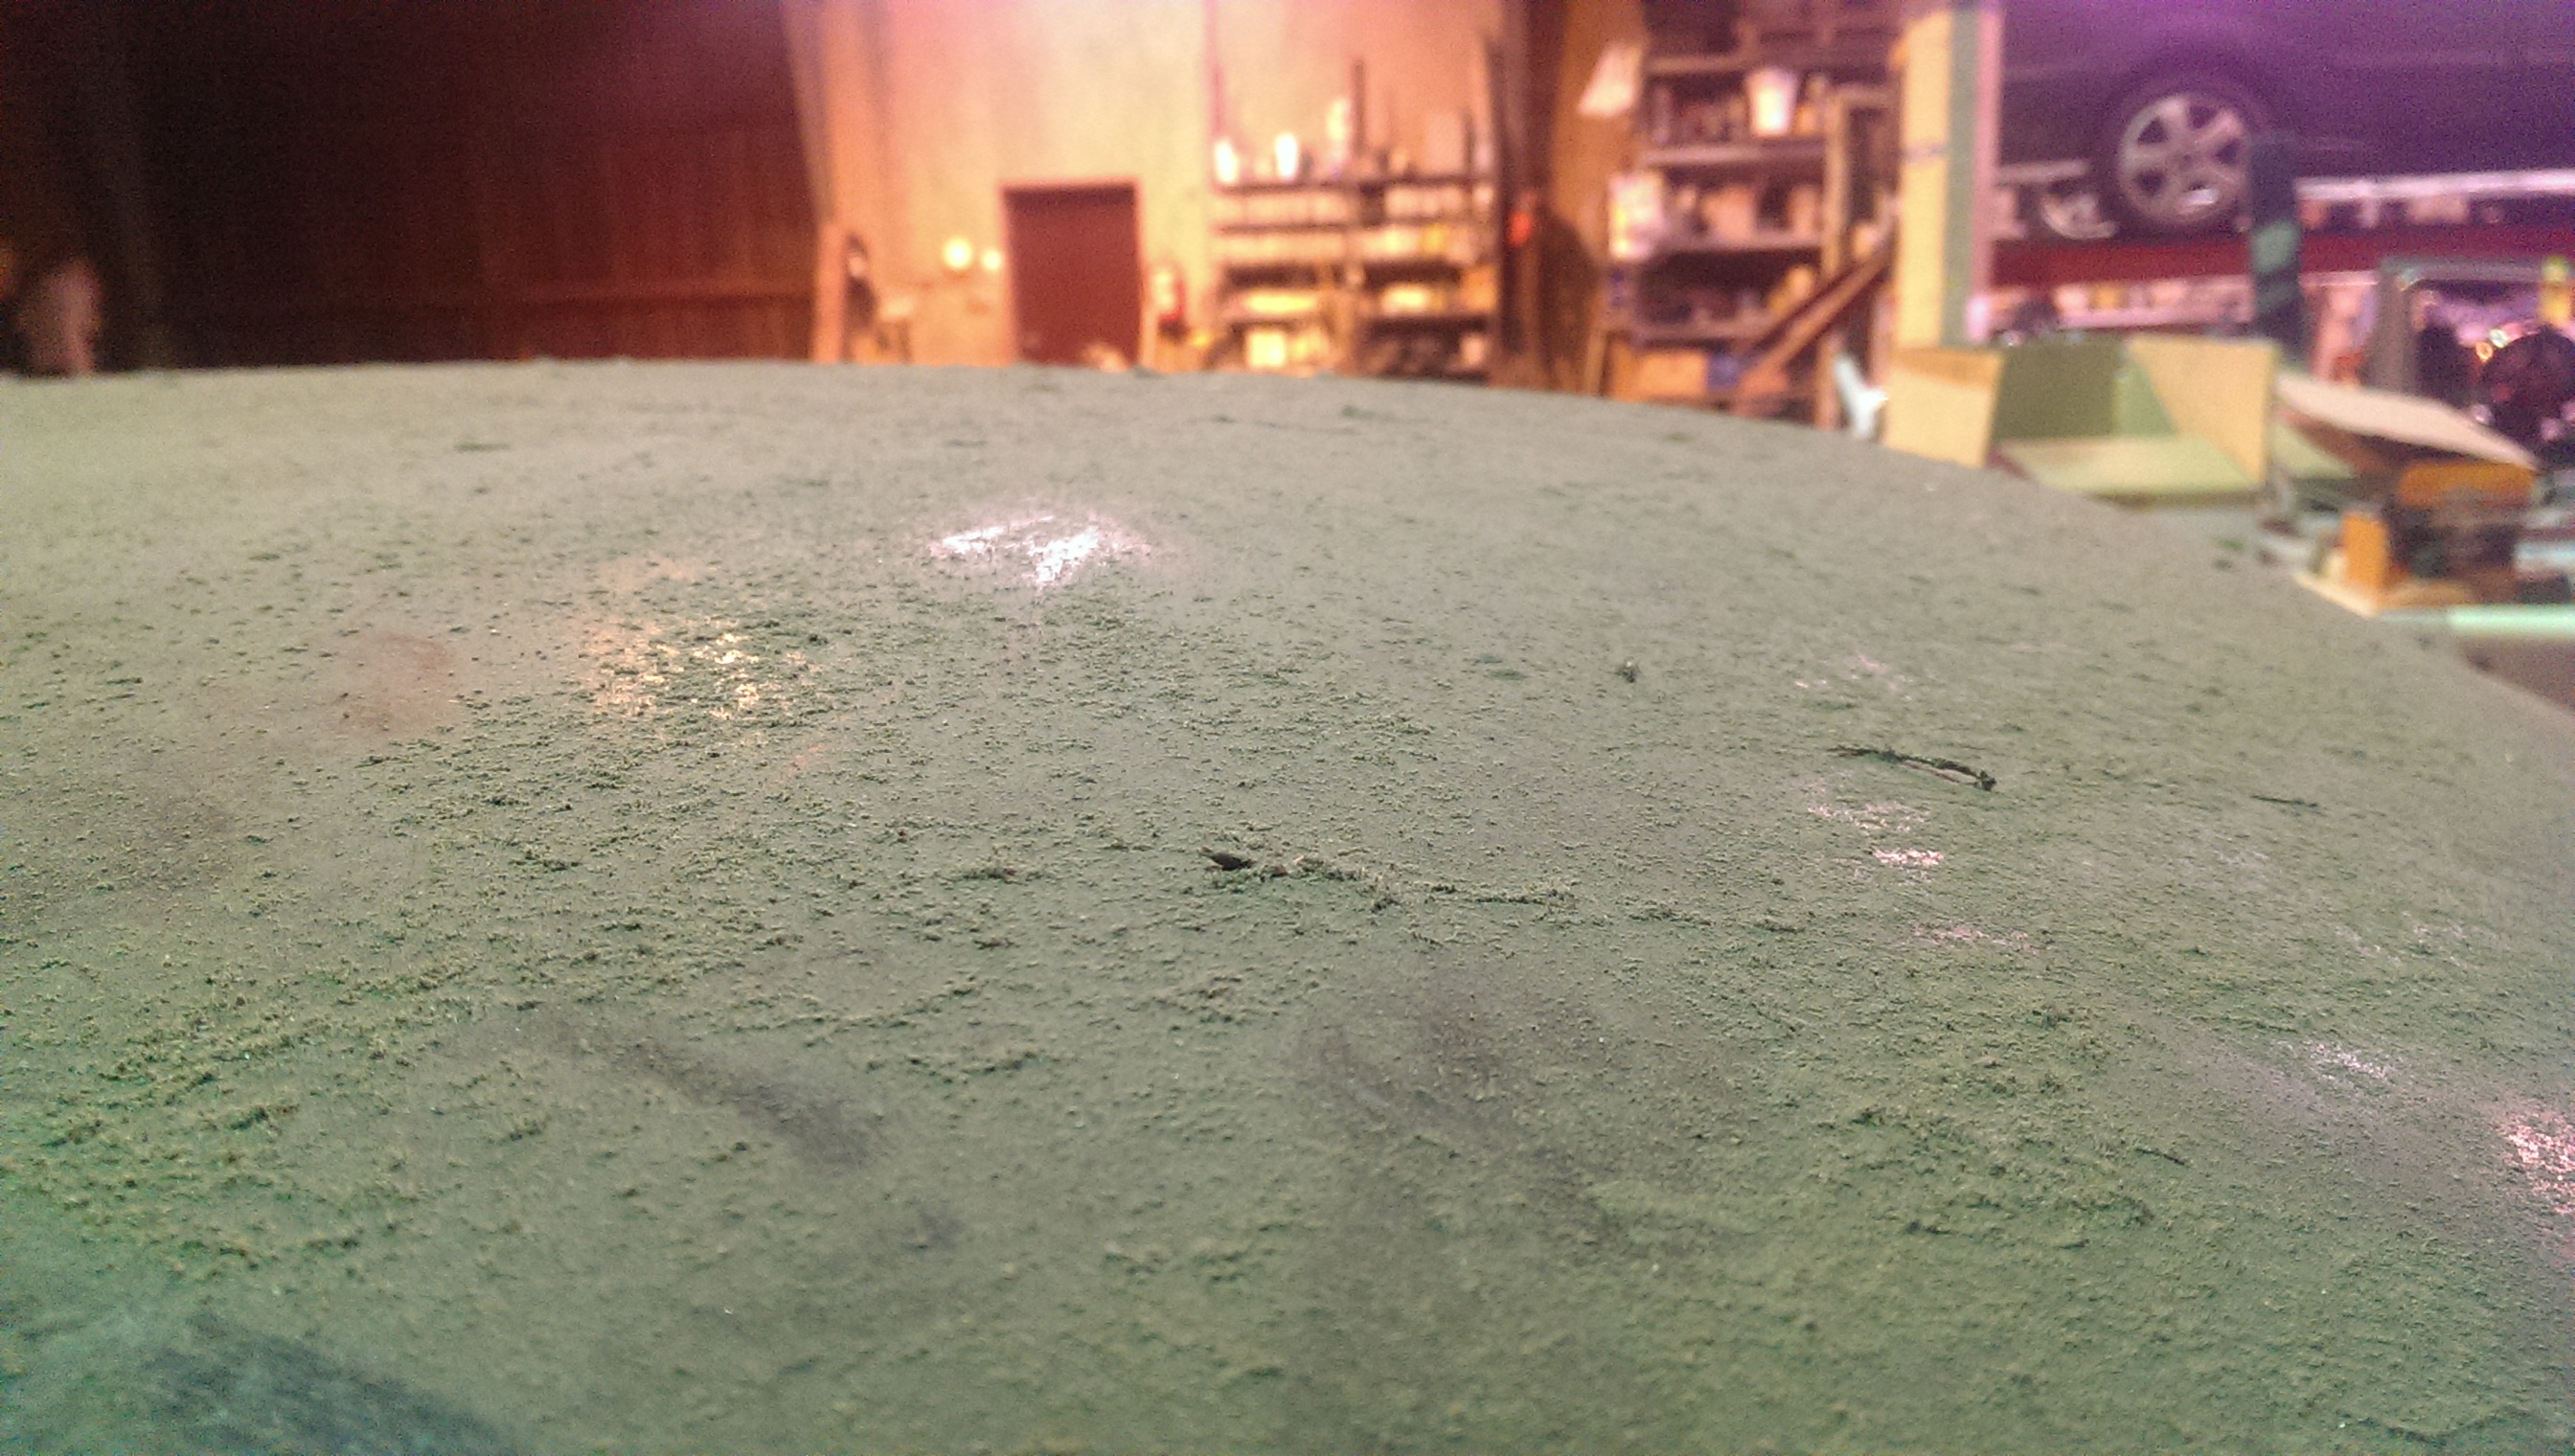
First movement after 4 years!
After a evening of work it comes off!
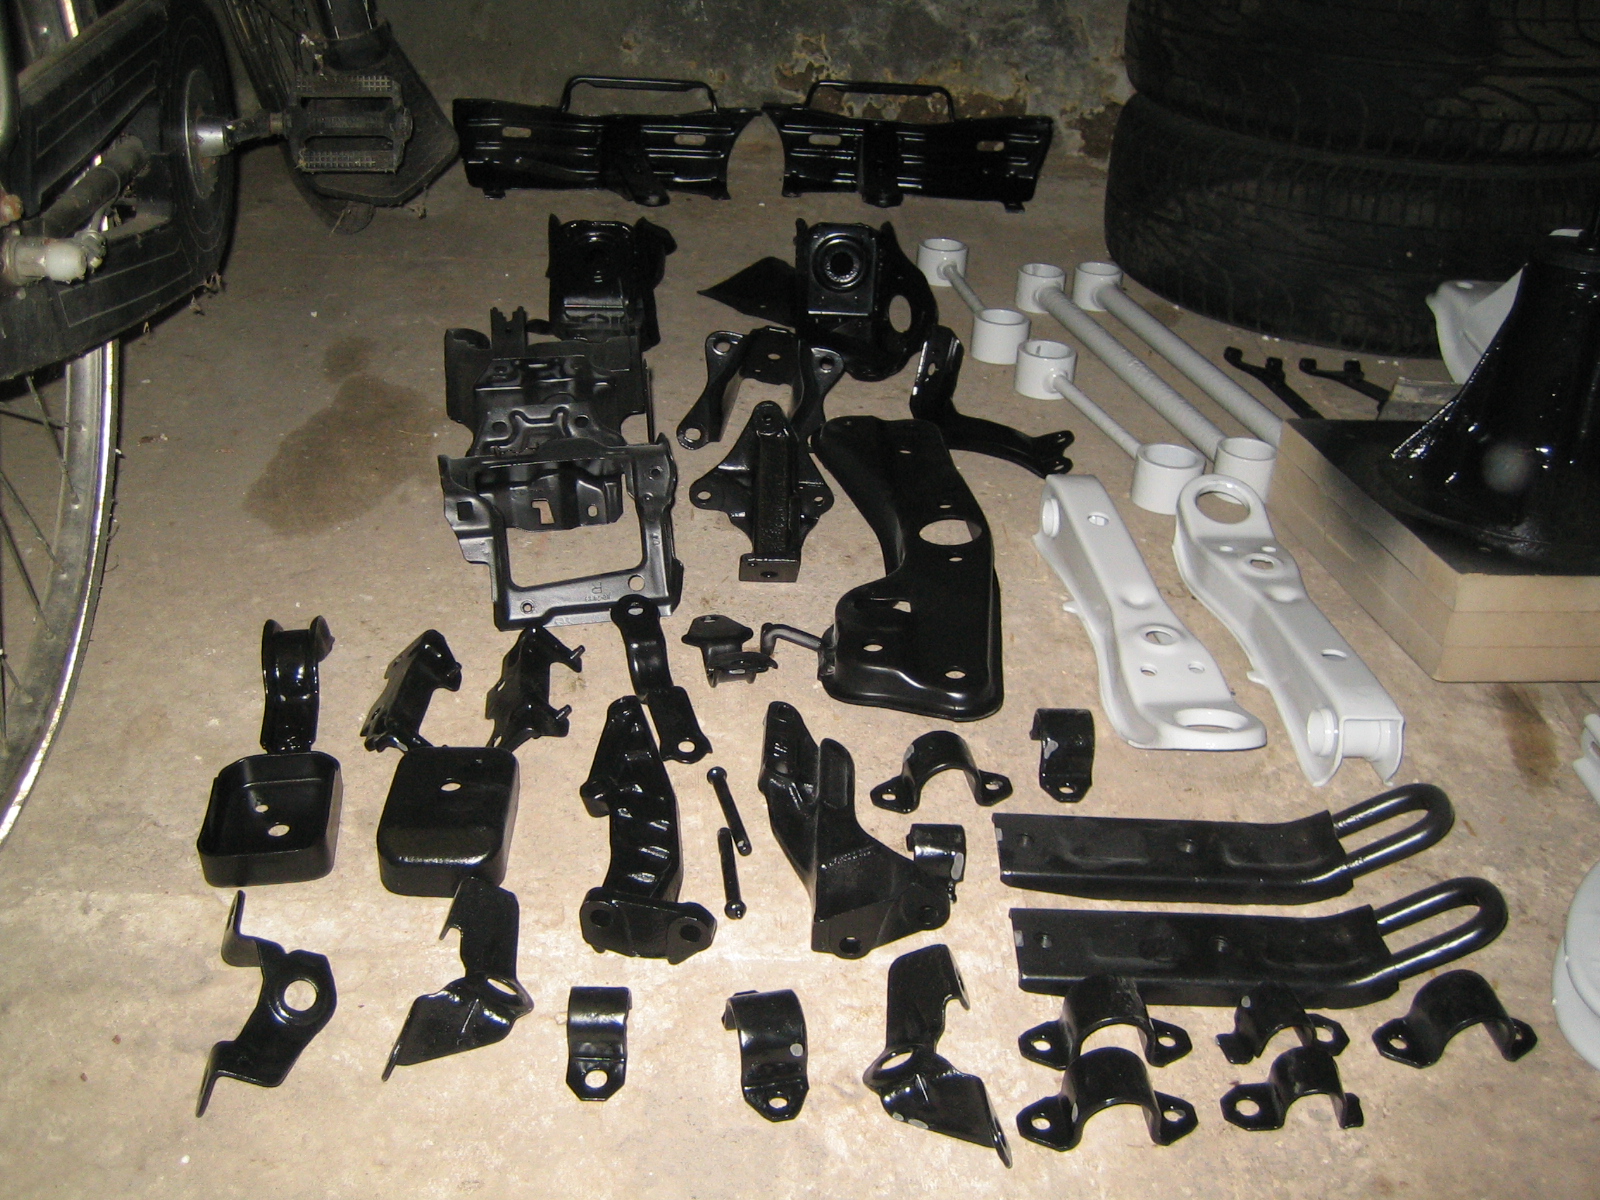
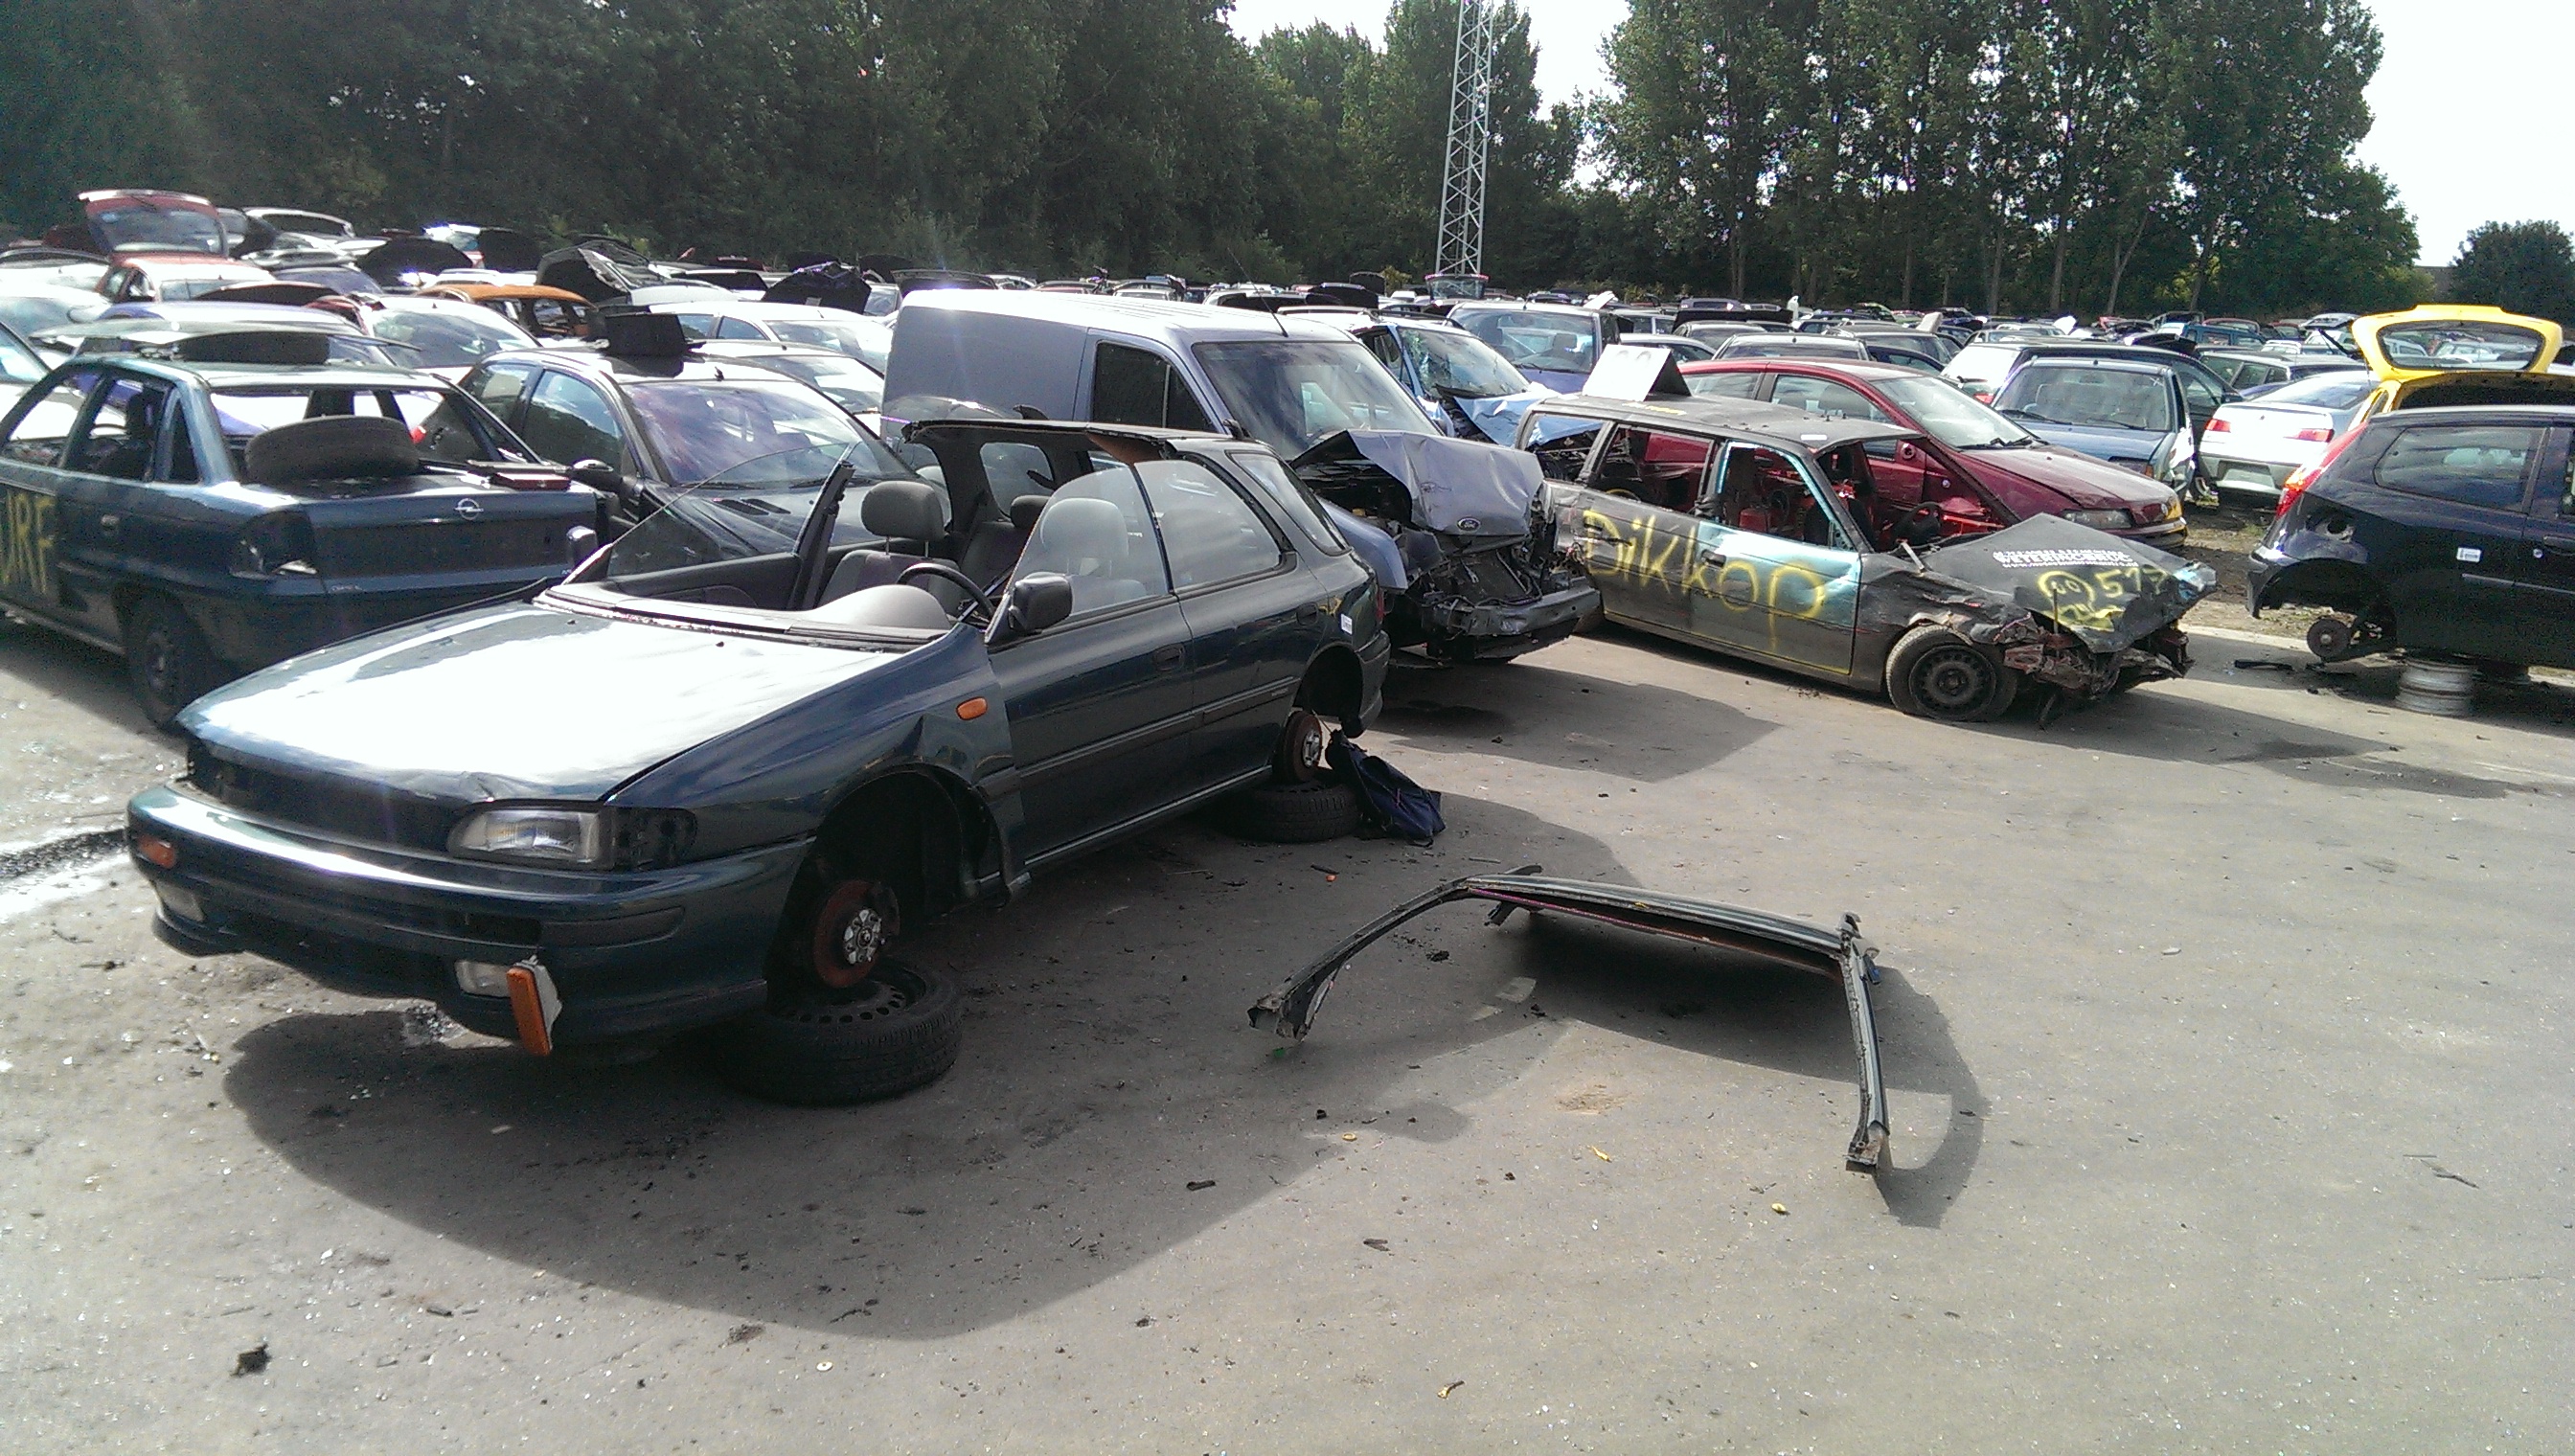
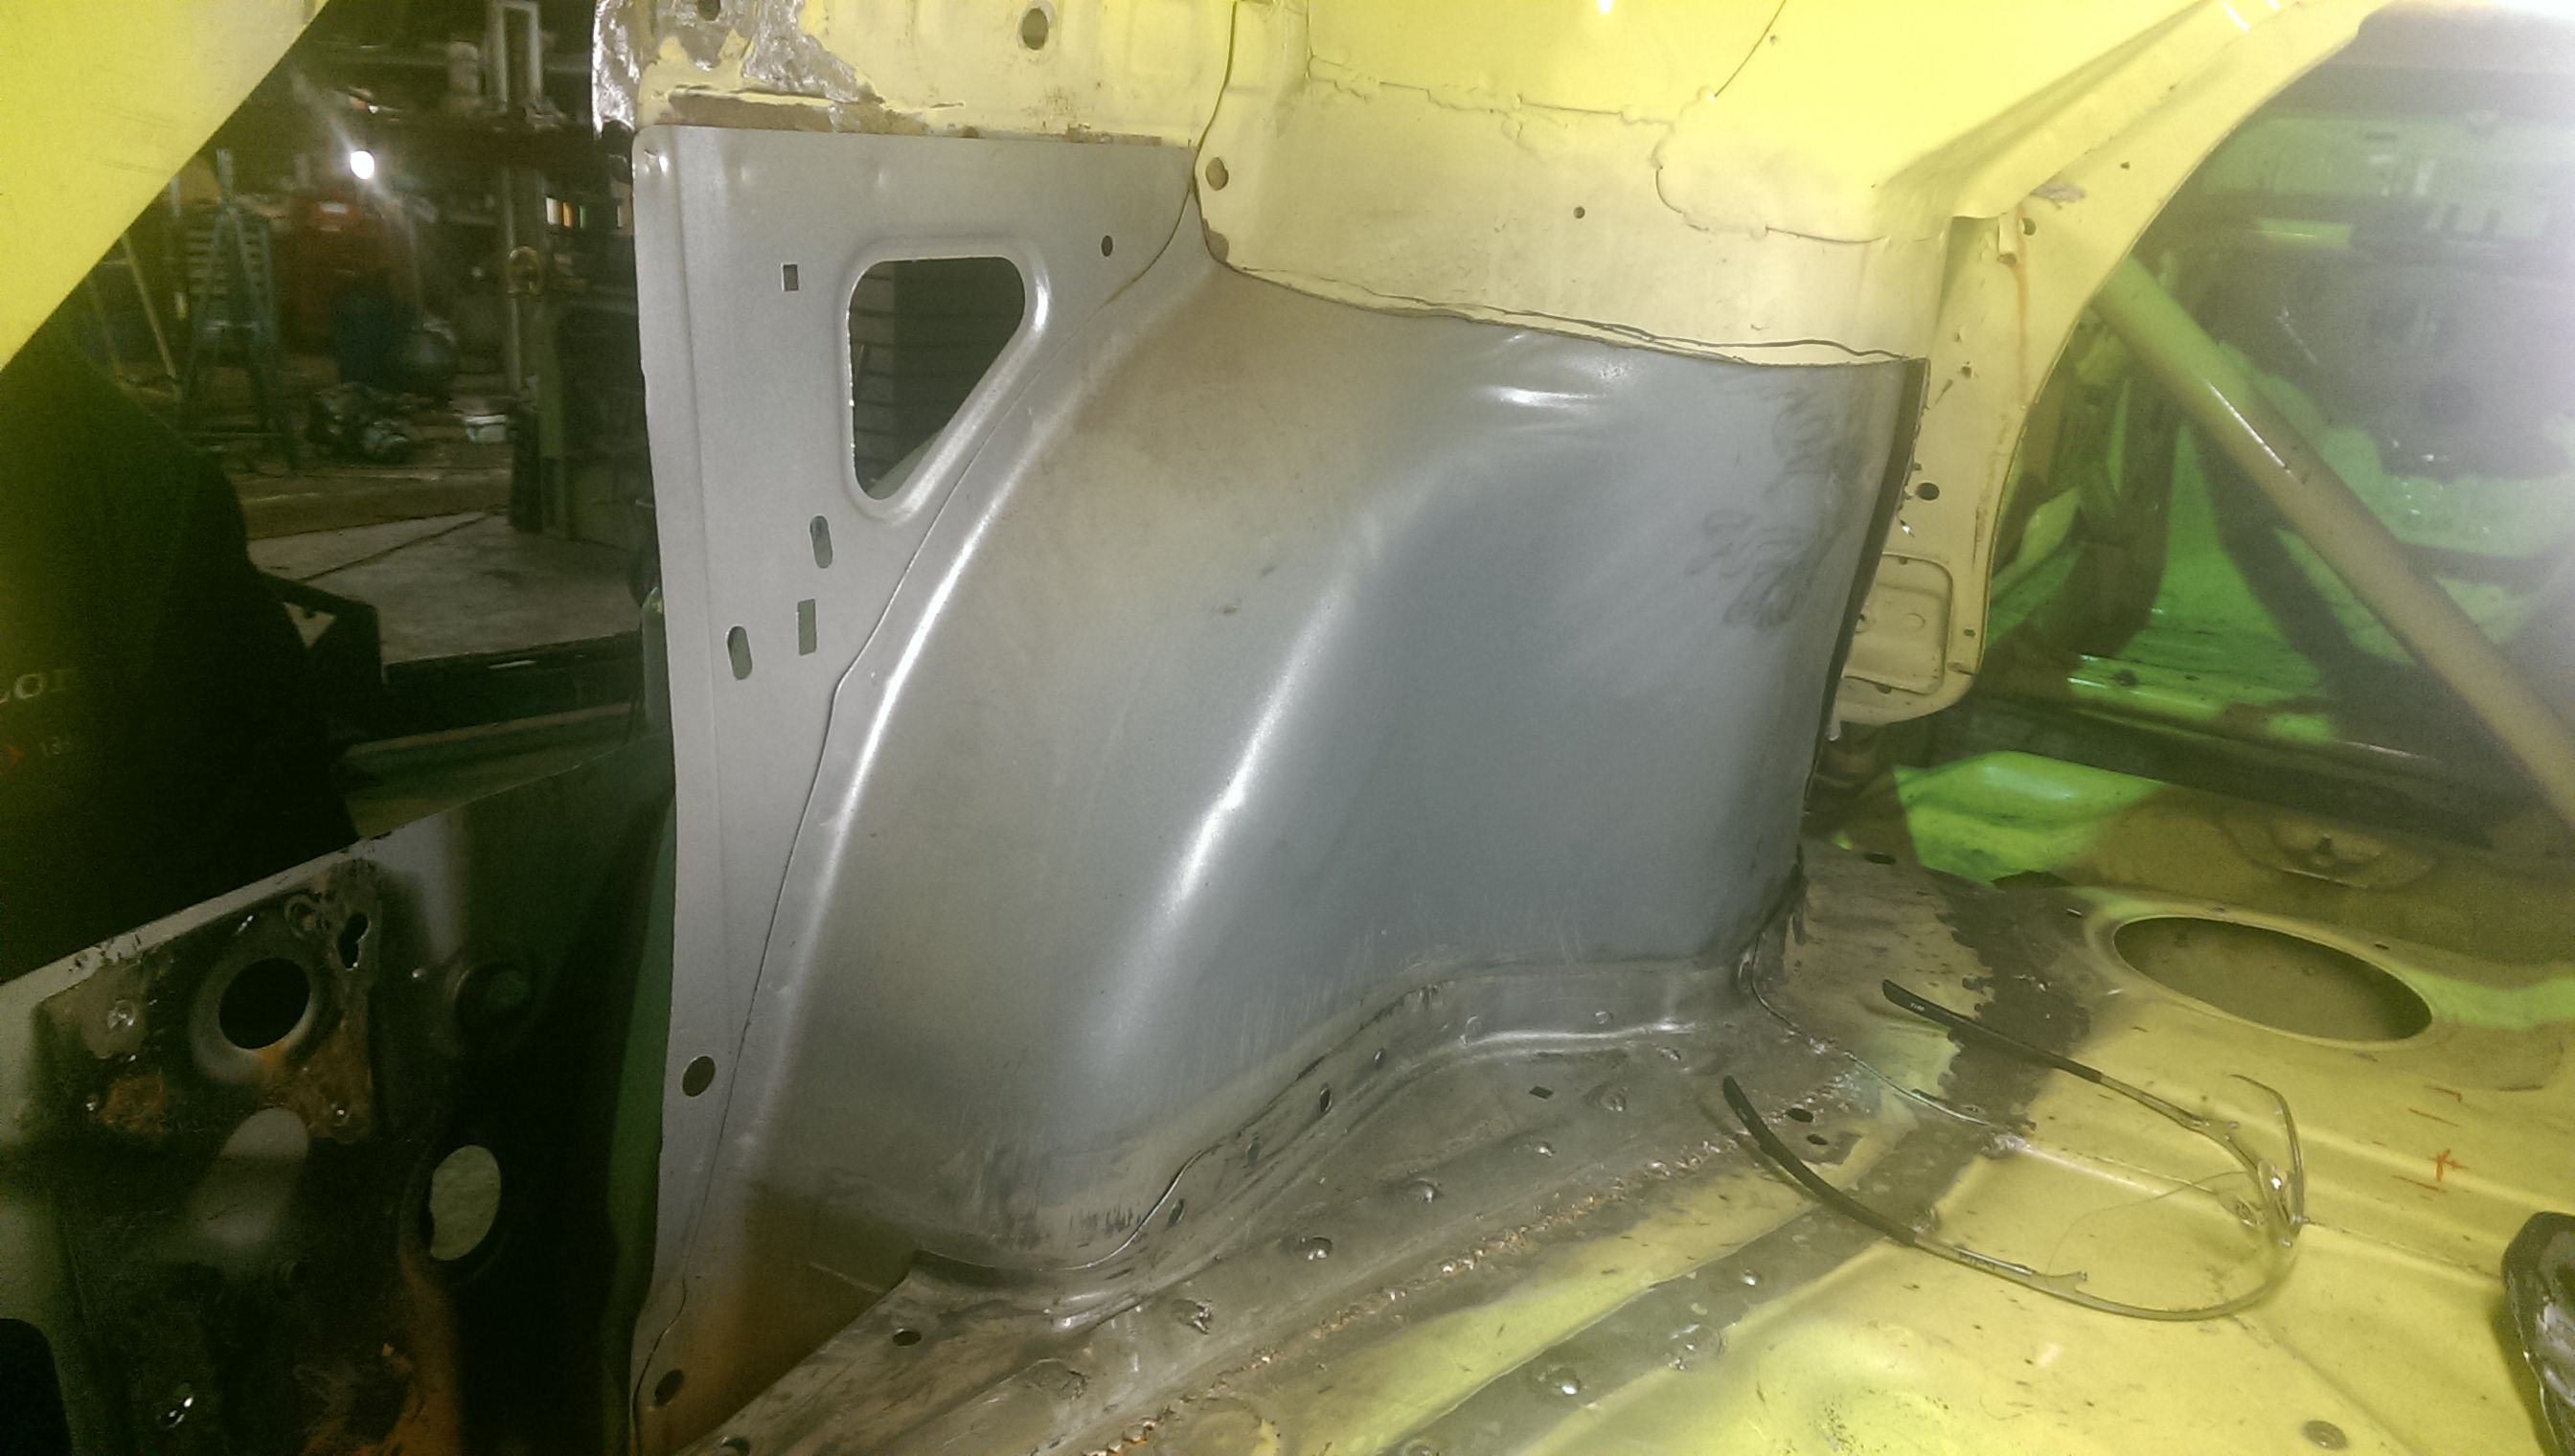
I also got a replacement part:
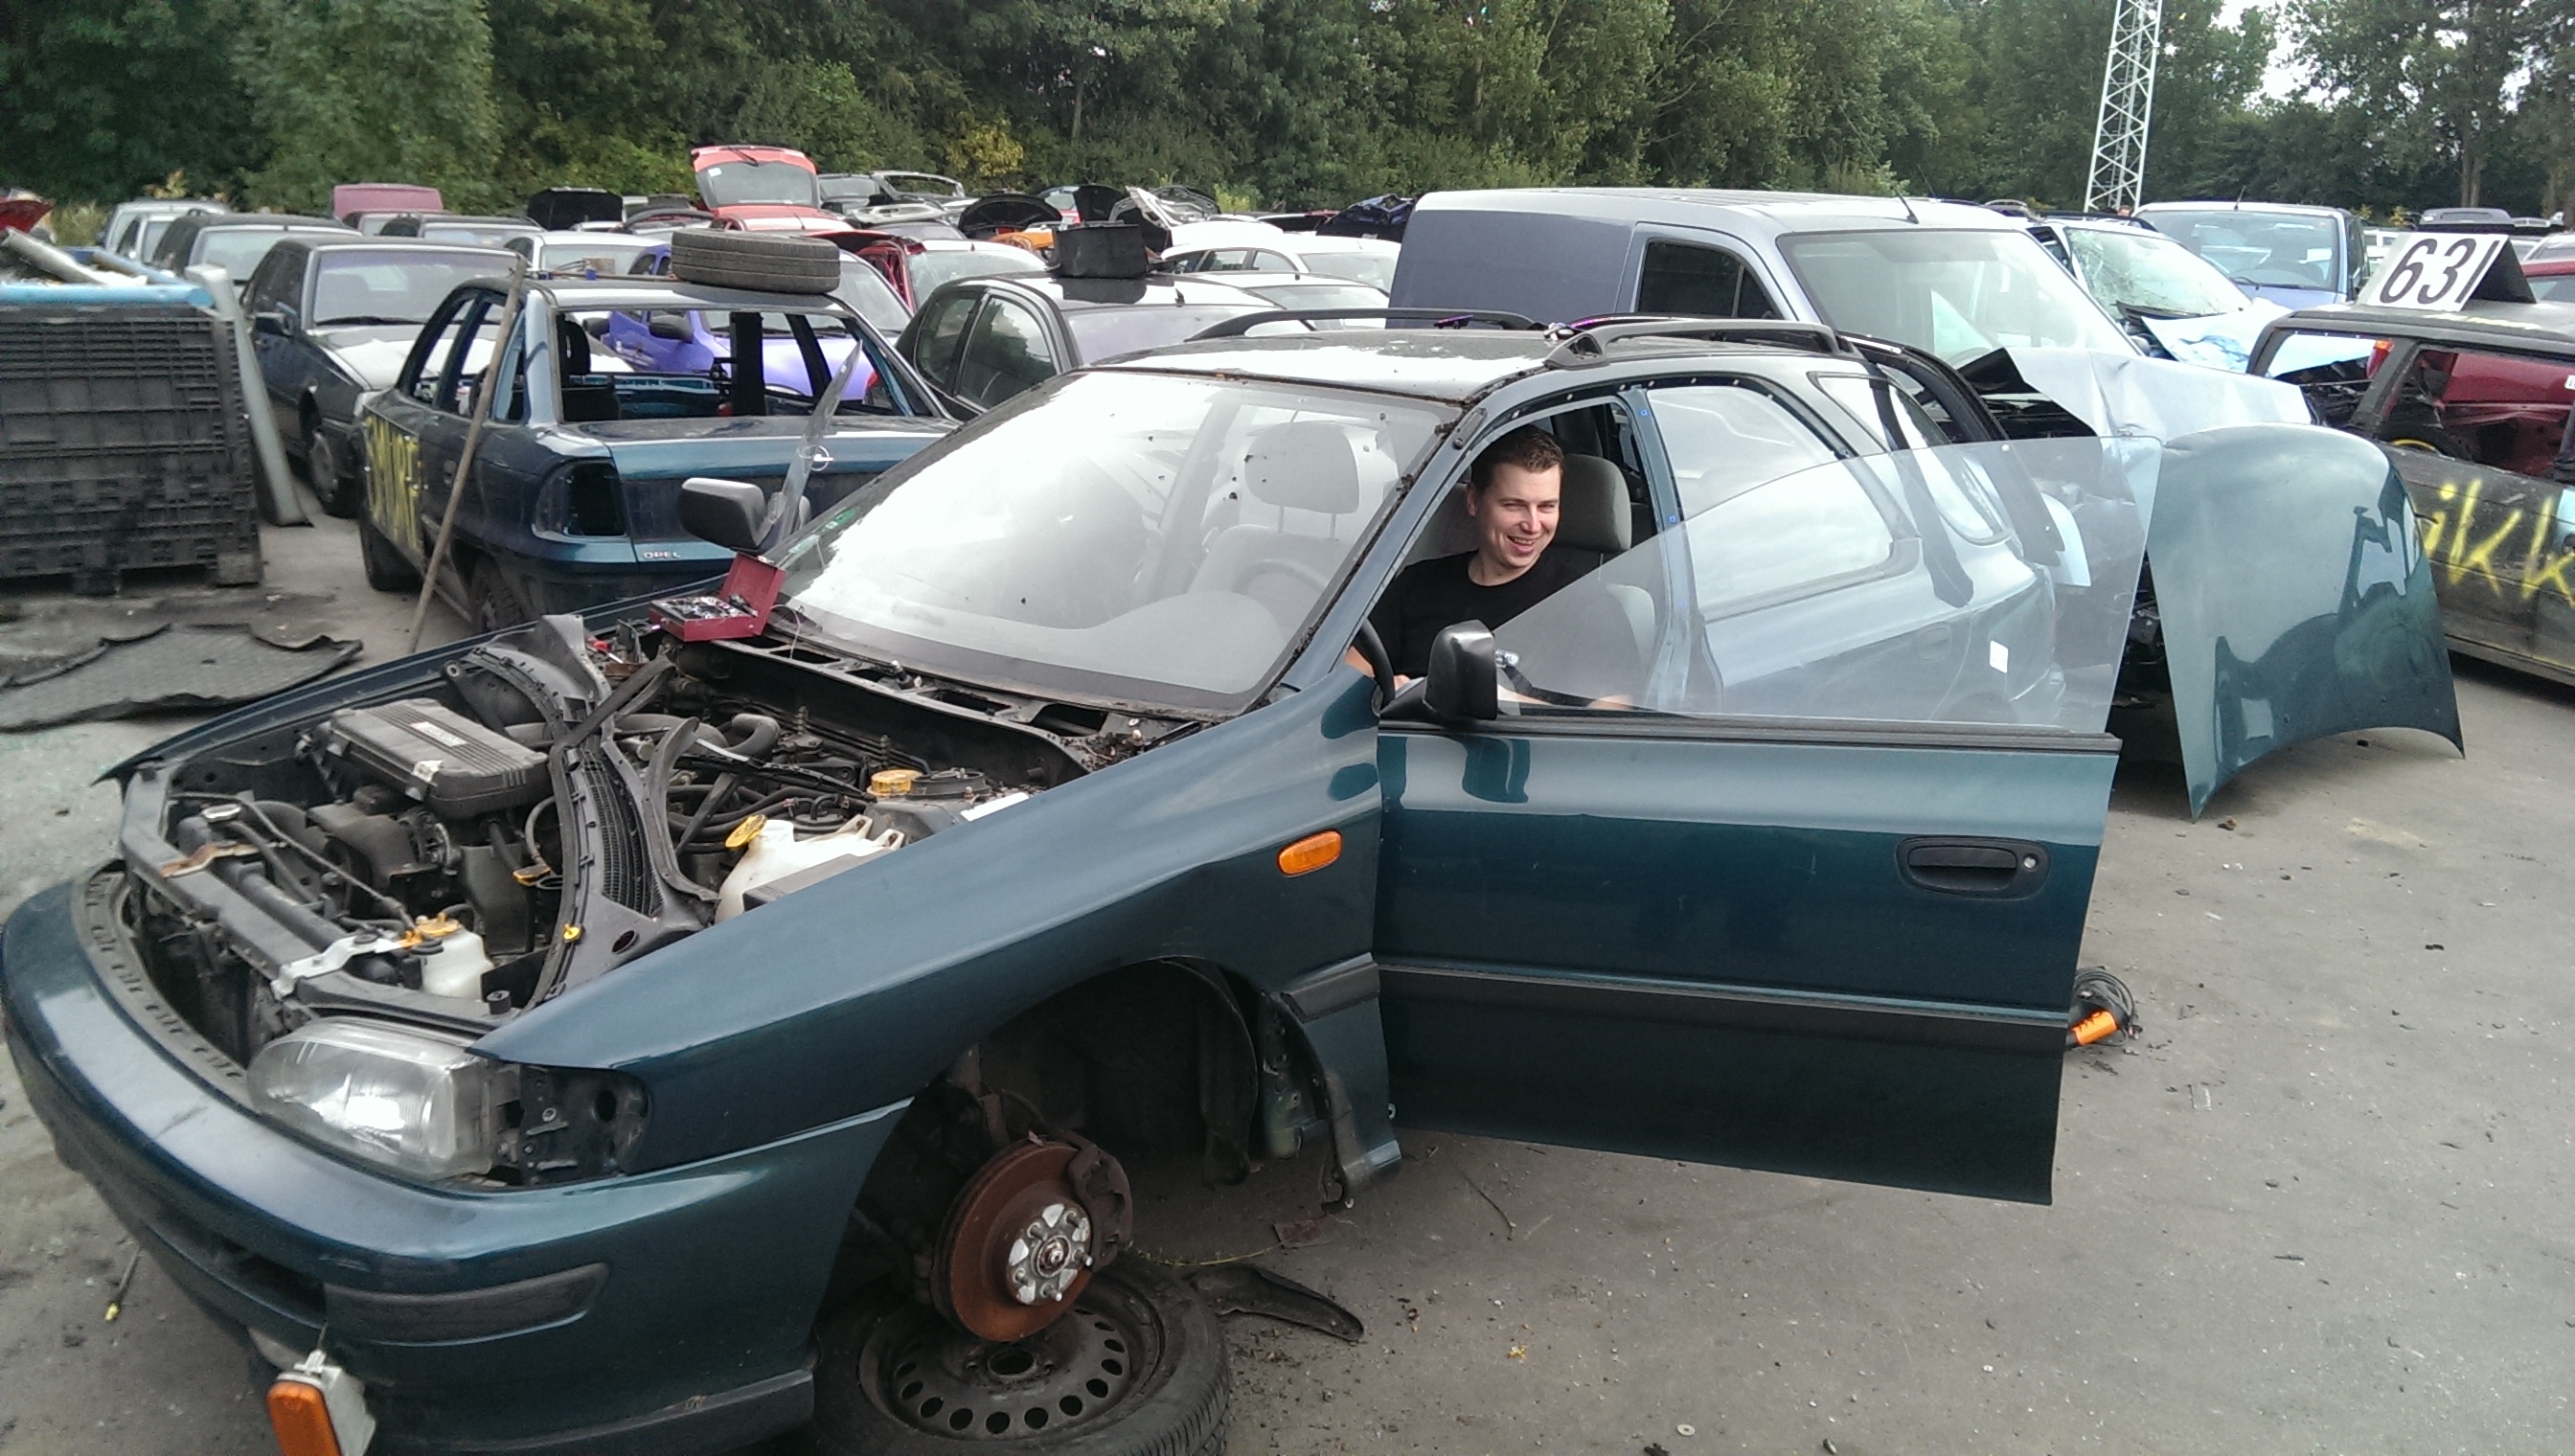
It is a small step but my intension is to start this up again and finish it this time around!
I am still looking for steel WRC/22B rear fenders, does anyone know a set?
If I have to cut them off a car myself or if they are damaged it is no problem!!!
Kind regards,
Aram.
Unfortunatly the chassis I bought was more damaged than I was told so I still have much bodywork to do.
The a-pillars are so much off the right angle I need to replace them, so I started with removing the roofskin.
Dusty much??


First movement after 4 years!

After a evening of work it comes off!


I also got a replacement part:


It is a small step but my intension is to start this up again and finish it this time around!
I am still looking for steel WRC/22B rear fenders, does anyone know a set?
If I have to cut them off a car myself or if they are damaged it is no problem!!!
Kind regards,
Aram.


Scooby Newbie
Joined: Feb 2014
Posts: 2
Likes: 0
From: Bognor regis
Hi does anybody have a wiring pic for windows in 2001 subaru impreza sport special(not bugeye) it's the gc8 model and I know not where to put thy wires for windows to work there are 12 wires total.
Thread Starter
Scooby Regular
Joined: Dec 2002
Posts: 458
Likes: 0
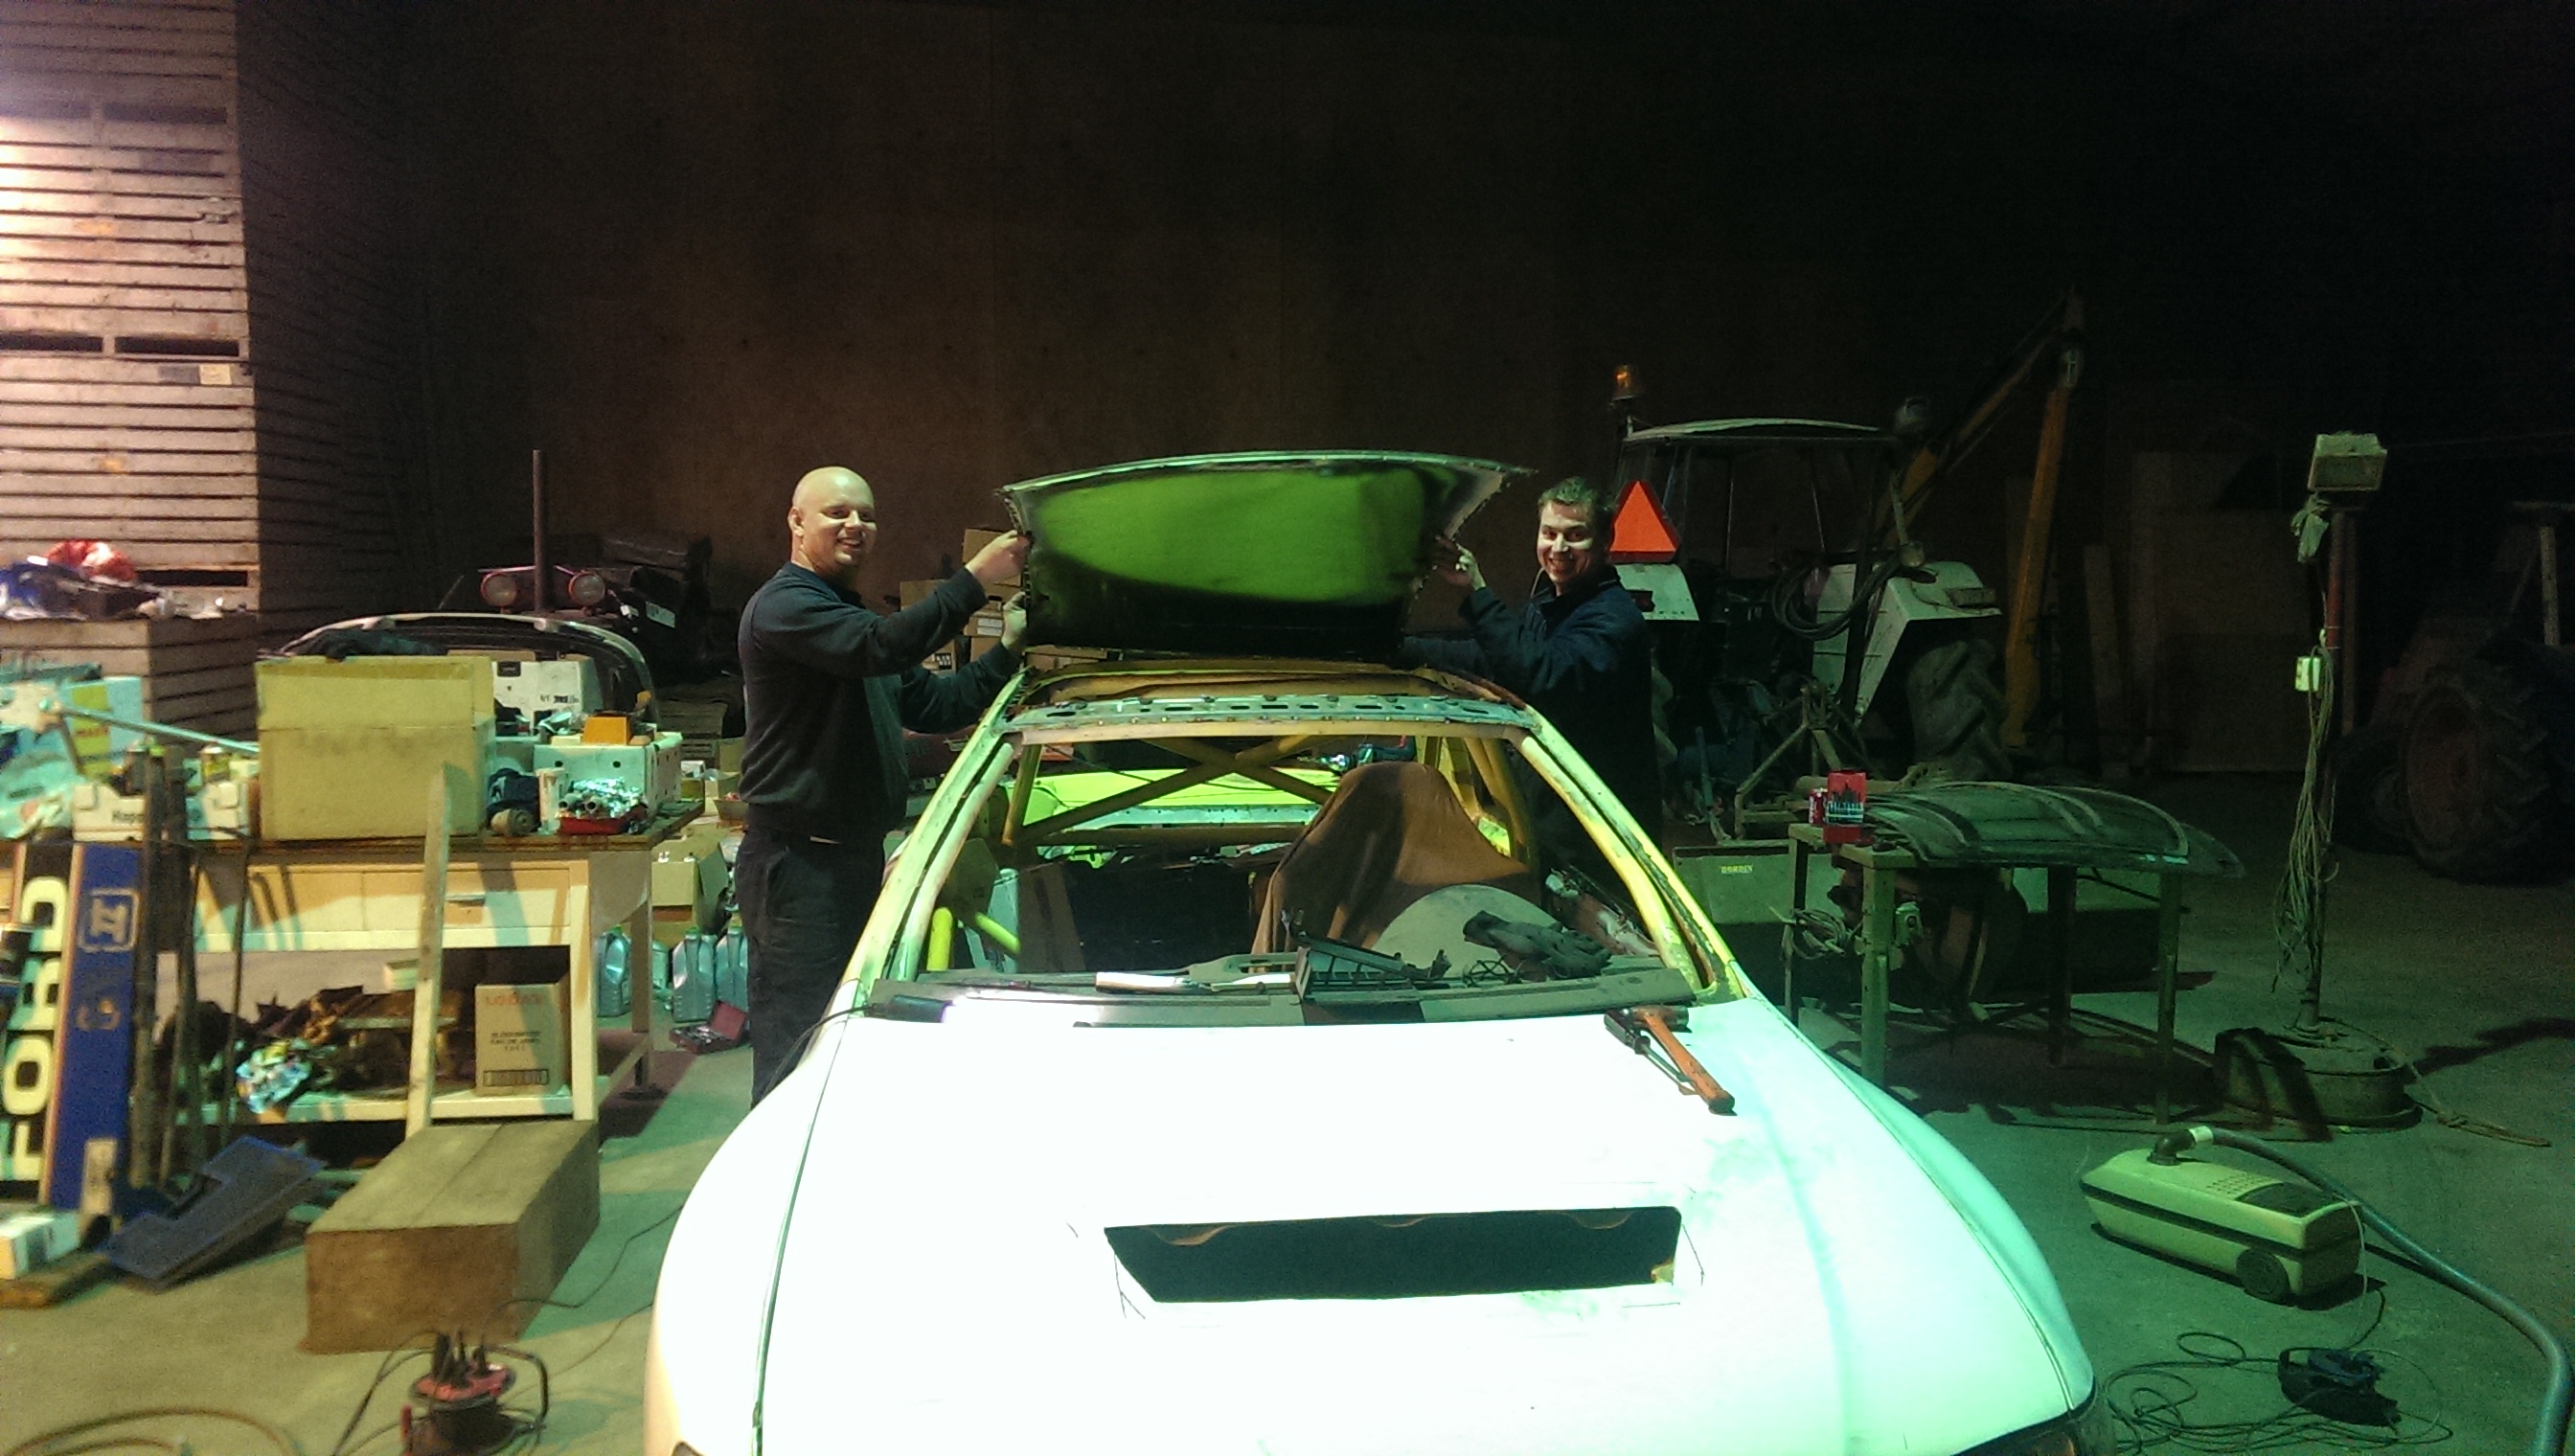
Update!
So last time we removed the roof so we could start peeling of the skin of the a pillars.
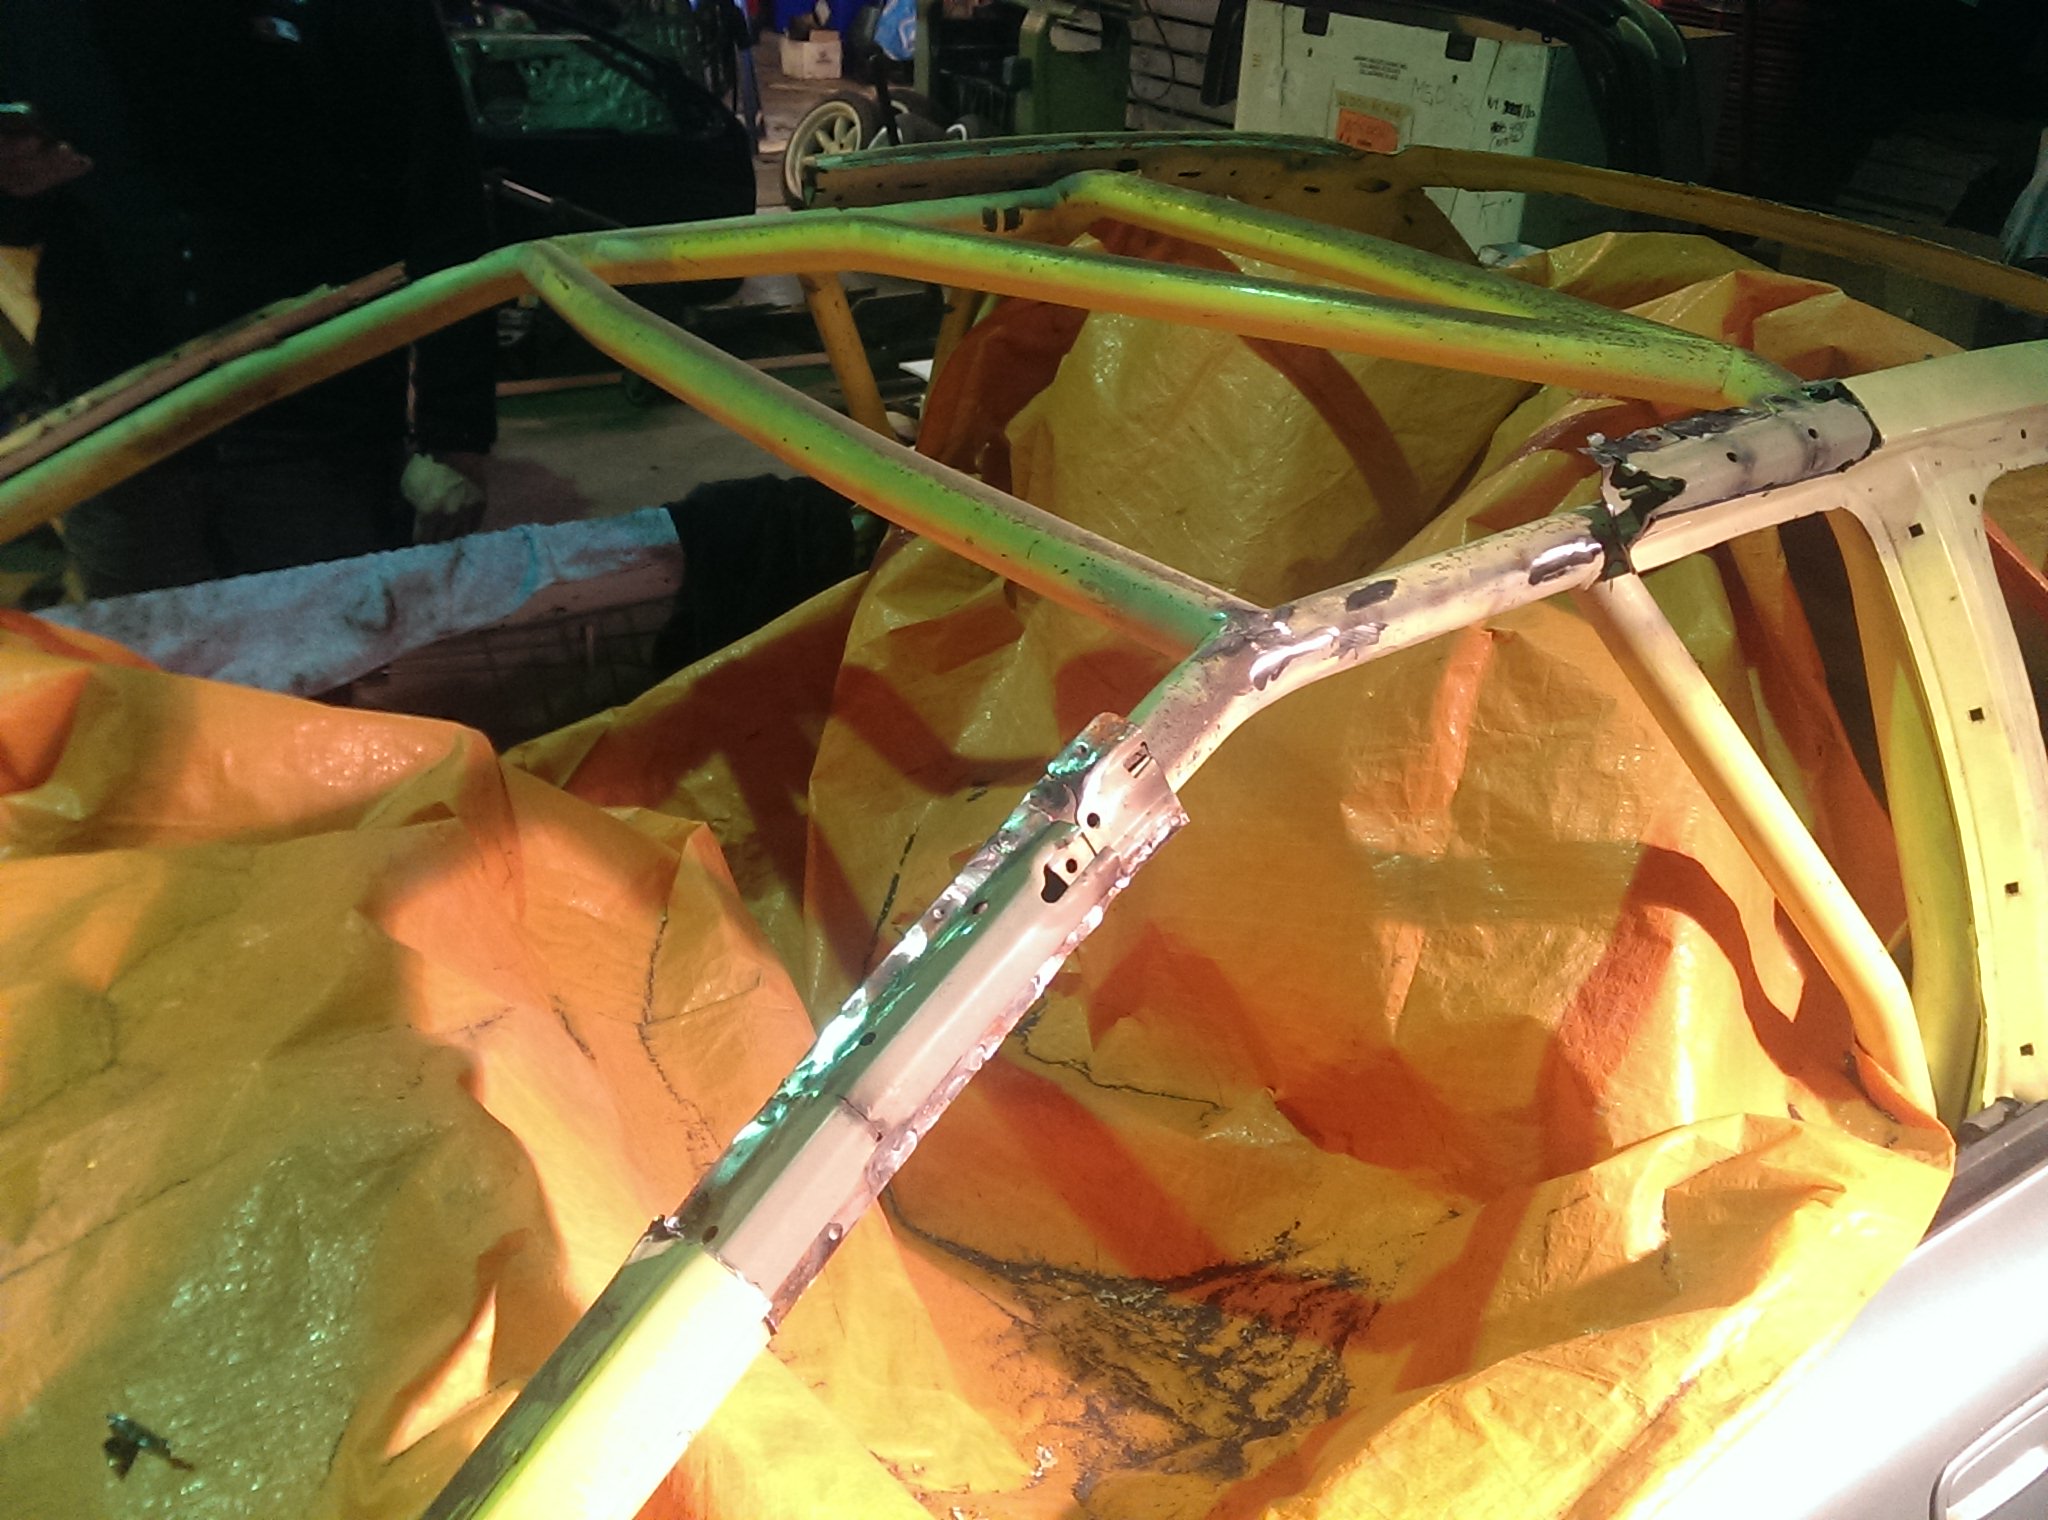
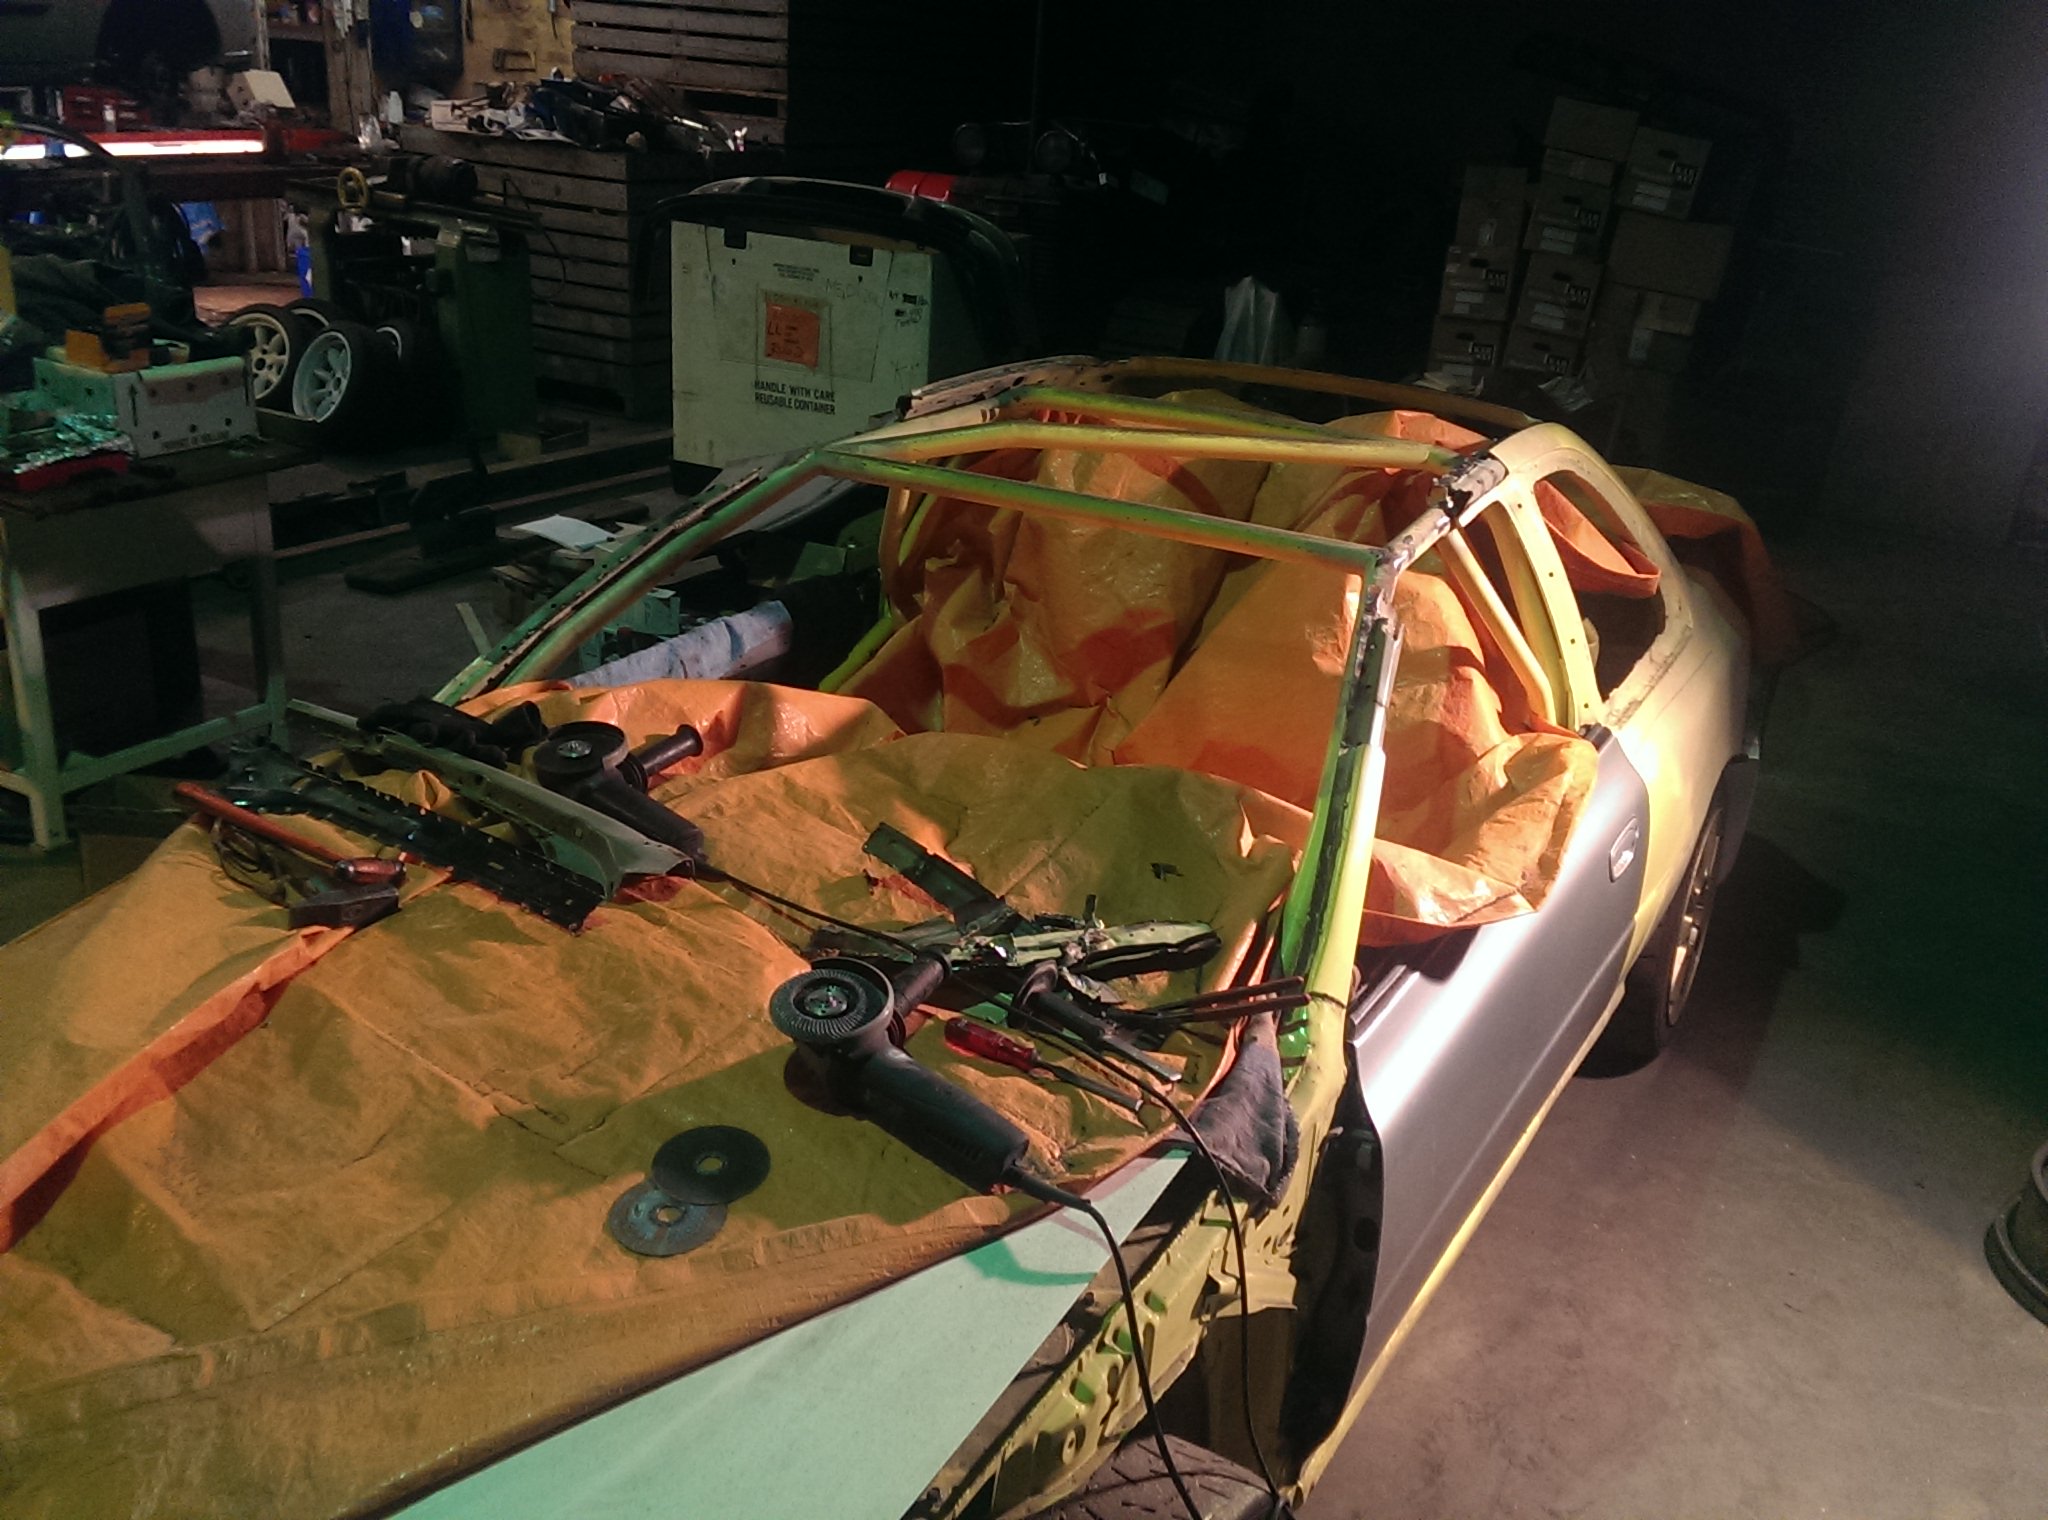
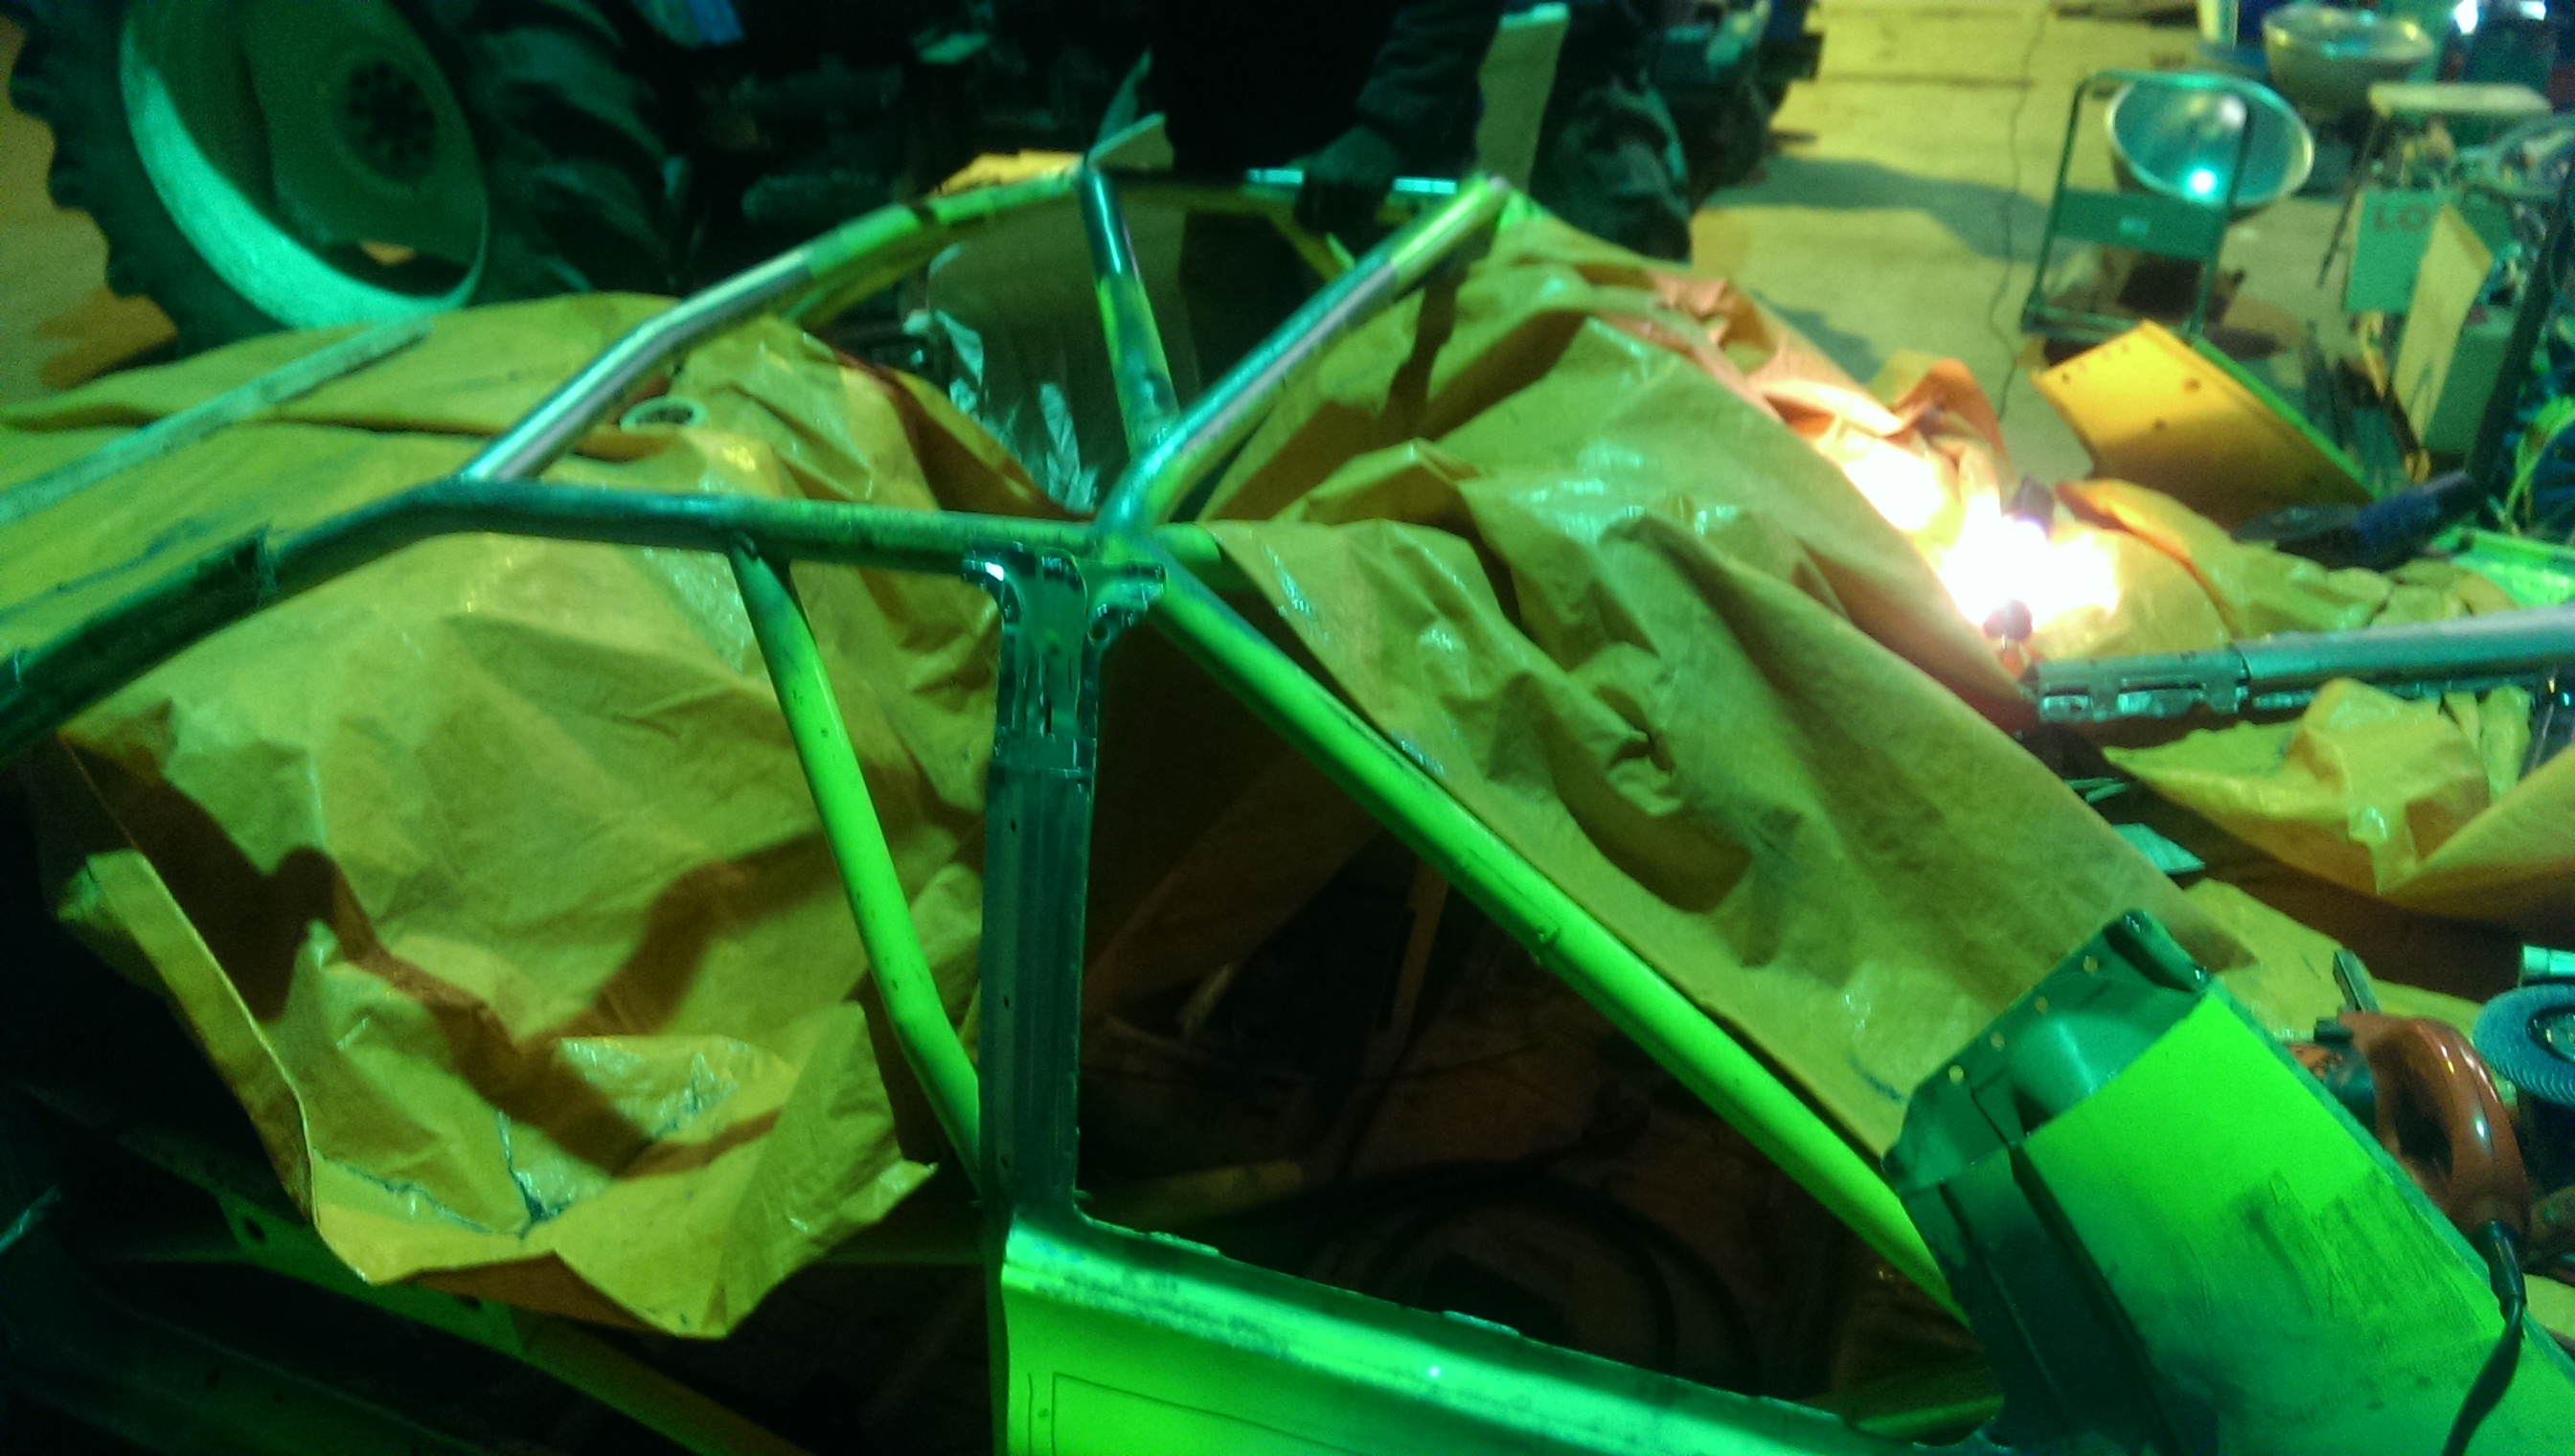
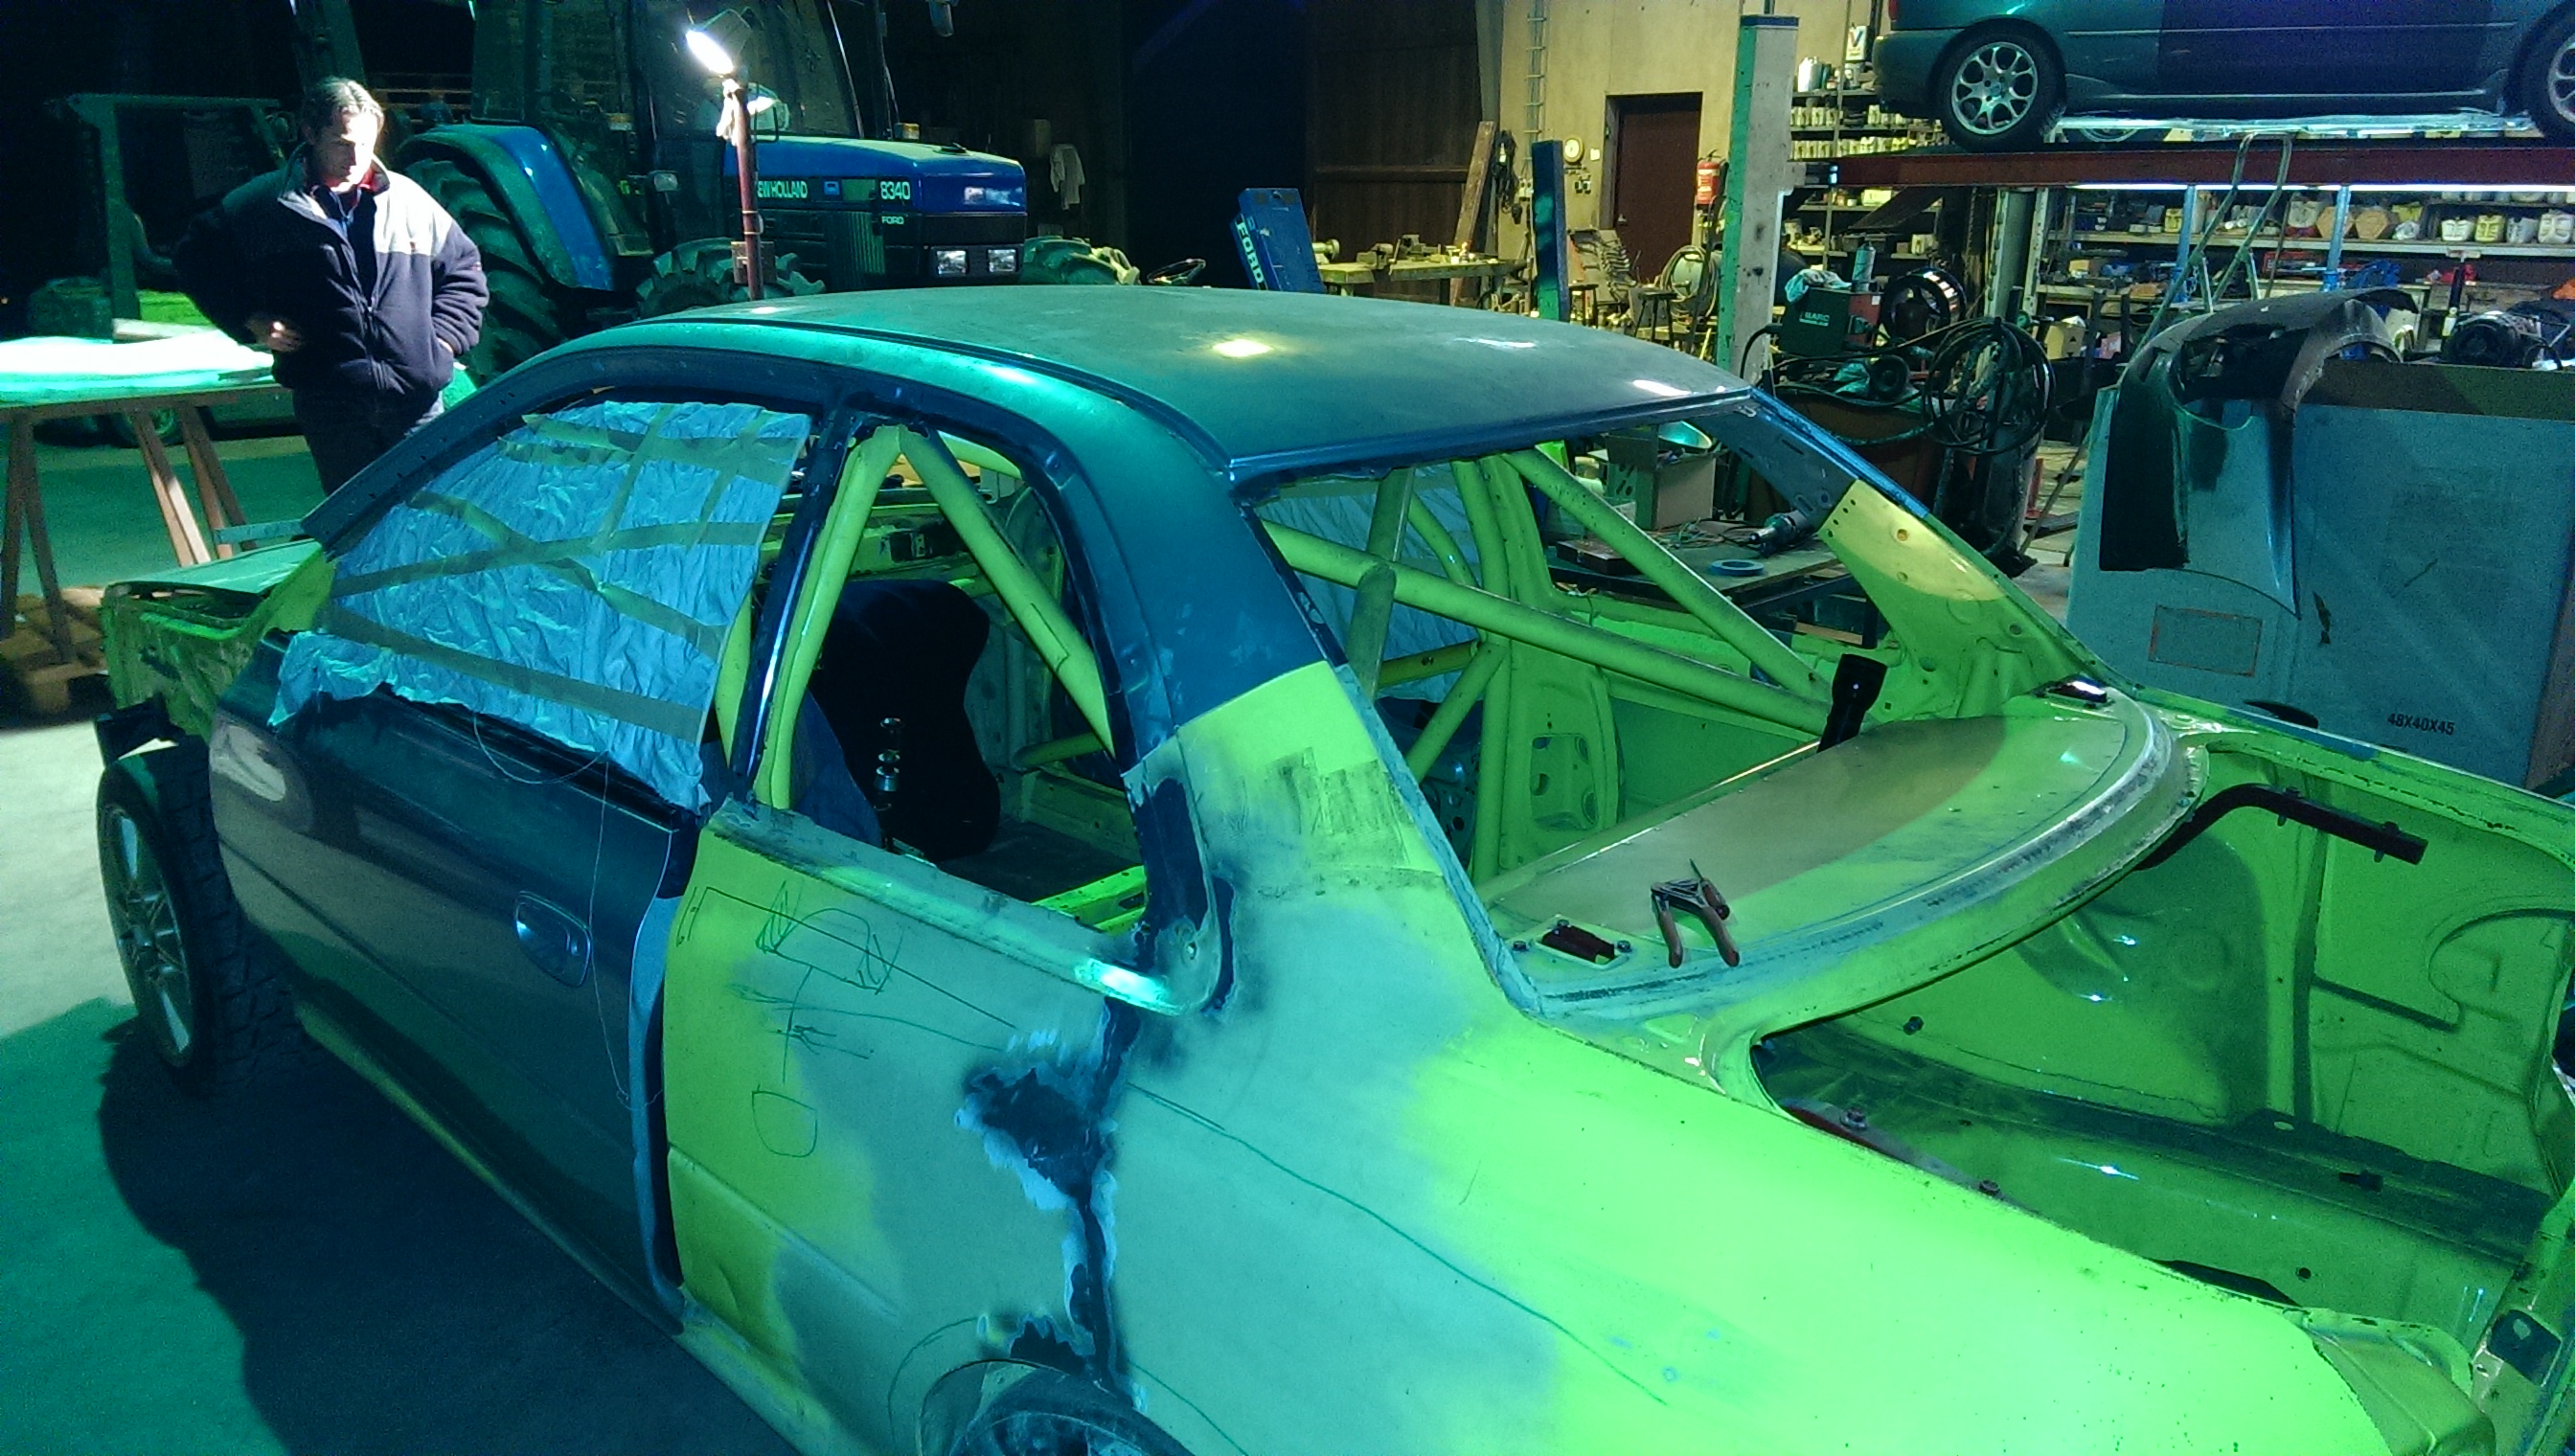
But the fitment of the window was still terrible so I decided we did all this work for nothing and tear down the car even more.
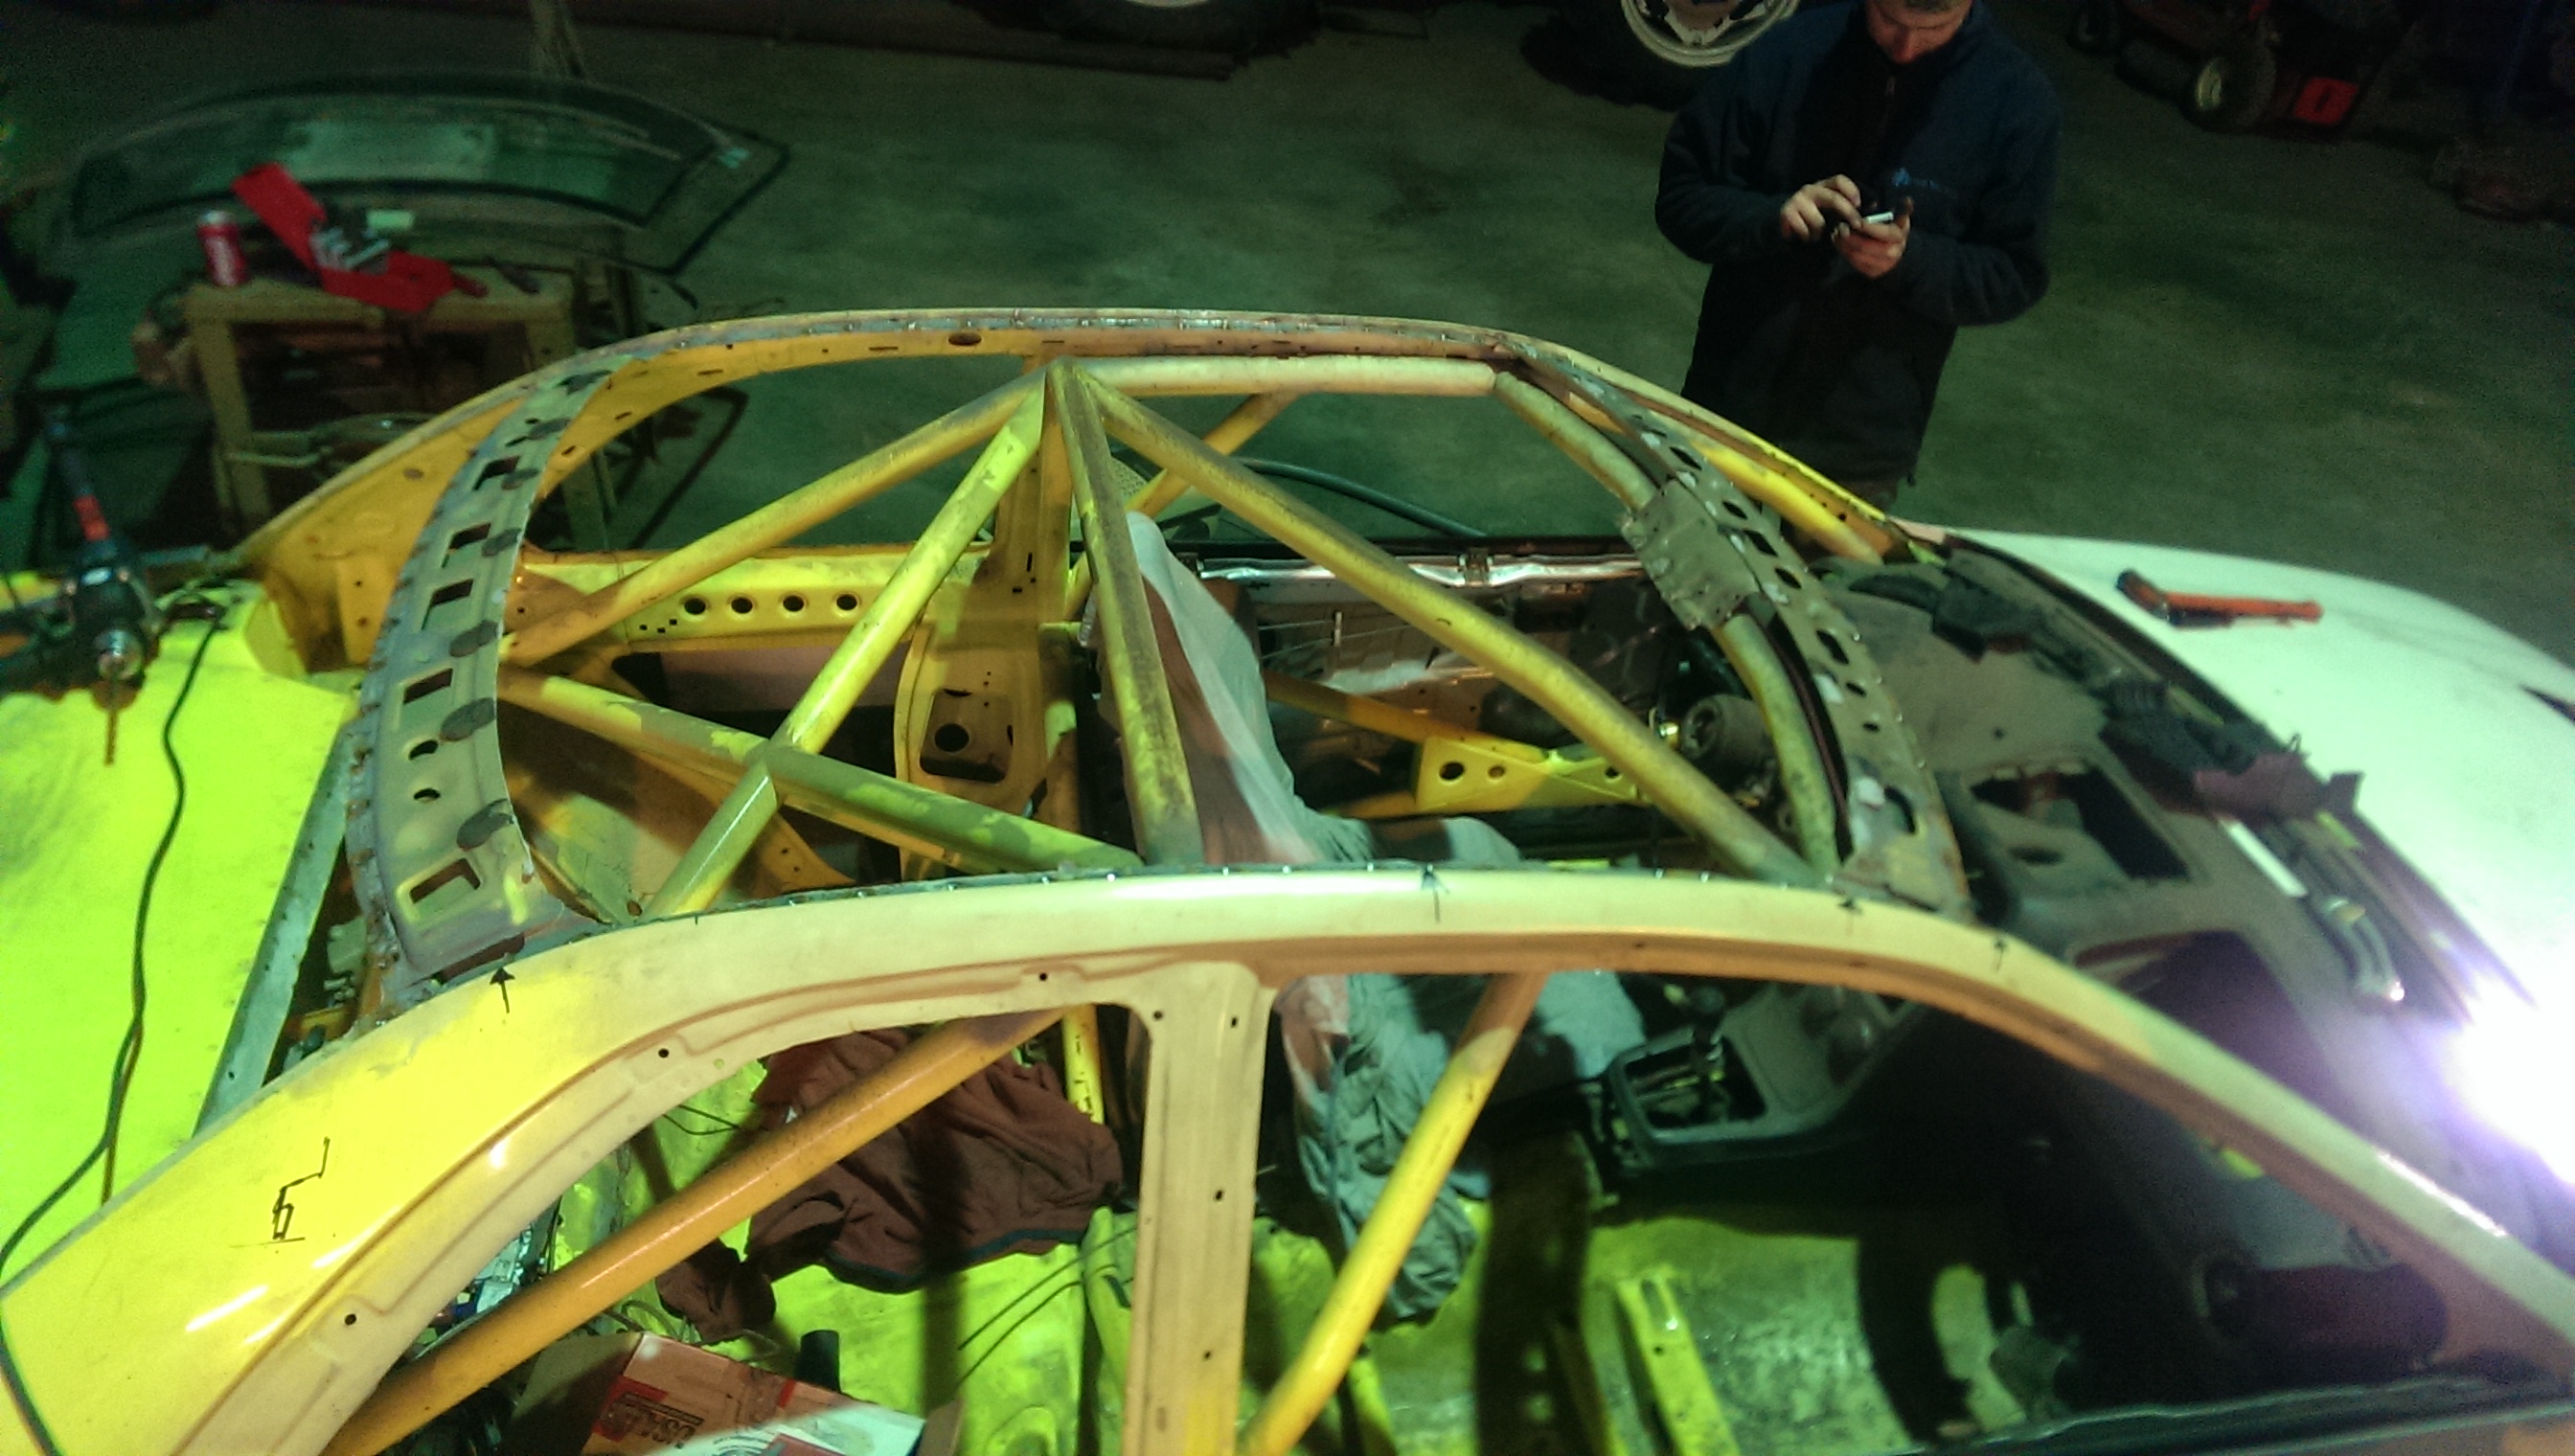
Total roof replacement!!!
This guy does not have a clue of what is about to happen to him...
WTF just happened!!??
Scalped him Indian style!!
Of course the yellow car needed some more work aswell.
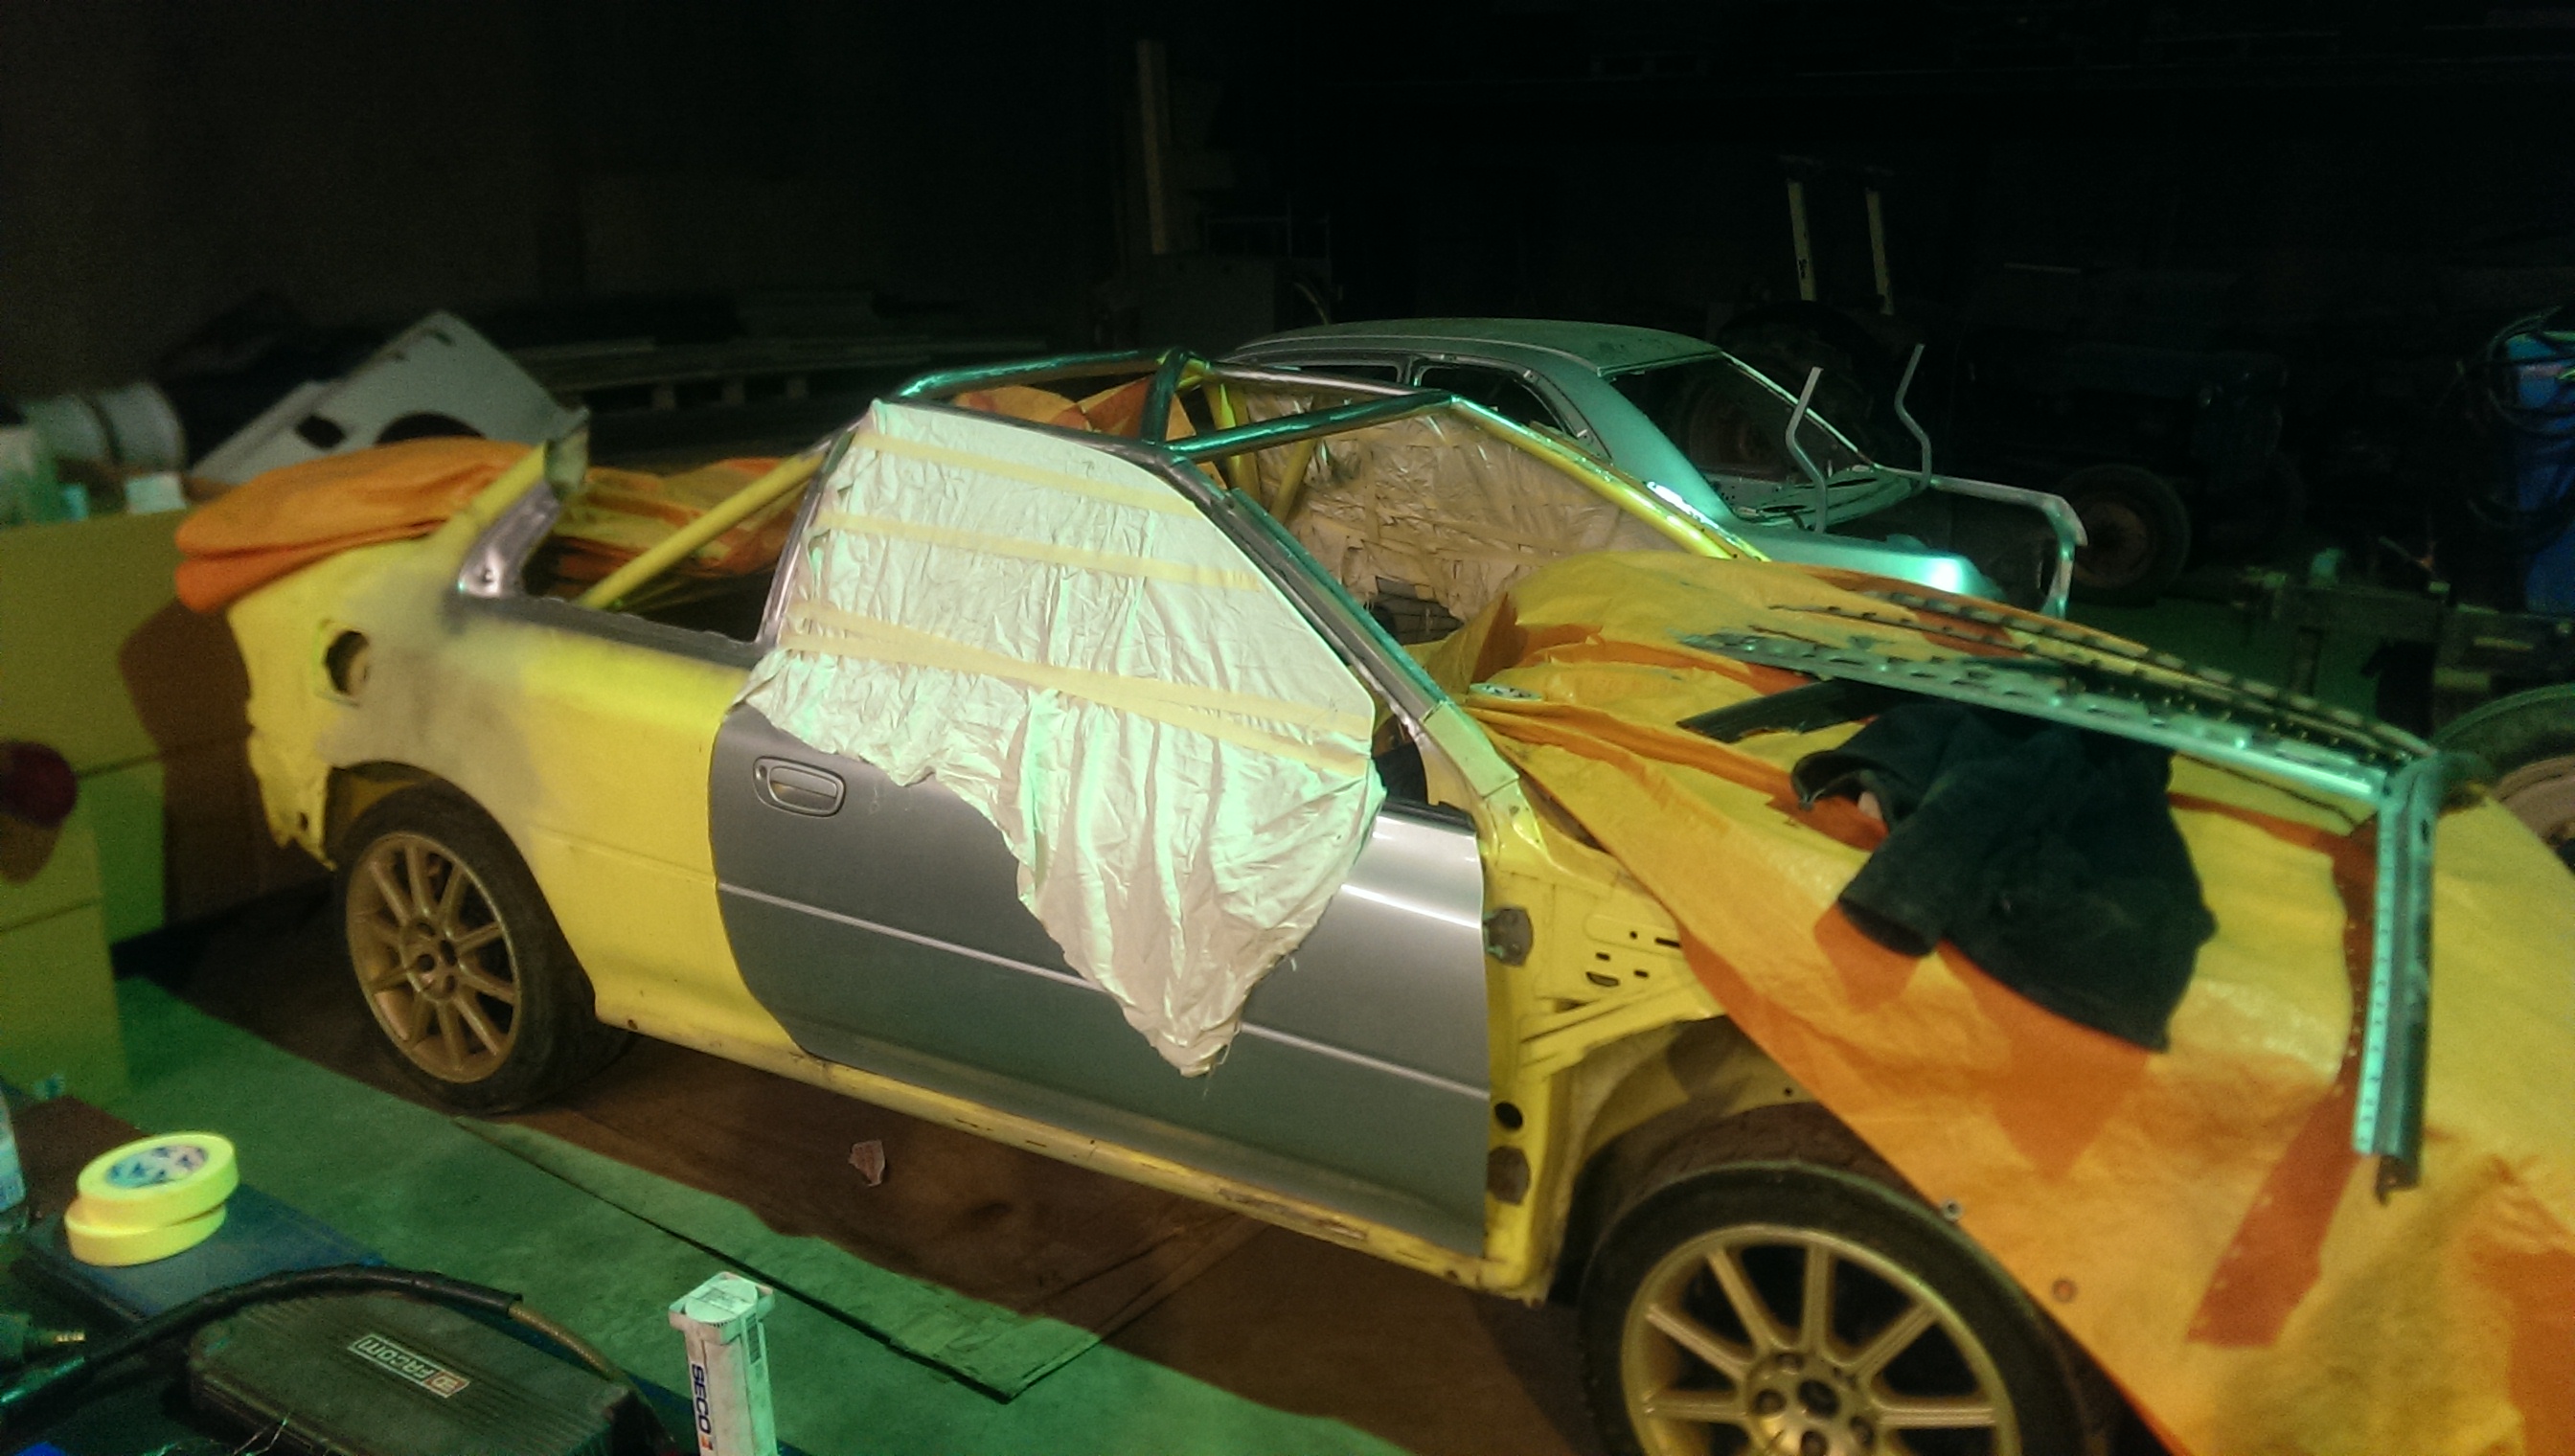
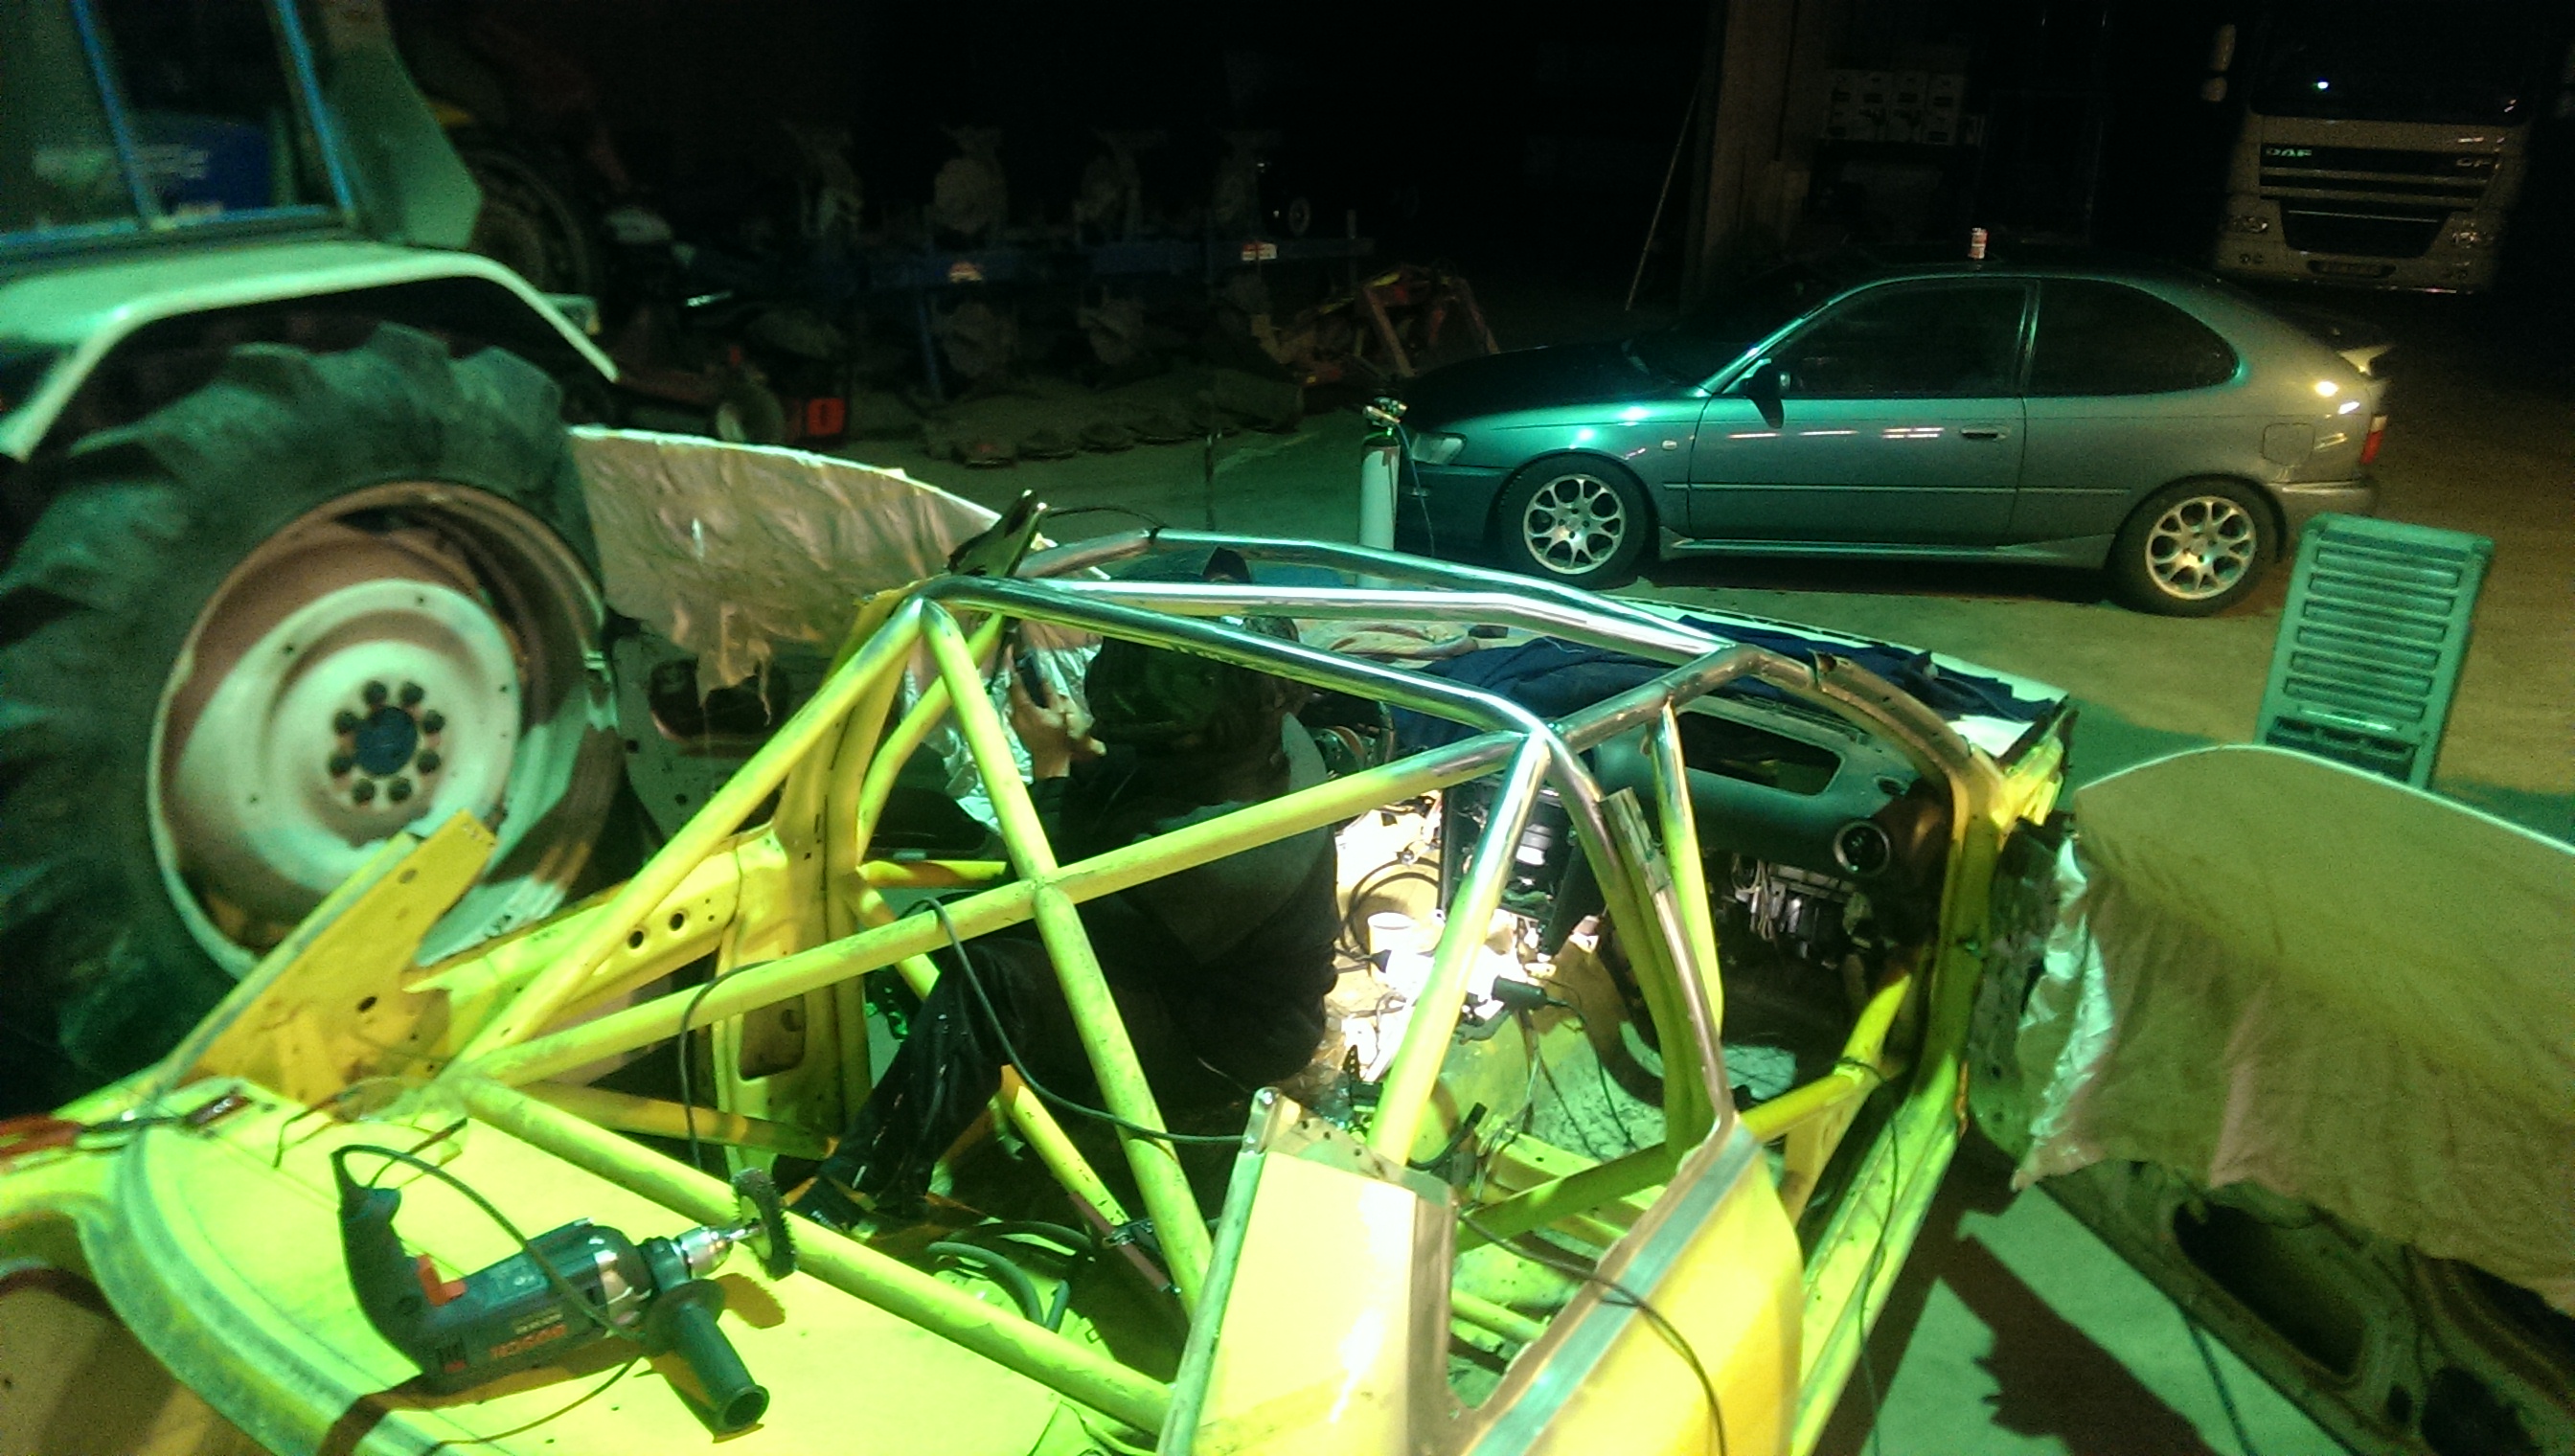
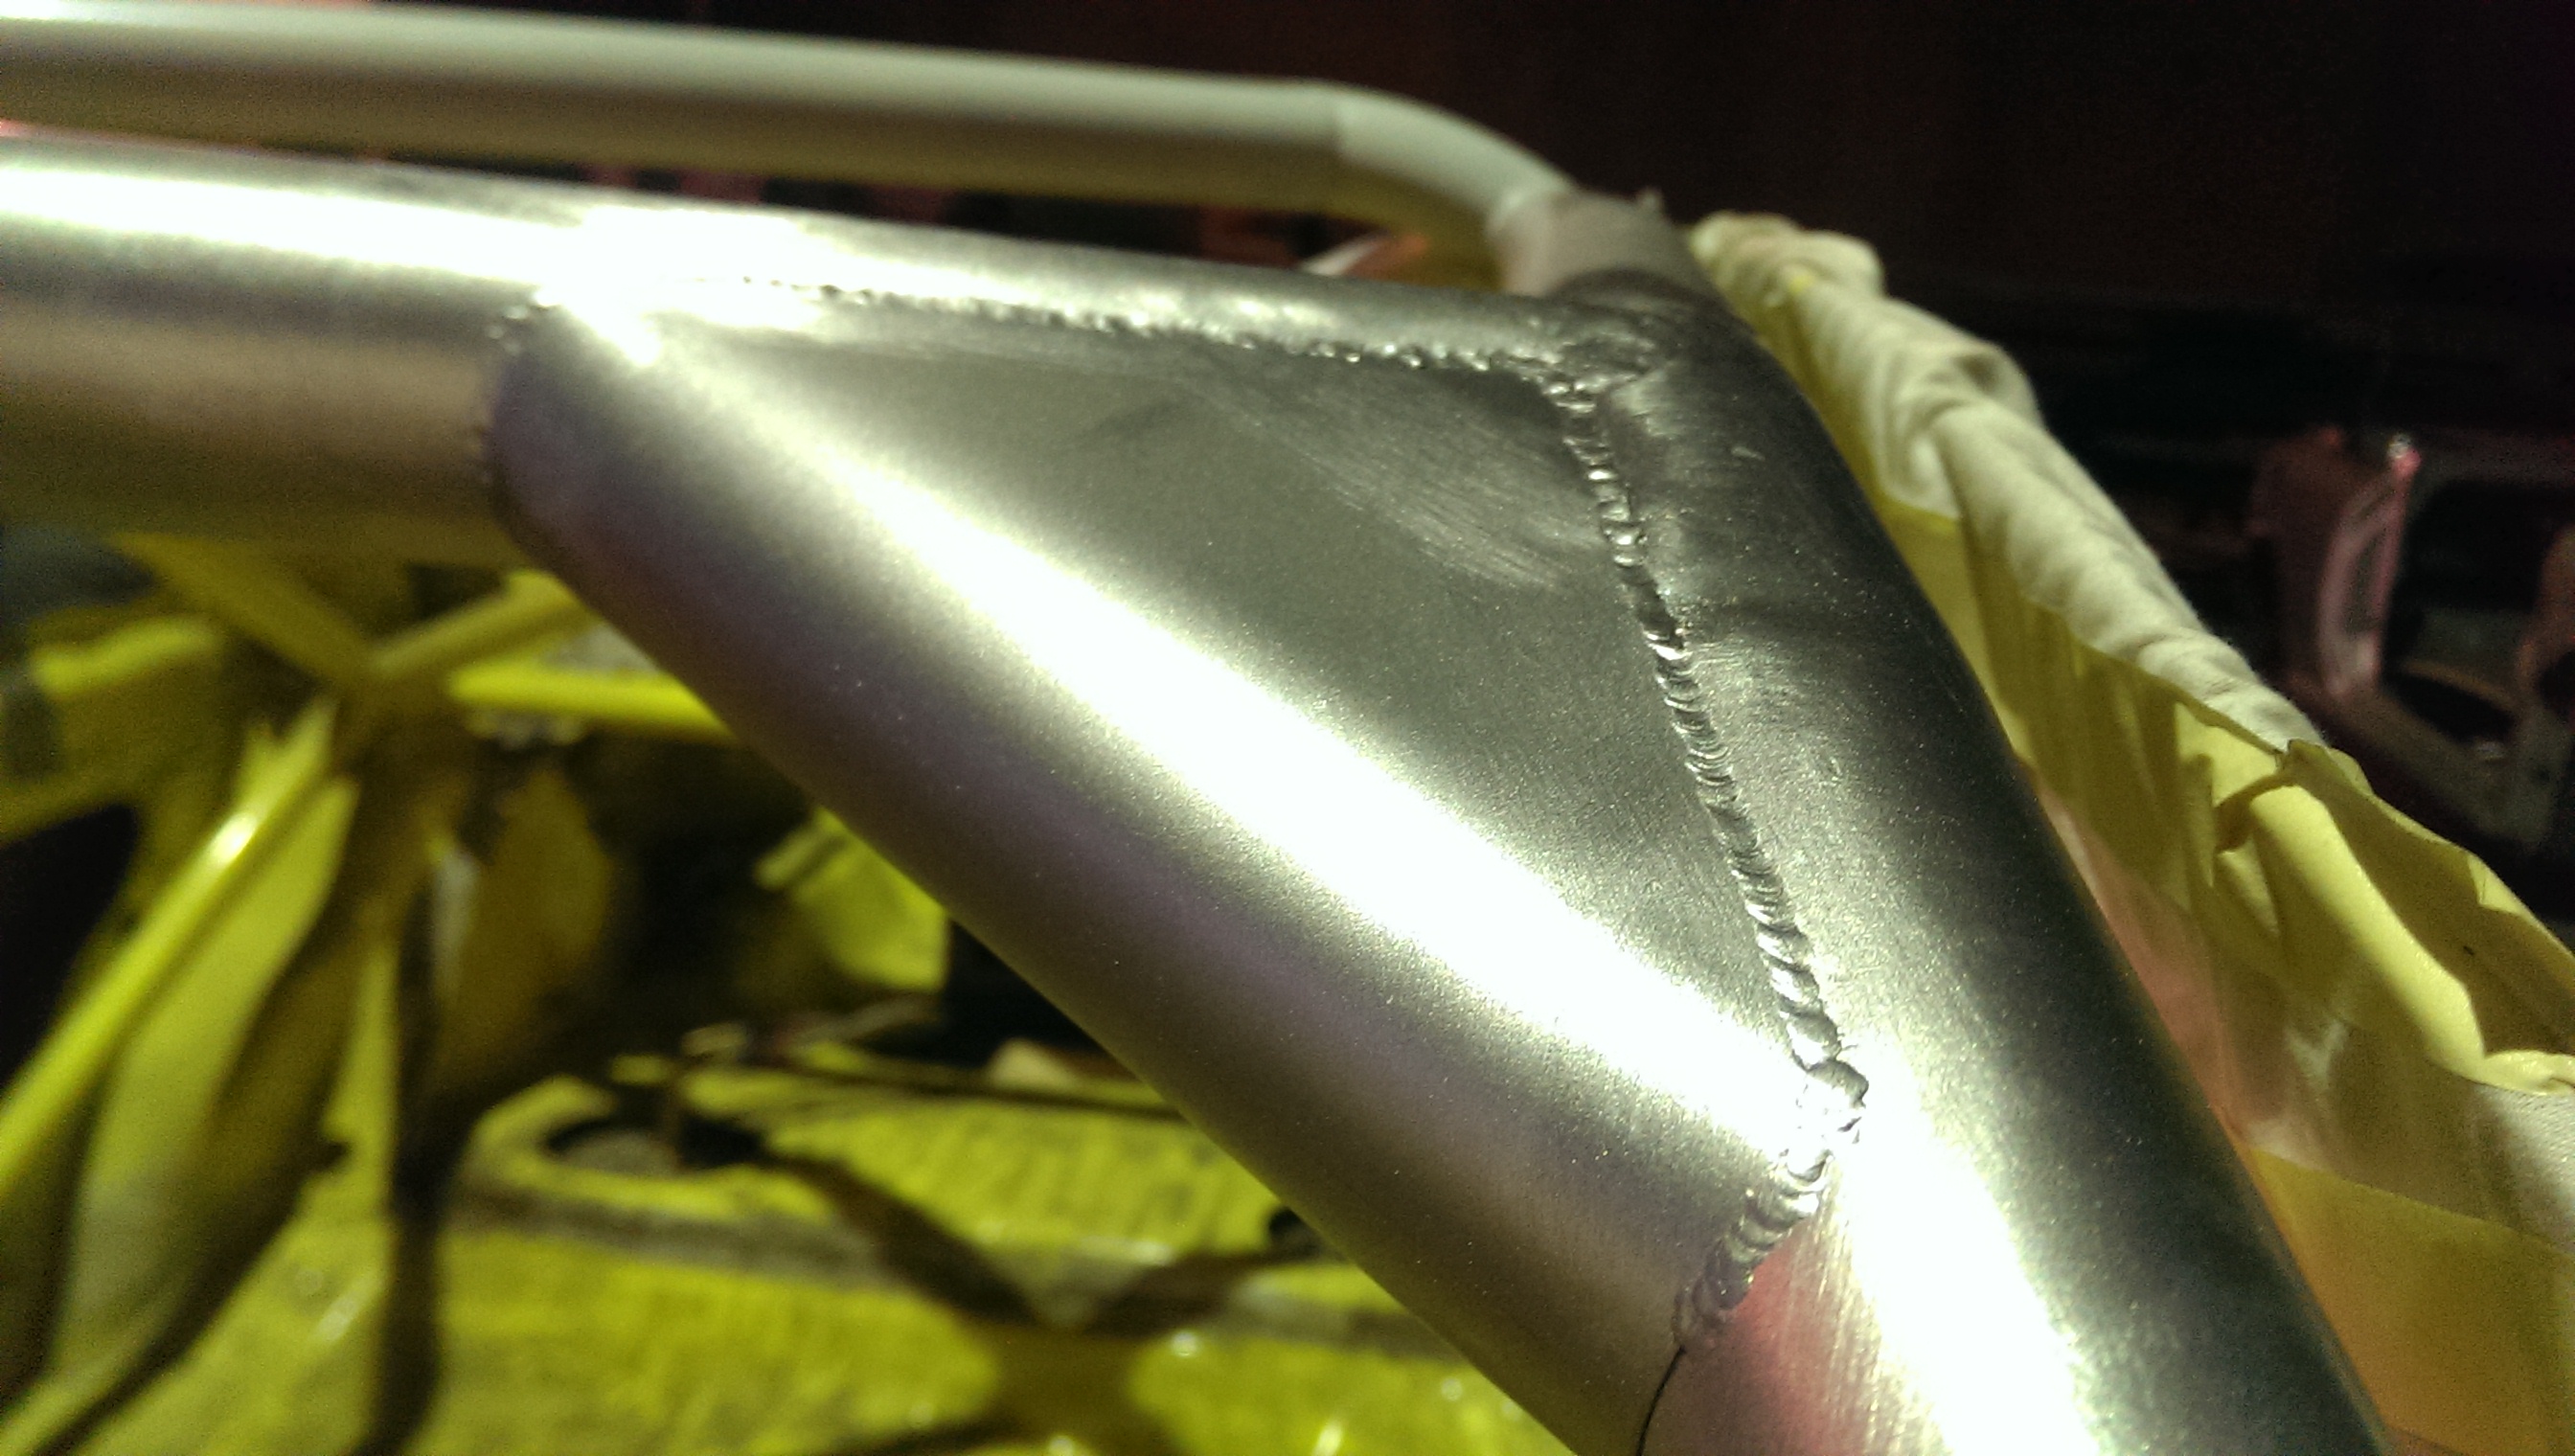
The cage needed some patching up too:
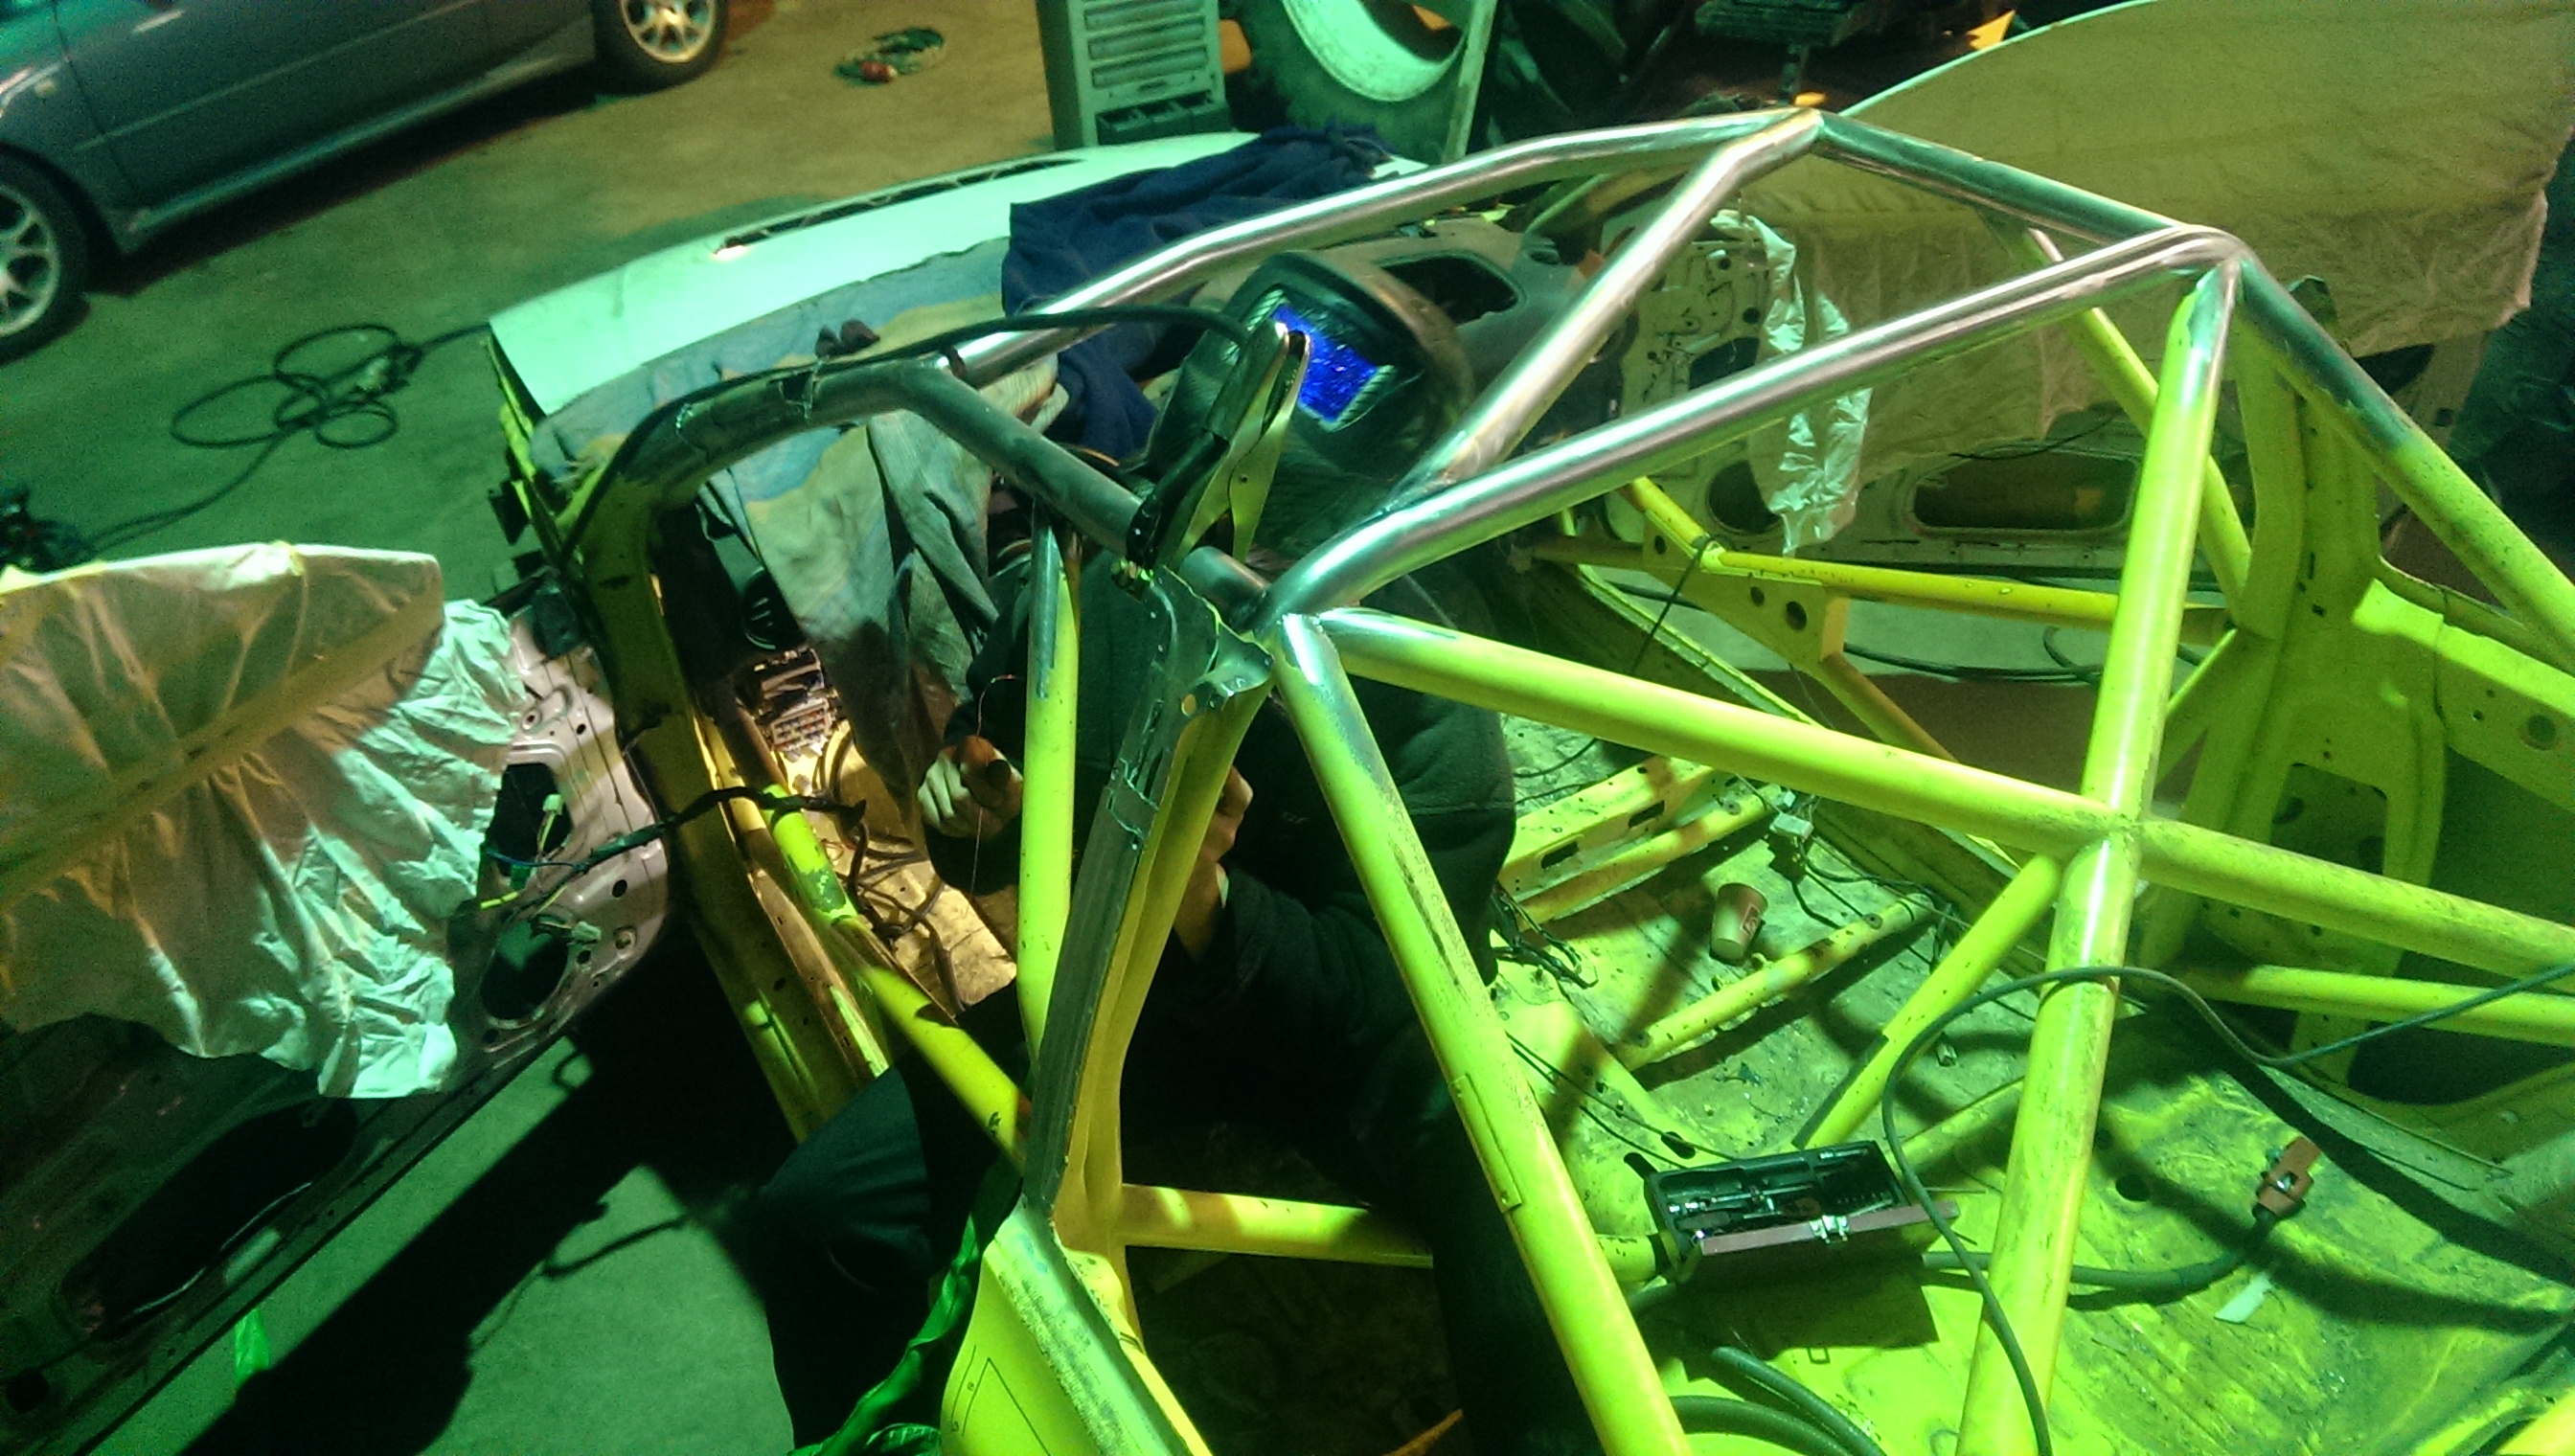
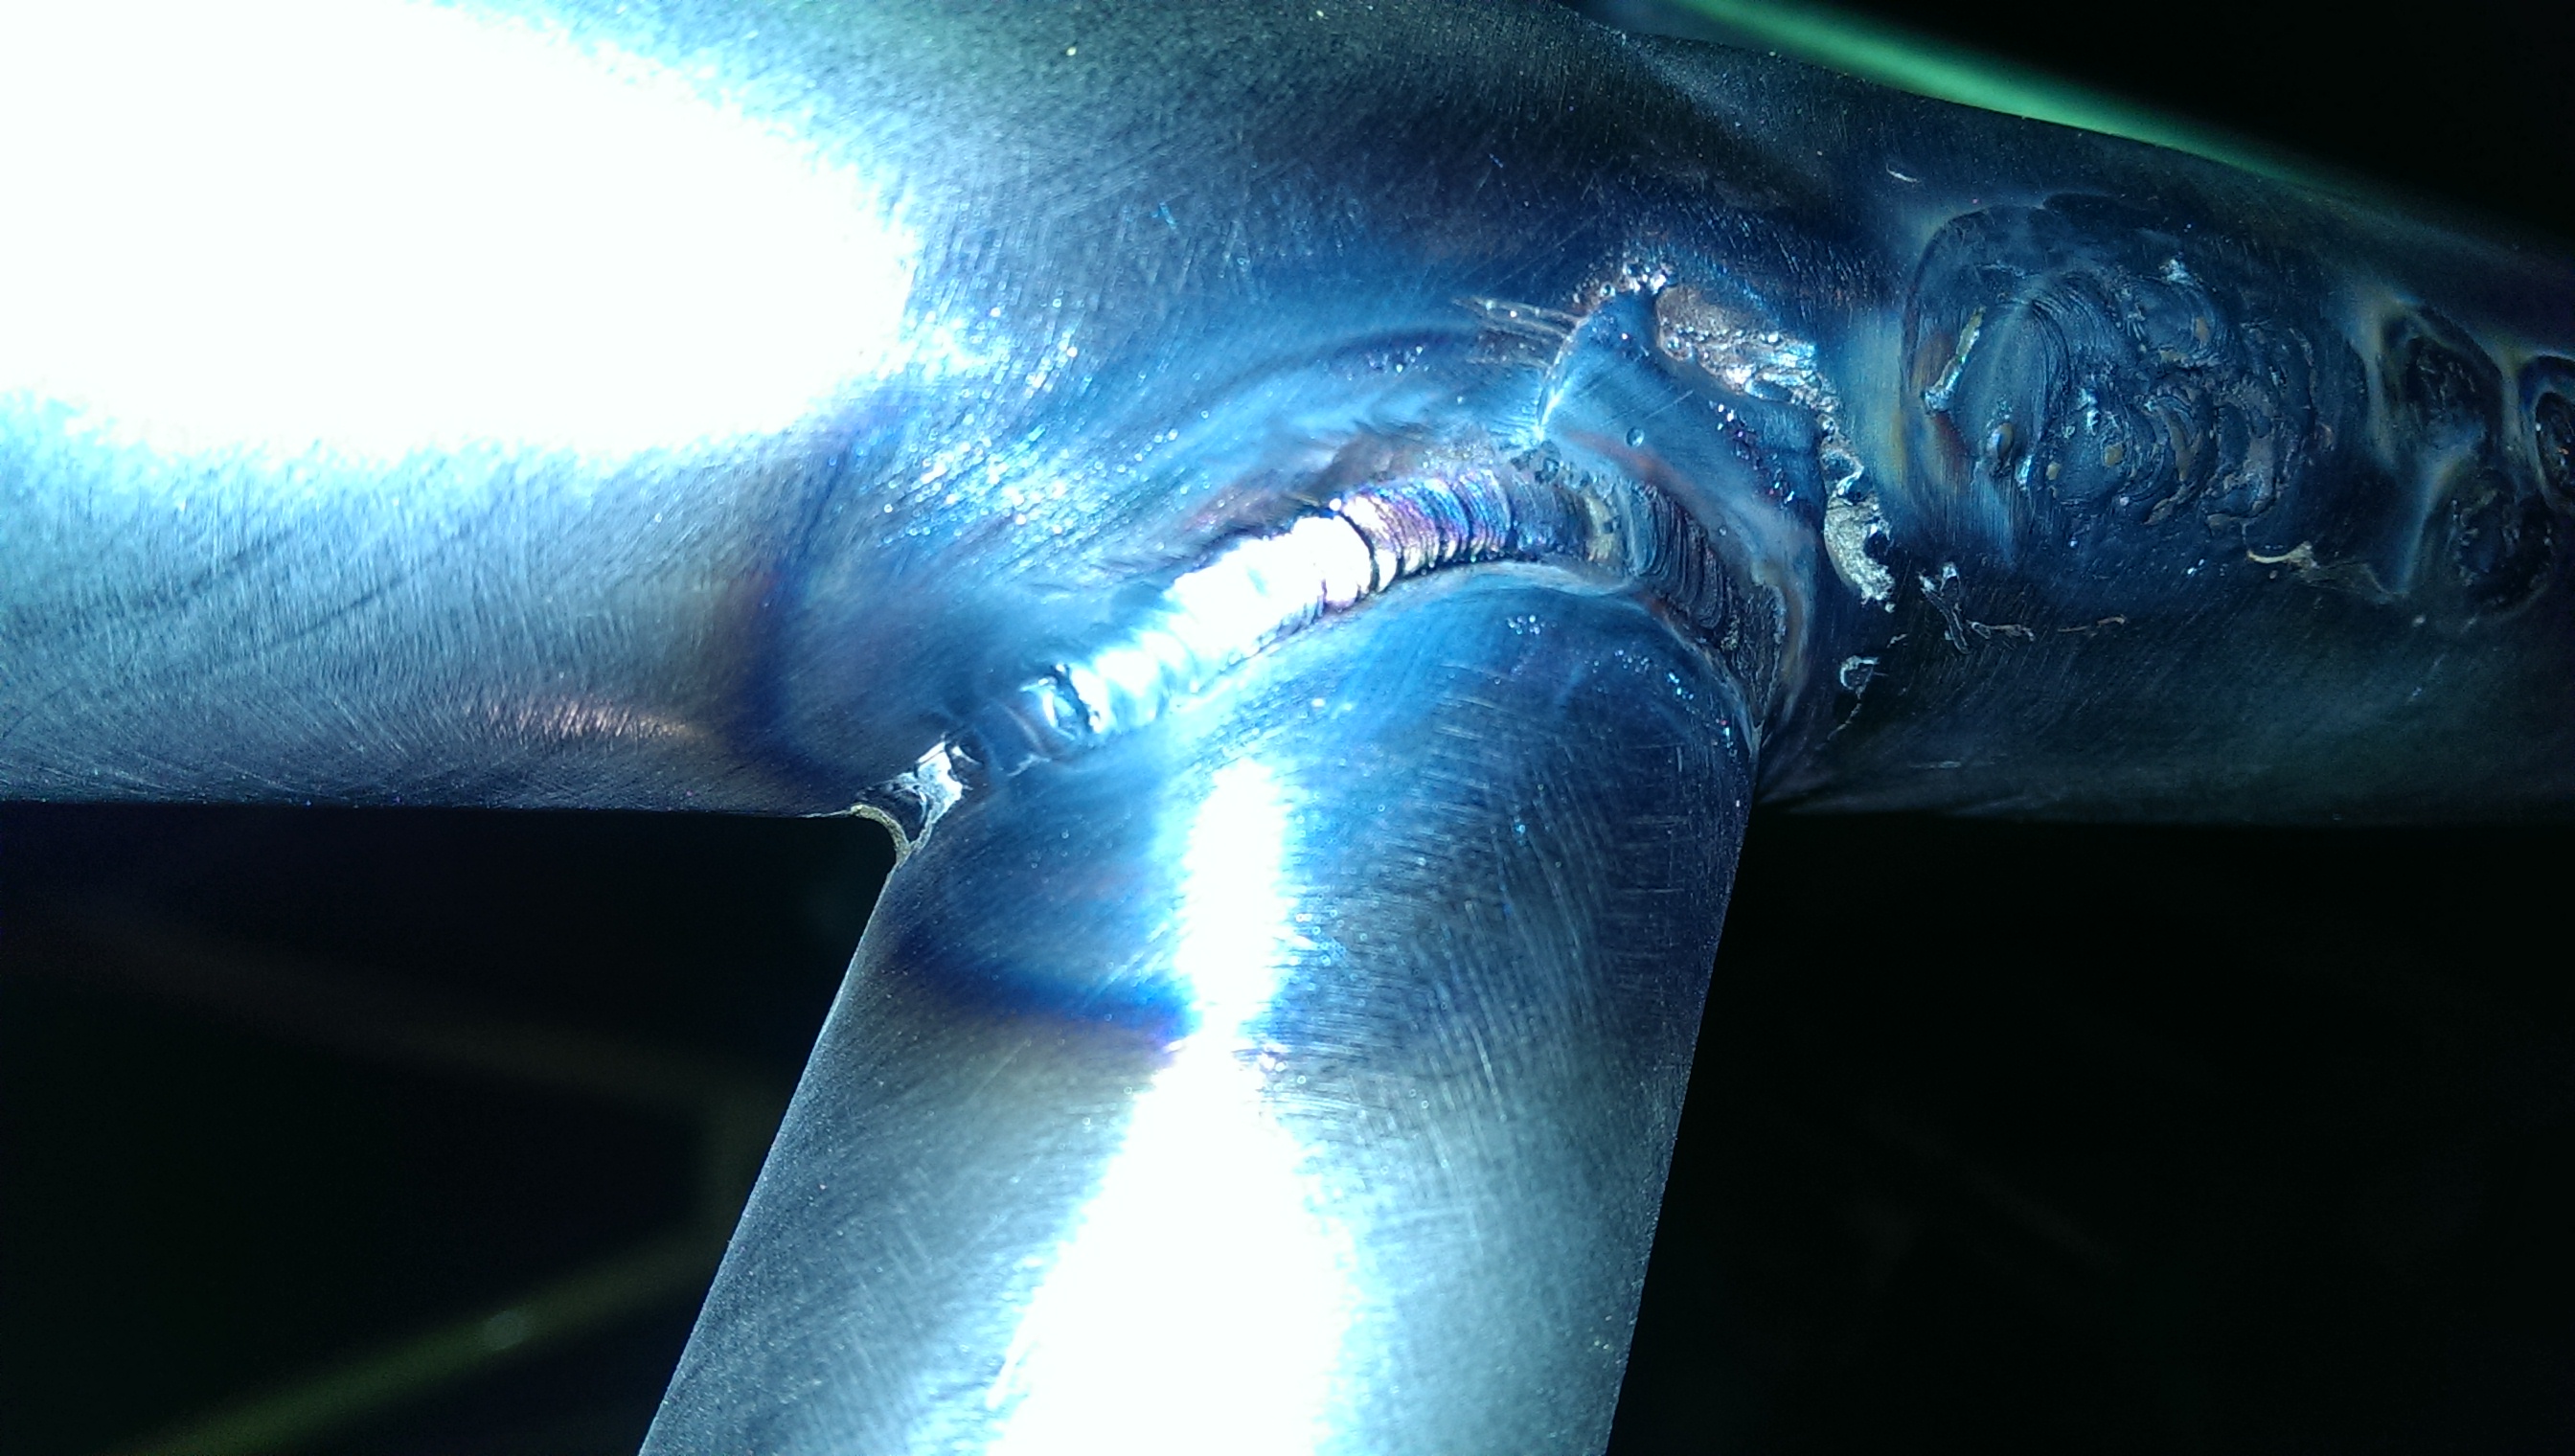
Made some extra gussets:
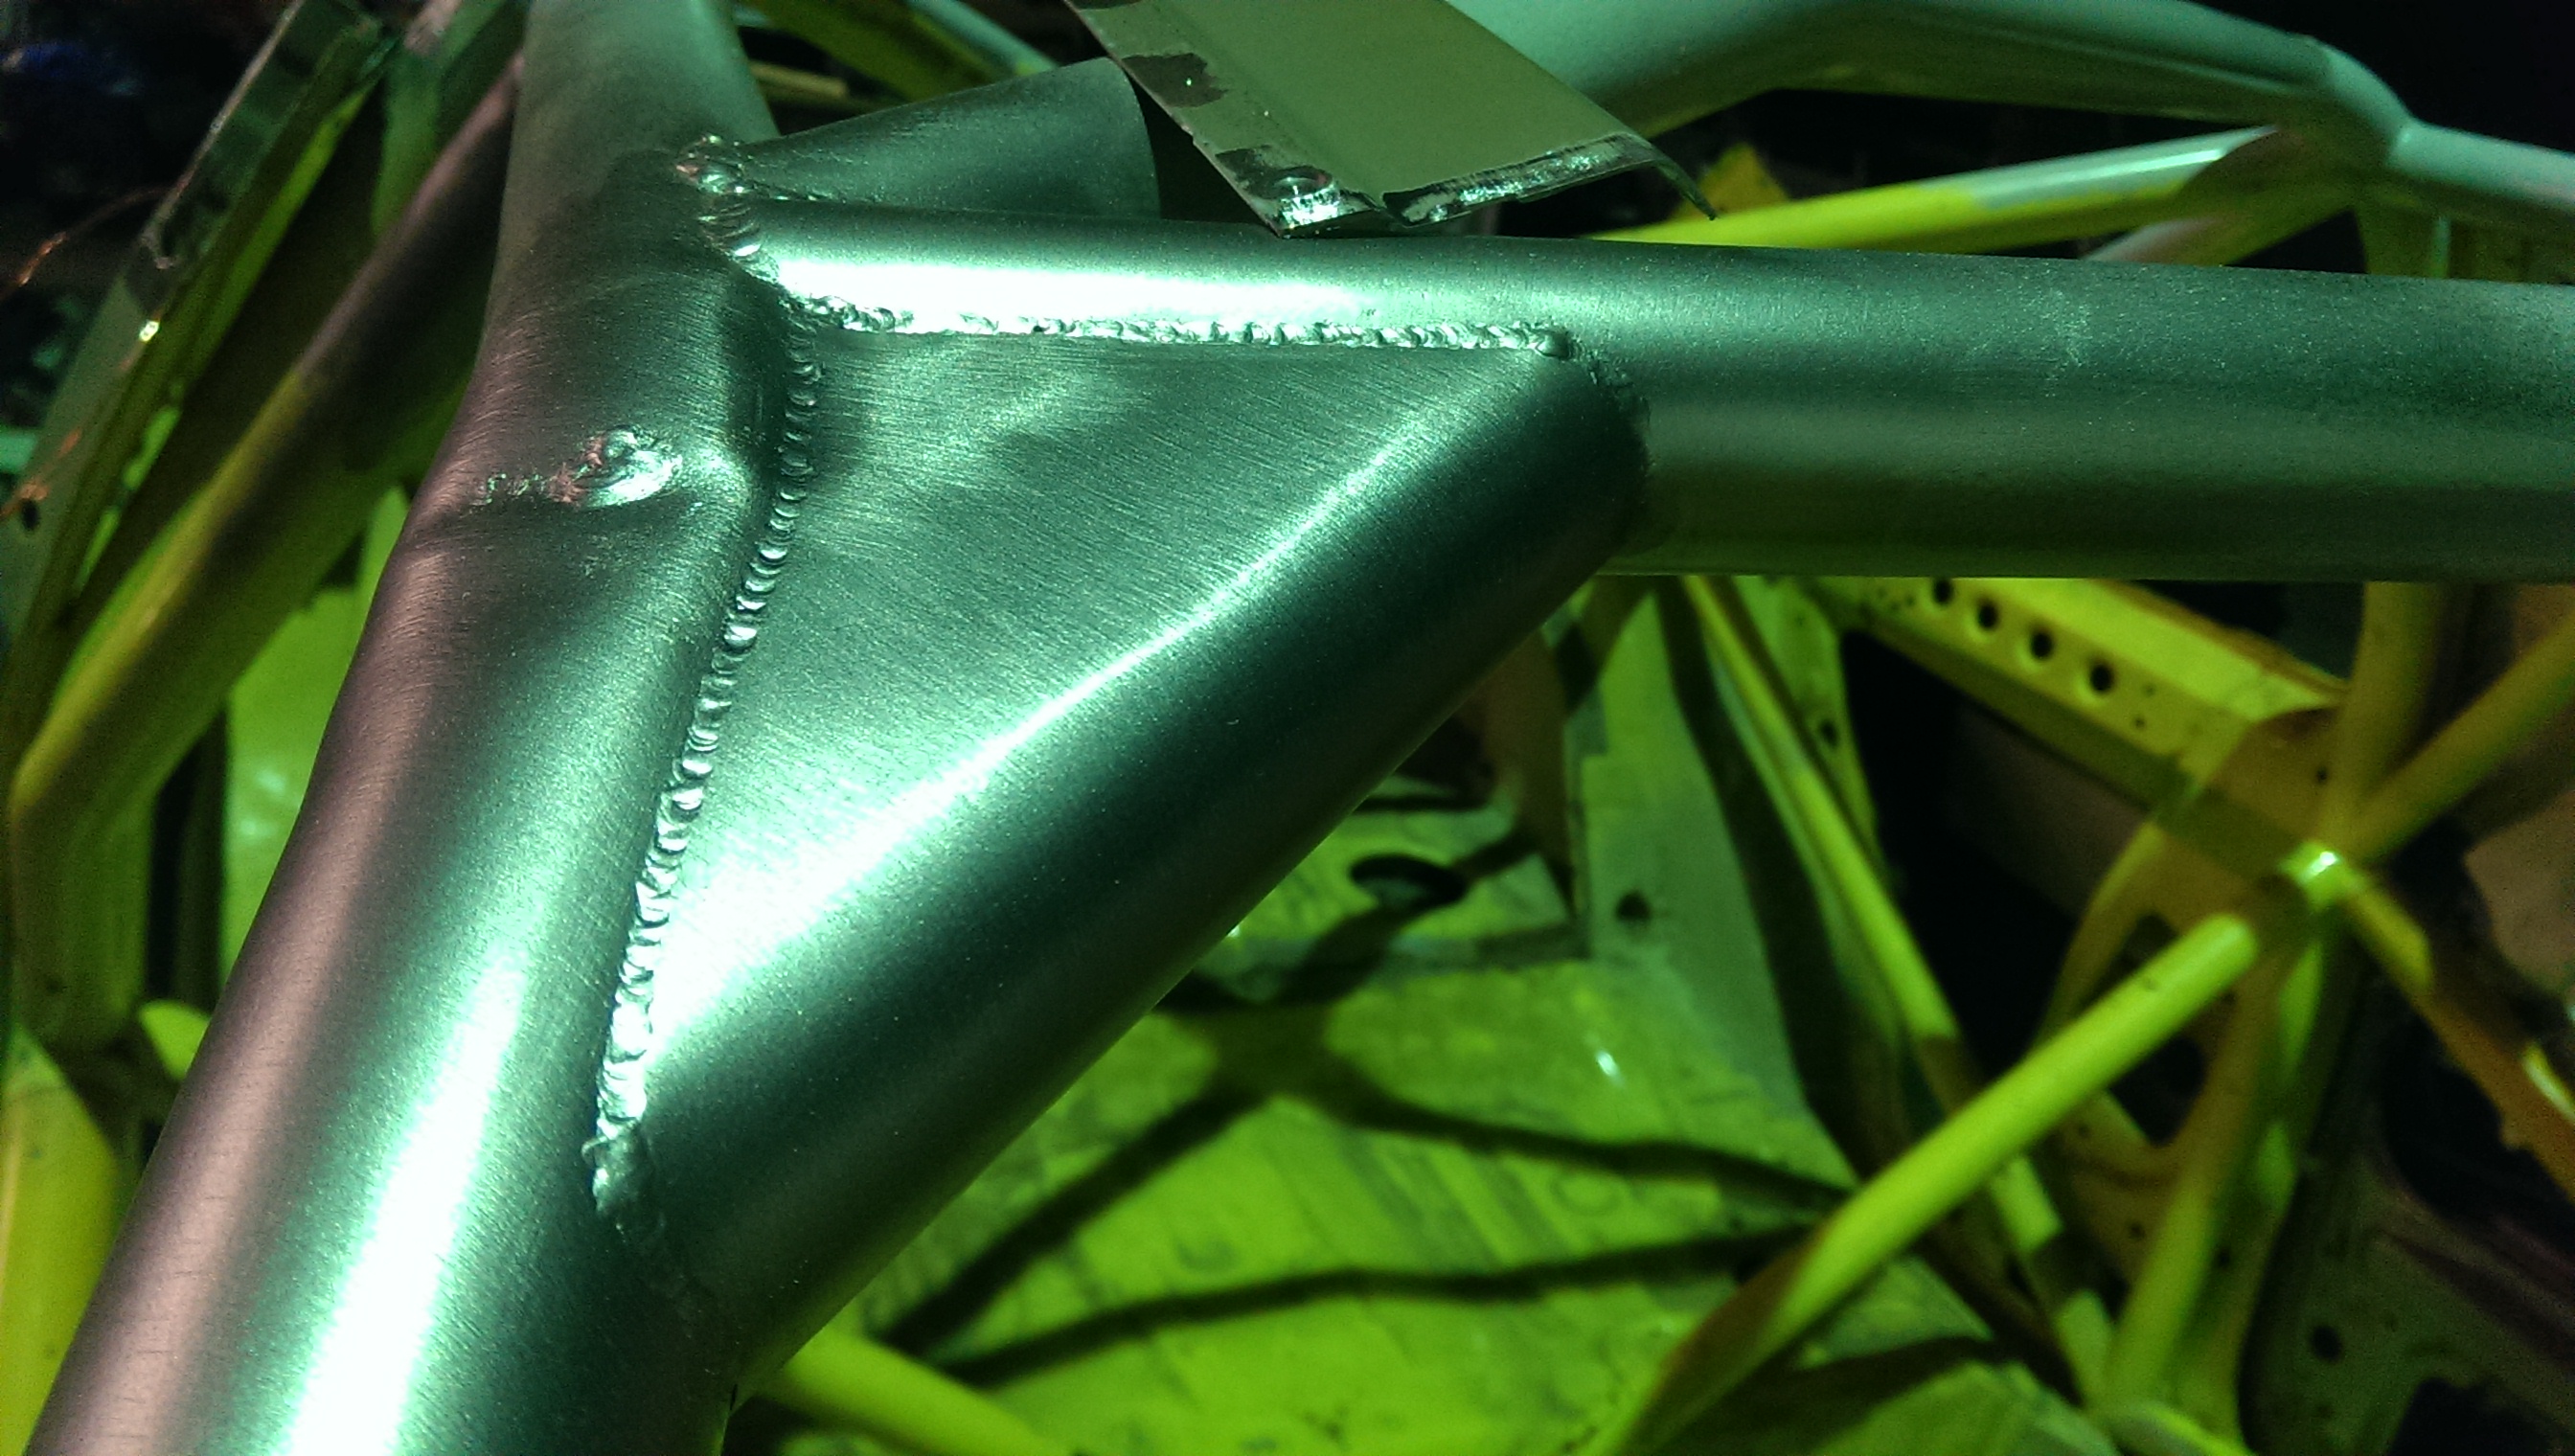
There they are, the two headless horsemen.
For the roof to fit nicely there was a lot of skinning and gutting needed:
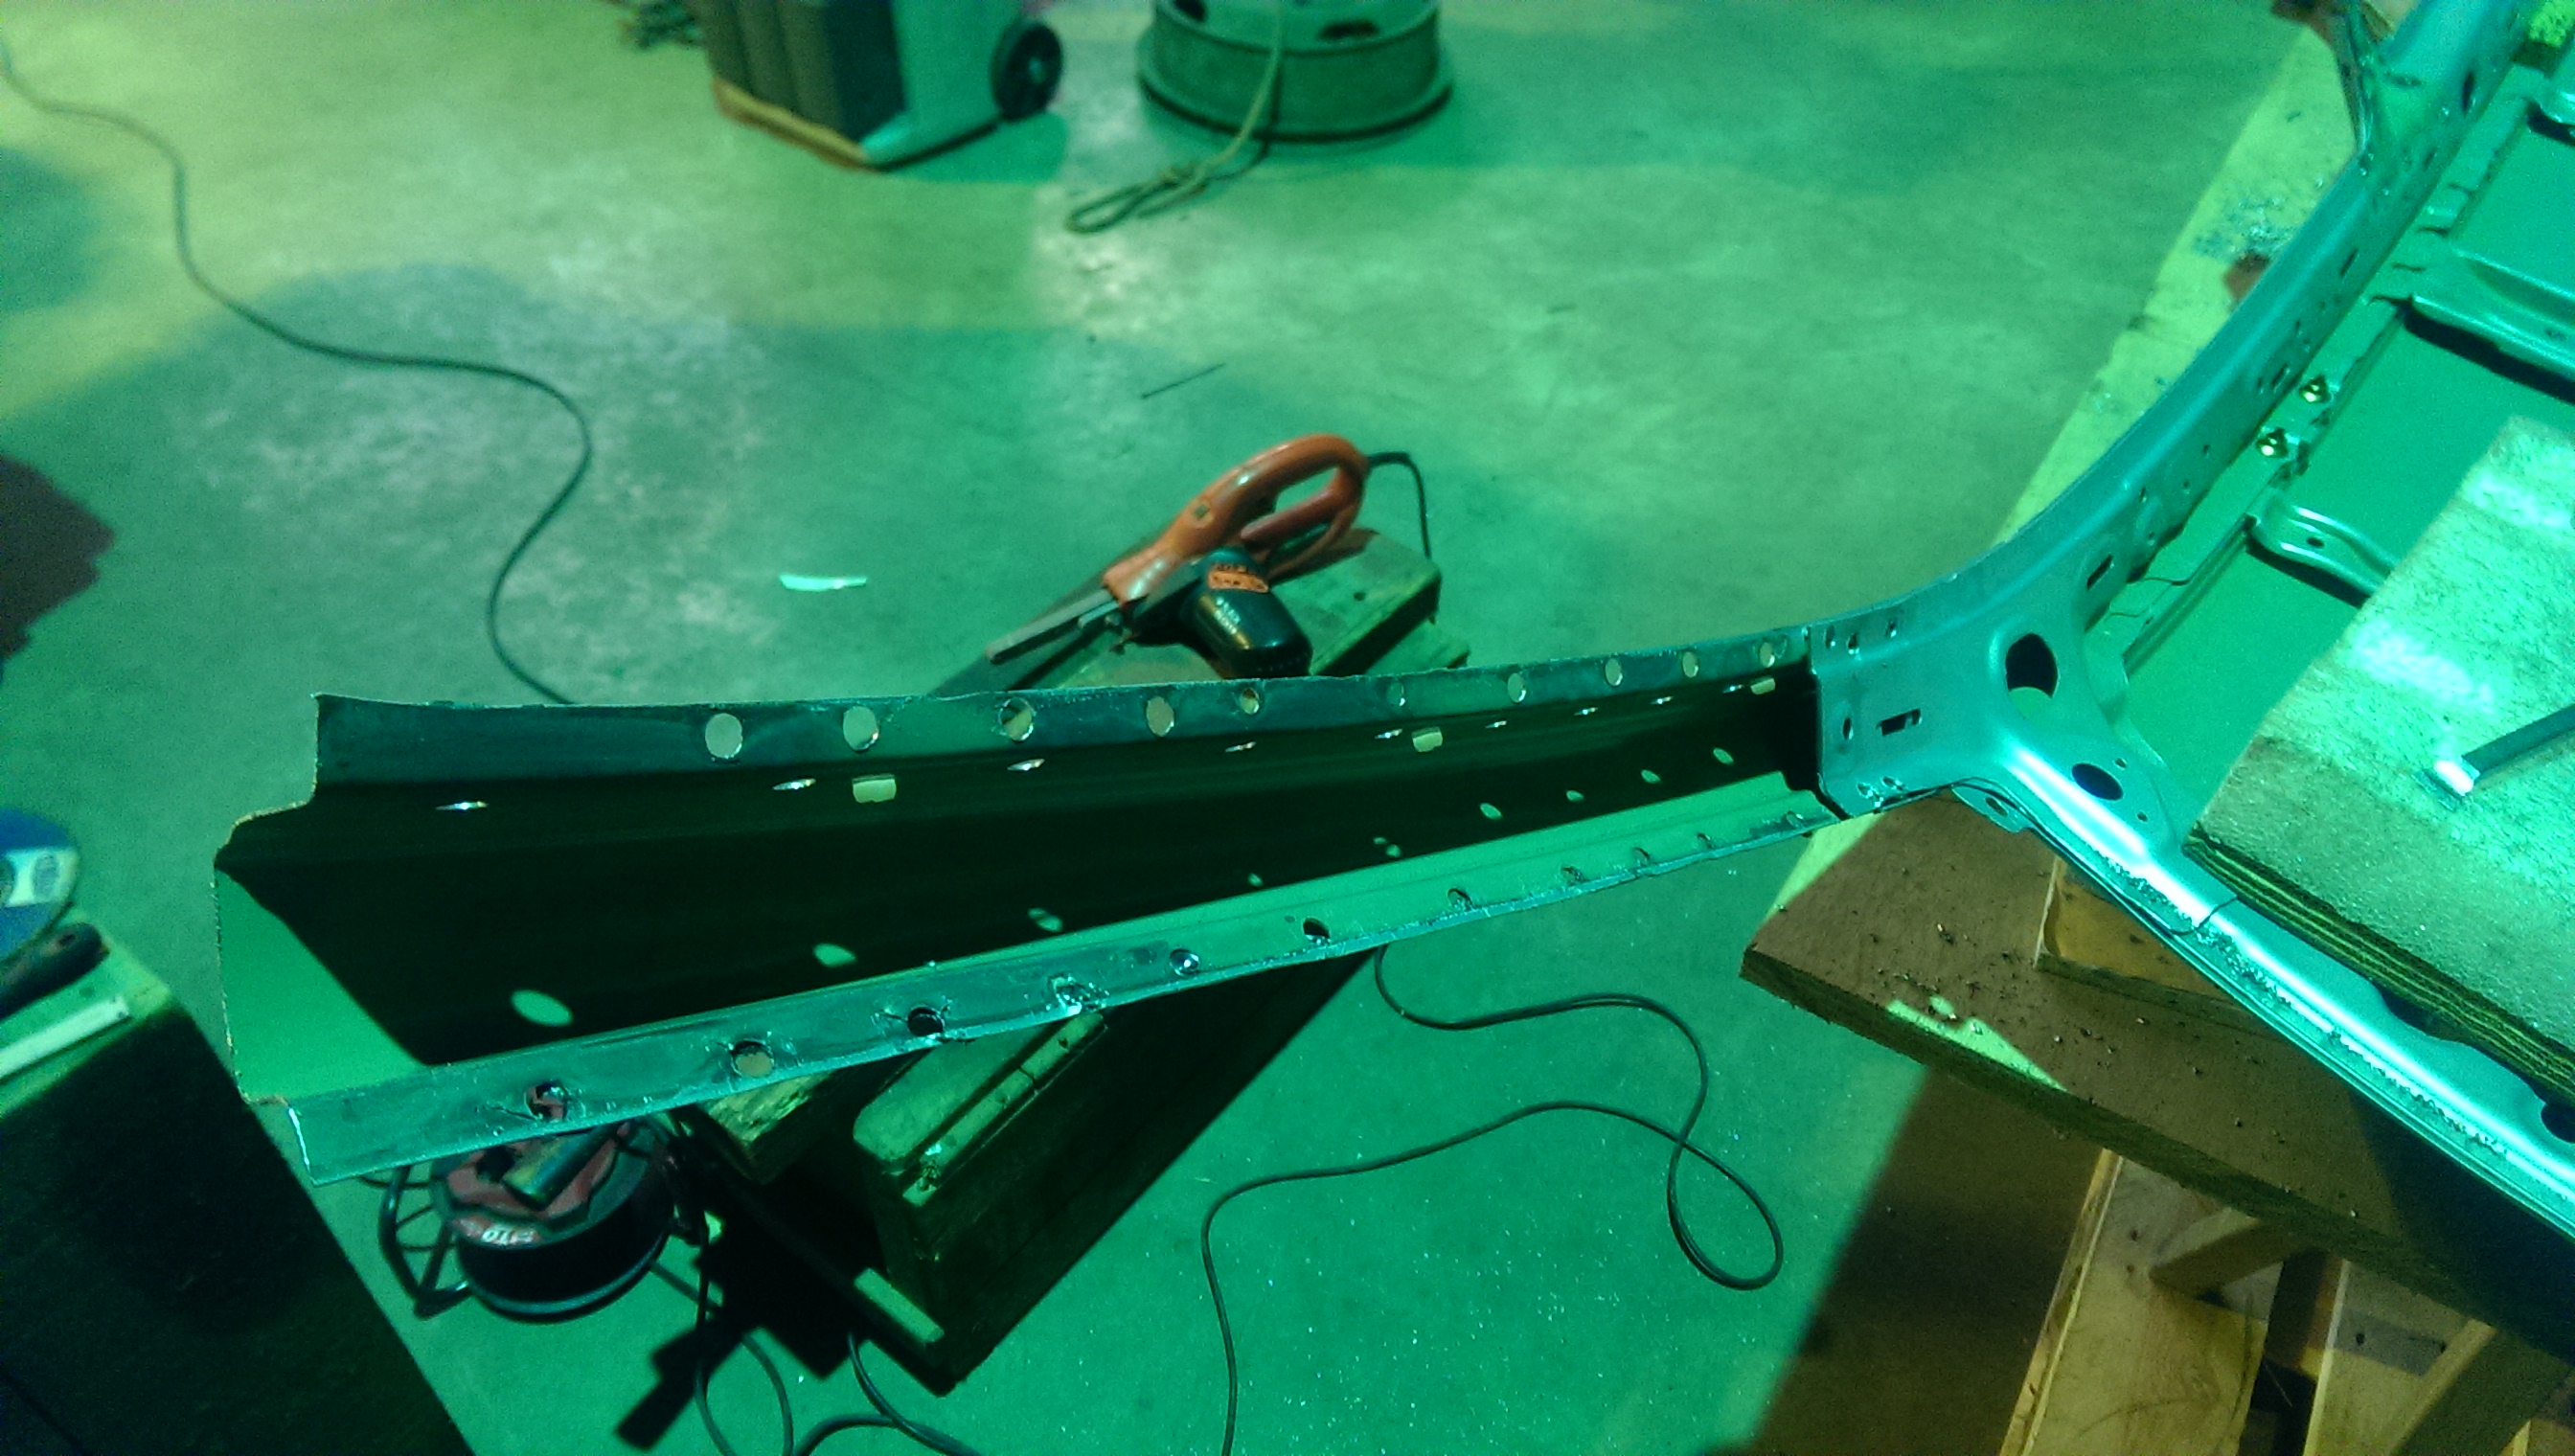
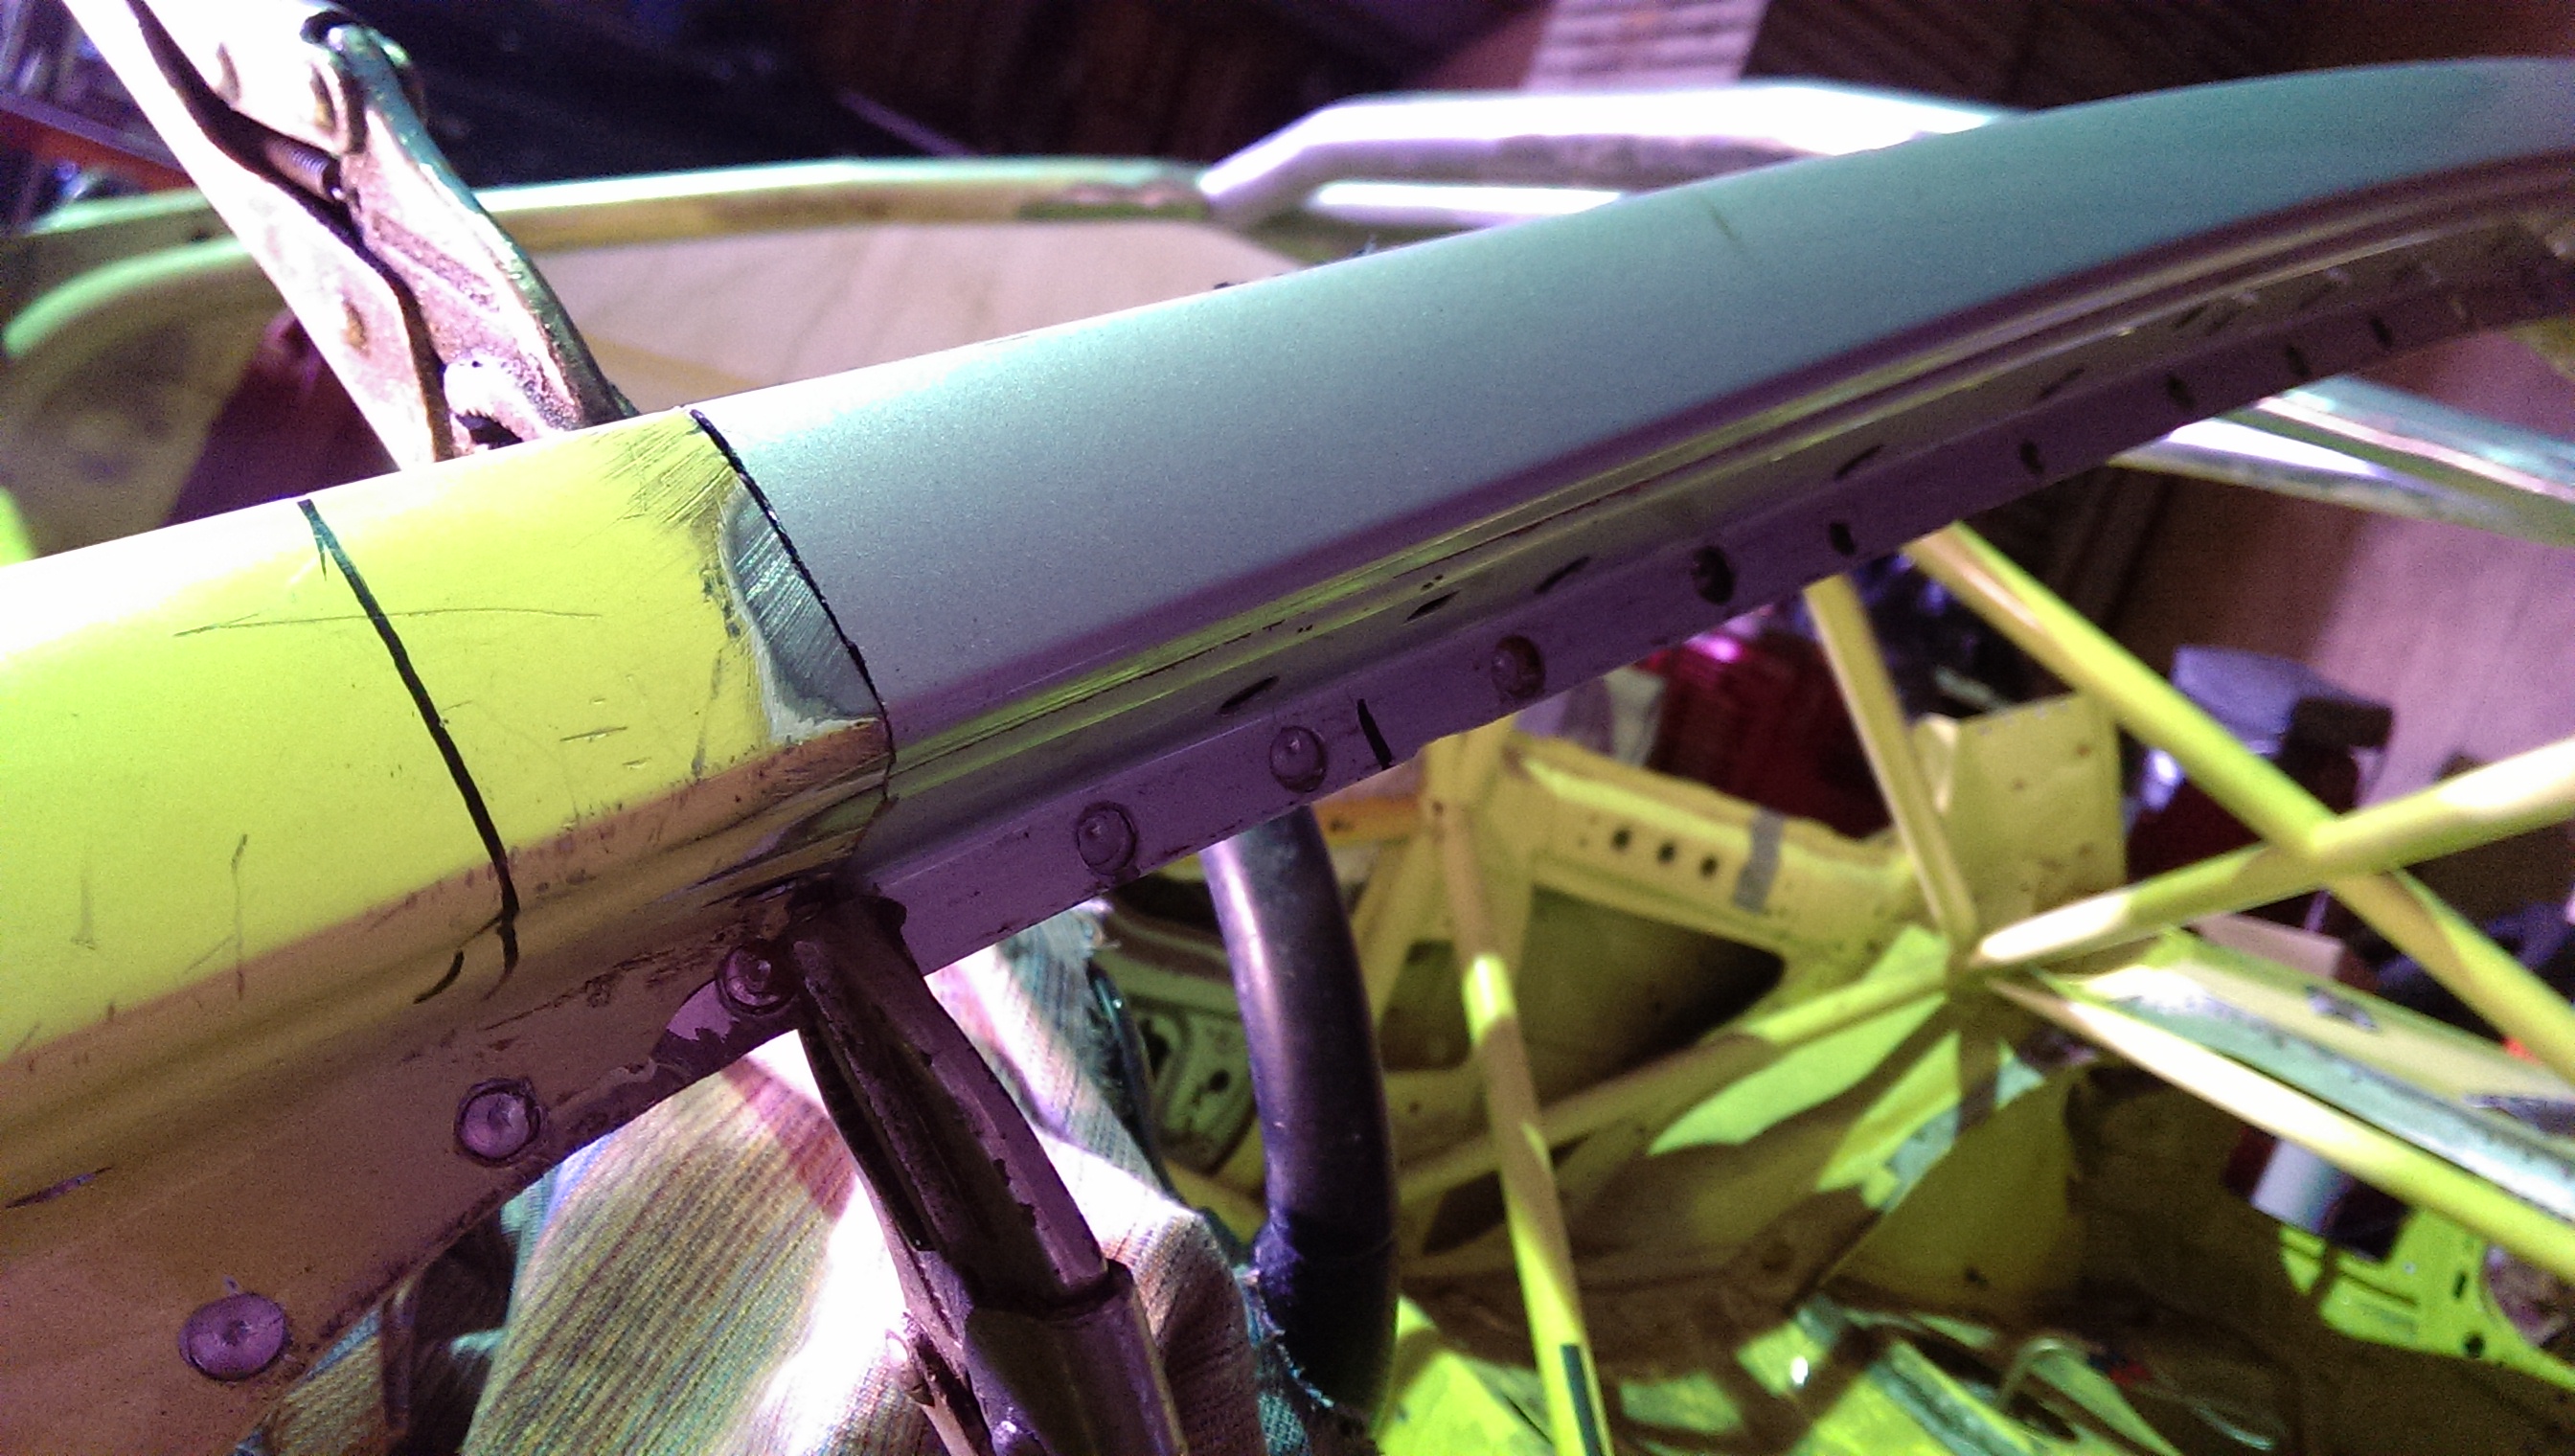
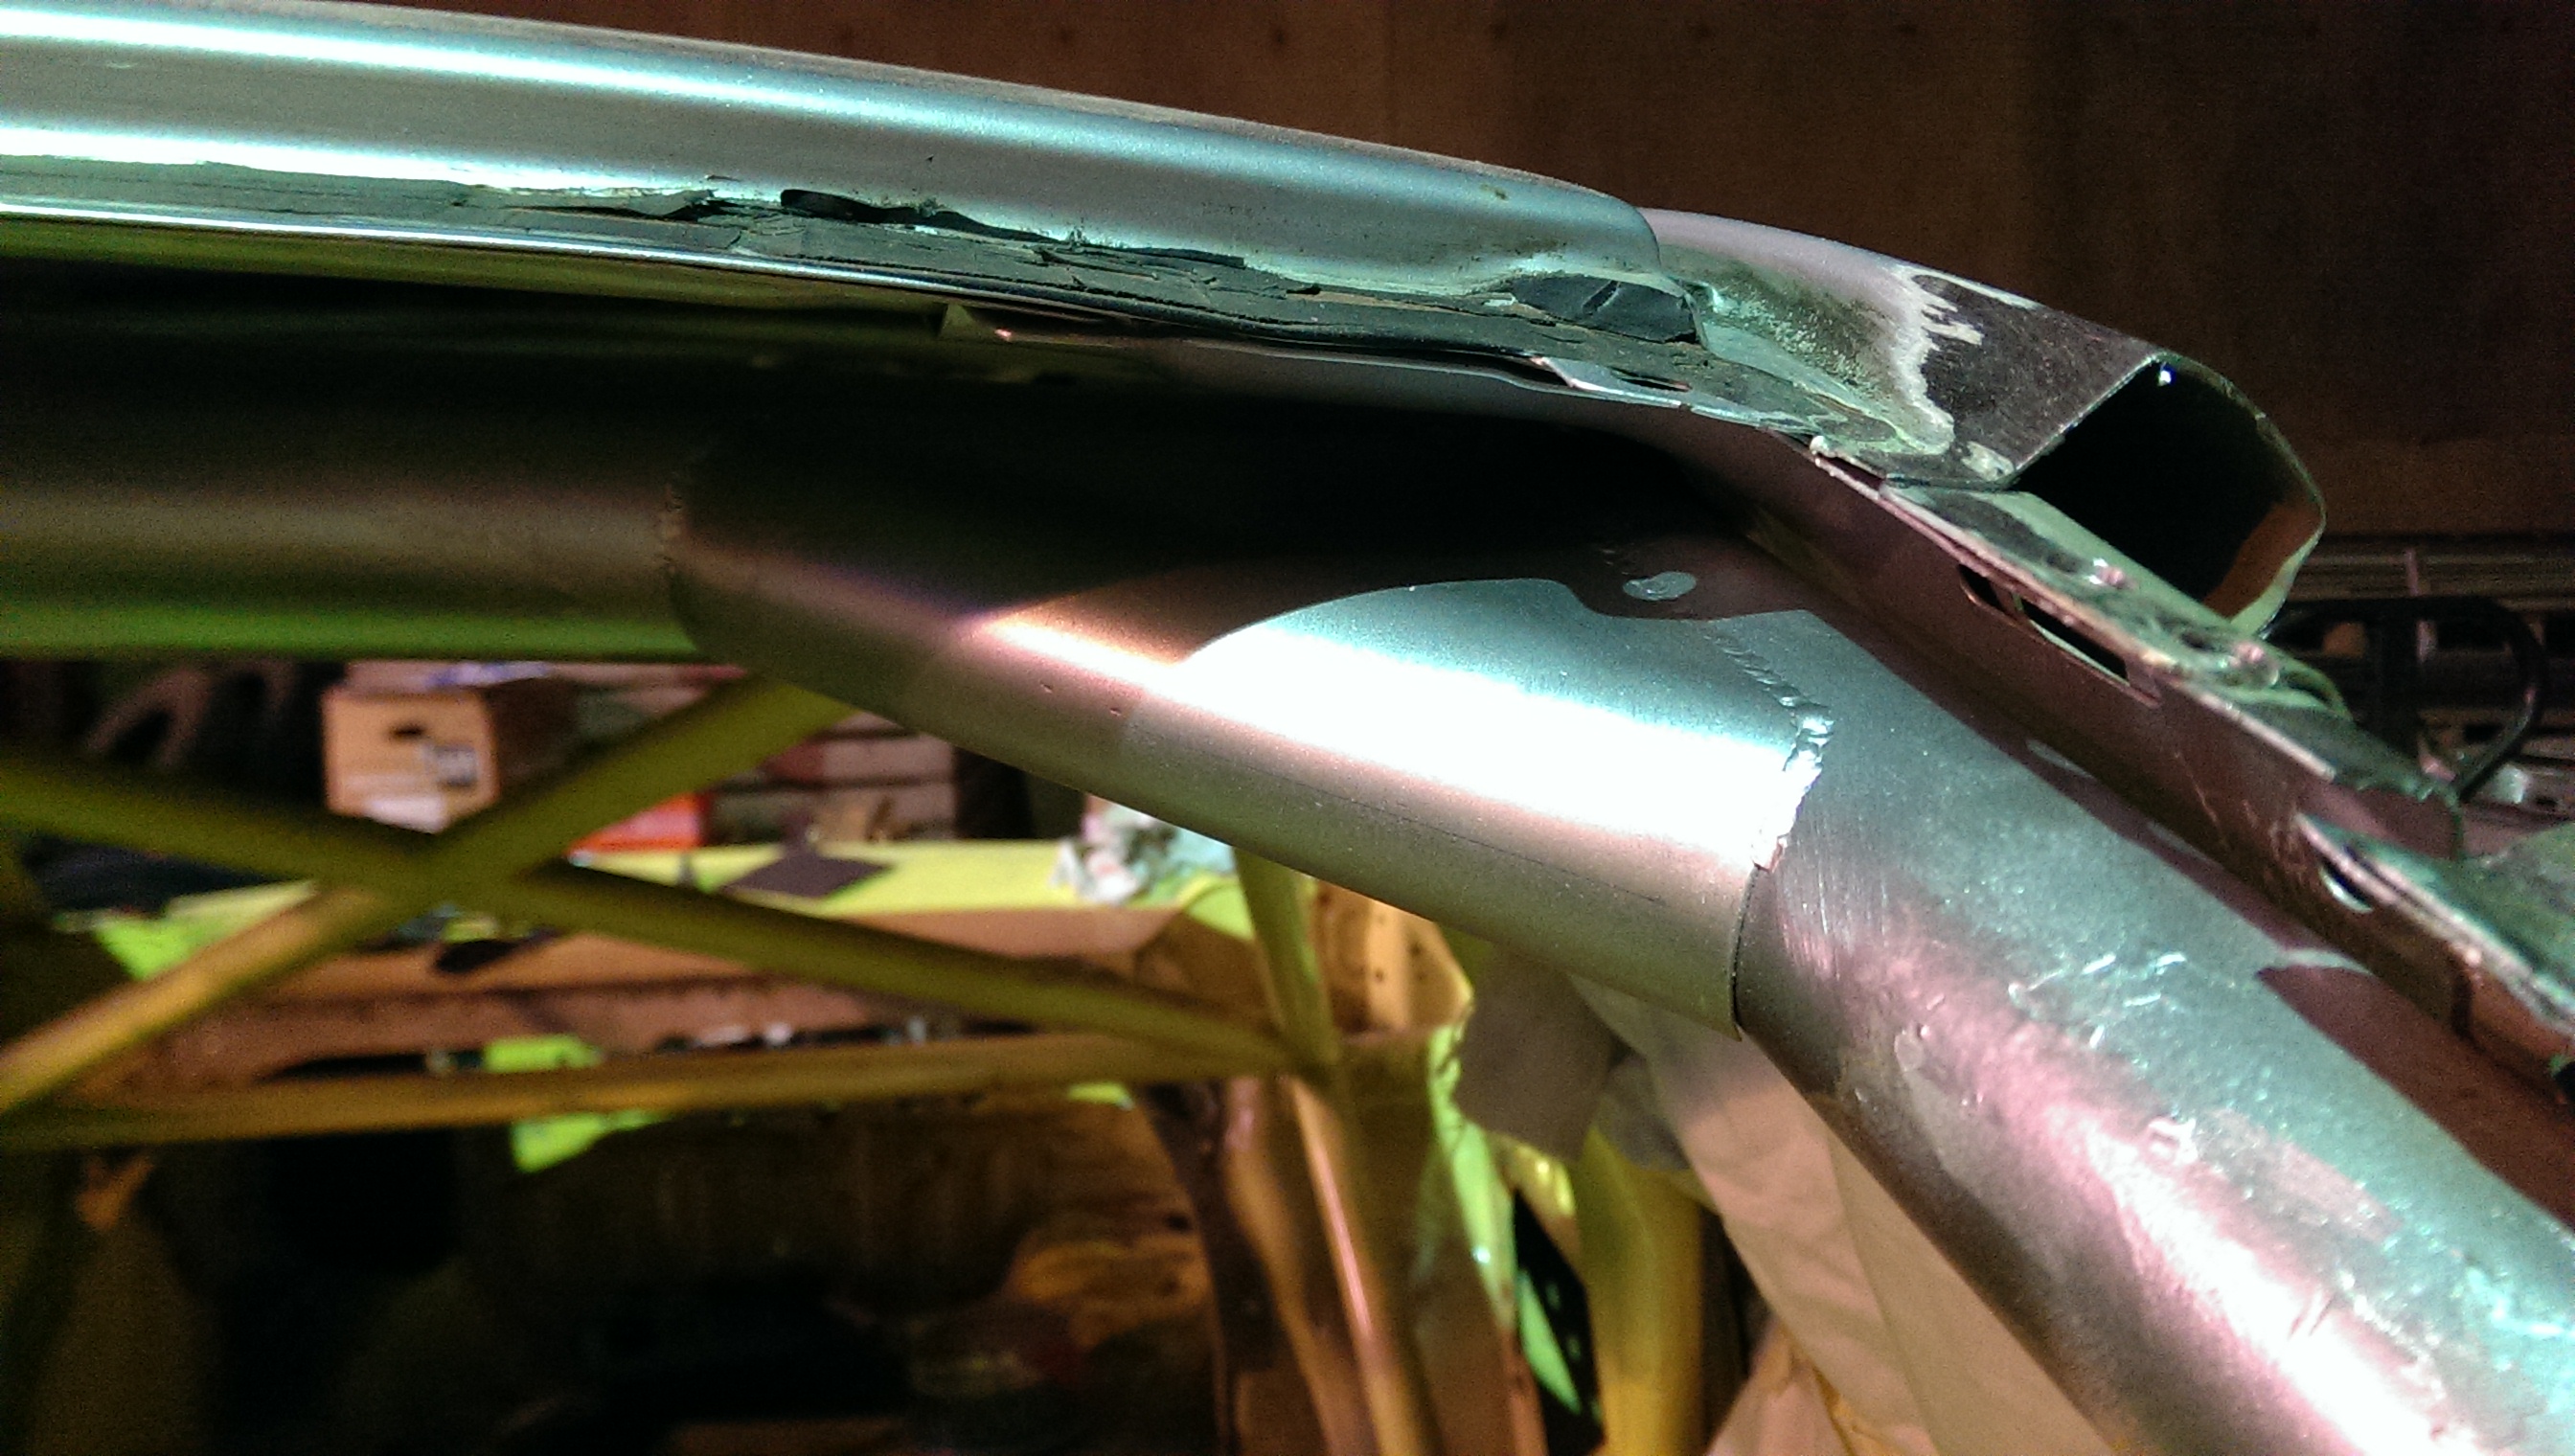
Trial fitting:
It is close to being ready to get welded back on, the fit is near perfect!
More of that later.
The car will be about 40/45mm wider than standard so I need to adress the wheels and suspension.
It is really difficult to find out what is posssible and decide what to do.
A well known fact is that if the offset changes to much it will affect the handling of your car.
So how far can you change it without negativly influencing the handling, and the latest I have heard is that with my 2005/6 STI hubs (114.3x5) I can go from ET53 to ET35 maximum.
That means a 18mm gain outwards, and I want to have wider wheels than standard, maybe 9 or 9.5J wide rims.
If I would choose 9.5J I will gain an inch of width outwards again, that is 18+25mm so 43mm, that just might be the ticket.
If it is in fact possible to have an ET35 offset and still have the car handling well this would by far be the best option for me, because anything else will involve making new lower wishbones, new drive shafts etc etc, loads of work!
I will investigate more on this, becuase I want to be 100% sure the car will handle the best it can.
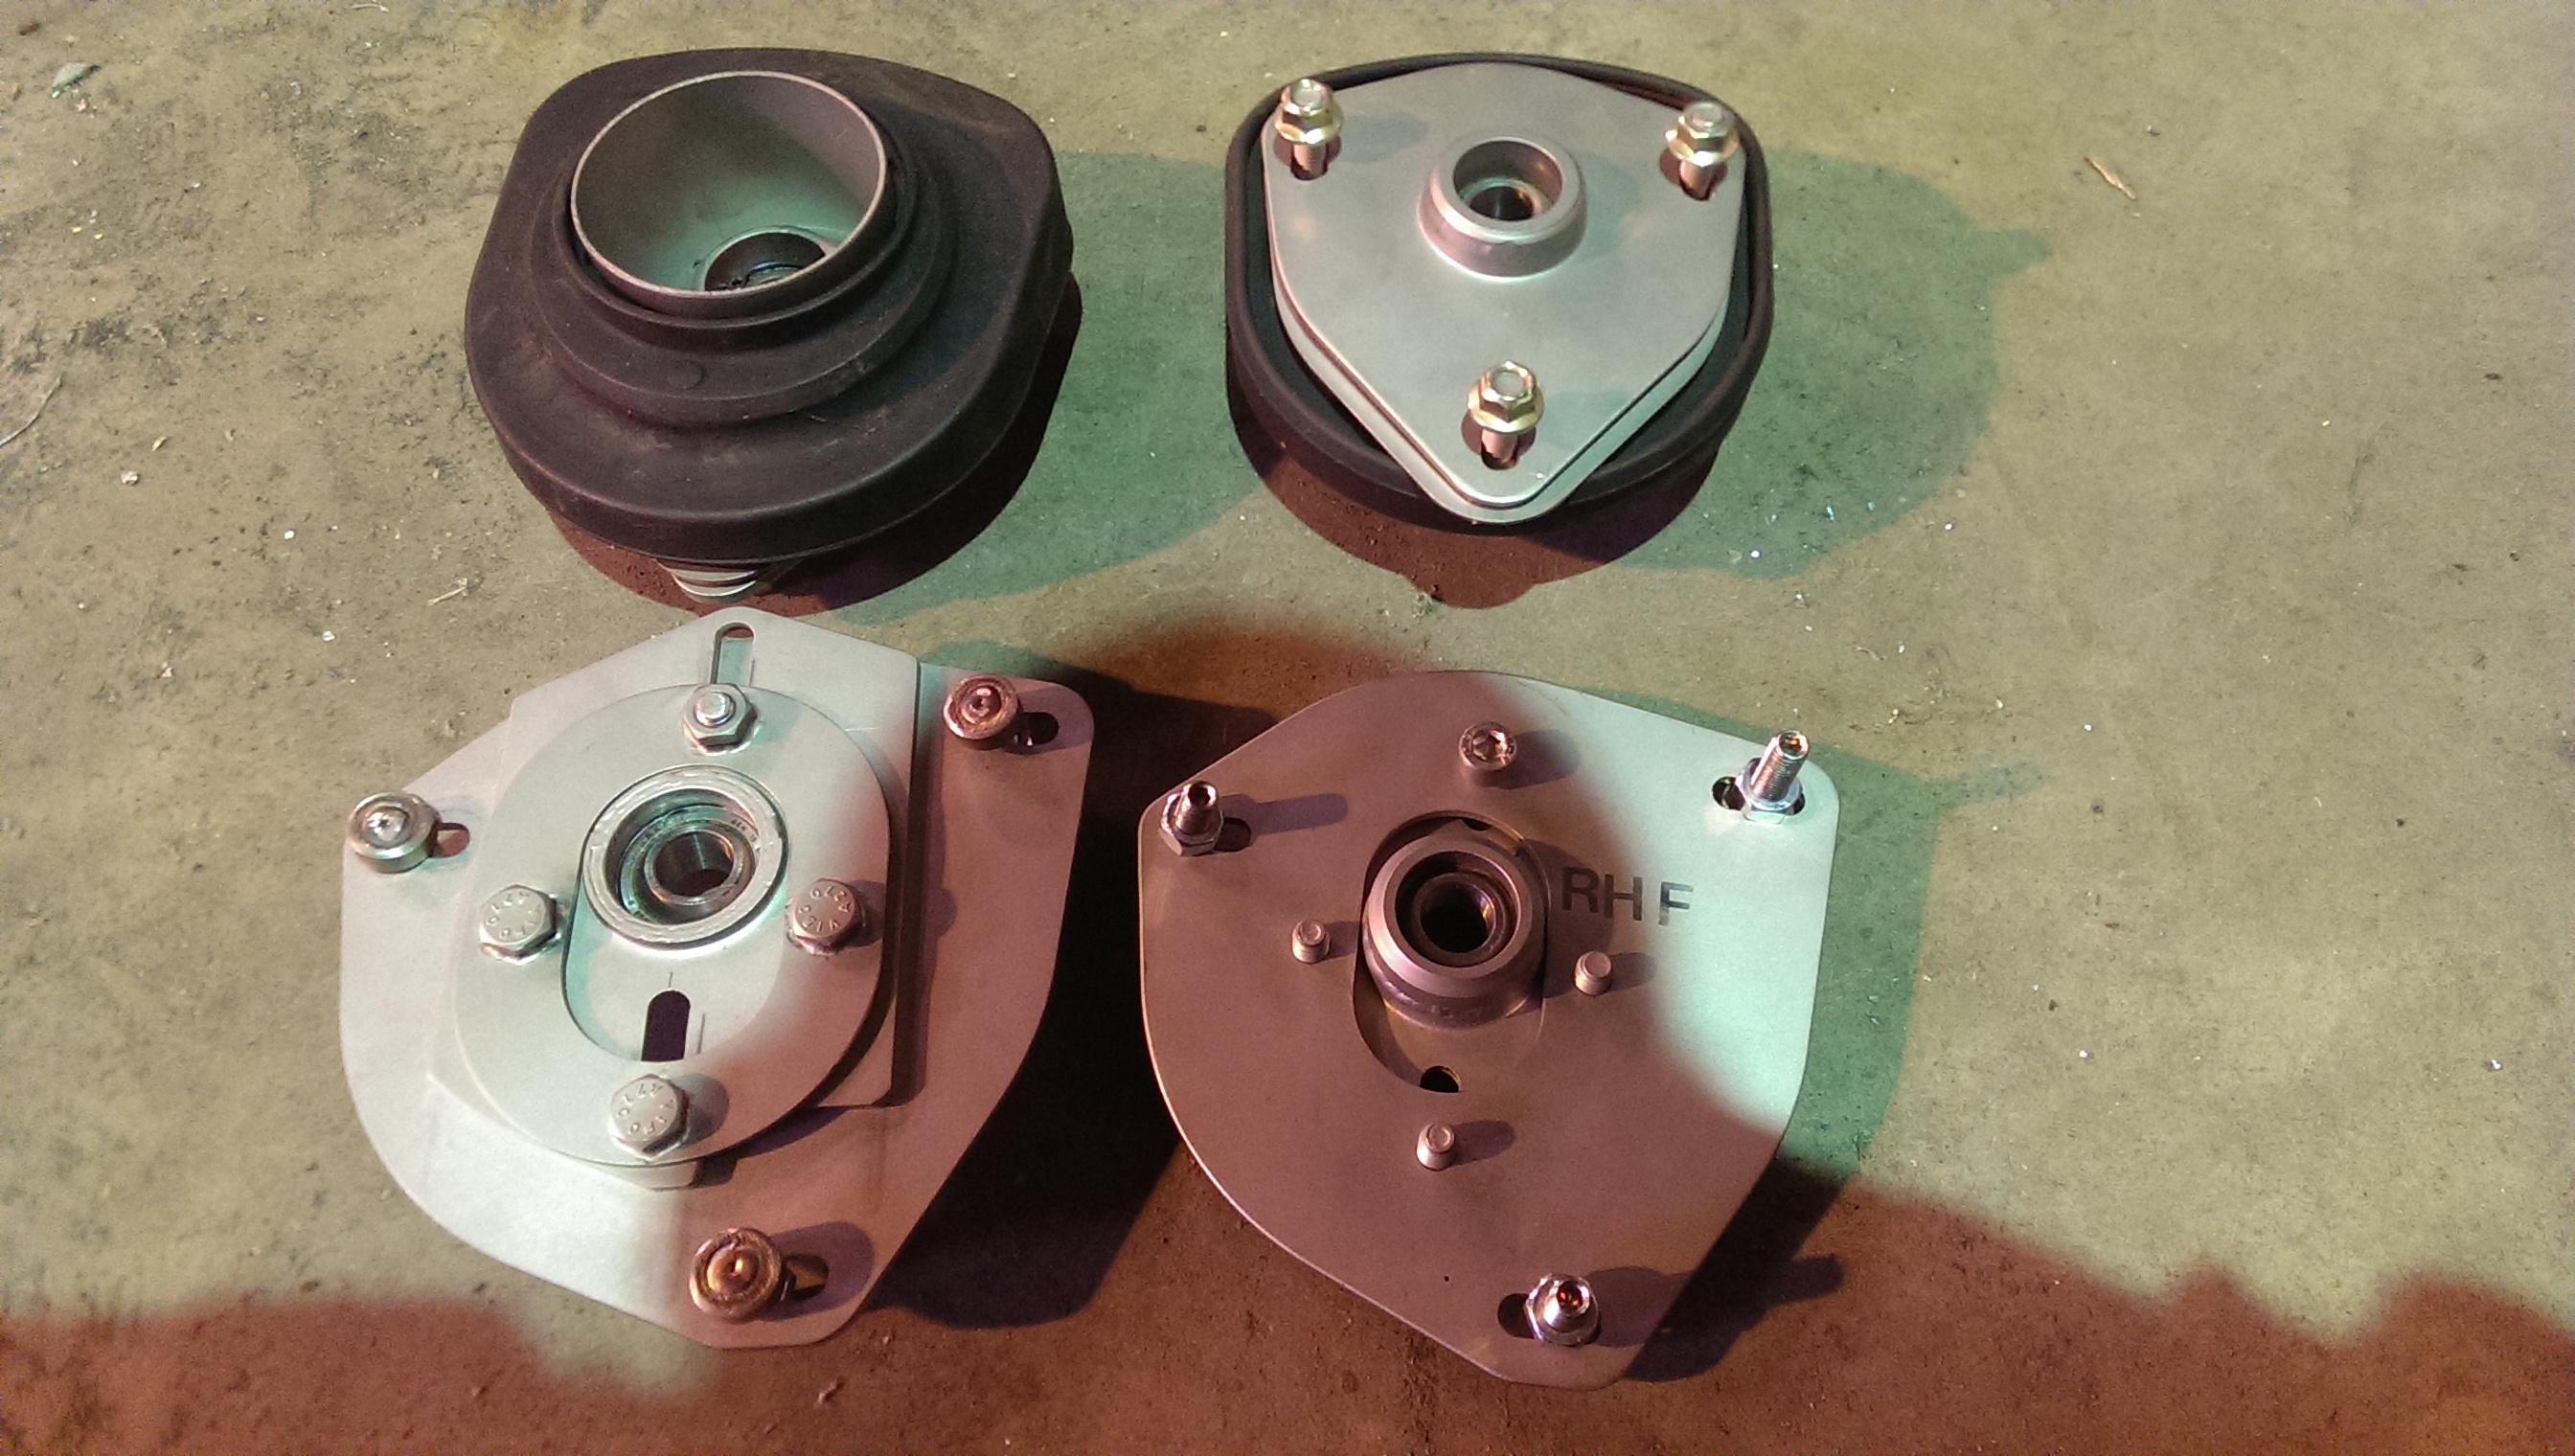
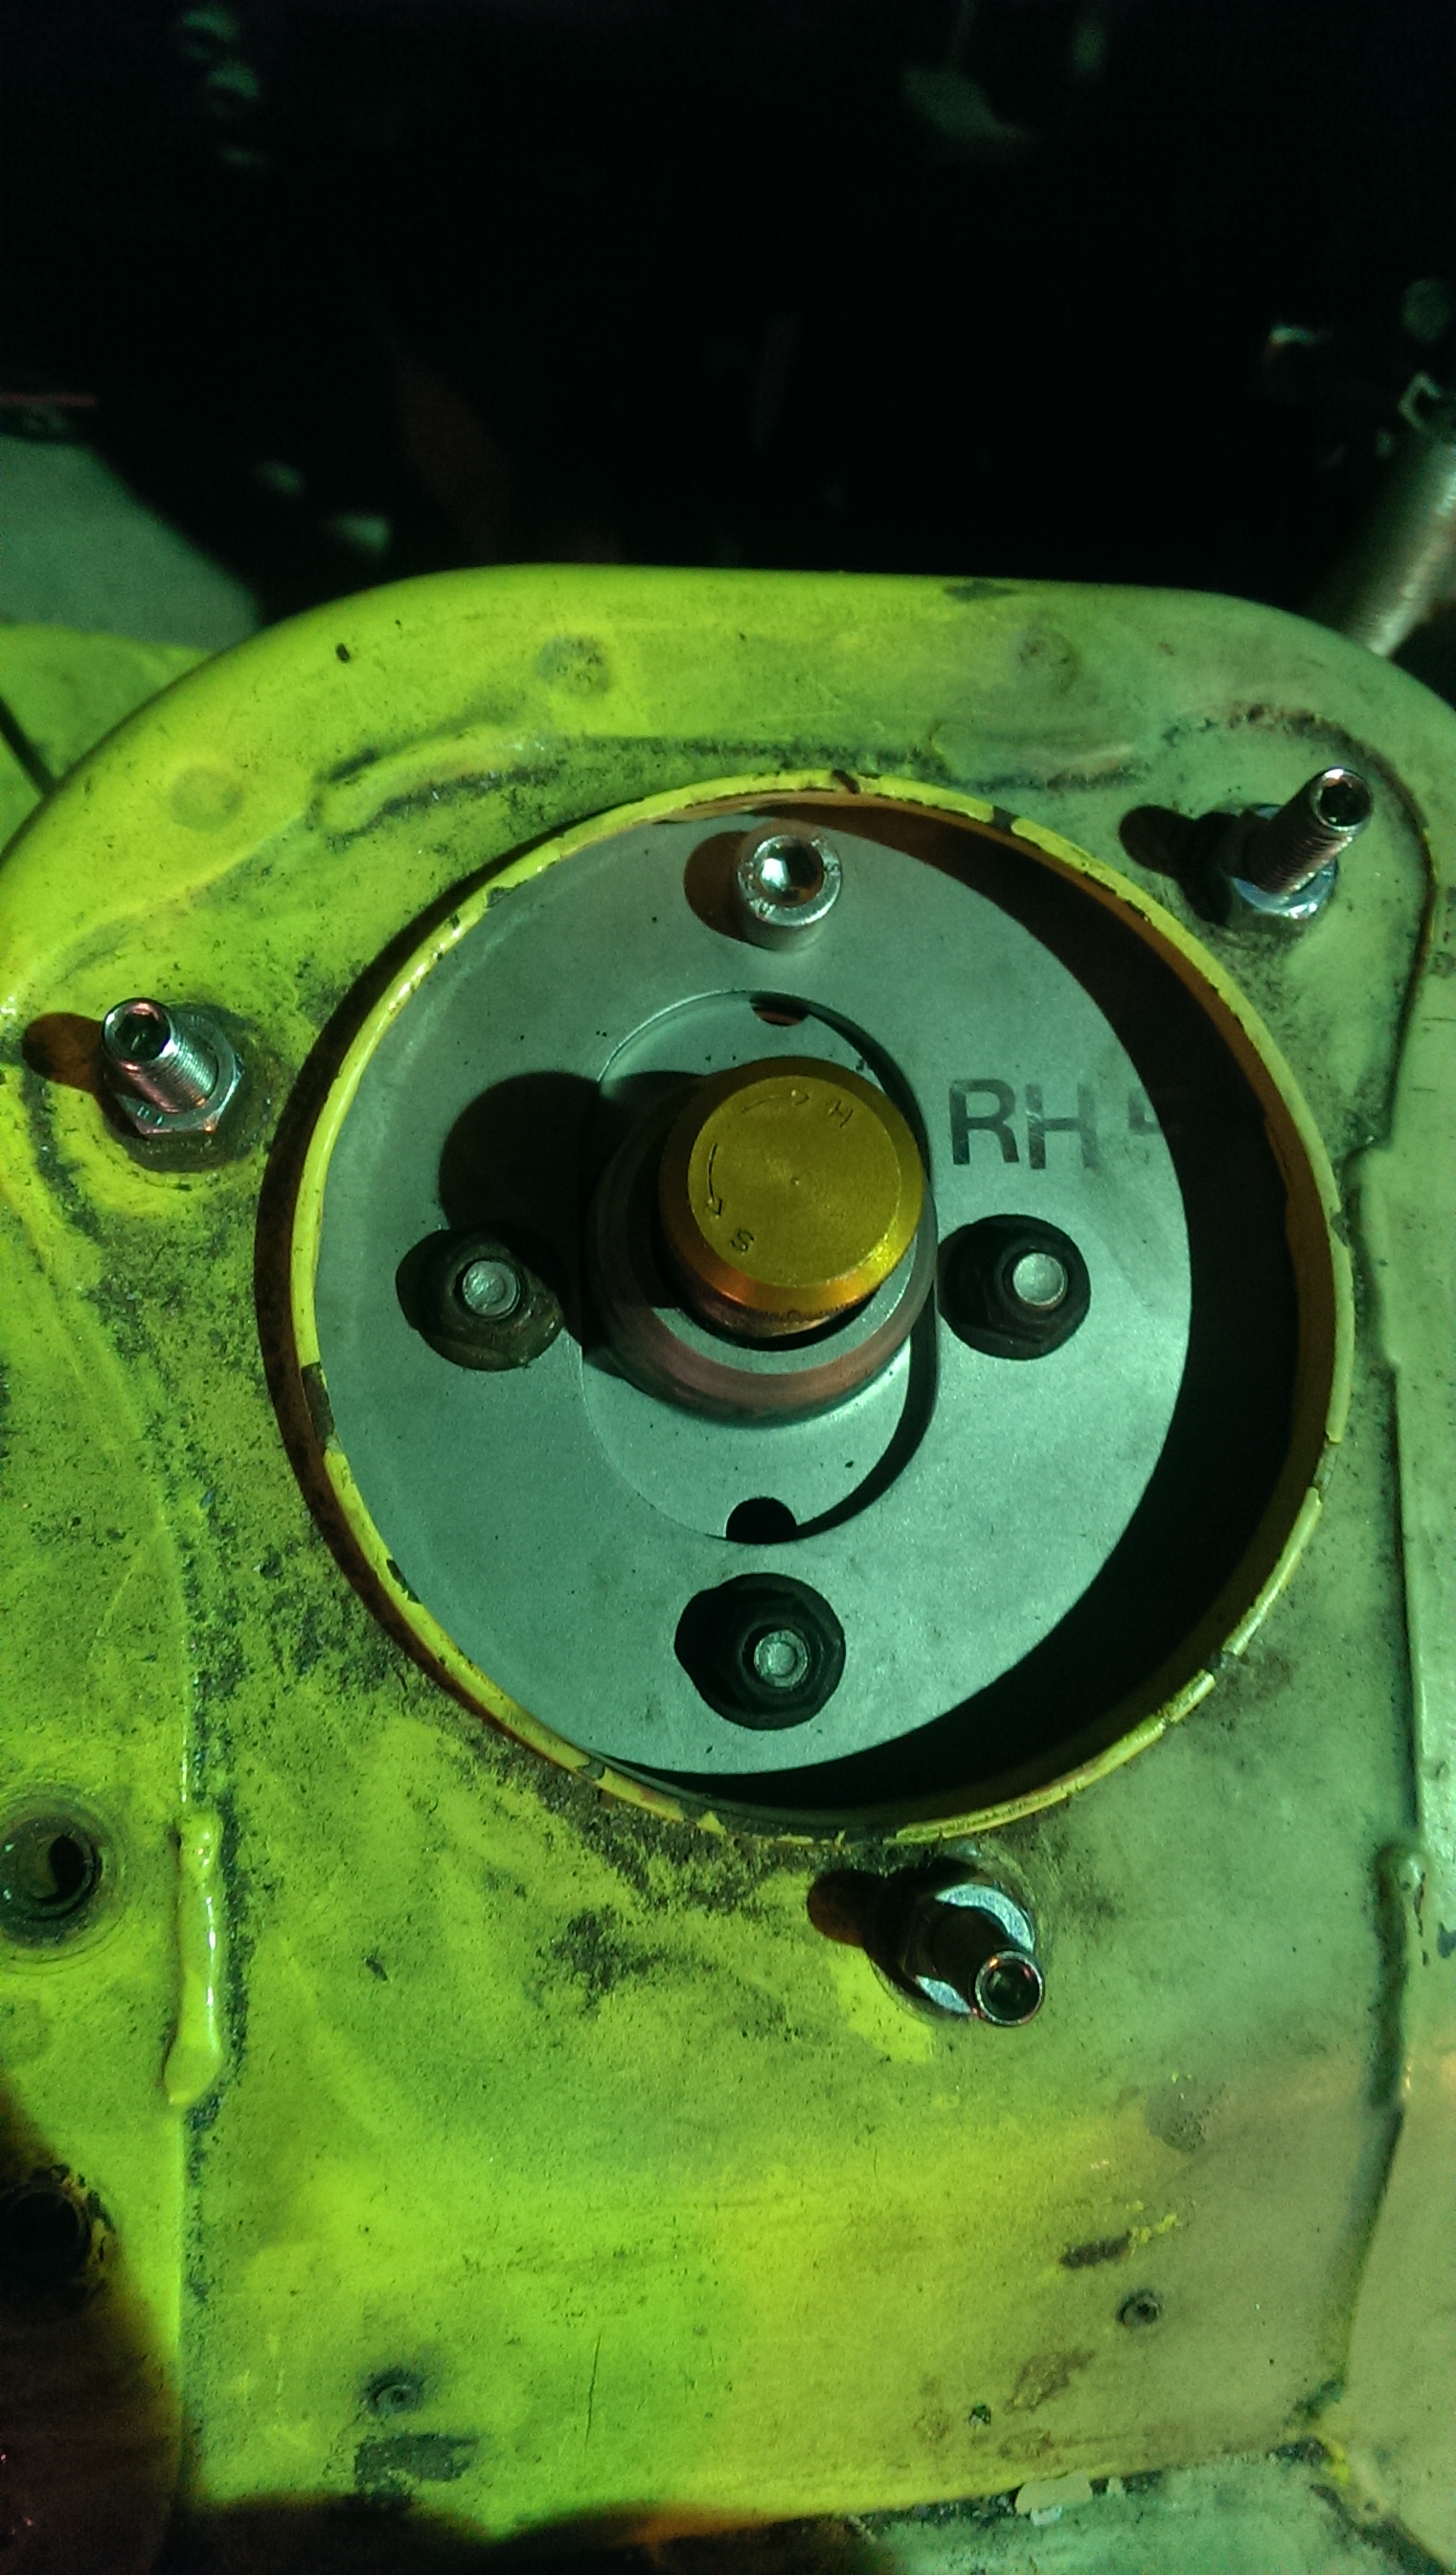
Anyway, a set of camberplates won't hurt anything:
While dicking around the car looking for more damage we actually did find some more:
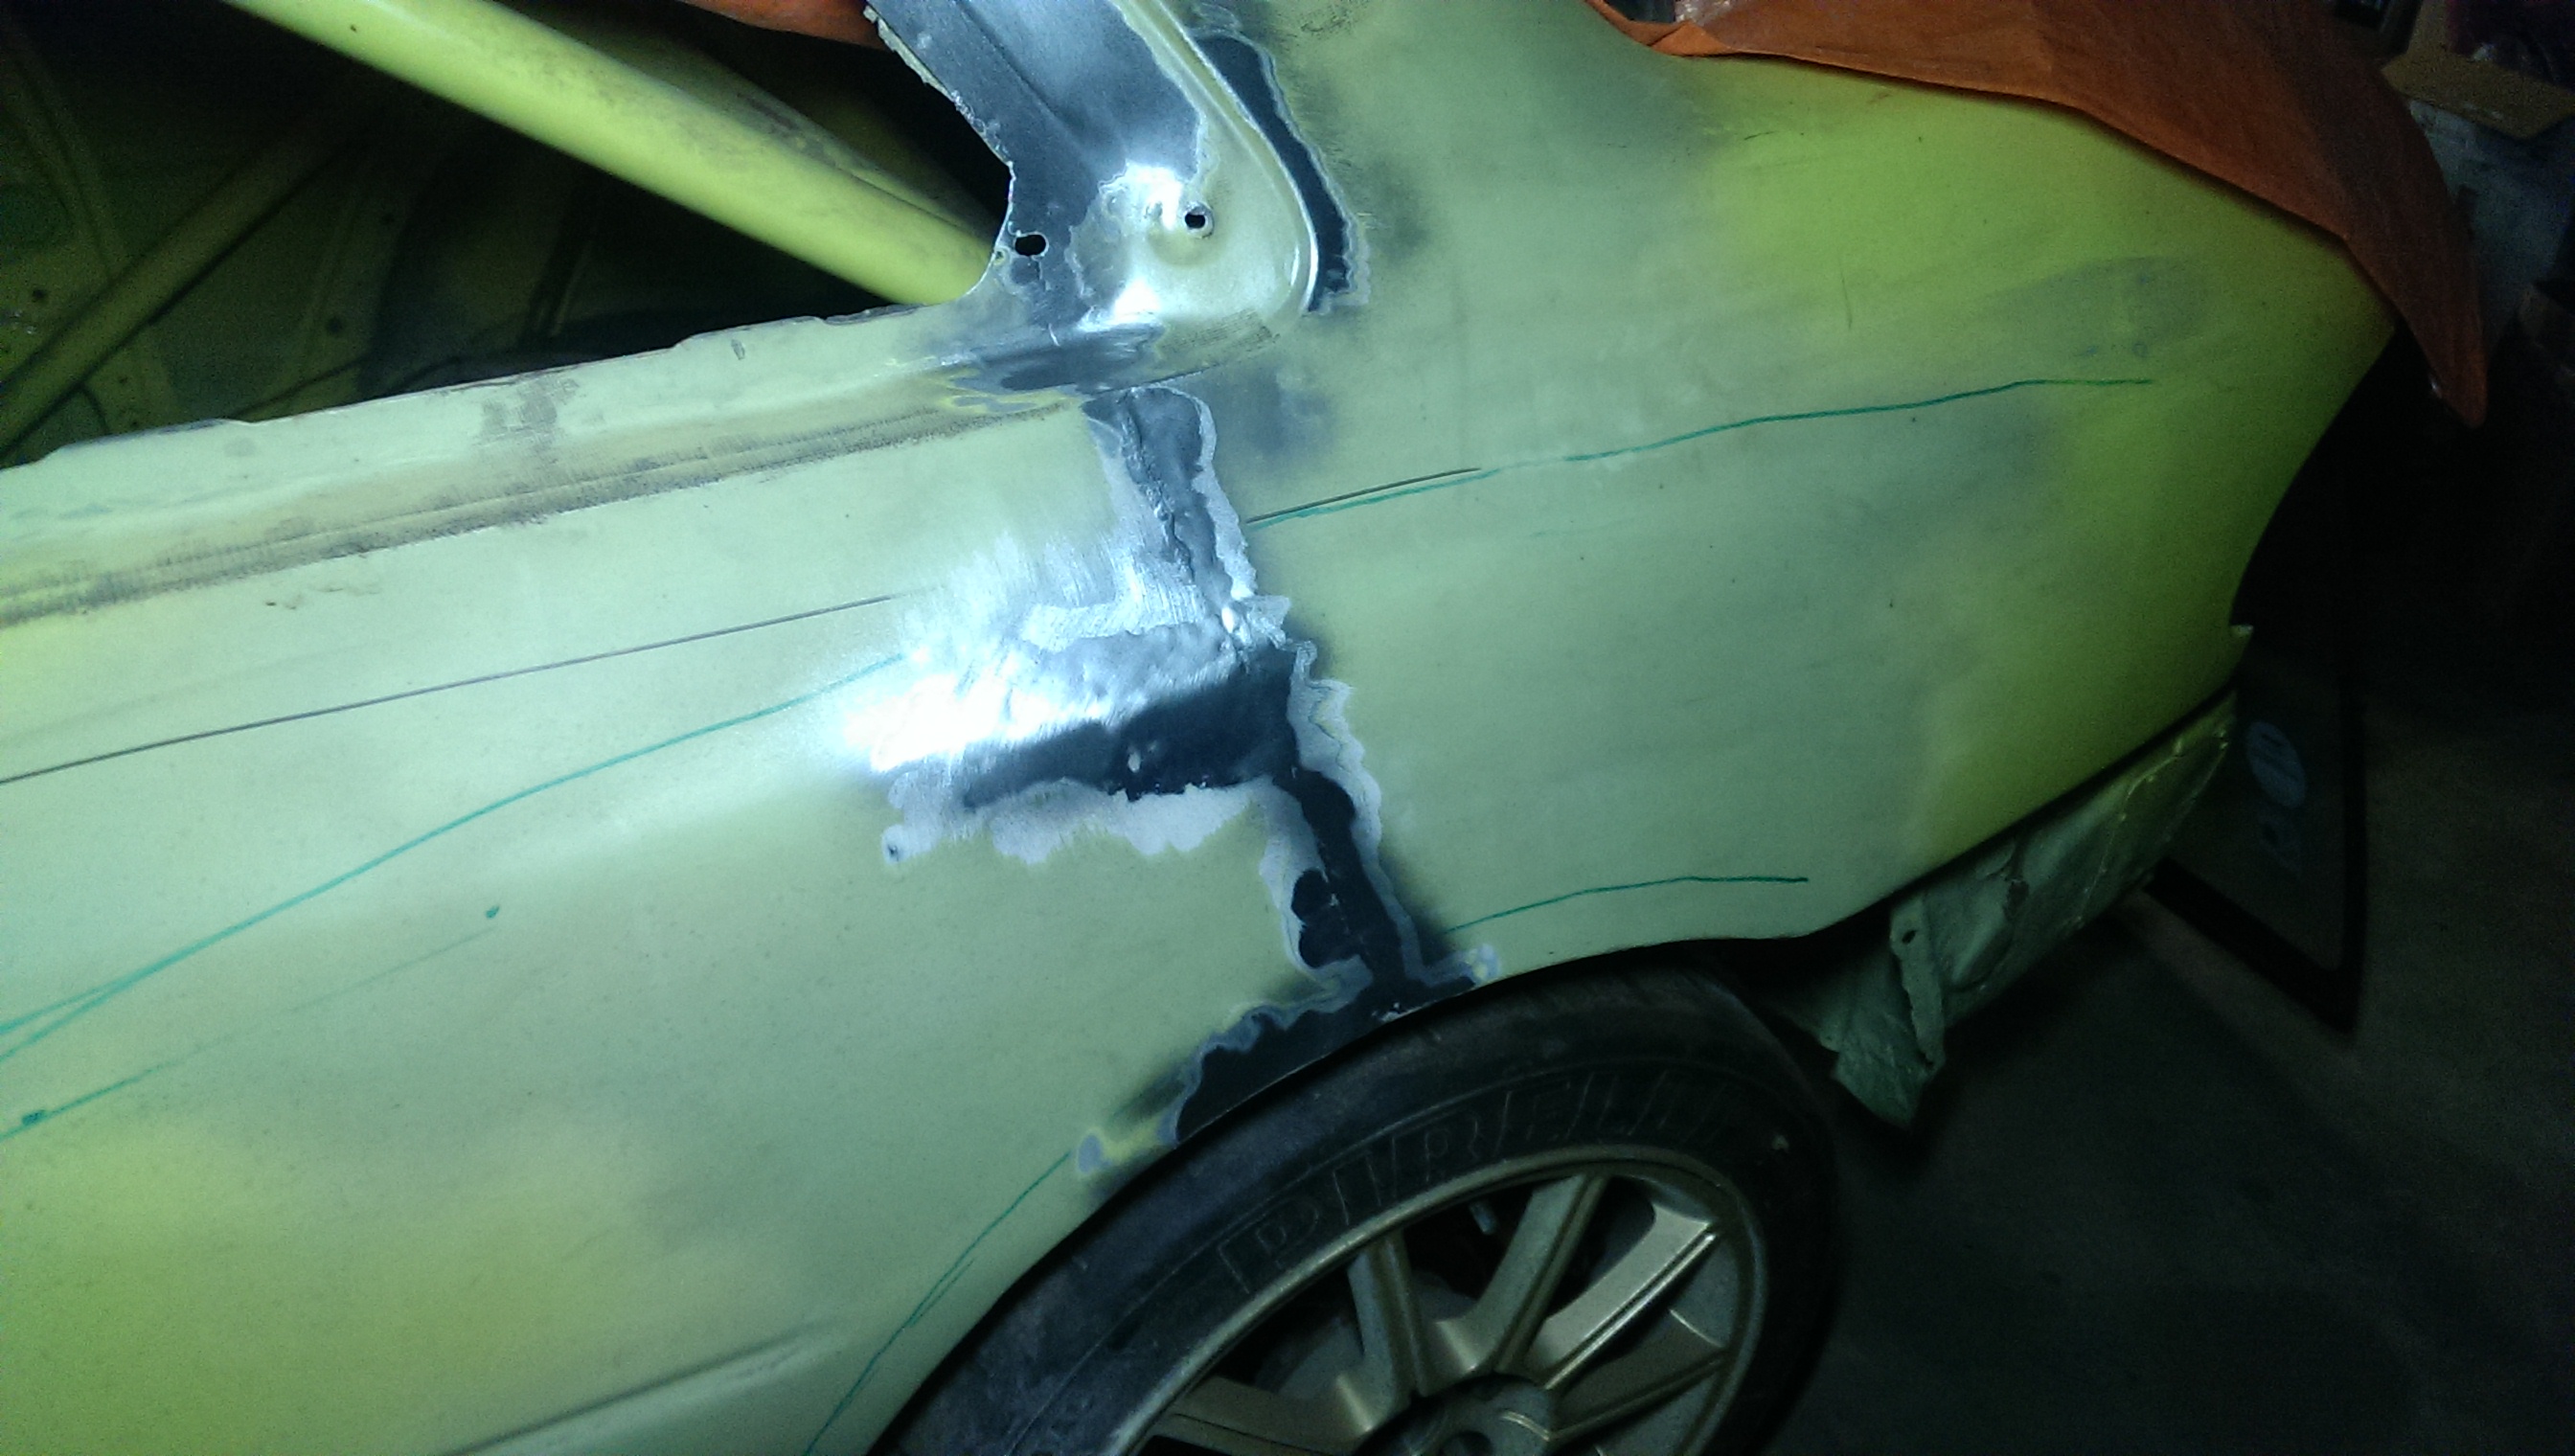
Brilliant!
I already had the fiber 22B rear quarters but I never felt comfortable with them, because in the end they will crack when they are glued to the car.
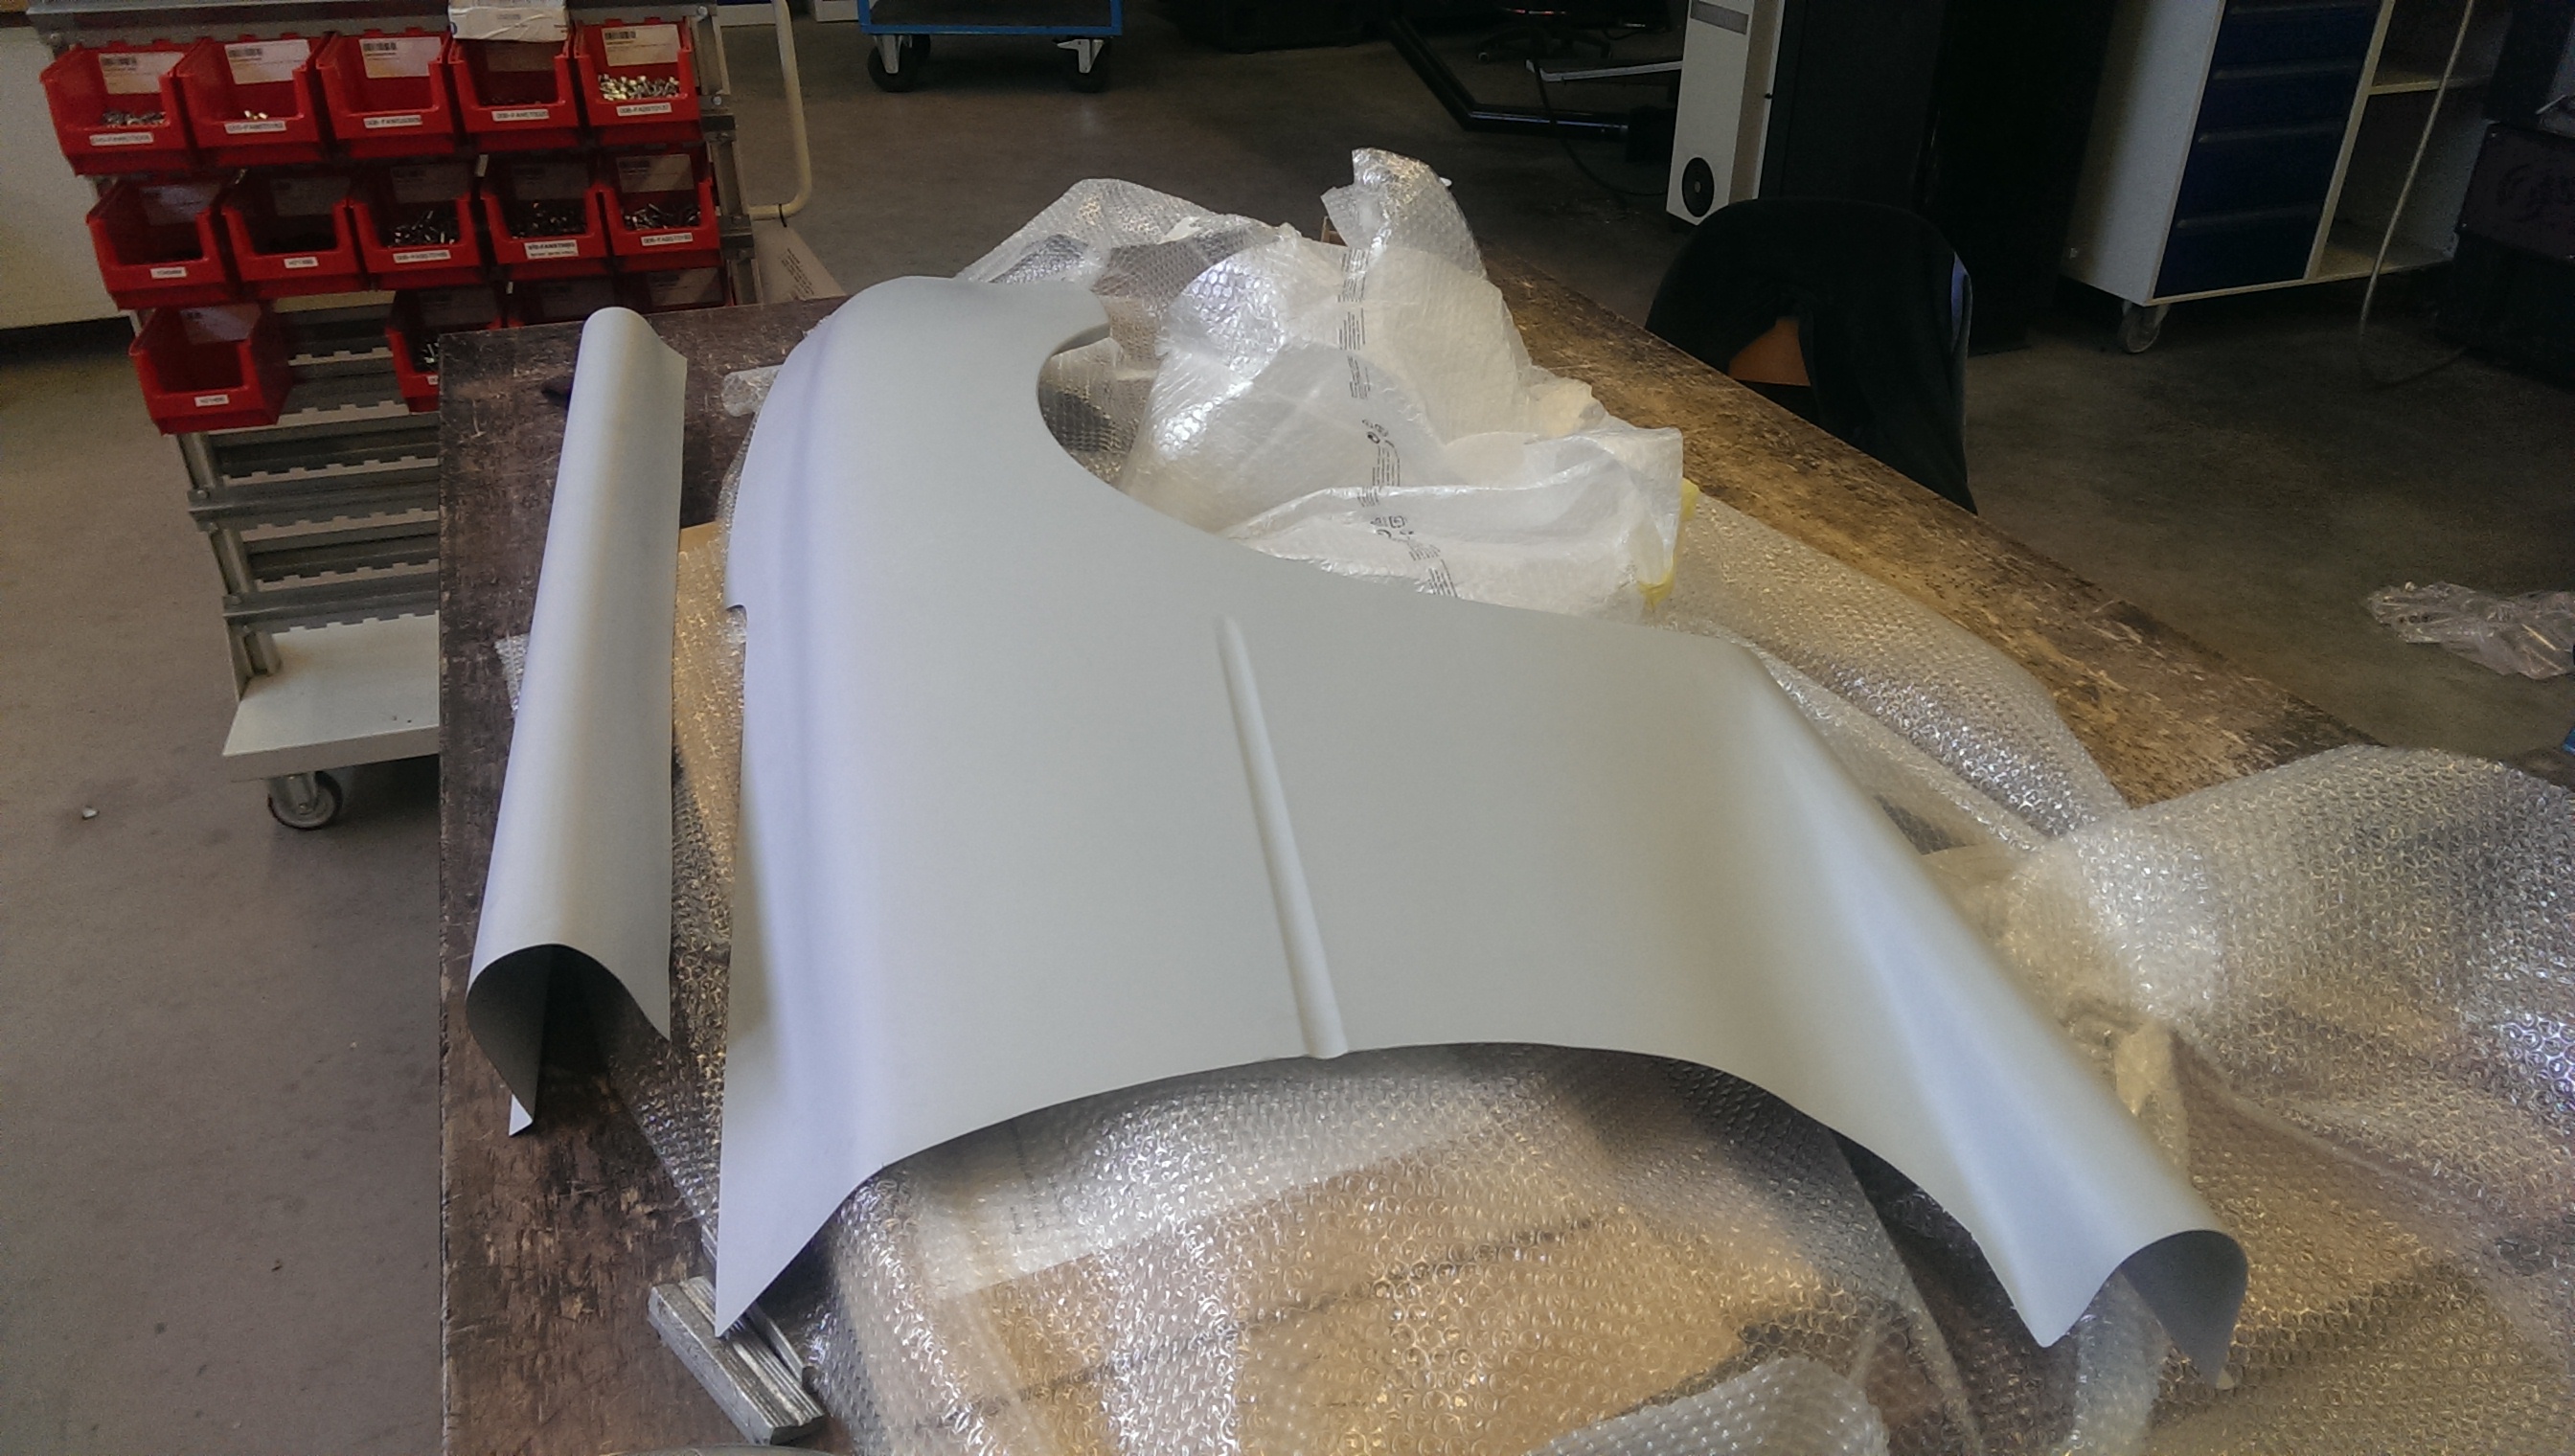
So I bit the bullit and ordered a set of steel rear quarters from a guy in Croatia, a real master in panel beating.
It will be a mix between 22B and WRC, so a larger wheel arch and the WRC steel sills incorperated.
He sends me pictures of the progress every one or two weeks:
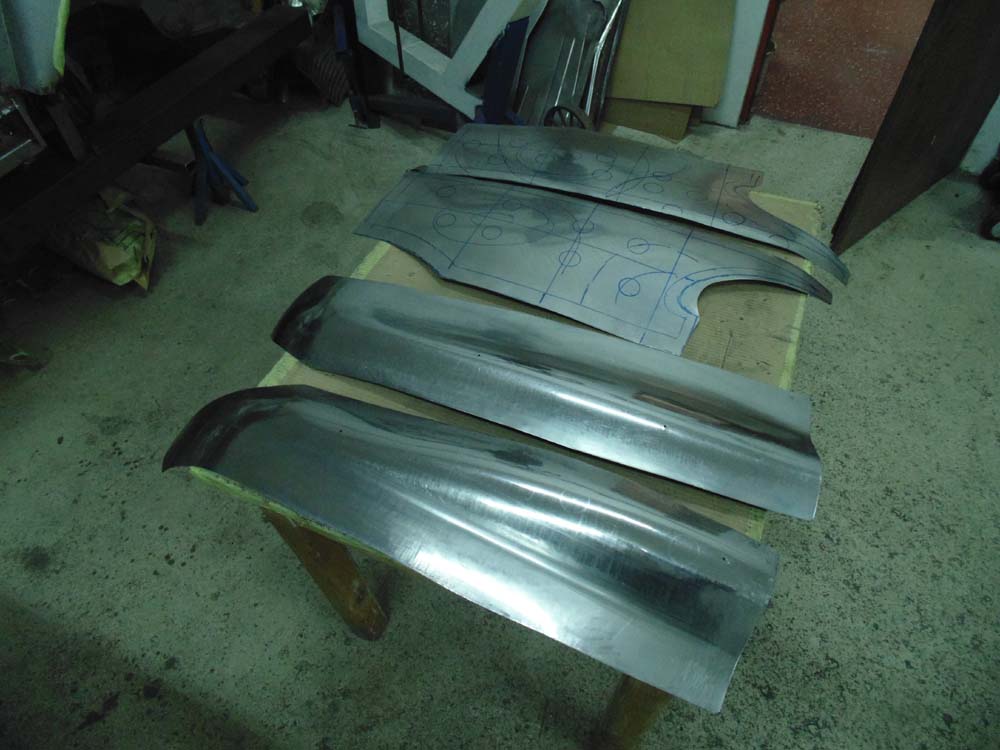
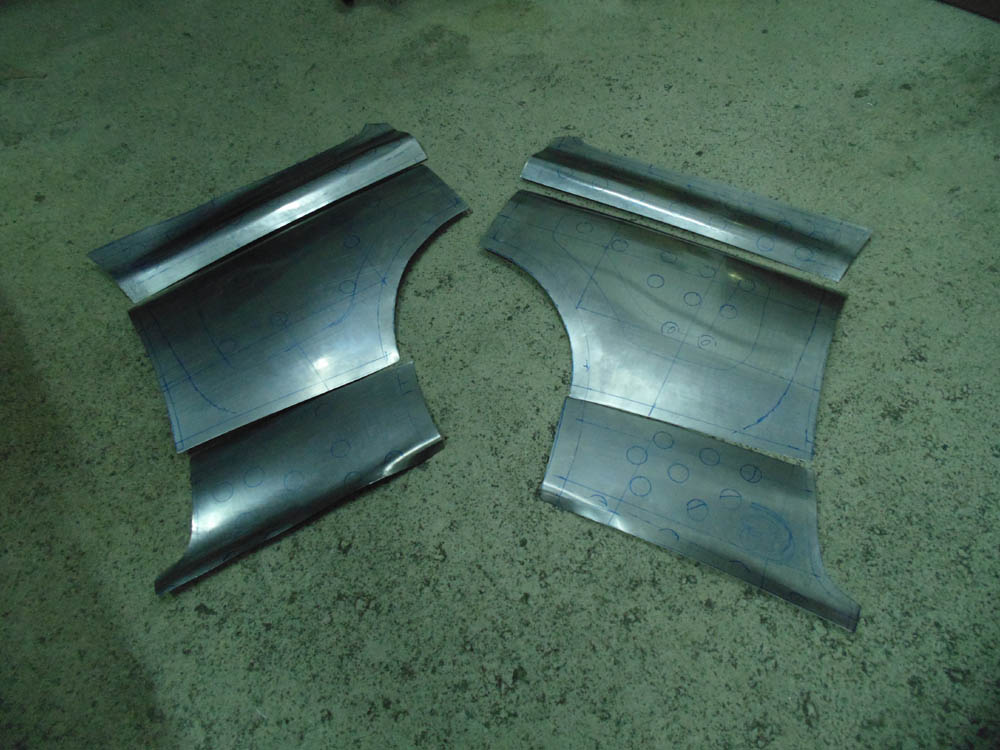
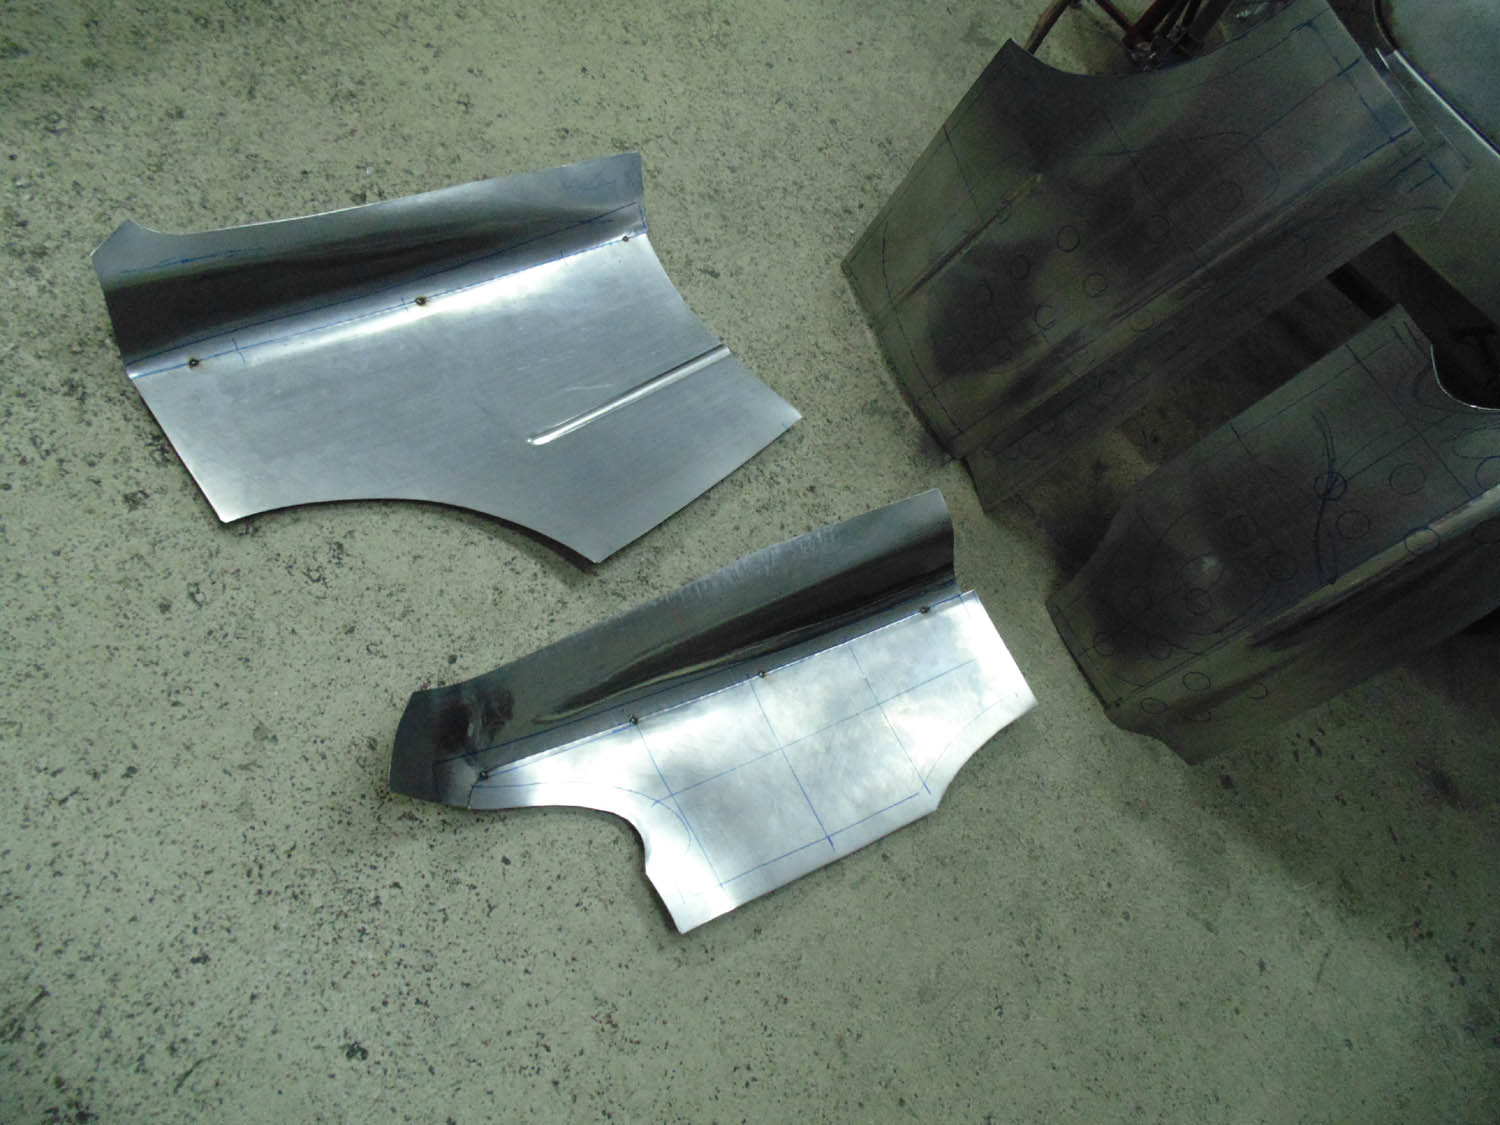
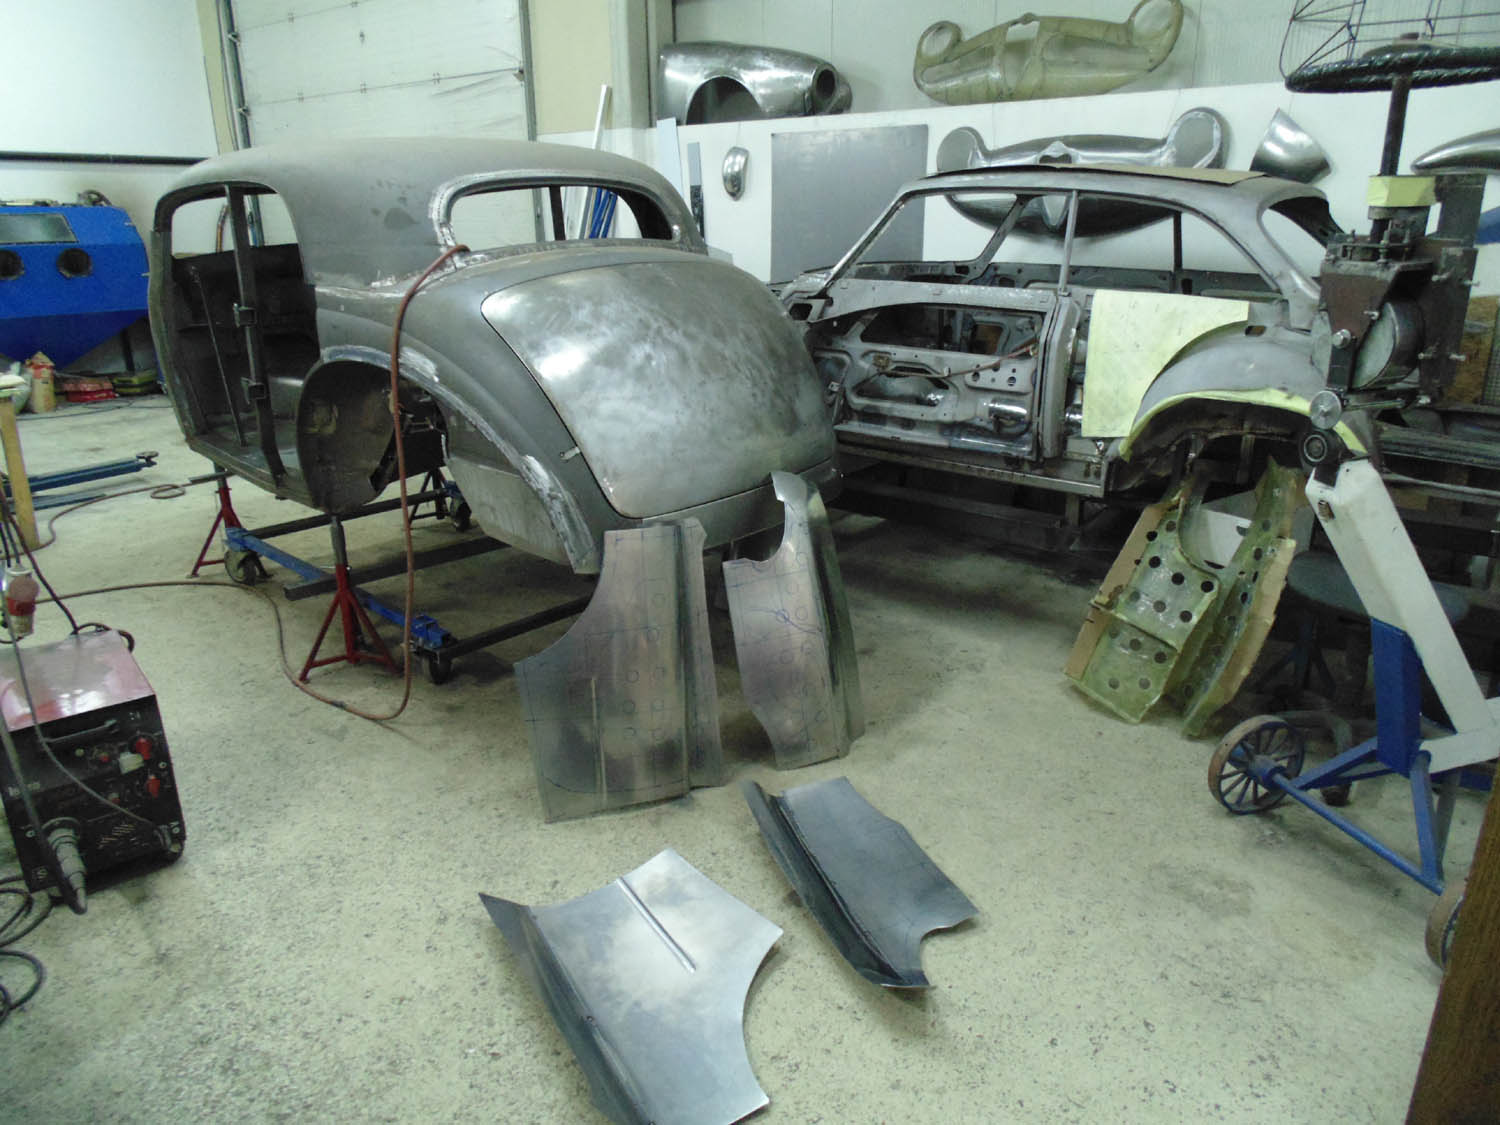
I am REALLY happy with them, as you can imaging.
More when there is more to tell!
So last time we removed the roof so we could start peeling of the skin of the a pillars.


But the fitment of the window was still terrible so I decided we did all this work for nothing and tear down the car even more.
Total roof replacement!!!
This guy does not have a clue of what is about to happen to him...

WTF just happened!!??

Scalped him Indian style!!

Of course the yellow car needed some more work aswell.


The cage needed some patching up too:


Made some extra gussets:


There they are, the two headless horsemen.

For the roof to fit nicely there was a lot of skinning and gutting needed:


Trial fitting:


It is close to being ready to get welded back on, the fit is near perfect!
More of that later.
The car will be about 40/45mm wider than standard so I need to adress the wheels and suspension.
It is really difficult to find out what is posssible and decide what to do.
A well known fact is that if the offset changes to much it will affect the handling of your car.
So how far can you change it without negativly influencing the handling, and the latest I have heard is that with my 2005/6 STI hubs (114.3x5) I can go from ET53 to ET35 maximum.
That means a 18mm gain outwards, and I want to have wider wheels than standard, maybe 9 or 9.5J wide rims.
If I would choose 9.5J I will gain an inch of width outwards again, that is 18+25mm so 43mm, that just might be the ticket.
If it is in fact possible to have an ET35 offset and still have the car handling well this would by far be the best option for me, because anything else will involve making new lower wishbones, new drive shafts etc etc, loads of work!
I will investigate more on this, becuase I want to be 100% sure the car will handle the best it can.
Anyway, a set of camberplates won't hurt anything:


While dicking around the car looking for more damage we actually did find some more:

Brilliant!
I already had the fiber 22B rear quarters but I never felt comfortable with them, because in the end they will crack when they are glued to the car.
So I bit the bullit and ordered a set of steel rear quarters from a guy in Croatia, a real master in panel beating.
It will be a mix between 22B and WRC, so a larger wheel arch and the WRC steel sills incorperated.
He sends me pictures of the progress every one or two weeks:


I am REALLY happy with them, as you can imaging.
More when there is more to tell!


Thread Starter
Scooby Regular
Joined: Dec 2002
Posts: 458
Likes: 0
Hi guys,
After wasting another year, let's pick it up again.
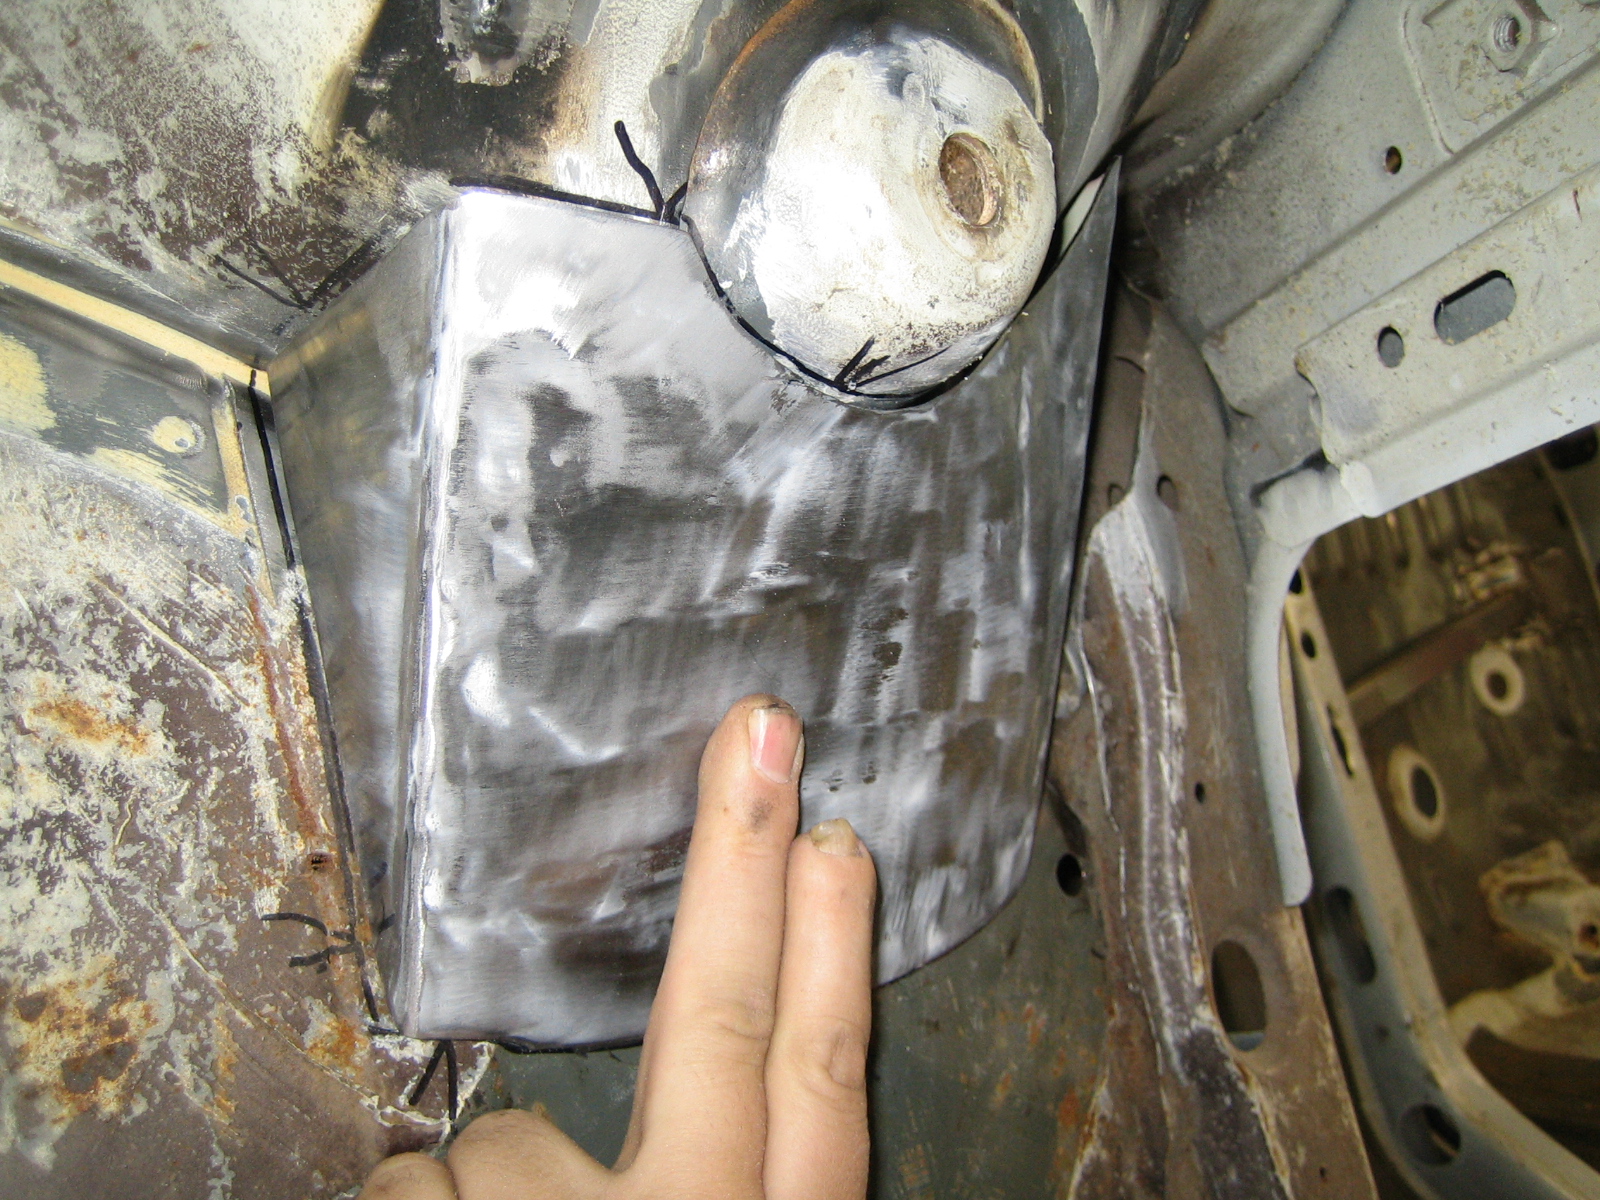
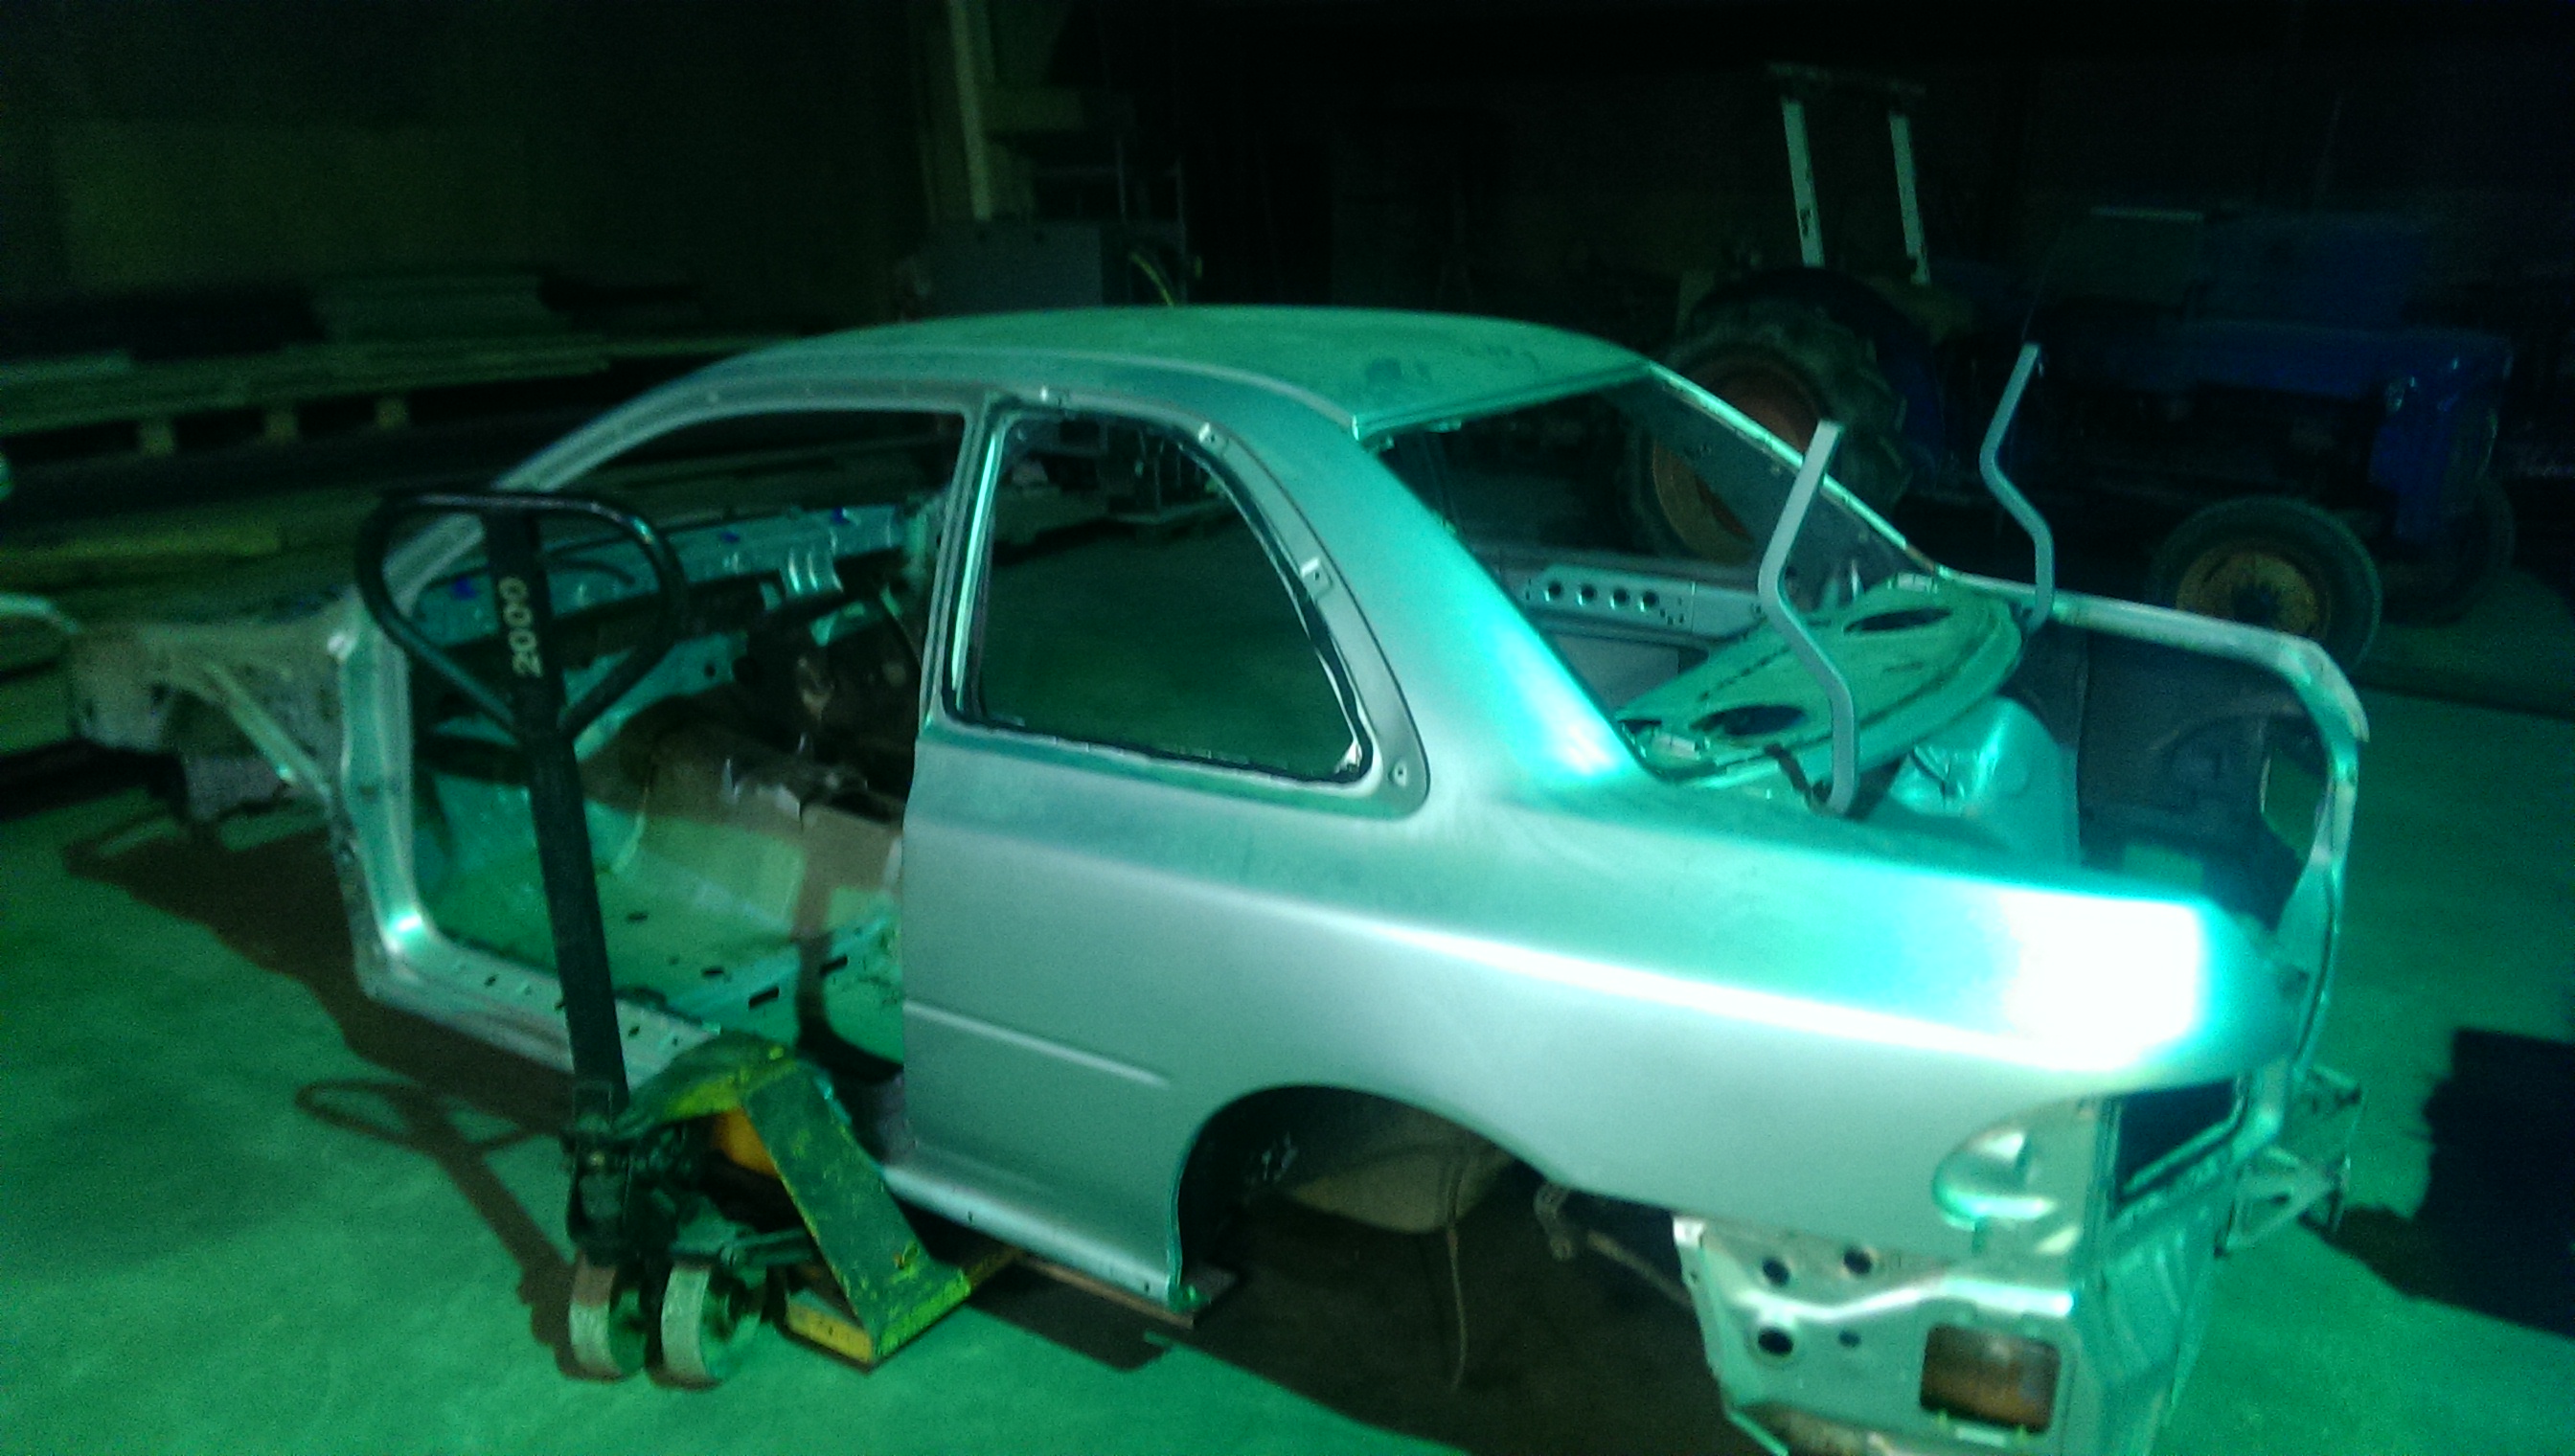
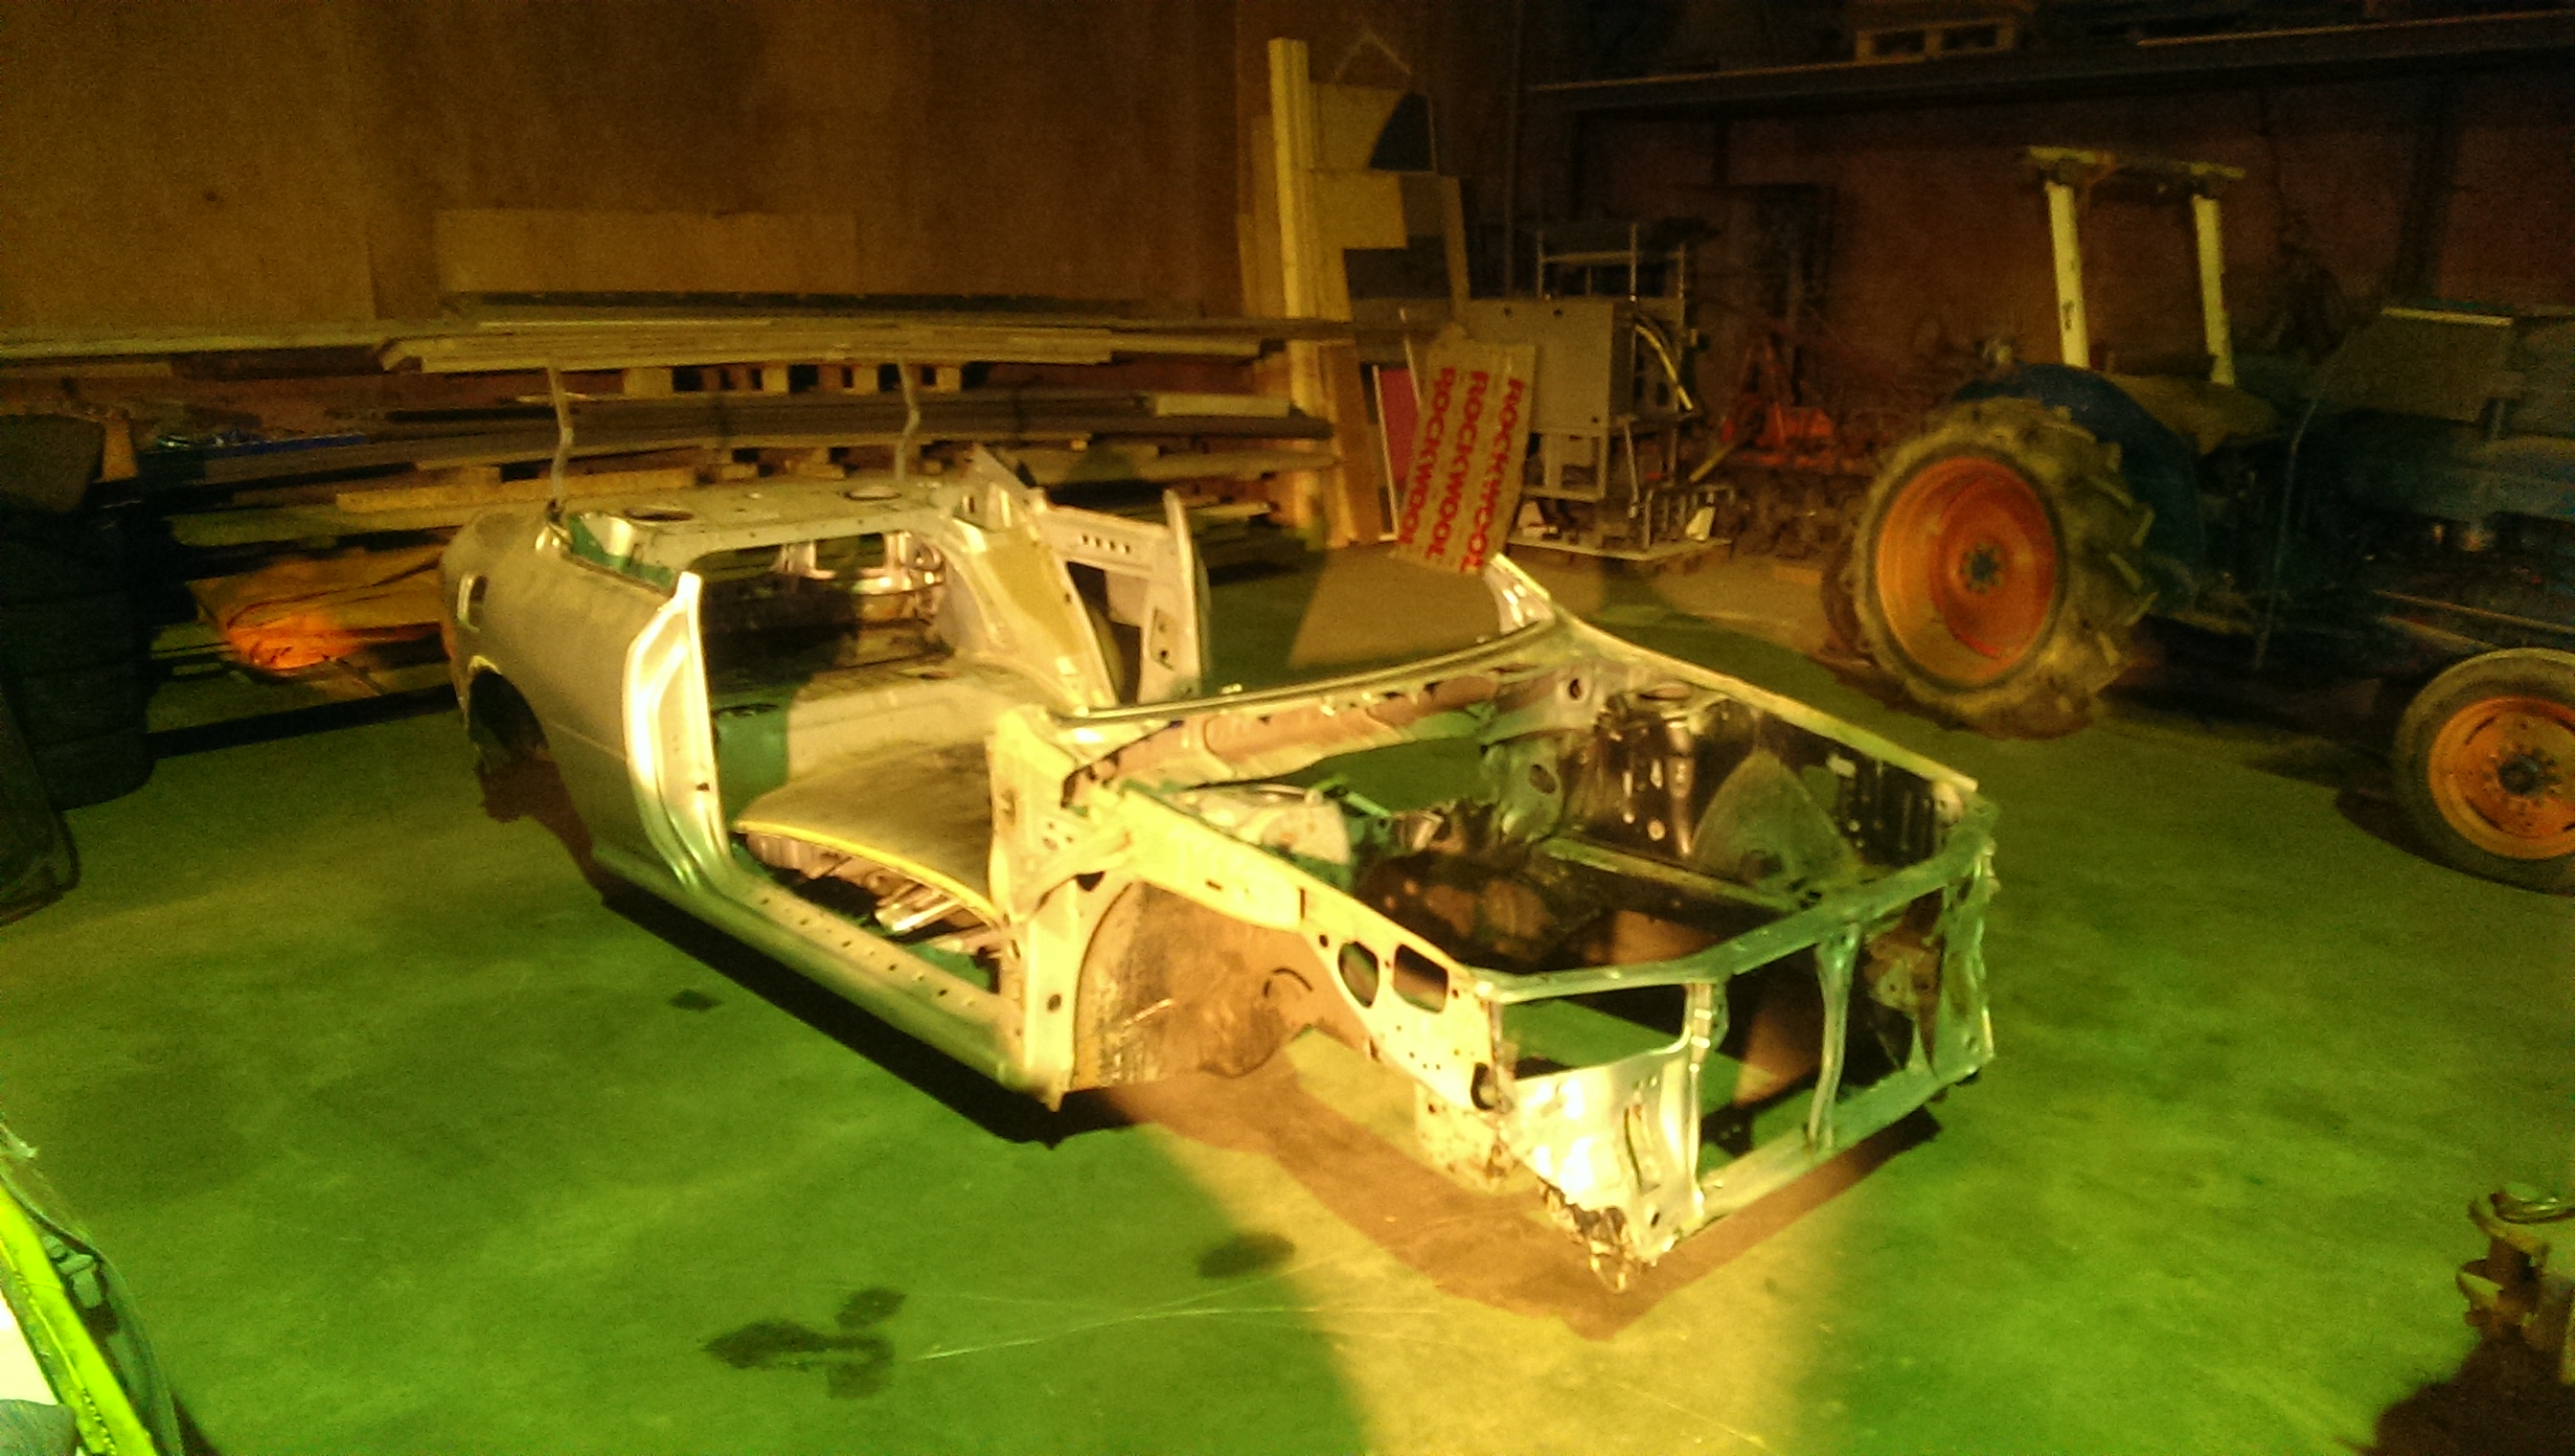
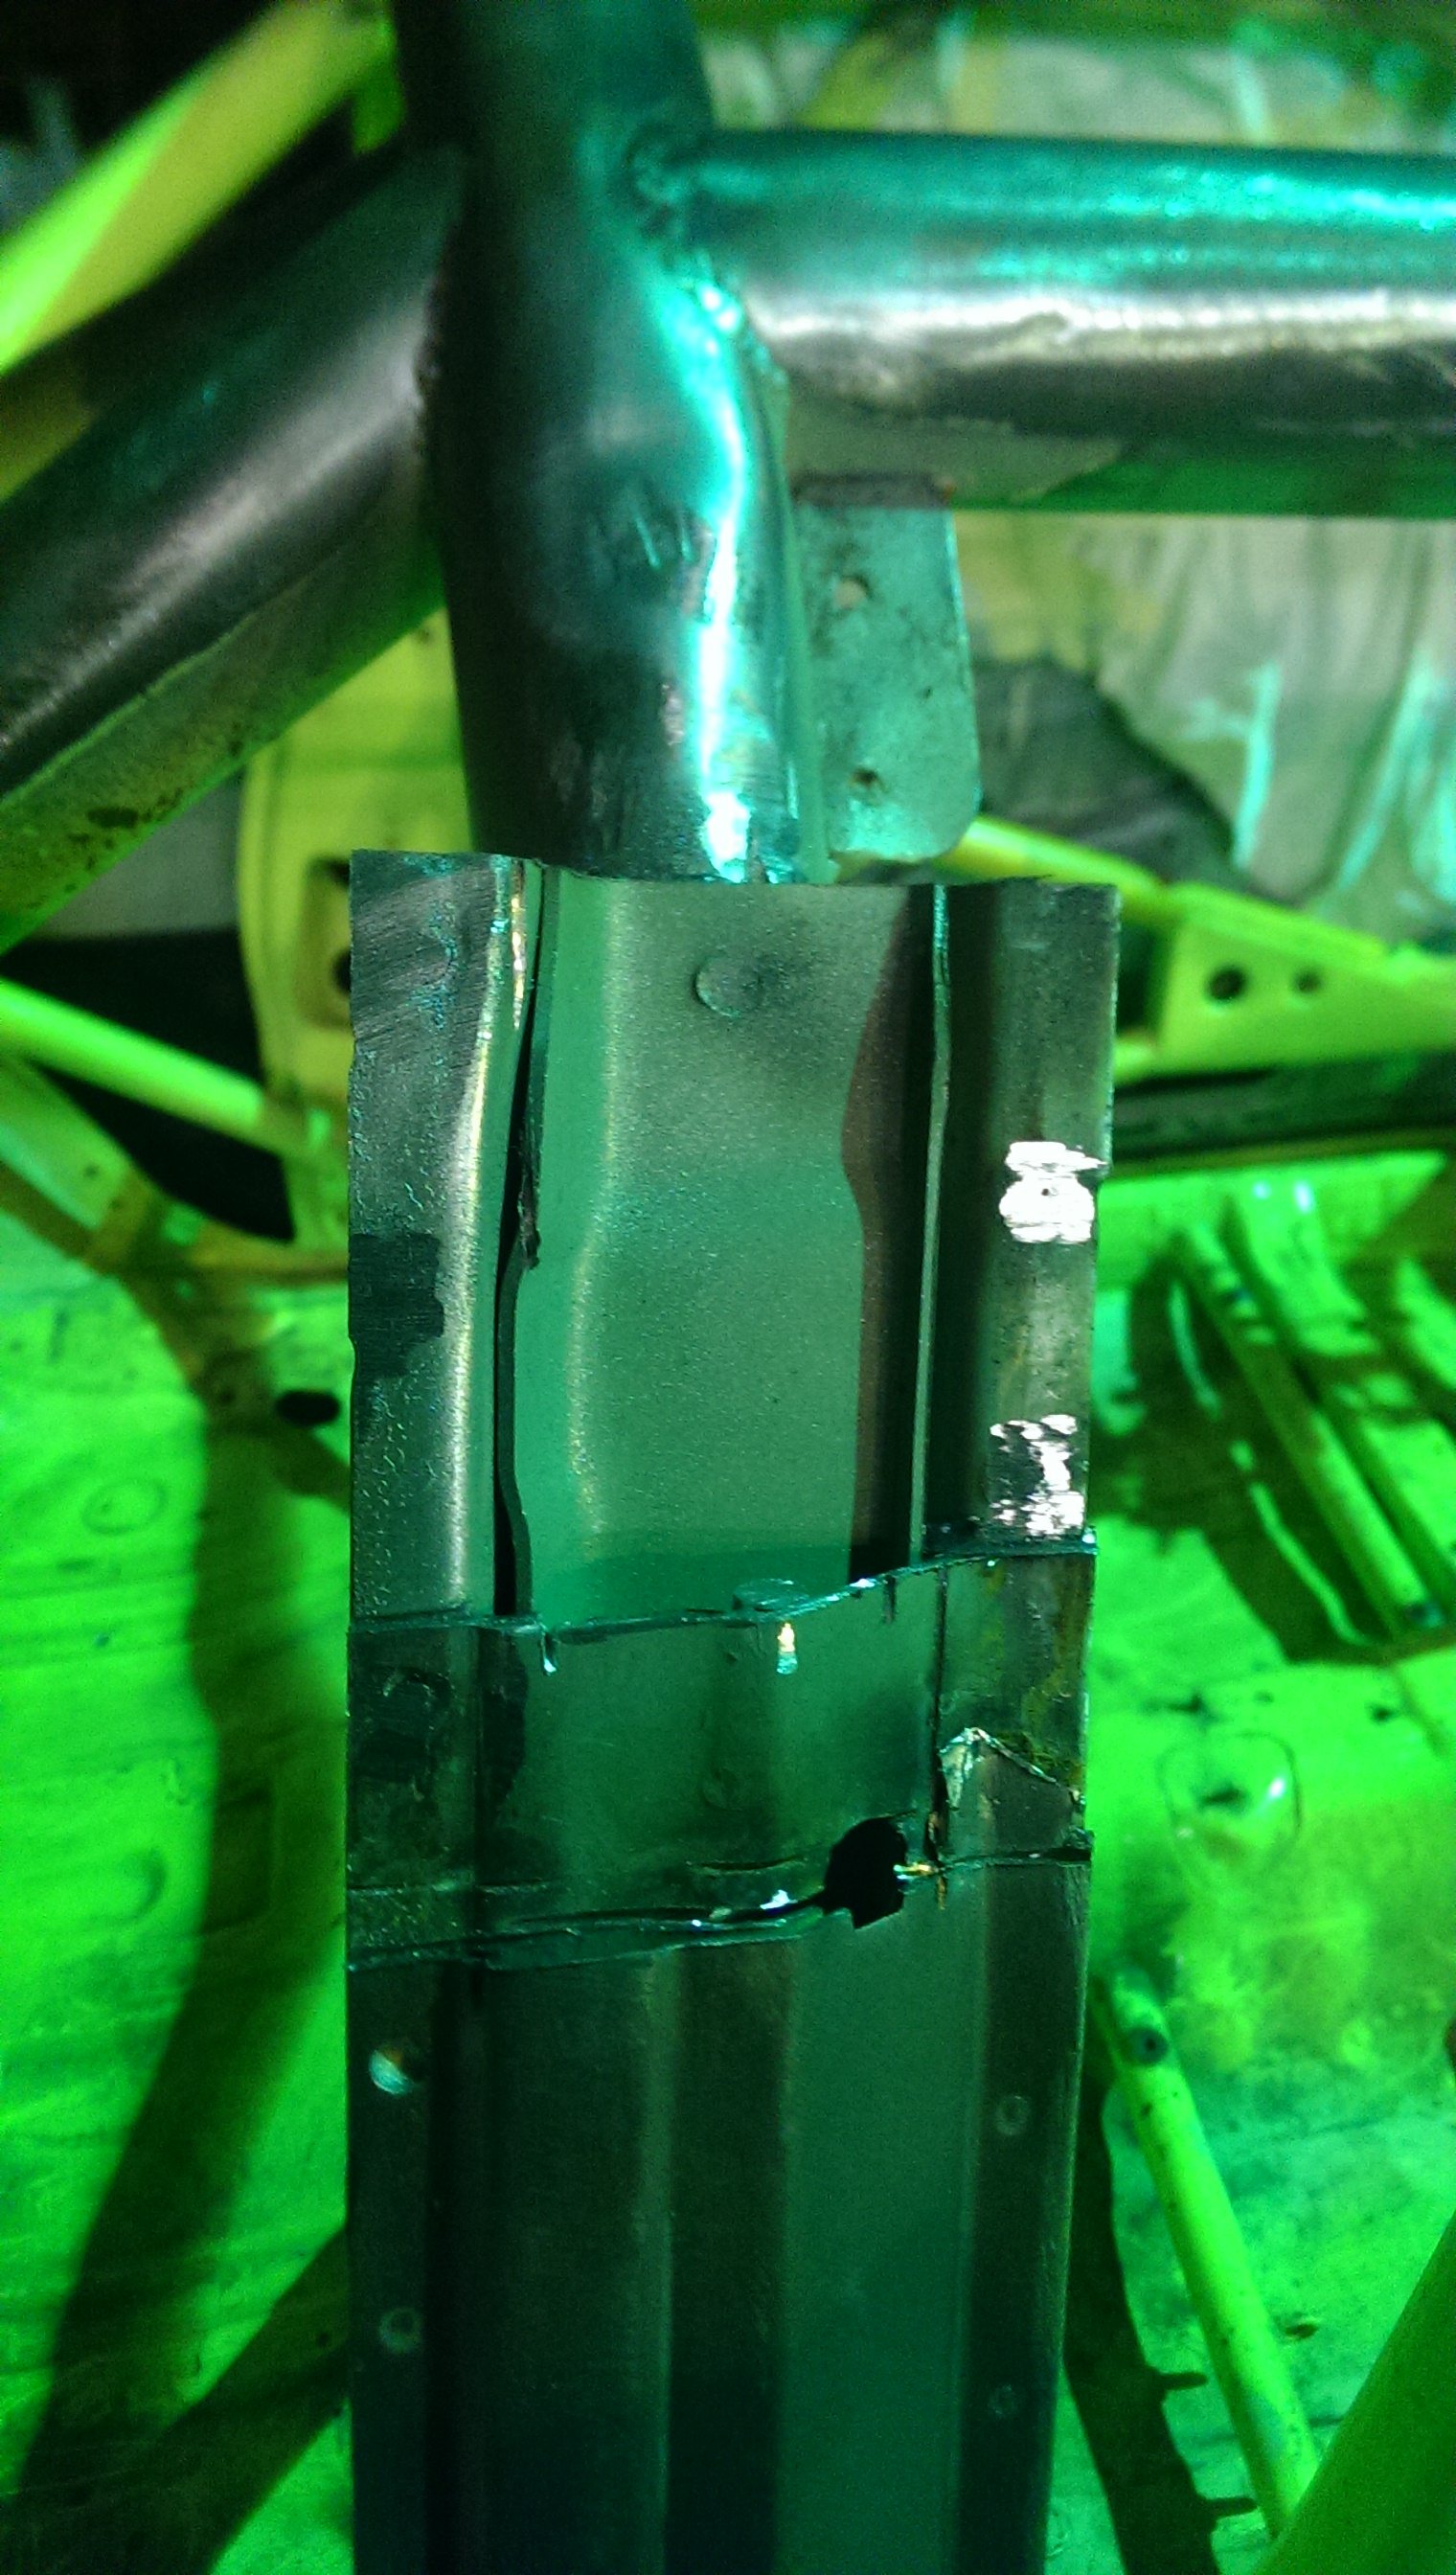
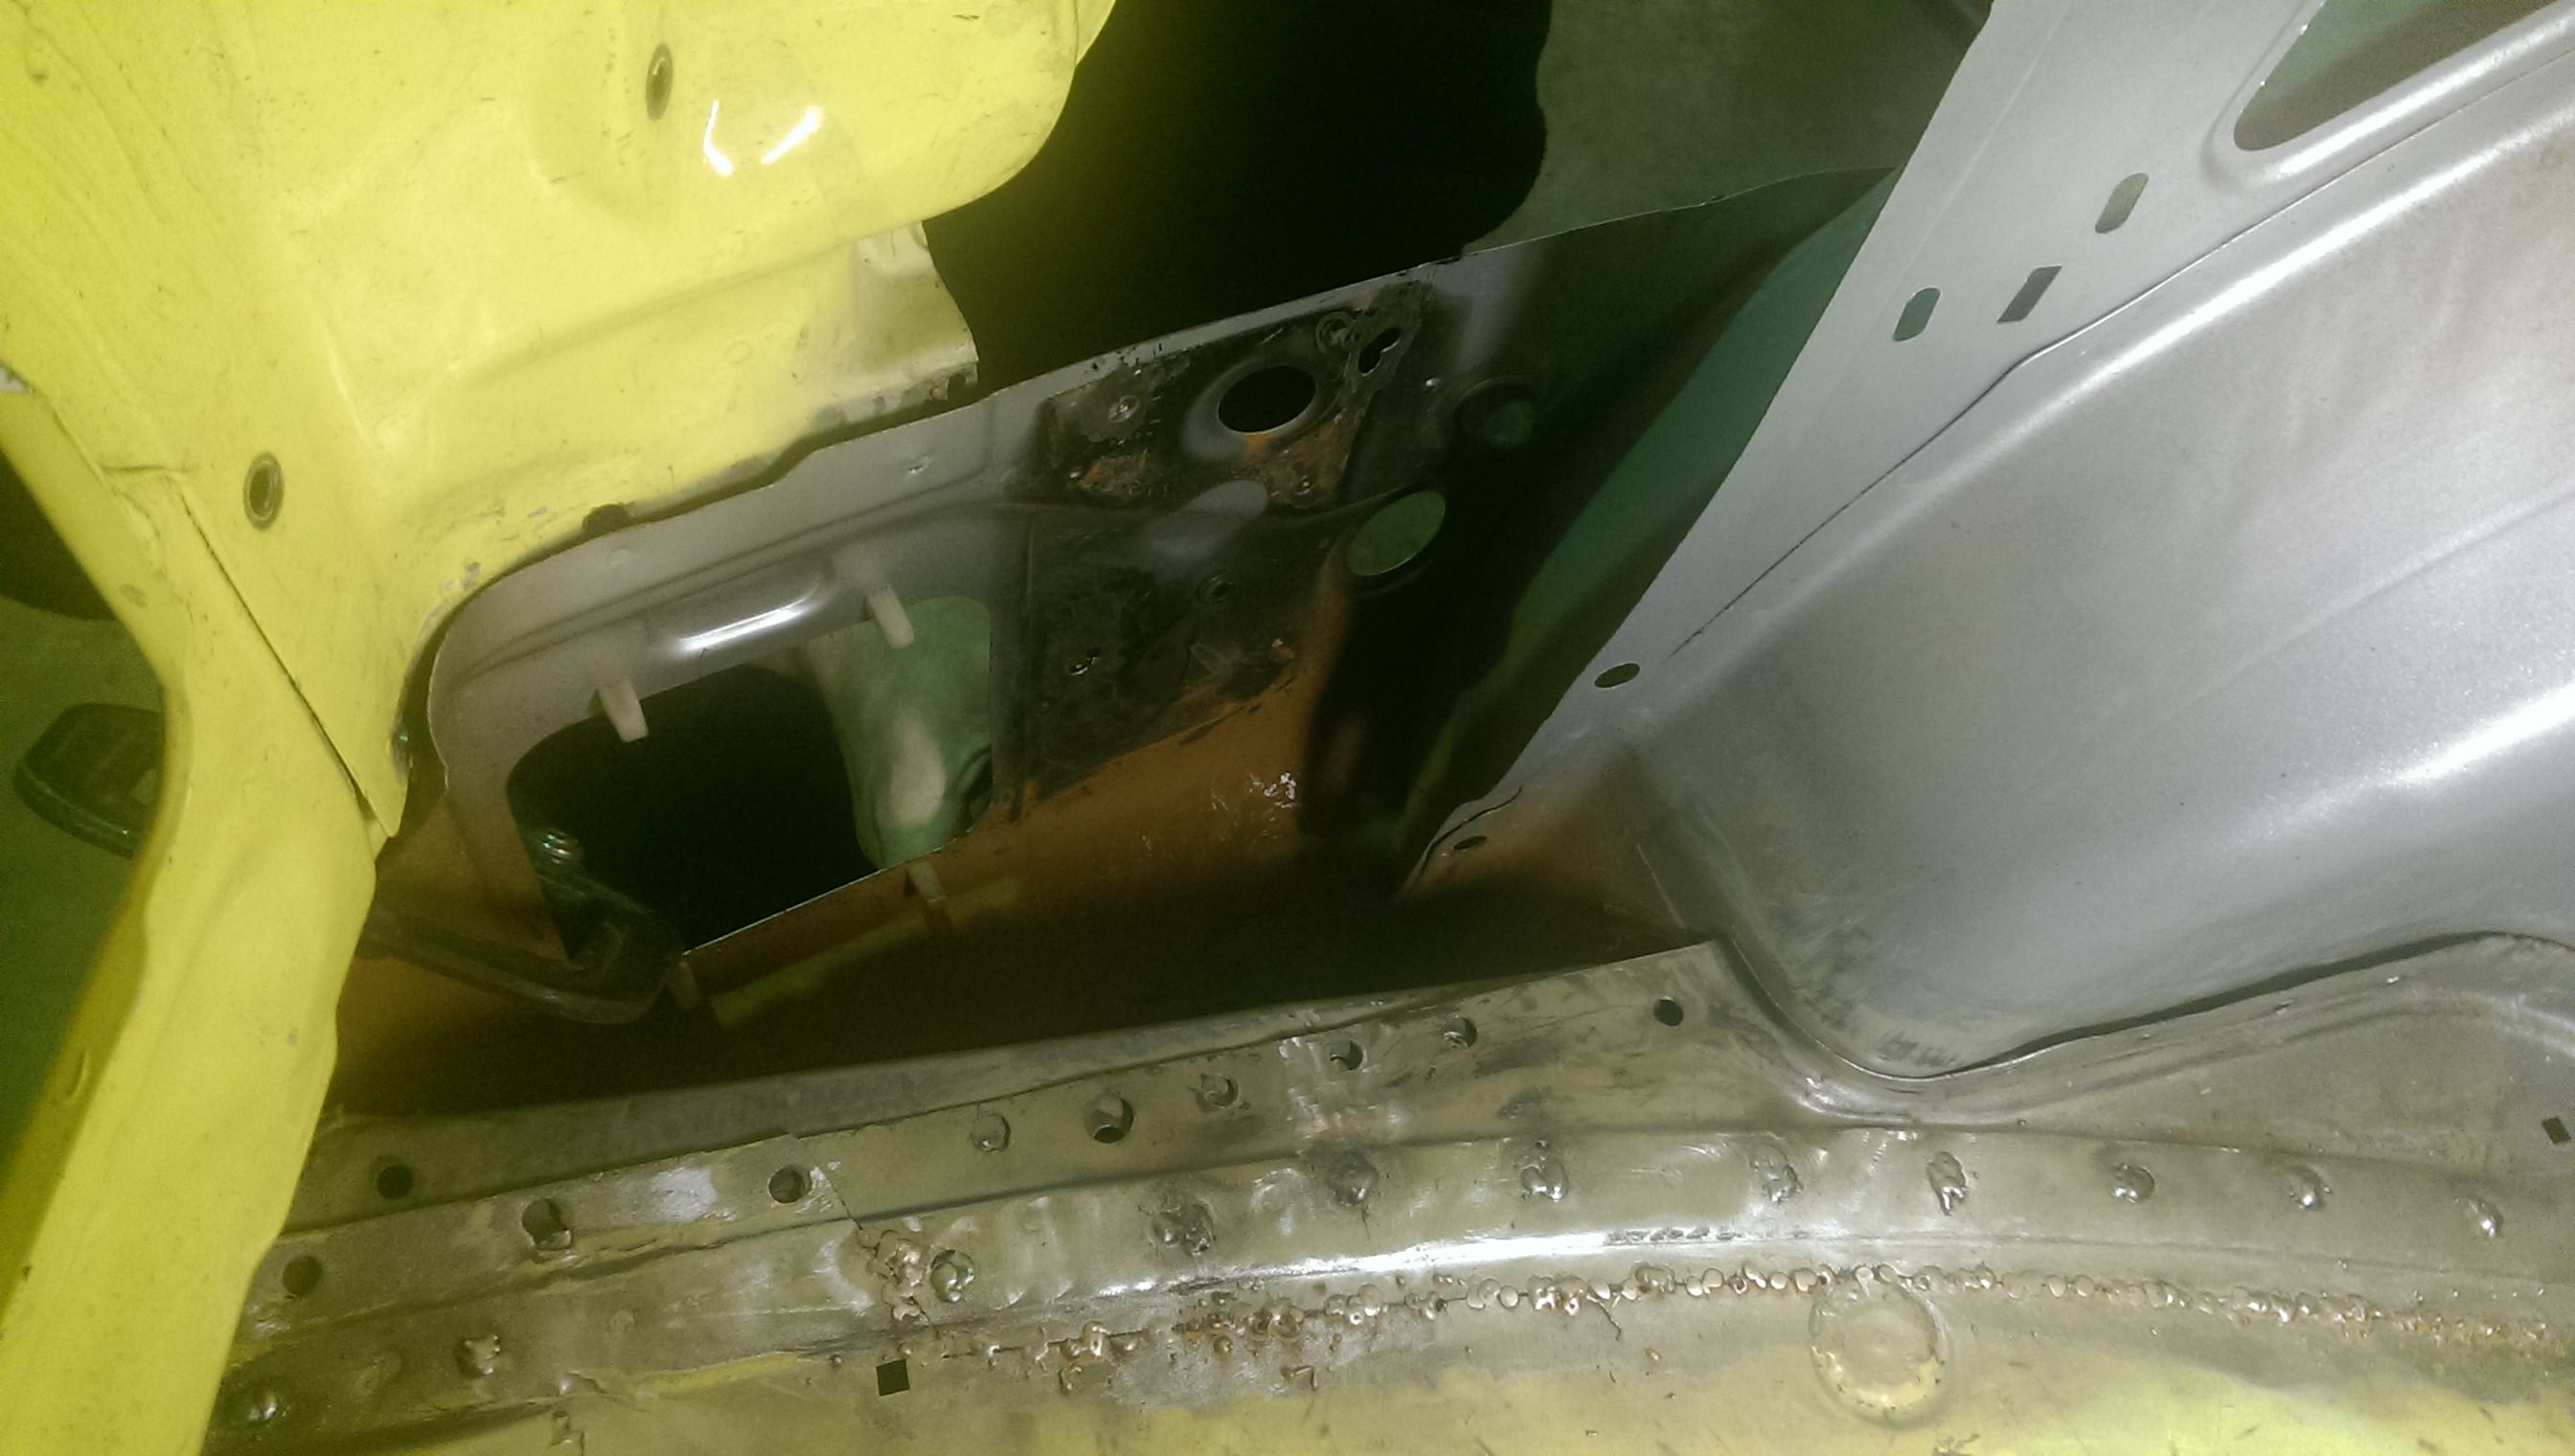
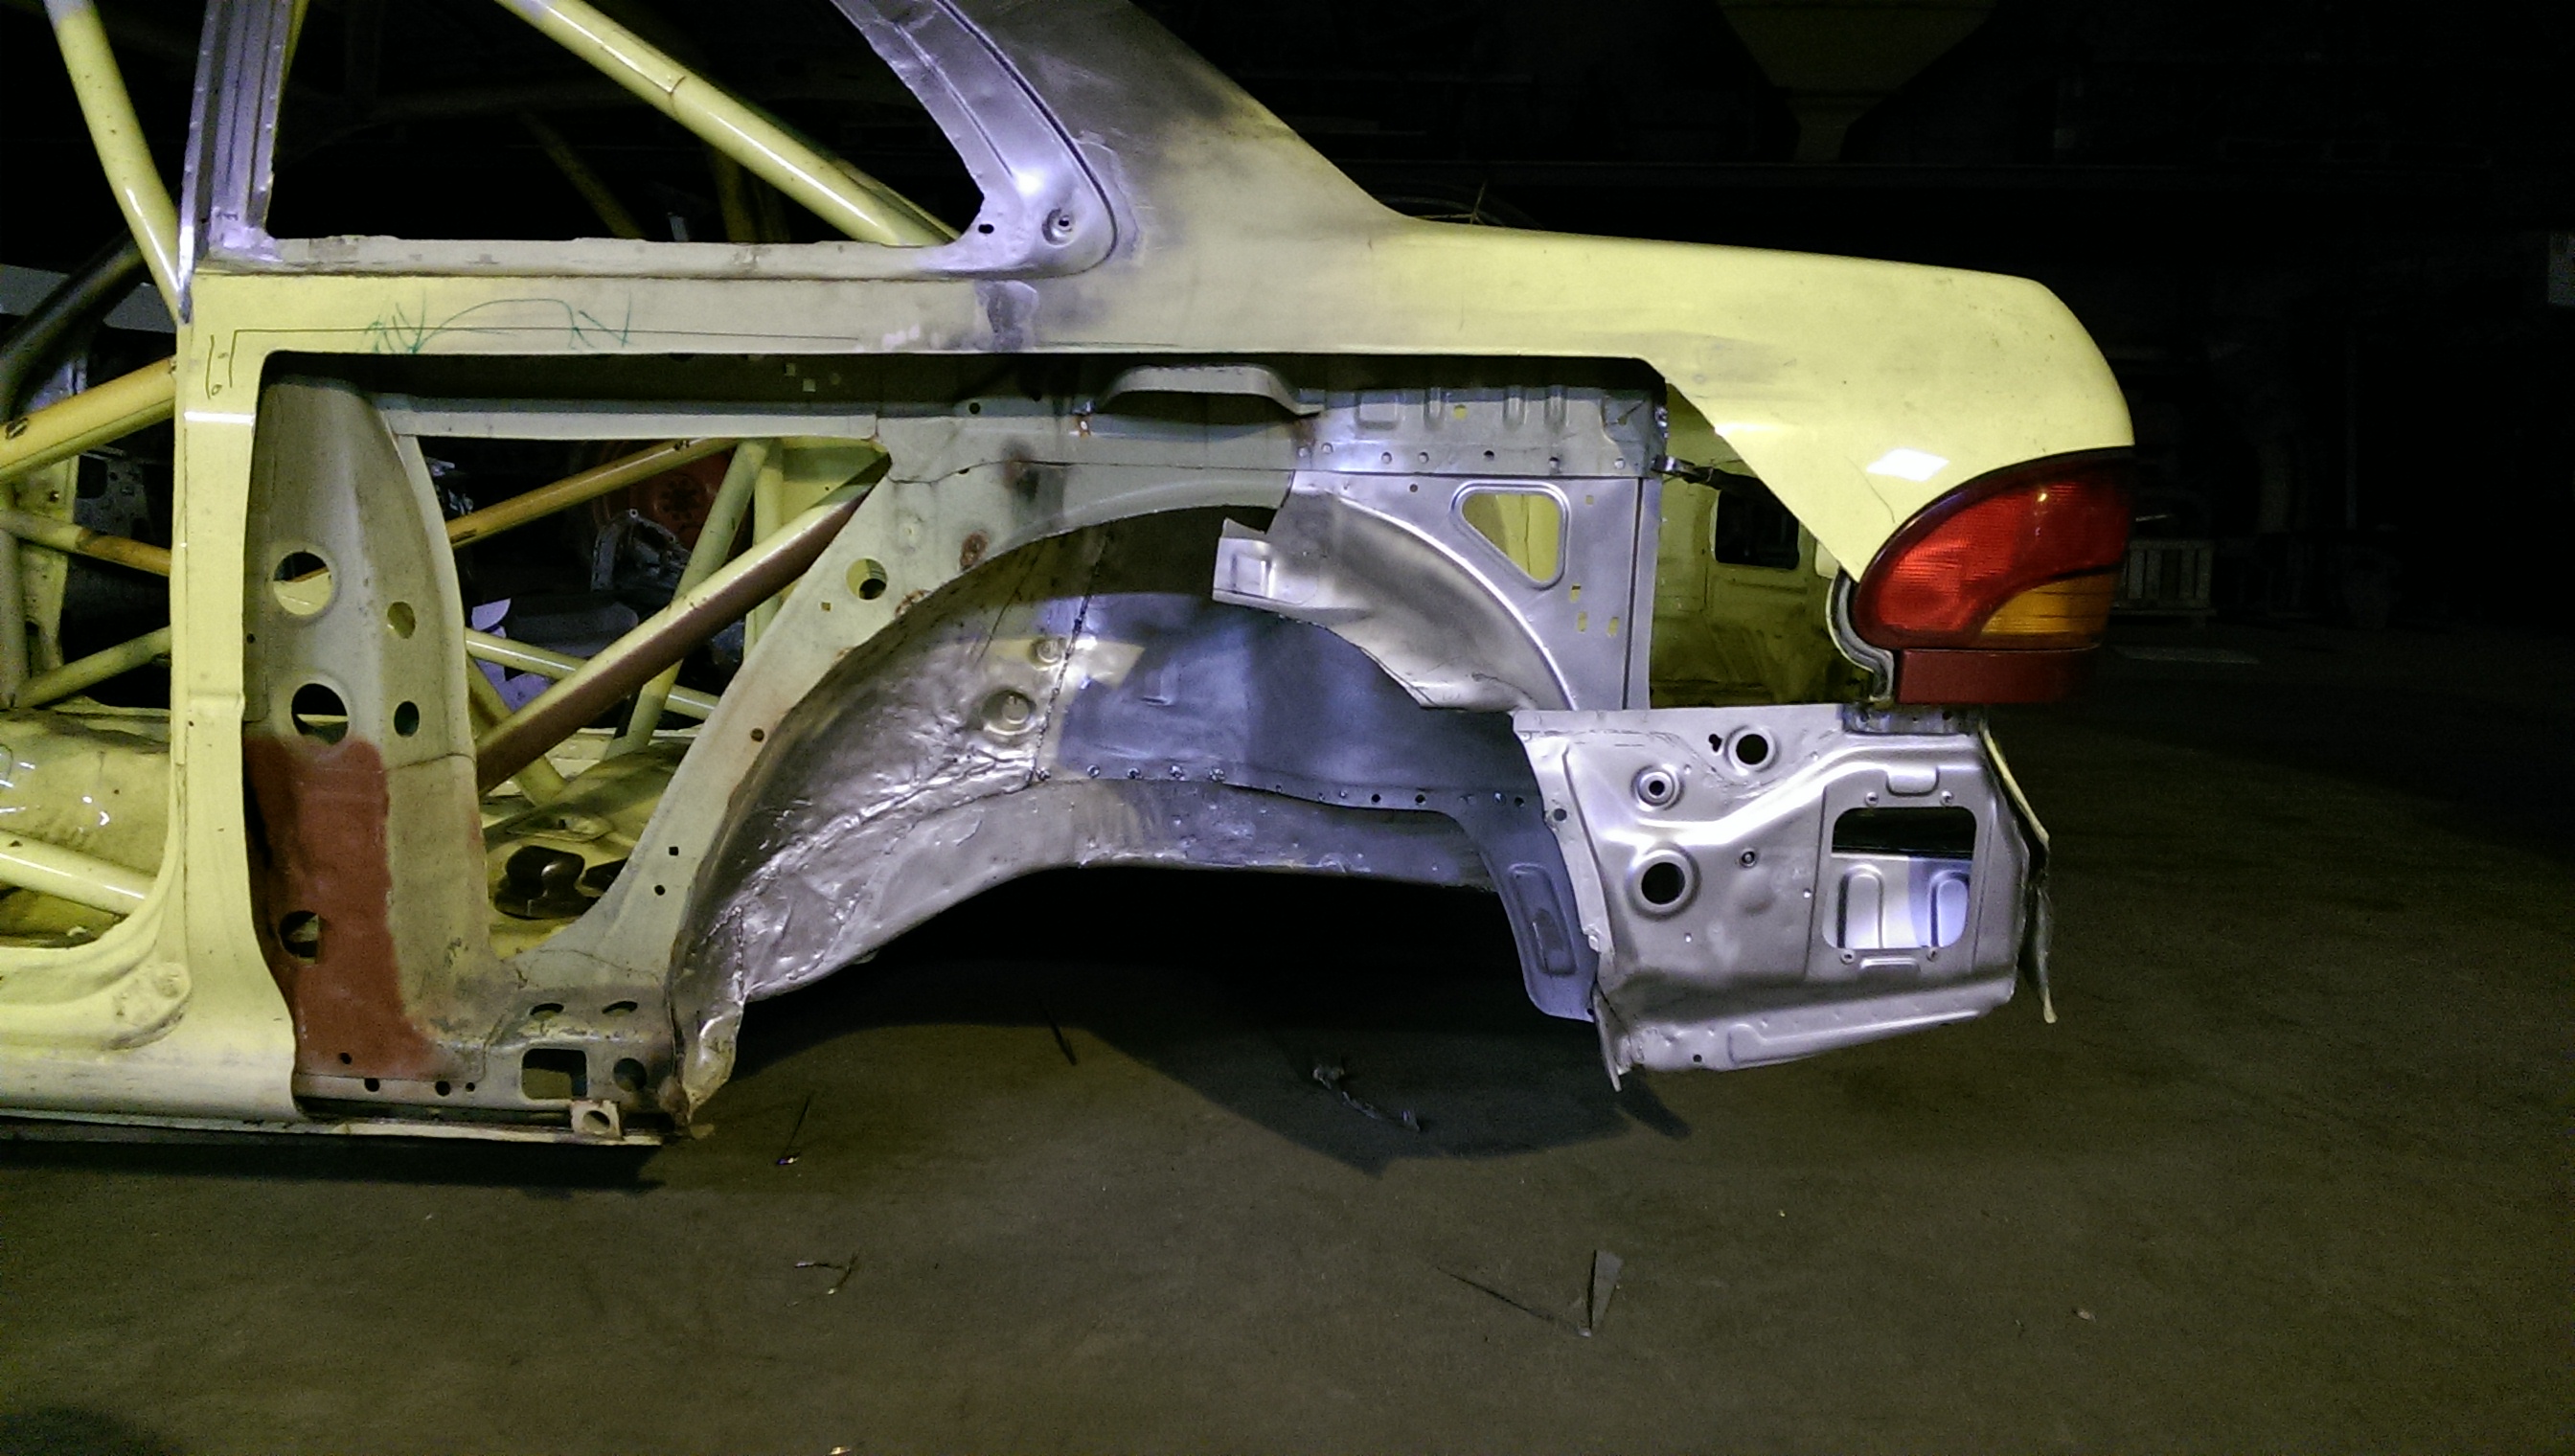
Replaced the rear left box section with the on from the silver spare chassis.

Why not put in some better bodywork aswell.
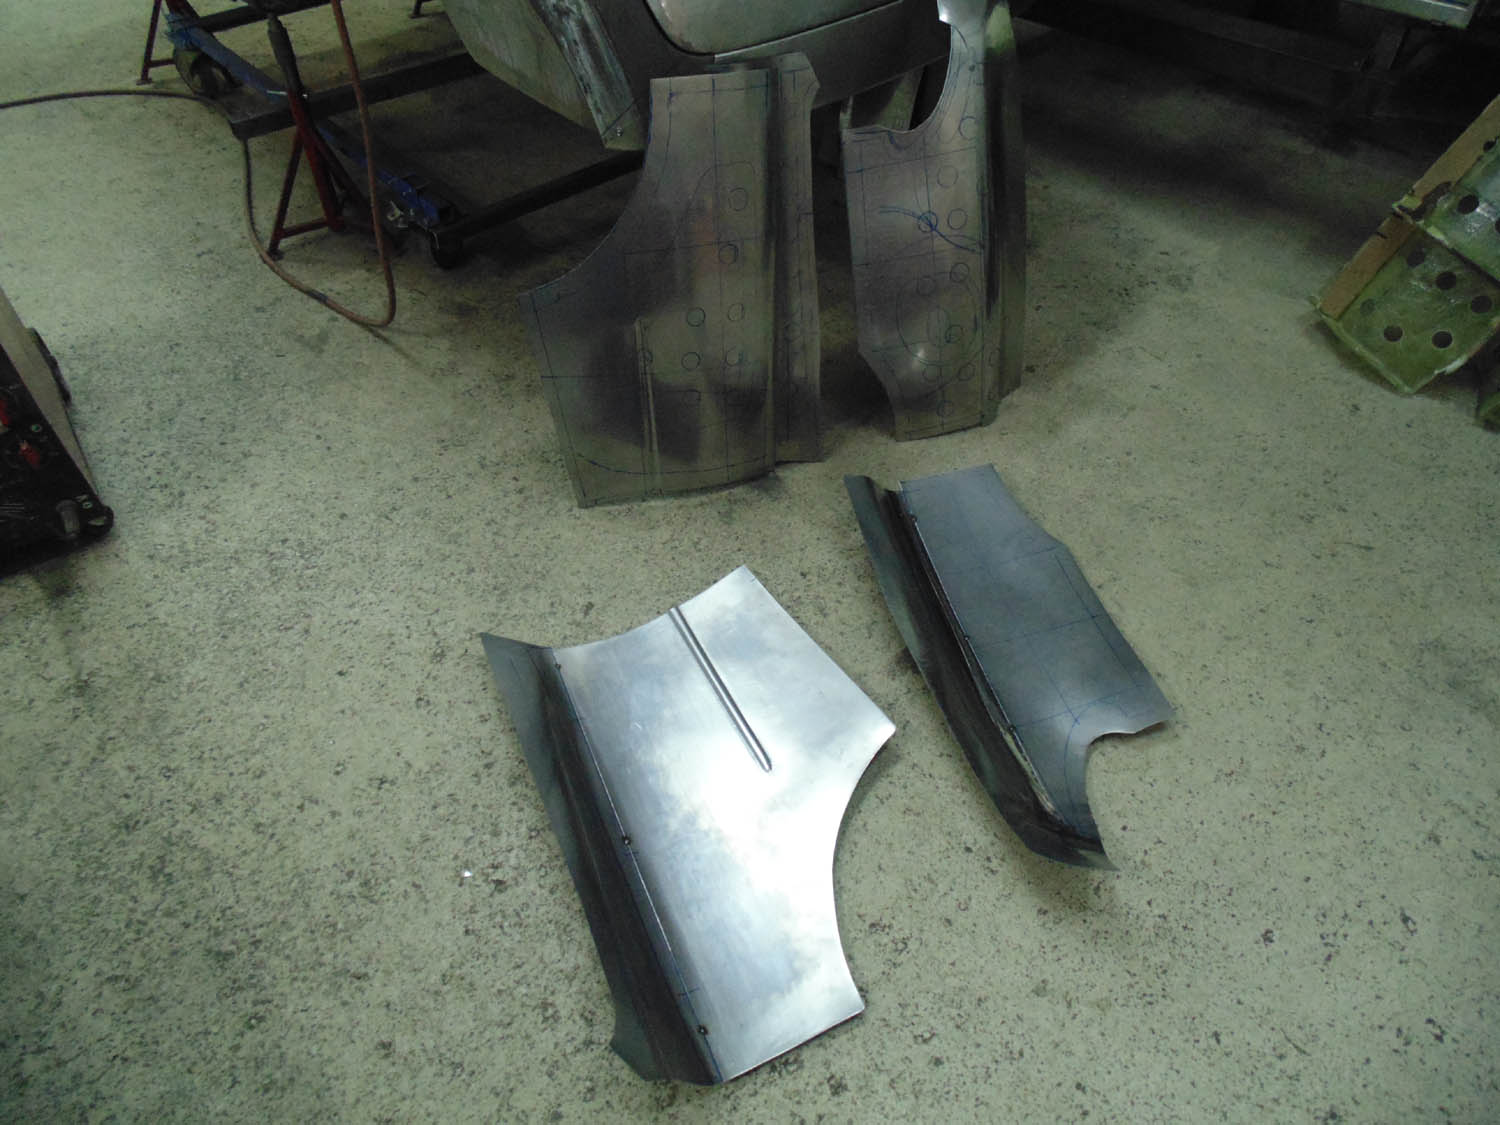
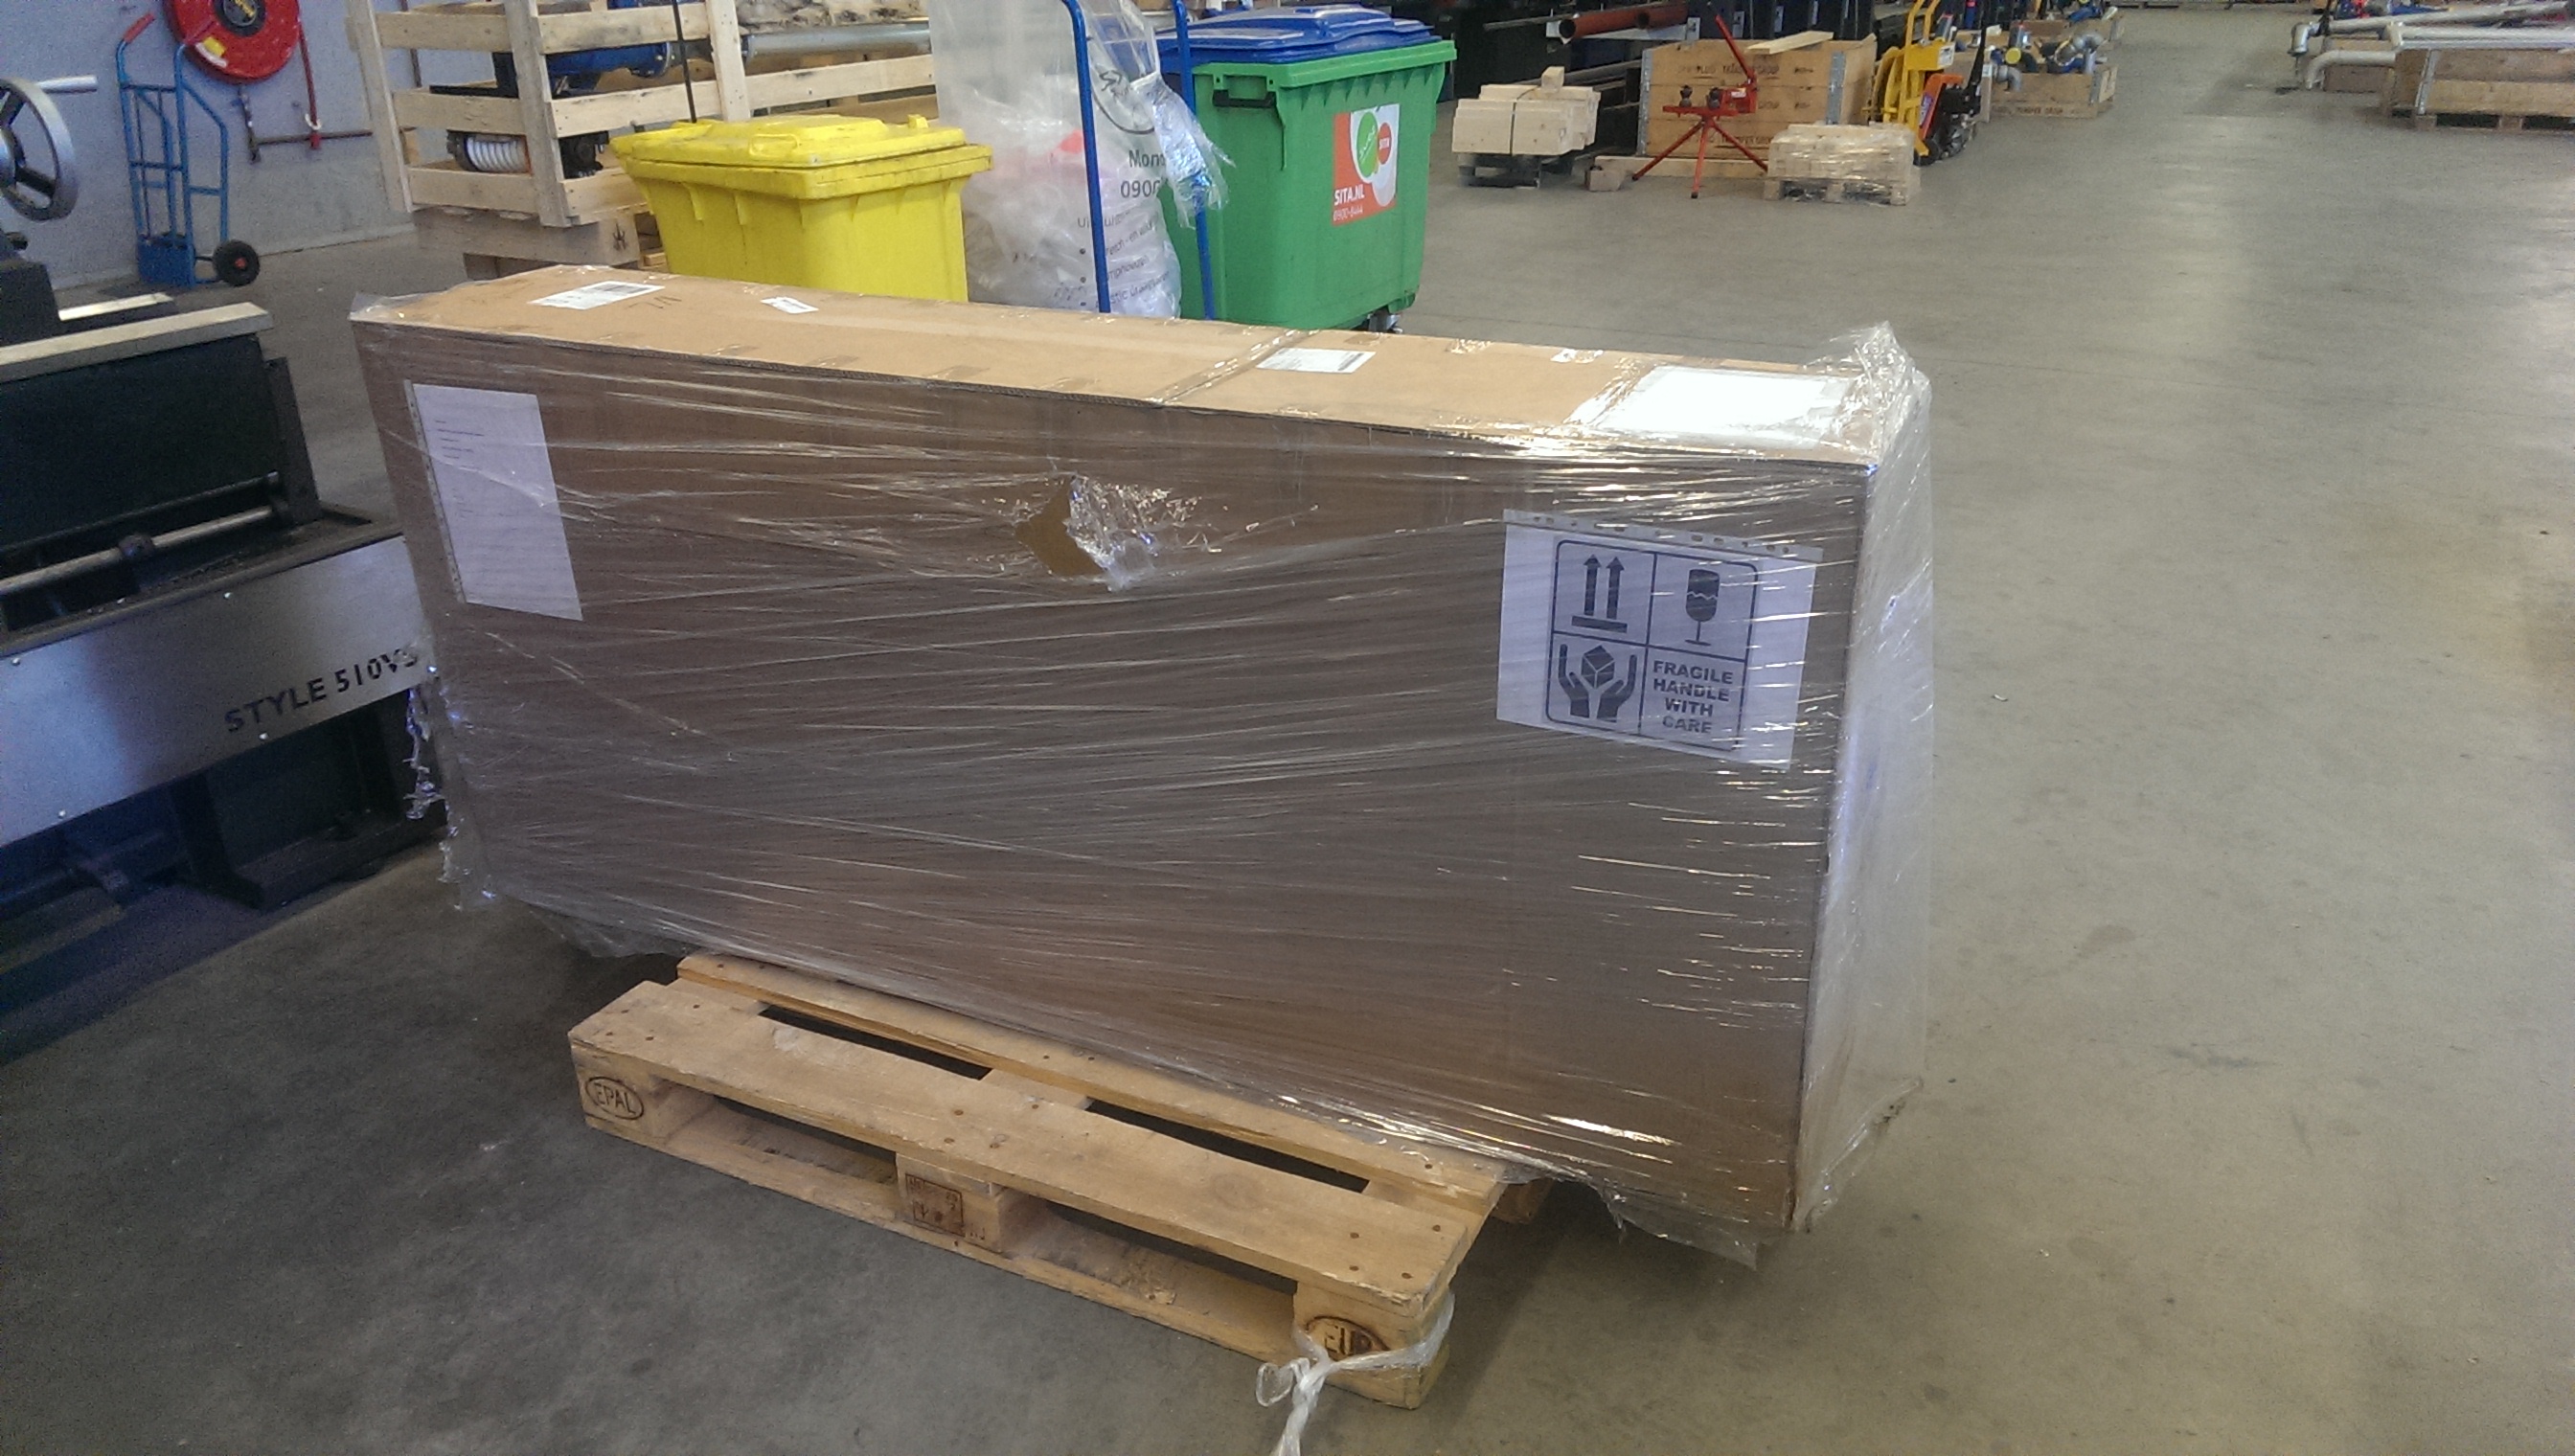
Then this arrived from kroatia:
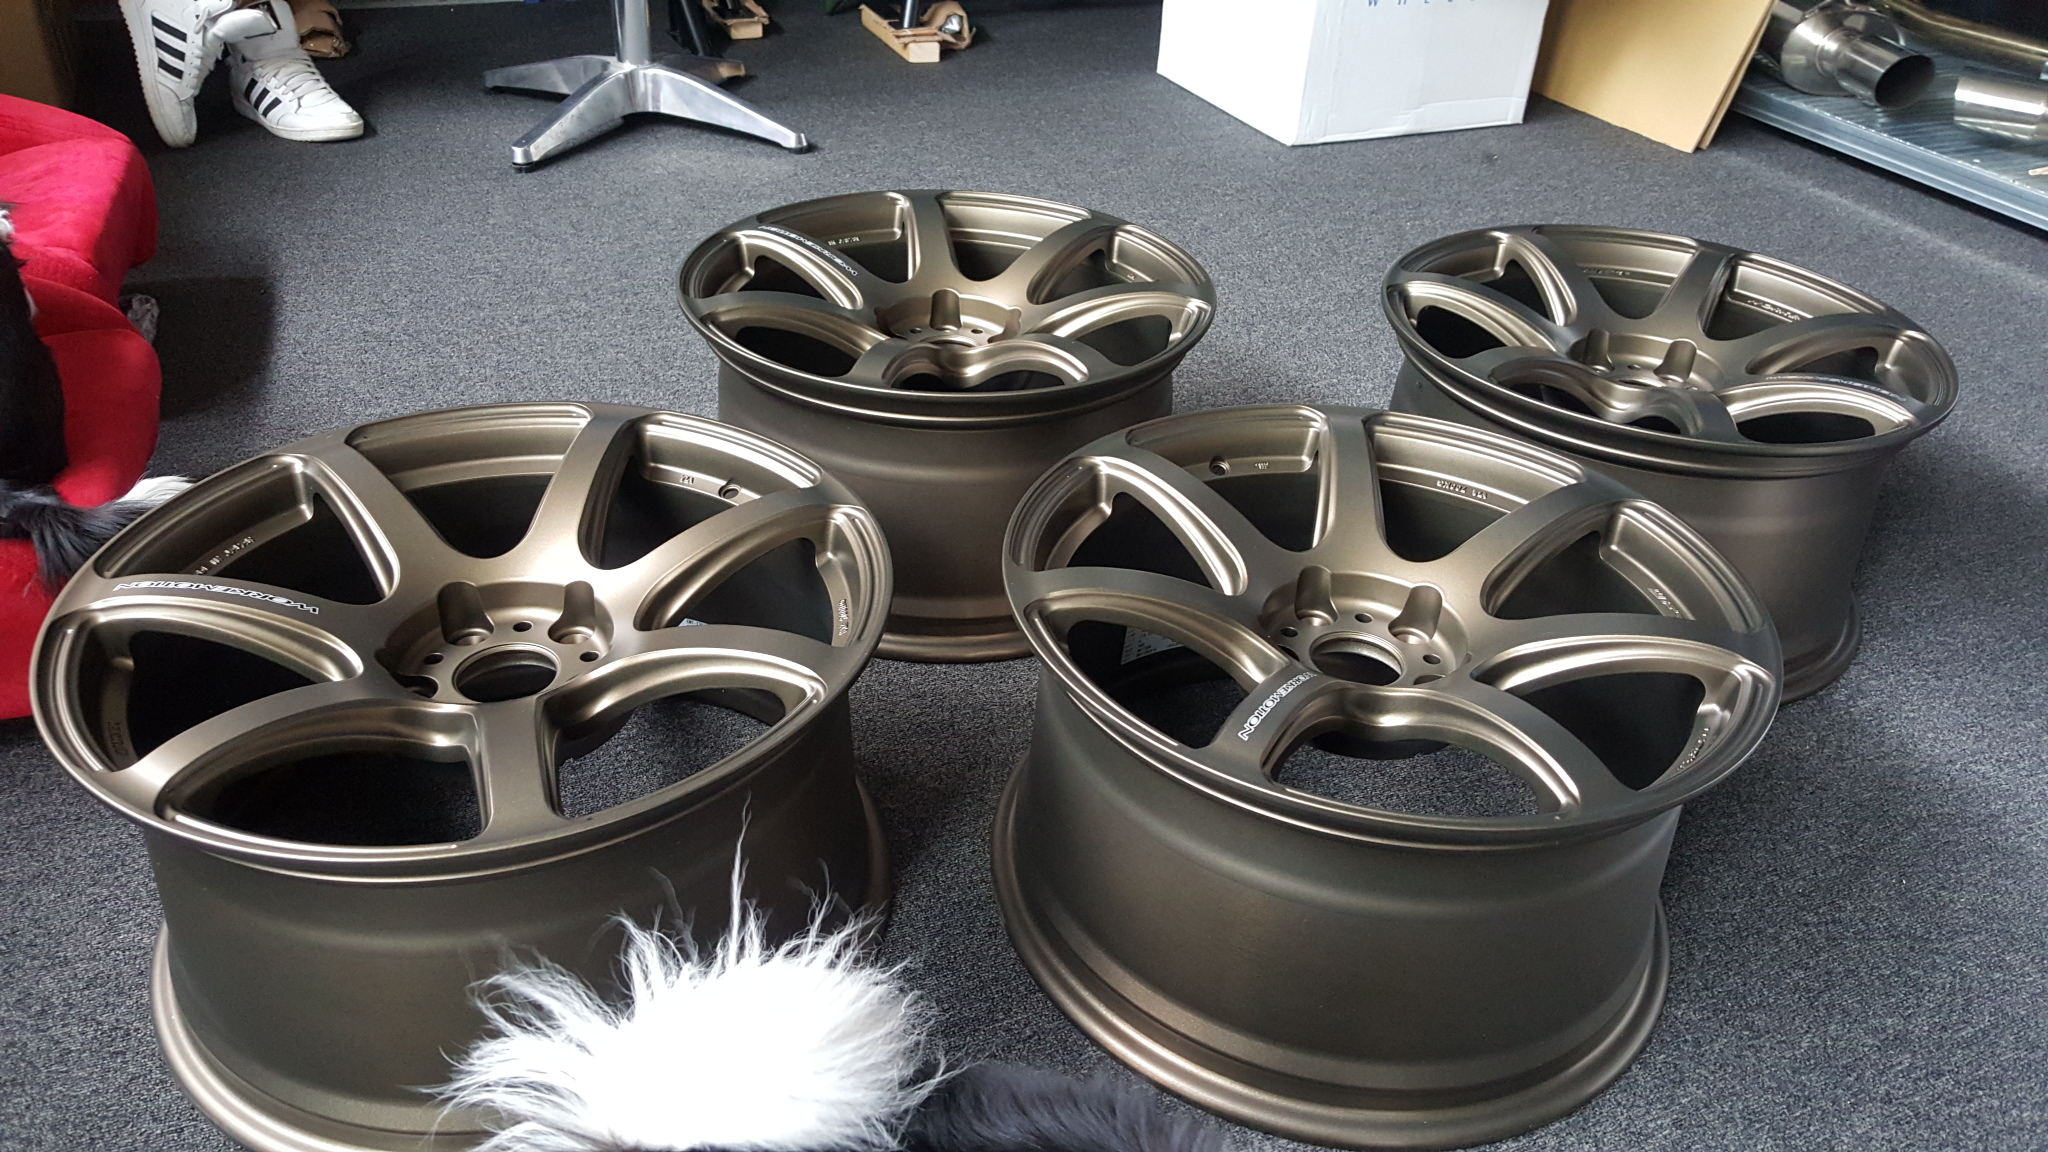
And these from Japan:
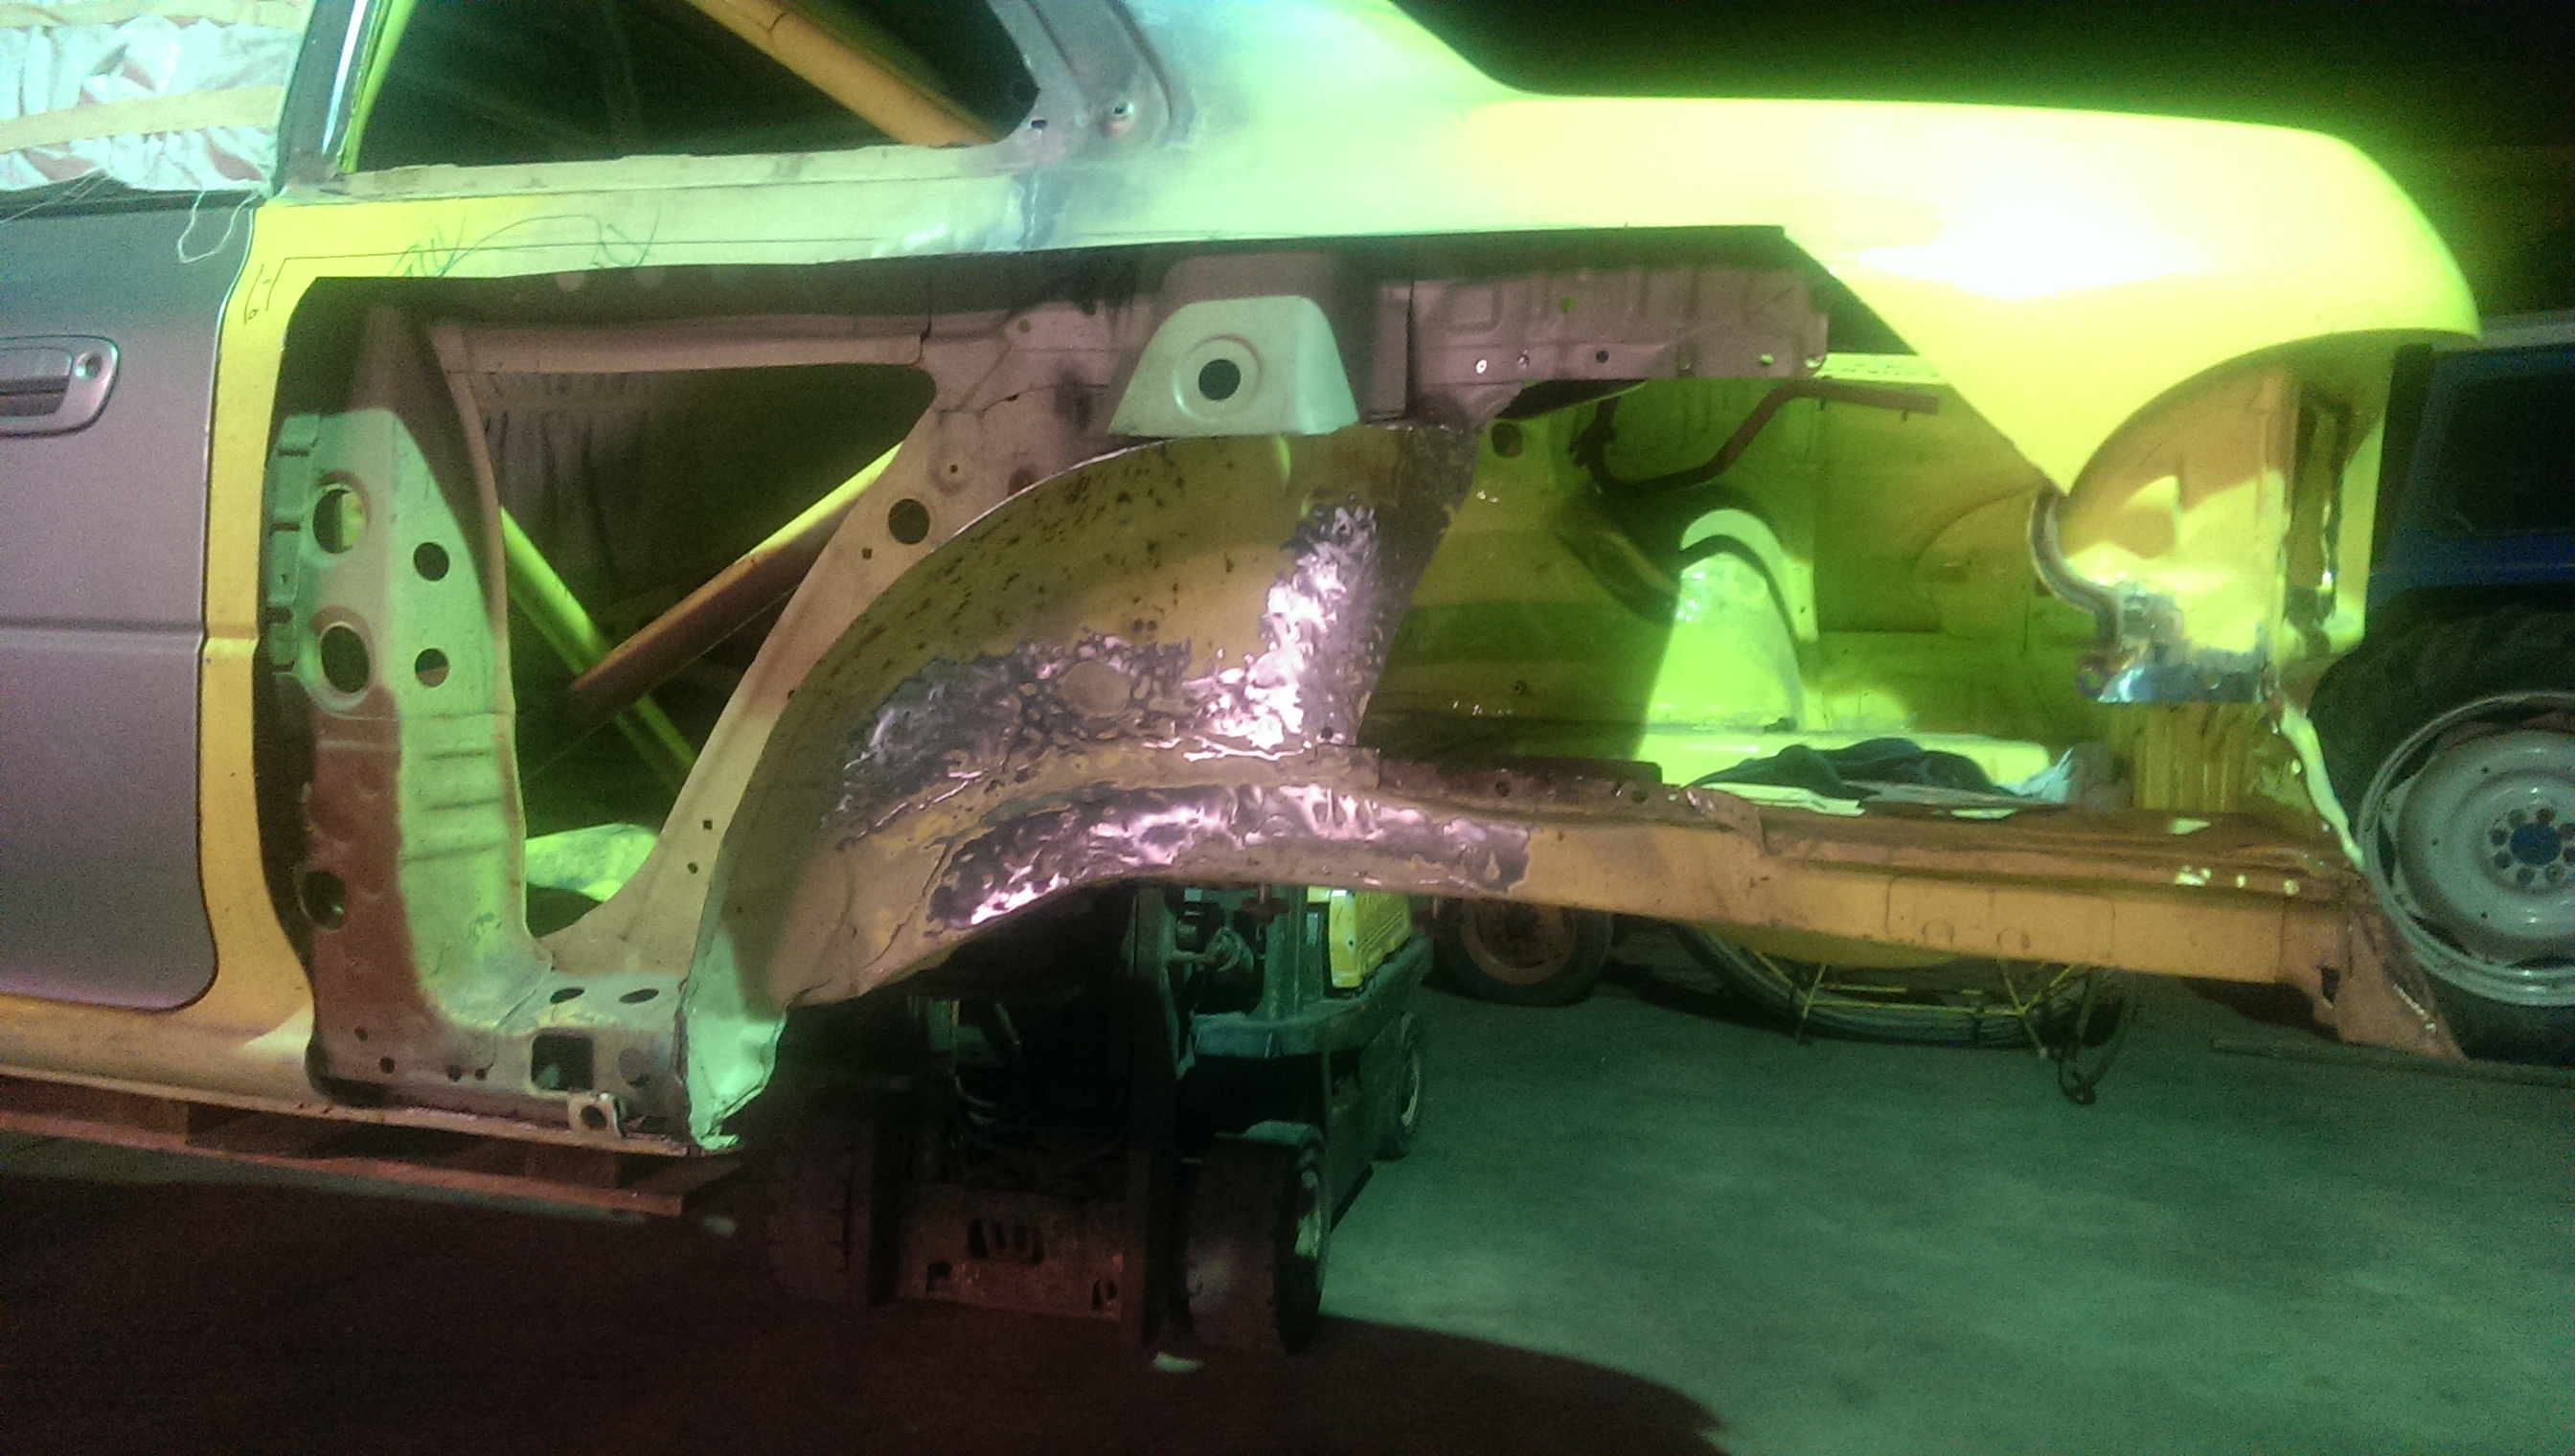
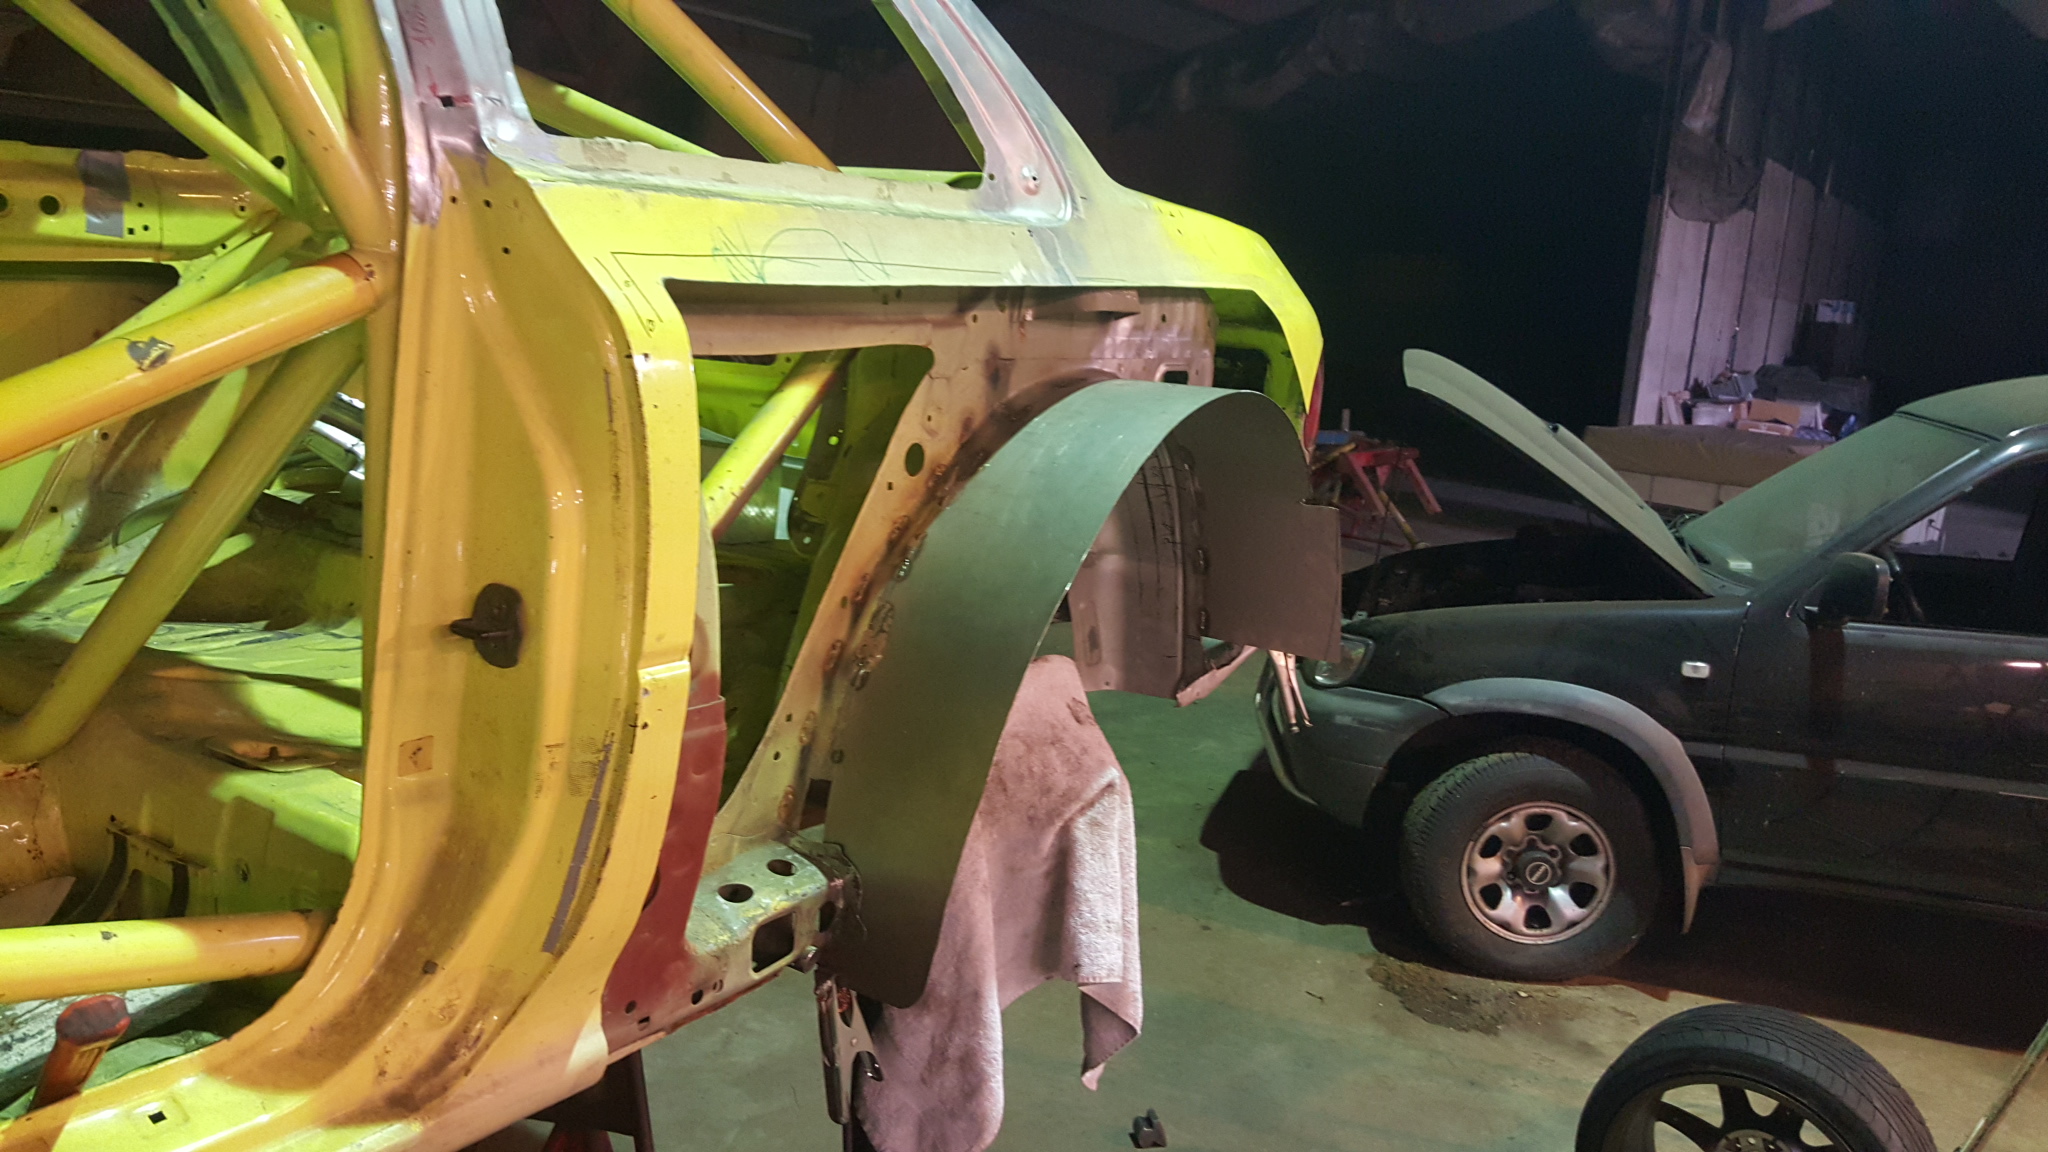
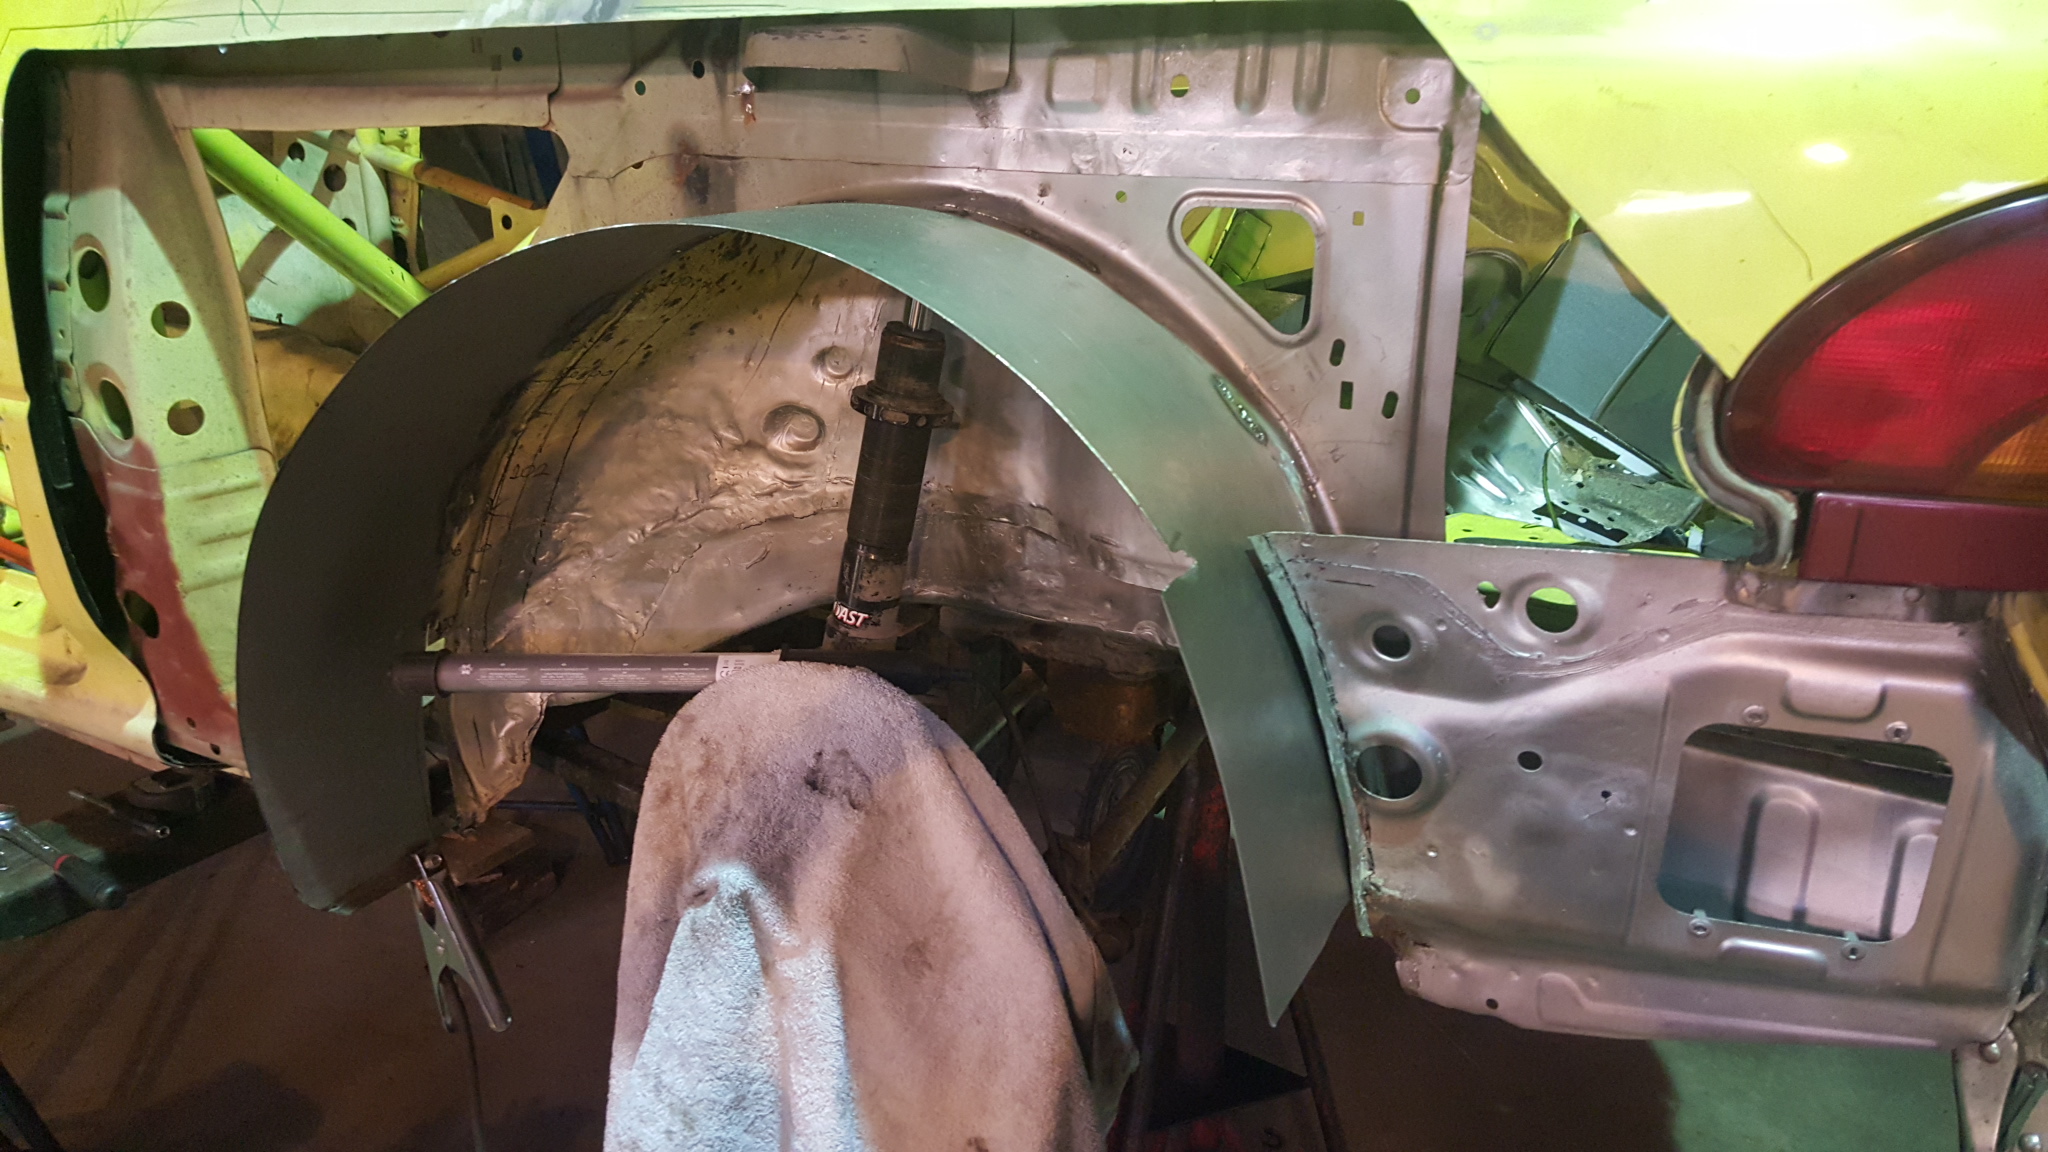
So I started with the inner tubs:
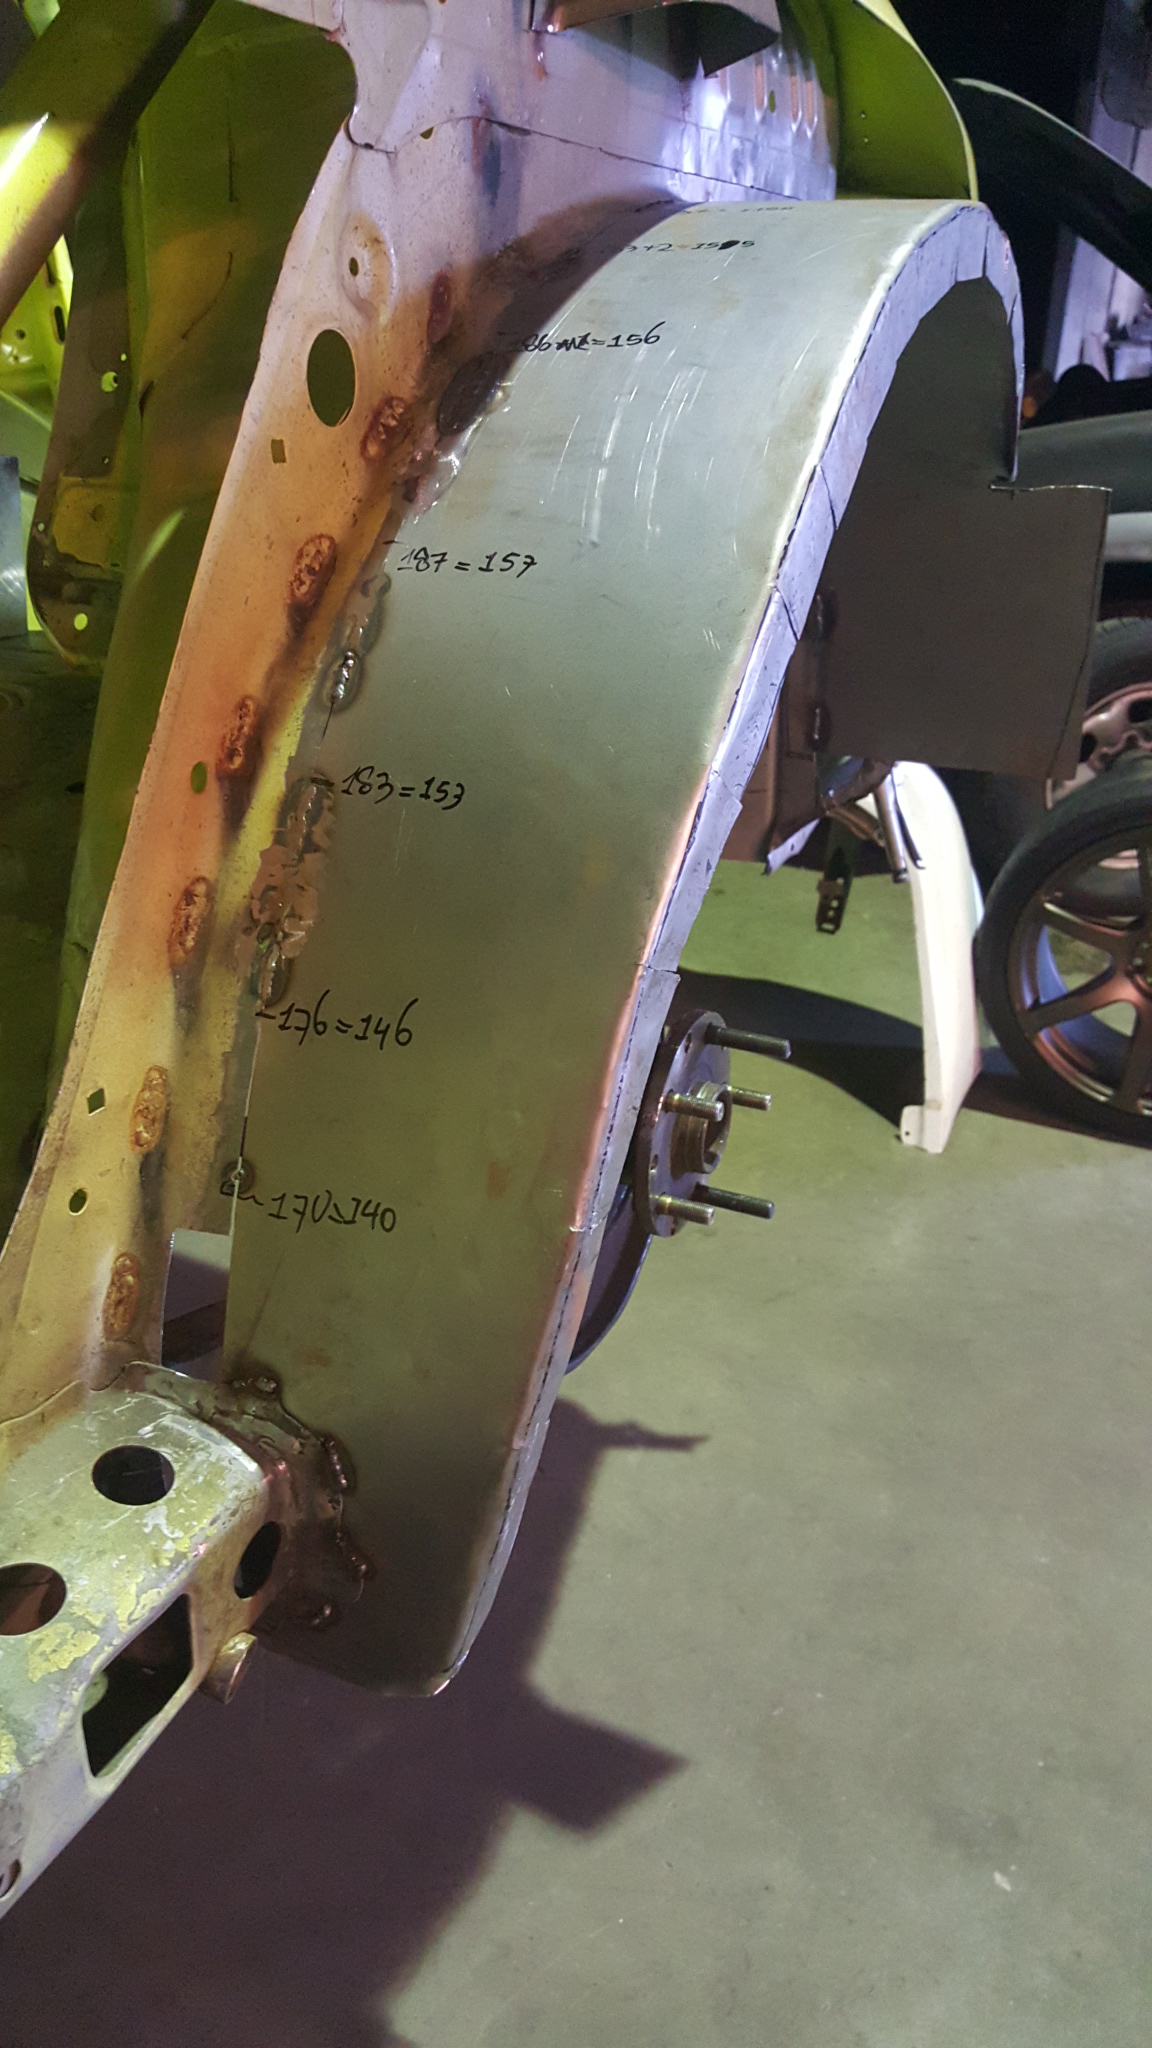
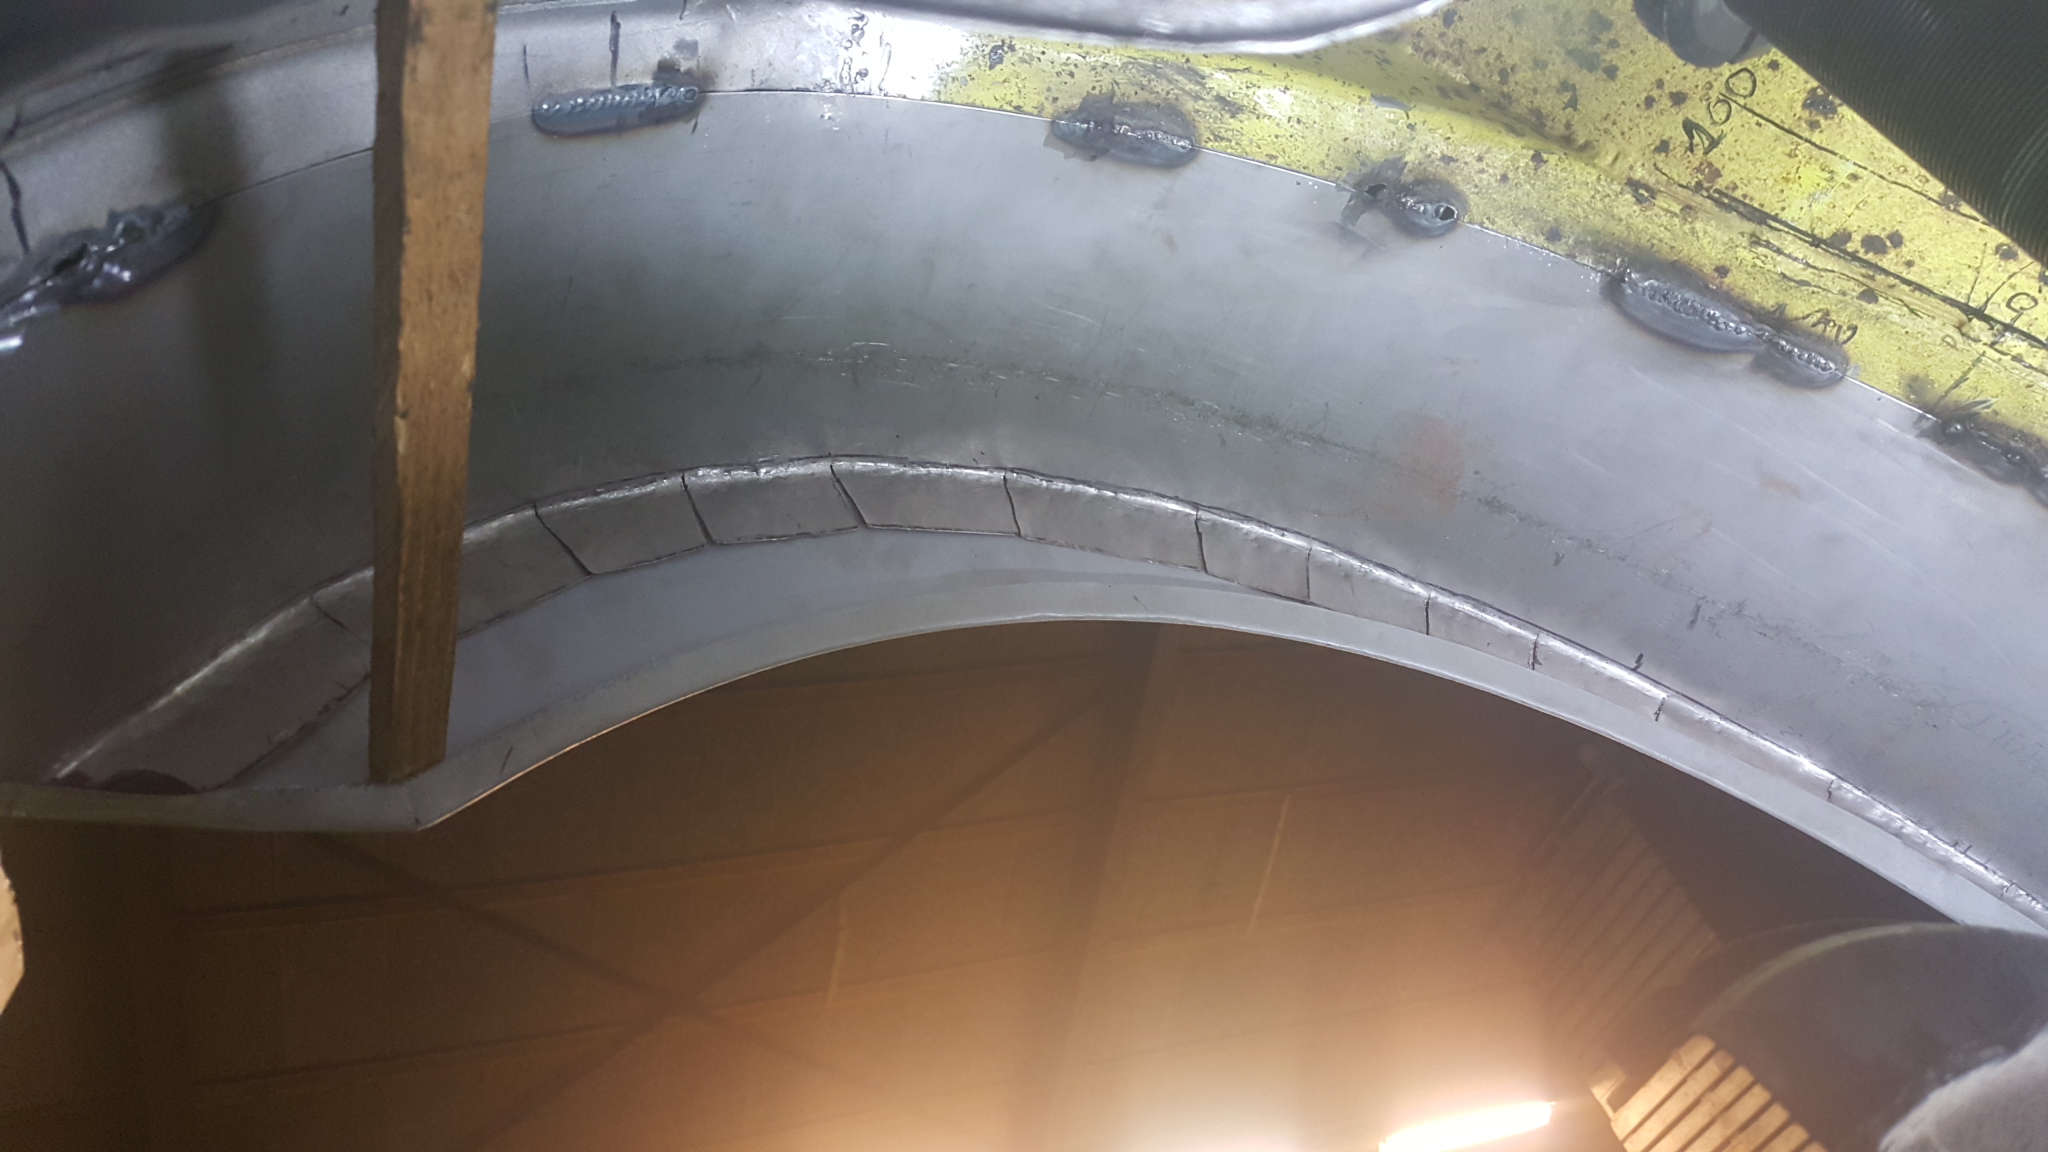
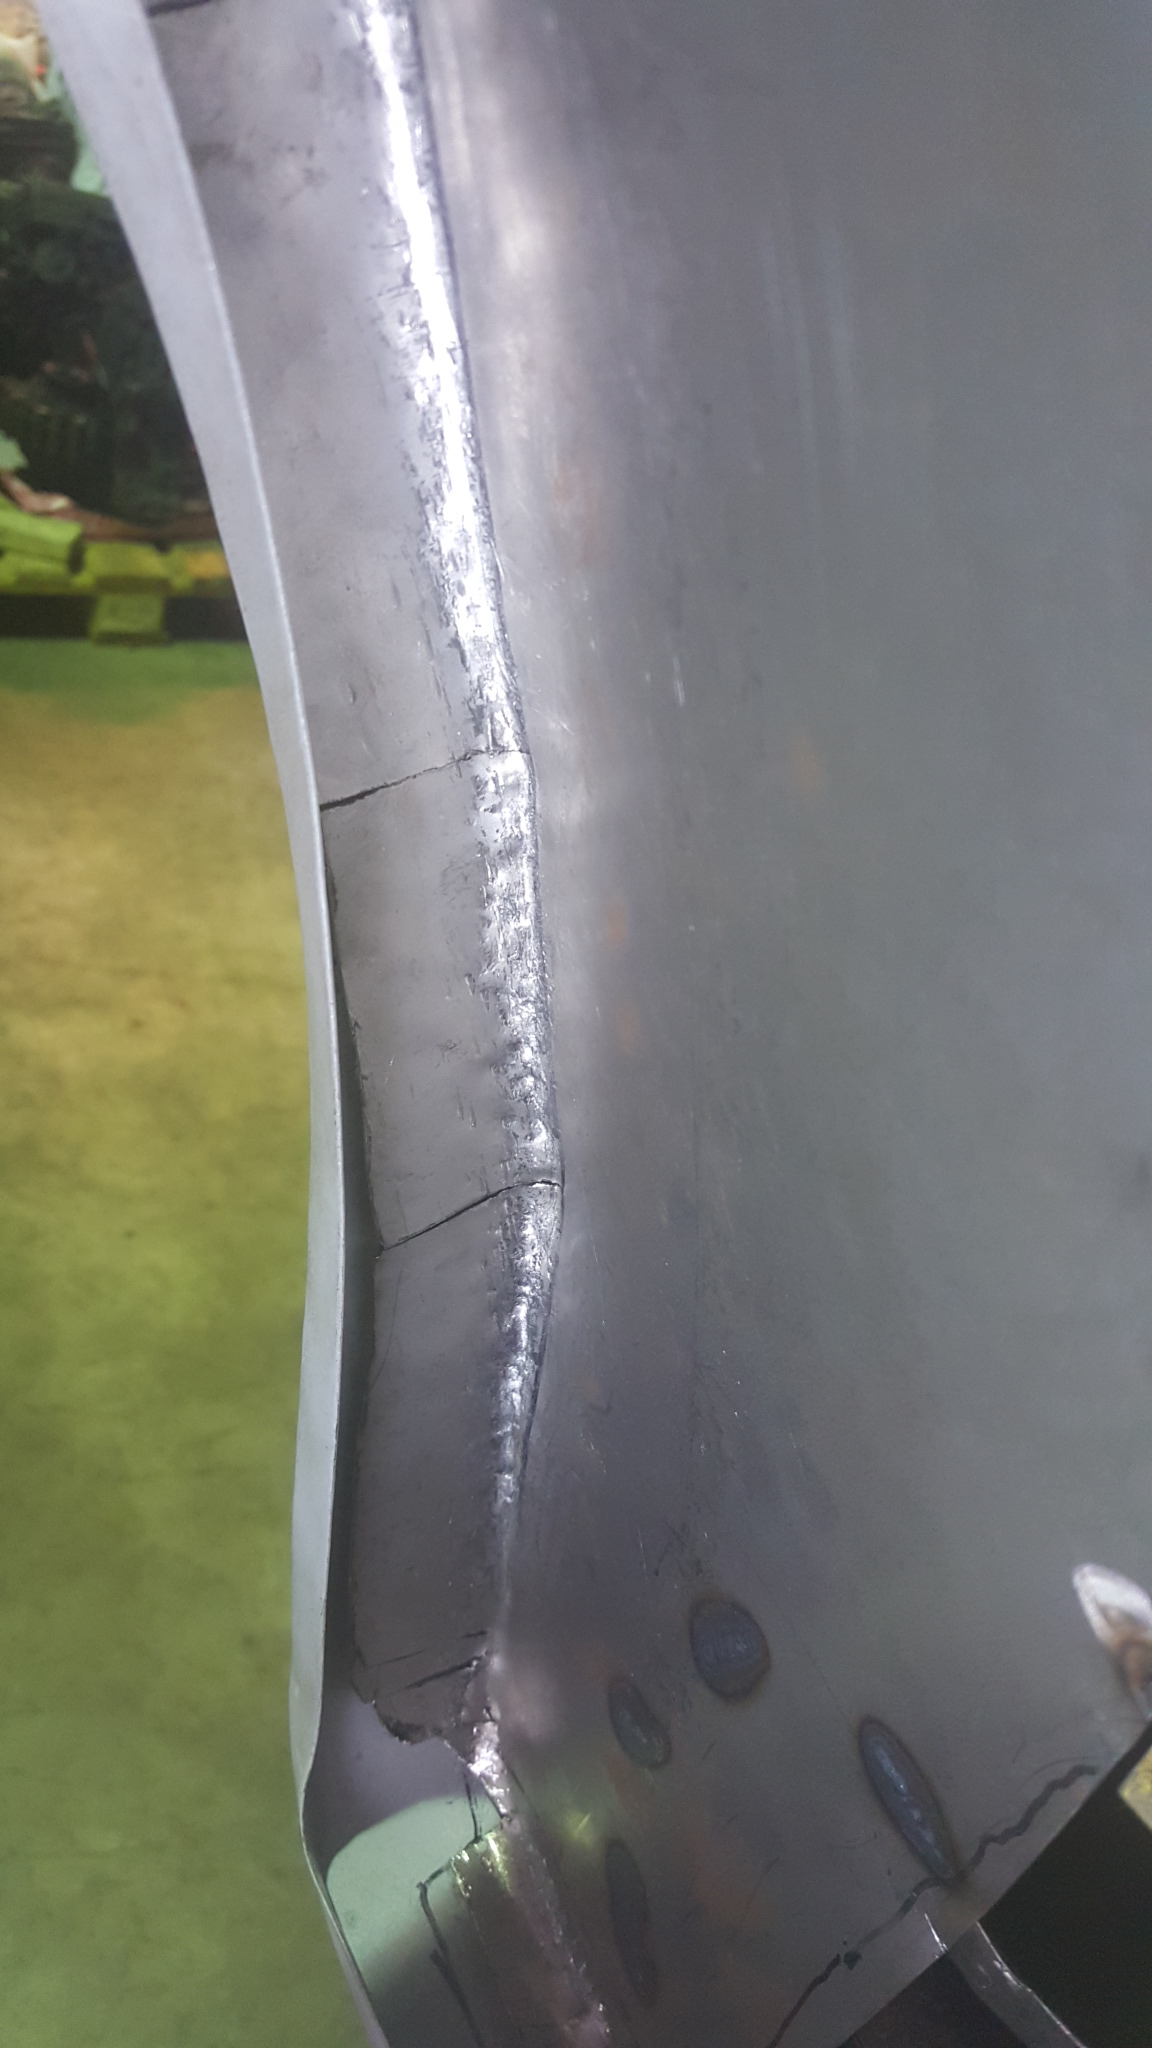
I am not even close to beeing a pro at this so I am satisfied with how it turned out.
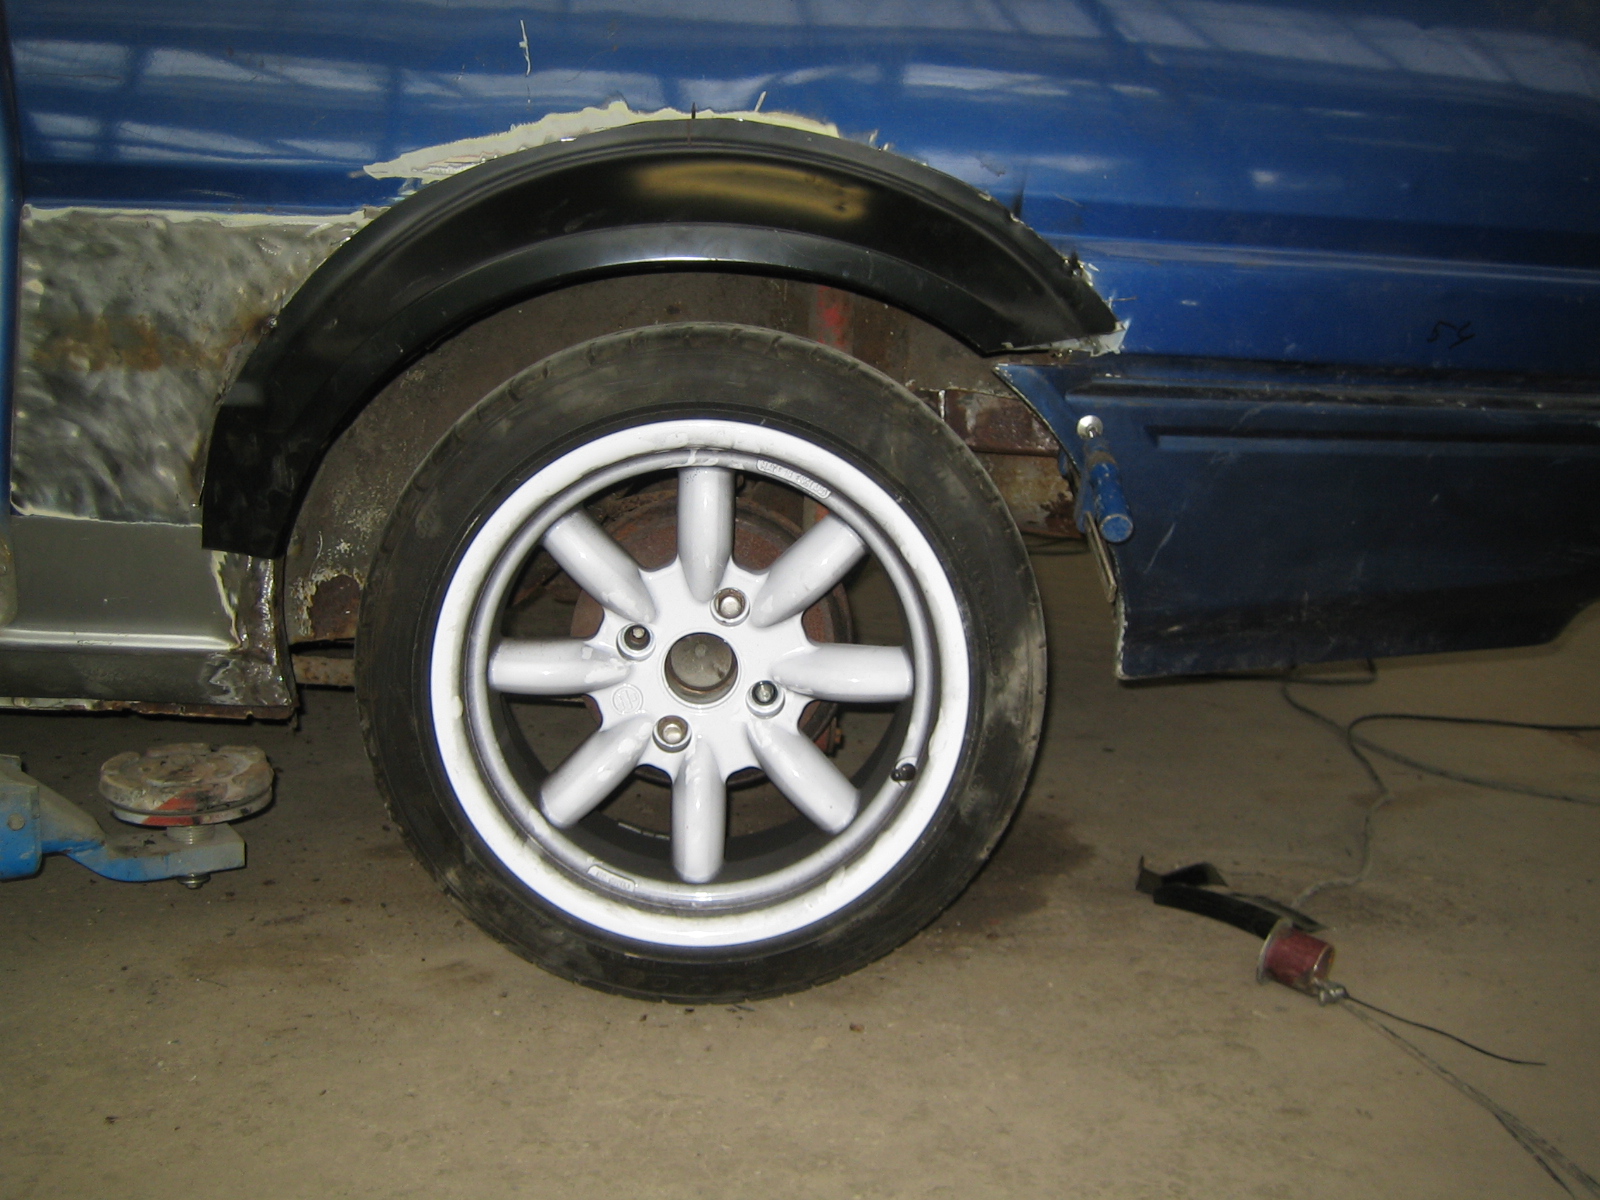
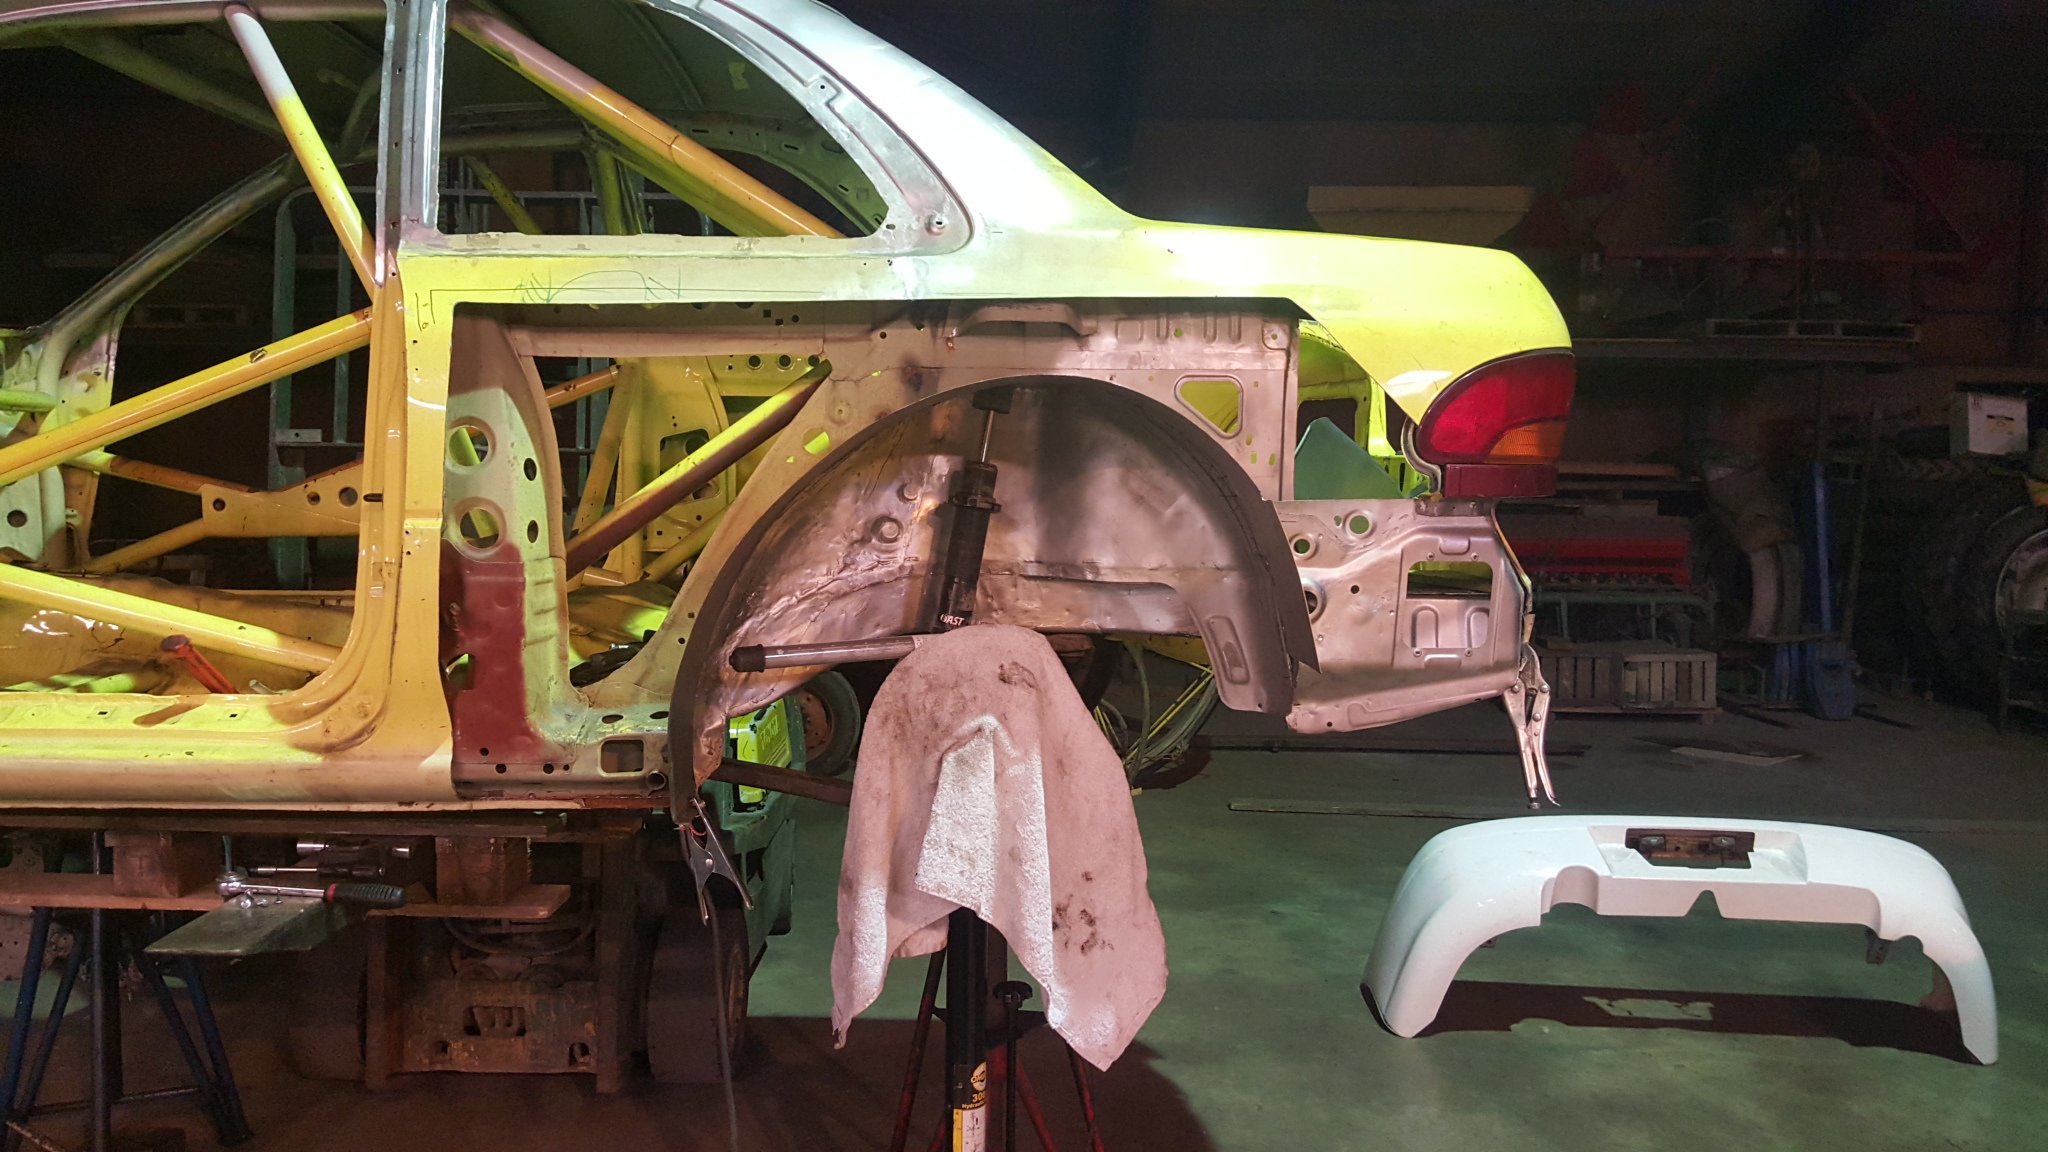
With the fenders and new wheels:
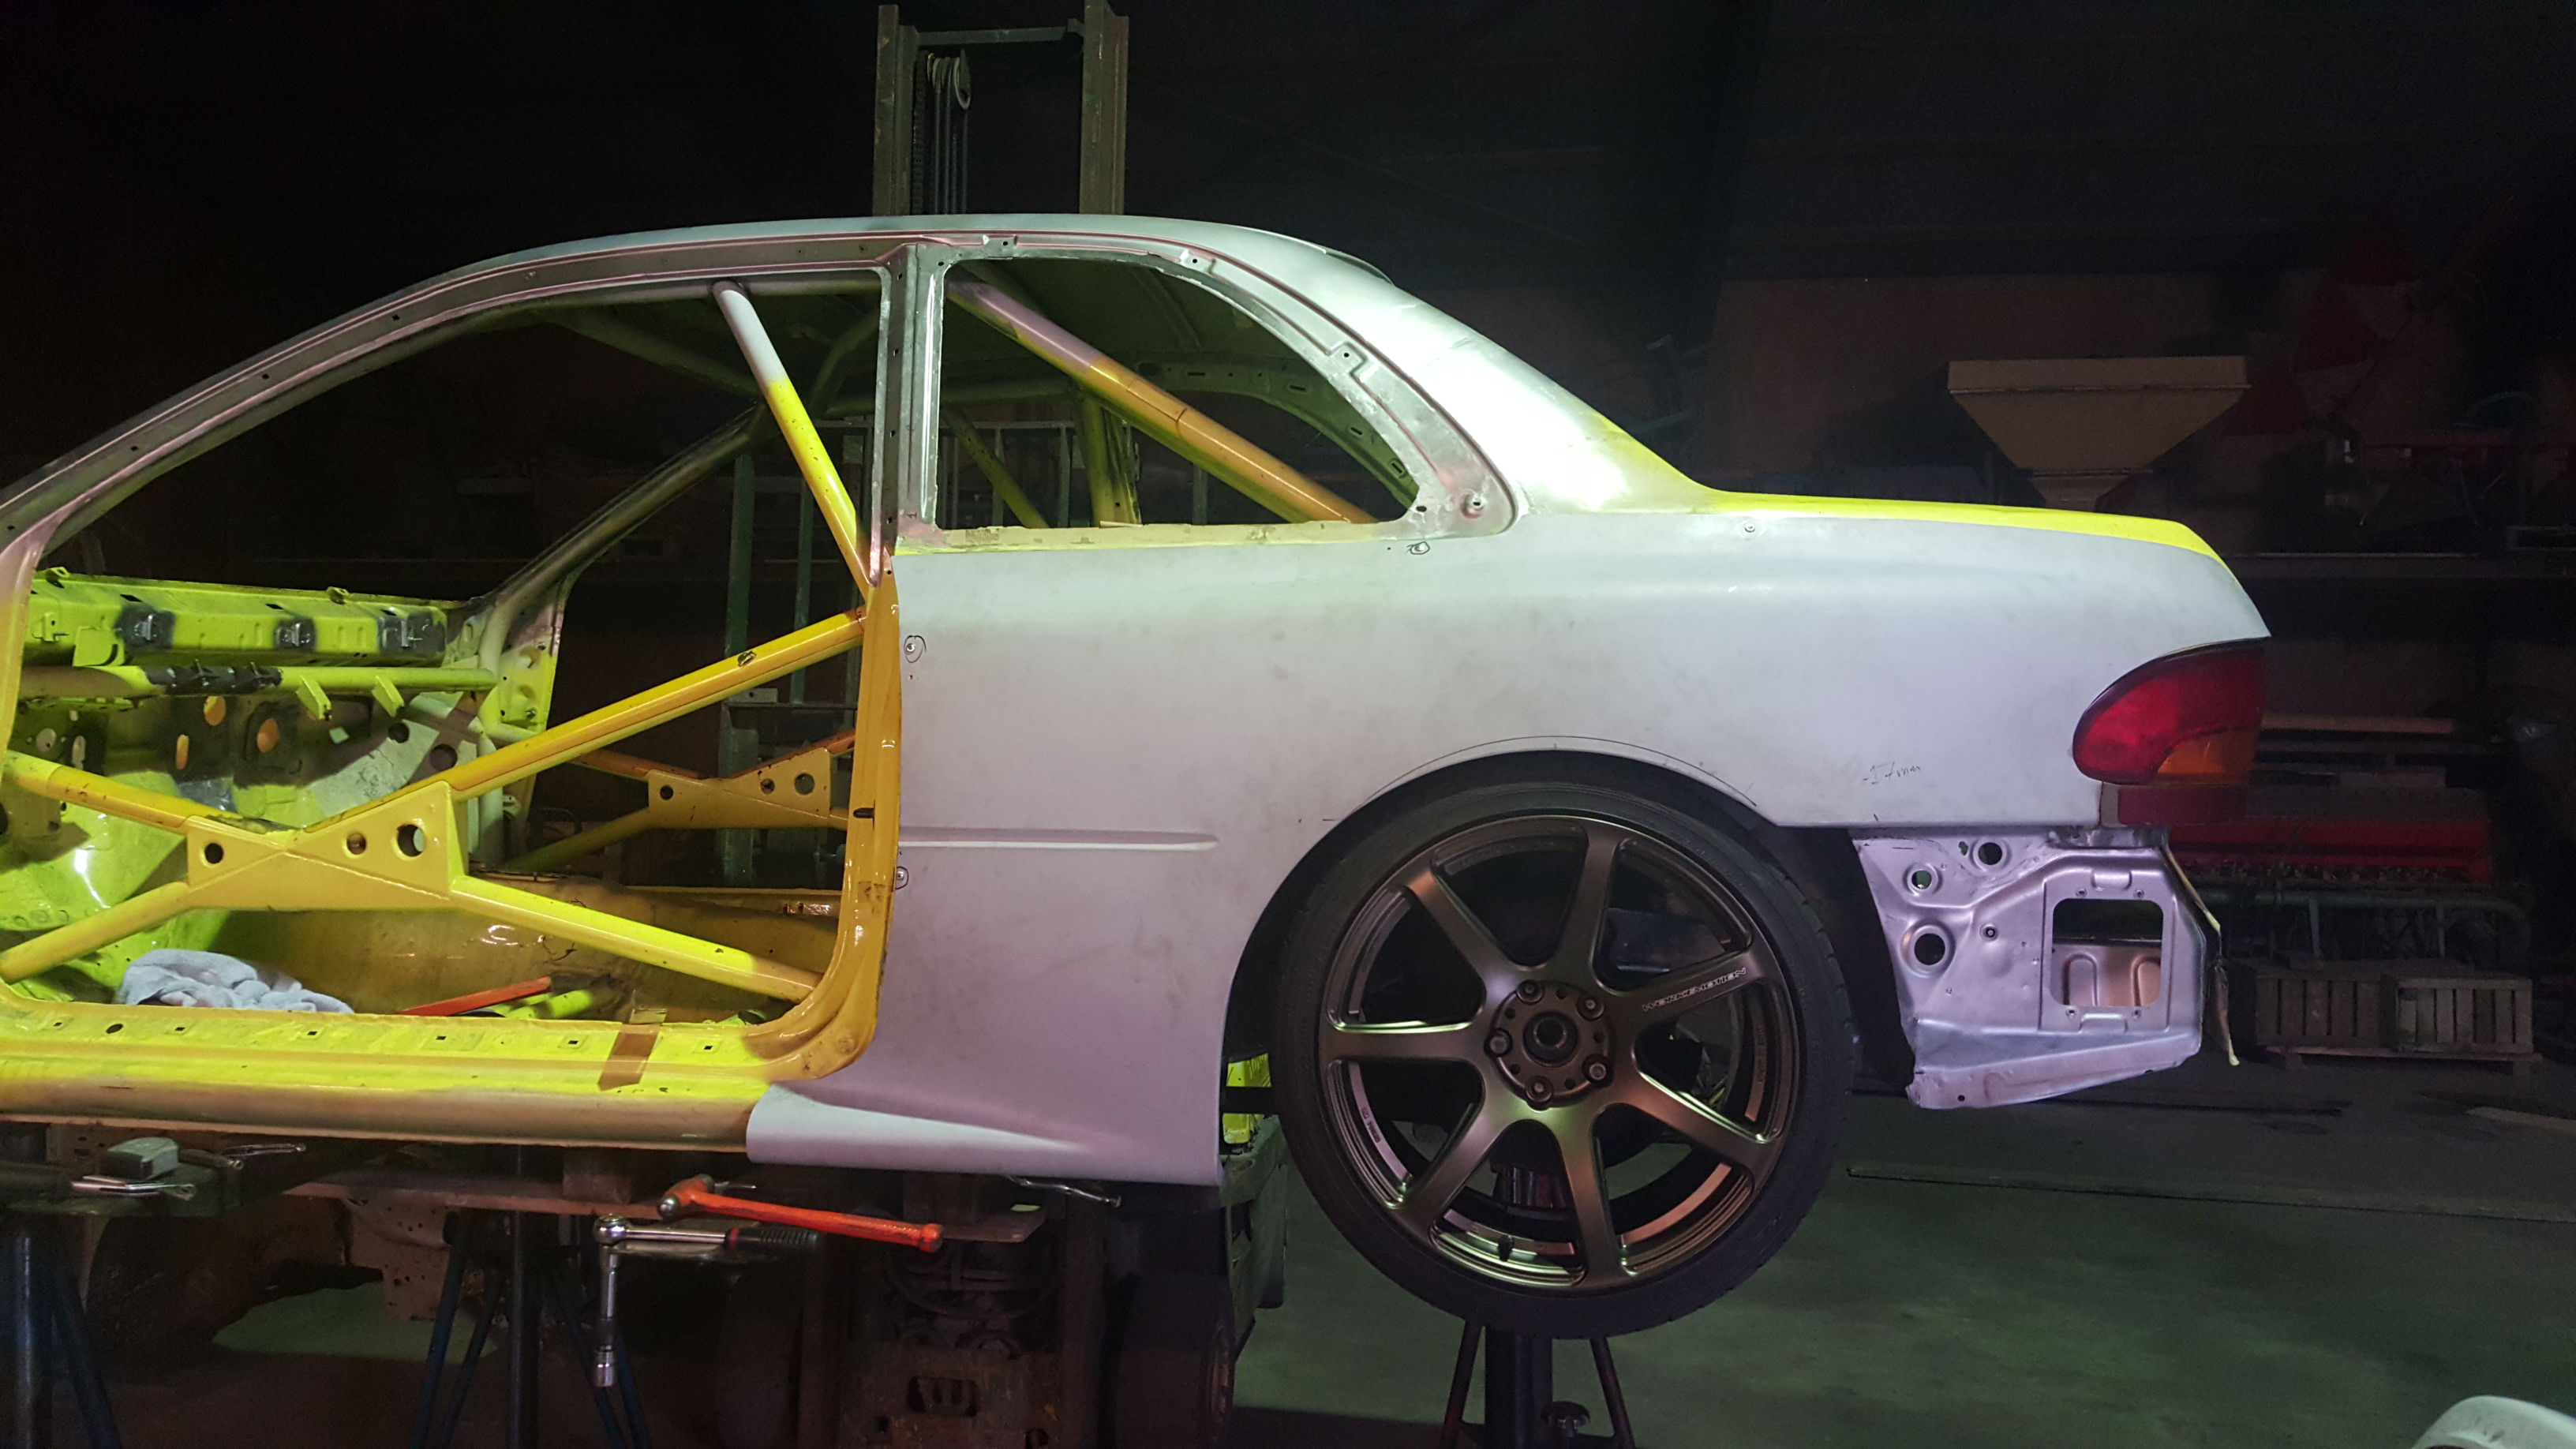
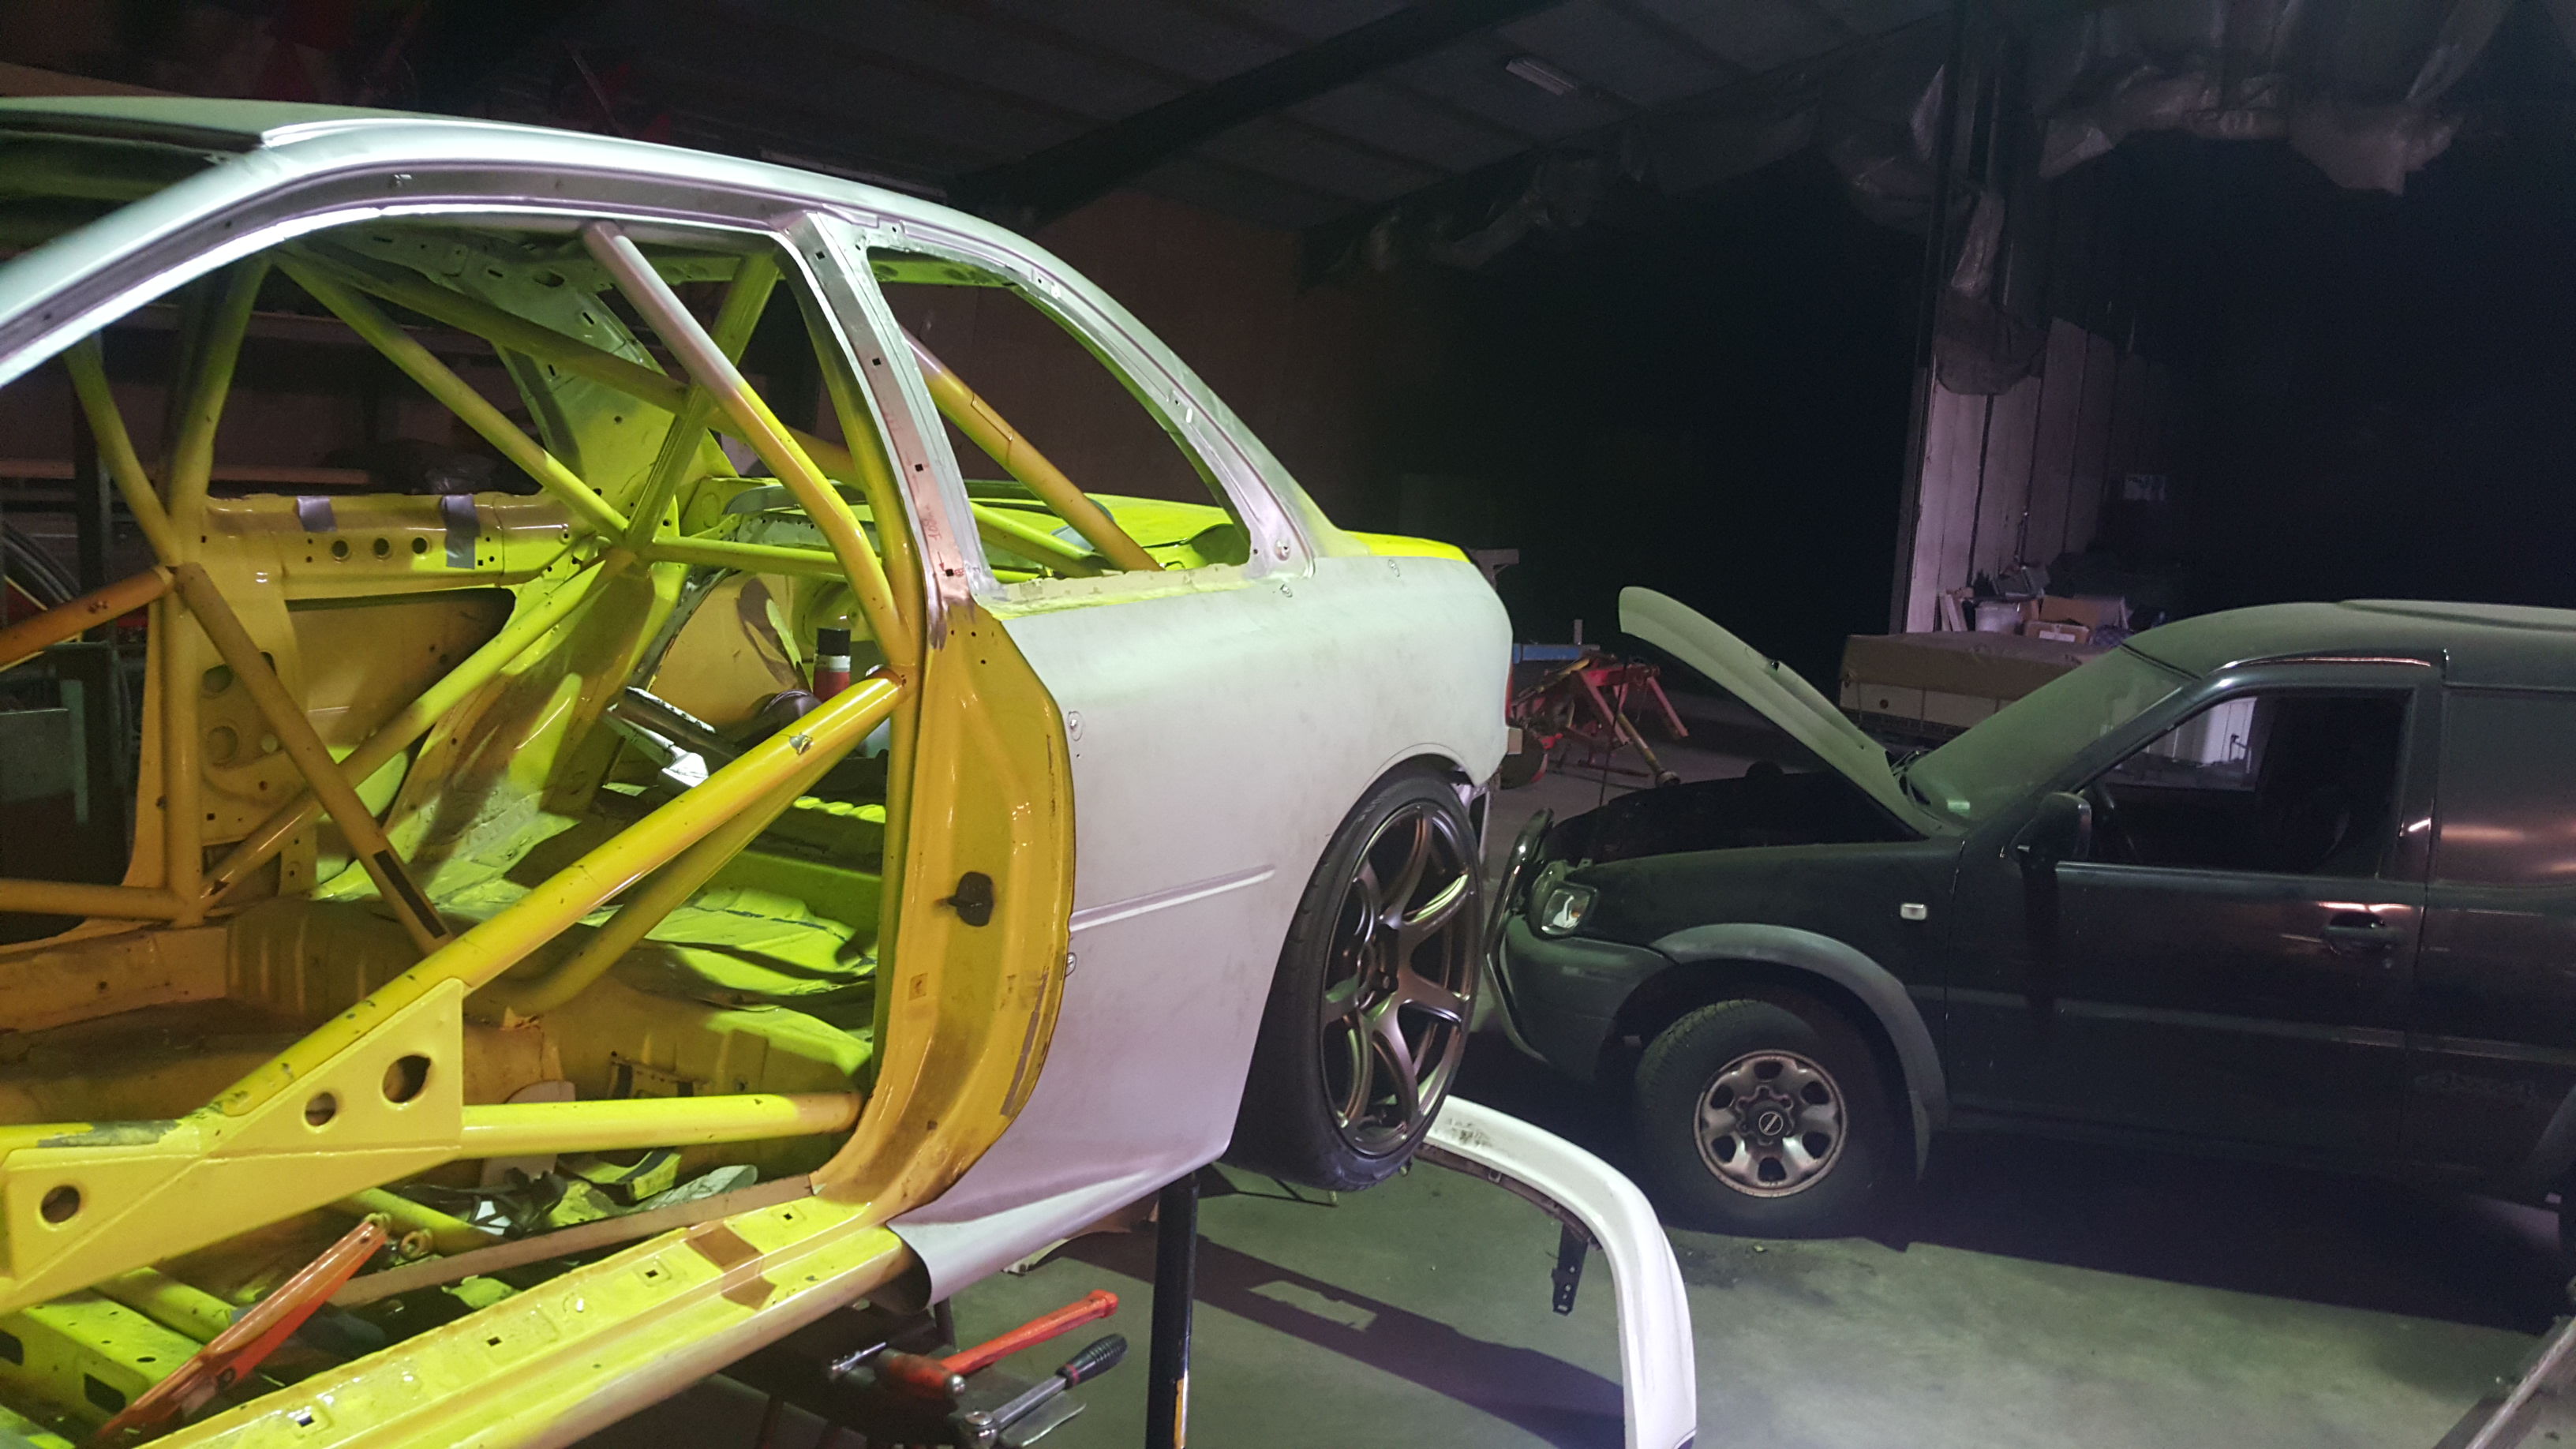

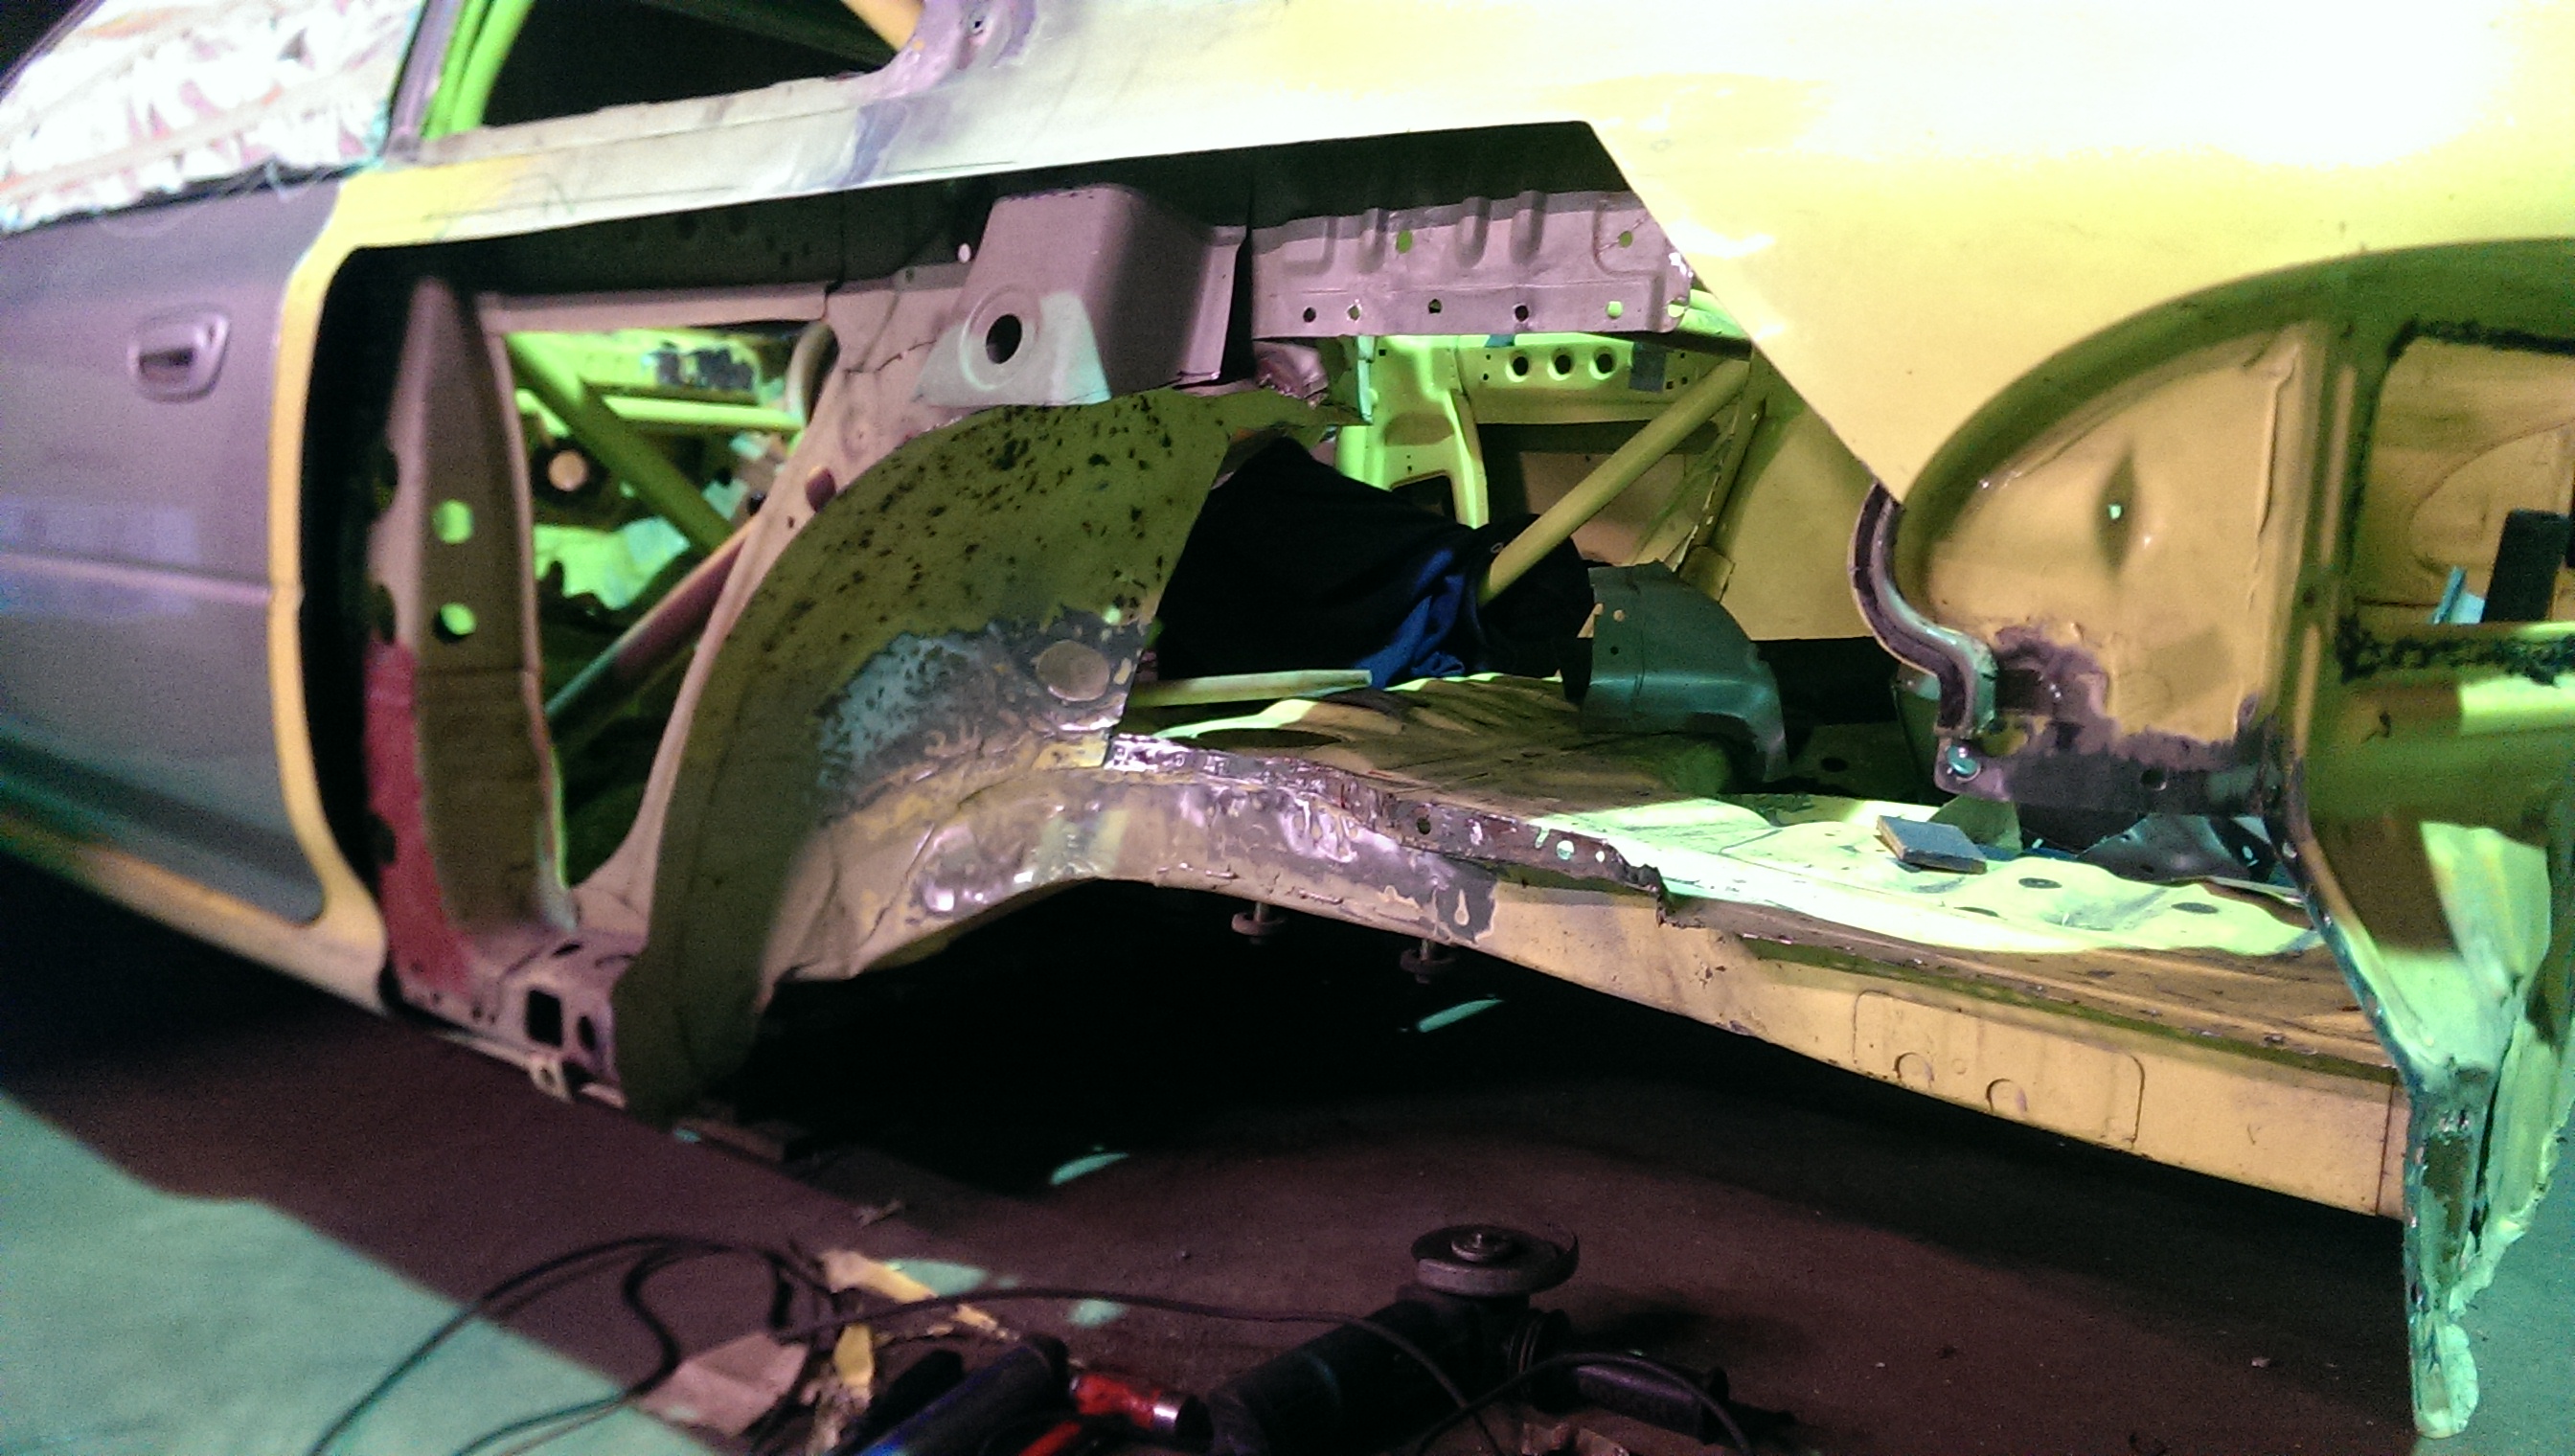
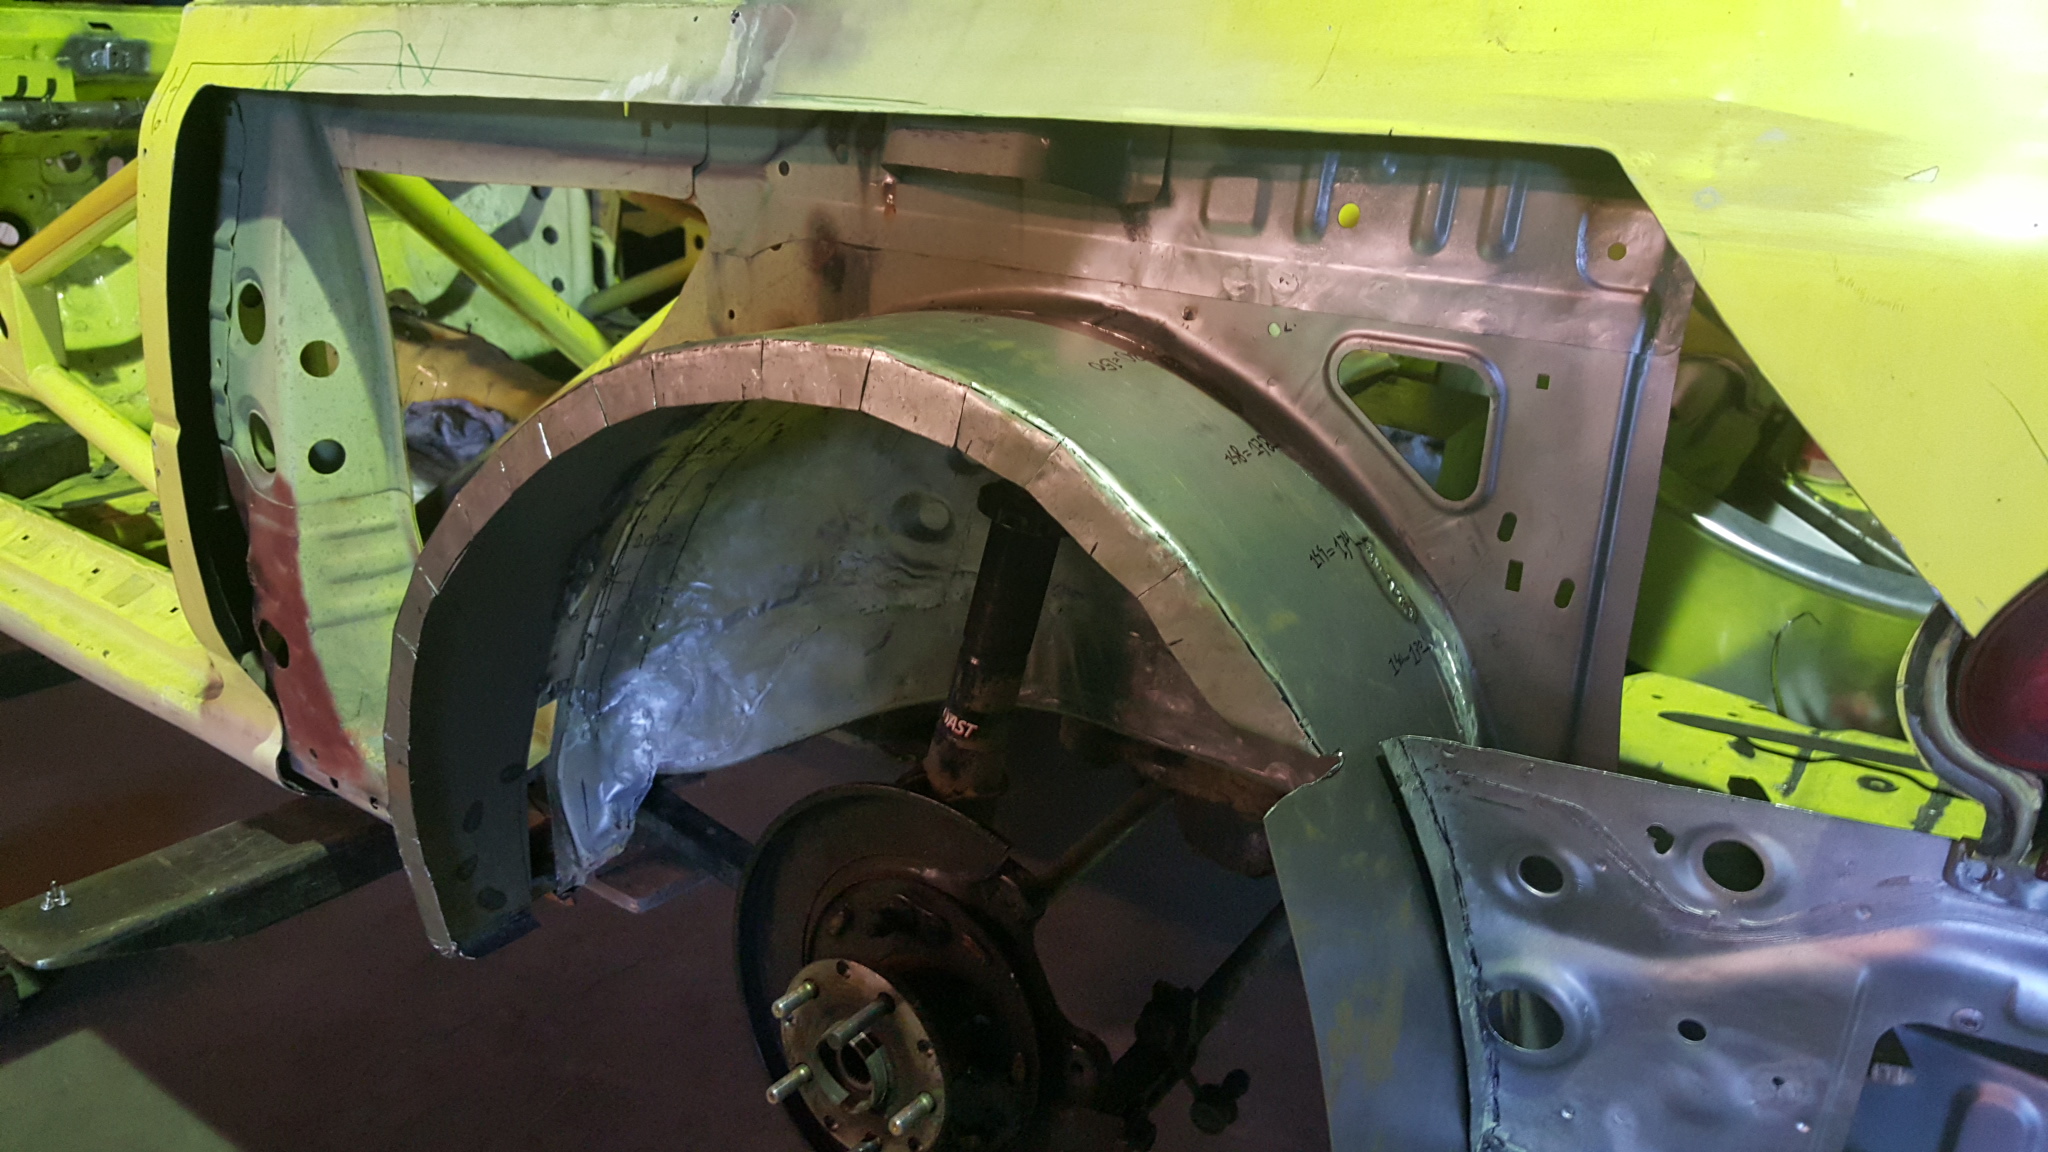
One thing I find odd is the shape of the arch, if you look at this picture it looks more like bent out of shape parabole than a nice circle, is that normal?
This is as high as the wheel will go in the arch before it hits the inner tub, with the wheel height I want I have max 60/65mm travel inwards.
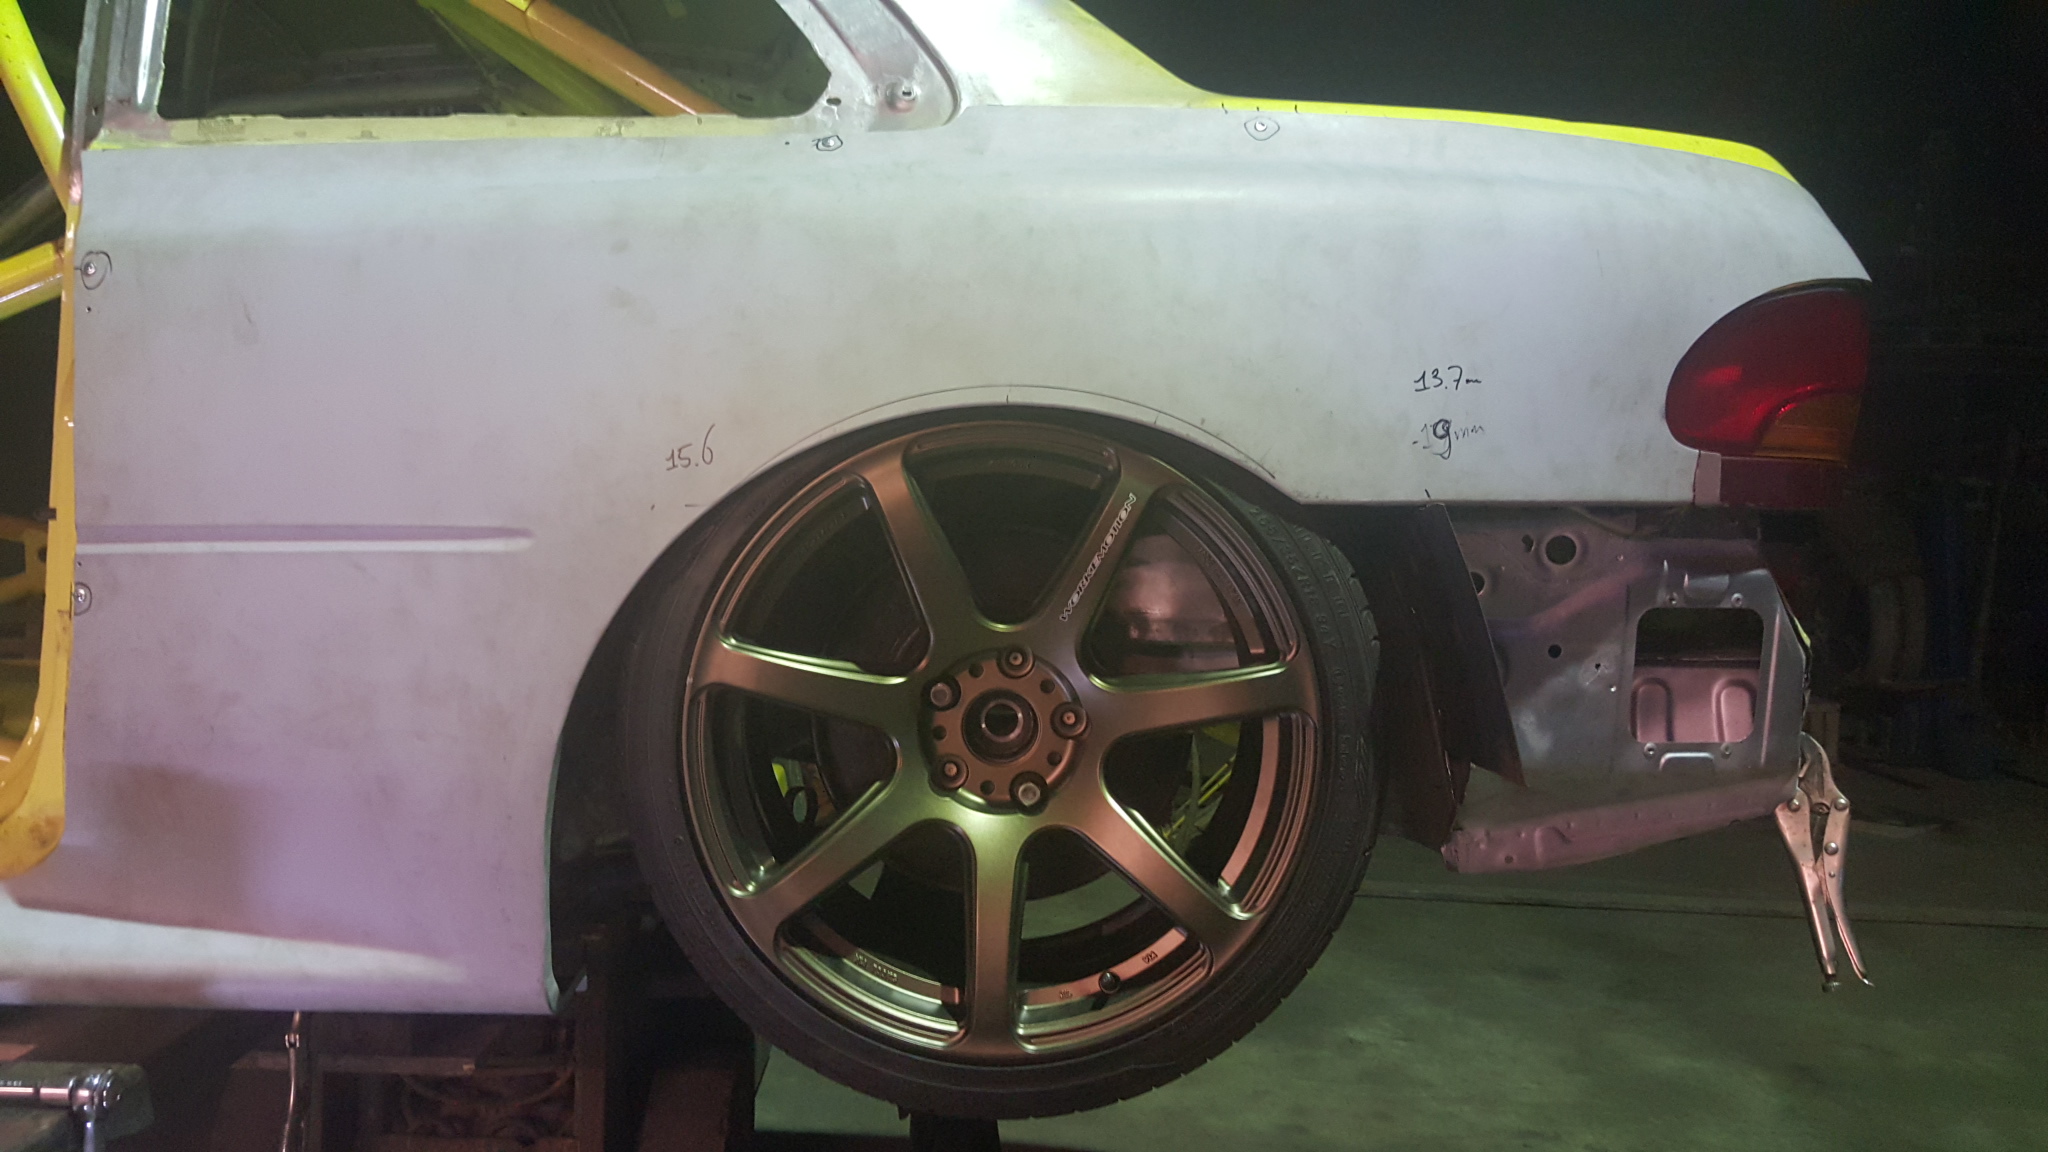
Not full droop but from the position the wheel will be when the car is on it's wheels.
Is this normal?
After wasting another year, let's pick it up again.
Replaced the rear left box section with the on from the silver spare chassis.


Why not put in some better bodywork aswell.


Then this arrived from kroatia:


And these from Japan:

So I started with the inner tubs:


I am not even close to beeing a pro at this so I am satisfied with how it turned out.
With the fenders and new wheels:


One thing I find odd is the shape of the arch, if you look at this picture it looks more like bent out of shape parabole than a nice circle, is that normal?
This is as high as the wheel will go in the arch before it hits the inner tub, with the wheel height I want I have max 60/65mm travel inwards.

Not full droop but from the position the wheel will be when the car is on it's wheels.
Is this normal?

