When you click on links to various merchants on this site and make a purchase, this can result in this site earning a commission. Affiliate programs and affiliations include, but are not limited to, the eBay Partner Network.
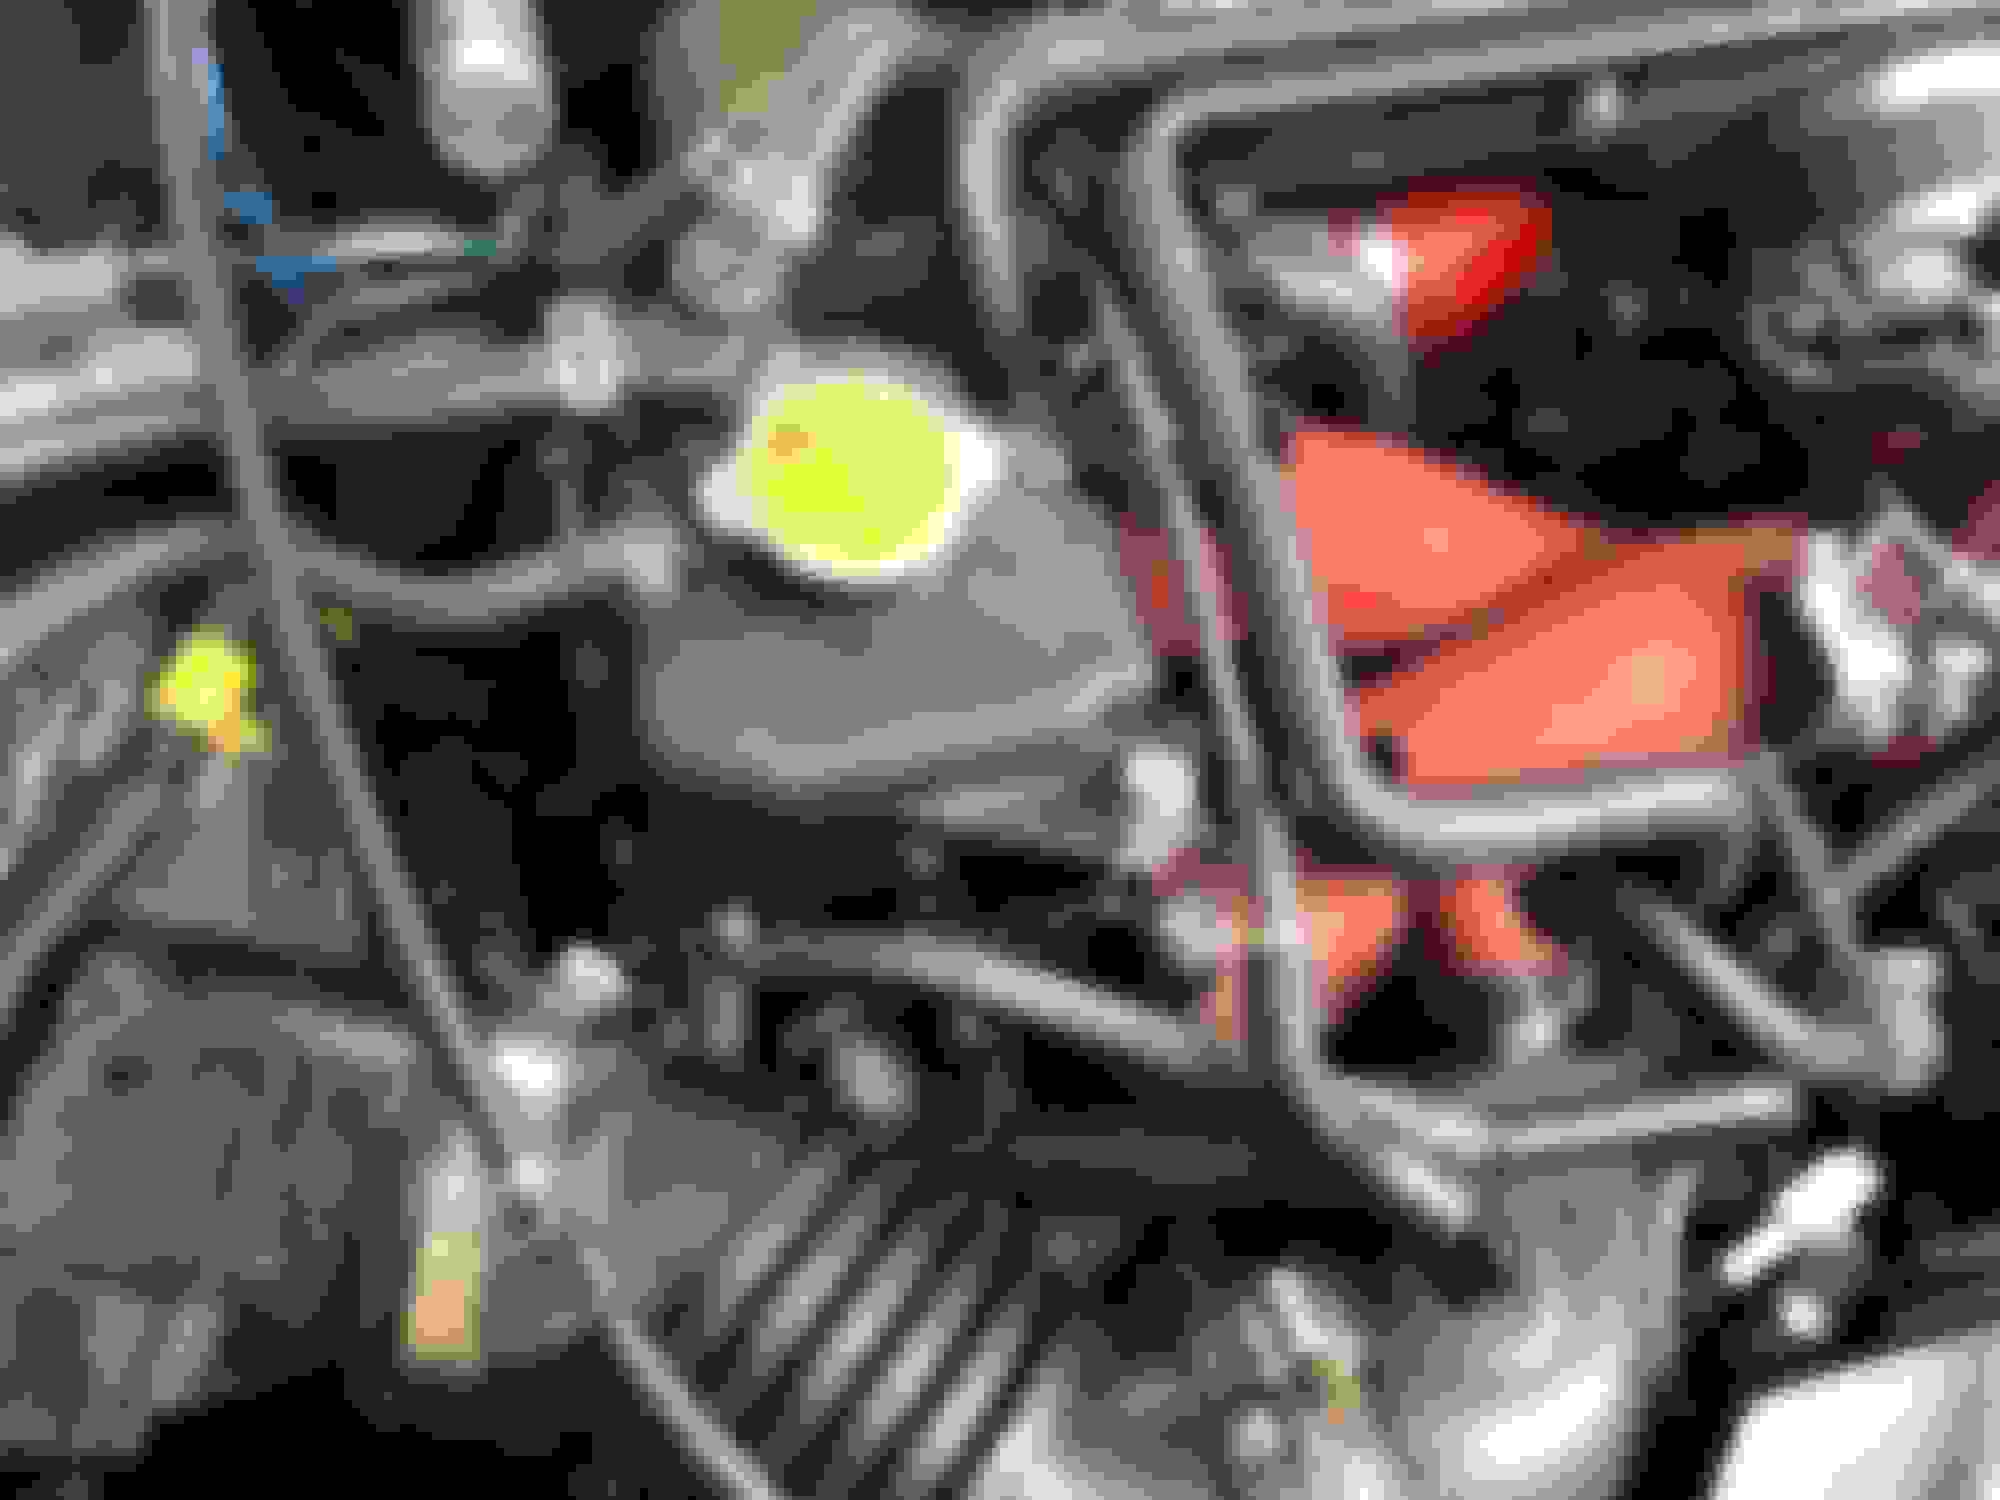
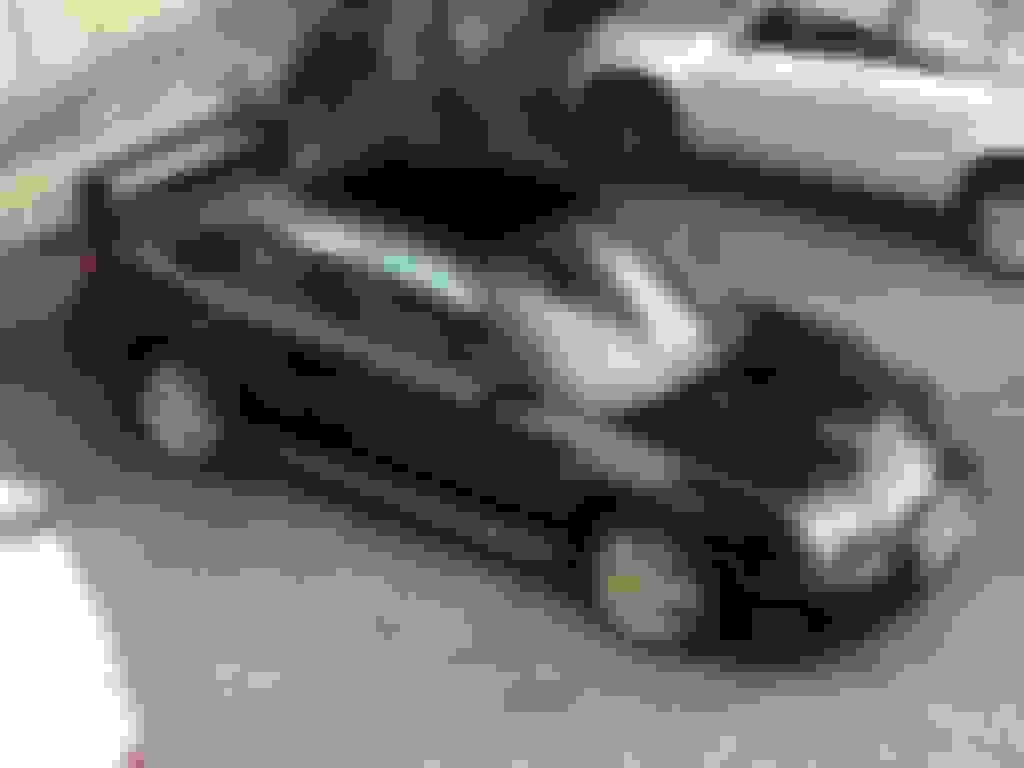
So that's it all back together, fresh oil & filter & believe it or not pretty similar to how it was before , possibly the only noticeable difference is the painted windscreen wipers...
Oh well, its been a bonding experience . Thinking out loud here, but I have one hang up with this car, don't get me wrong it's great & I can't think of anything else (I could afford) that I'd rather be driving...
But there are so many mods I want to do to it
Monster service at 100,000 miles:
Compression test - For peace of mind (or not )
Engine oil & filter
Cam & auxiliary belts & idlers
Spark plugs
Air filter
Fuel filter
Front & rear diff oil
Gear box oil
Oil pump
Water pump
Coolant flush
Power Steering fluid
Clutch fluid
Braided brake hoses & caliper clean
Basically anything serviceable, it only hits 100K once & with it being a nice round number overhauling it seems logical - Can anyone spot anything I missed of that list? Valve clearances maybe?
Then when that's done chuck a few grand at it to fine tune it all
Chassis Parts Shopping list:
Eibach Lowering Springs (gone off the coilovers as of the cost)
WhiteLine Front Strut Brace (to be powder coated black)
WhiteLine Front & Rear Anti Roll Bars & Drop Links
WhiteLine Heavy Duty Rear ARB Mounts
Whiteline Anti-Lift Kit
Whiteline Heavy Duty Steering Rack Mounts
Super-Pro Gear Linkage Bush
Engine Shizzle:
IAG Air Oil separator (AOS)
Moroso uprated oil pickup
Dyno run (to see where it's at)
Less restrictive back box - Genome would be nice or maybe Hayward & Scott angled 2.5" back box (I'll keep the ProDrive 2.5" resonated centre section)
TGV Delete (one way or the other)
Inlet manifold either power coated or ceramic coated black
Custom remap (& new dyno chart for before & after comparison)
Bits & Pieces:
Front lip splitter
Perrin wing stabilisers x2
Rear diffuser
Rear & side window tints & top tint
Tegiwa brake stopper - Blue? WTF? + Powdercoating
Scoobyworld Black STI floor mats
Some decent tyres are on the list but I am classing those as consumables, not modifications
I am not keen on any form of induction kit / mod, too expensive for either equal or less performance than stock, I don't care for the noise & I want to keep it looking original(ish) under the bonnet.
A Grimspeed top mount intercooler (black obviously) & their y-piece & splitter would be nice as well as a turbo blanket to prevent heat soak (doesn't seem cost effective in relation to how much power it would gain though) - Unless I am wrong here.
Can anyone point me in the direction of anything else I should be looking at for basic engine tuning before getting it all setup & mapped?
Slowly warming towards the idea of a FMIC provided it's:
A) Black
B) The core takes up the whole recess in the bumper, for a clean uniformed look.
So much for stock looking, but in the grand scheme of things it seems a lot more straight forward than trying to preventing heat soak on the TMIC position.
I am I correct in assuming I can't run the standard air intake with a FMIC as the piping runs through its position into the wing?
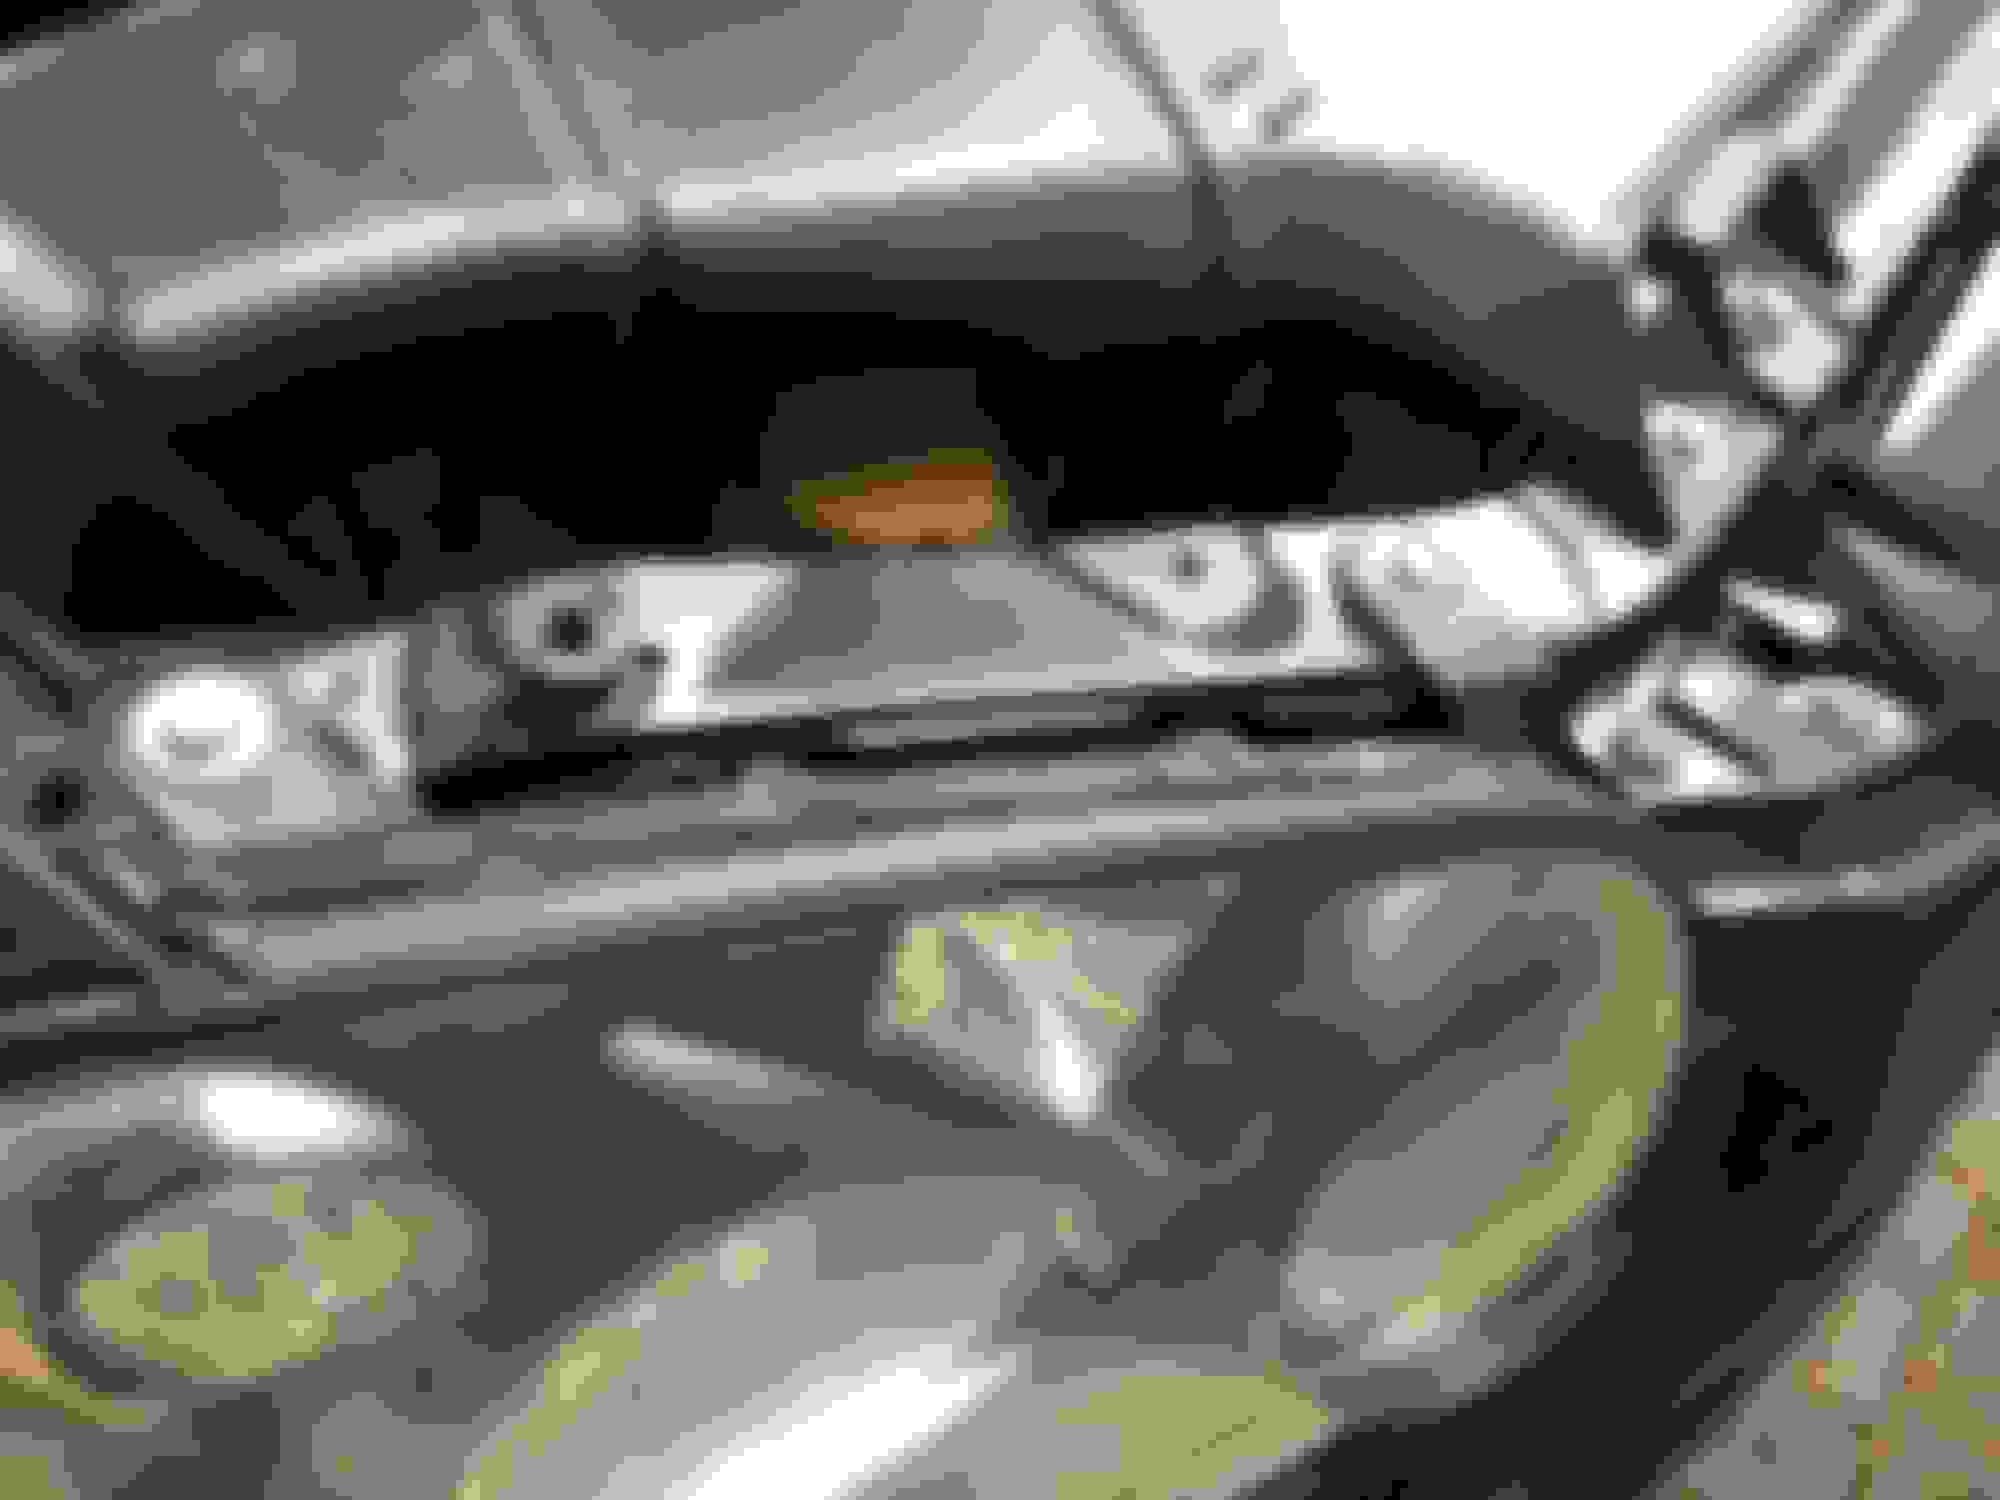
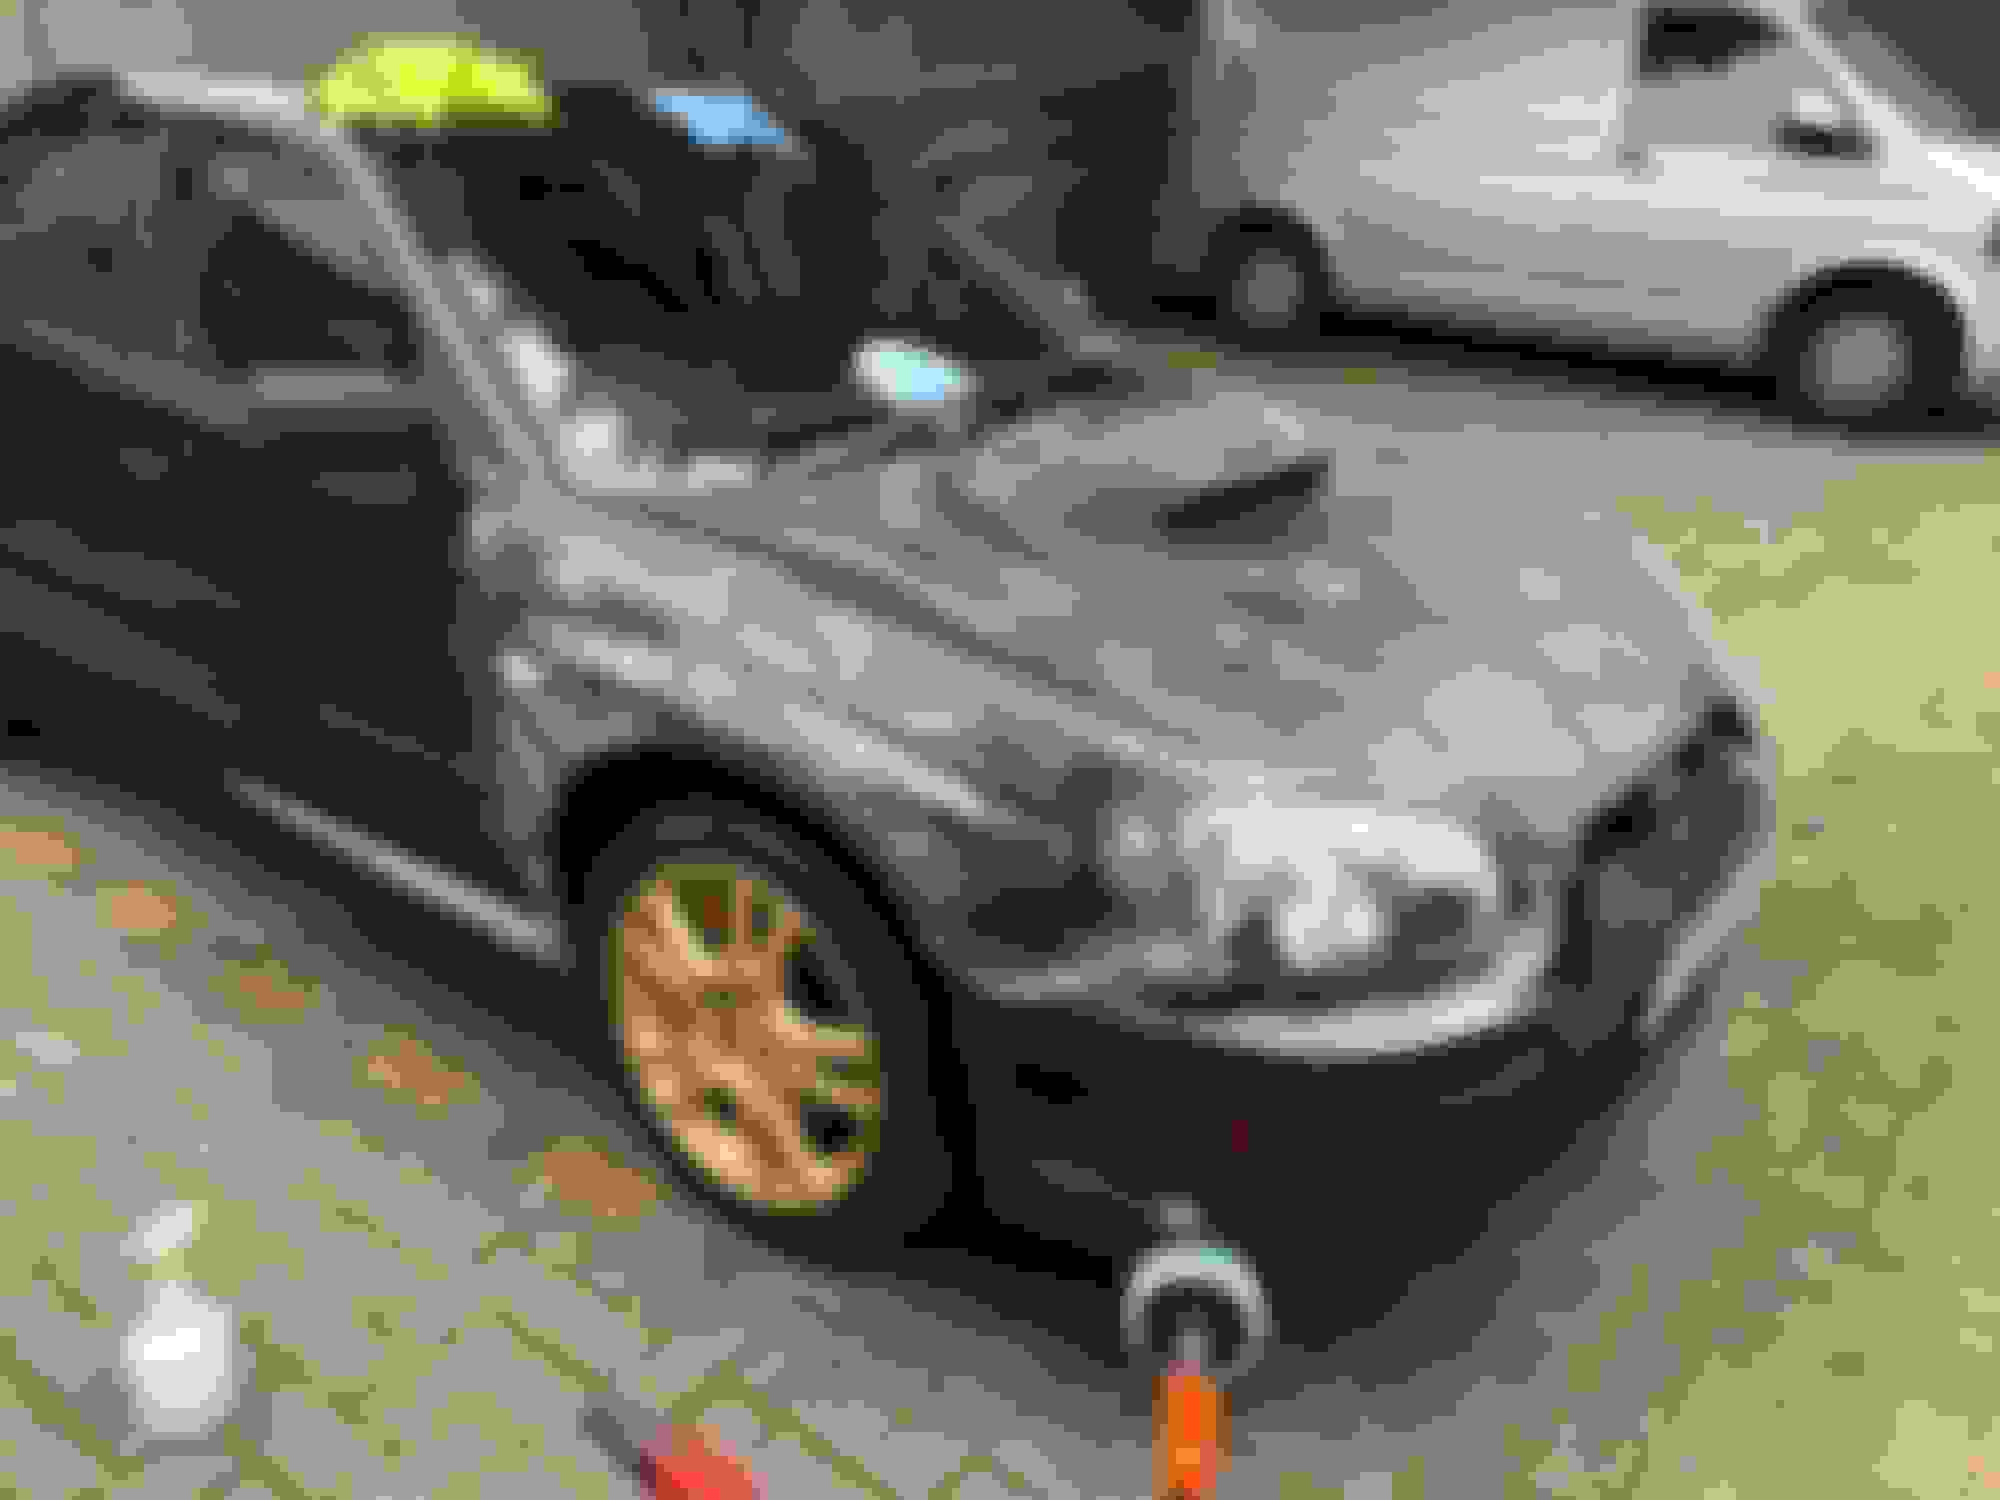
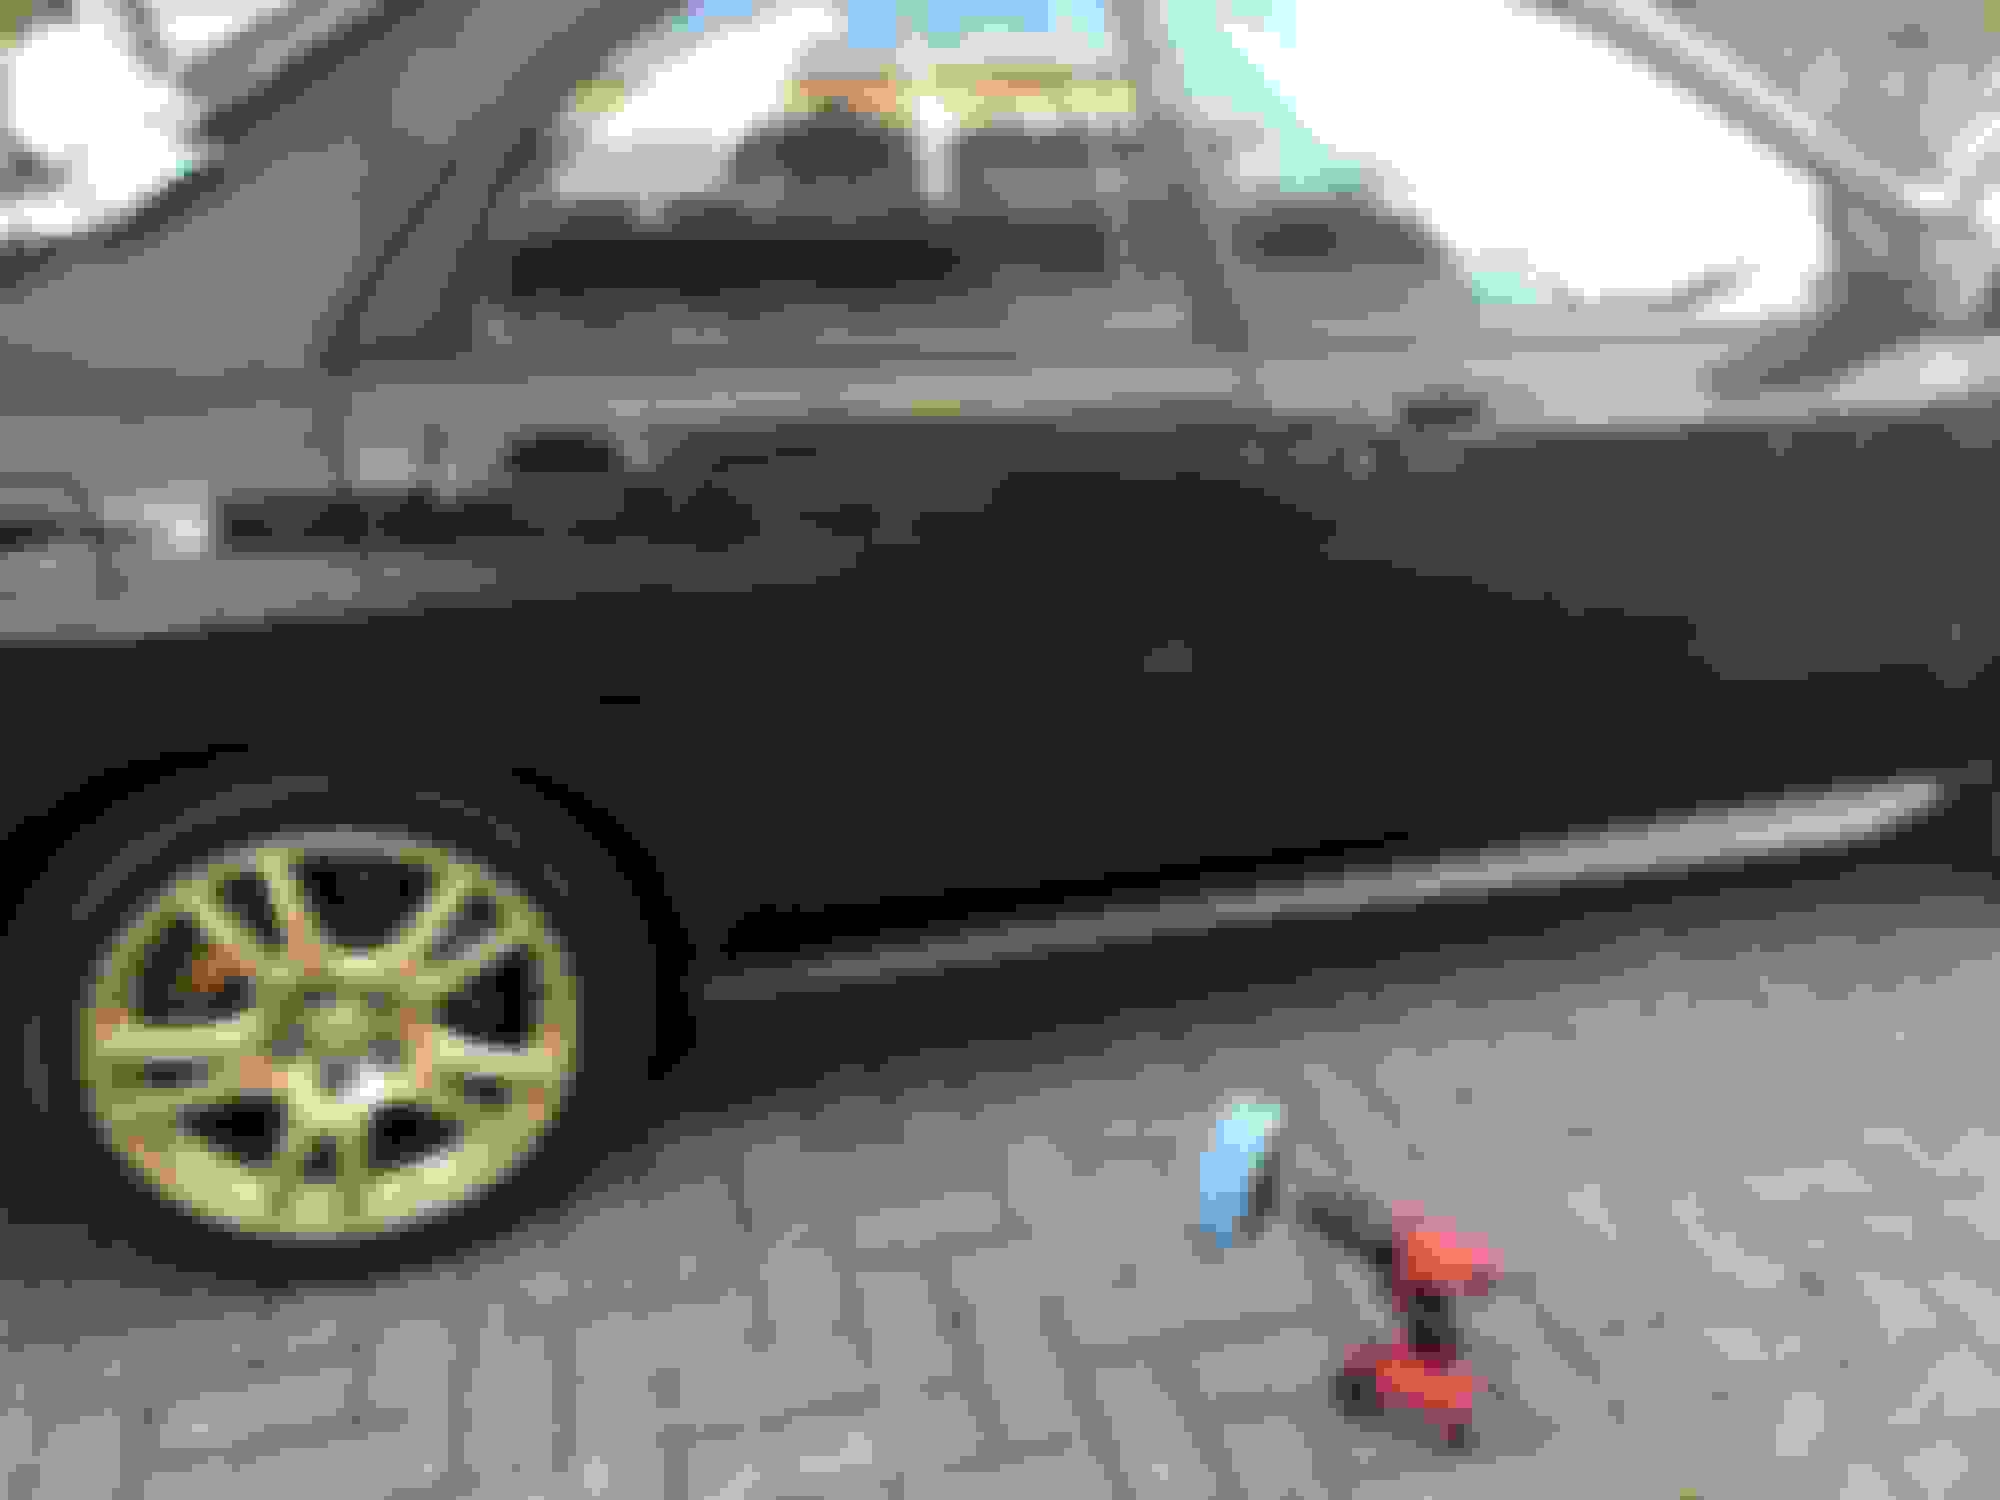
Sorted out one other thing that's been bothering me. The number-plates that came on it had this suspect 3D look carbon lettering, back to standard, back to subtle
Boring but whatever, The plan was always detail the paint, correct it & wax it from the day I got the car but that never happened. Now it's cooler out & I've had it the kit on the boot since the week I got it game on
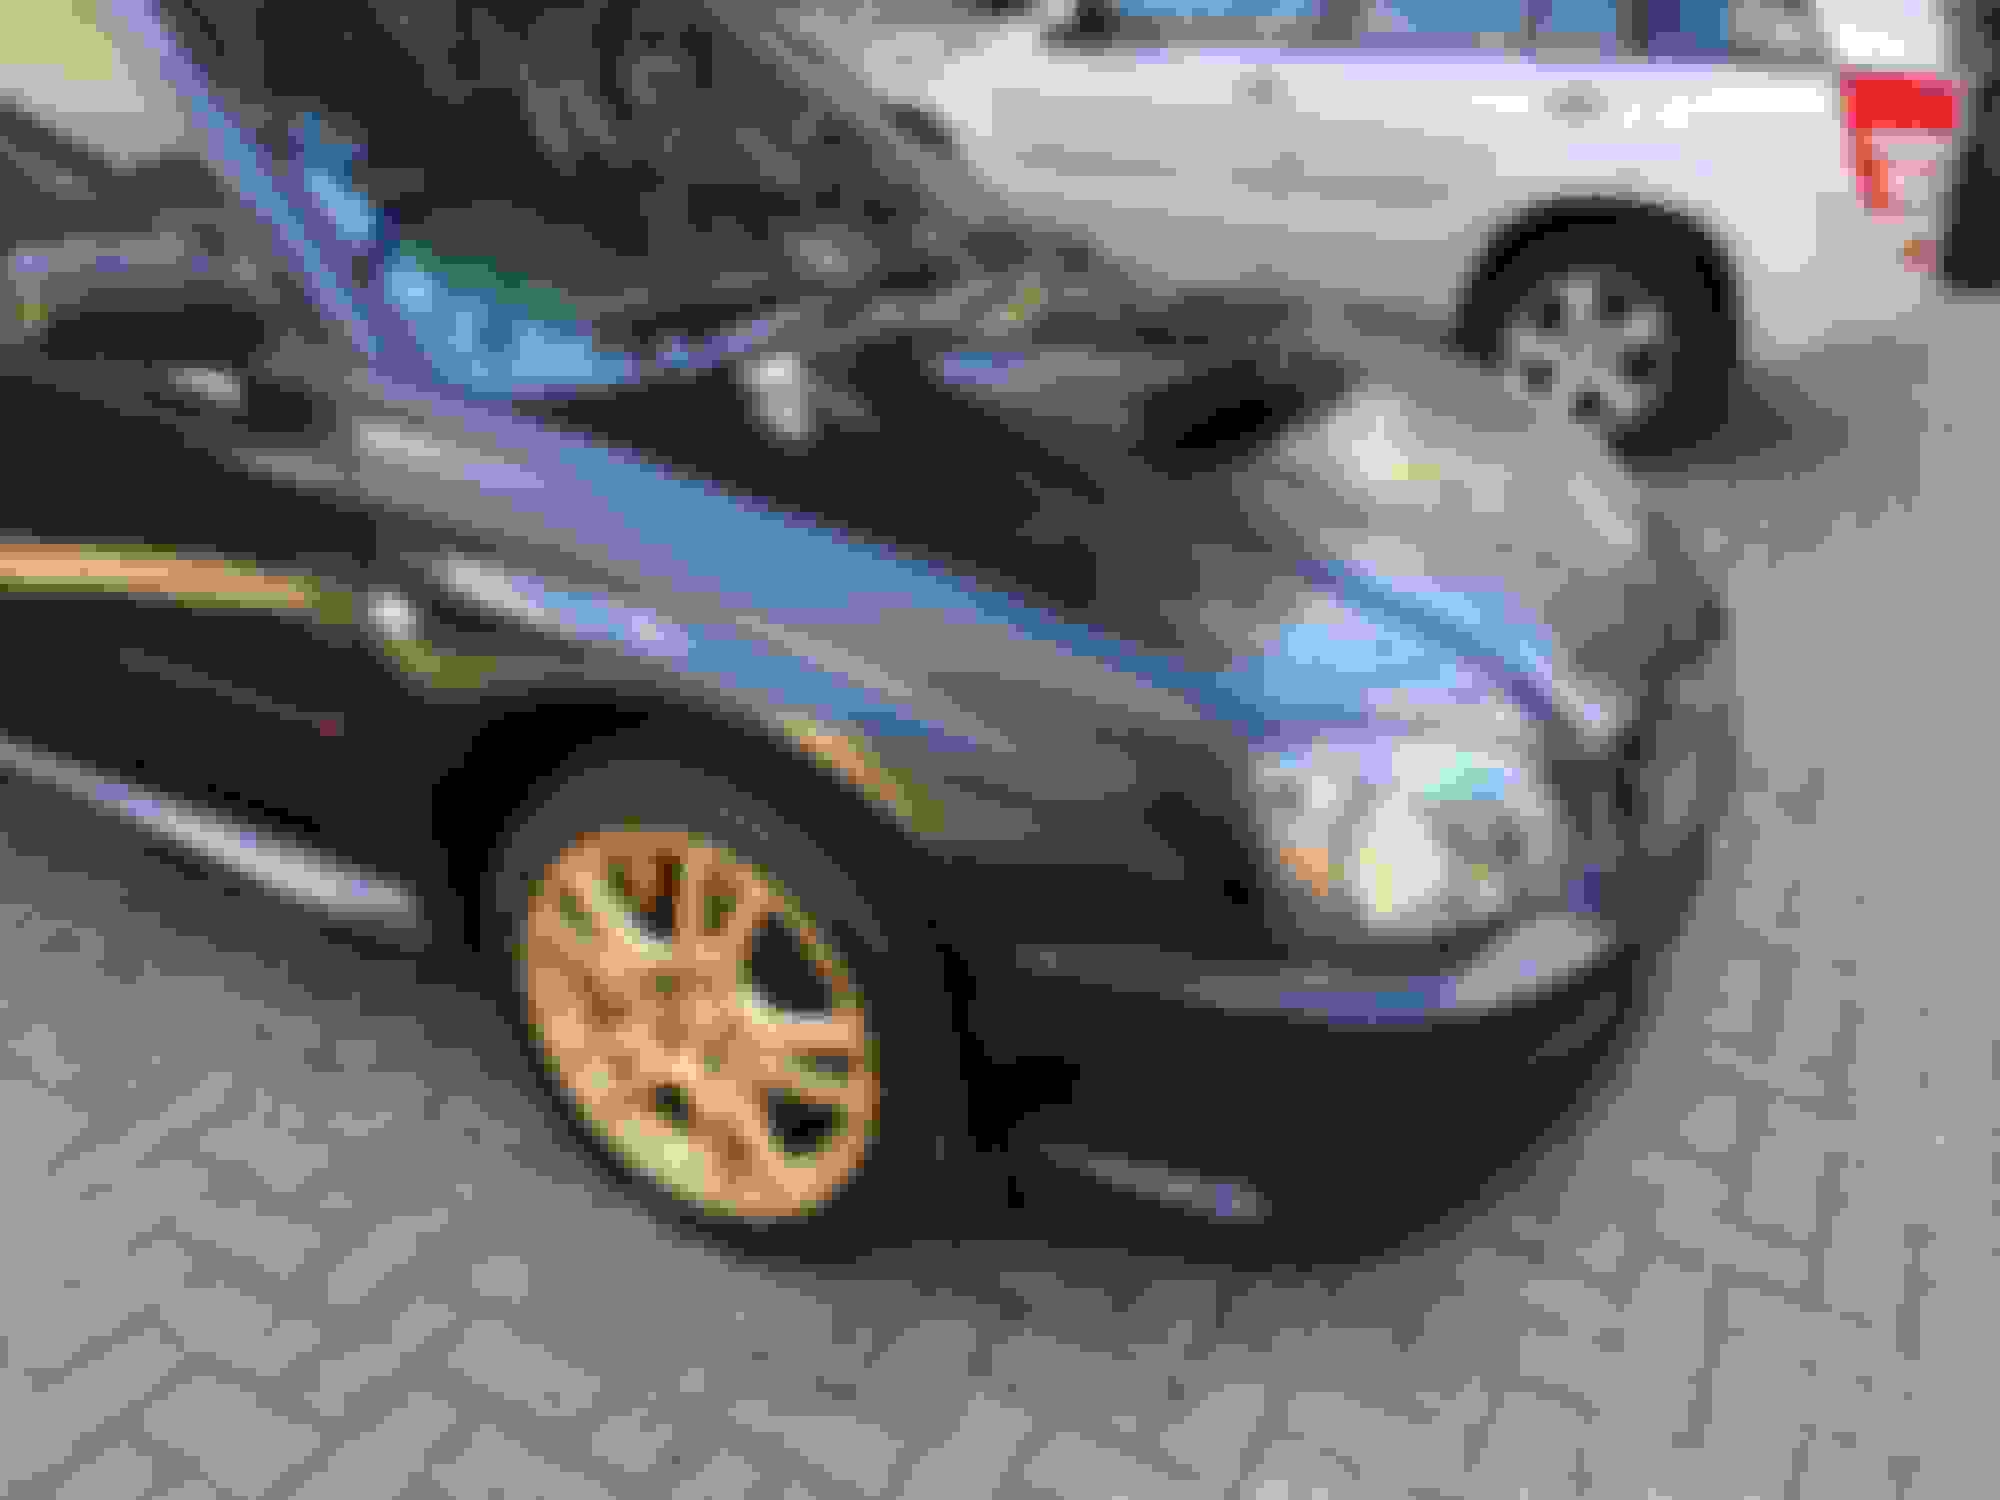
My wings weren't smooth to touch (probably over-spray from under the bonnet) so I had a brainwave. Two rounds of rubbing compound...
Then a round of polish...
And another..
And several more, probably 5-6 across the wings & bonnet & one on the front bumper so far...
Closely followed by doing a pass on the rest of the car...
New wiper blades because awesome & a lambswool buffing pad...
So a second round of polish on the rest of the car, then final buff on the lambswool pad, clean the engine bay, jet wash it to get the polish out of the gaps, wash then, shampoo, then dry & finally wax it.
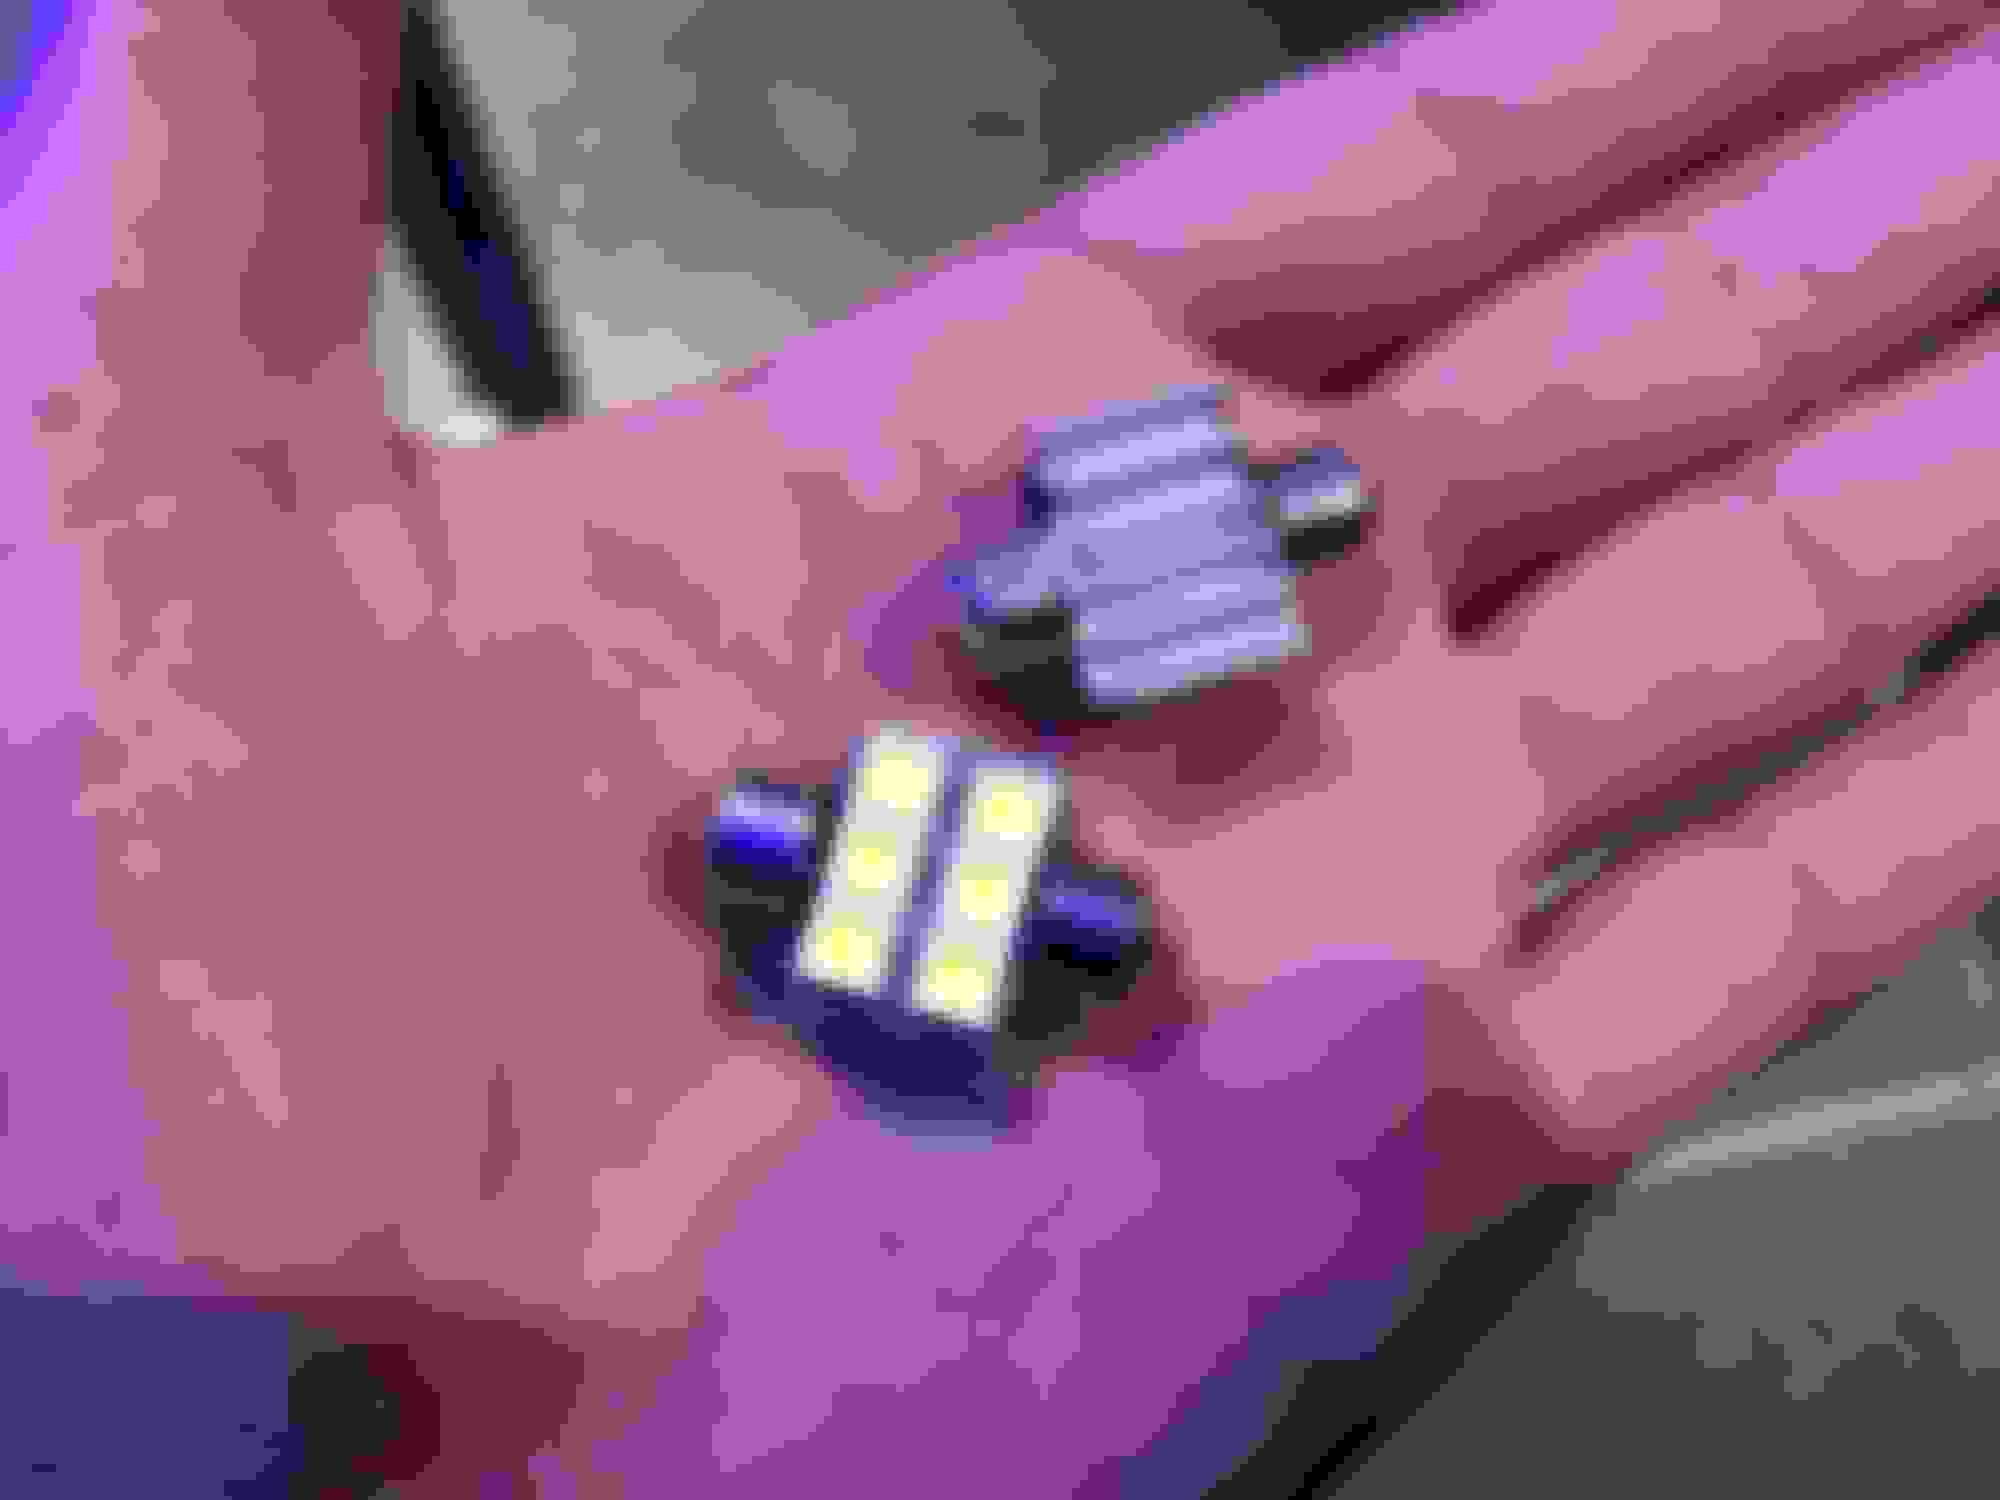
You'll need 3 in total, 1 for the main interior light & 1 each for the passenger & driver lights (or stick with the two & don't bother doing the passenger one).
In case you're not bored enough here's another update, stock HVAC bulb with a green condom on it on the left & a T3 blue LED that won't fit on the right ....
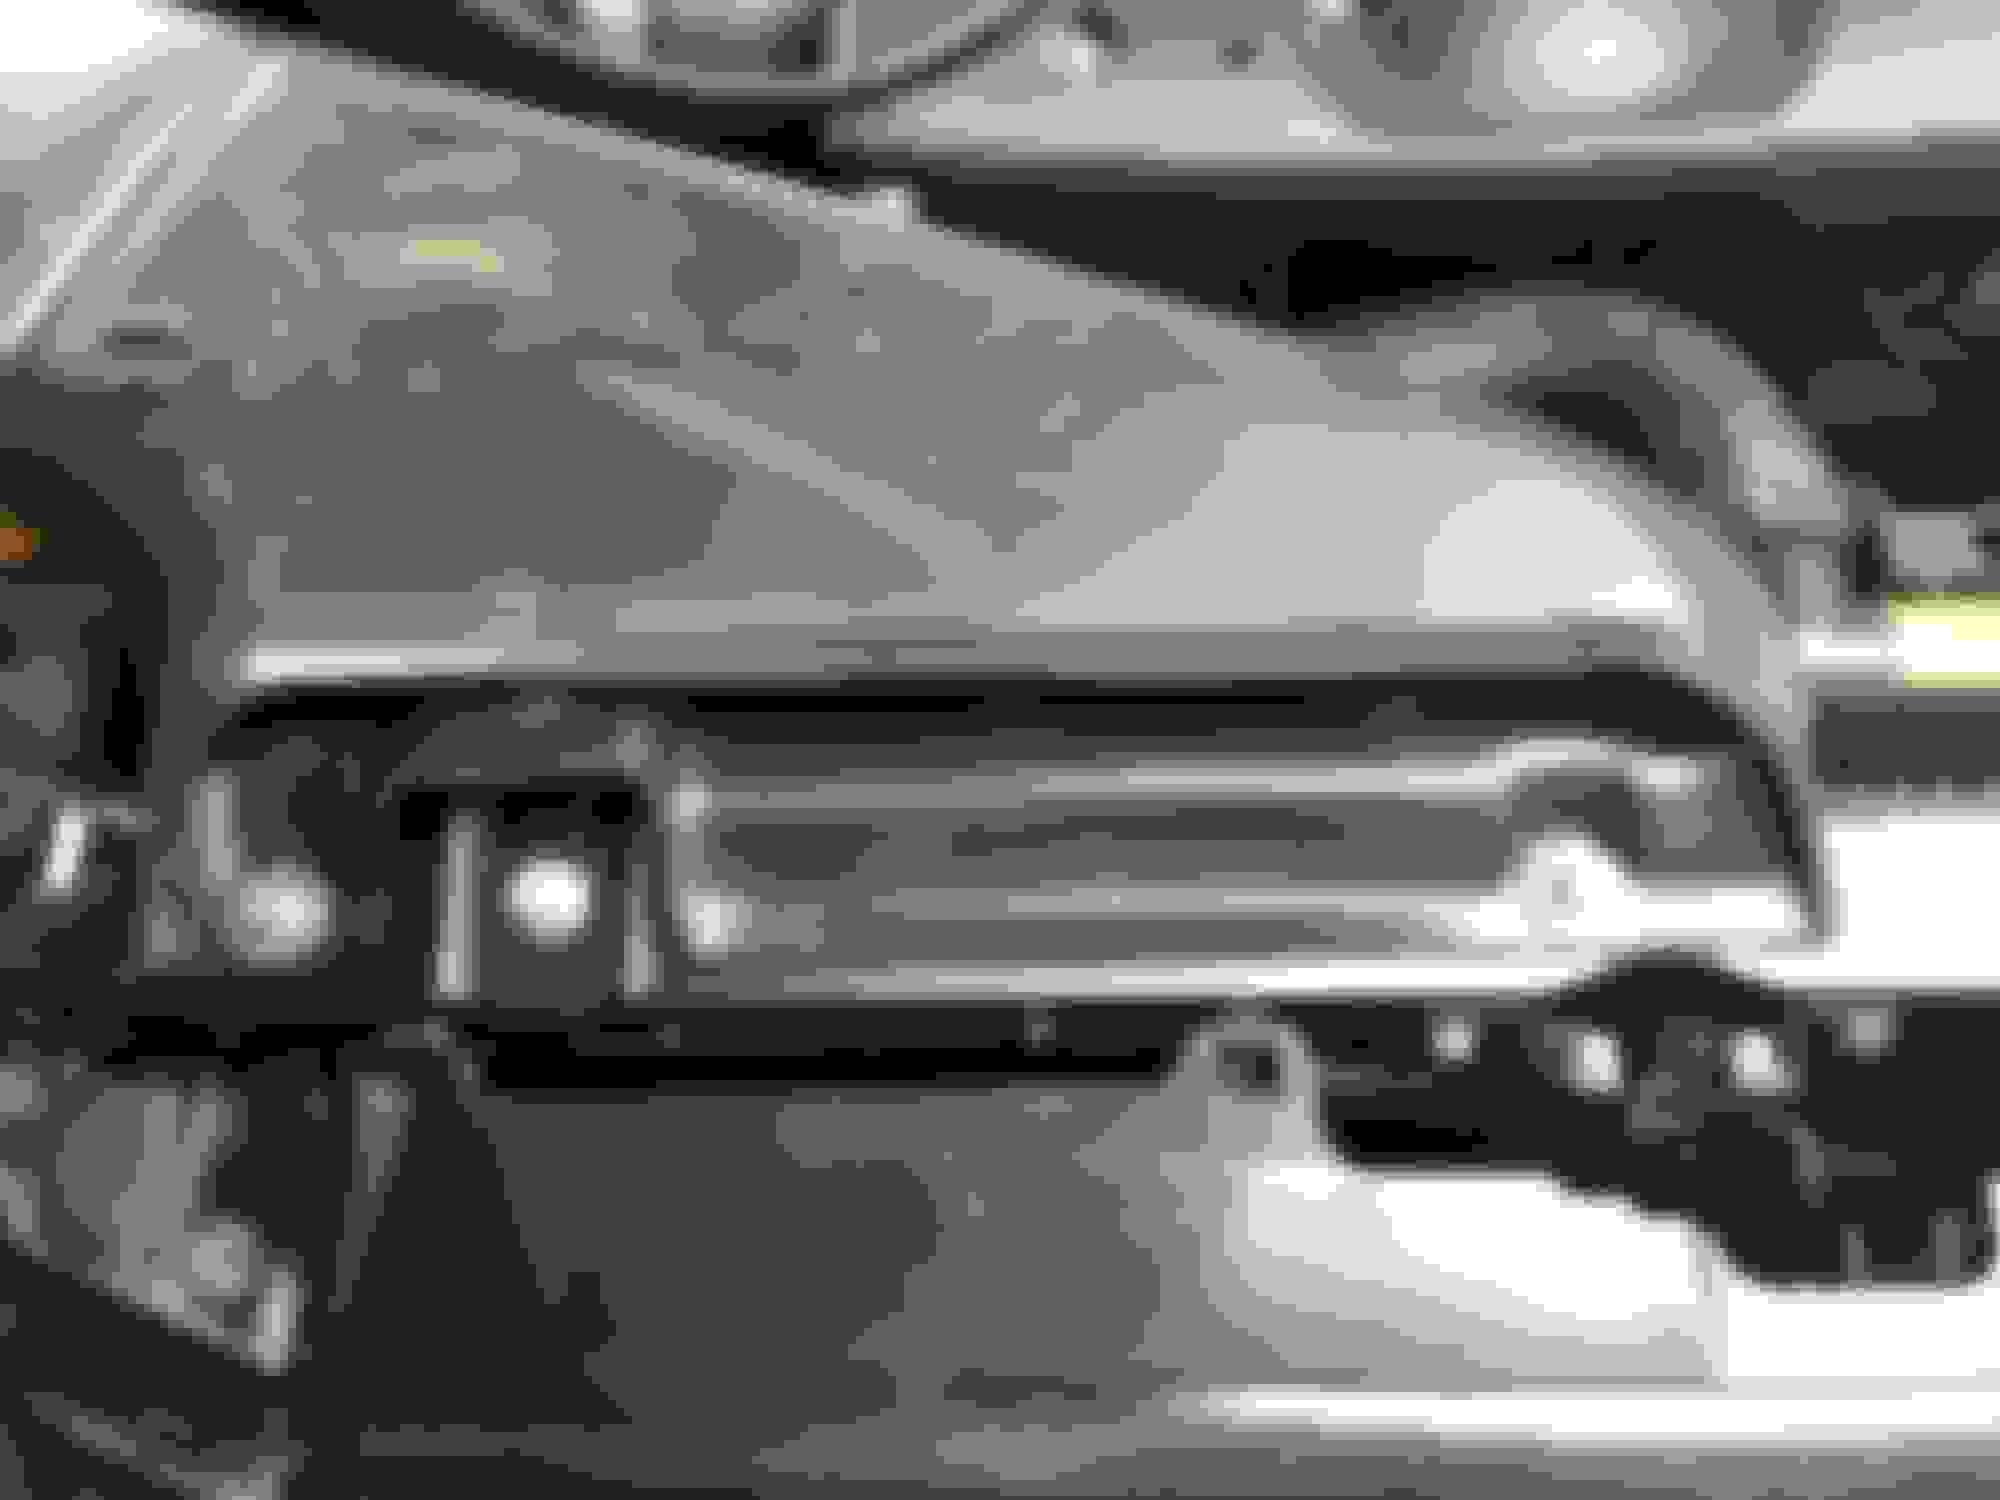
Whilst trying to clean all the splatters of polish out of the groves so I can finally do the waxing I've been aiming to do for the last 6 months, I decided these bother me....
The baffle is loose in my back box & I feel I've done an excellent job of resisting buying a Hayward & Scott angles Jap' backbox & not resonated centre section in preparation for getting a remap as it's a slippery slope...
The internal conflict of originally buying a clean original STI to keep stock & now wanting to mod the hell out of it, combined with the cost involved & no return on investment (as in resale value) is still eating my up inside
I am trying to put that off until it hits 100,000 miles & gets treated to a huge service so I know it's all tip-top before I cross over to the darkside.
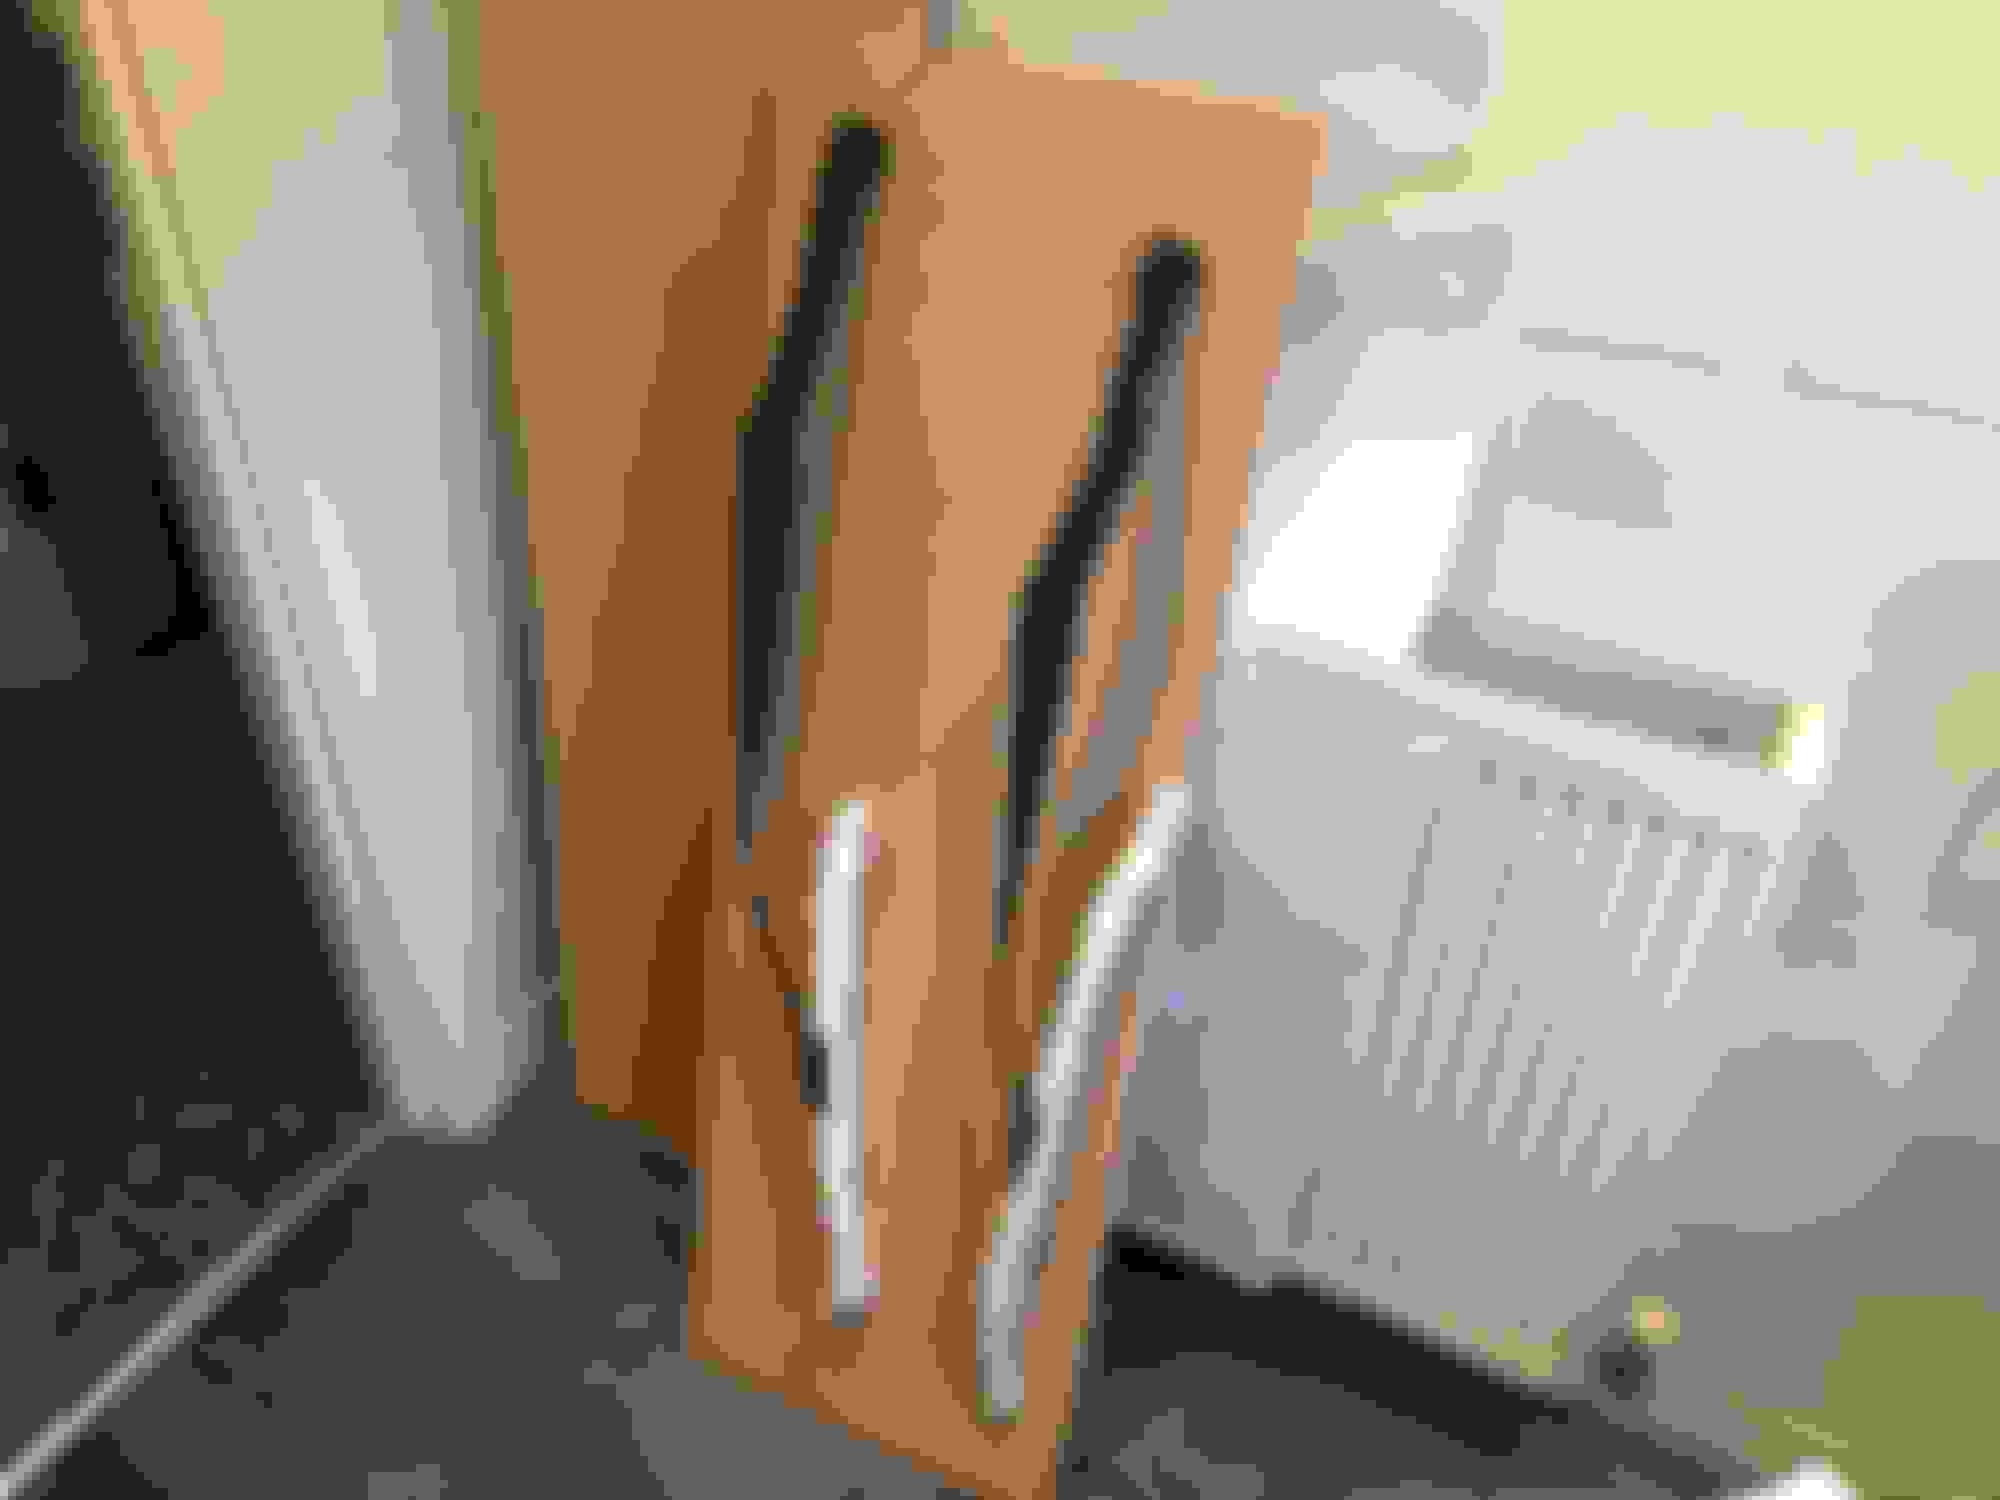
However on a plus note I added some fan boy floor mats as the ones that came with the car had seen better days, these are a much nicer fit & despite the securing hook think hasn't turned up doing a much nicer job of staying put...
Looking at it though I really do think the cars carpet should be black
Seats = Blue highlights, Door cards = Blue highlights, Blue carpet = Overkill.
I am pretty sure I could swap the stock blue carpet out for a black one, "quieten down" the look of the interior & add more stealth. Hmmmmm
I also took TECHNOPUG's advice & applied Dynamat to metal of the doors to seal off the holes & enclose the speakers (I also took the opportunity to use the mat to create a seal between the speaker mounts & metal dampen any vibration).
He was right , the depth of the sound is now phenomenal (& I've since noticed now my TV speakers sound like sh*t ).
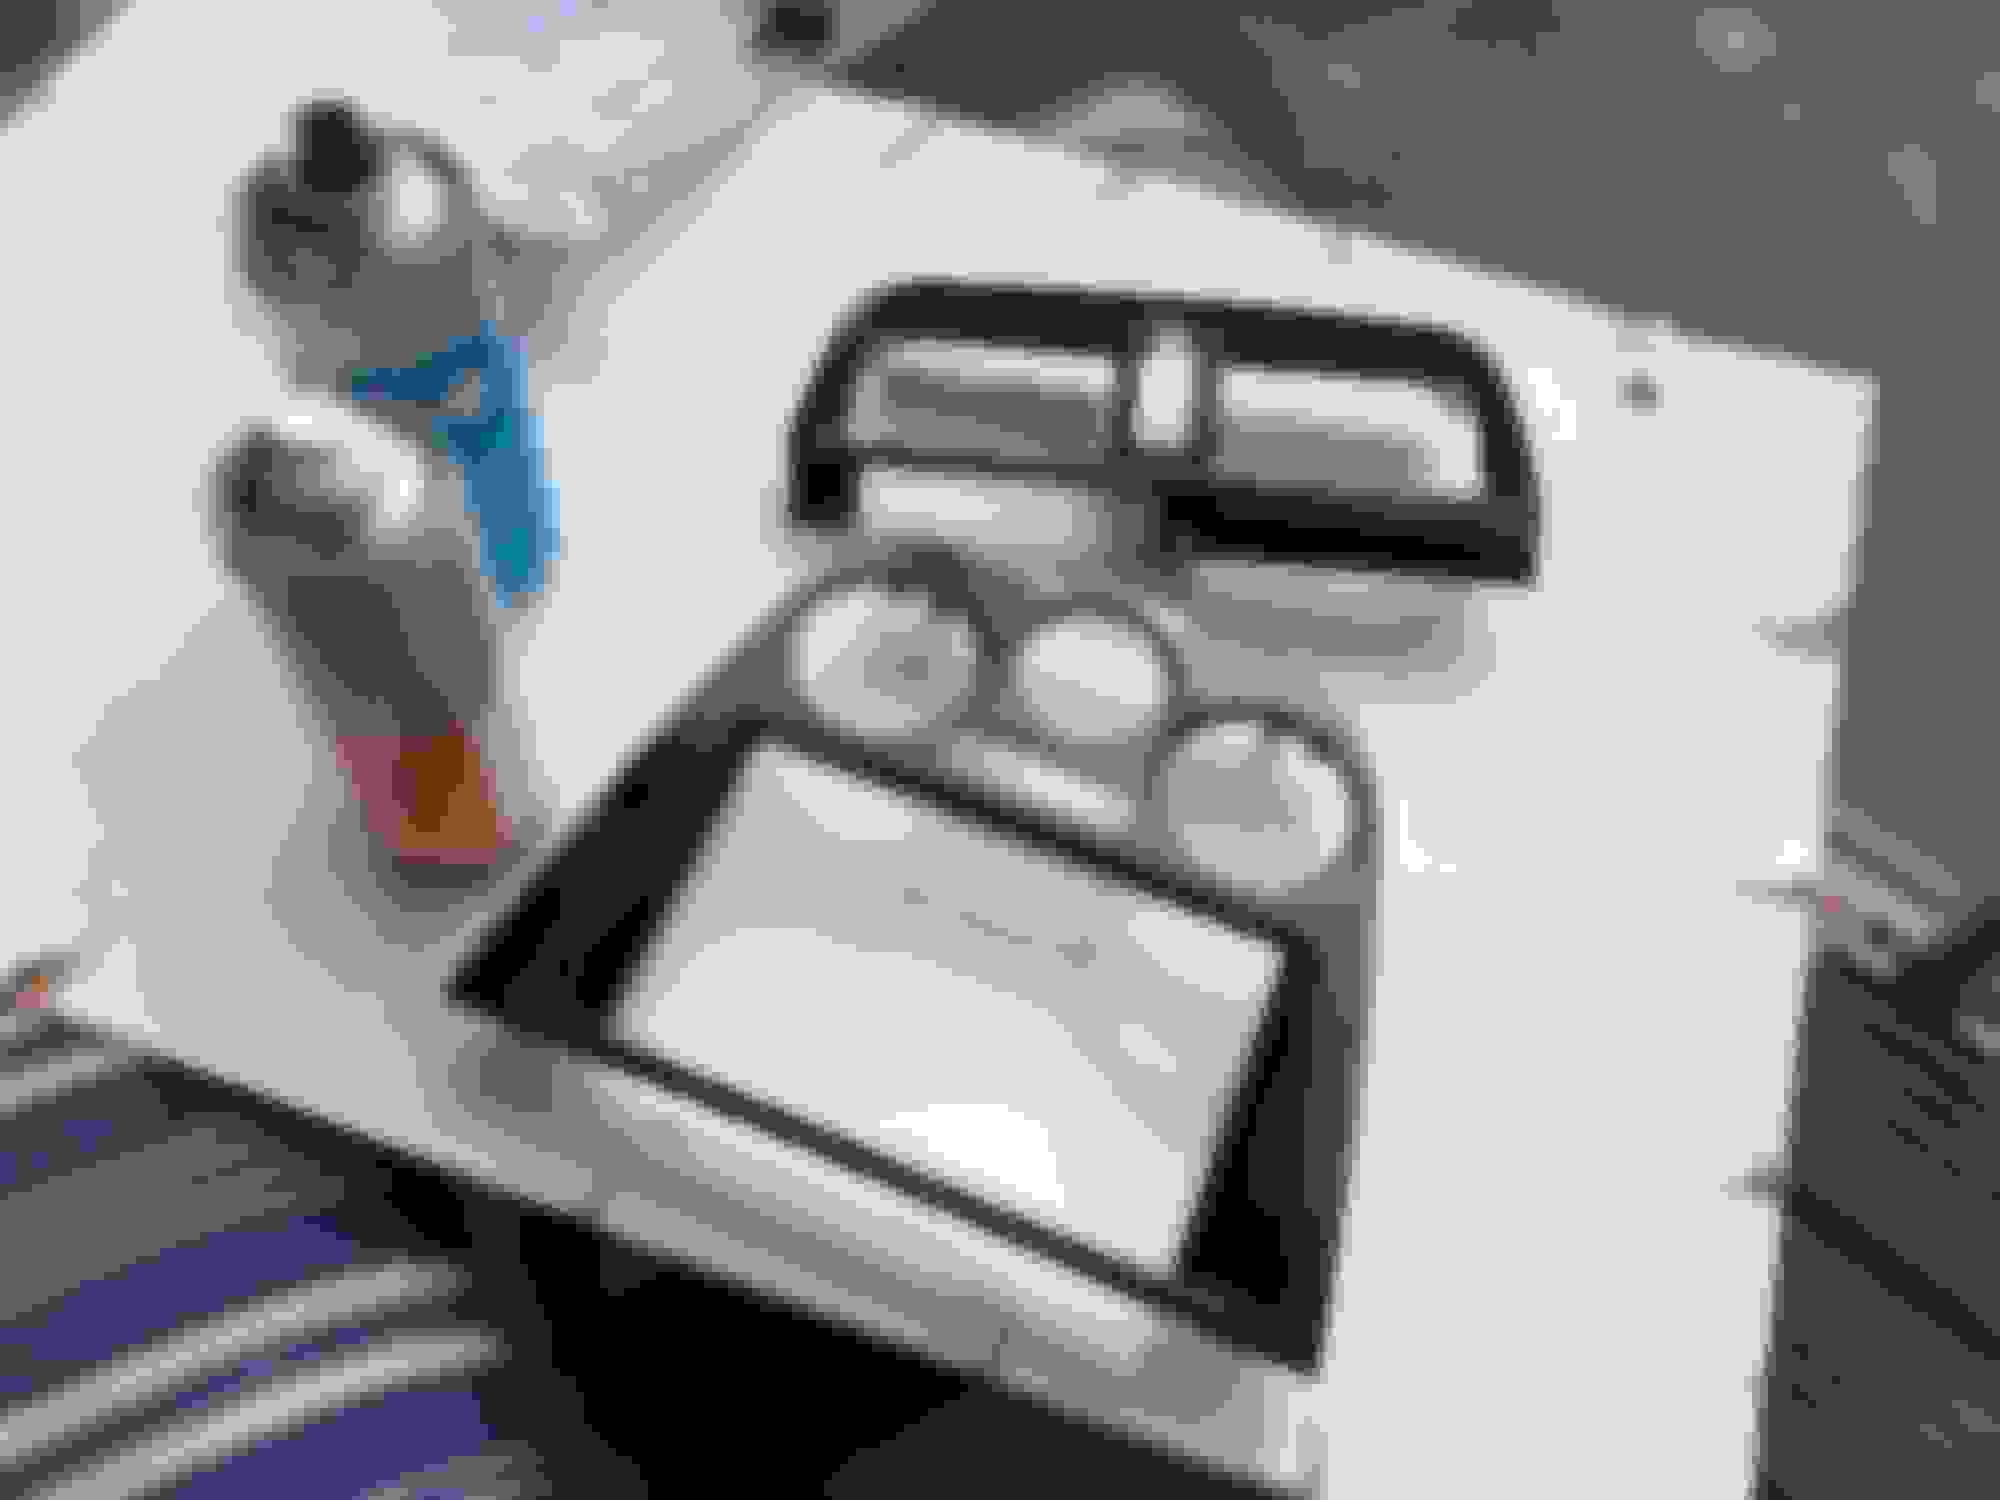
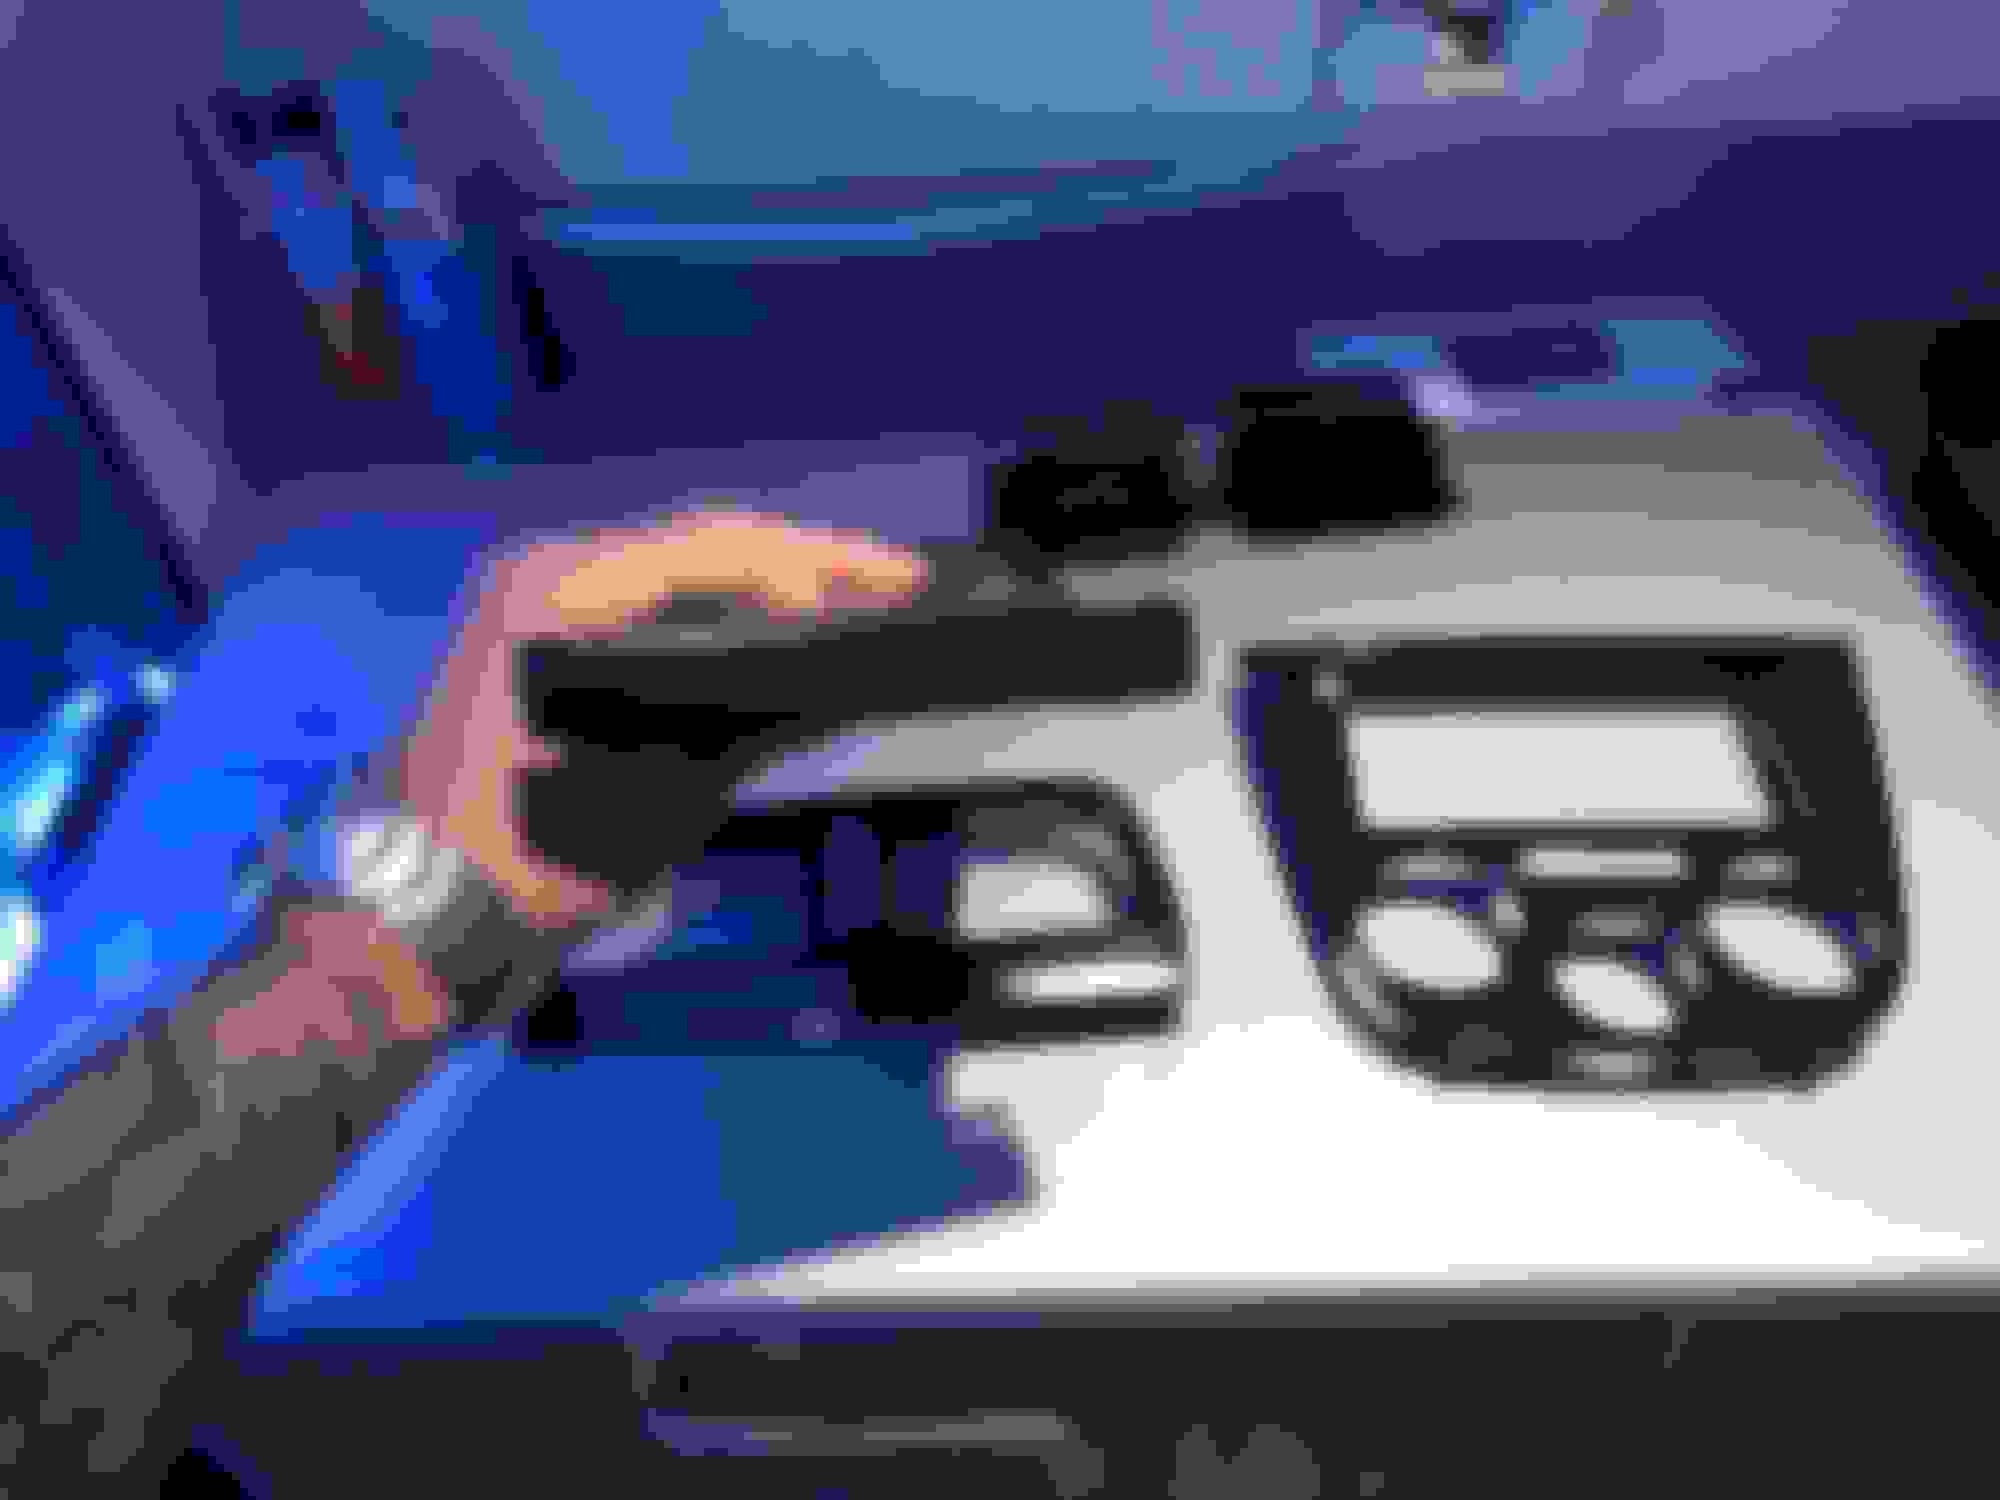
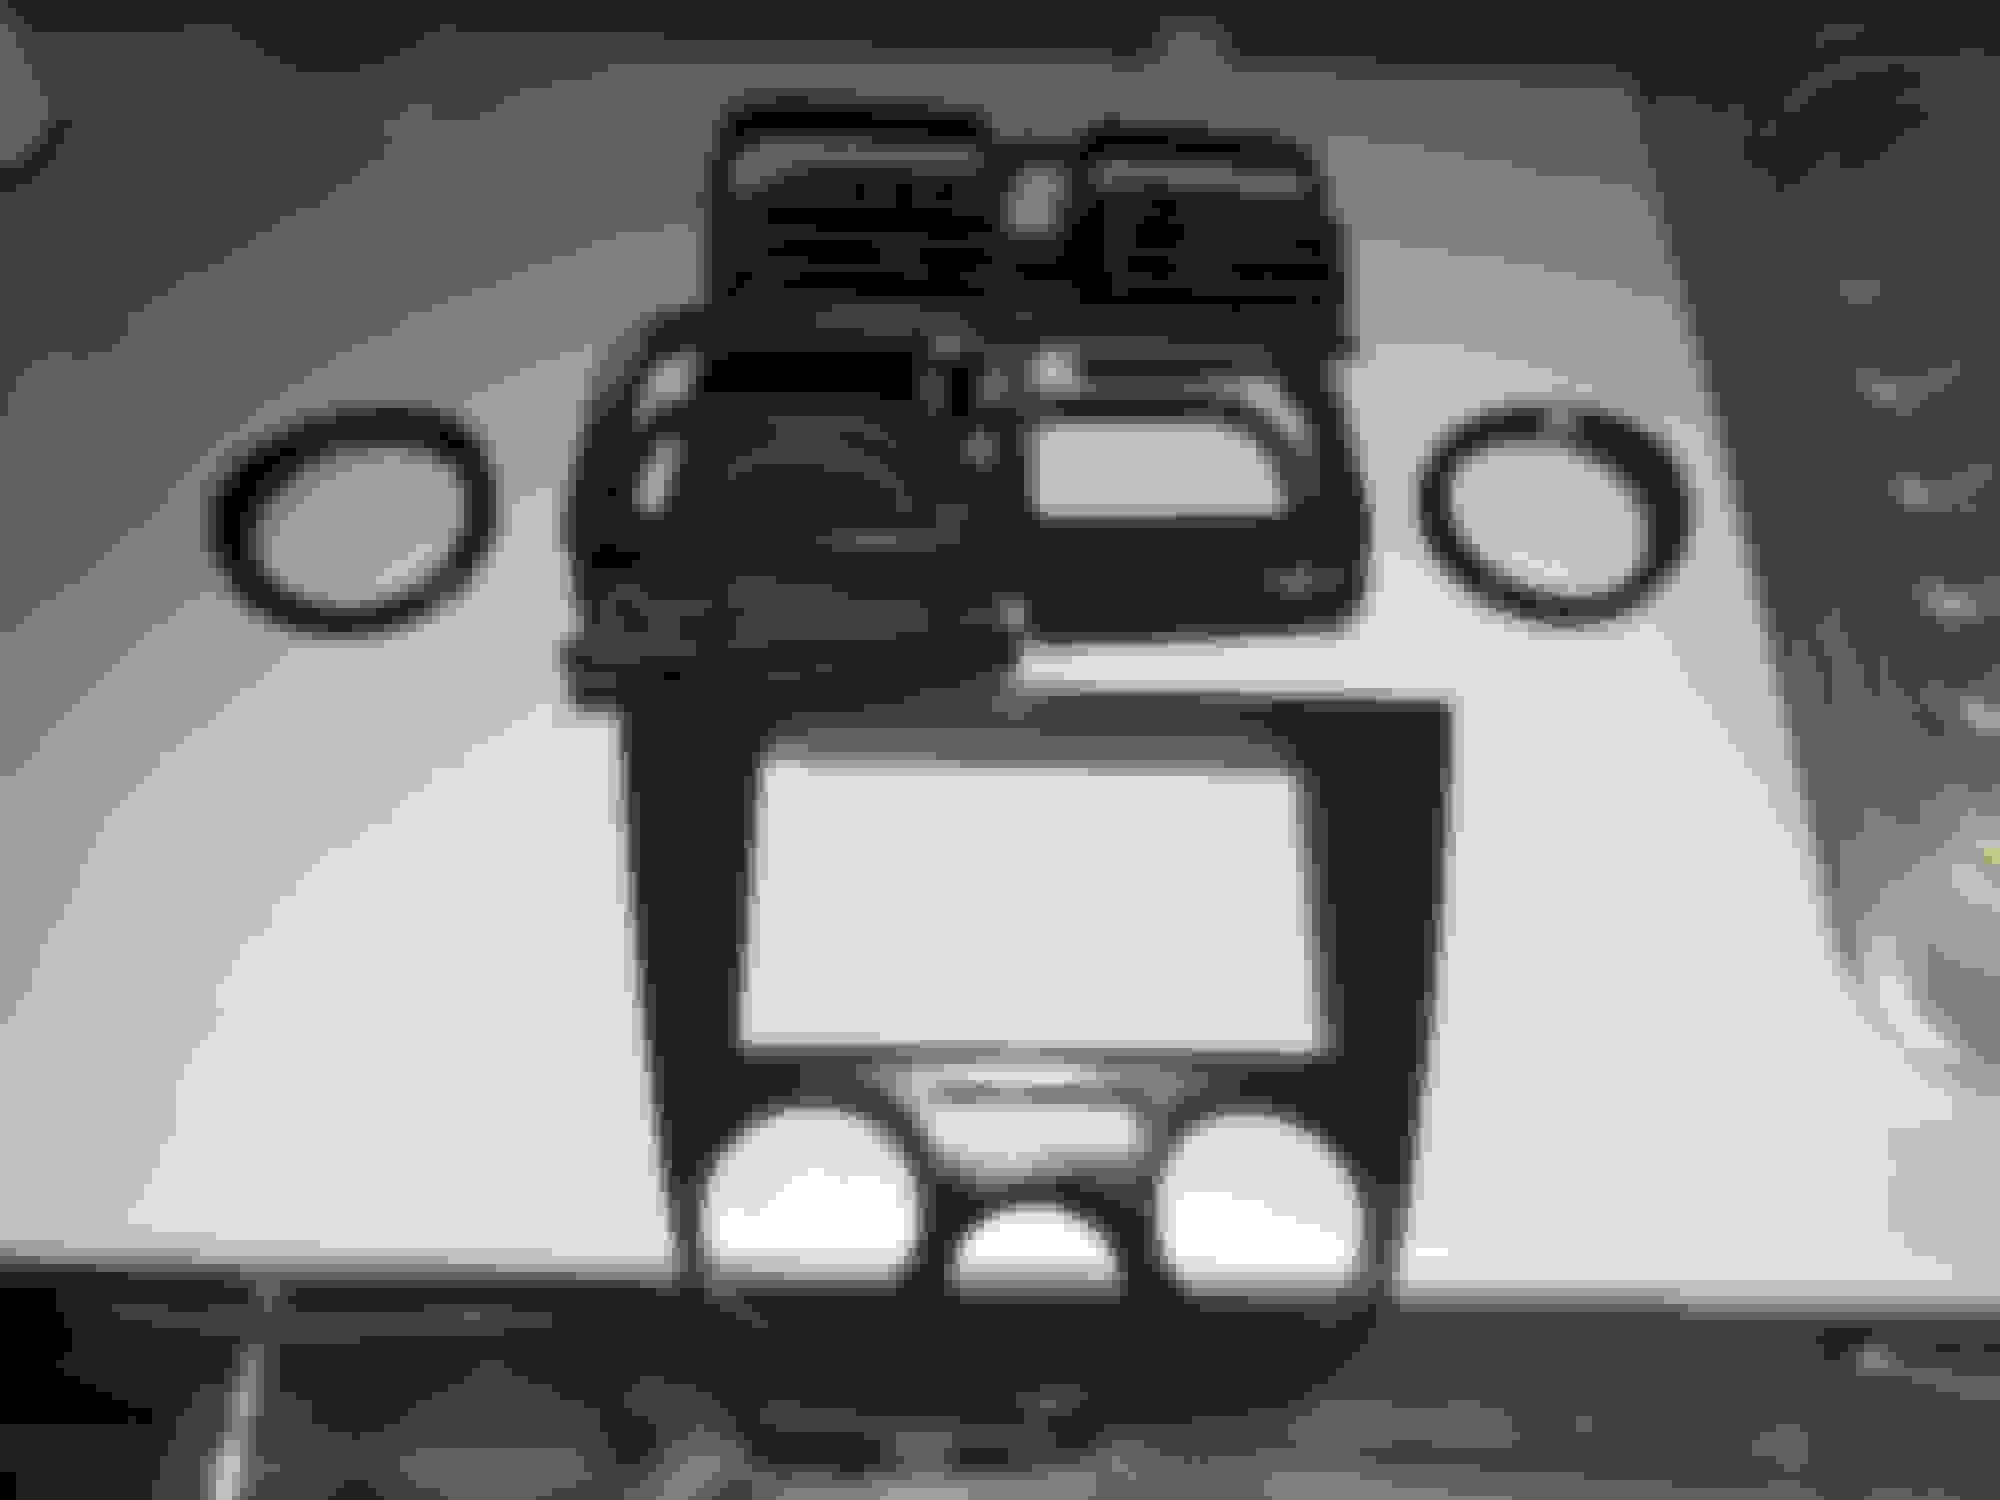
In the name of Stealth I re-hit the interior parts with the same gloss I used on the exterior as A) the Halfrauds interior was crap & B) I wanted to do the vent rings so they matched...
Which they do
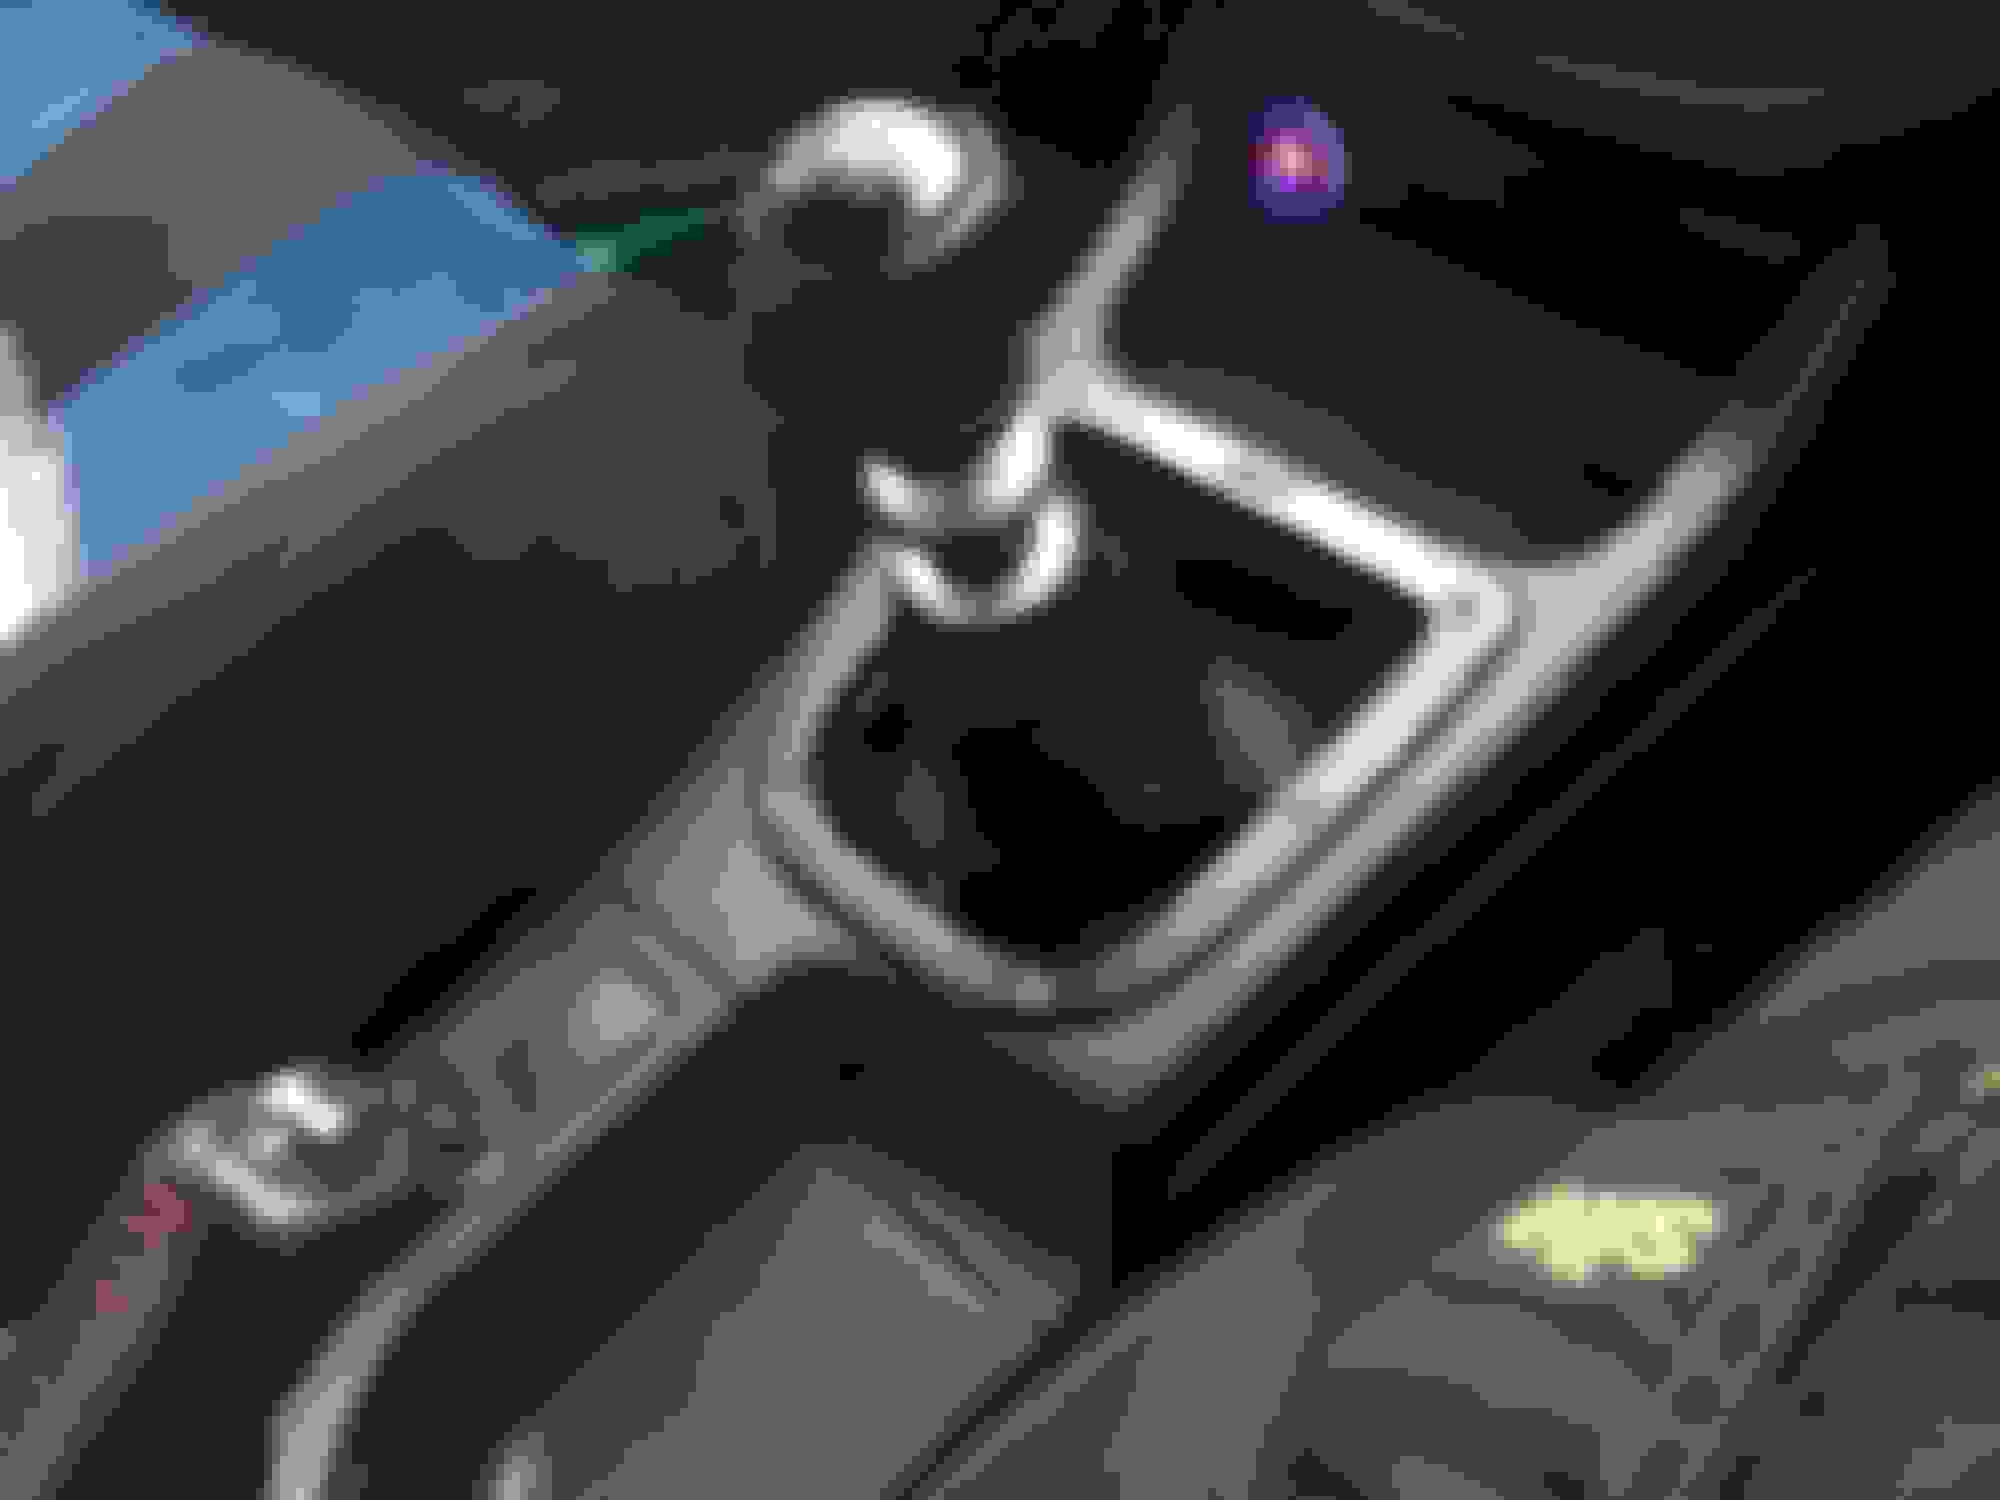
Currently resisting the urge to stealth this
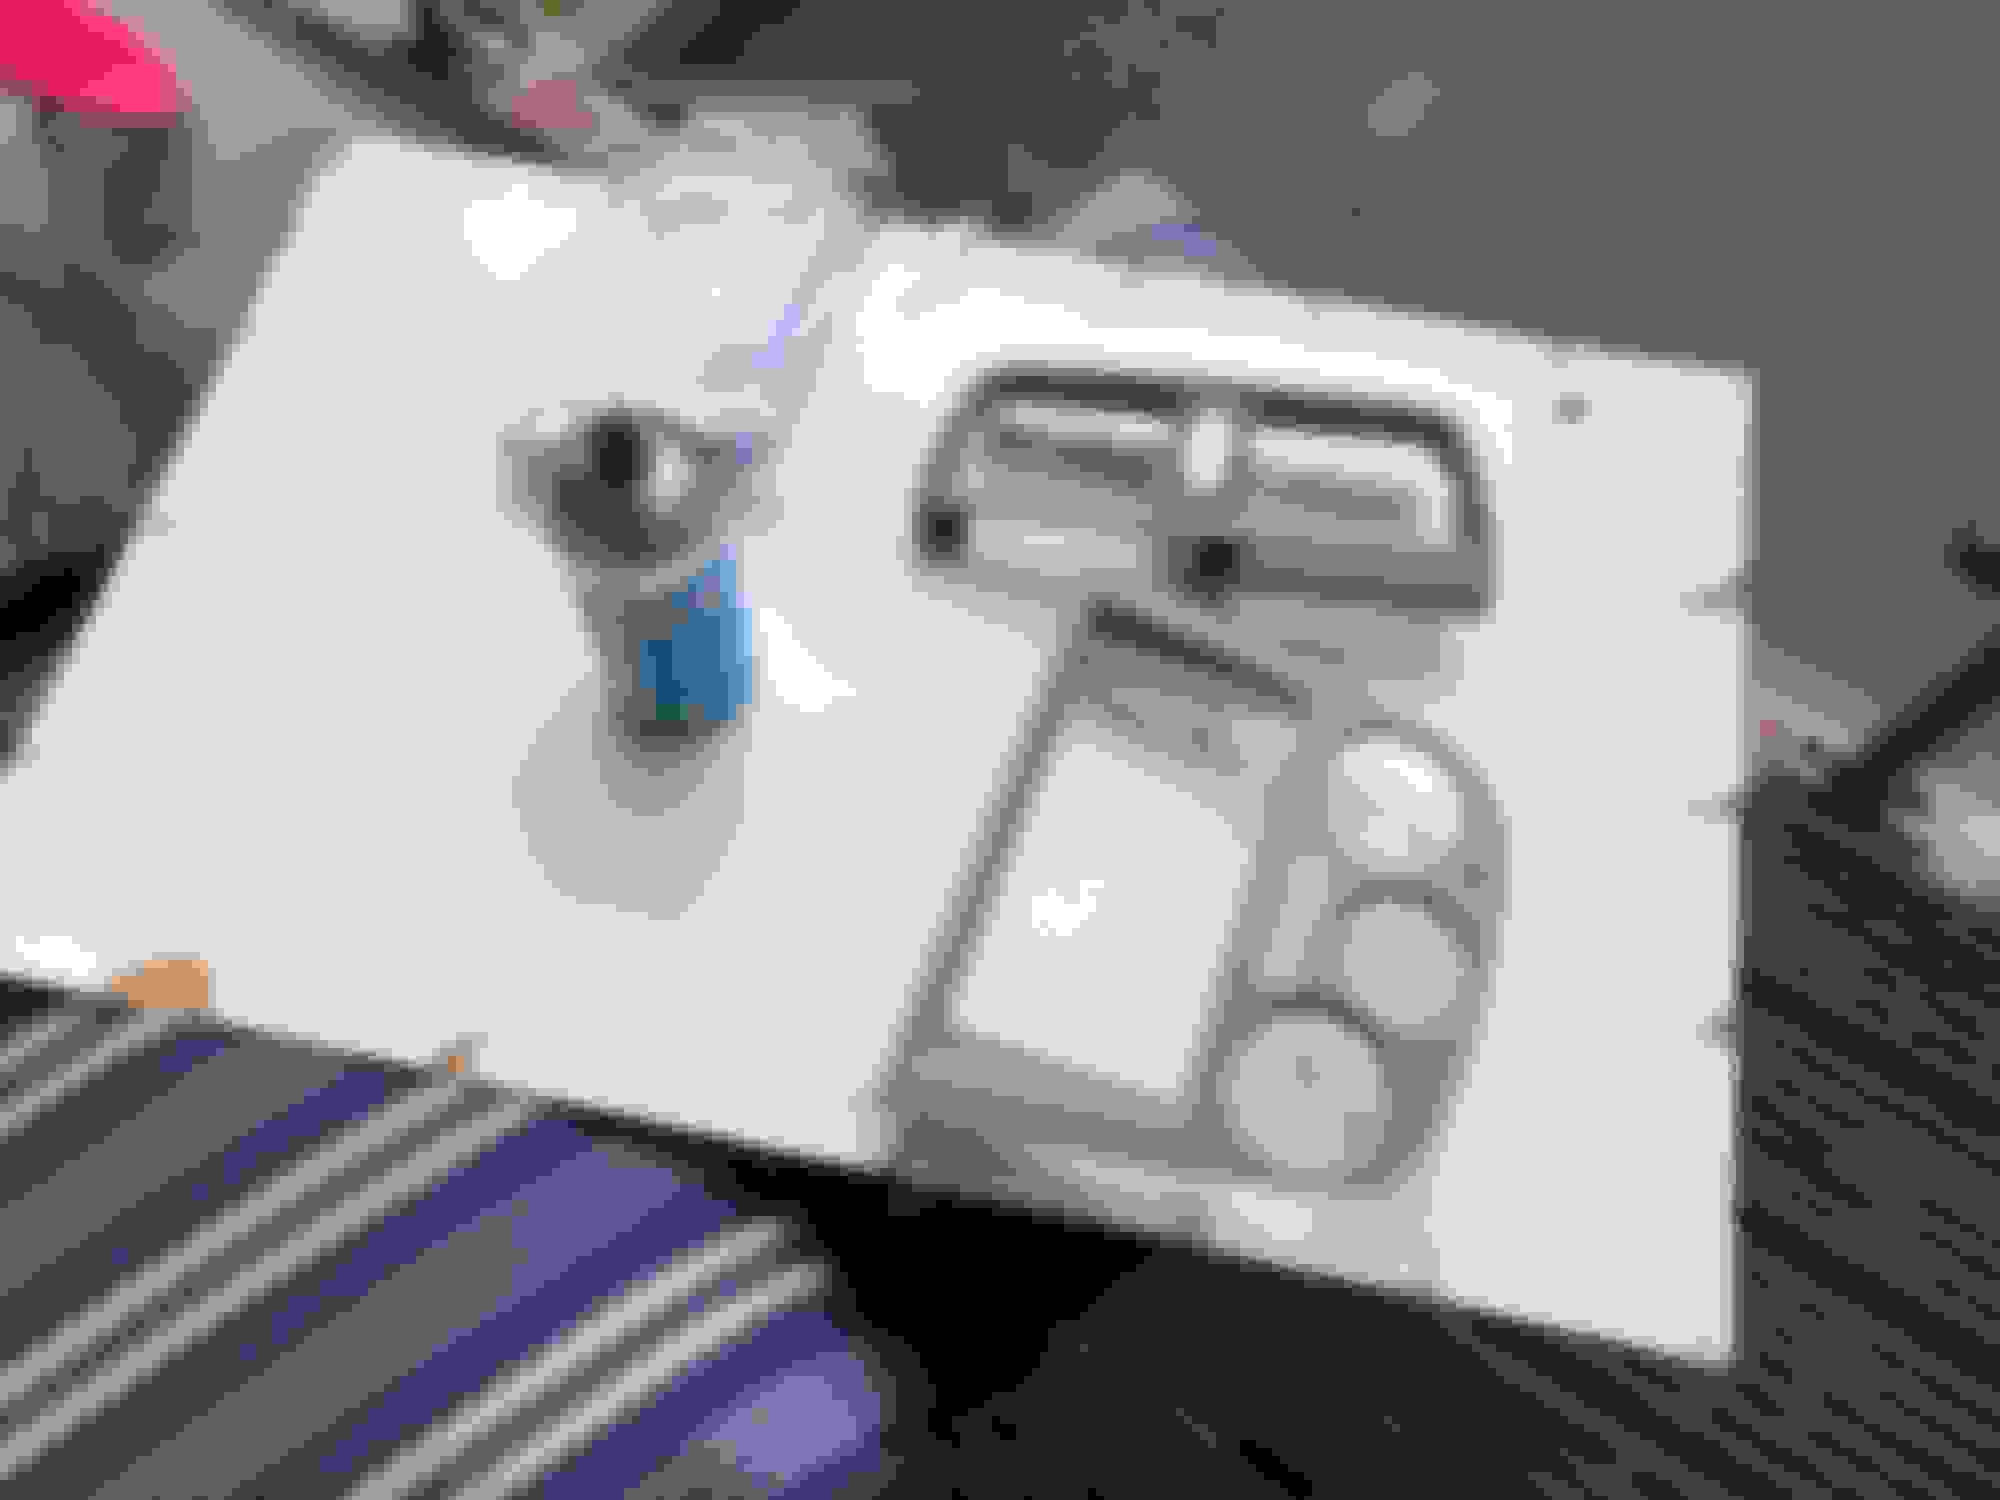
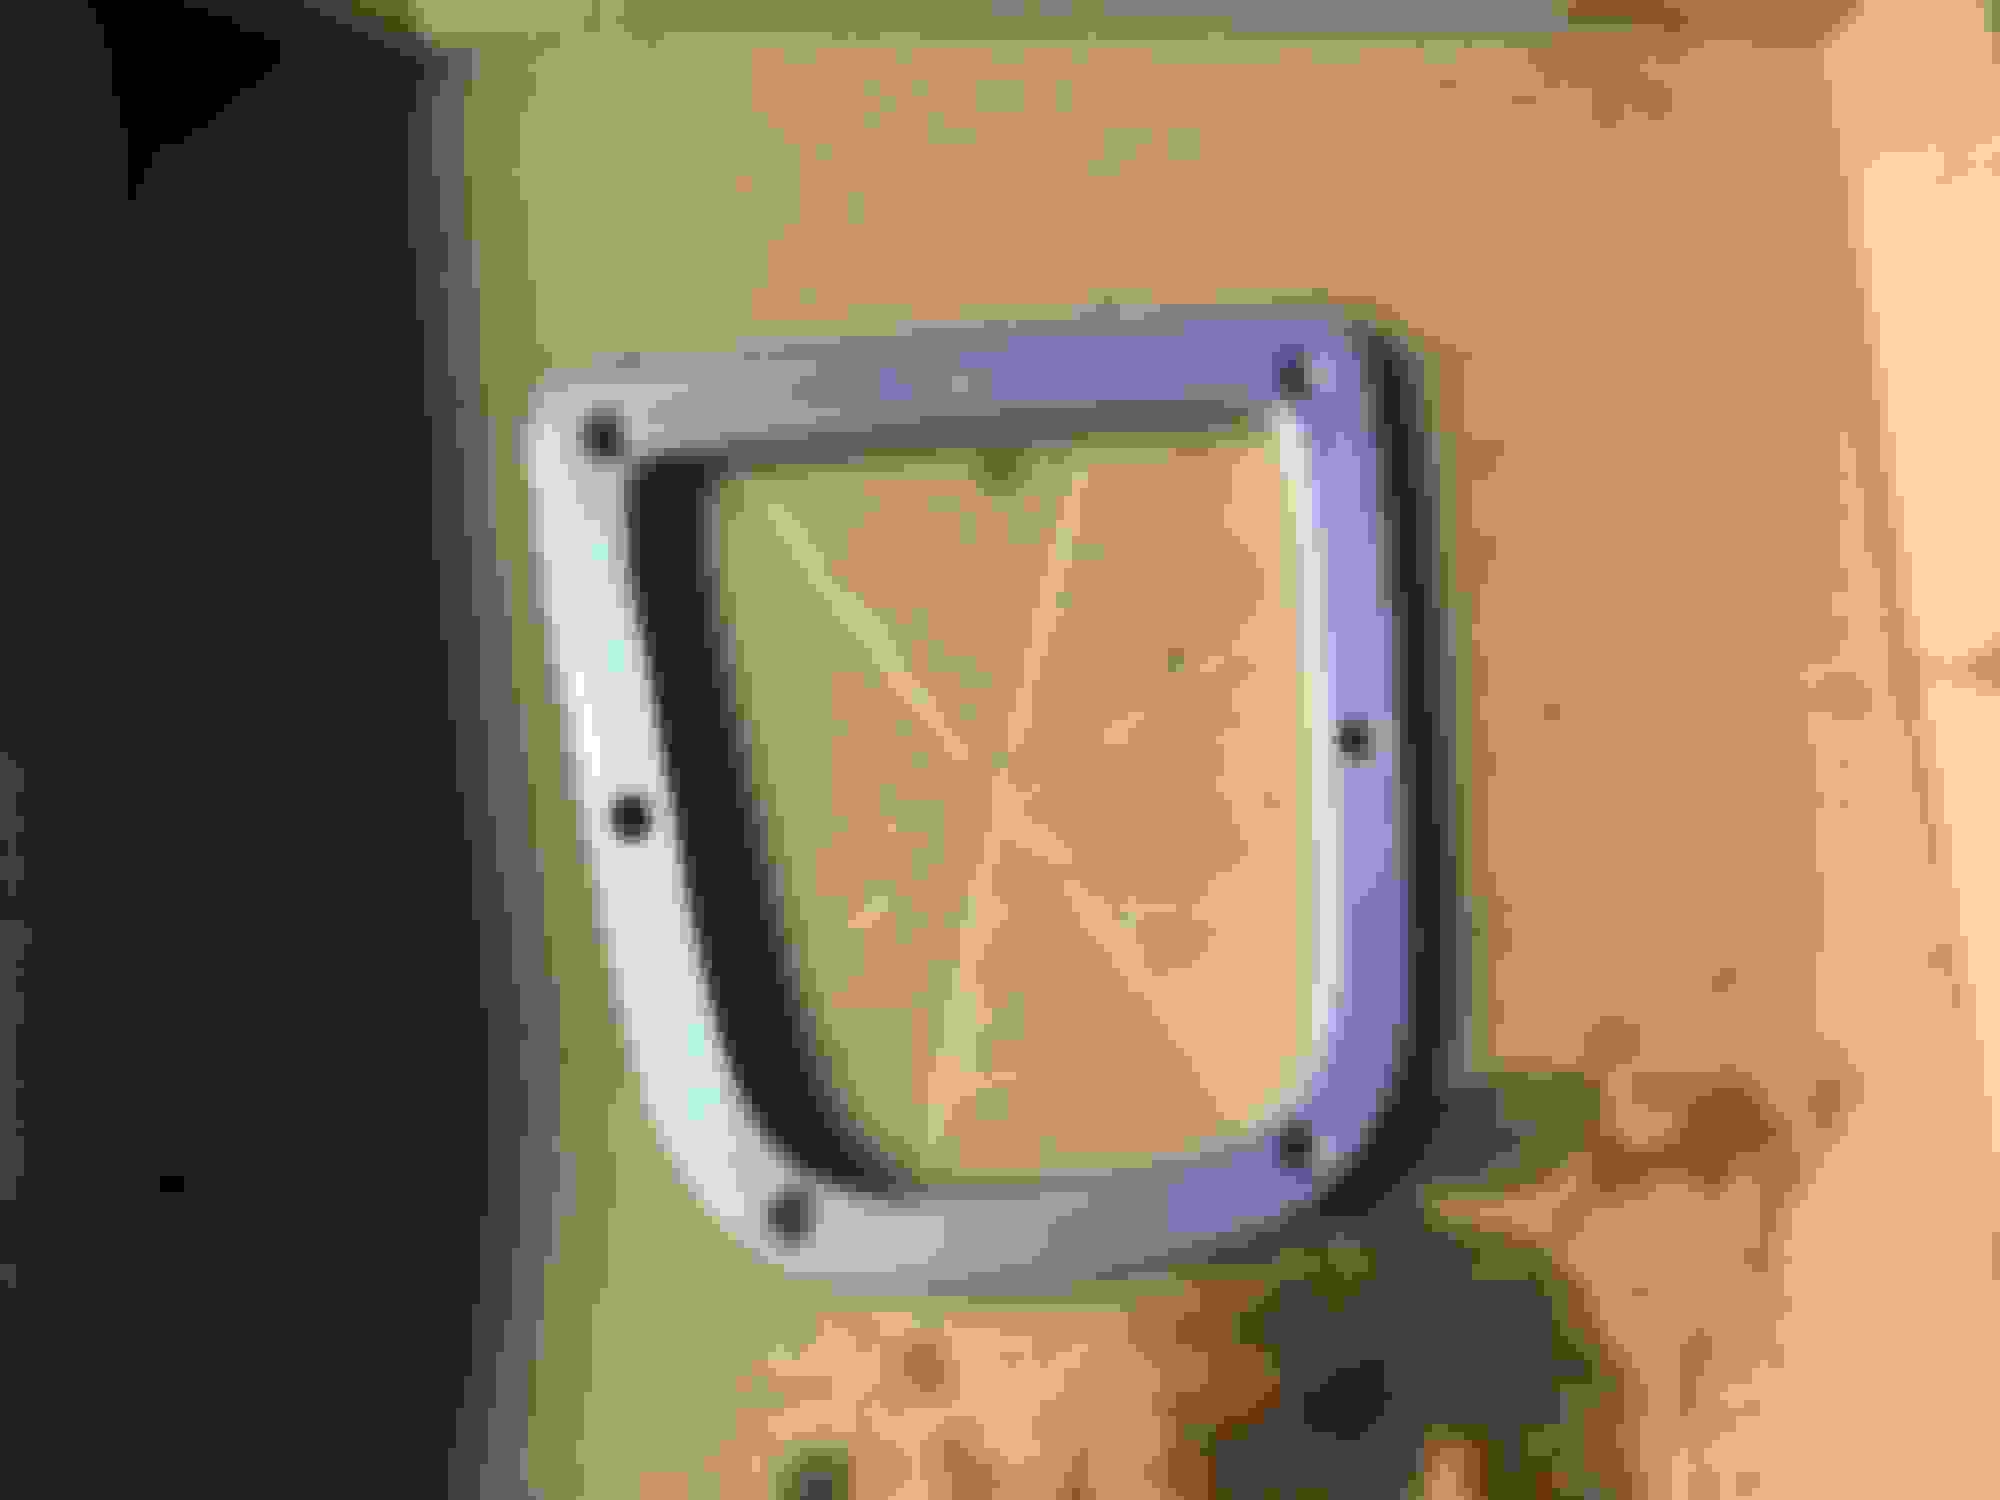
Also added more blue film to the clock, now it matches the colour of the high beam light indicator at least
Also have this coming from that internet auction site, the wheel's rough, but it was cheap & I only want the airbag so that'll sort out the last of the retro silver crap in the interior
Now's where hopefully things get a little less boring
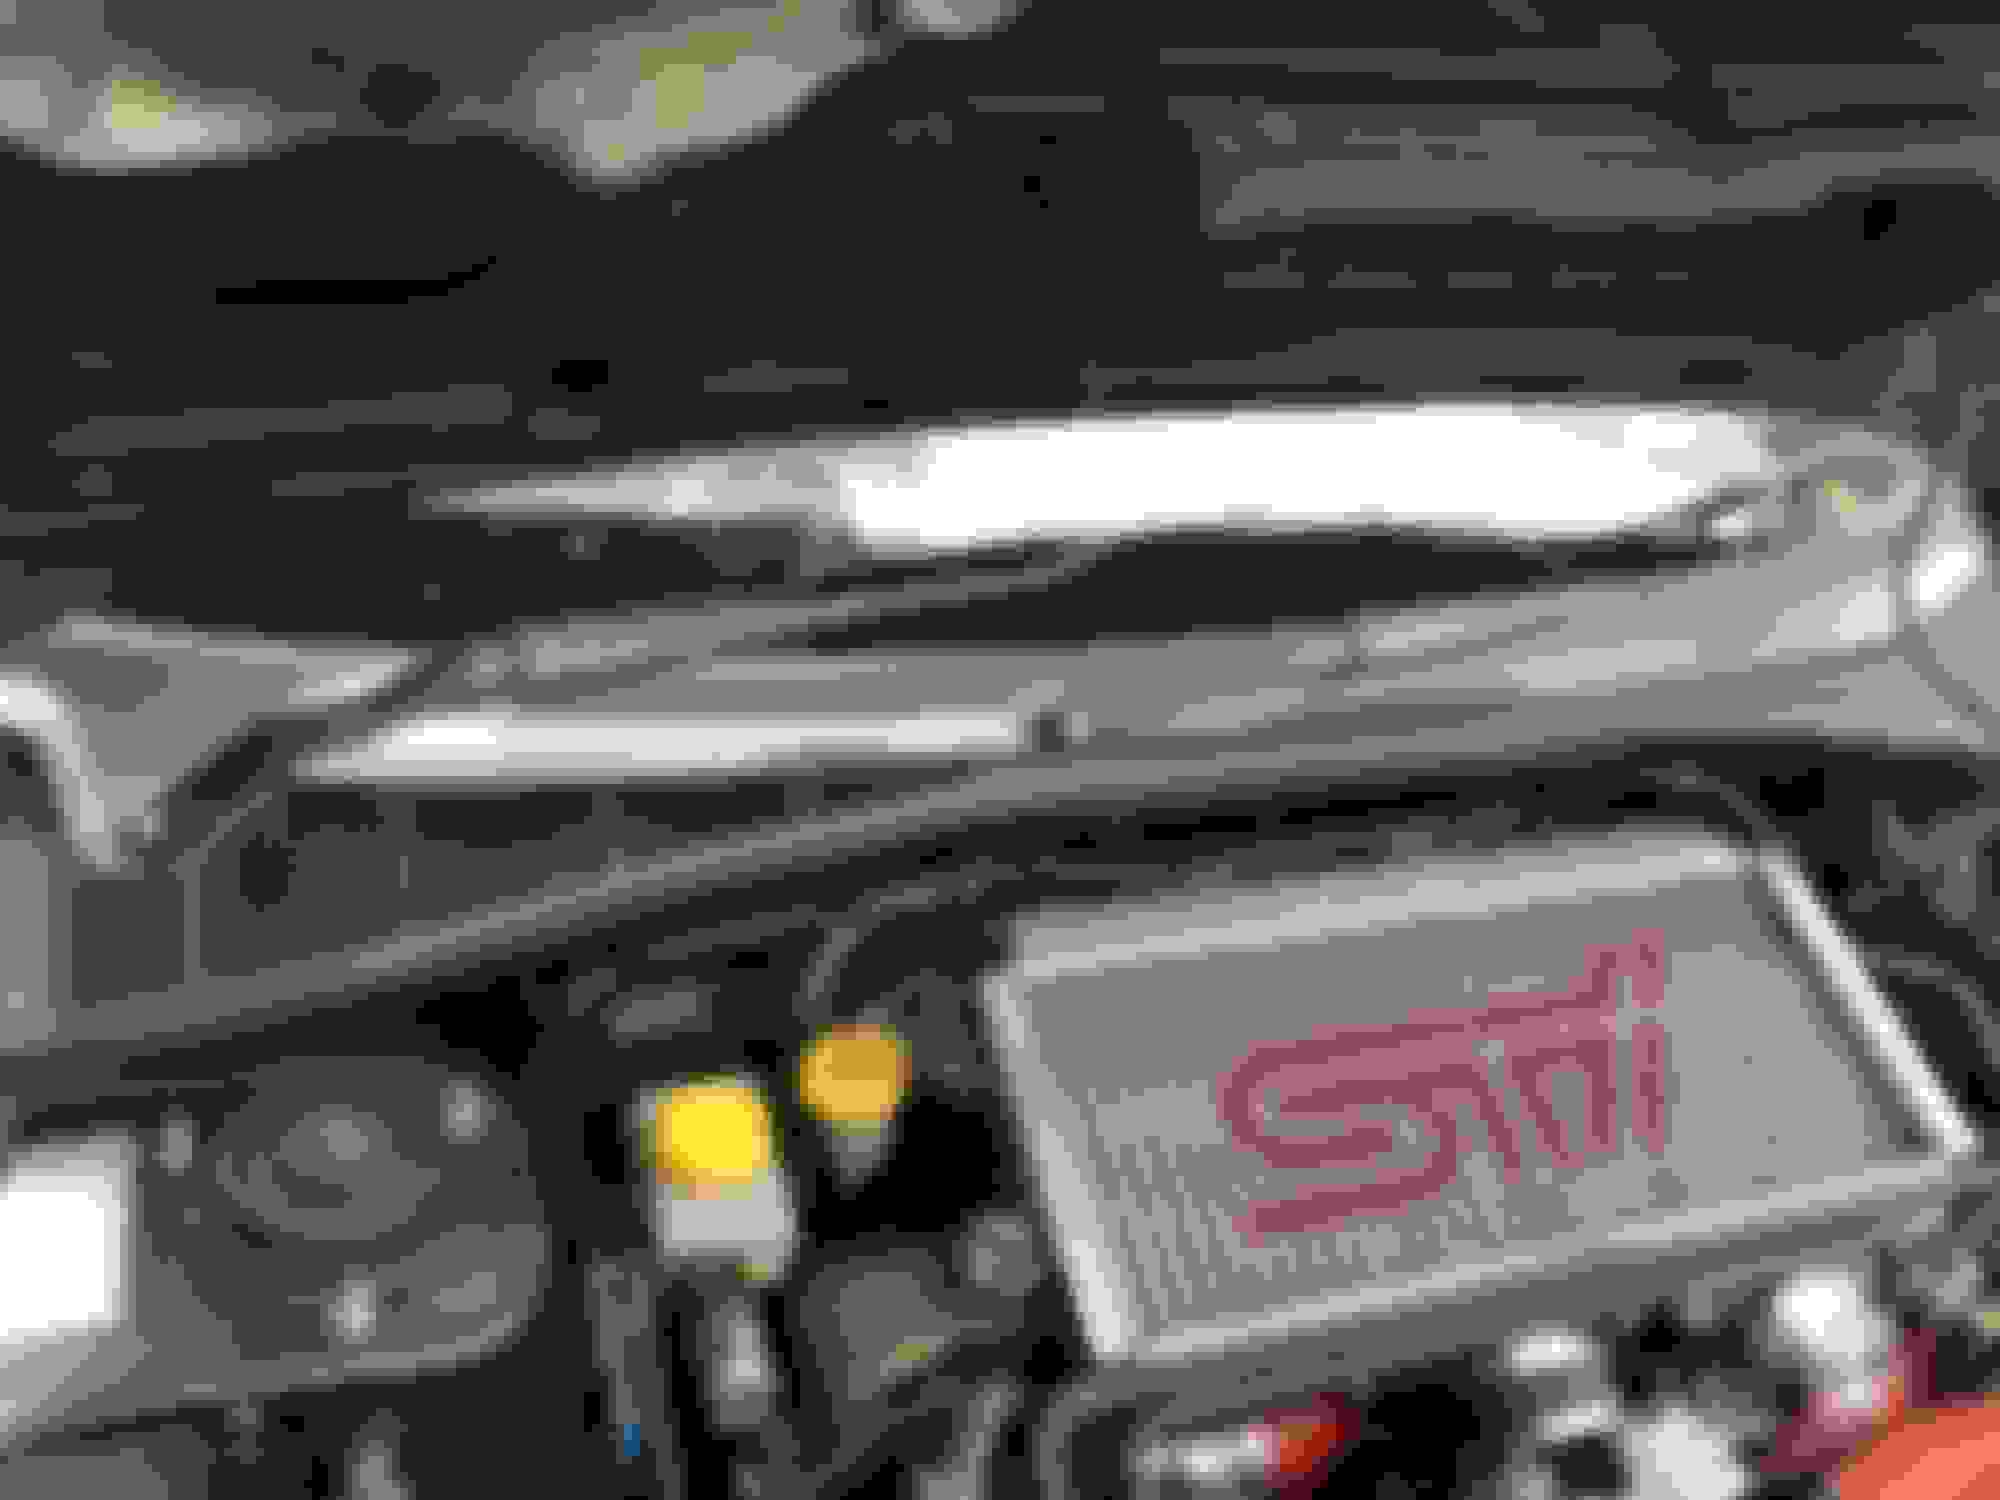
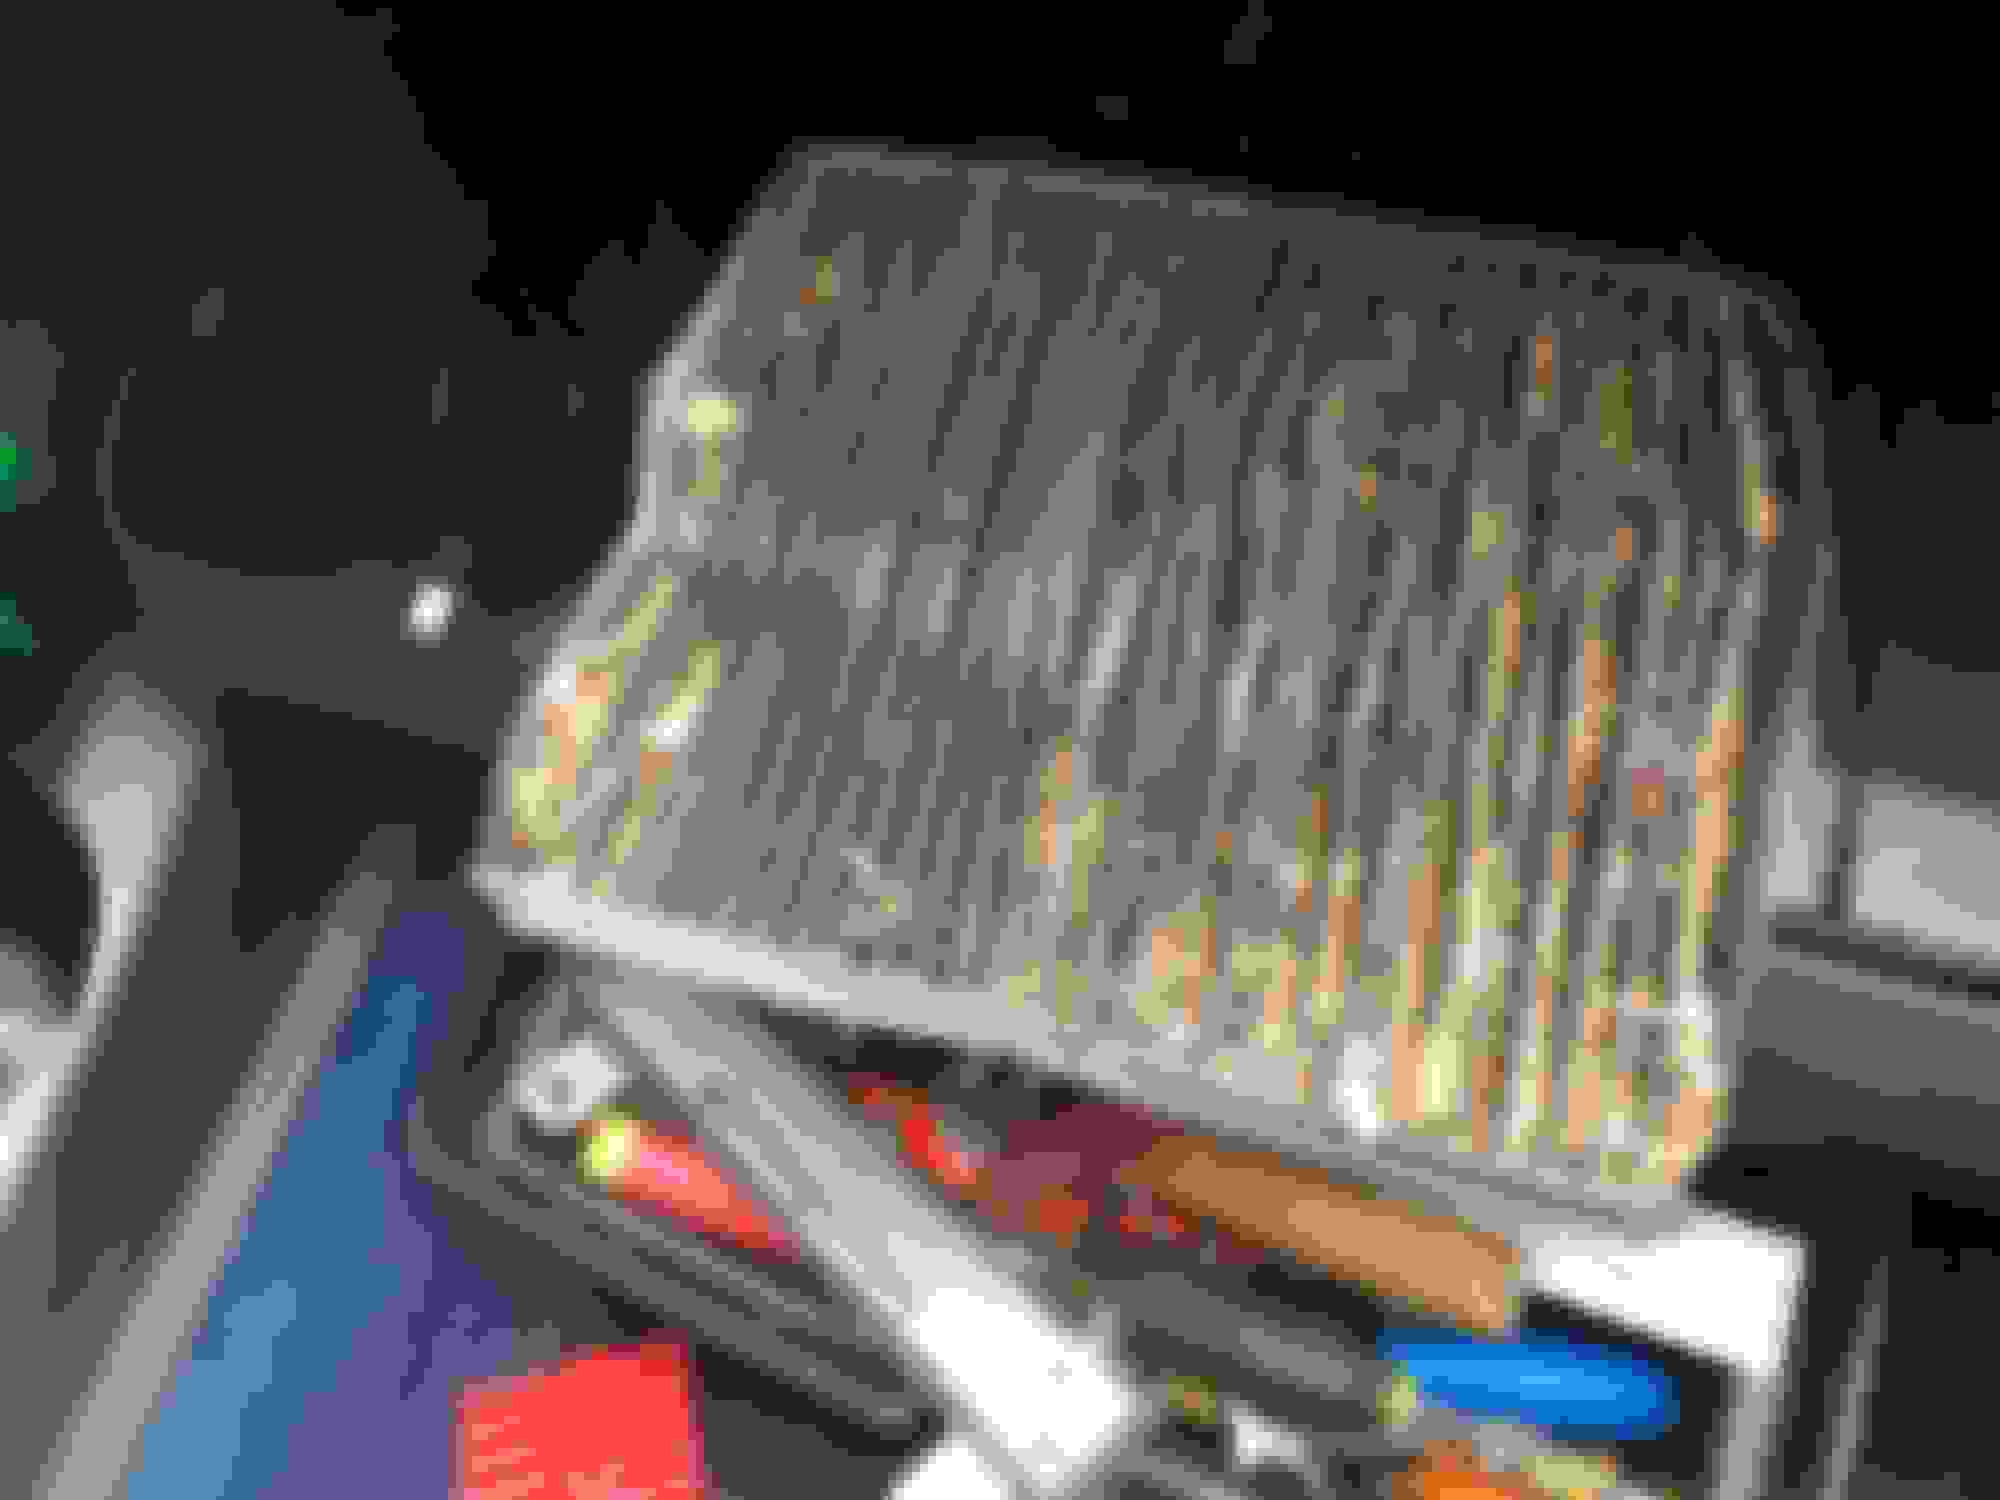
First off the car's noticeably running rich so swung by here to book it in to get some diagnostics done on it & discuss the monster 100k mile service that's getting closer...
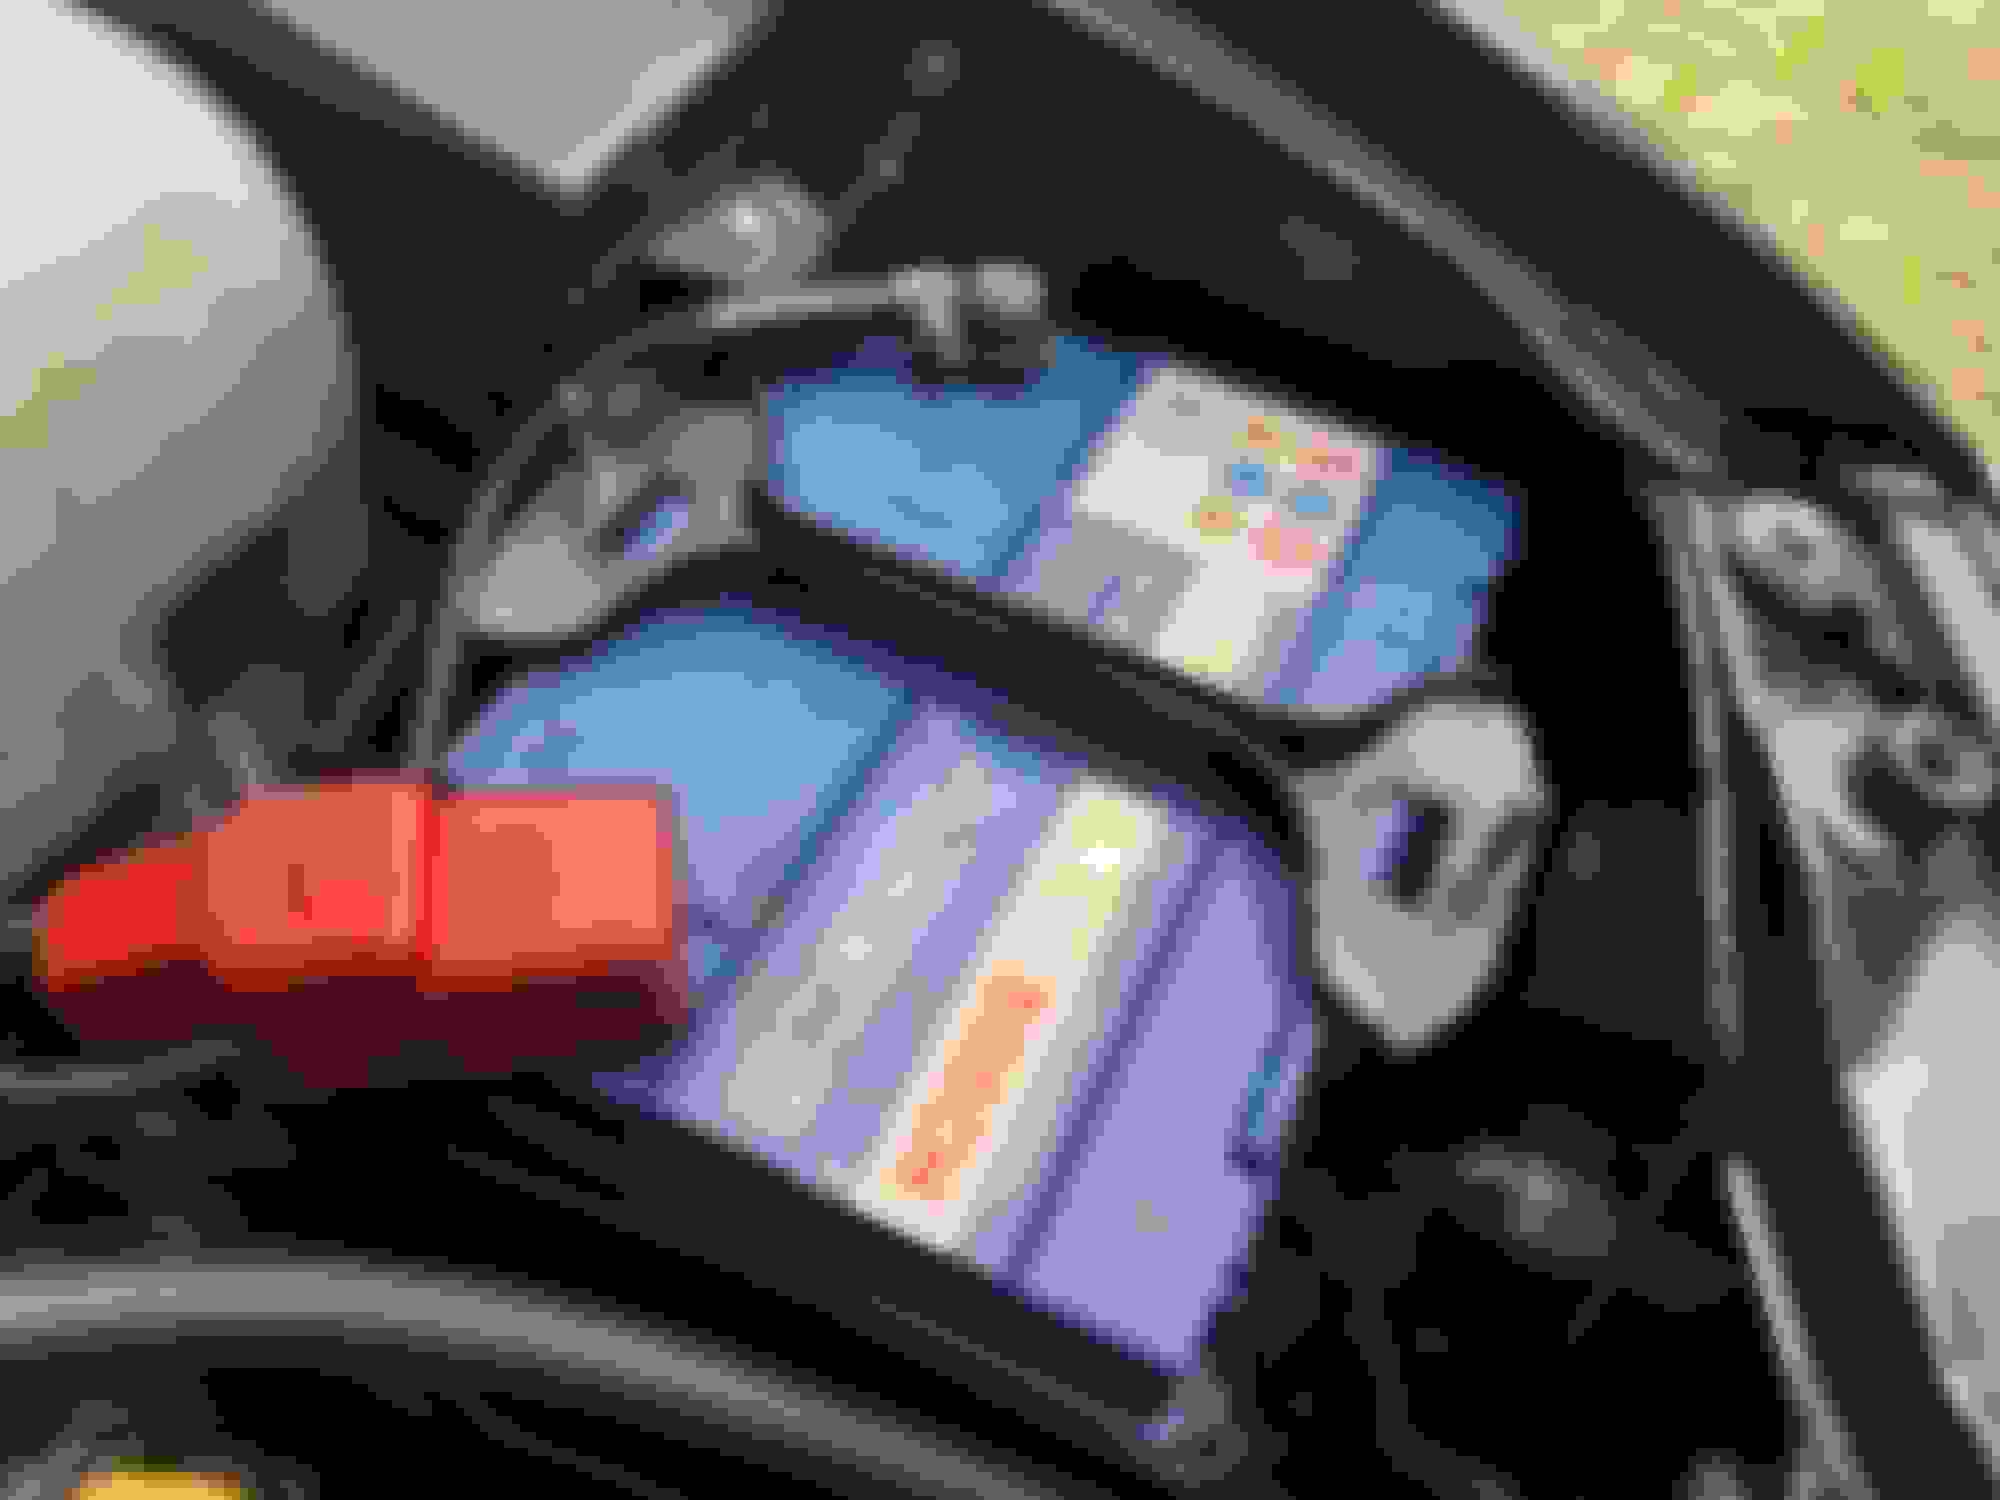
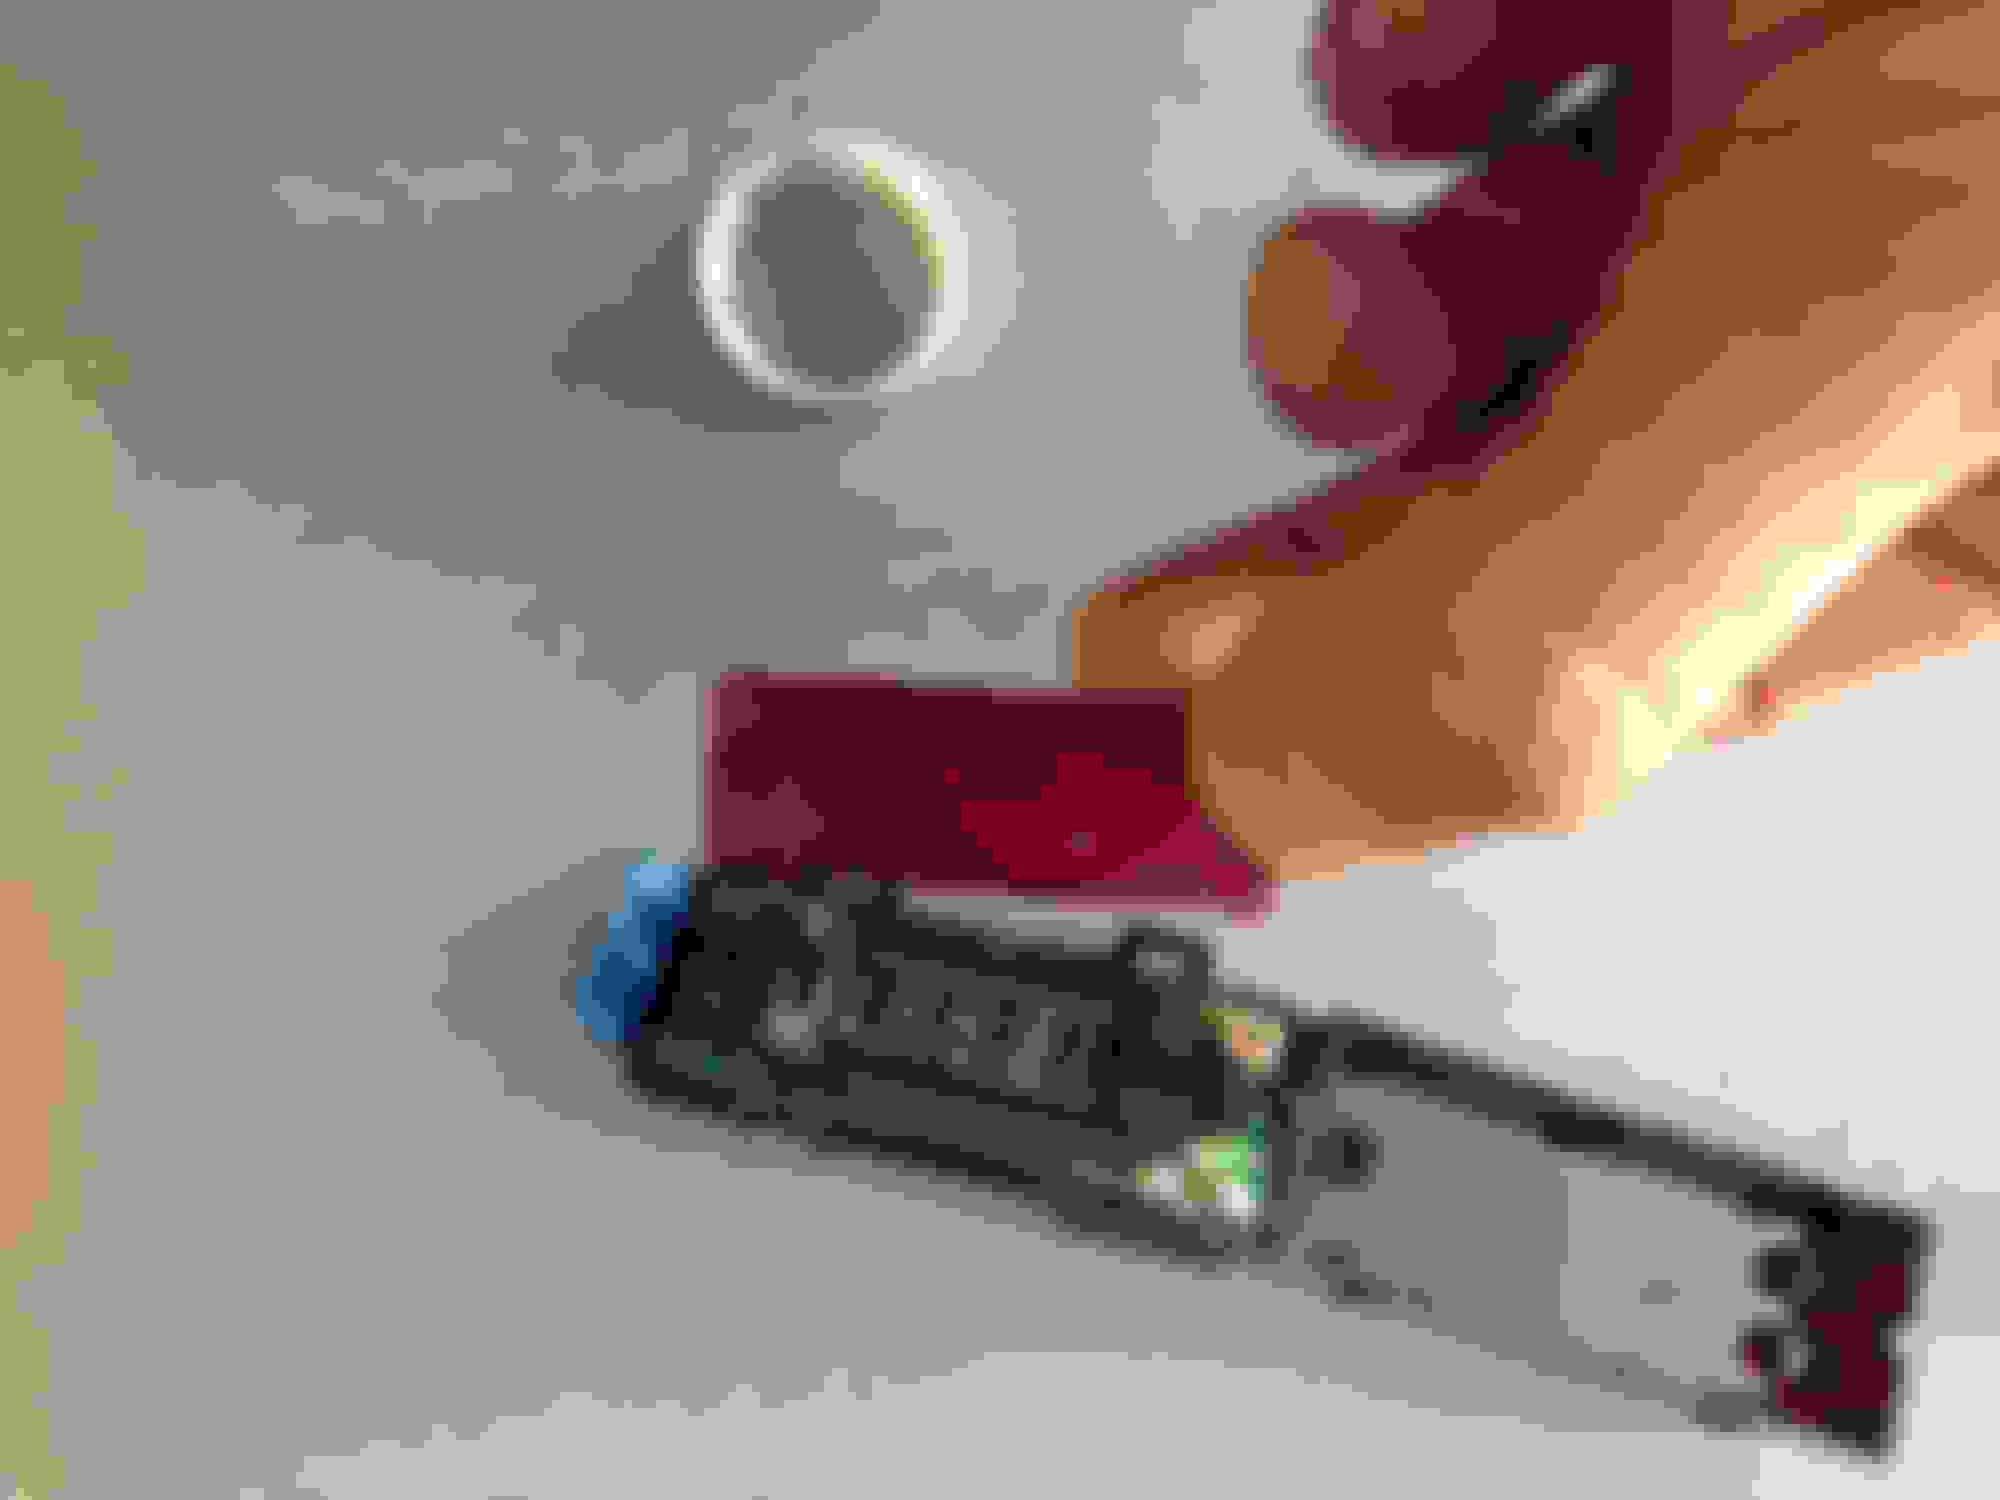
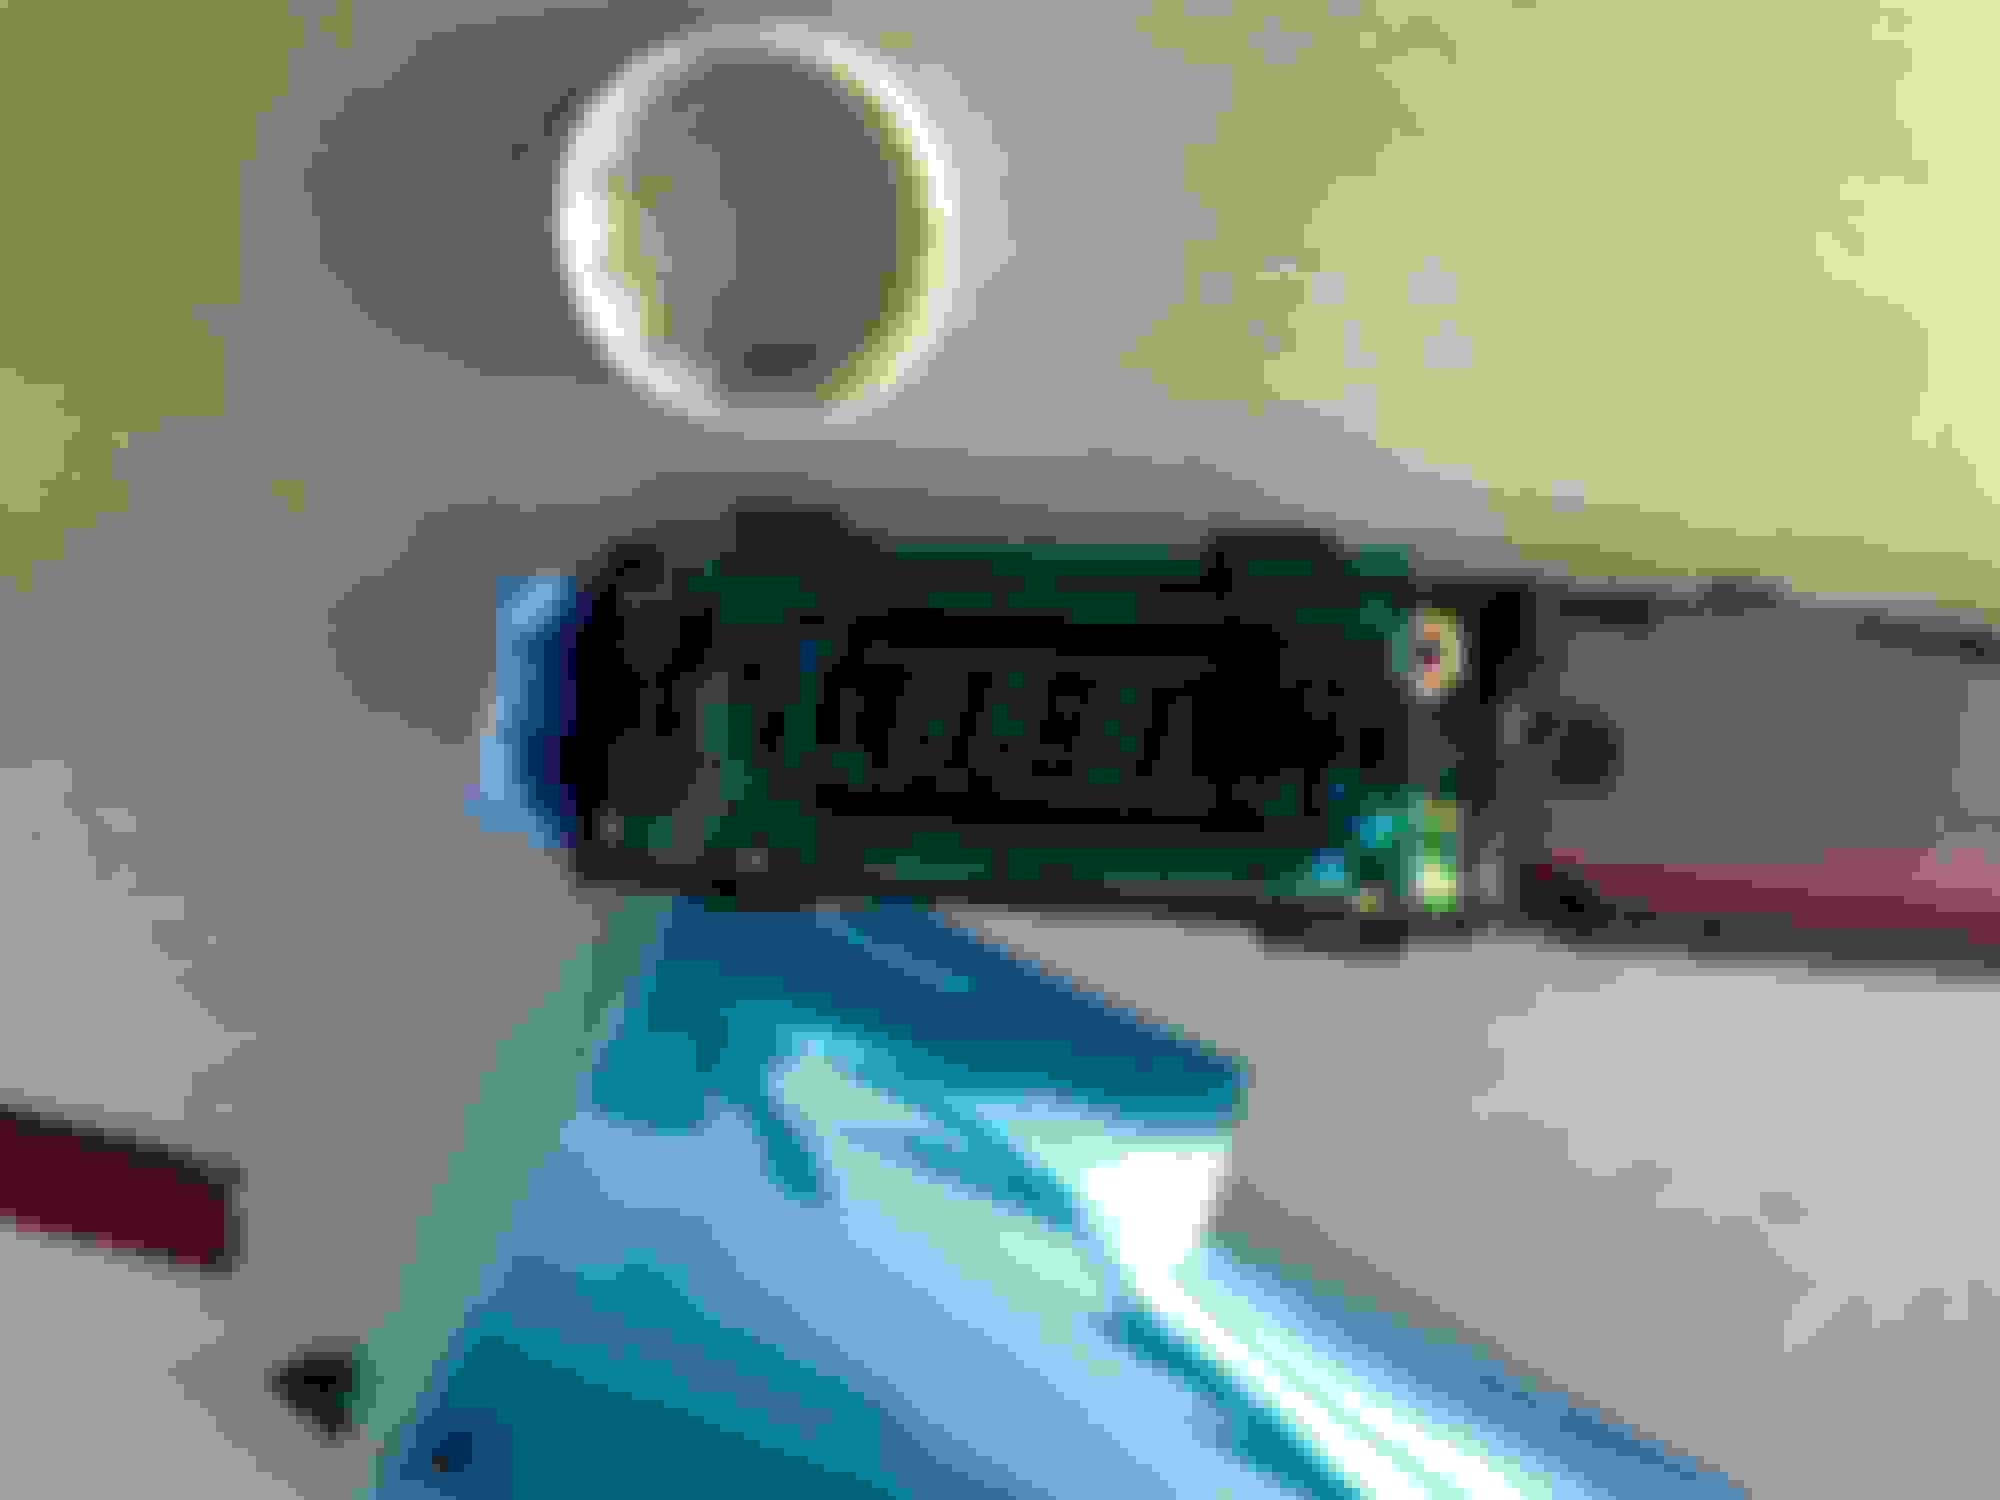
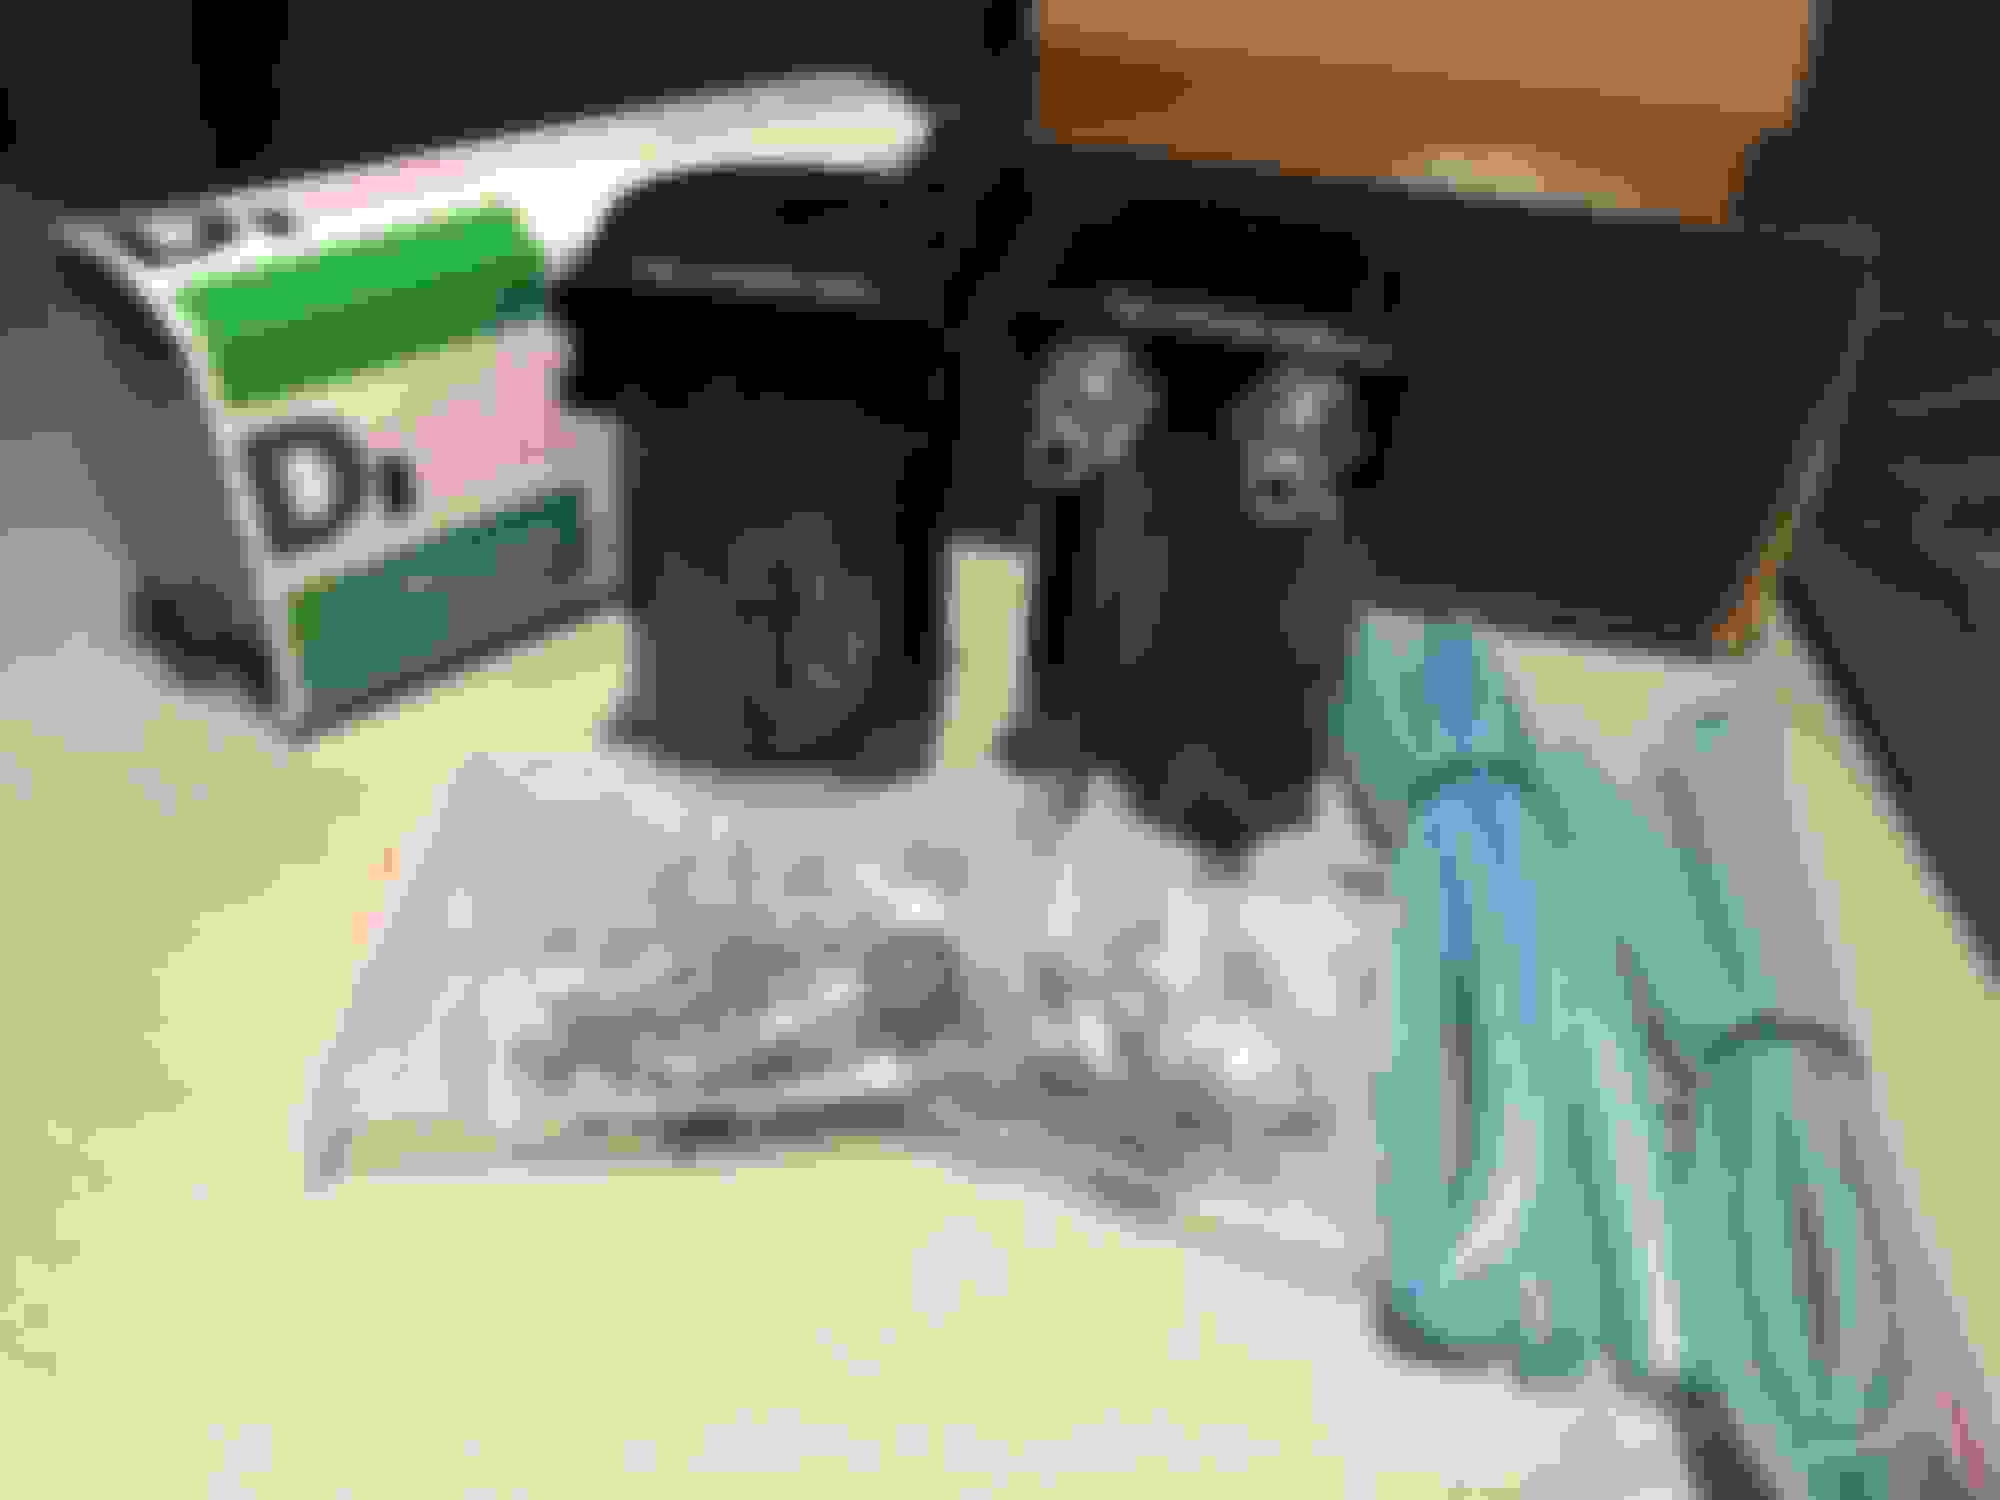
Got myself some baffled catch cans, one for the PCV system & the other for the crankcase breather.....
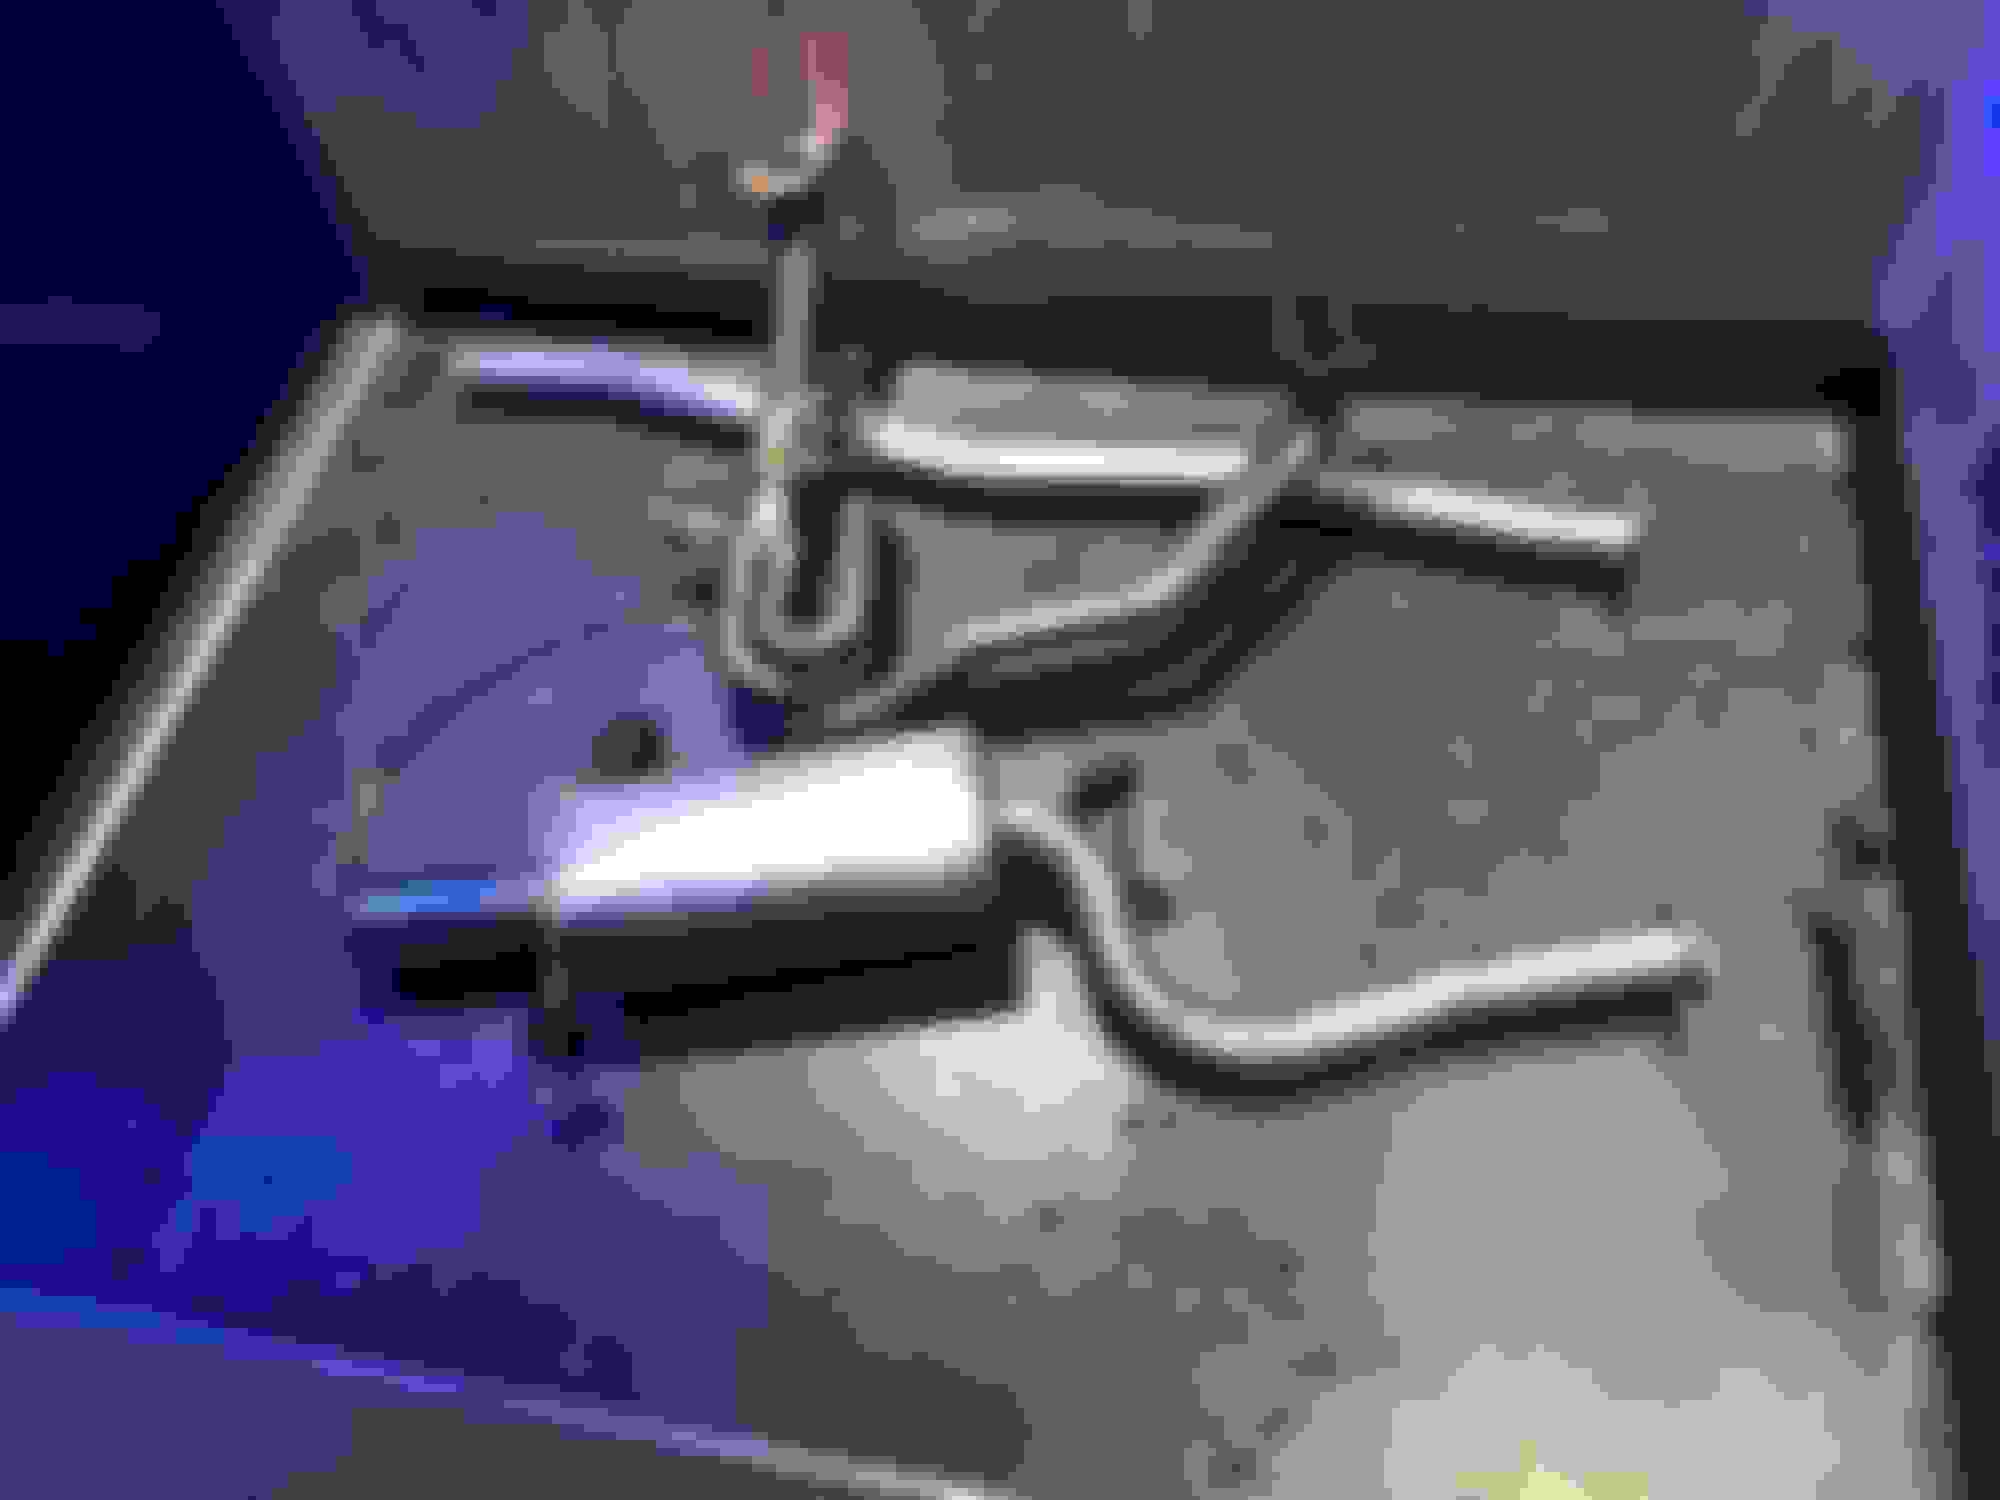
And this
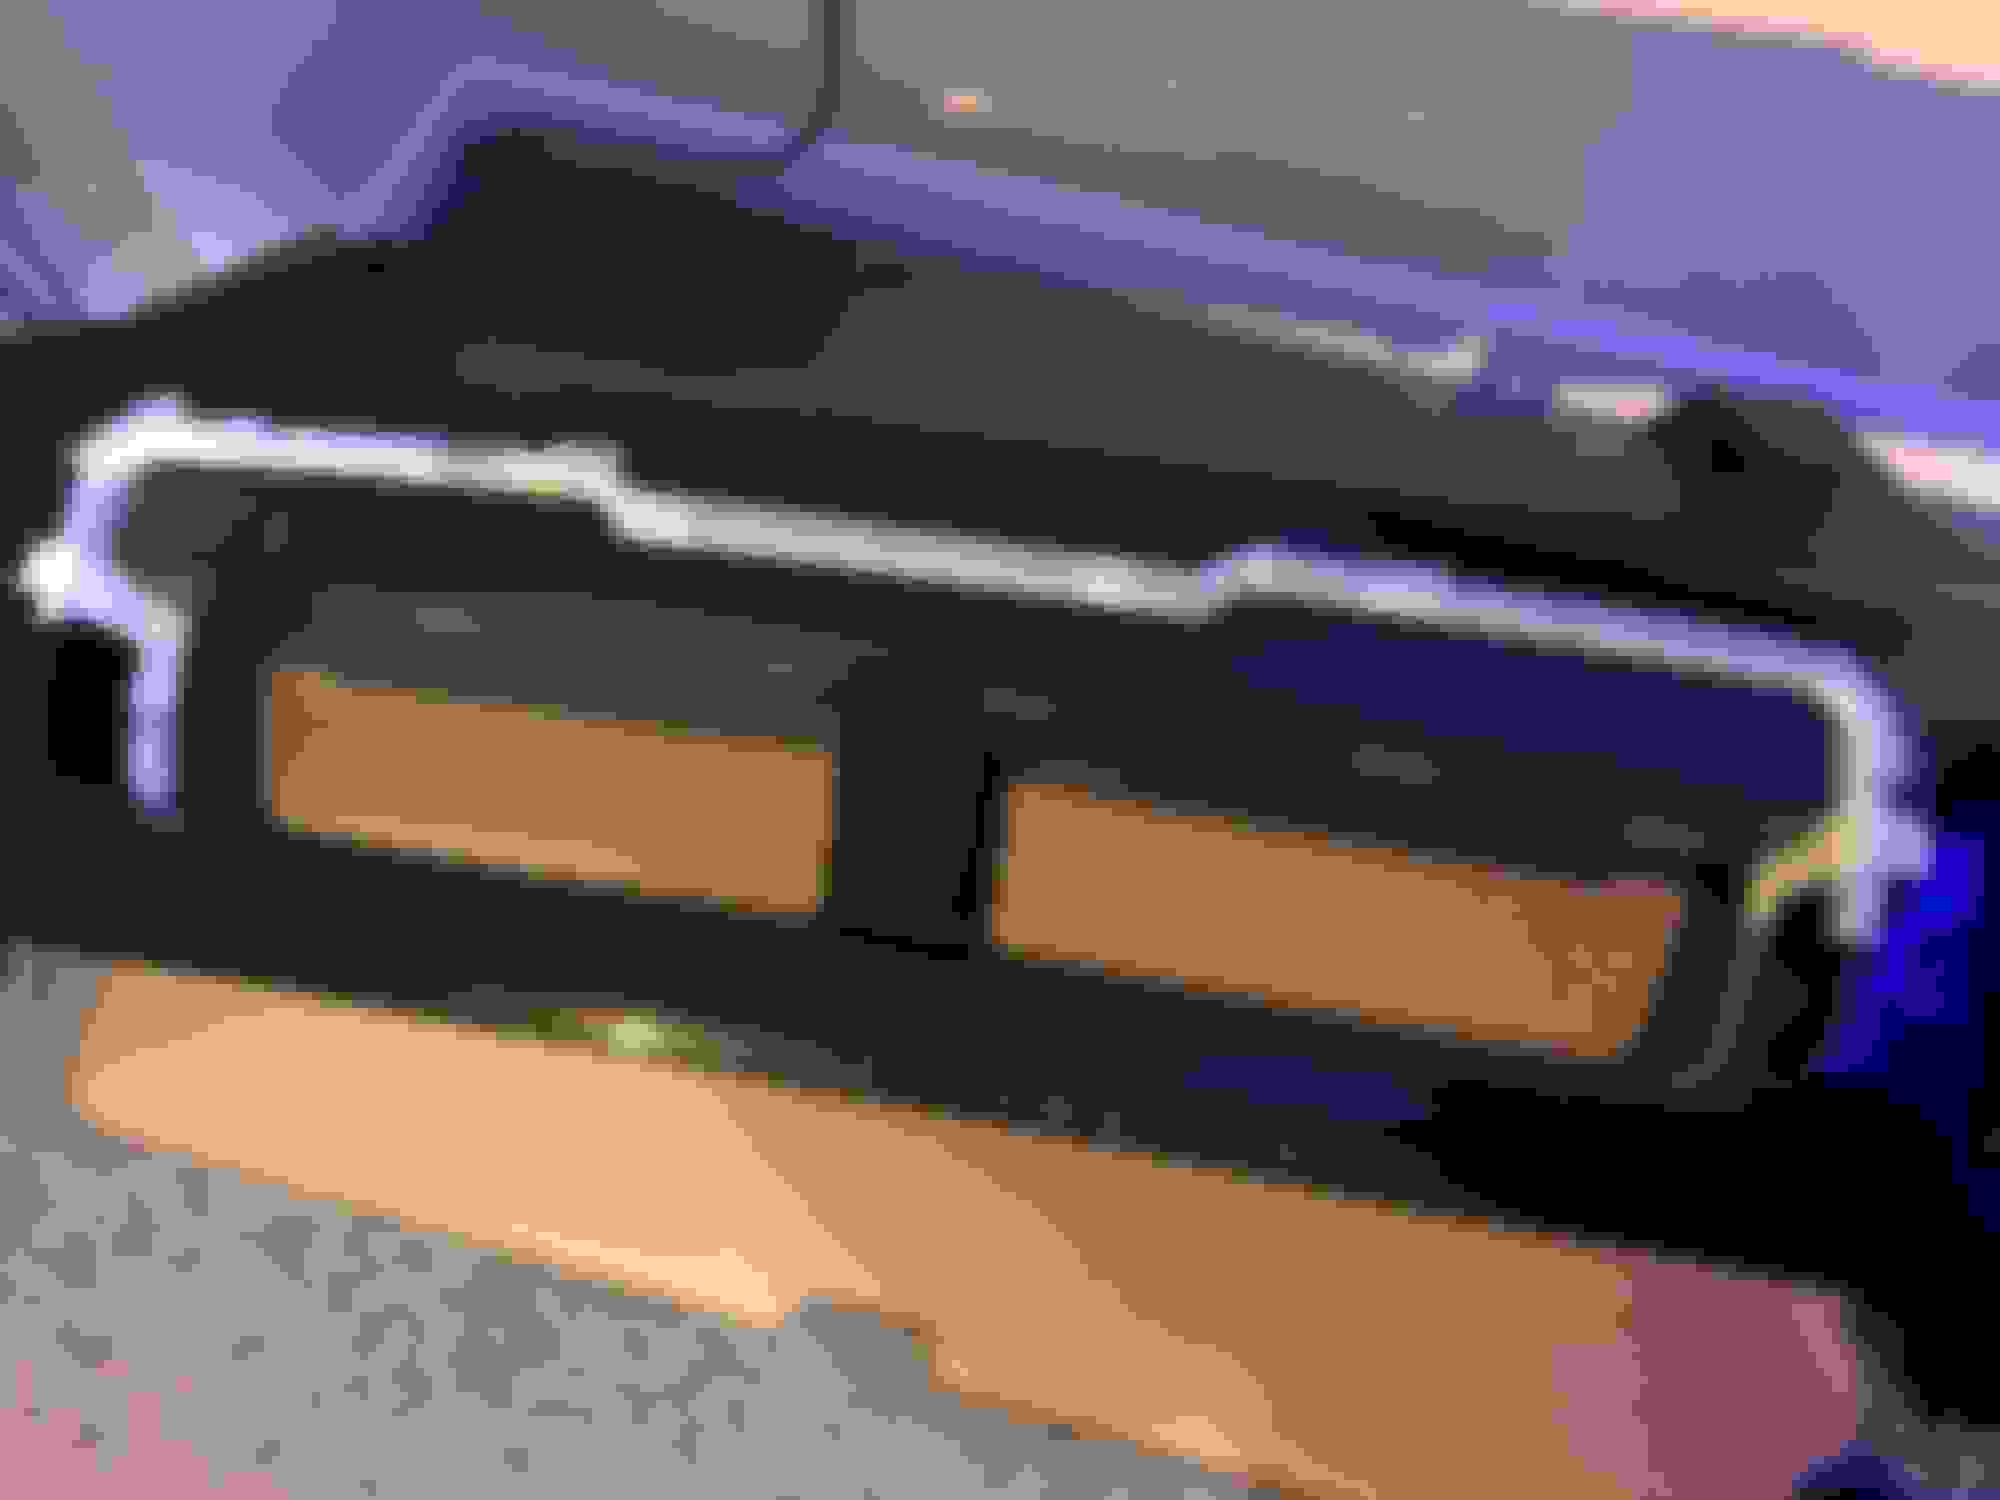
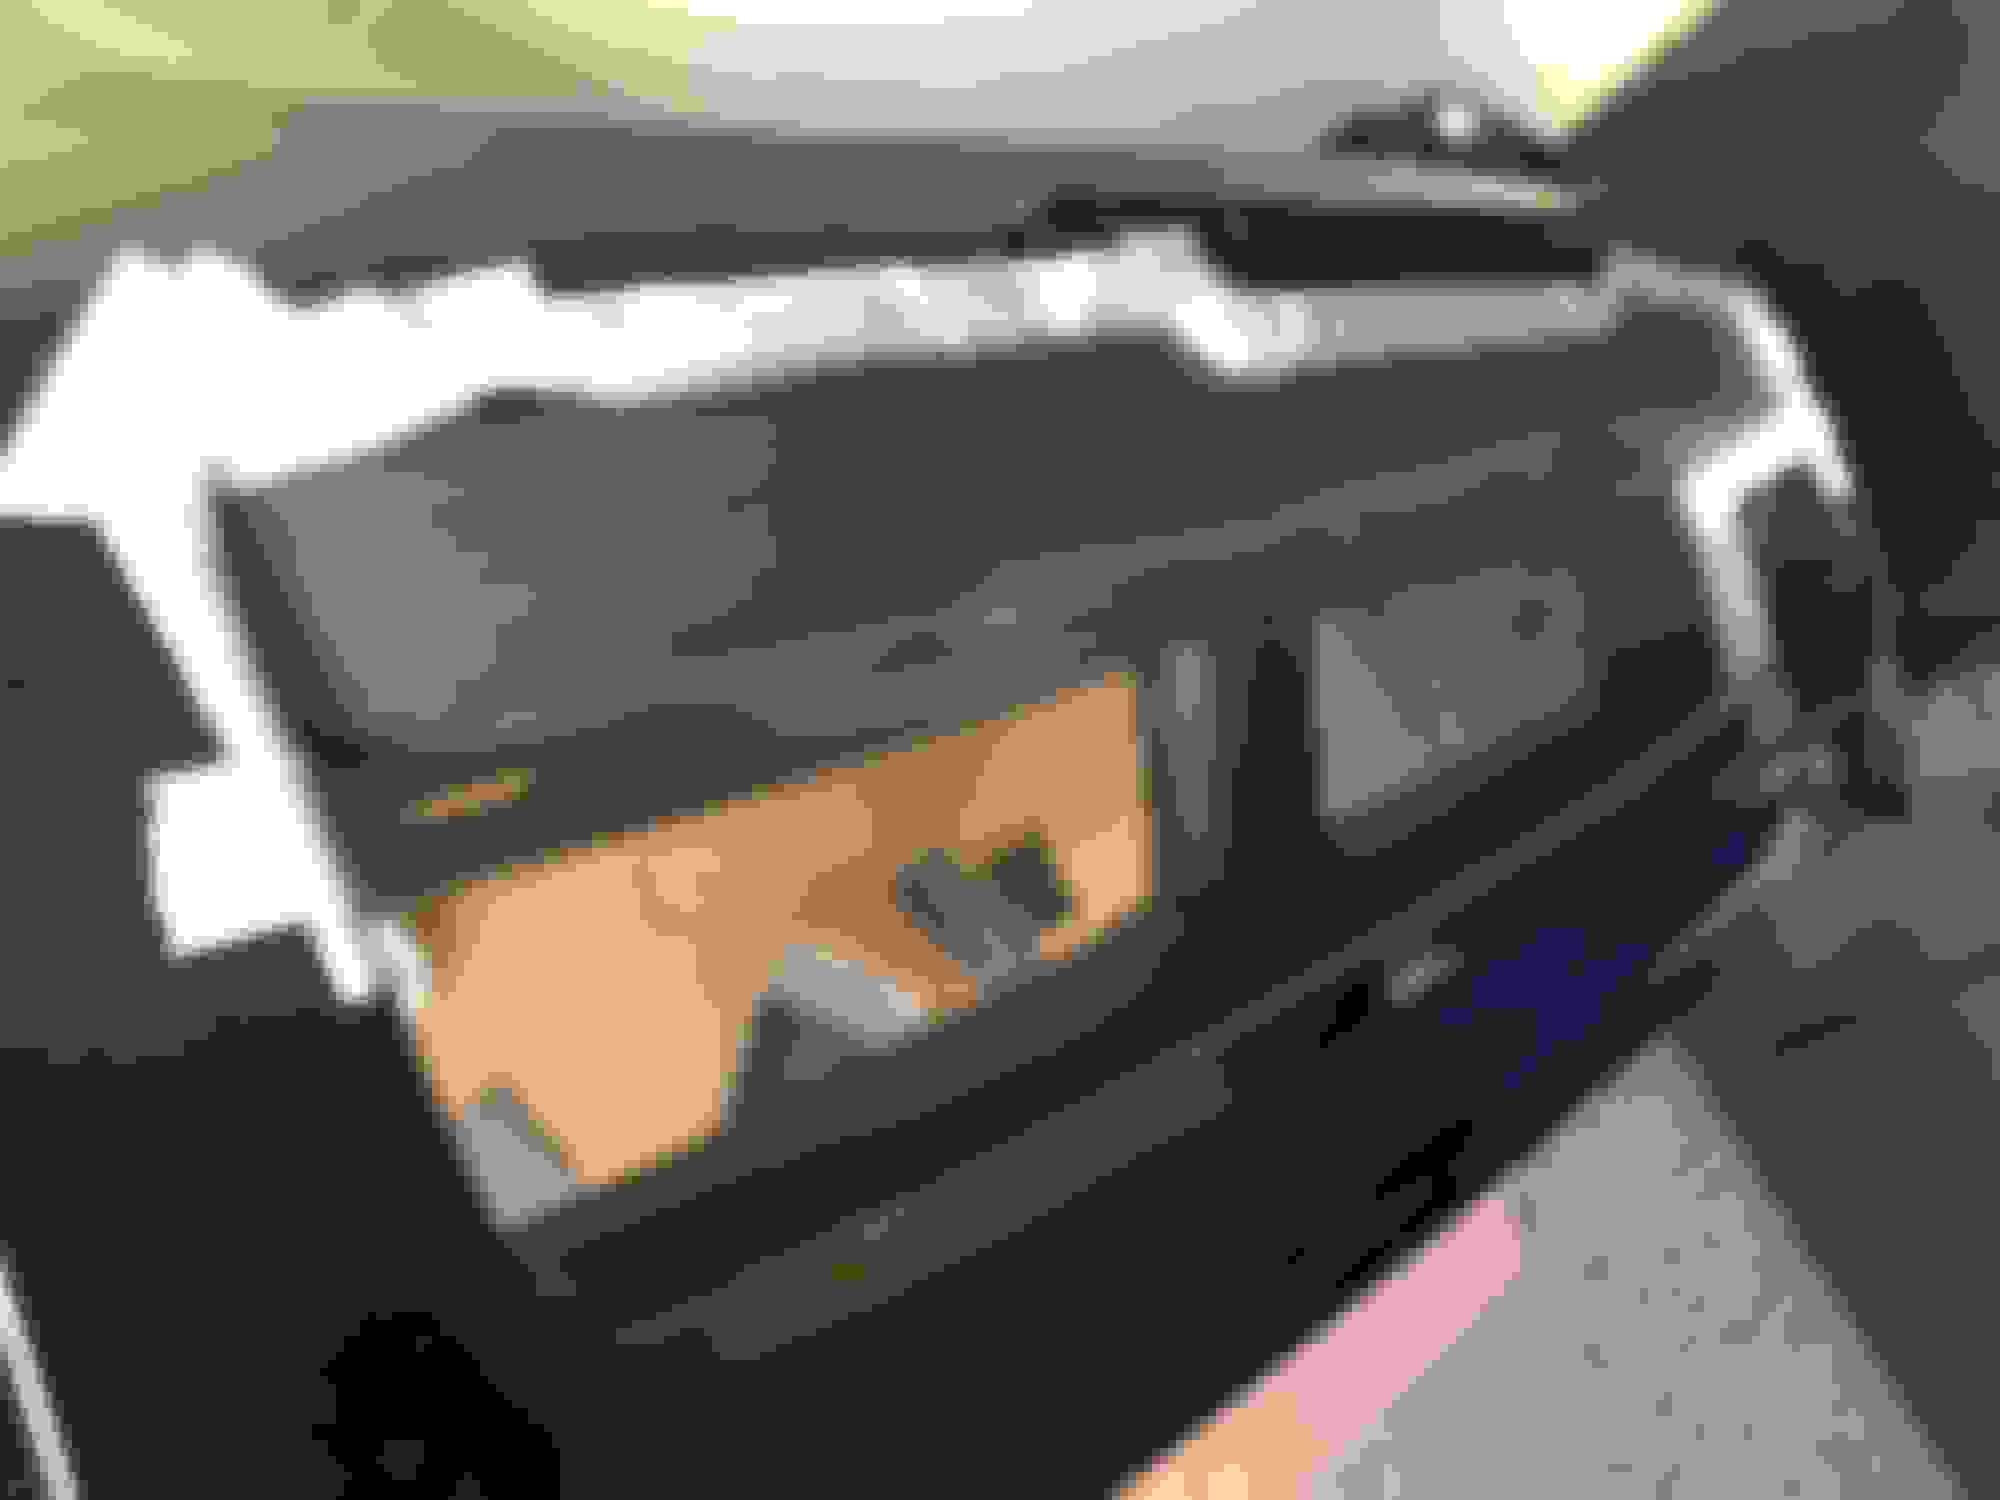
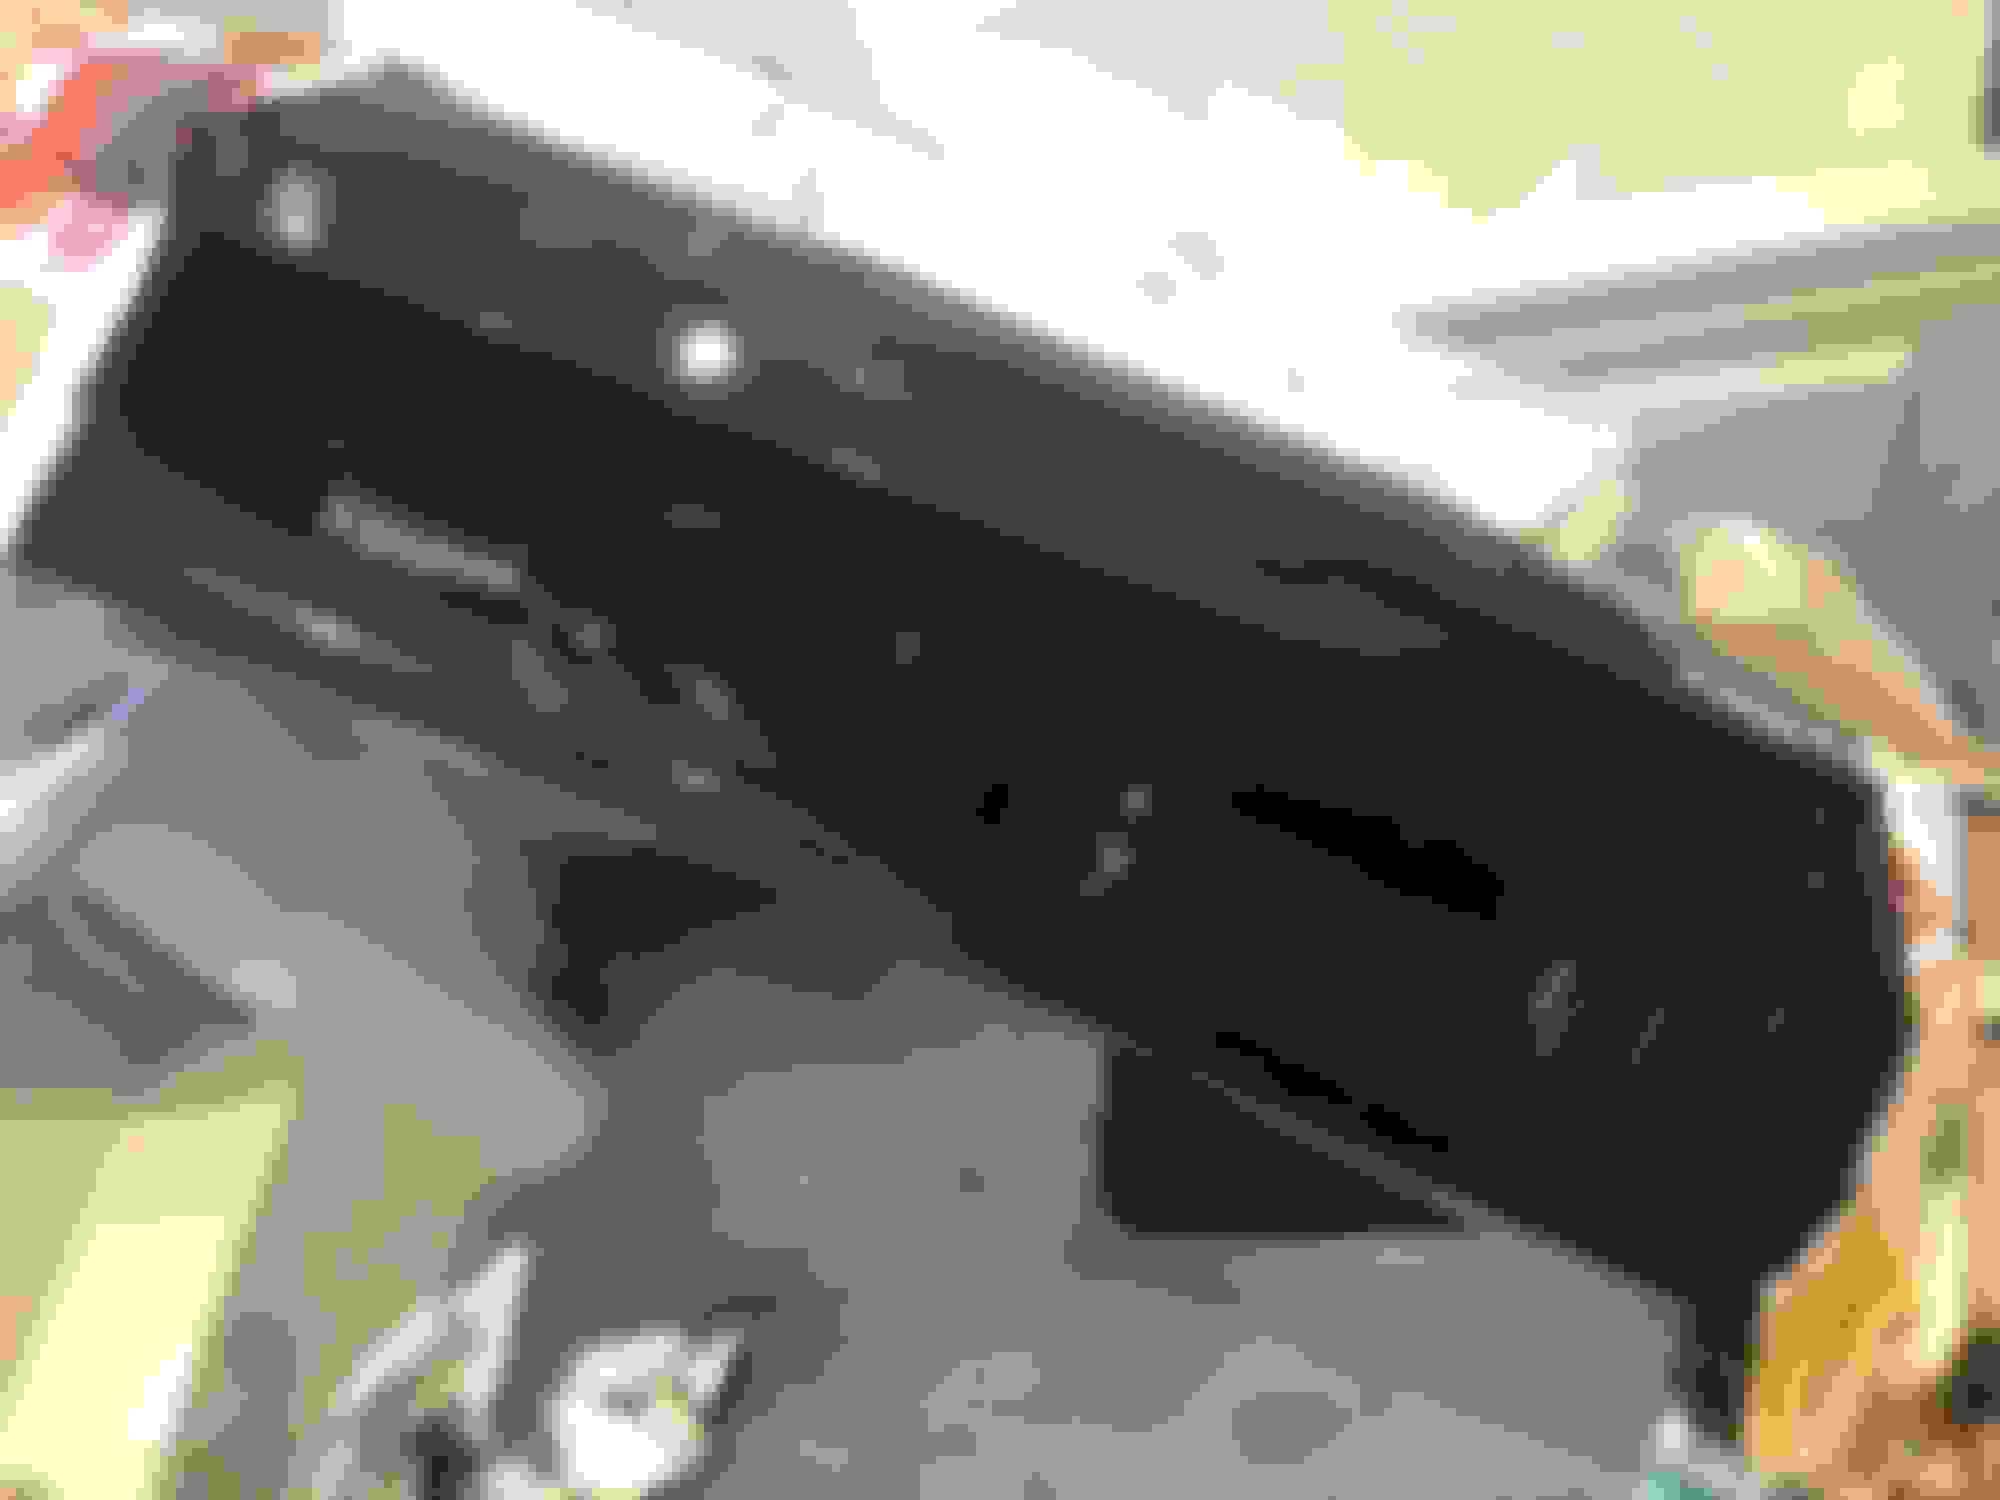
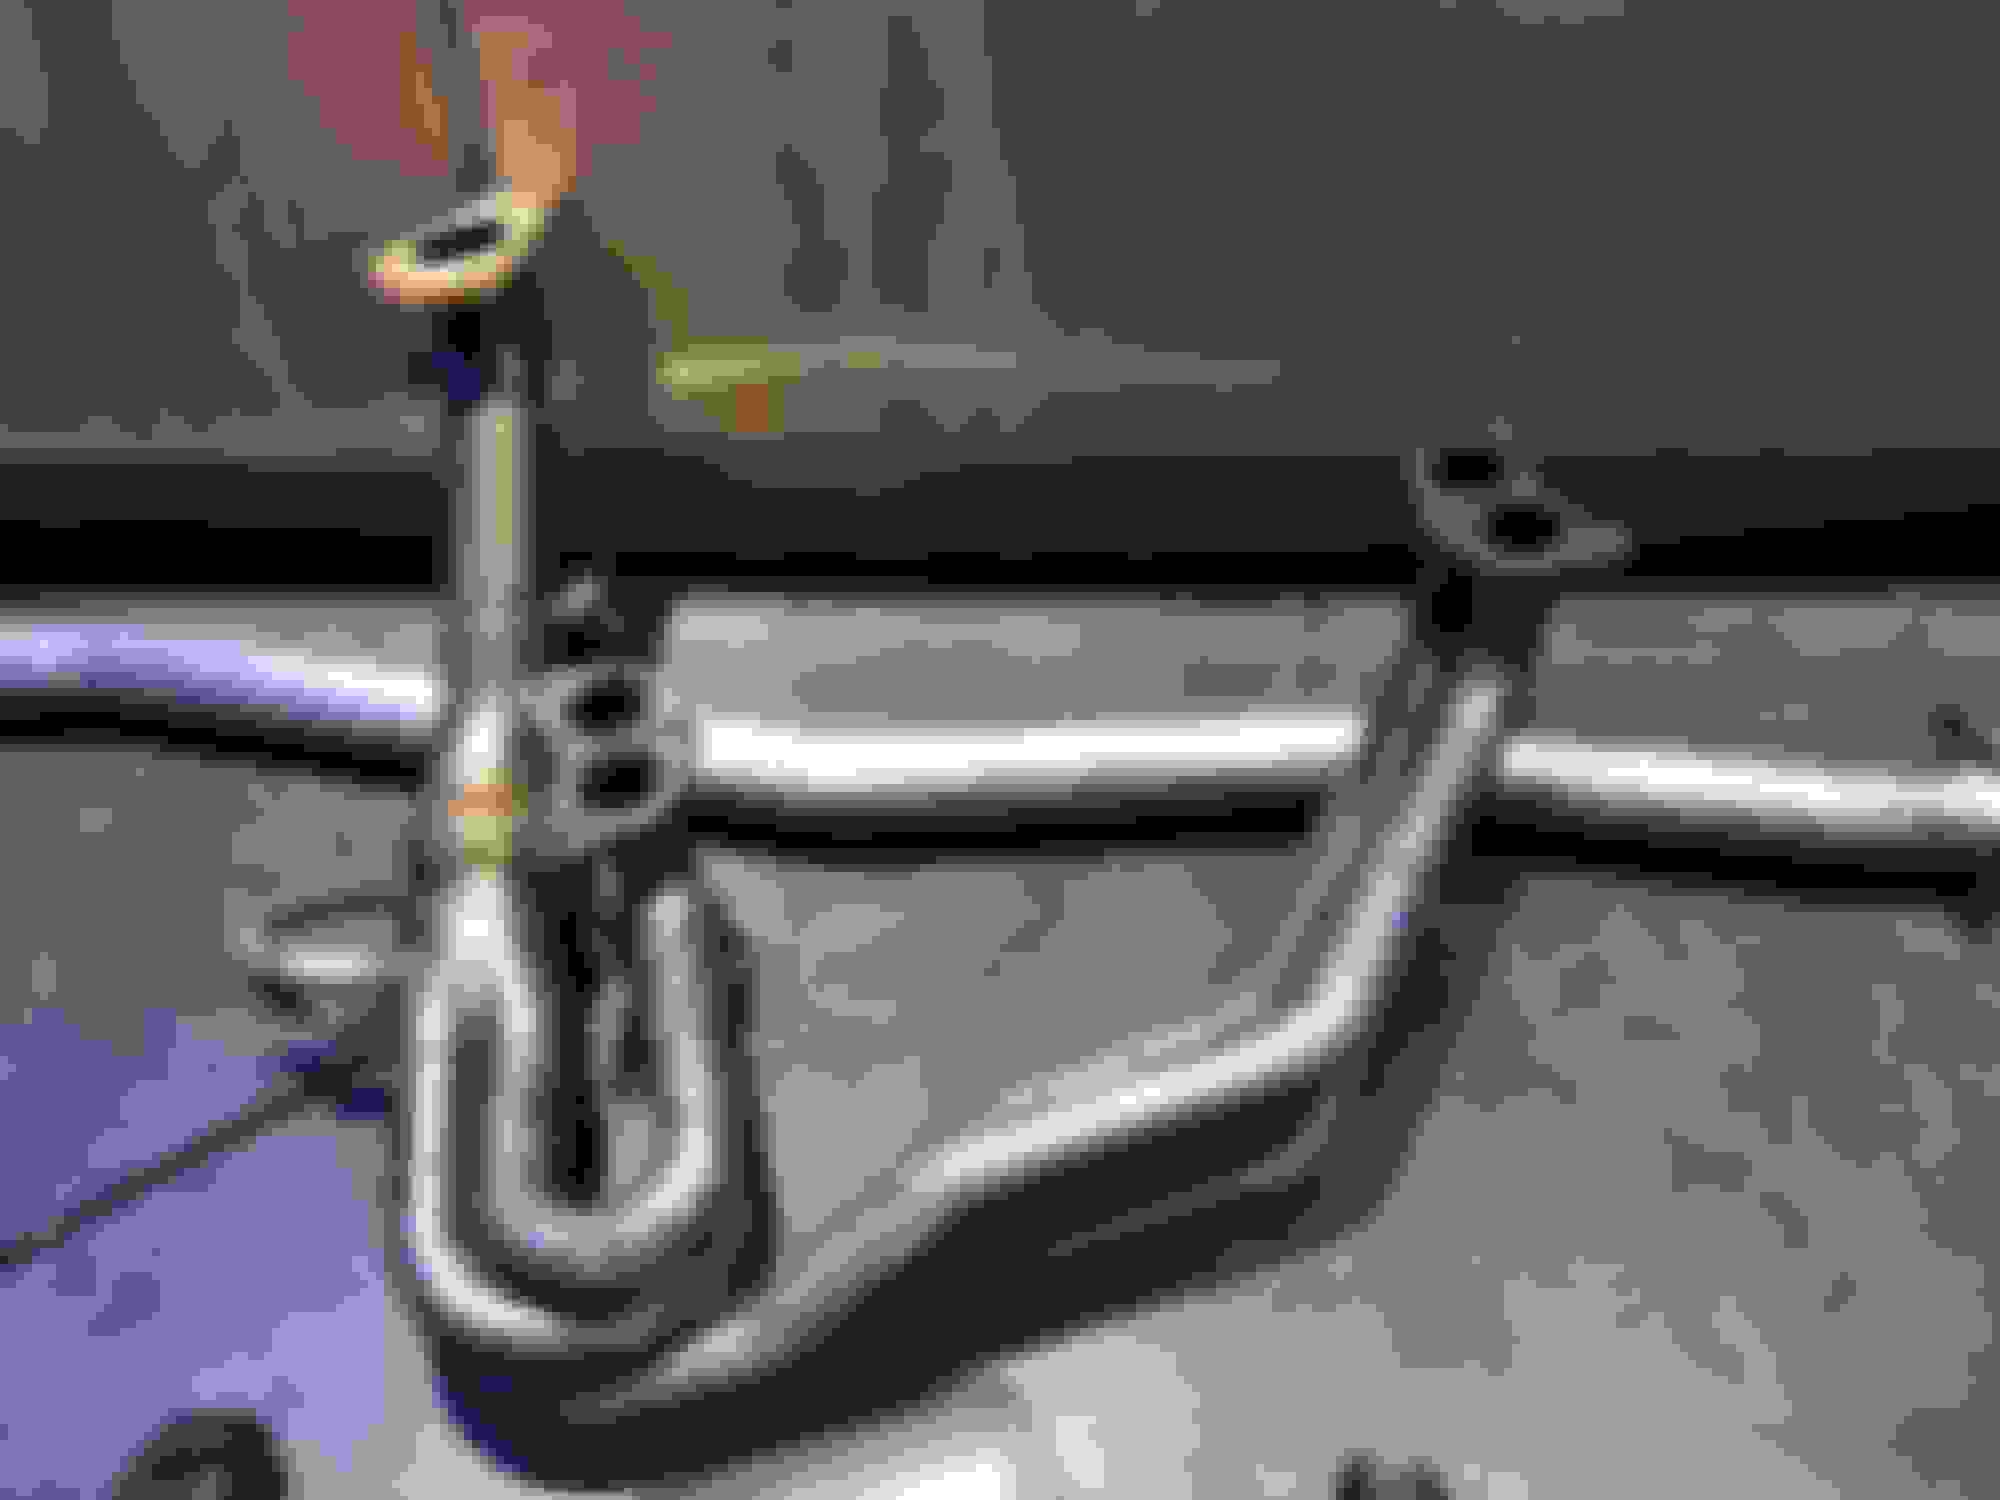
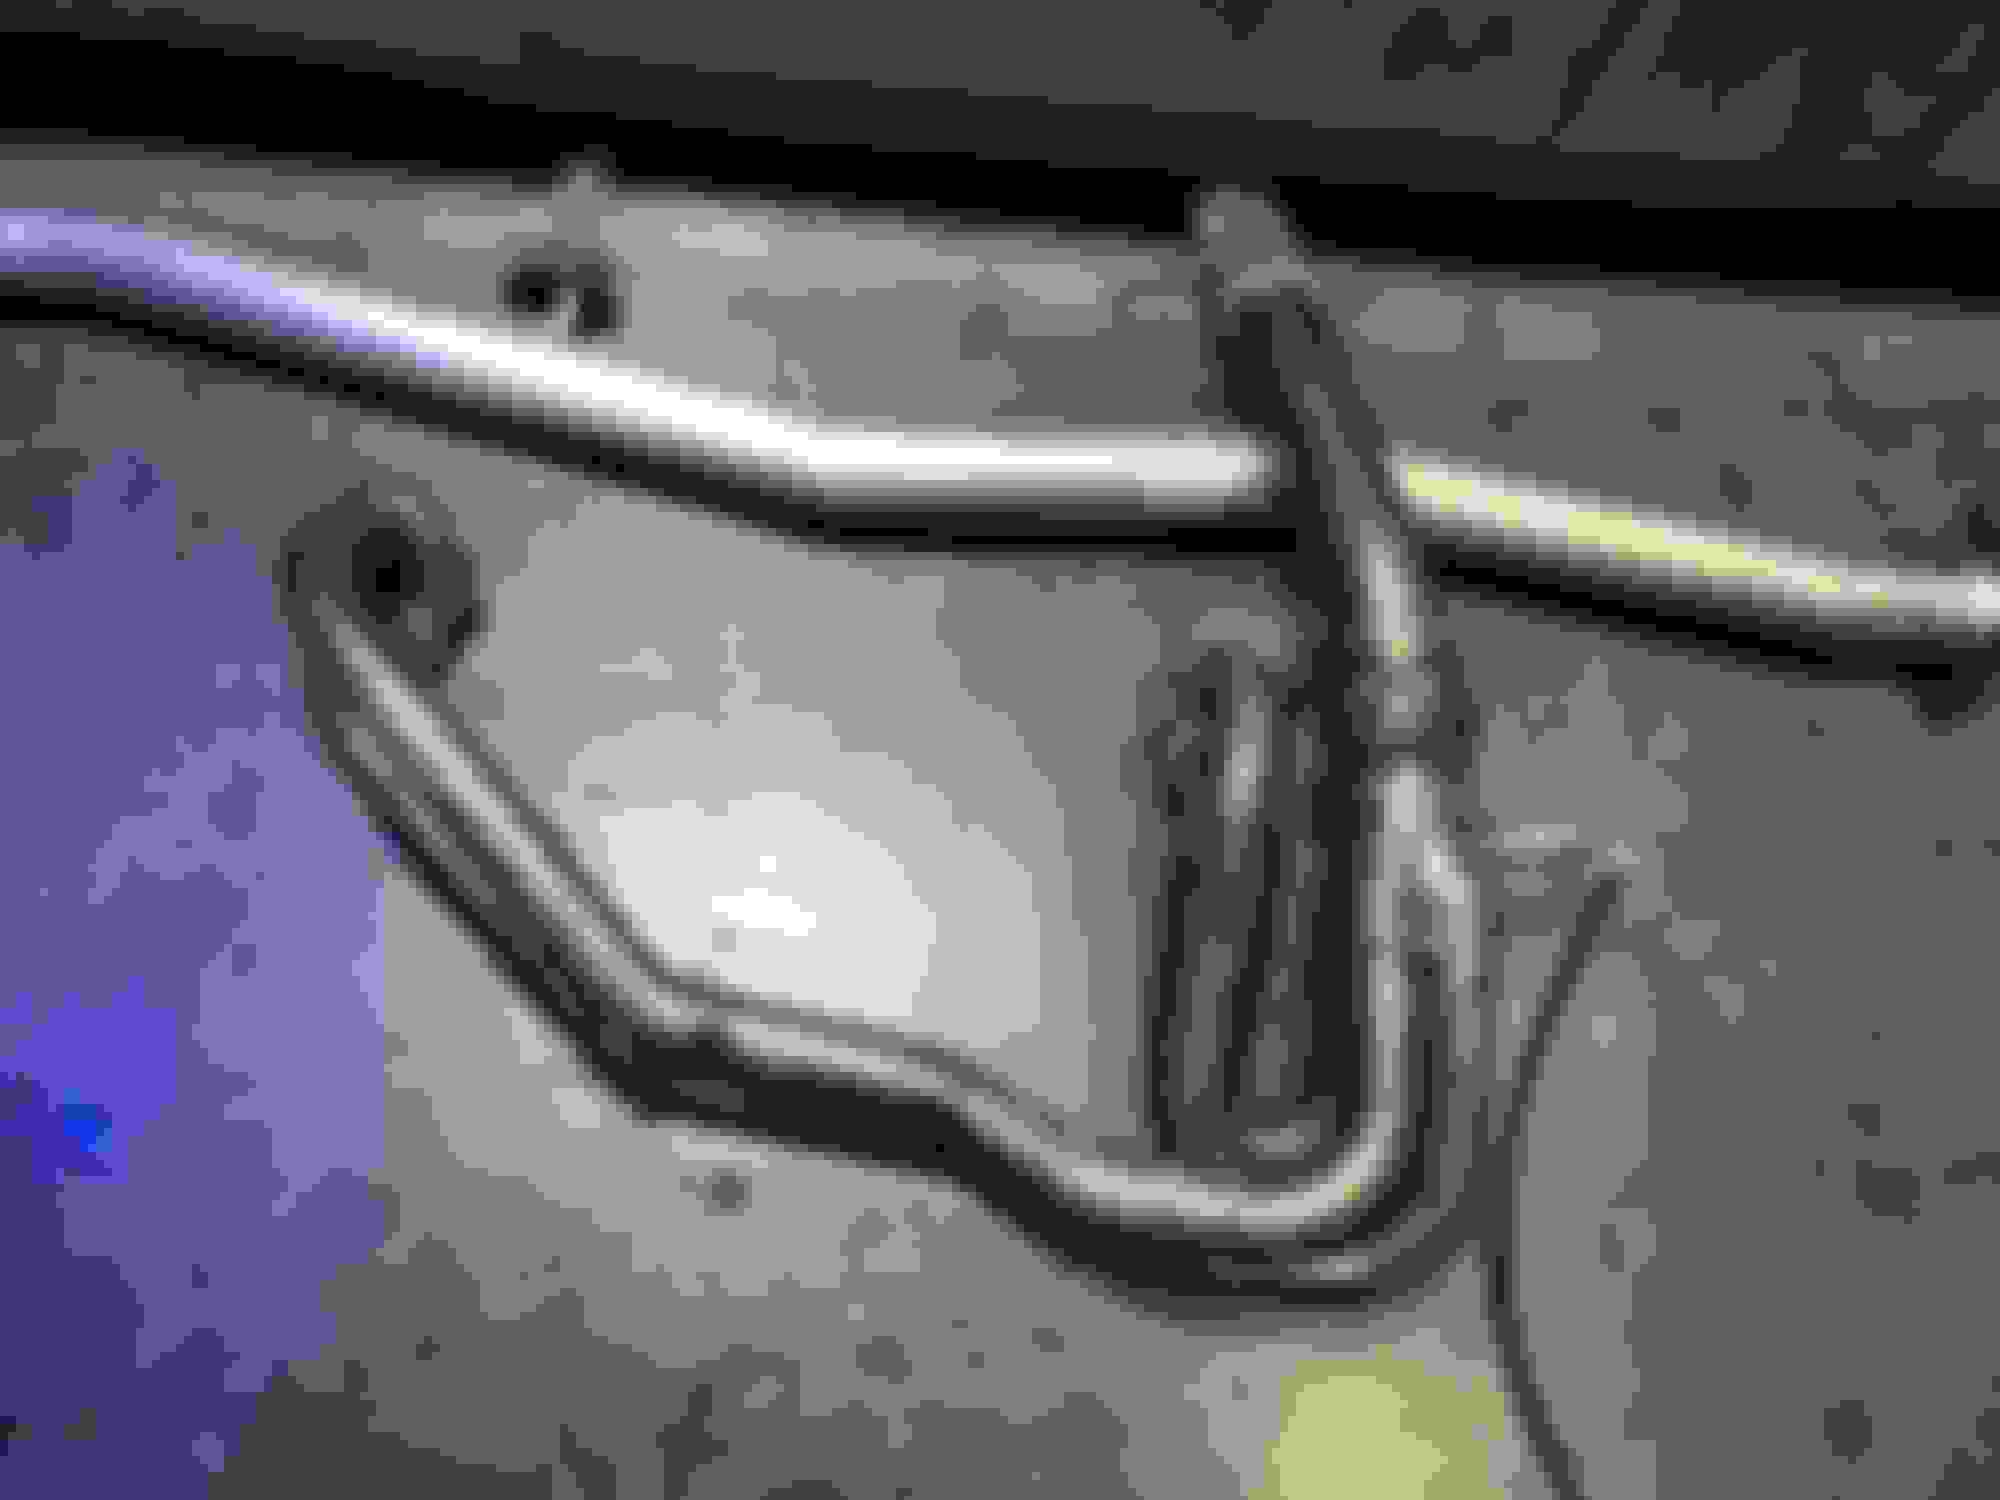
It came with a 2.5" decat downpipe too, but I am keeping my stock ProDrive sports cat. I'll replace my resonated centre section with this one & just throw this back box on for now as I've been assured it's stupidly loud & I plan on getting a Hayward & Scott angled Jap back box.
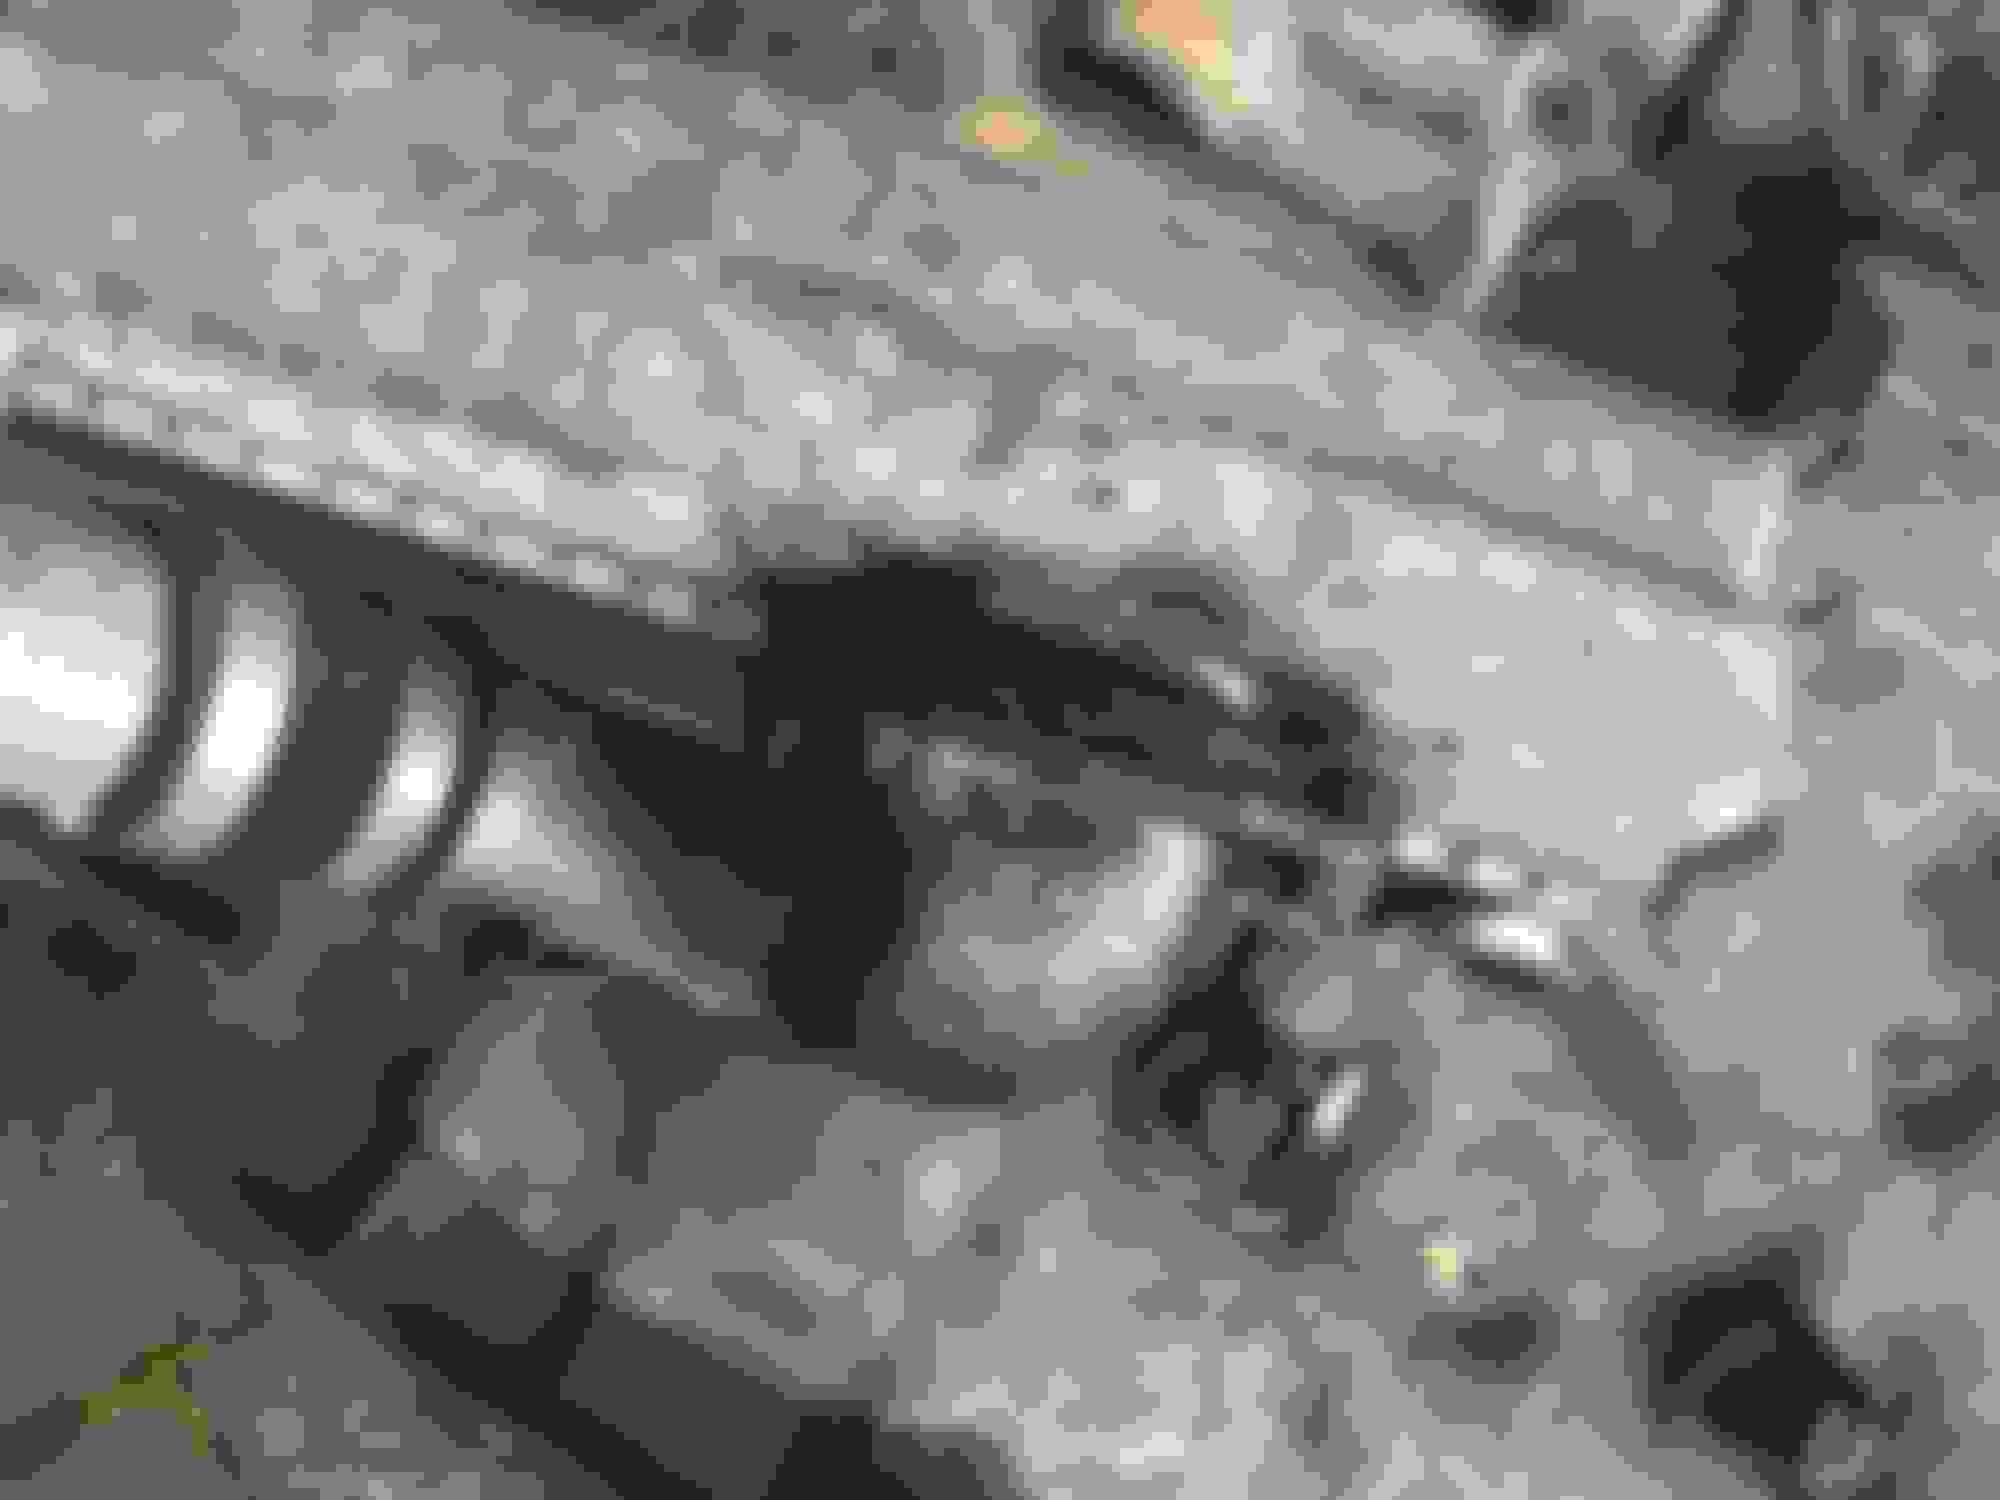
The manifold is the part I find the most interesting, definitely not shoddy Chinese crap
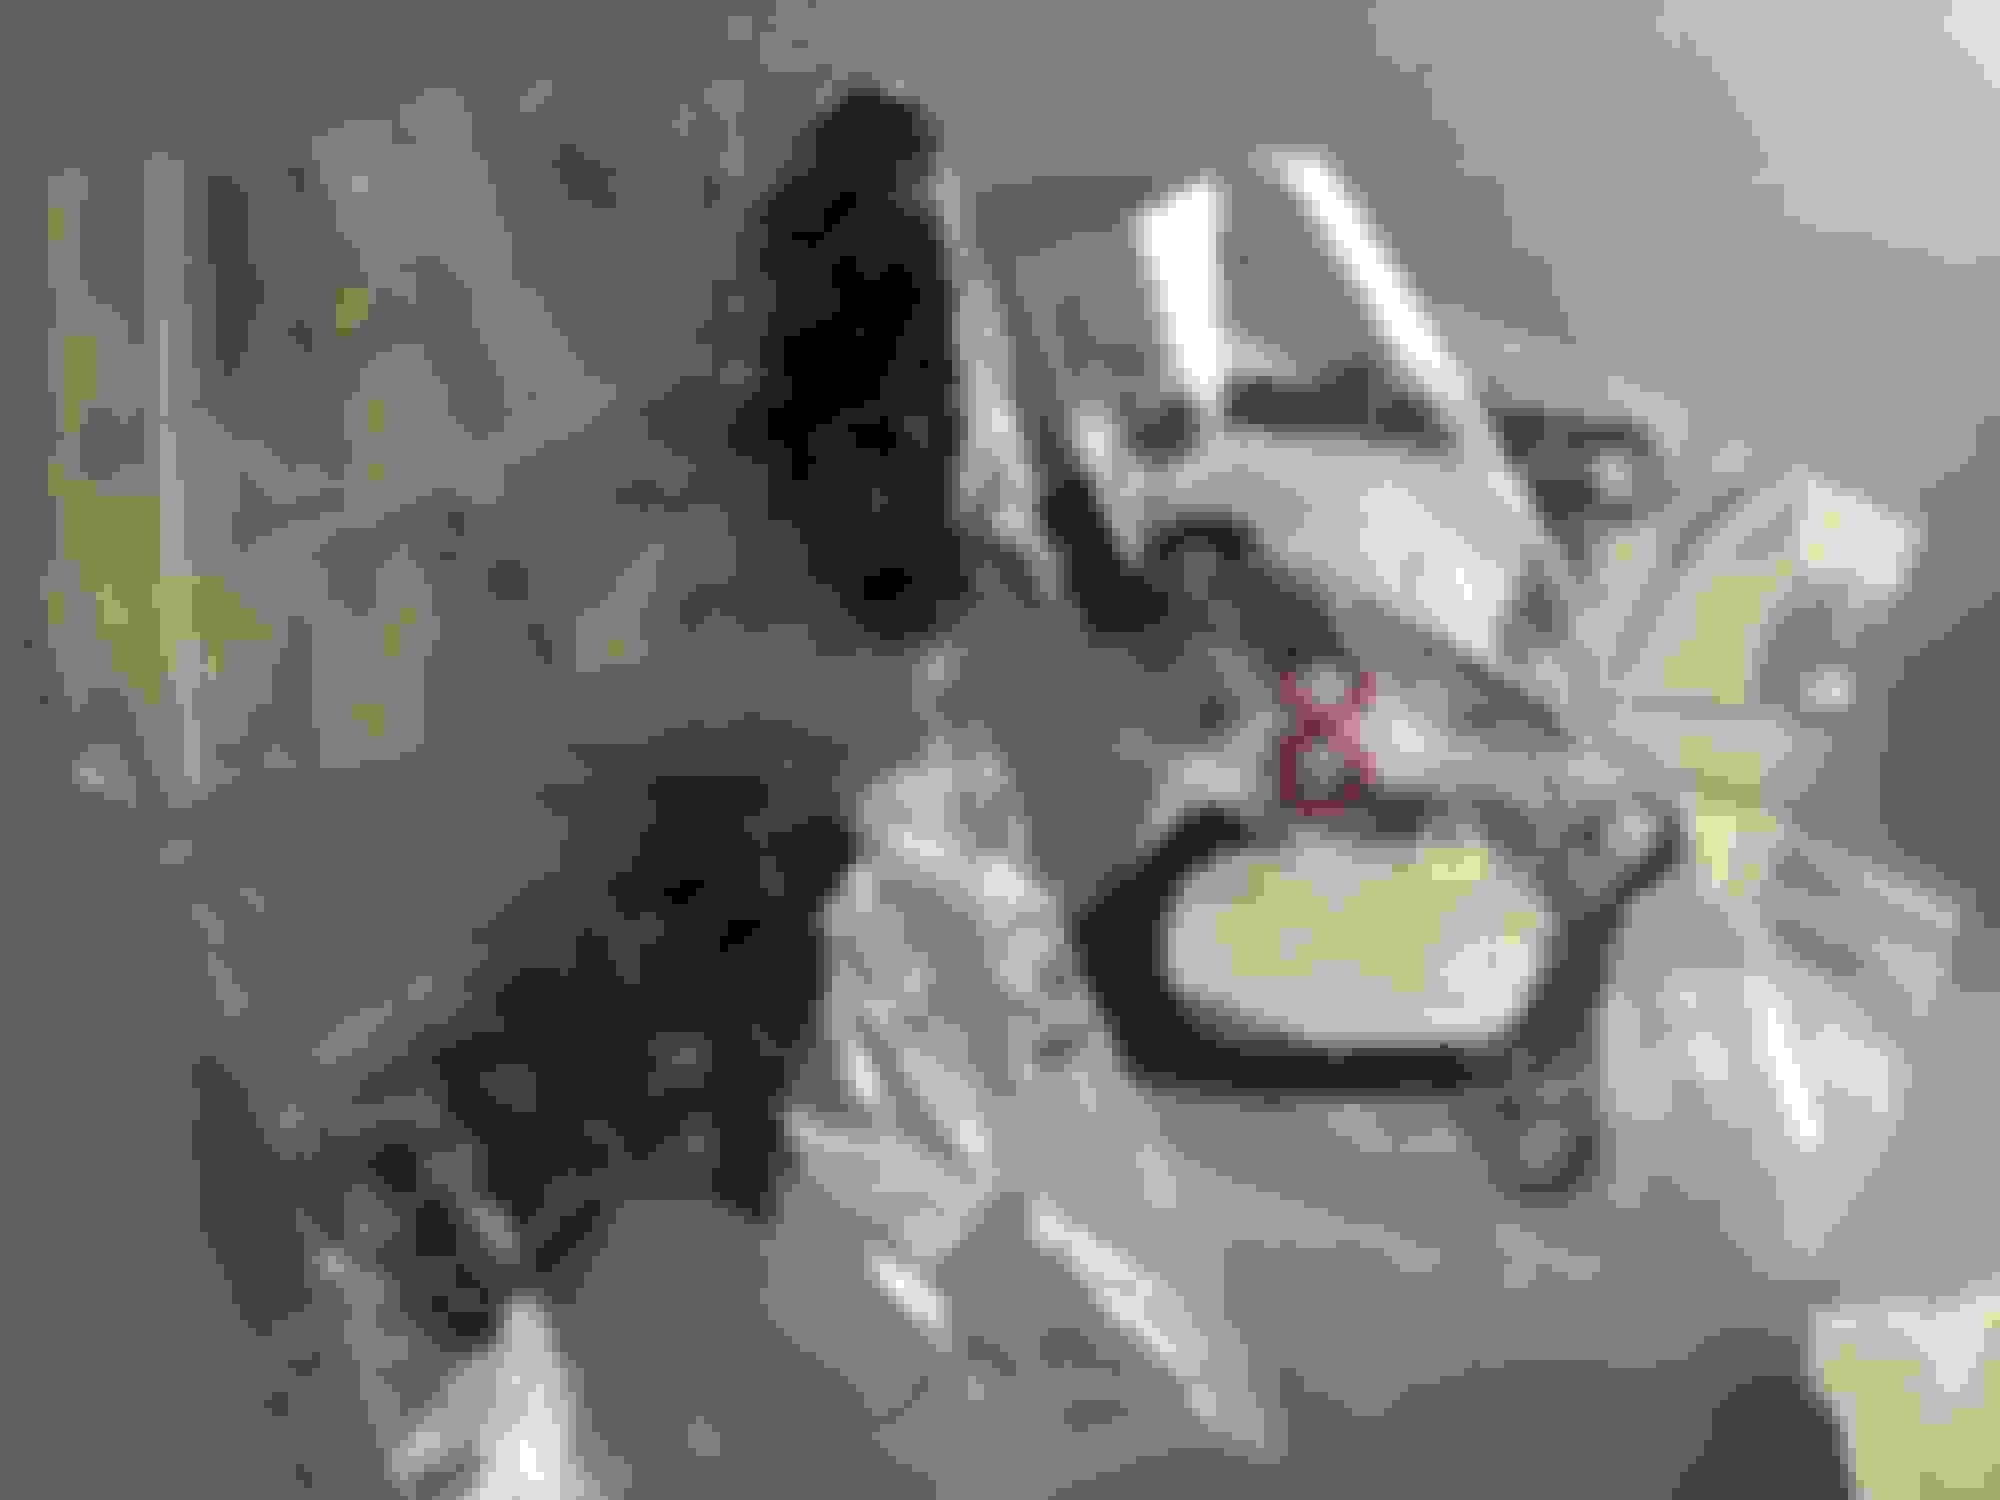
In other news I'll hopefully have these gaskets from ICP this Friday, there's a full set of intake gaskets in there too as seeing as it'll be due a dyno setup I might as well get carried away & do everything all in one hit...
These are on there way as well (can anyone tell me how long the stock bolts are that join the TGV assemblies to the heads)....
So apart from that I need to sort out some TGV deletes & do some homework on the fault removal - I am assuming I can remove the motor & leave it connected so the car thinks it working & doesn't go into limp mode?
I'll also get the intake manifold powdercoated (Black obviously ) before it all goes back together.
And then I won some TGV deletes on that auction site
Stock ones which have been welded, that weigh in at a fraction of the cost of billet ones (also means as & when it'll be a straight swap & I can keep my stock originals).
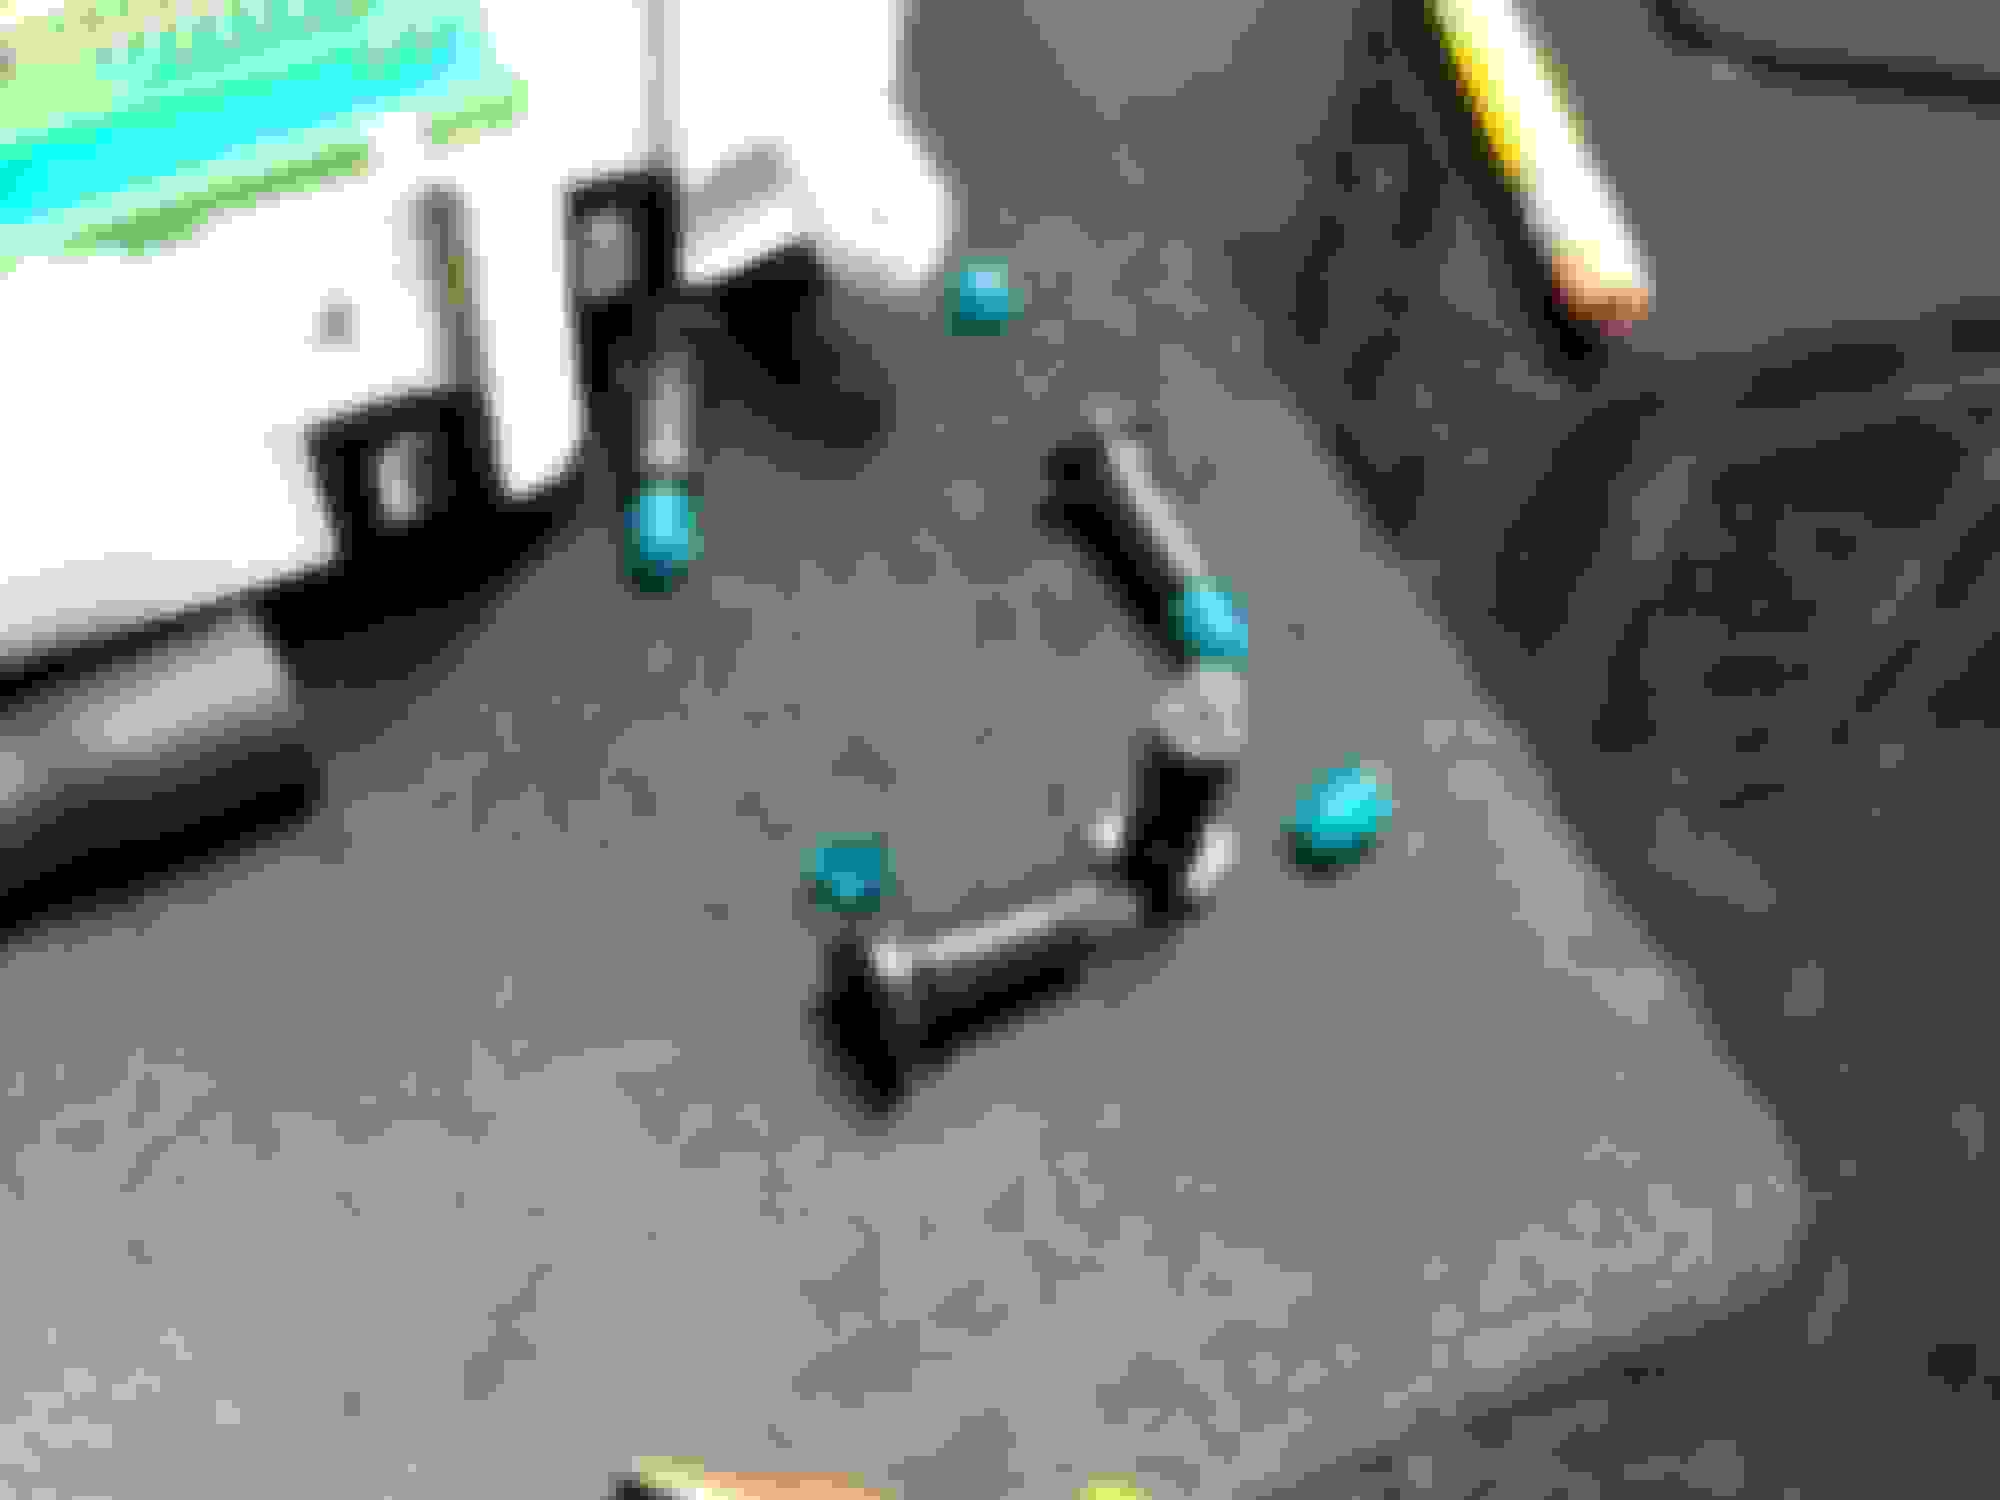
Need to add fuel injector O-rings to the Christmas list


 . Thinking out loud here, but I have one hang up with this car, don't get me wrong it's great & I can't think of anything else (I could afford) that I'd rather be driving...


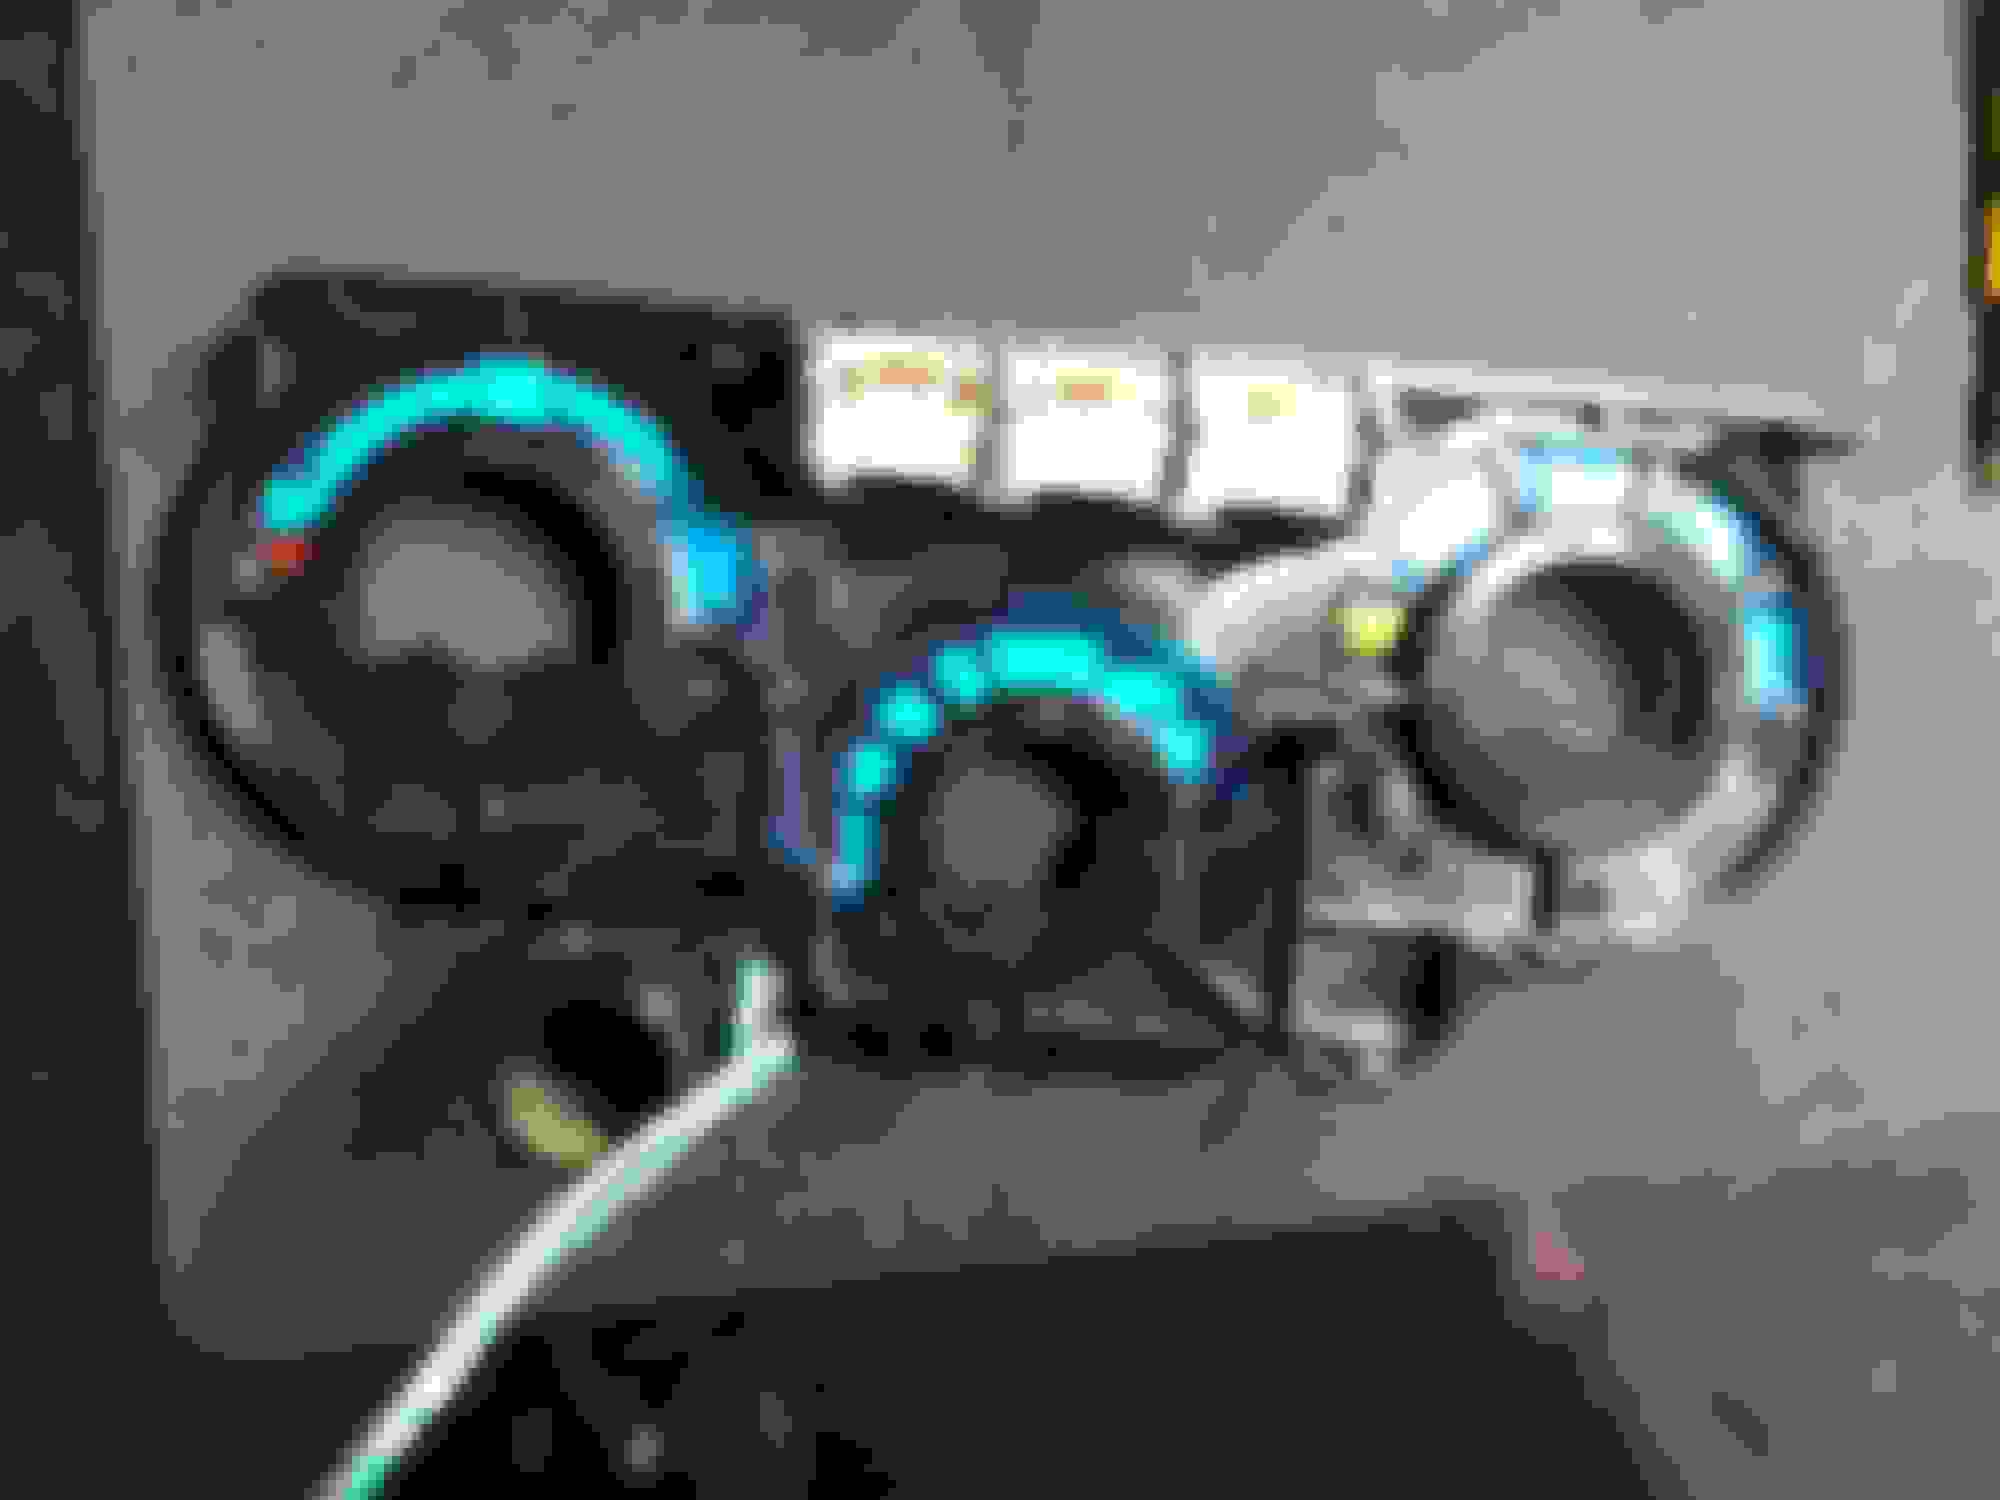


 (darker blue film on order)...


 , the depth of the sound is now phenomenal (& I've since noticed now my TV speakers sound like sh*t


 ) before it all goes back together.