When you click on links to various merchants on this site and make a purchase, this can result in this site earning a commission. Affiliate programs and affiliations include, but are not limited to, the eBay Partner Network.
Afaik it is mappable but not as many features as the v2.0,no twin maps but i'm not sure on what else is 'less' features than the new board.
Bargain for 70 quid tho.
Good coating of rattle can satin black and clear coat That is some shine after a polish Looking fresh! Finished the bonnet love how shiny and glossy ita come out.
so got the bonnet all sprayed up, and polished. Very very happy with the results, even the rattle can side vents are better than OEM finish.
Looks like my �200 budget for respraying the car in white is gonna work out. And I should have plenty paint left over for any future touch ups.
Its a good job body work is coming in so low cos my original 2k budget for engine work has been blown out the water already.
machining of the block cost me �400 which was unexpected but fingers crossed its a good job. Should be getting it back hopefully Monday.
Hot off the press Some very minor orange peel. Wont take much of a wetsand to glass this out.yahoo Got the rest of the wide arch painted
you beat me to it Avery, I'm sticking with the pre face lift bumper for now.
Hot off the press Some very minor orange peel. Wont take much of a wetsand to glass this out.yahoo Got the rest of the wide arch painted
you beat me to it Avery, I'm sticking with the pre face lift bumper for now.
Ok come on how did you sand the bumper down sufficiently. I bought a spare bumper for my bug eye with the intention of spraying it myself as a learn how project. No matter what I did I couldn't get in all the stupid nooks and crannies of it.
I used sponge sanding pads in various grits. But for the tight nooks and crannies, all I did was cable tie the sponge pad onto the end of a pencil so it was shaped like a ball. And used it in a cordless drill on low speed. Works a treat!
Apollo spraymate fishbowlhead ! Best �90 spent yet. Best electric spraygun you can buy for the money in my opinion. I've used it for everything, painting the house, the fence and now the car lol
Cheeky before and after on the heads Heads and inlet refurbed
so I got the heads skimmed and managed to check clearances, renewed the stems and managed to get a lick of paint on the inlet as well.
I'll wrap these up for when I rebuild. All is looking good now. Getting good vibes about the project
Whats this arrived?!! Its only my feckin block! Yahoo. Oosh! Bores brand new again Tasty new block Manley rods arrived as well Manleys with arp 2000 bolts
its a good day today. My block is back and looking fantastic. All thanks to precision engine services of Inverness. Everything about the machining screams professional. Even down to the packaging they sent it back in.
So that my block as good as new, 92.5mm bores. And the Manley h beam forged rods look the business!
I'll give the oil squirters a refurb and order some new block bolts, gaskets and sealant. Then the fun can really begin.
Still undecided on pistons. Any thoughts anyone? I'm currently looking at wisecos or mahle.
Hopefully once I'm finished the old scoob will be bullet proof
Fresh paint on the roof Oh yes! This weekend finished up with me painting the roof. No orange peel at all this time, but I'll give it a wet sand anyway before I polish it up. Hardest part is leaving it for a week or 2, to let it fully harden.
once again this was hit with upol rattle can satin black (spare cans I had lying about) and gunned over with upol 1k RFU lacquer. Great stuff
Other news, got myself some torque wrences and a clock for the 90degree part of the tightening up sequence.
once im all resprayed, Engine build coming soon......
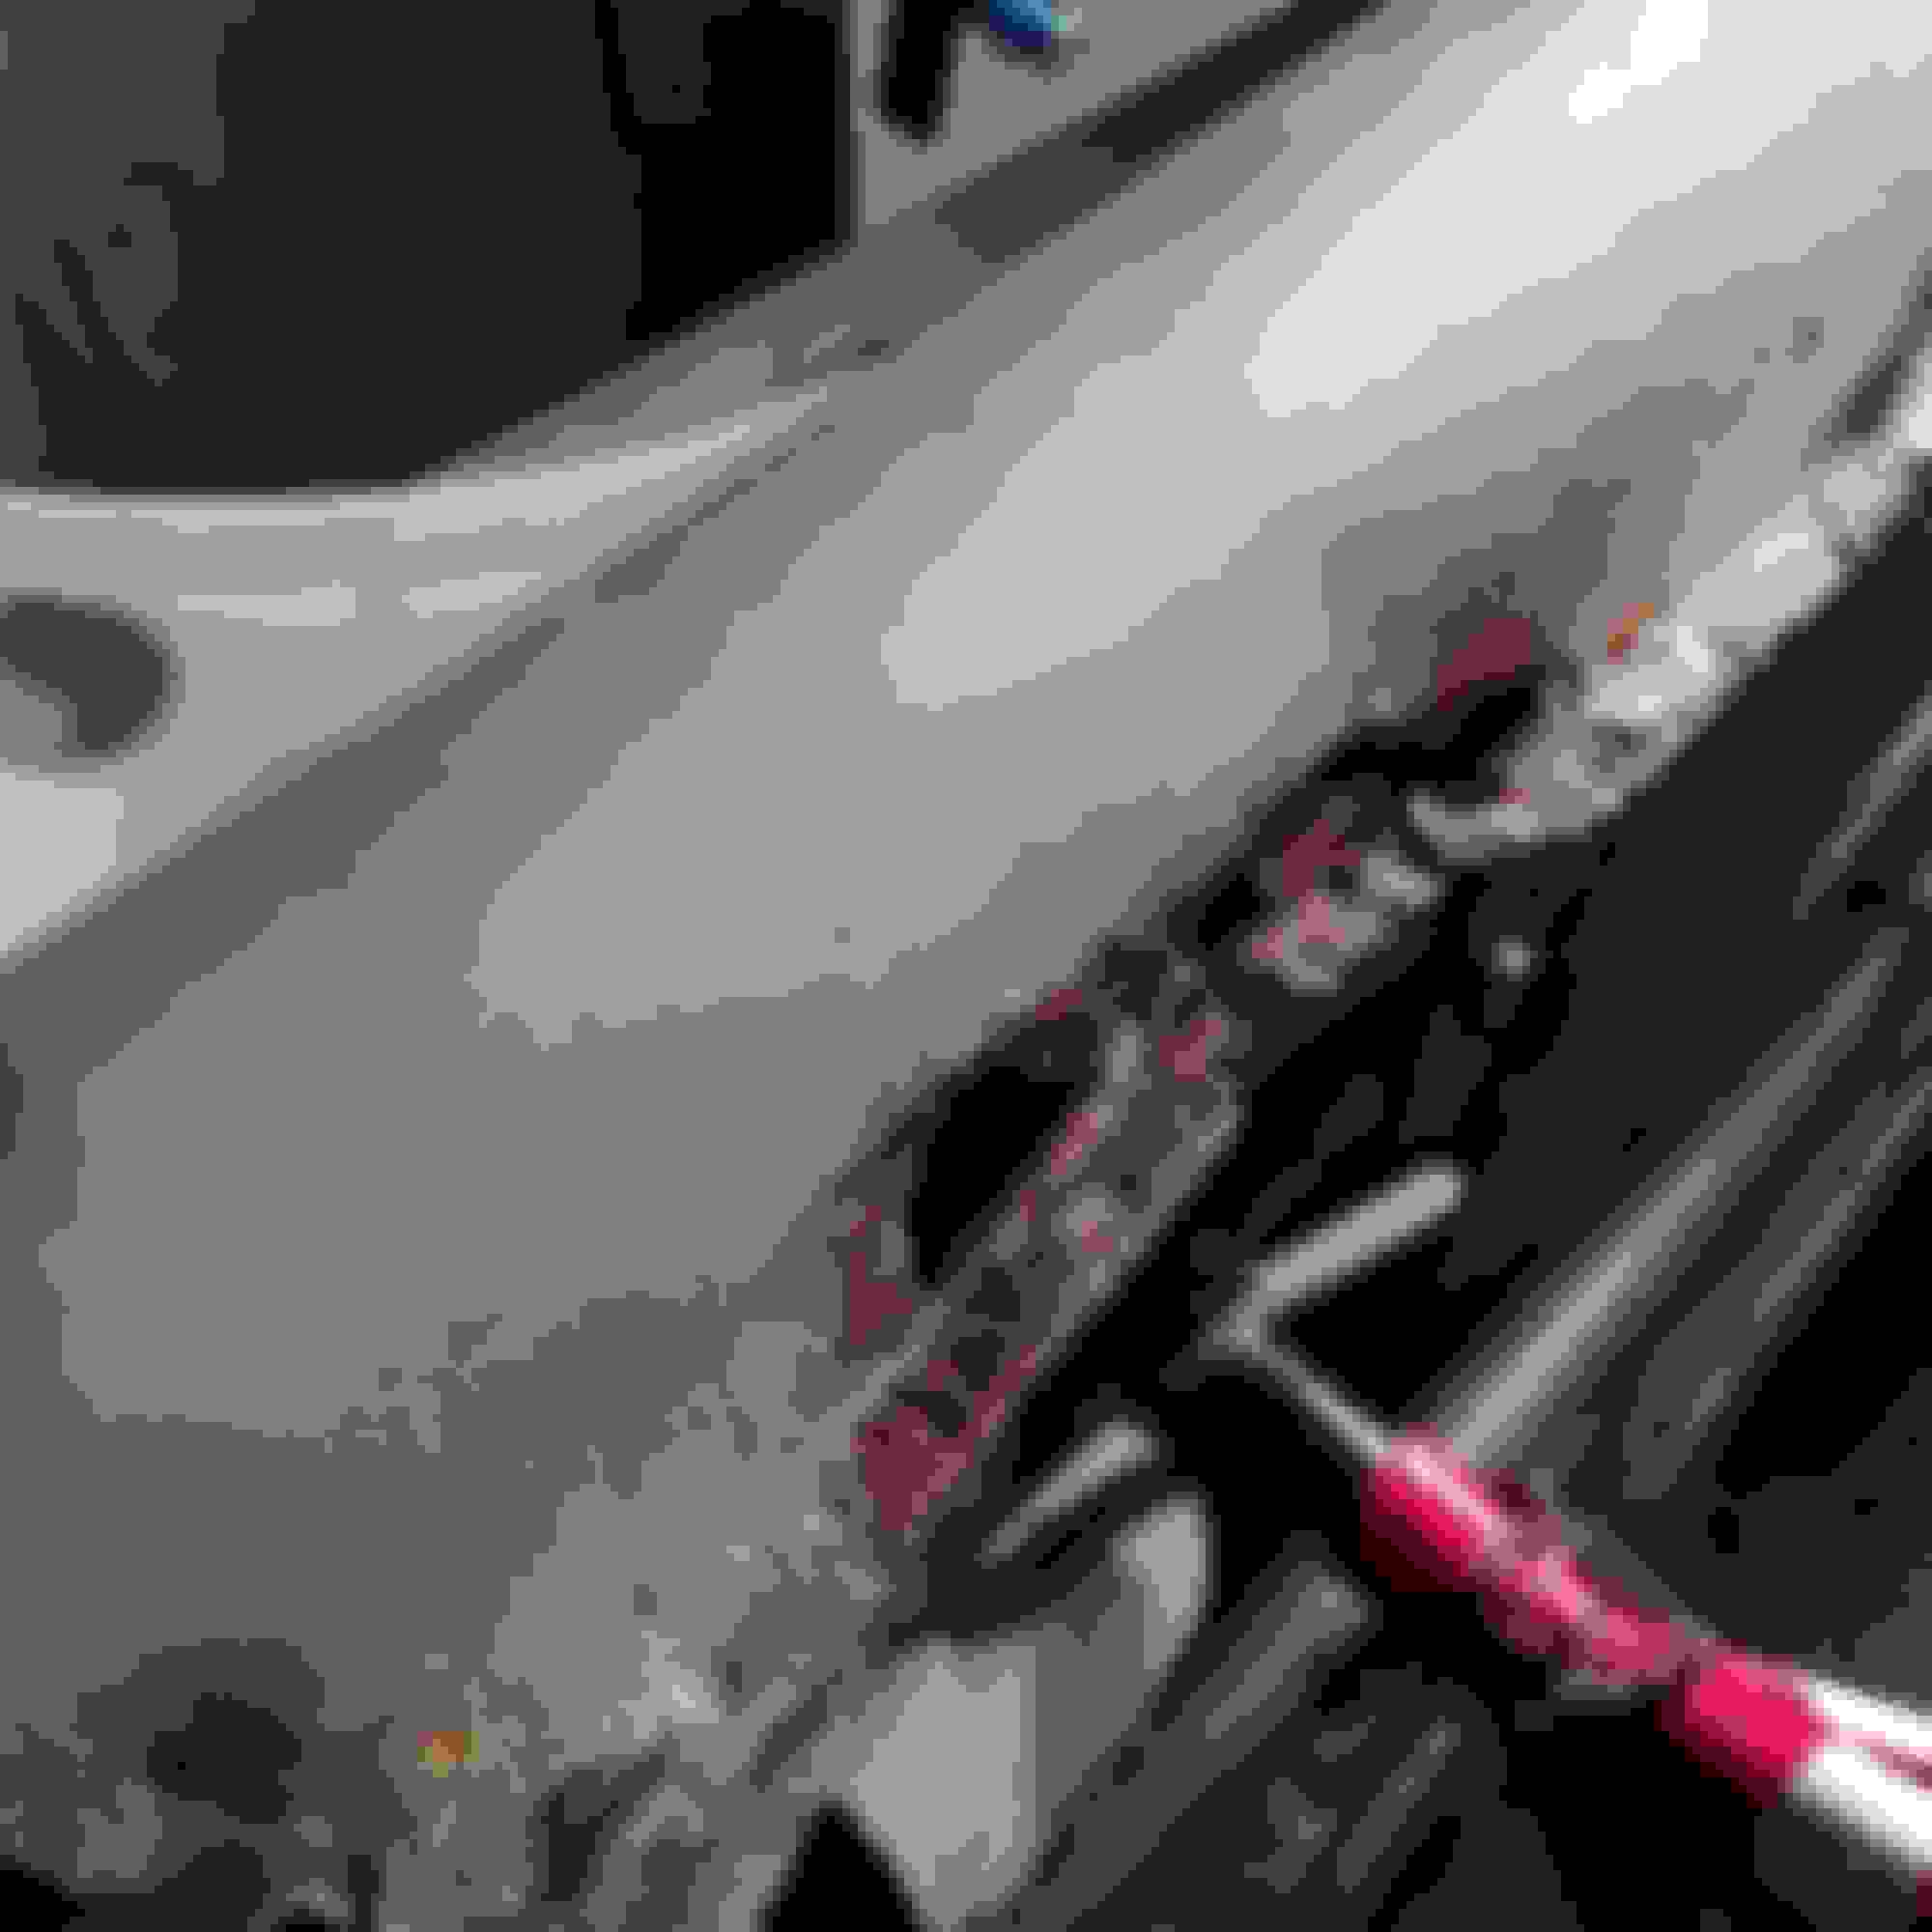
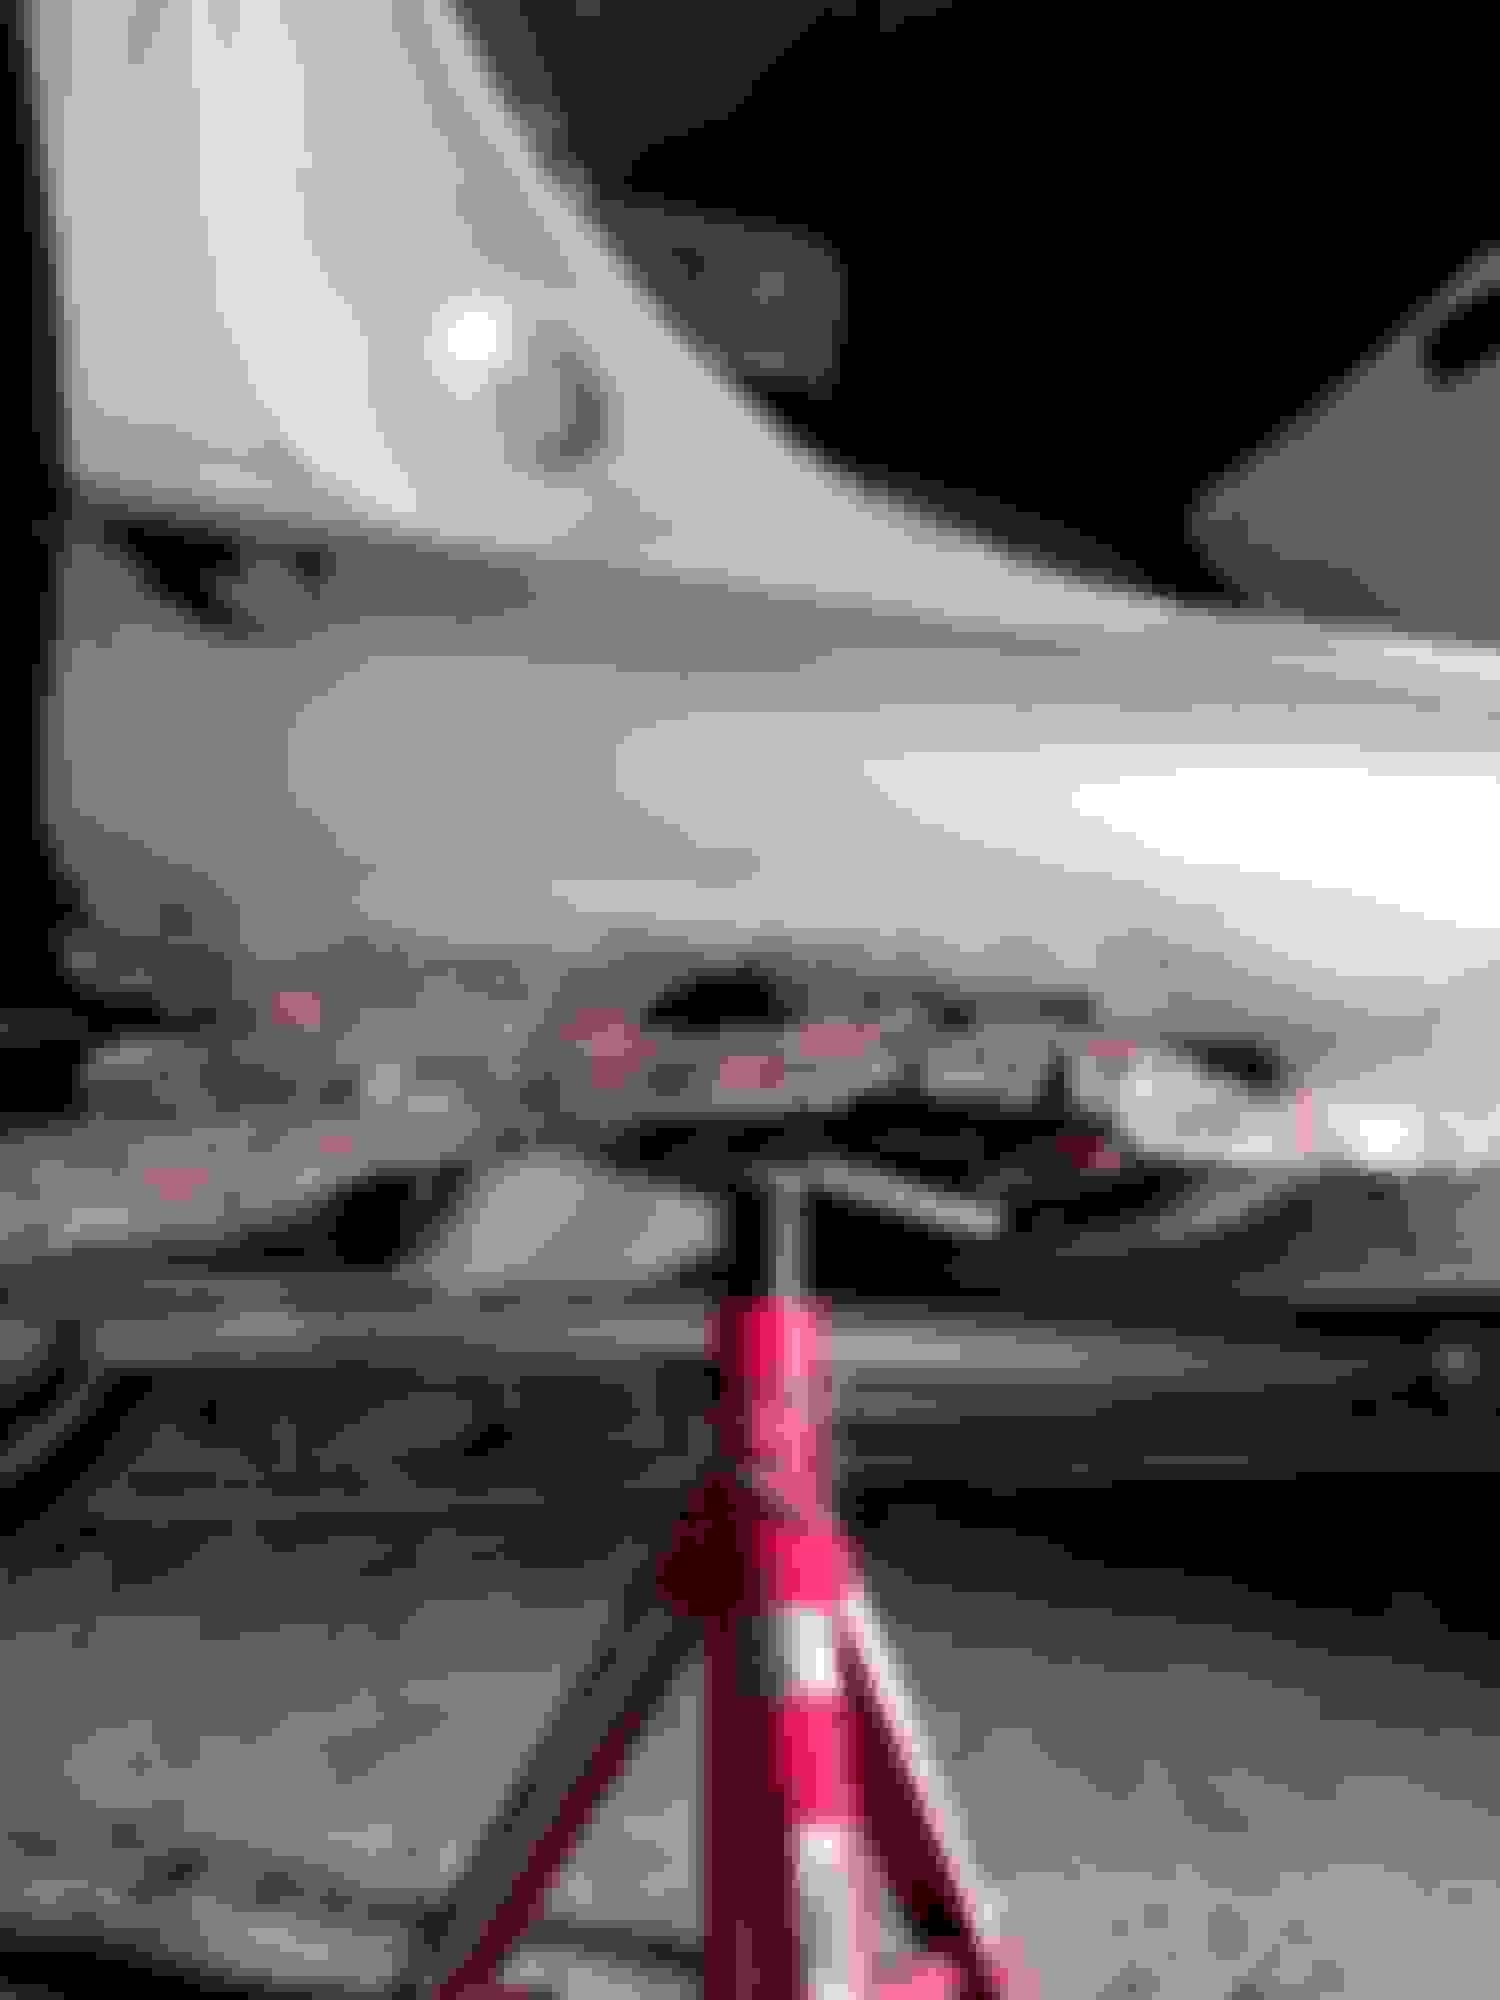
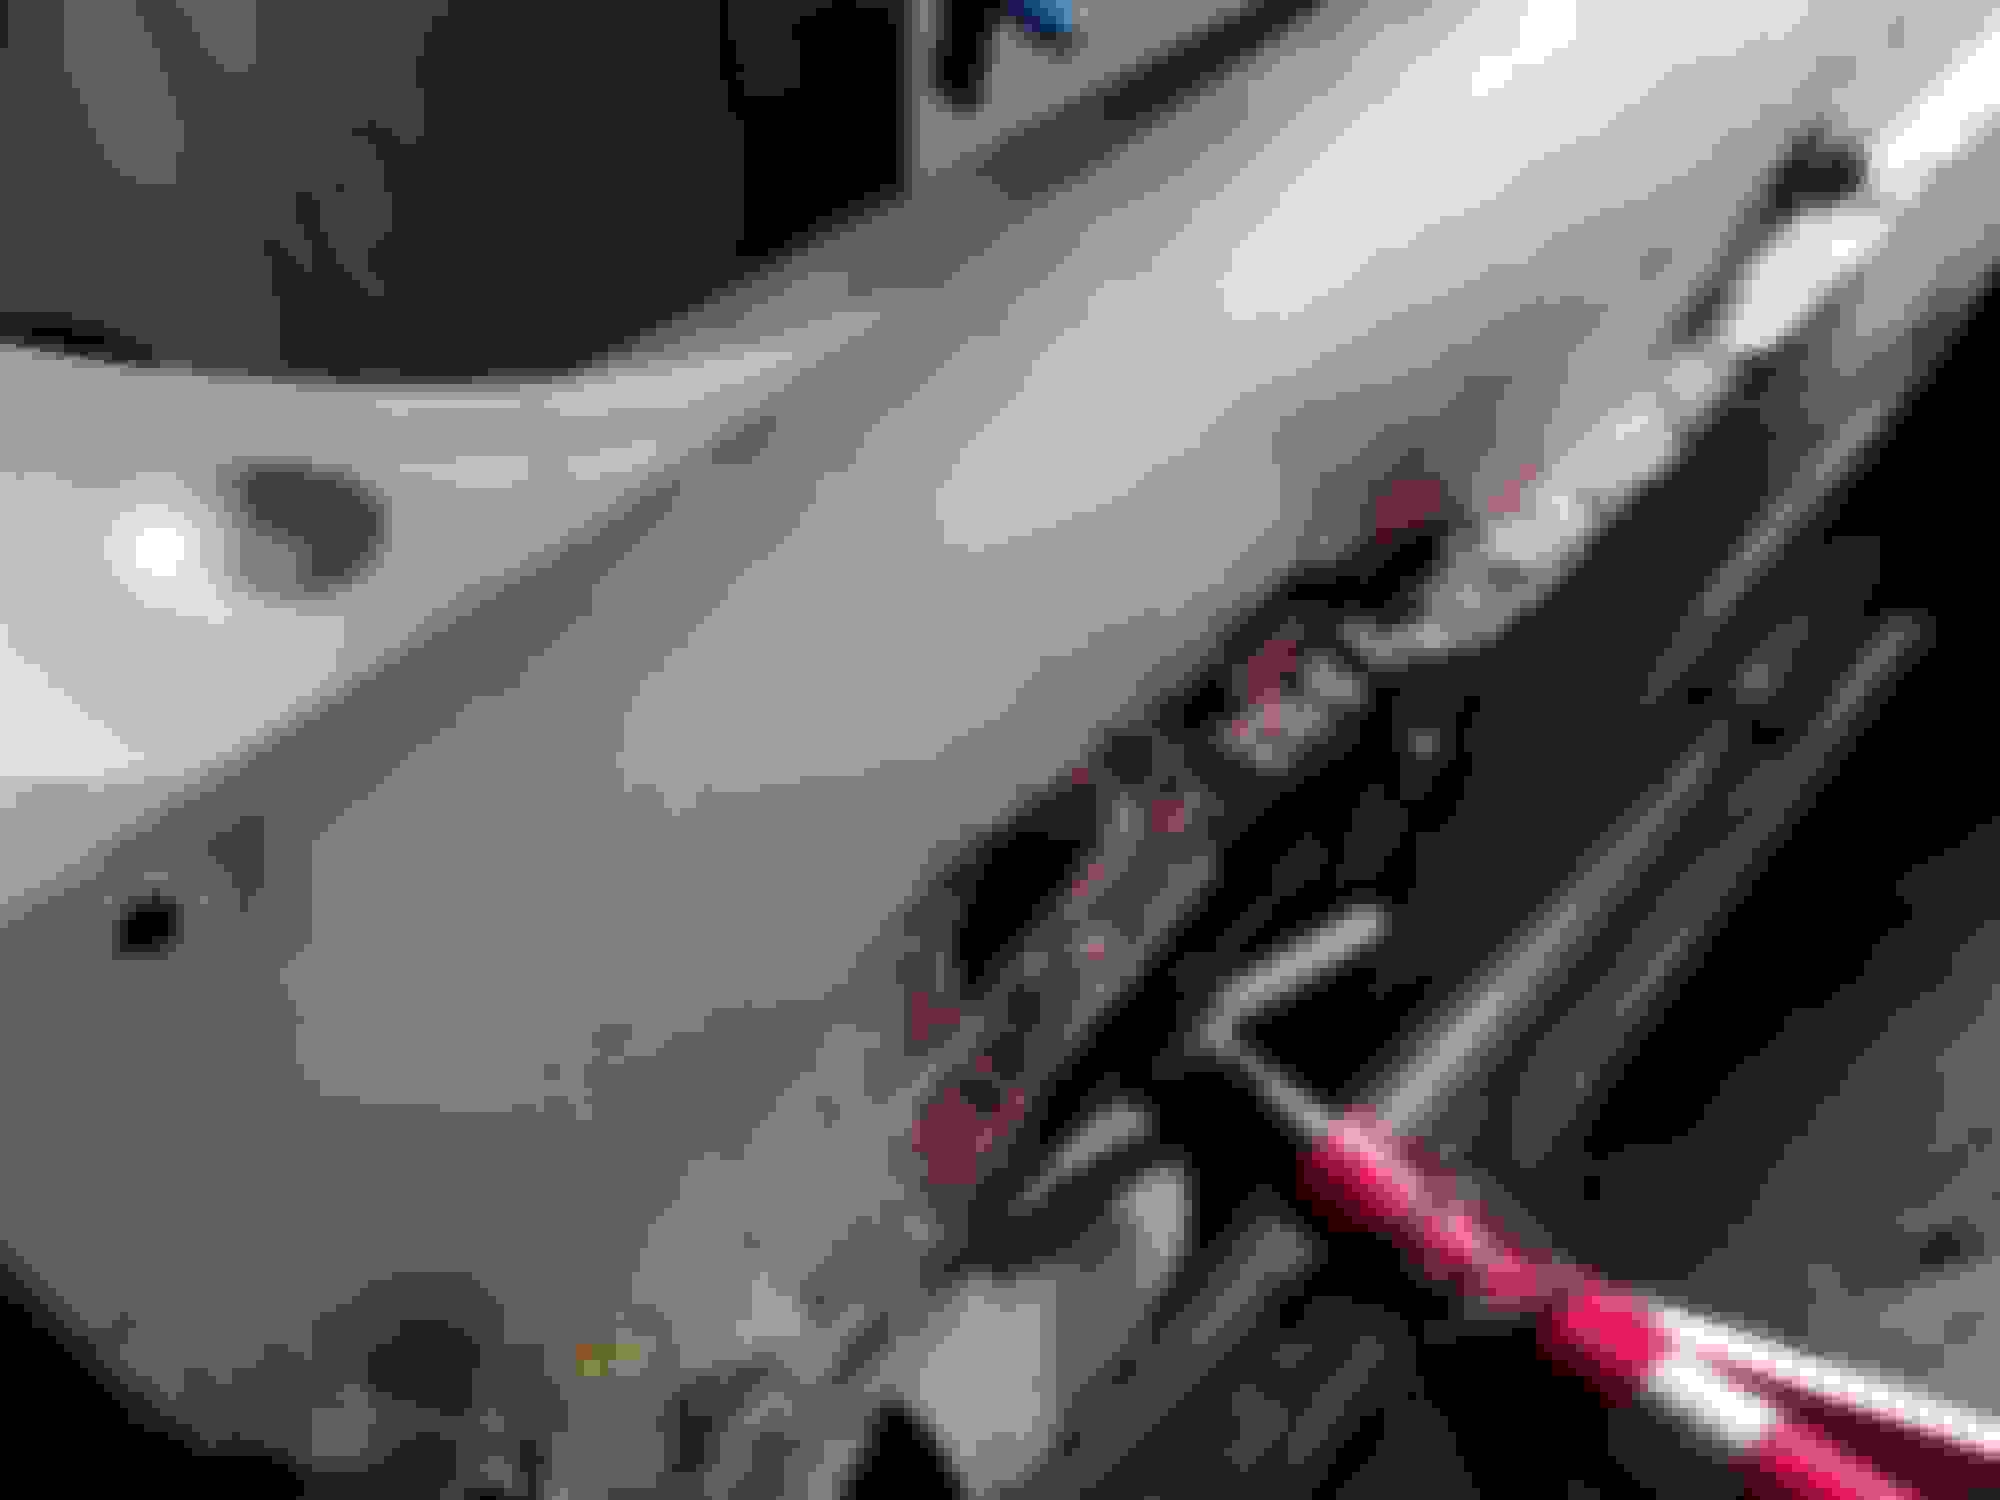
Time to get to work and paint this mother Filled and primed Nasty nasty nasty, out with the grinder and welder now Inner and outer skin tacked in place Tacked ready for seam weld, awesome clearance on the arches now The first cut is the deepest
So I've been busy at work but finally got a chance to work on the scooby
managed to get the rear arches cut and welded up for the wide arch flares, run into a crazy rust patch on the rear quarter/sill.
Nevermind the setbacks just means more cutting and fabbing in of patches.
My trusty stcil welder which is about 20+ years old finally packed in. So I bit the bullet and got an eBay flux core mig for �64. Absolute bargain.
More stripping and prepping for paint
Damn I took the skirt off and was confronted by rusty *** jacking points
i totally feel like calling the scrap metal and getting the car picked up. Getting pissed off with this **** now!
Really?!!! This is ****ing bad Years of previous owners abusing the OEM jack points Front just as bad
Ok pulled the tampon out and just got on with it. Got some 2mm plate for the sill and some 3mm for the jacking points. Out with the trusty grinder and the new addition to the family......eBay �64 gasless mig.
Ready for paint All patched up, new jack point tacked and side skirt trial fit. Pretty damn good fit considering I beefed up the jack points
I suppose if a jobs worth doing.......and all that.
Anyway another update got one side painted up and looking good. Give myself a slap in the face and just carry on.
Fresh as **** coat of white and clear Looking dapper Very pleased with the results from DIY respray so far.
It's a mix of both Rick.
roof and arches were aerosol (upol pro range)
And the rest is with a cheap *** Apollo electric hvlp spray gun, using upol 1k rfu acrylic.
Did one wing in the same colour code using the aerosol version of the paintcode I have and the finish is exactly the same.
Only difference I can see is using the gun is cheaper in that you can buy 5litres of rfu paint for the same as a dozen aerosol cans. Plus the fact that the gun can put on a heavier coat (not always a good thing though)
Other than that it's batter than a factory finish as I have orange peel down to a minimum off the can/gun. And once it's 2000 wet sanded it's smooth like glass.
Yeah roof was the hardest part, plain sailing now.
the worst part of it was keeping a wet edge with the clear coat. The roof was all aerosol and it's turned so deep and glossy. Not bad since all I had was leftover stain black and clear lol
Yes mate the rails got binned cos I have the rail delete trims going on. They came off pretty easy. Reckon it could be sprayed well leaving them in place as well
Yes mate the rails got binned cos I have the rail delete trims going on. They came off pretty easy. Reckon it could be sprayed well leaving them in place as well
It was from a gx wagon on one of the Facebook Subaru parts pages. Some guy was breaking the wagon, and I was all over the rails like a rash since there rare. Think he charged me something like �30 bucks for them 😎
It was from a gx wagon on one of the Facebook Subaru parts pages. Some guy was breaking the wagon, and I was all over the rails like a rash since there rare. Think he charged me something like �30 bucks for them 😎