When you click on links to various merchants on this site and make a purchase, this can result in this site earning a commission. Affiliate programs and affiliations include, but are not limited to, the eBay Partner Network.
Well it�s been 6 months since I last posted, and unfortunately not much has happened with the car, as I�ve been building a new home for it... a purpose built garage that can accommodate a two post lift and a workshop.
I'm coming close to the end but these things take more time than you realise, especially when I had to build another structure first to house all the existing garage crap!
Anyway... regarding the car, I have altered the geometry to suit the Avon slick tyres, as I had it way off causing the car to roll massively as it tried to sit flat on the contact patch, really need to get the tyre temp monitoring system set up, as this would have told me straight away!! You live and learn I guess...
Plus I�ve swapped out the sh*tty comp brake biasing valve going to the rear brakes with a proper AP Racing item, as I don�t think the comp brake thing was doing anything, which was causing the rears to lock up... not great when you�re on the edge already lol 😂
Hopefully in the coming months I can get back onto the car development, once I�ve got our entire setup moved home... till then 👍
The front diffuser is a combination of a Seibon Carbon Lip, coupled with a custom made under tray and end plates.
The fog light inlets are actually brake ducts that feed air into the back of the hubs/bells.
Regards,
Kim
Interesting. The bumper I have has brake duct vents also linked into the wheel arch lining too... never thought about directing even more air through there too, too focussed on getting cold(er) air to the turbo!
Thanks for the info. Ill look into crafting one myself.
I always wanted to duct the hot rad air out of the side vents, but running lateral rad/ic combo its just impossible as there is no space to work with
I ended up fabbing front undertray to create high/low pressure for the rad/ic to work properly, but I did notice my oil temps went up few degrees, probably because there is no incoming air to cool the pan now, and I doubt my hood current configuration is able to suck all of that hot air out
I am thinking of making a vent with a lip in the undertray to help suck the hot radiator air out, but not sure if it will make things better or worse
It�s still worth adding a vent into your undertray, as the low pressure air going under your car will draw the high pressure hot air out of the engine bay.
I�m going to be doing something similar, but I need to separate it from the underfloor air flow so it doesn�t disturb the rear diffuser air flow.
If that�s the case then happy days, as you�ll have a through flow and your cooling issues are sorted.
Providing you achieve a flow out of the engine bay, to above or below then you�re sorted... obviously you need a feed/s into the engine bay to create high pressure, then it will always escape to the easiest low pressure region.
I might get those hvac louvers since there are sold in any house appliances stores, and rivet them to the bottom of the underteay
next question I have in mind is location - put it right after the rad or move it backwards under the exhaust manifold
if I put it directly after the rad this could prevent air go towards the oil pan and it might heat up even more from the manifold
another concern is the decrease in downforce if you are pushing air through the bonnet to the ground
I need to build a wind tunnel
Last edited by powered by vodka; Sep 21, 2018 at 01:58 PM.
After lots of design, development and fabrication, we have eventually got close to the completion of the underbody aero for our GC8 track car, or at least the latest version of it anyway!
Many iterations of exhaust placement and diffuser configurations have led us to our latest version of the front splitter, flat underfloor and double deck rear diffuser. We have completed some tuft testing (albeit fairly crude) however the results speak for themselves, in terms of the airflow that we are now getting through both upper and lower parts of the rear diffuser.
Two venturi tunnels have been added into the flat floor to provide an airflow path for the upper deck, as we had a big issue with exhaust fumes entering the car with the previous design. This has hopefully been resolved with a side exit exhaust and the redesigned double deck diffuser.
Any questions, comments or suggestions, from anyone that has also travelled down the Aero path would be gratefully received?
Hi there, I wasn�t looking at selling these on a small commercial scale� but this particular setup (floor & diffuser) might be available for sale shortly?
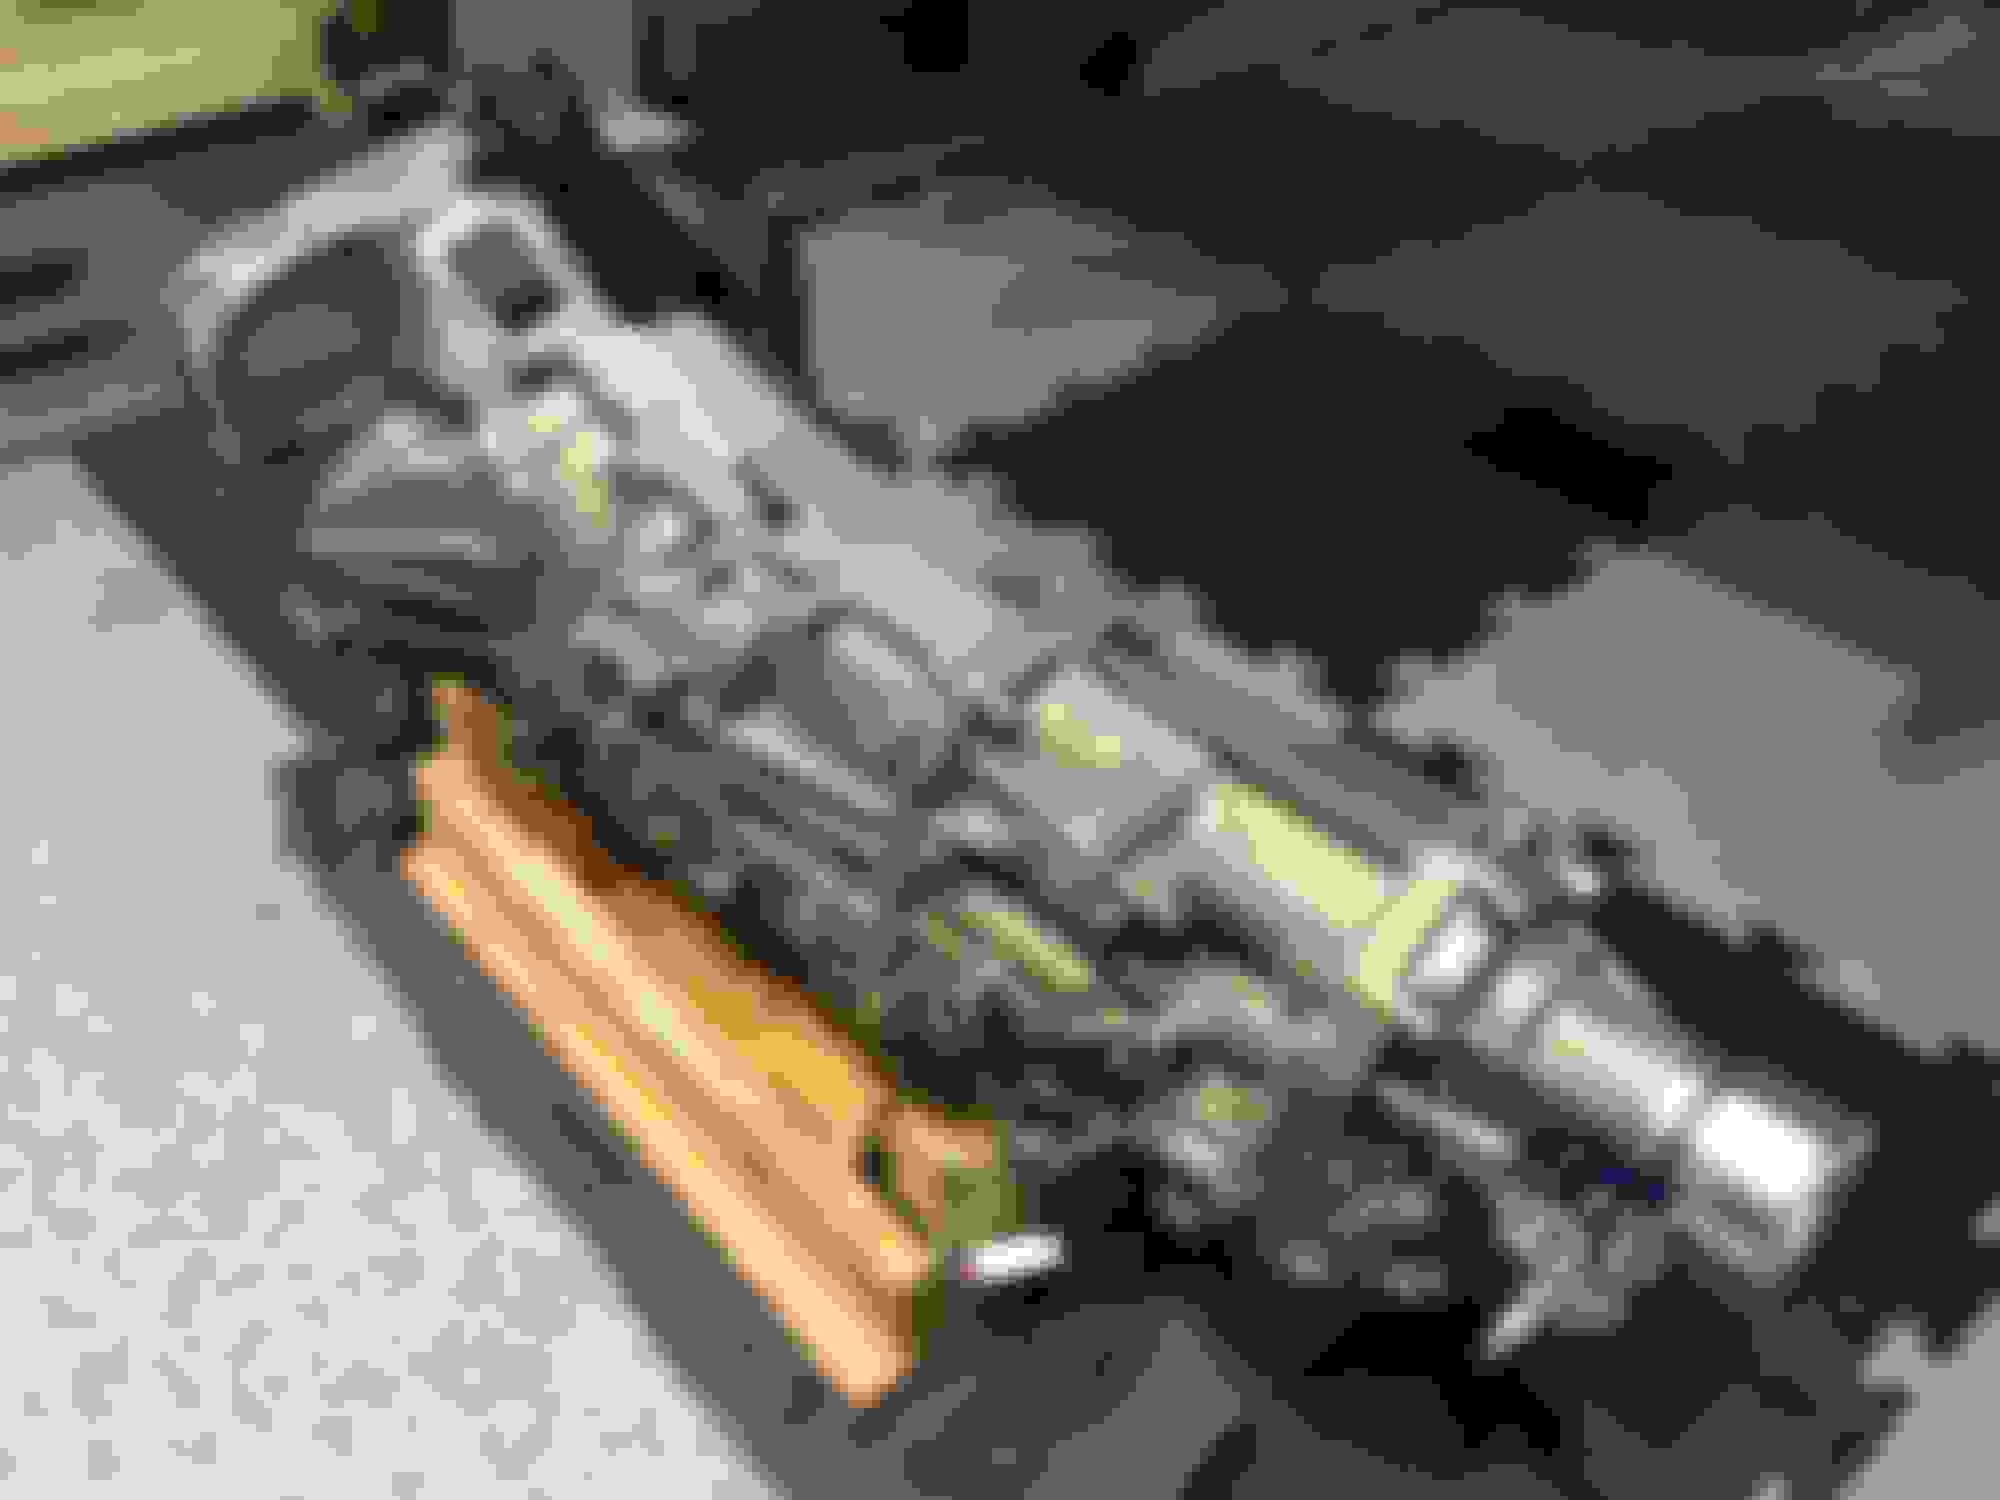
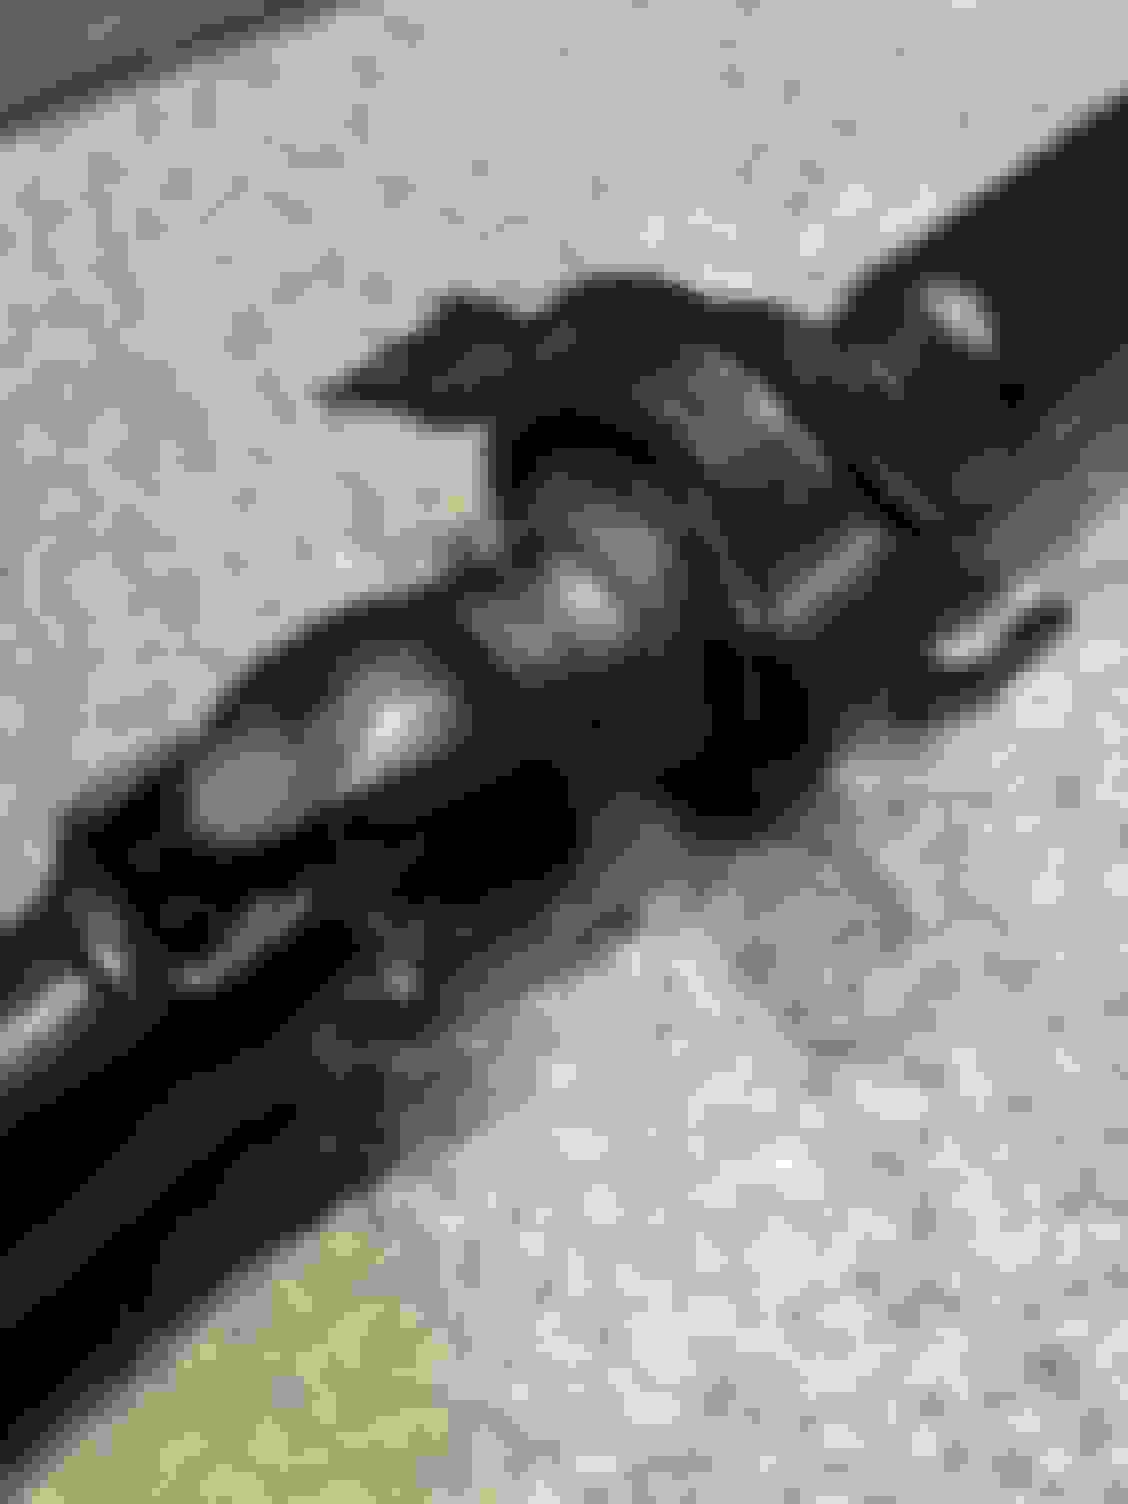
After a very long break, once I had finished the garage/workshop� I am back working on the car and have tackled lots of refurbishment projects over the last couple of years to keep the car running for many years to come.
This all started when I was fitting the gearbox oil cooler & pump, and found metal chips in the drained oil� Everything that follows was a result of this!
1. Rebuilt the gearbox including straight cut 3rd & 4th, full set of new synchros and every bearing possible, refurbished case and custom stainless snout
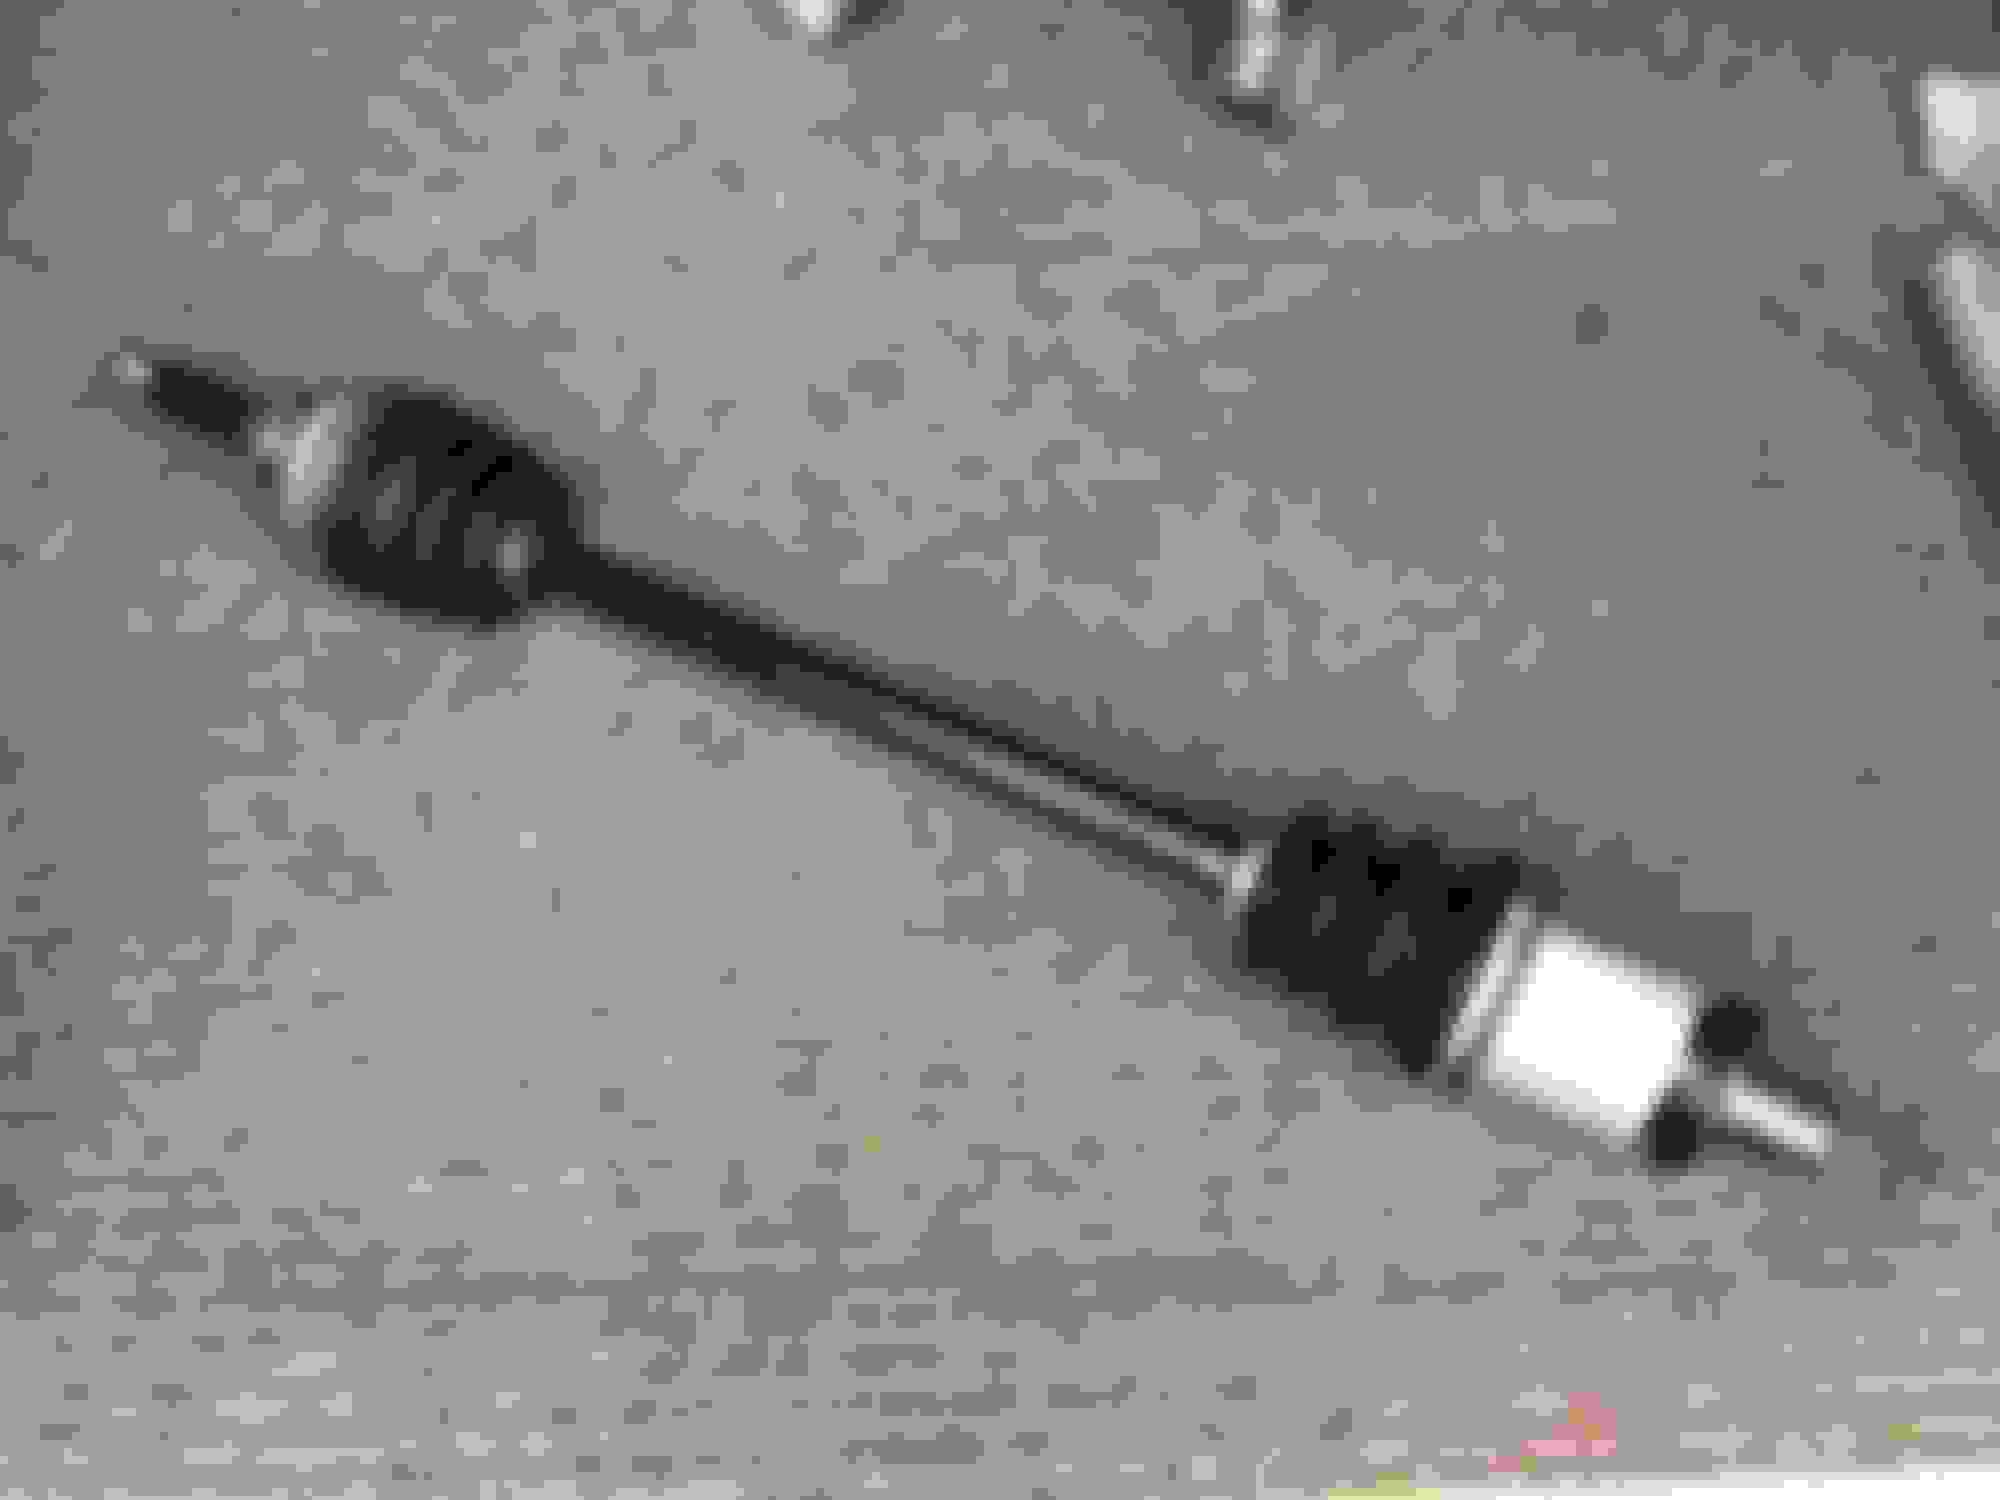
2. New front Driveshafts
3. Complete strip down and refurbished propshaft with new spicer u-joints and centre bearing, all blasted, powder coated and balanced
4. Refurbished & rebuilt rear diff with Tecno5 LSD
5. Complete strip down and refurbished rear driveshafts, with hi temp competition grease and new boots
6. New hand brake cables
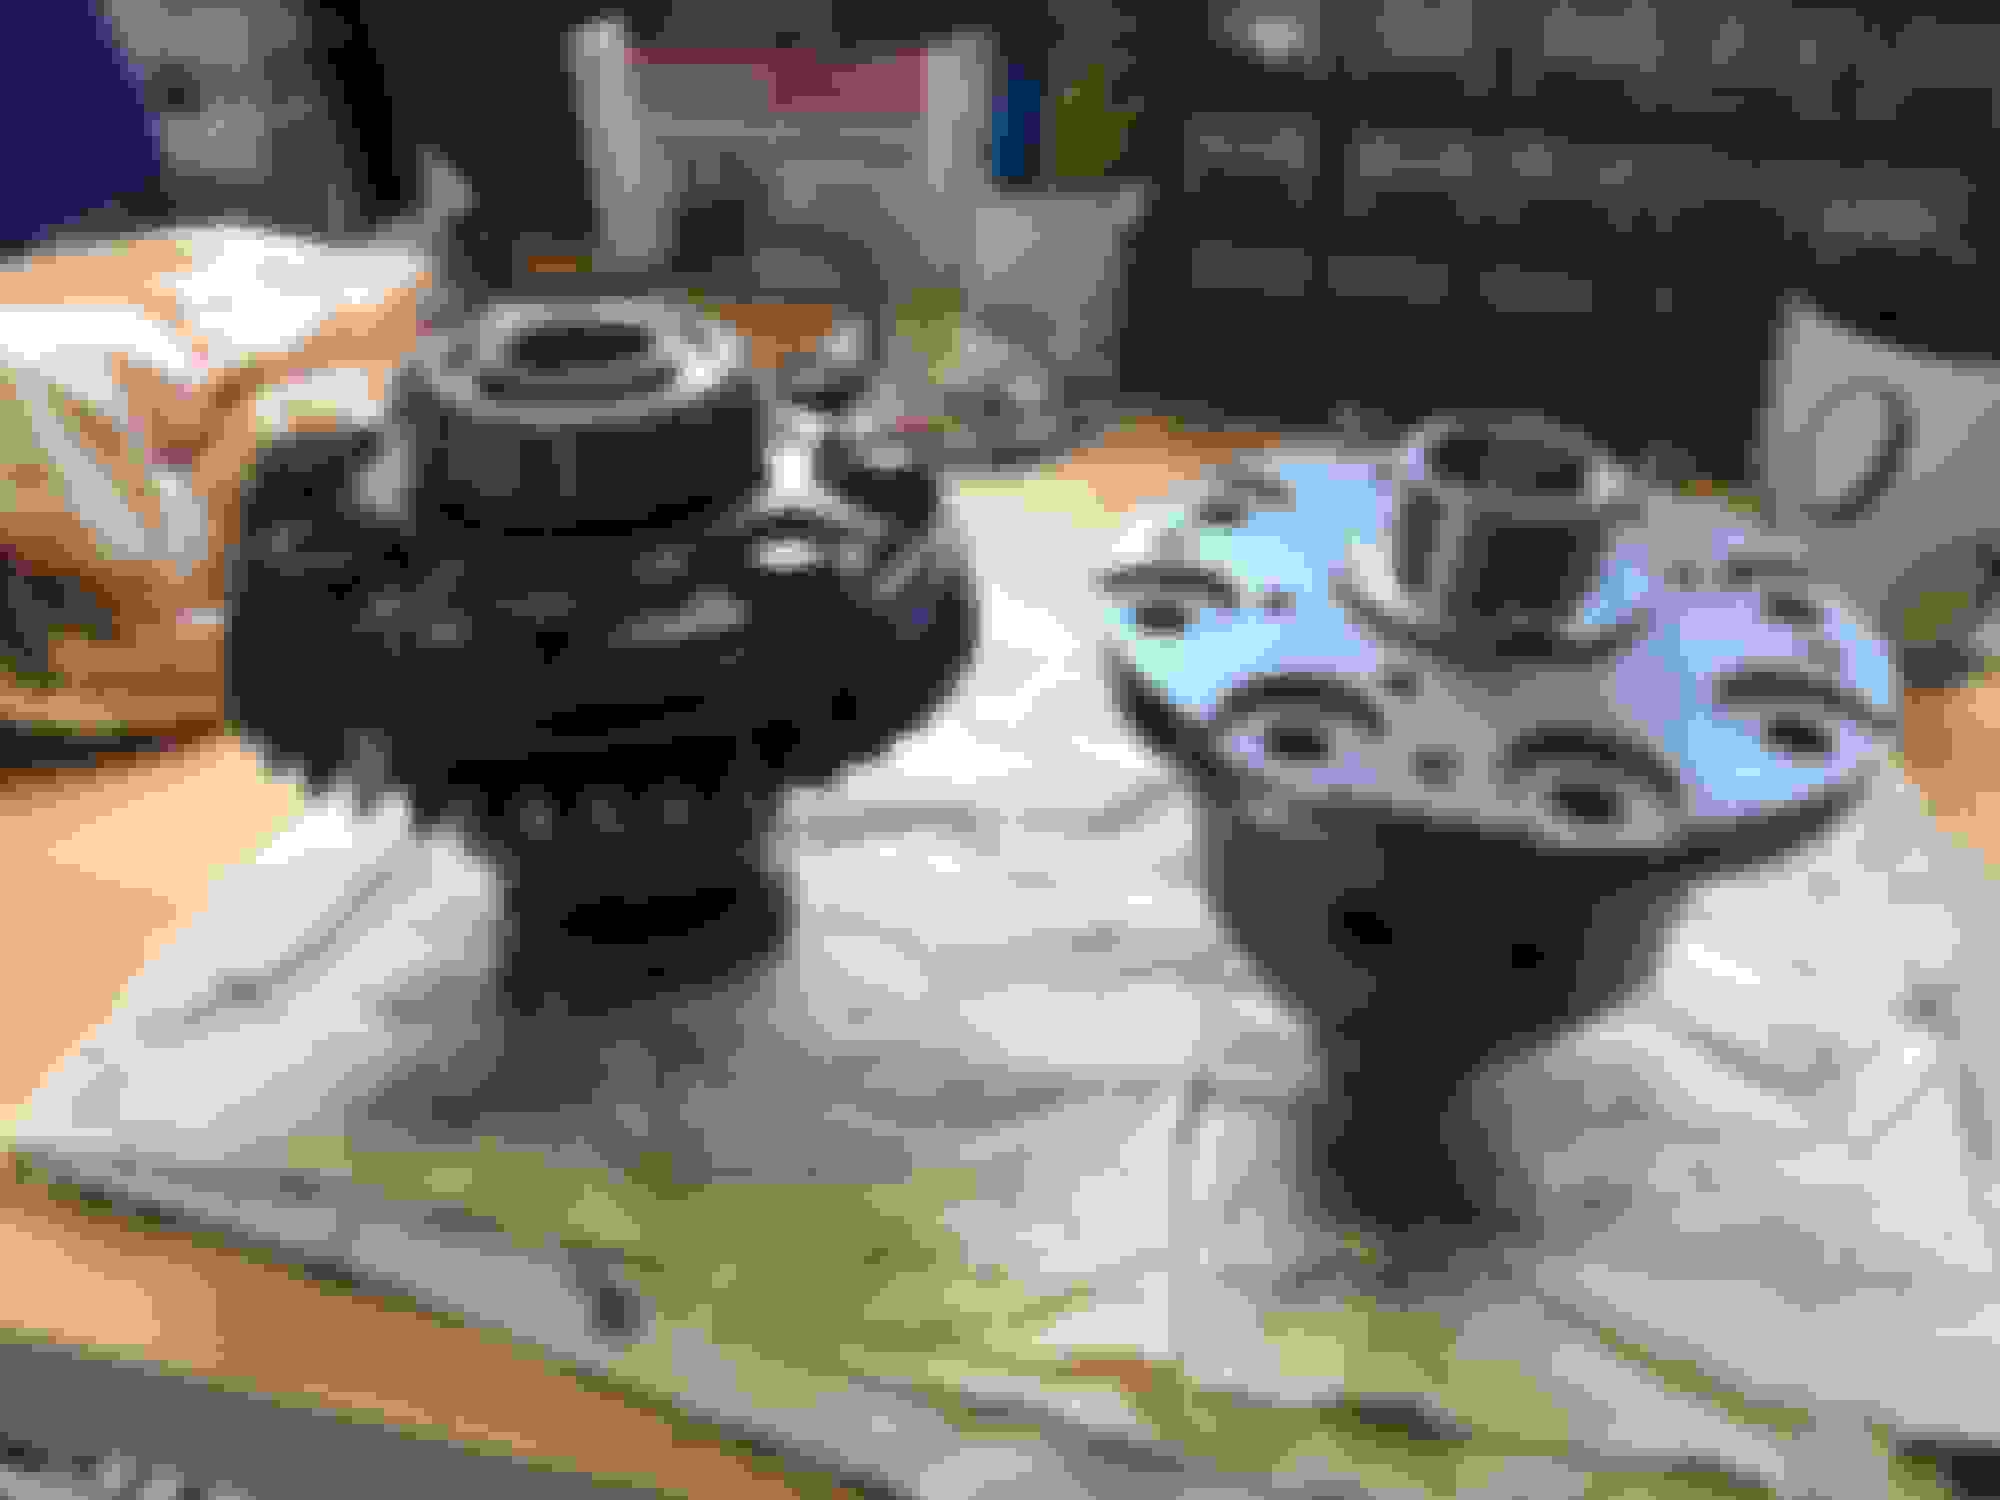
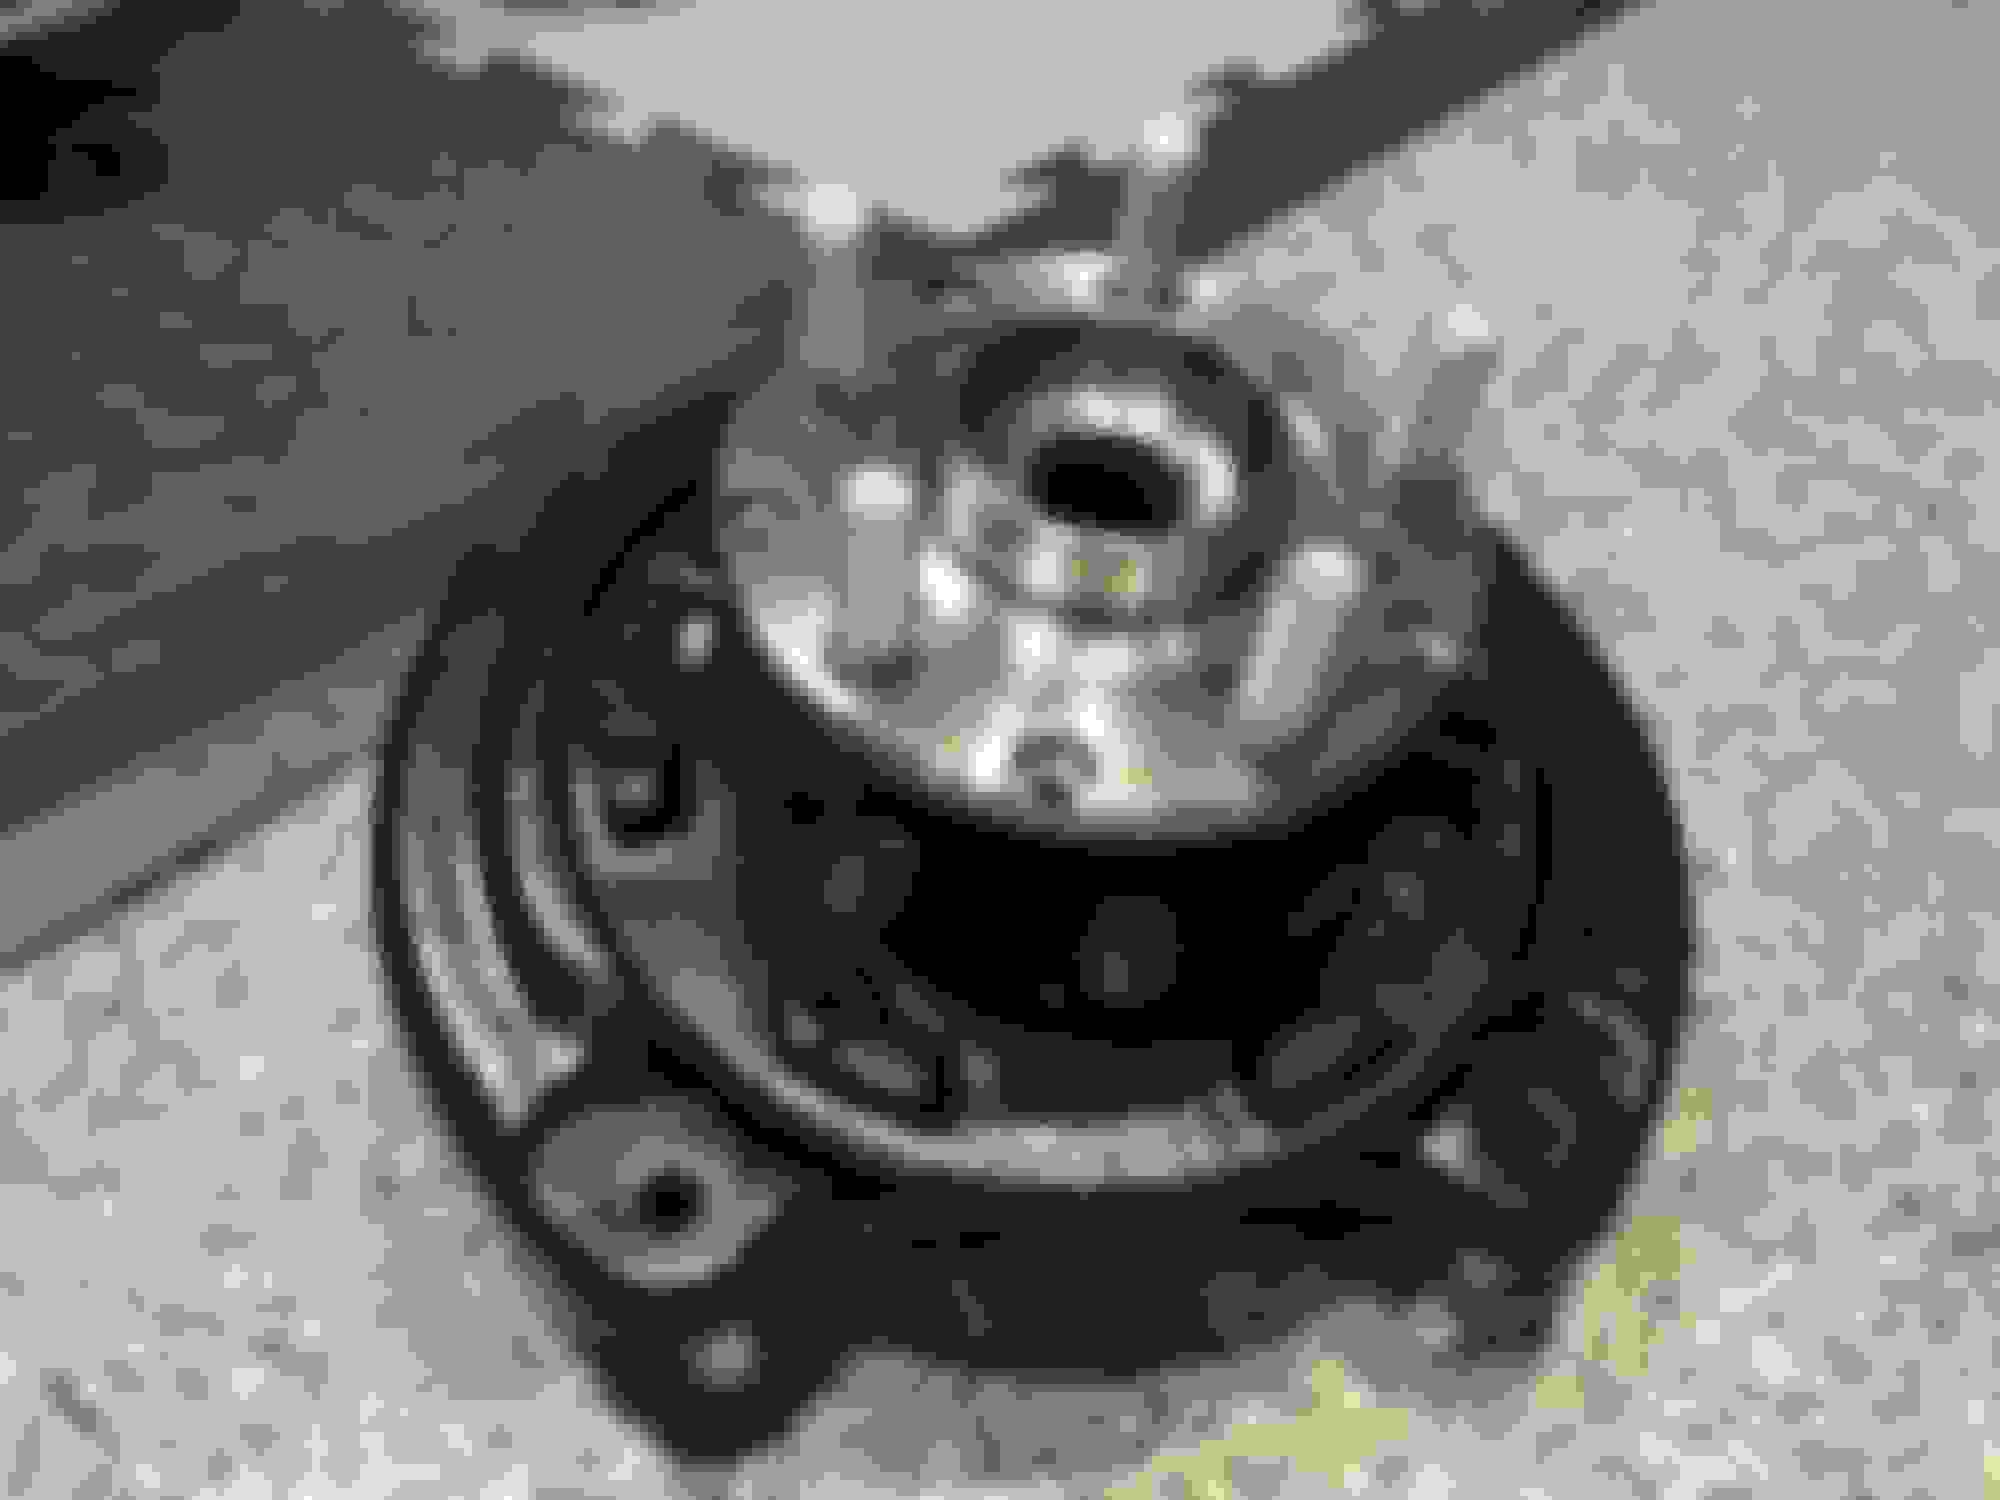
7. Complete strip down and refurbished rear hubs with new bearings, machined hub flange and new studs
8. New adjustable rear lateral arms
9. Complete strip down, blasted and powder coated gearbox cradle, rear subframe and rear diff cradle
10. New Superpro rear bushes everywhere!
11. Fully cleaned and under sealed from front to back before re-assembly.
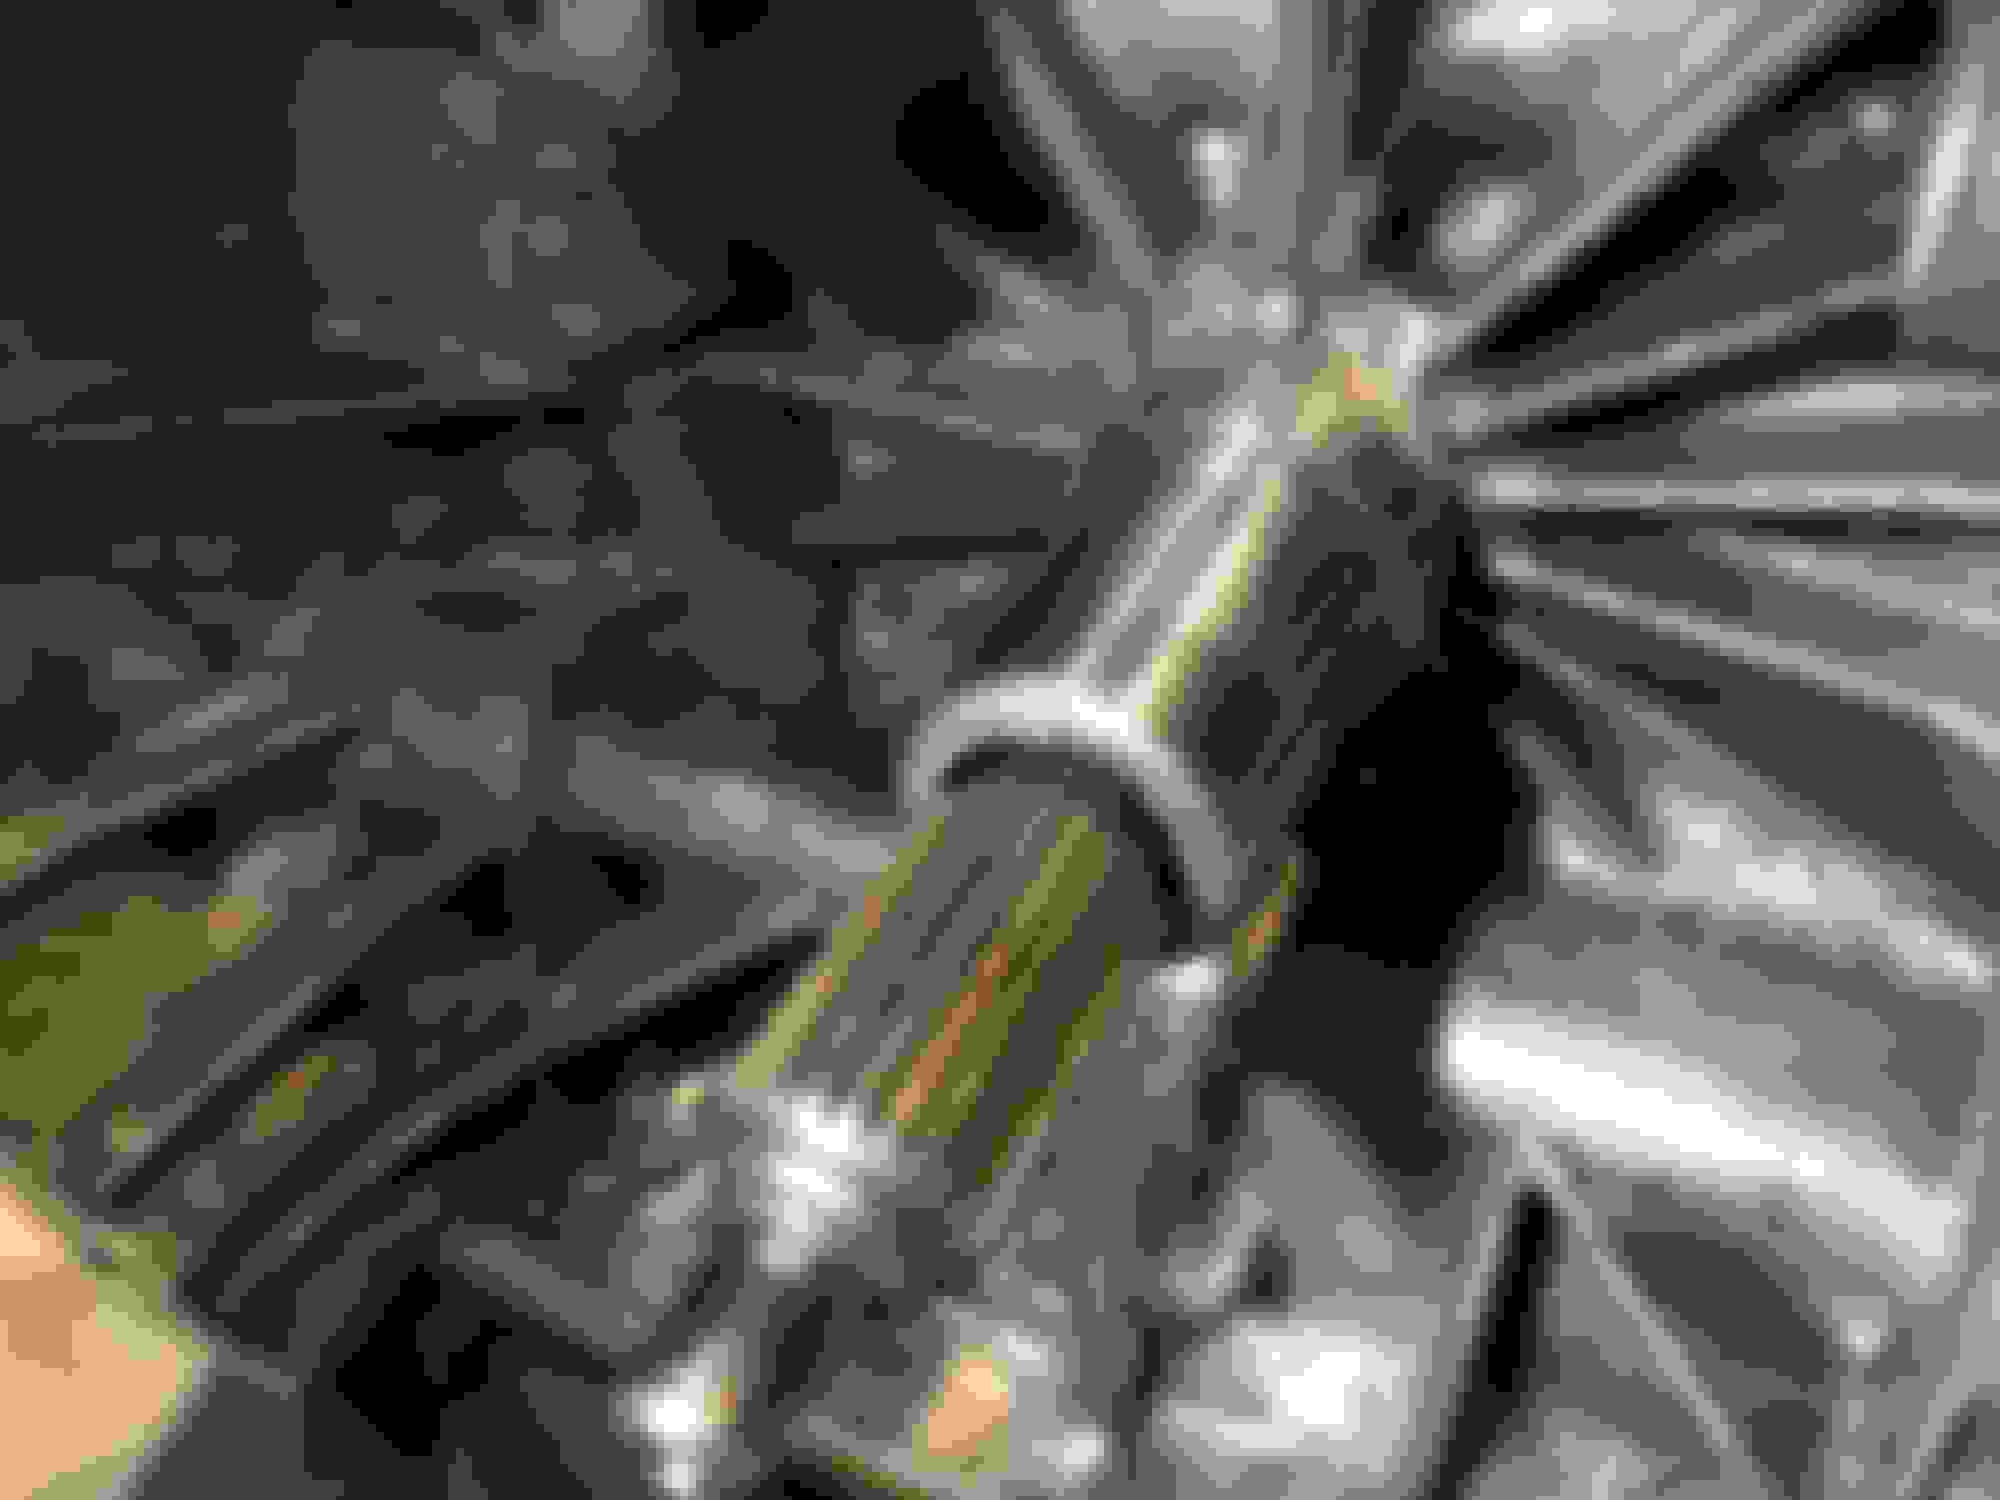
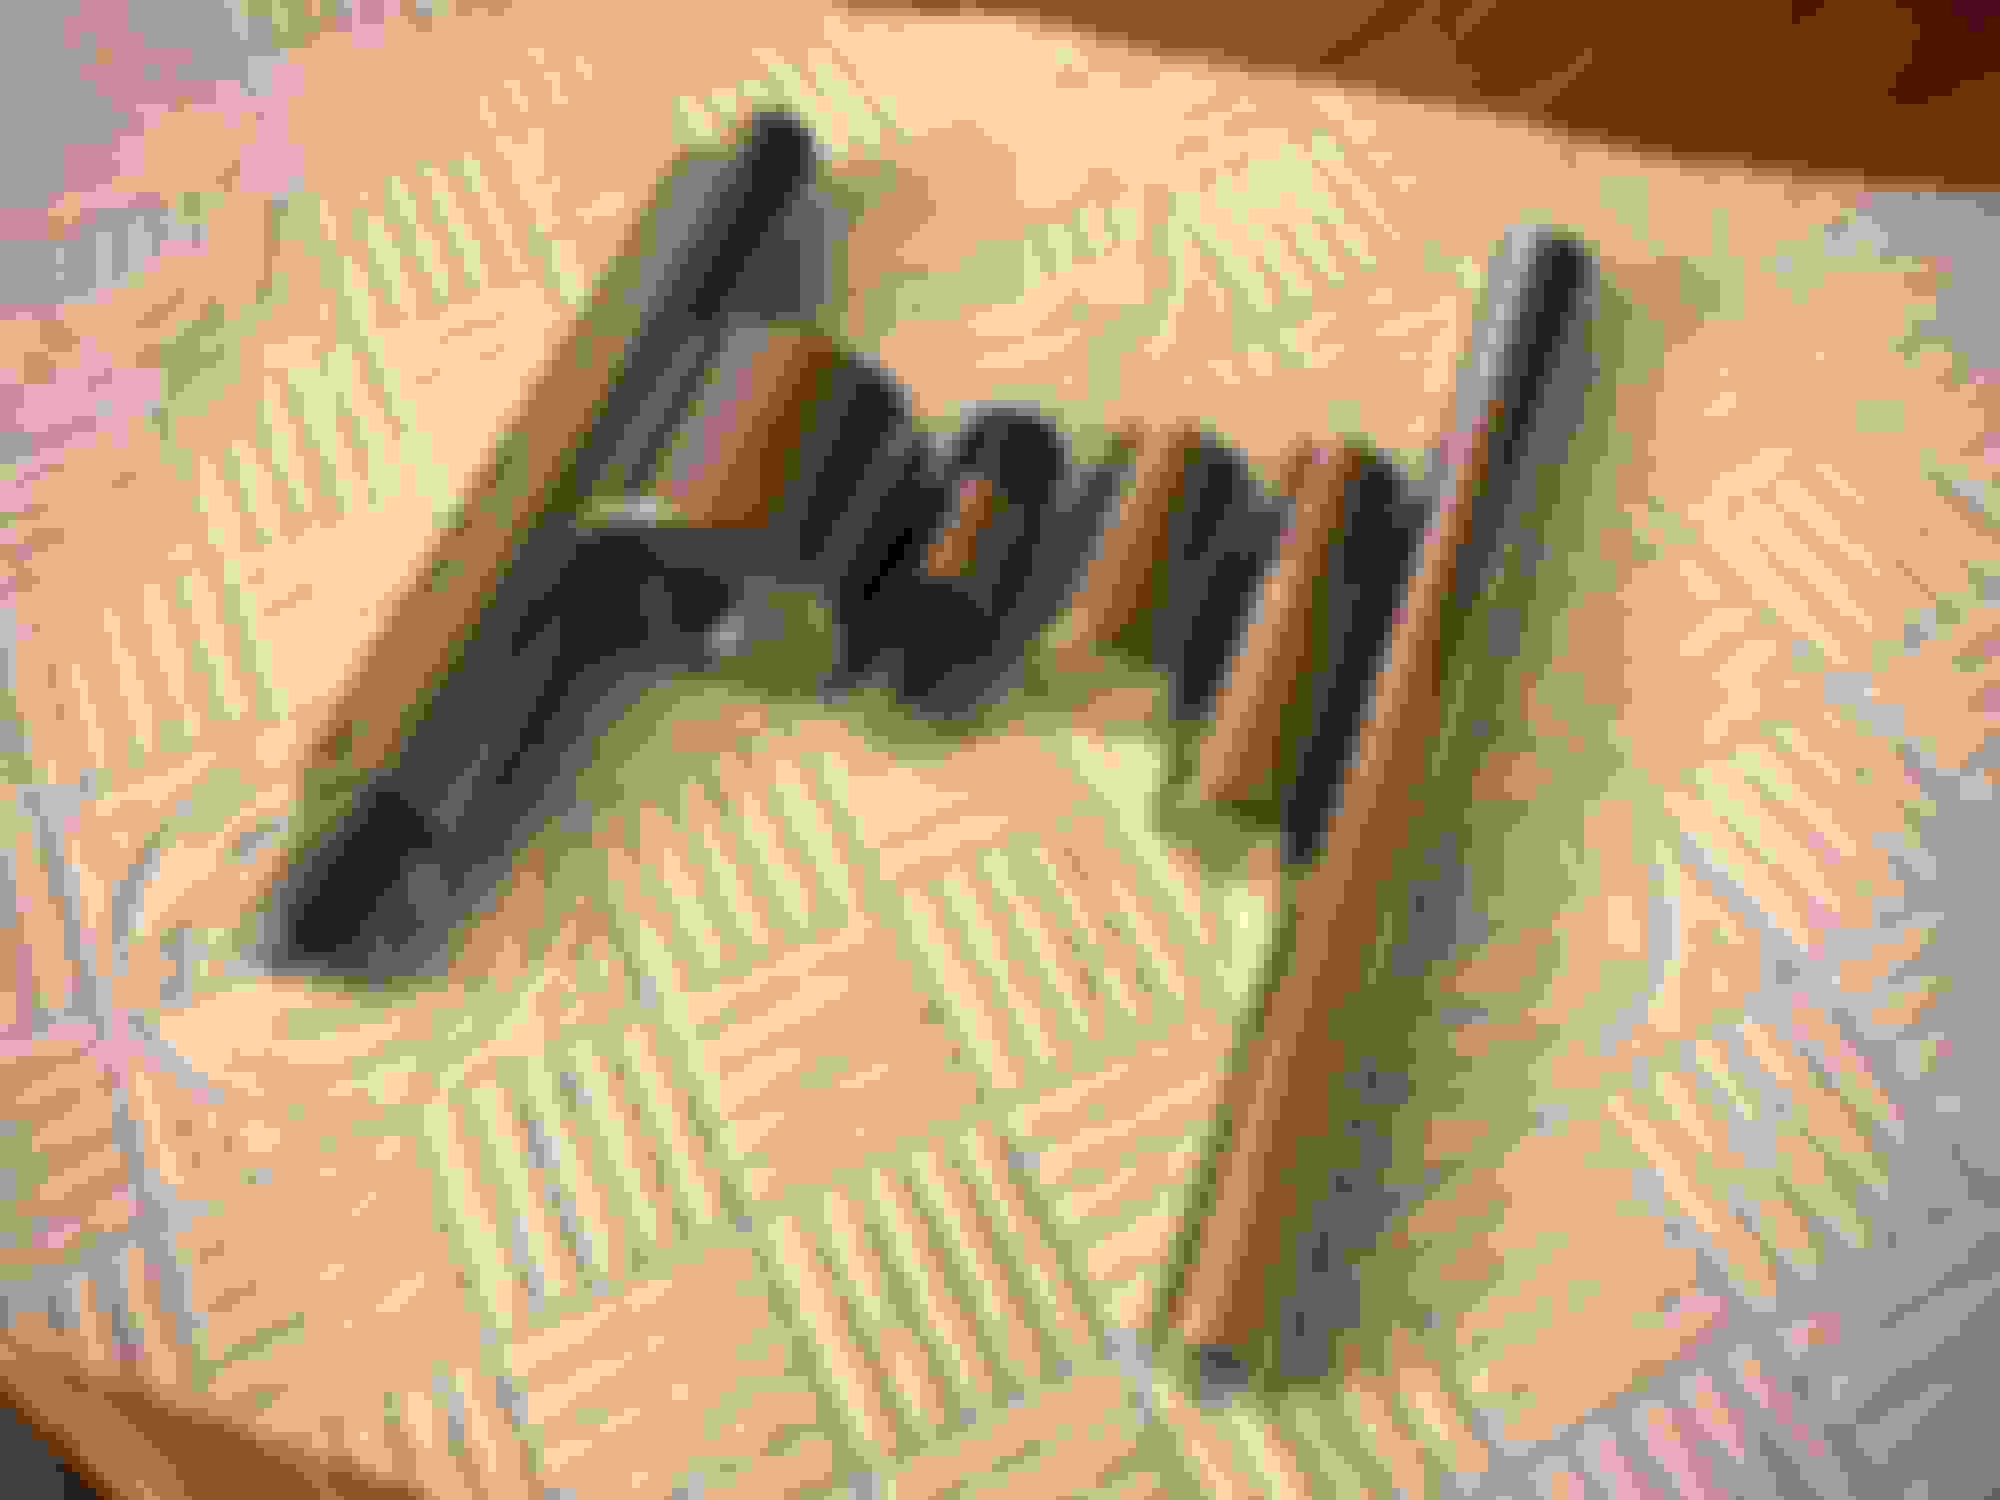
Then if that wasn�t enough, I decided to design and build a new tall shifter that would put the gear shift closer to the steering wheel, this has worked out really well! 👍🏻
that looks like a sequential gear shifter, i assume you have an extension added to the standard gearshift with one of those units that convert sequenctial shifts into the correct pattern?
amazing, id love a shifter closer to the steering for mid corner shifts.
It�s actually still a H Pattern shifter, just engineered to lift the shift **** and shorten the throw. Similar to the CAE Ultra Shifter but not �1000+.
Originally Posted by MY94BlueWRX;[url=tel:11956788
11956788[/url]]Morning Guys,
After lots of design, development and fabrication, we have eventually got close to the completion of the underbody aero for our GC8 track car, or at least the latest version of it anyway!
Many iterations of exhaust placement and diffuser configurations have led us to our latest version of the front splitter, flat underfloor and double deck rear diffuser. We have completed some tuft testing (albeit fairly crude) however the results speak for themselves, in terms of the airflow that we are now getting through both upper and lower parts of the rear diffuser.
Two venturi tunnels have been added into the flat floor to provide an airflow path for the upper deck, as we had a big issue with exhaust fumes entering the car with the previous design. This has hopefully been resolved with a side exit exhaust and the redesigned double deck diffuser.
Any questions, comments or suggestions, from anyone that has also travelled down the Aero path would be gratefully received?
Cheers,
Kim.
What size tyres and width do you guys run with those arches