When you click on links to various merchants on this site and make a purchase, this can result in this site earning a commission. Affiliate programs and affiliations include, but are not limited to, the eBay Partner Network.
yeah I think I got the same issue you will have to let me know how it goes and how to fix it.
Will do, im going to have the car in the air tomorrow, as ive got an issue with the drivers side rear suspension, so im going to have a look round see if i can spot anything obvious, i'll let you know if i see anything
This thread has been a brilliant read. You've done a great job getting to where you are now. The wagon is looking ace.
Seems like every time you post, you've got it sitting on different wheels.
Are you not going to put it back on the Rays? They looked spot on.
Thanks. Yeah I sold the rays to buy something else for the car and I've recently found them for sale again. Fingers crossed I can try and buy them back as those wheels were 👌. Yeah I've had alot of wheels was planing on keeping the prodrive speedline wheels but they didn't fit over the brakes. Luckily I swapped my classic wheels for the 17 standard wheels.
Will do, im going to have the car in the air tomorrow, as ive got an issue with the drivers side rear suspension, so im going to have a look round see if i can spot anything obvious, i'll let you know if i see anything
That will be cool. Mine wasn't as full as yours but has about an inch of water in with the spare wheel. 👍
So picked up some apex coilovers Friday just waiting for the lower arms to turn up.
today was spent looking at ways to install the foglight covers. Installed white led dial lights. Will be fitting the covers tomorrow whilst upgrading the light bulbs and hopefully giving her a wash and polish and a Hoover 😀
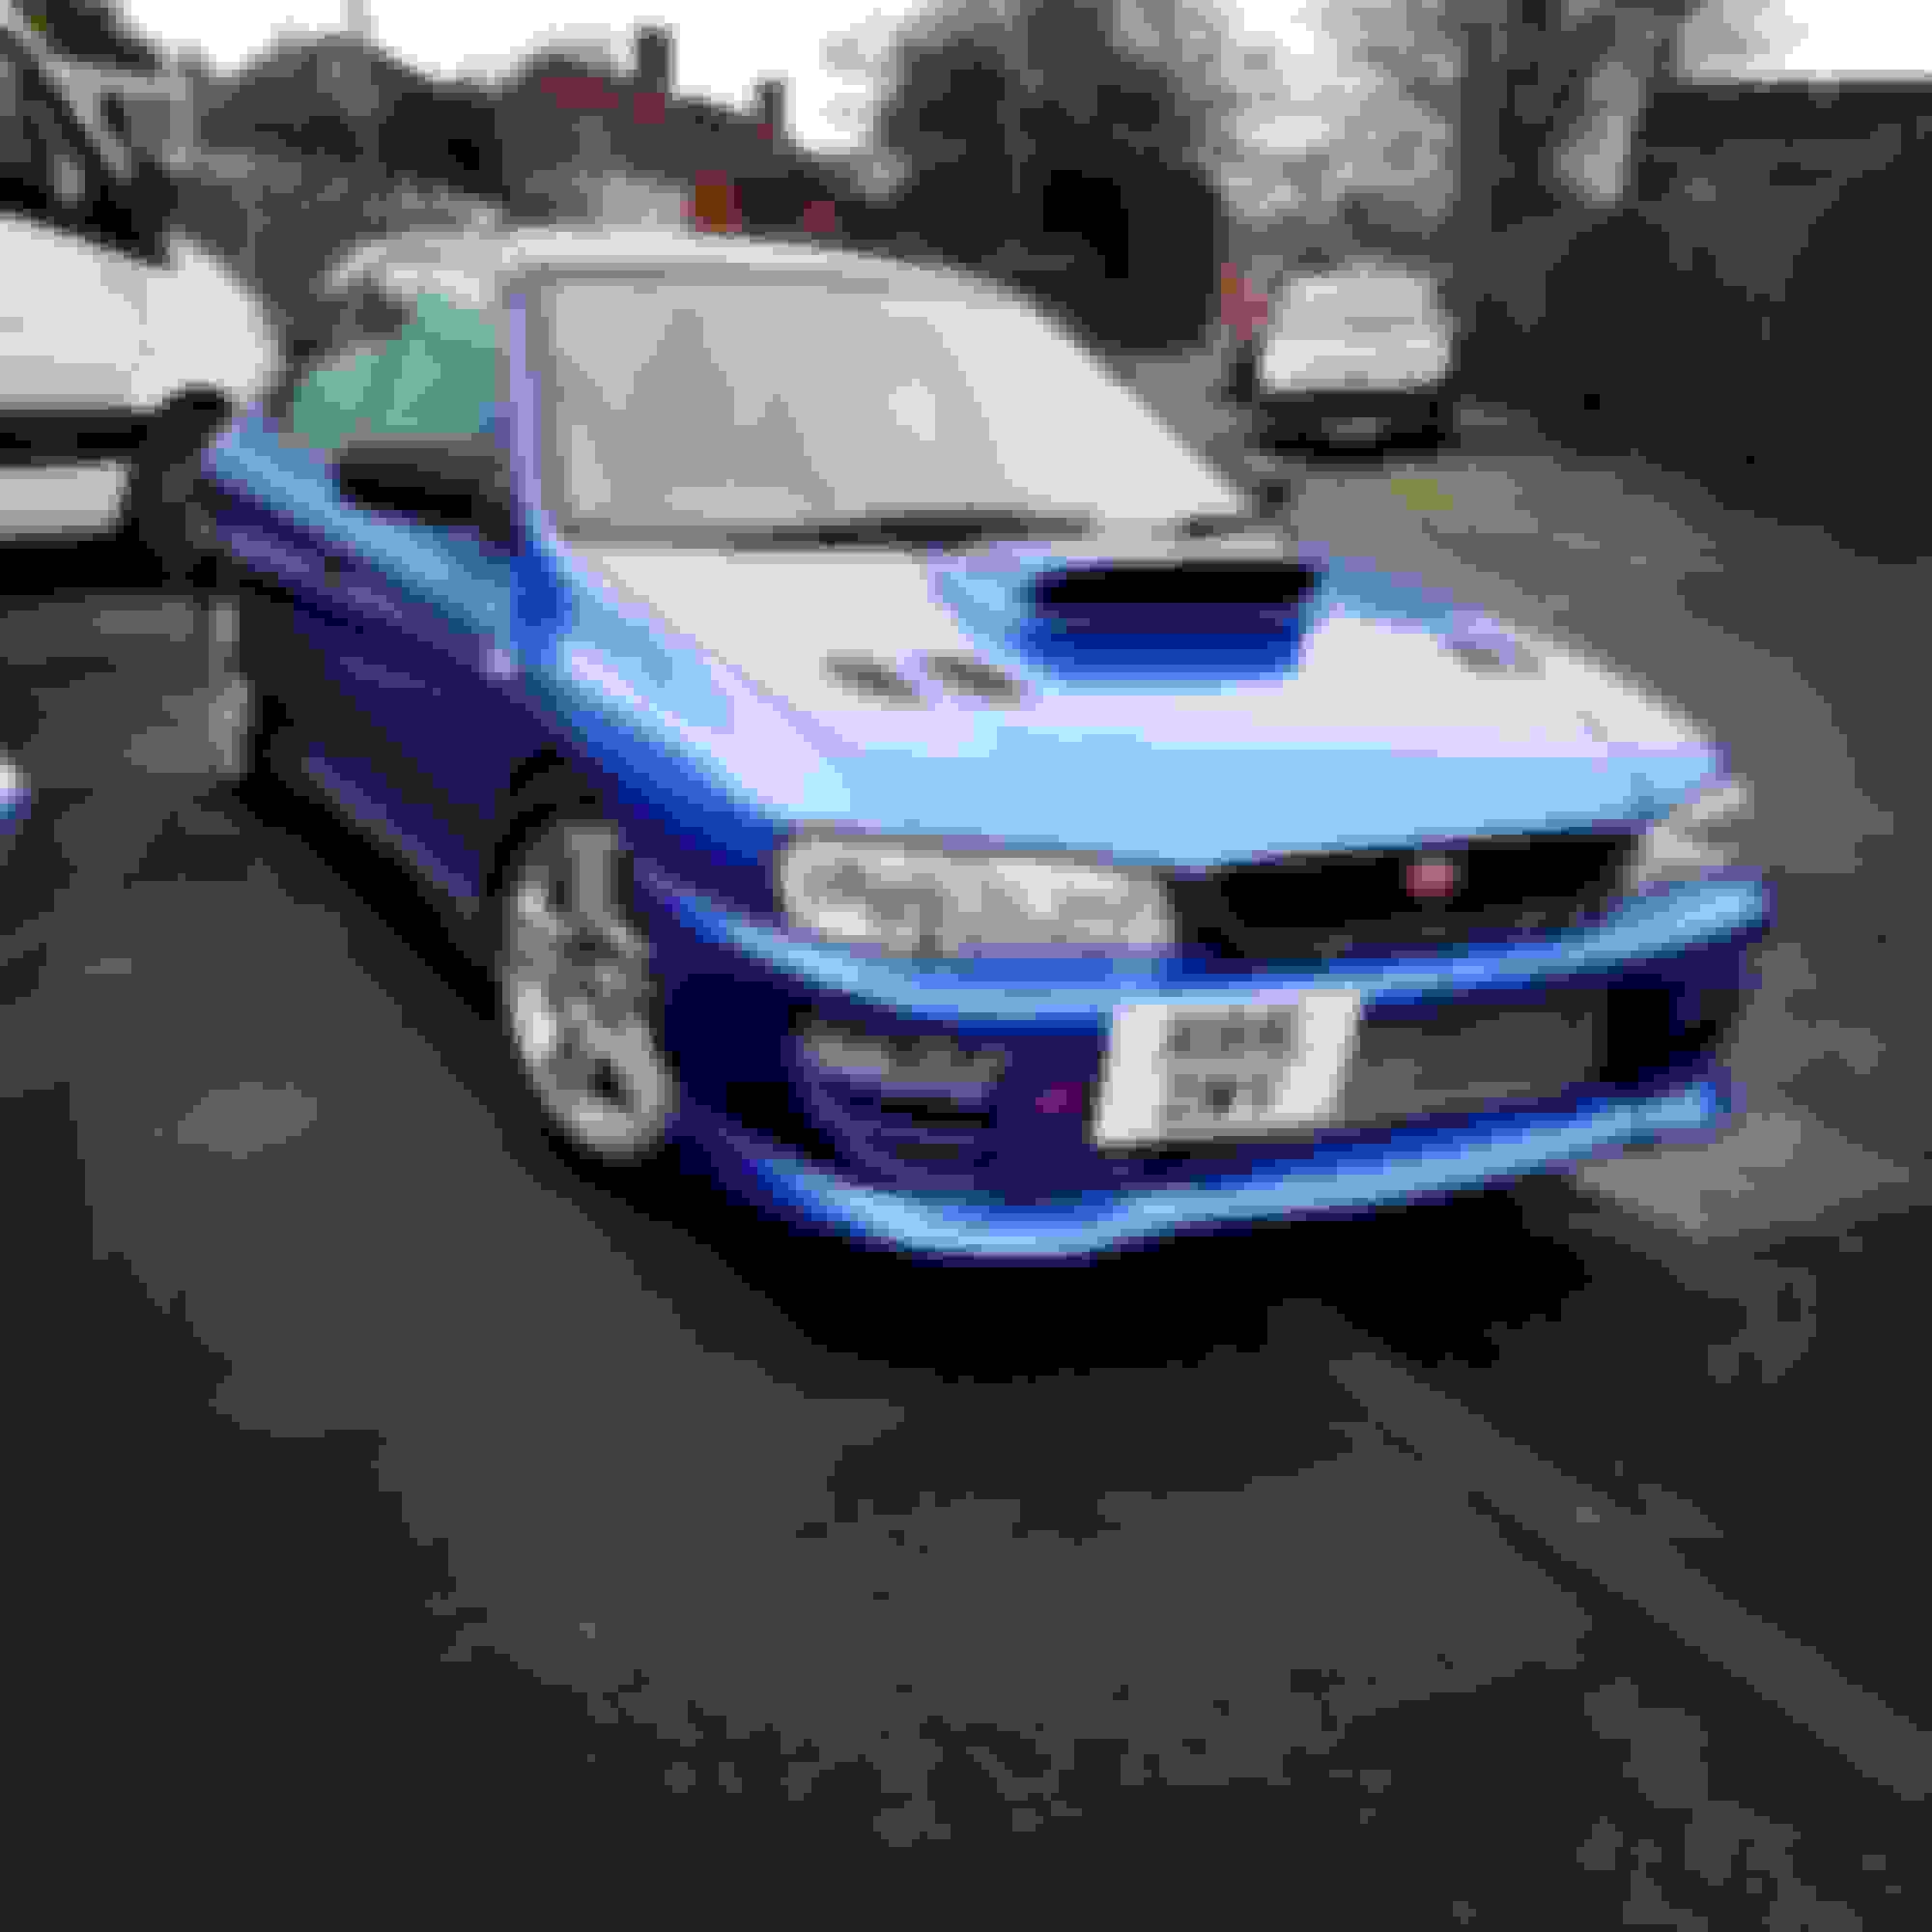
So due to the wind being freezing cold today got as much as possible done. Ordered a new grommet for the steering column. Removed bumper and fitted the foglight covers, adjusted the number plate bracket. Fitted the new night breaker headlight bulbs and bigger scoop.
she still needs a clean but she is looking better.
Looks Great! Makes me want to get to work on mine...
Looking sweet, I never got my car in the air in the end the weather has been to cold, but I seem to have a seal gone on the drivers side rear lights, And I've noticed my rear window spray doesn't work, so I'm hoping as I can here the motor going when you spray, that the water in my boot is a combination of broken seal and the water pipe for the spray has detached its self and is spraying into the boot, as I've found the pipe coming down the passenger side of the boot behind the plastic trim where the jack and wheel brace are, may not be the same issue you have but could be worth a look for you
Looking sweet, I never got my car in the air in the end the weather has been to cold, but I seem to have a seal gone on the drivers side rear lights, And I've noticed my rear window spray doesn't work, so I'm hoping as I can here the motor going when you spray, that the water in my boot is a combination of broken seal and the water pipe for the spray has detached its self and is spraying into the boot, as I've found the pipe coming down the passenger side of the boot behind the plastic trim where the jack and wheel brace are, may not be the same issue you have but could be worth a look for you
Thanks, no worries I will have to have a good look round mine at some point maybe this weekend. Weather depending though. Cheers
Hi Mate nice build you have there.I have a 97 estate.I have a couple of questions regarding the build.Firstly how did youe fog light covers go on in the end?and ive noiticed that you have removed the rear Subaru badge I have done also but want to get rid of the glue residue,what did you use to get the rest of the glue off with? and the two small bonnet vents do the black bits separate away from the trim around it.?Sorry for all the questions by the way lol Do you have any spare interior bits?
Hi Mate nice build you have there.I have a 97 estate.I have a couple of questions regarding the build.Firstly how did youe fog light covers go on in the end?and ive noiticed that you have removed the rear Subaru badge I have done also but want to get rid of the glue residue,what did you use to get the rest of the glue off with? and the two small bonnet vents do the black bits separate away from the trim around it.?Sorry for all the questions by the way lol Do you have any spare interior bits?
Hi and thanks. The foglights in the end I drilled 3 holes on the inside of the fog light cover and bumper and got a small m6 bolt nut and some washers. I bolted to the inside of the bumper. It was the only way around losing the bracket space due to the intercooler.
There is still some residue left on the back. But its coming off slowly. I used nail varnish remover. Then some tcut and clay bared the car. It's not completely off as yet but hopefully a few more attempts and some elbow grease it will be gone.
As for the little vents yeah the have a little 8mm bolt undo the and the plate will come off you can then remove the vent if you would like to replace with a scoop. Which I did today
That's the tray under the vent
I may have a few bits lying around in my garage I did have a clear out before xmas and someone did buy a massive job lot off of us but if I can I will try and help. Cheers
Hi thanks for your reply that helps a lot what colour is your interior? Half my boot carpet is missing that goes over the sender unit so I'm after one of them.My interior is black and grey.Passenger rear seat that folds down is knackered also the back of it on the boot side of it is damaged.What did you pay for the scoop?
Hi thanks for your reply that helps a lot what colour is your interior? Half my boot carpet is missing that goes over the sender unit so I'm after one of them.My interior is black and grey.Passenger rear seat that folds down is knackered also the back of it on the boot side of it is damaged.What did you pay for the scoop?
No worries. I think I've got back carpets black and a white rear bench seat. Front seats are a little different but need to put my sparco seats in. I don't have the rear boot carpet or rear bench seats sorry. The scoop was found in the boot of the 1st classic Scooby. I noticed that the air filter underneath the grill was getting wet so sprayed it up and put it on. Hopefully protect the filter a little better.
Hi mate do you have a picture of the carpet bit that goes over the sender unit in the boot please.I think mine is black.If it's ok how much would you be after for it posted
Hi mate do you have a picture of the carpet bit that goes over the sender unit in the boot please.I think mine is black.If it's ok how much would you be after for it posted
sorry I haven't got that bit. I've got a black interior floor carpet out of a saloon but nothing for the boot.
So after a massive issue with being sent and given the wrong coilovers for my car. I've finally got a pair of XYZ coilovers on the car and it's sits nicely.
Looking better and better. I've not heard of those coilovers, how does it drive?
Thanks. Yeah I hadn't have heard of them before. But after the major mess up made by the supplier and the unnesscessary cost of trying to fit them. The supplier gave us a full refund and the coilovers for free. They are responsive and very comfy which has changed the car completely. Only issue I did have is with the passenger rear arch it's obviously been repaired at some point and the lip was bigger so was hitting the wheel.
I got a roller on it yesterday and it cracked and the filler just fell out.
Just caught up on your build mate, real nice job you have done!
I'm very impressed with the time it has taken you to get this far, thats a lot of effort over the winter, with all the dark and miserable weather.
What did you use to put the sti spoilers on? Just bolts or tiger seal and bolts?
I cant find a proper guide, im going to have a look at what was used when i take mine off and am thinking about using a foam weather strip type thing for vibration absorption and or some silicone sealer along with using the bolts. I dont fancy using tiger seal.
Thanks Martin, yeah it's been tough. Just the last final bits to do now.
With the spoilers I used the original fixing bolts. As they worked perfectly. As you have mentioned though there is a bit of rattle when closing the boot from the lower spoiler. May have to find some kind of sticker pads or sealant, but overall they fitted better then expected. I didn't fancy tiger seal either.
I managed to find a roll of green weather proof double sided foam. Its not too thick.
I only used a bit on the lower spoiler to create a seal and hopefully stop any water ingress and vibrations. My lower spoiler had all the bolts and is secure.
My top spoiler is an after market replica and doesn't have the top bolt. So i have used two layers and covered more surface area to make up for the fact there is only one bolt each side.
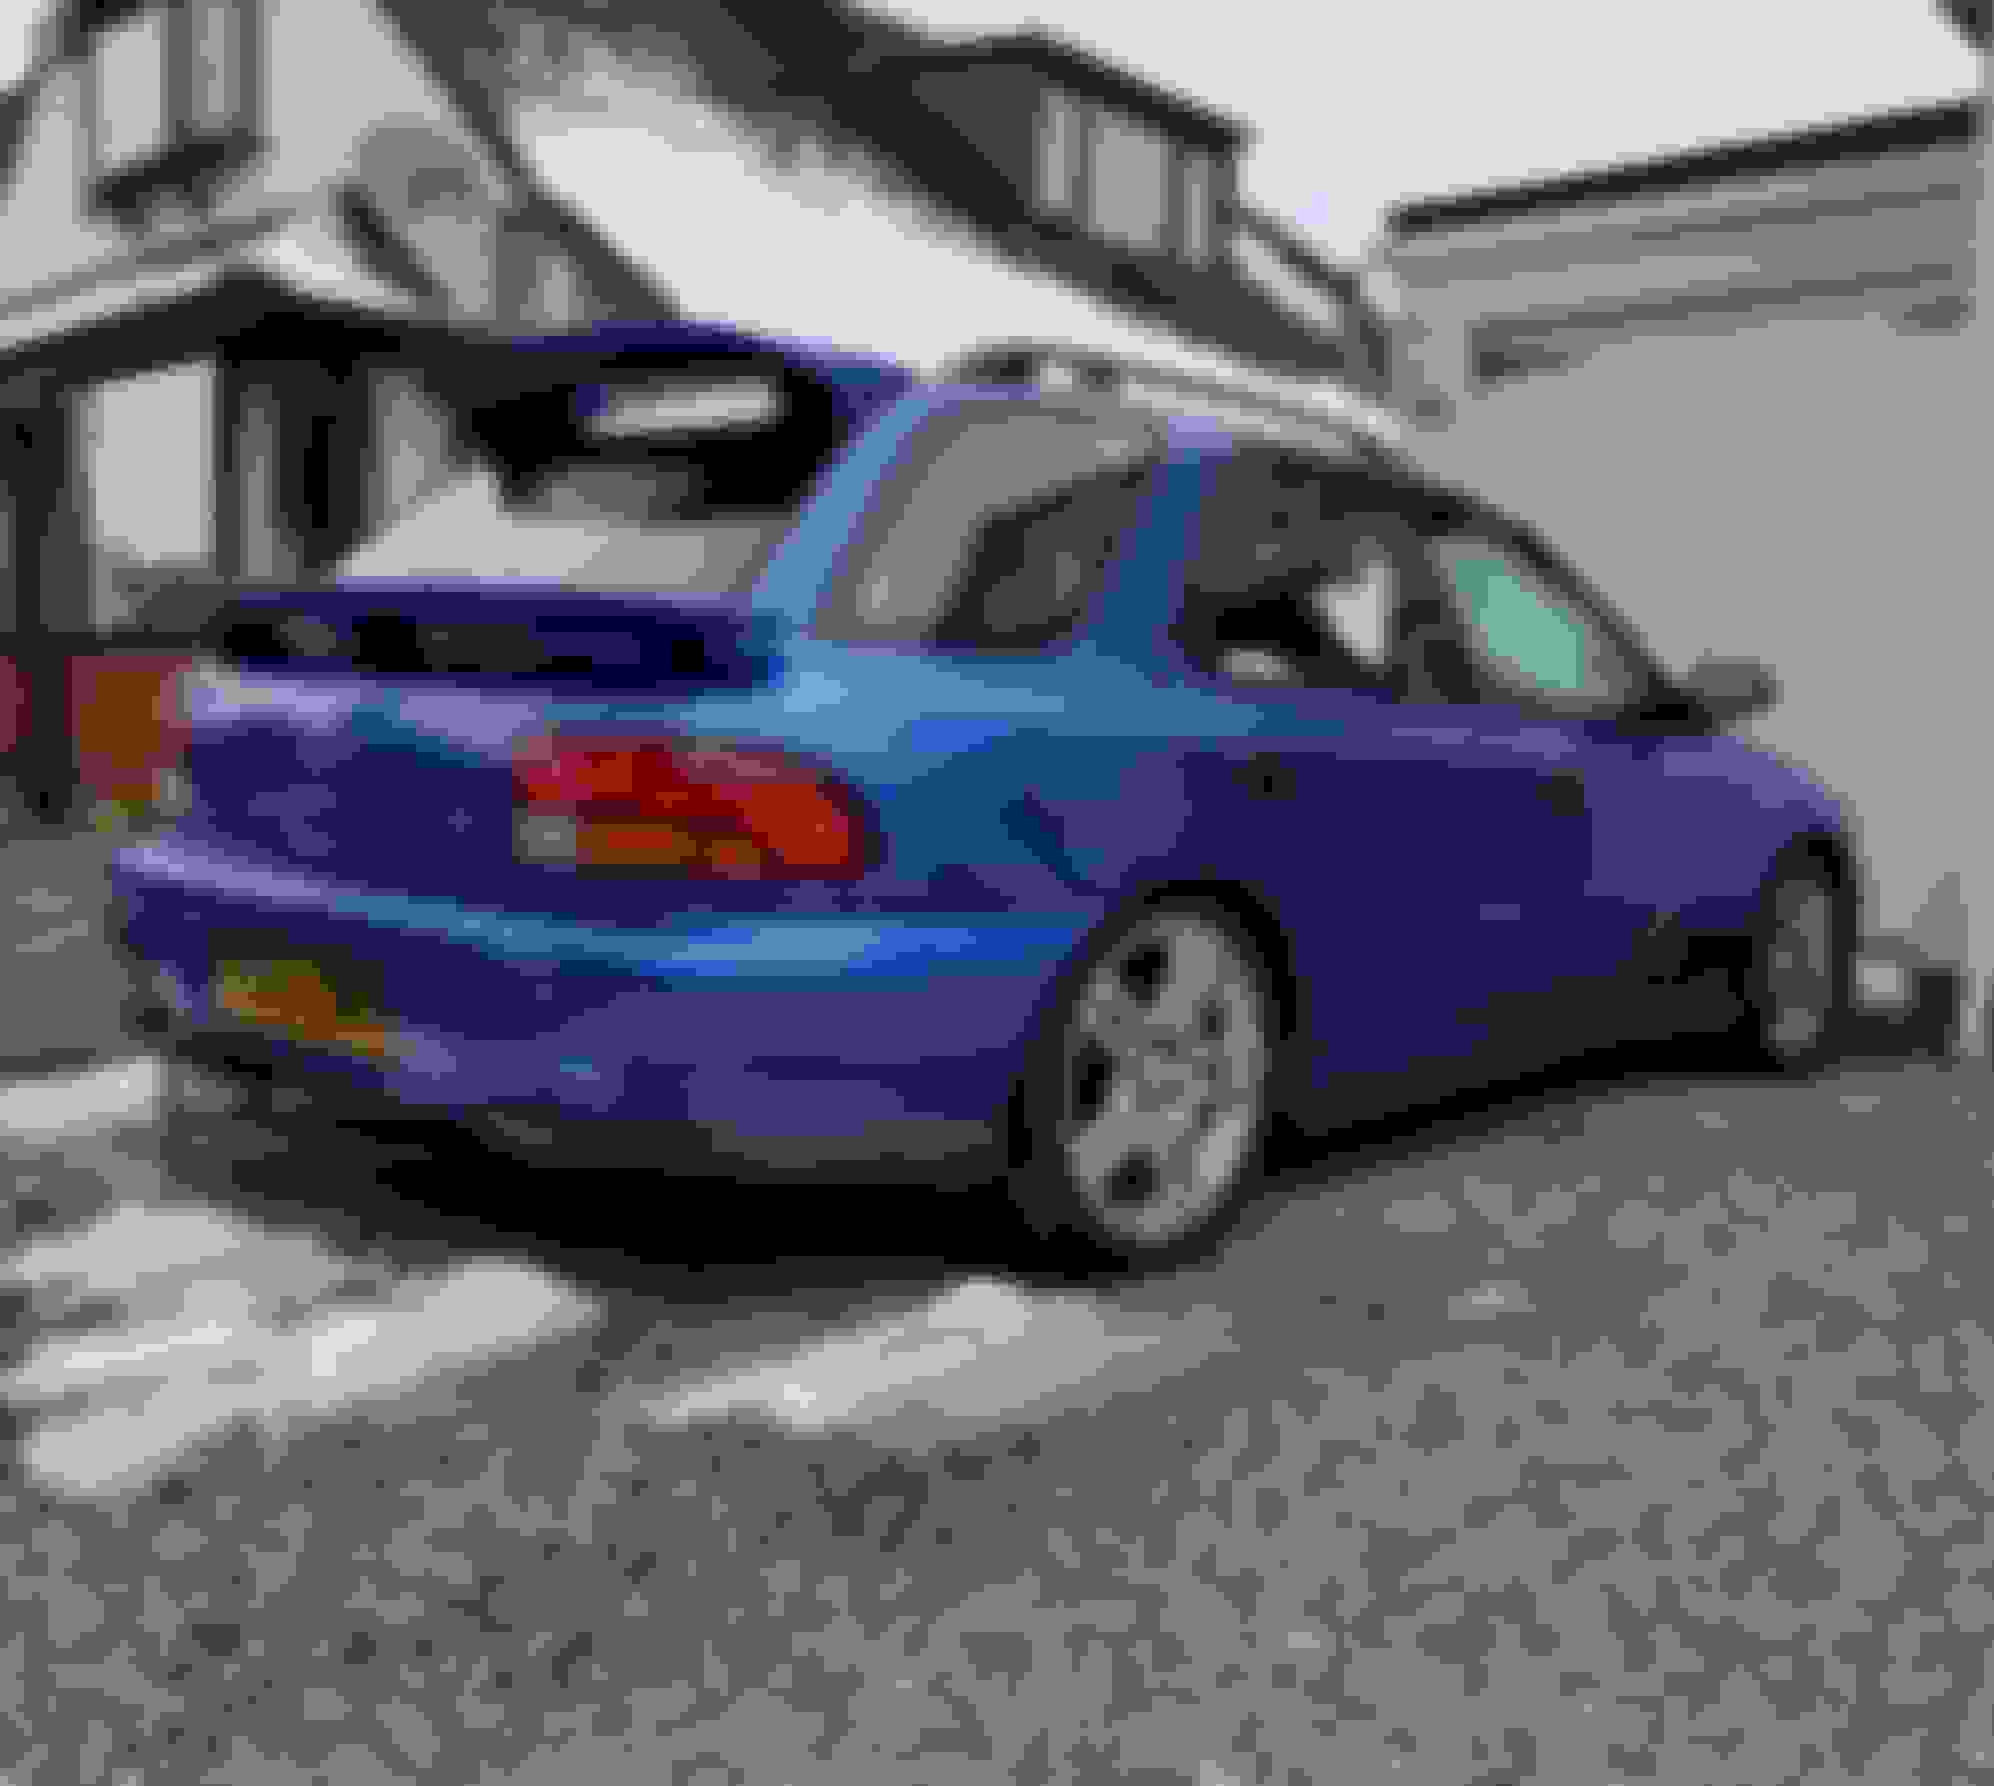
They both seem quite sturdy and look so much better.
In the spring or summer they both need to come off as I found some rust patches that need sorting and the spoilers need a respray at the same time as i fix the rust.
I put them on now as I wanted to check the rust and thought why not
I managed to find a roll of green weather proof double sided foam. Its not too thick.
I only used a bit on the lower spoiler to create a seal and hopefully stop any water ingress and vibrations. My lower spoiler had all the bolts and is secure.
My top spoiler is an after market replica and doesn't have the top bolt. So i have used two layers and covered more surface area to make up for the fact there is only one bolt each side.
They both seem quite sturdy and look so much better.
In the spring or summer they both need to come off as I found some rust patches that need sorting and the spoilers need a respray at the same time as i fix the rust.
I put them on now as I wanted to check the rust and thought why not
That's good then so it comes down nicely and doesn't make that horrible ratterly sound.
I see nice work. Yeah they do look so much better then the original wrx ones.
fair enough get it done why the weather's slightly nicer.
Had a snow day yesterday so had to help the Mrs do some bits. Got a nice picture of the old girl in the snow