Thanks Rob, I have actually sealed the unit with resin so I imagine it'll be okay. The problem I had really was that setting it too low would mean it'd get spray from the lower grille and I didn't want to fit it to any other structures. To put it up near the battery unfortunately would have been a lot more re-wiring work for me.
Okay, this is a really testing mod.
It's not intensely difficult, it just requires loads of patience and a steady hand.
An observation I made is that it is MUCH easier to place the overlays on a new light, and favourable to clean and use a clay bar on the lights before placing them if you do not have a factory fresh car (or new lights).
There are three options to these overlays that I've come across, either full red coating (just get red overlays nothing else needed), red with dark tint (just get these but I don't like the look of them at all) or red overlays with cutouts (require a replacement clear fog lens unit).
Placing the overlays on the hatch lenses is much easier than the curved rear side units.
What you need -
Recently barred lights or factory fresh car
Replacement driver side rear hatch lens unit with clear fog lens
Overlay kit (red vinyl, templates and squeegee) I got mine from IAG Performance in the USA following good reviews on the American sites...
http://www.iagperformance.com/shoppi...prod=150313RED
Some *****
Lots of patience
Wrench Set
Freshly washed hands, I mean really scrub them so there is no grease on them!
Washing up liquid
Hair dryer
Scalpel
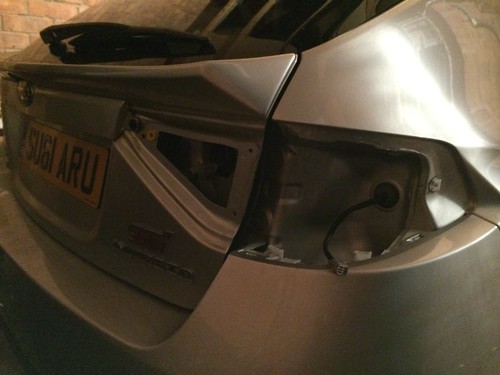
So remove the light replacement hatches on the rear boot lid. Remove the lights by unscrewing. Remove the bootlid handle by pulling out and then remove the rear bootlid trim. This requires the ***** part because you have to pull really hard to remove it, yet you feel like you're going to break something by trying. Do not worry. First start at the top of the bootlid by removing the small rectangular section and then both vertical parts. Then you can remove the large rear section of trim from the base of the hatch. When I was pulling the bits off they made quite a loud crack with each tug - the plastic Subarus are made from is rather rigid and hard wearing!
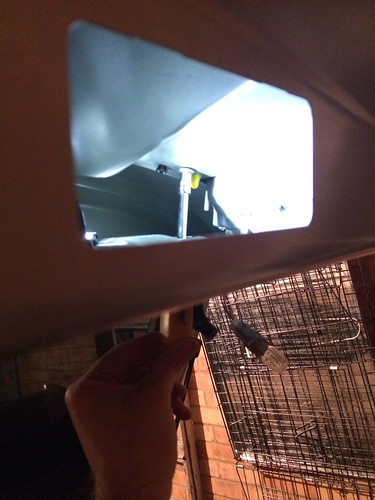
Then remove the nuts from the edge of the light tabs, there are two on each at the edge of the boot lid on the most lateral aspect. Then look in through the holes in the boot lid metal to see if you can find the third nut holding them in medially.
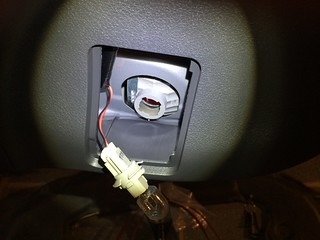
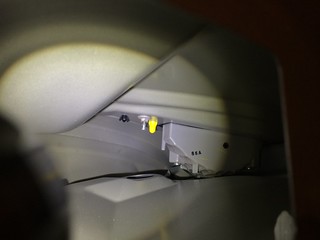
I found the best way to remove the other nuts is to look through the area where the bootlid handle is and use a wrench like so. The lens then needs pulling out firmly.
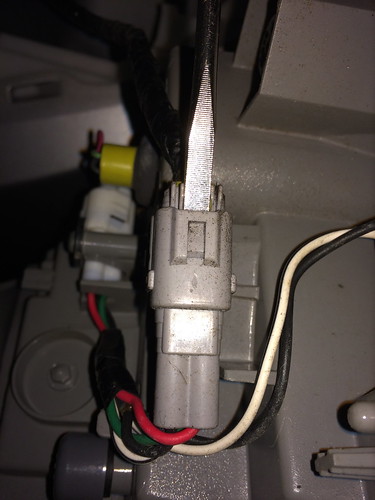
For the rear side lenses it is simply a case of removing the two nuts you can see and then slotting out backwards.

Once slotted out you'll see they are still attached firmly by some wiring. Insert a small screwdriver in and lift gently, they'll part leaving no lights on the back of the car.
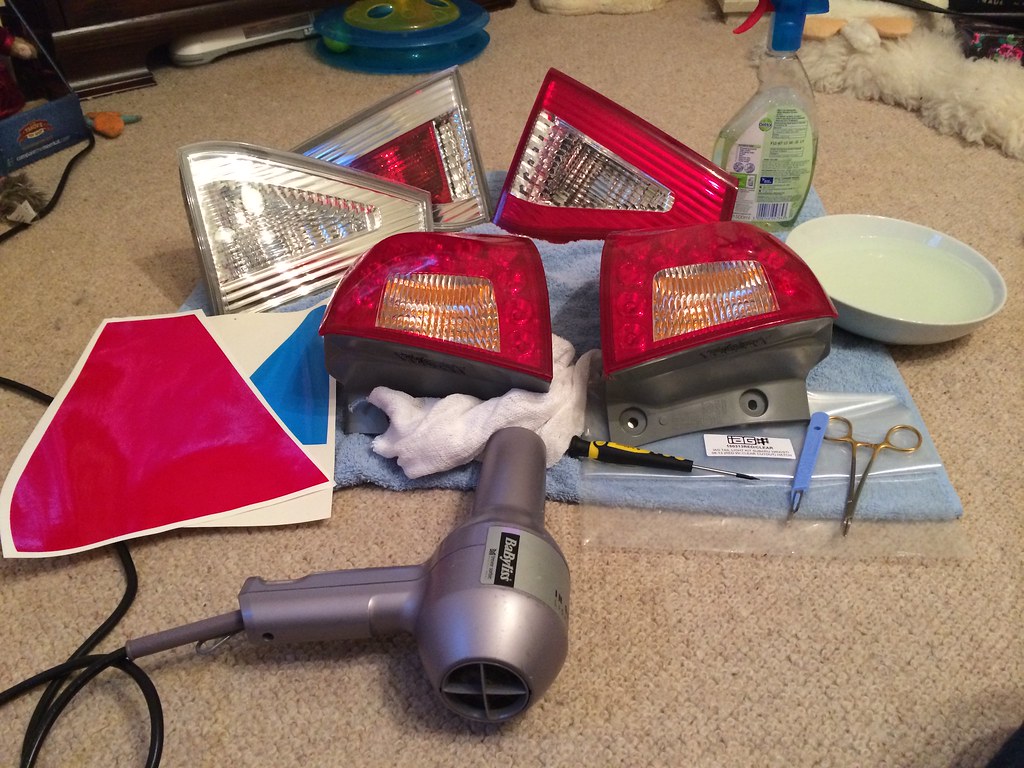
A boot light and some overlays, I put washing up liquid and water in an old dettol spray bottle so I could apply it more easily.

Pretty much everything I used. Be careful you don't have any contaminants nearby, these overlays would pick up dust, fingerprints, pet hair etc. I worked with the overlays on top of the waxed backing paper they came on to stop things sticking to them.
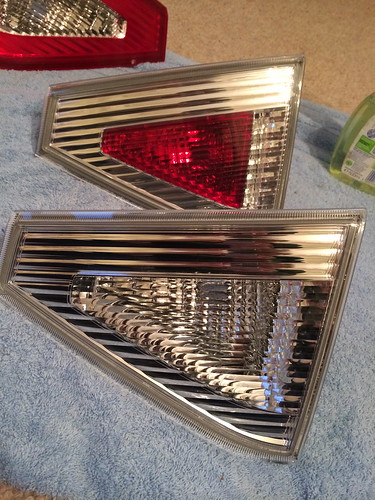
UK standard rear driver side unit with red fog lens and USDM with clear. You only need the USDM one if you want to do a cutout.
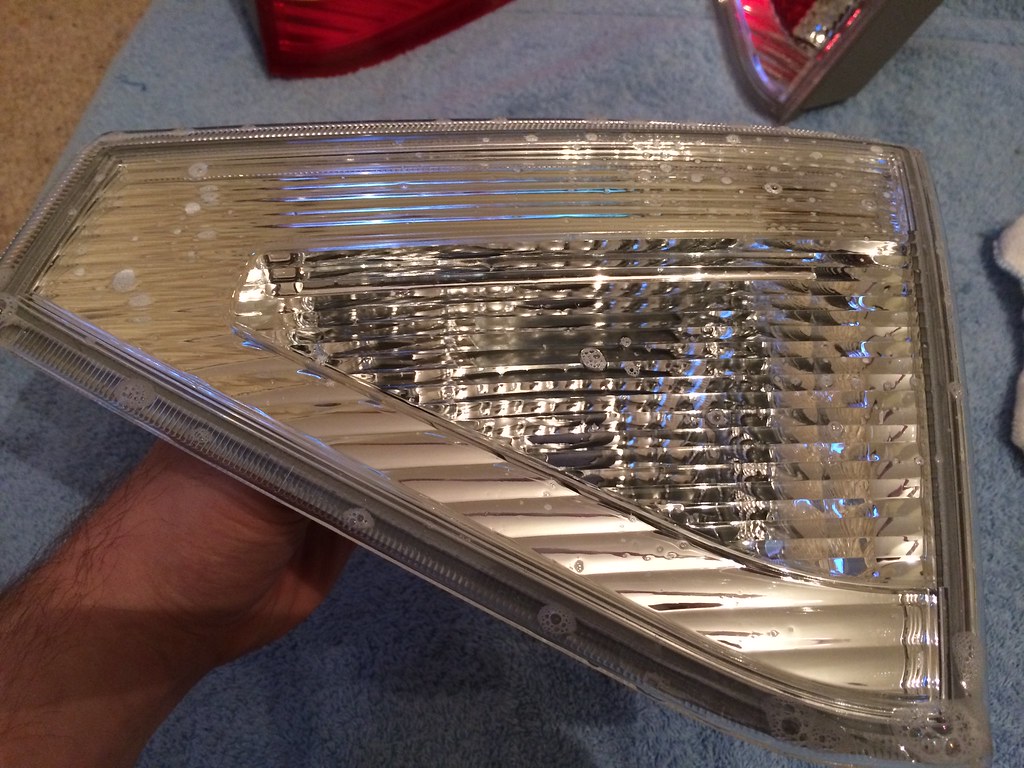
So spray some washing up liquid over the surface, make sure there isn't too much in otherwise it will be too foamy and cause residue under the vinyl.
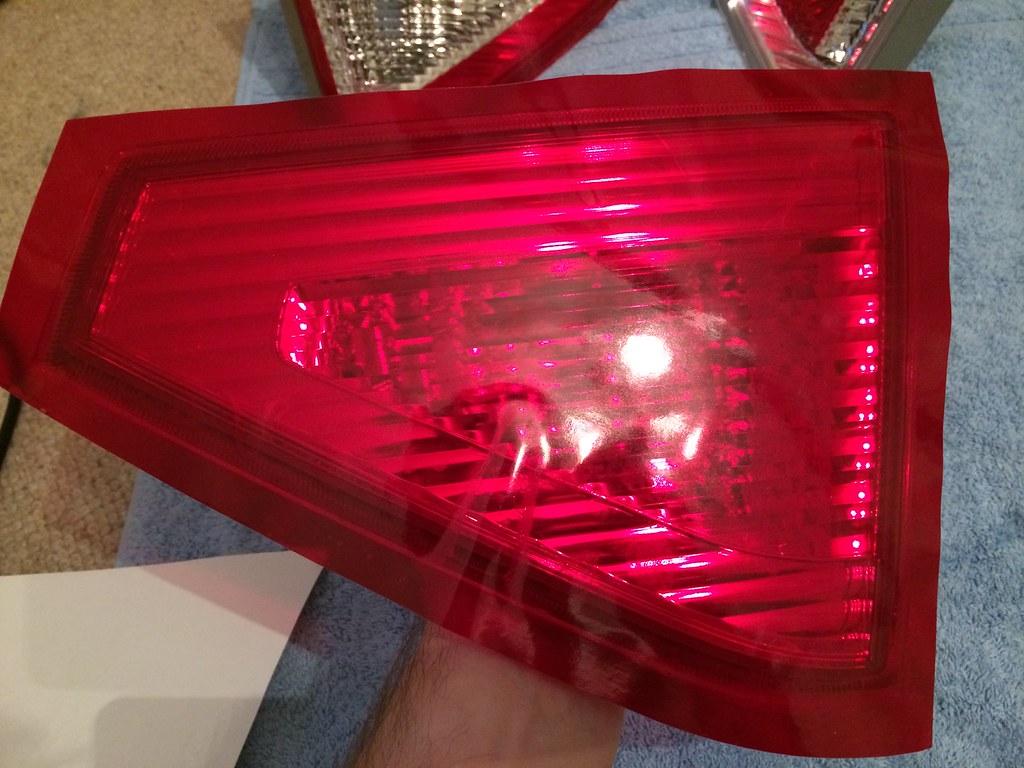
Place the vinyl overlays and press down as firmly as you can.
No matter how hard you press (or evenly) you'll still get air bubbles. I found it best to move them towards the edges or even towards the middle of the unit where I'm going to remove the overlay for the cutout.
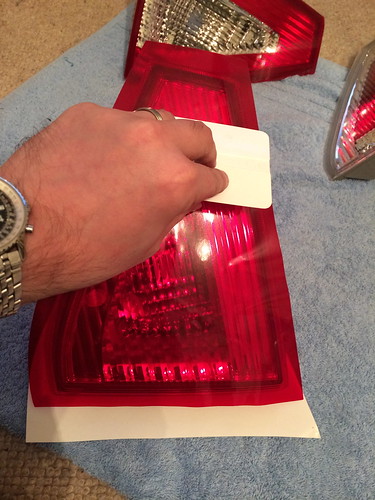
Use the squeegee to get a more even contact and work toward the edges if you can. Don't worry about scratching or scoring the surface too much, once it is stuck down it is not very apparent.

Gently heat with a hair dryer and then work the material towards the edges. It is worth remembering that the vinyl will shrink if you heat too quickly but if you work it at the same time it will expand and flow. It is very difficult to split or break the vinyl but quite easy to cause ridges, so I would recommend lubricating the layer by also spraying the overlays with washing up liquid. As you keep working, try and go from one end to the other and only go back to an earlier level to move air out. Try to fold over the edges but don't trim until you think you have finished.
The side lens units really need smoothing with a finger straight after heating, and repeated firm pressure can cause a fair bit of ache. I found it best to dip my finger in the washing up liquid water bowl after heating the overlay with the hairdryer and almost flowing it. The vinyl expands a fair bit when worked but contracts so be careful that you don't curve it round away from the contralateral side - it must be worked evenly both sides as you move along.
Ultimately this is the bit that needs patience, it is a real pain to work on if you don't have a factory fresh headlight and WHATEVER you do don't do this unless you have cleaned the clusters very thoroughly.


Unless you have a steadier hand than me I'd advise using these templates, or as a minimum drawing out the area you wish to cut first. I used a ruler to score the straight edges.
I'd recommend using a no.15 surgical blade as it is thin and you can accurately score the depth the thickness of the overlay. If you use a Stanley knife I fear you'd score too heavily into the light fitting underneath. Not a problem if you never plan to remove the overlays, but...

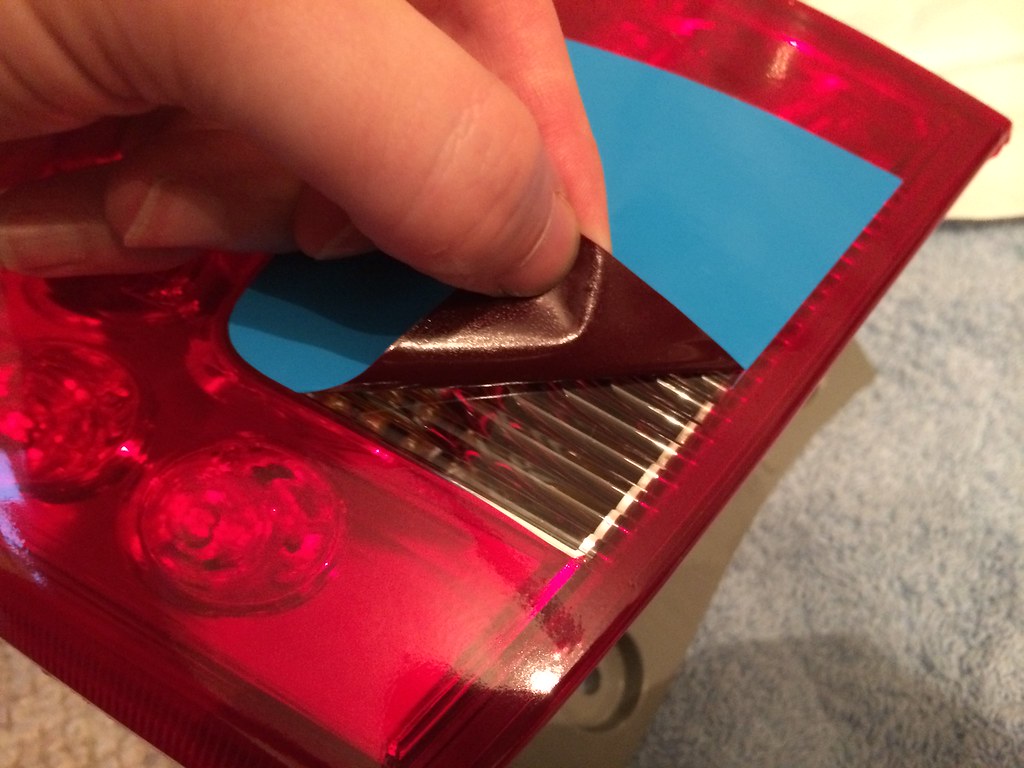
Peel off carefully. I'd recommend keeping the scalpel in the other hand to score the bits at the corners.
A seriously sweet-looking rear lens, yes I know I have just changed sides!

Some people will never appreciate the looks of the hatch but I personally couldn't stand the OEM "Lexarse" lights look, they were plain horrible. Especially on one people think I was daft enough to pay �50k for!
Much better!

And up close, wow I'm proud. This genuinely took me a long time to do and anyone wanting to do this needs patience. If not, get it done professionally because it is frustrating.
