ScoobyLine GC8 With RB25det conversion EEEEK!!!
 20 January 2013, 07:54 PM
#1
Scooby Regular
Thread Starter

Join Date: Oct 2012
Location: surrey
Posts: 96
Likes: 0
Received 0 Likes
on
0 Posts
ill be honest, i miss my old skyline badly, miss the size, the noise basically everything about the car.
Anyway, broken for parts long forgotten i decided to buy a v2 jdm subaru sti!!
Always fancied a 4wd and thought maybe this would be a good cheap option to go for.
Budget was lets say very tight so either way i was going to end up with a car that needed work!!
Managed to pick this 1996 silver sti up for �1300....
Crash damage history, but had good look over it and seemed straight, no funny knocking smoking usual stuff.
got her home and was pretty happy with the performance tbh
275 out the box, weight is approx 1200kg. Short ratio box gives a book time of 0-60 in under 5 secs so not shy.
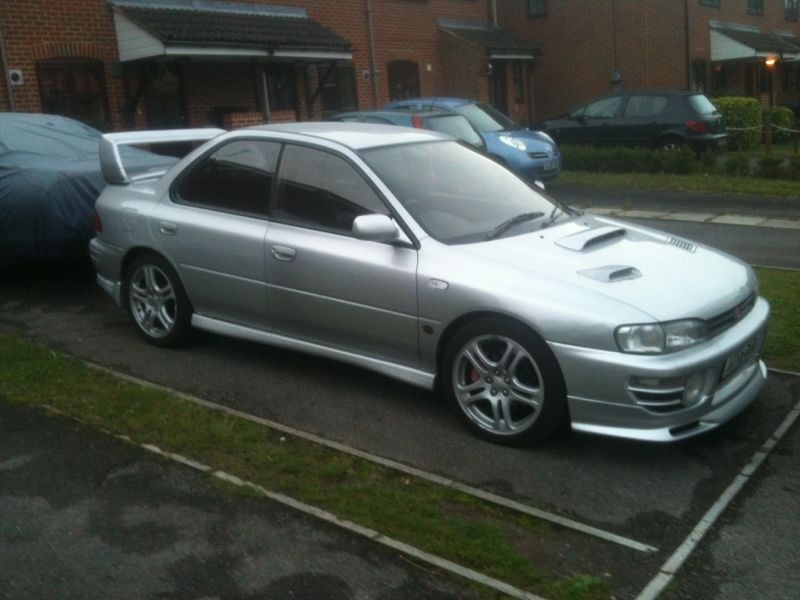
bodywork, tidy but paintwork is tatty,no rust though and a good base tbh, yh its got history but what car doesnt nowadays, my motto was well atleast i know about it!!
anyway, got on it. service kit, oil filters plugs etc
whilst plugs were out did compression test and all came back spot on
HAd to replace front callipers as piston was seized both sides!!
got to finally drive it (weekend car ) and drove it handful of times until i lost heat in heater!!
CAr got hot but didnt overheat so left it for the weekend and checked levels to find lost coolant
alarm bells ringing, i topped up the system bled it etc and left it idling for good half hr and temp was all good etc.
result i thought but wasnt totally convinced.
Drove the car and on boost it hesitated in the higher rpm,
putting all the problems together i decided to do sniffer test for hg failure!!
Yup failed!!
So was now at crossroads and decided to go all out.
For cost of repair, and future proofing it worked out that it would be just as costly if not cheaper to do an rb conversion!!
Rb25 with running gear, rwd. Super reliable, can throw anything at these and will be different to anything out there.
Took inspiriation from the jpp drift car and had alot of reading to do, but the build thread gave me good insight into the build
so....................................
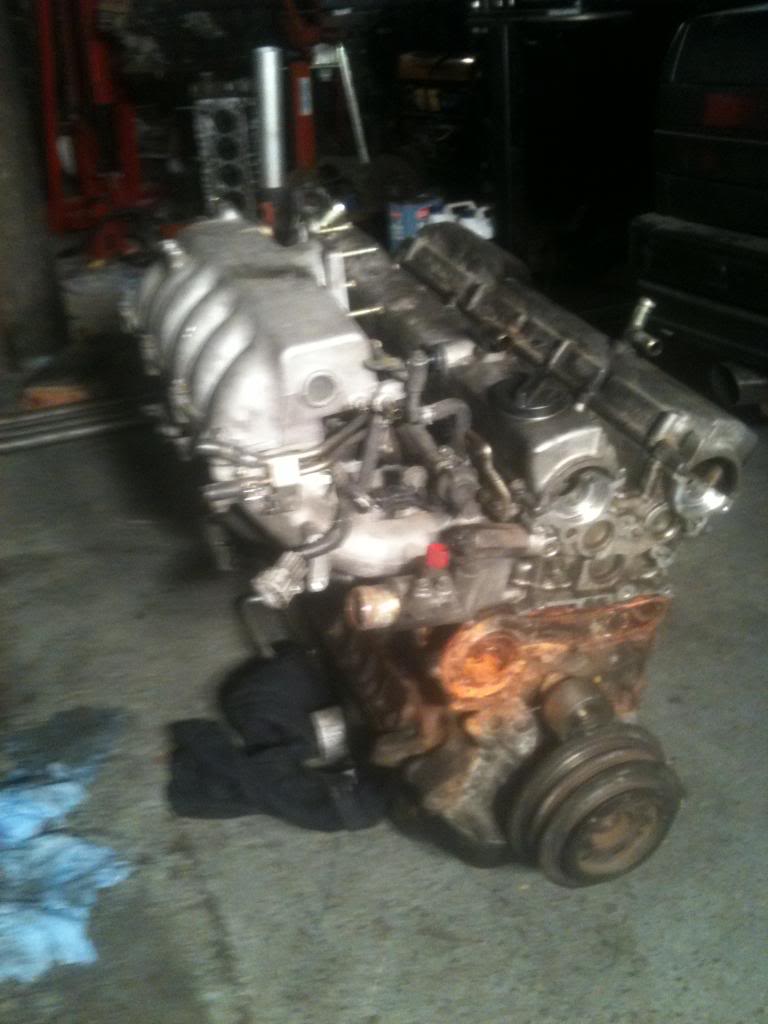
2hr run up to gloucester yesterday i went to pick up a donor rb!!
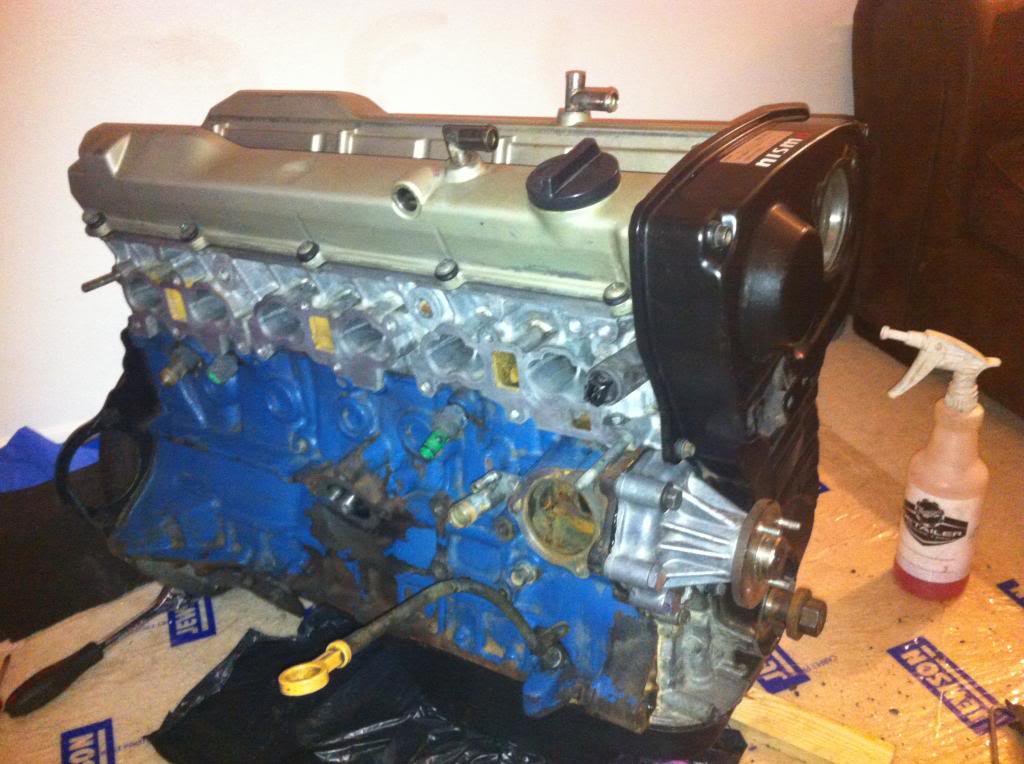
got the bare engine for �255 !!!!
Bargain (if its as healthy as he said it was)
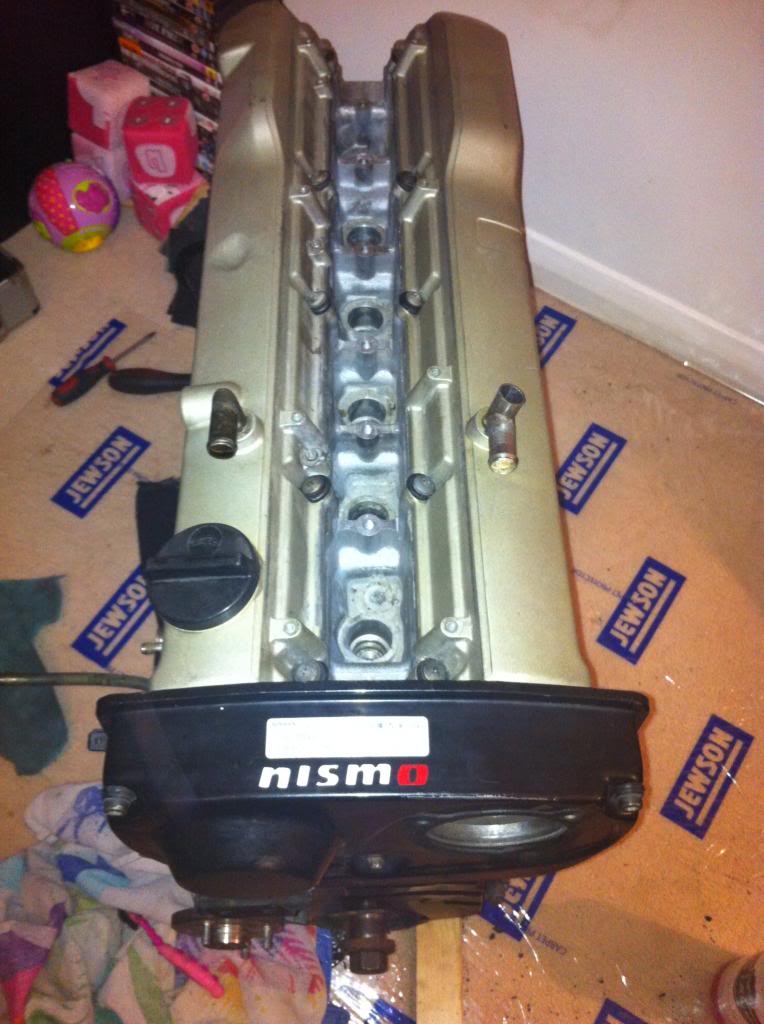
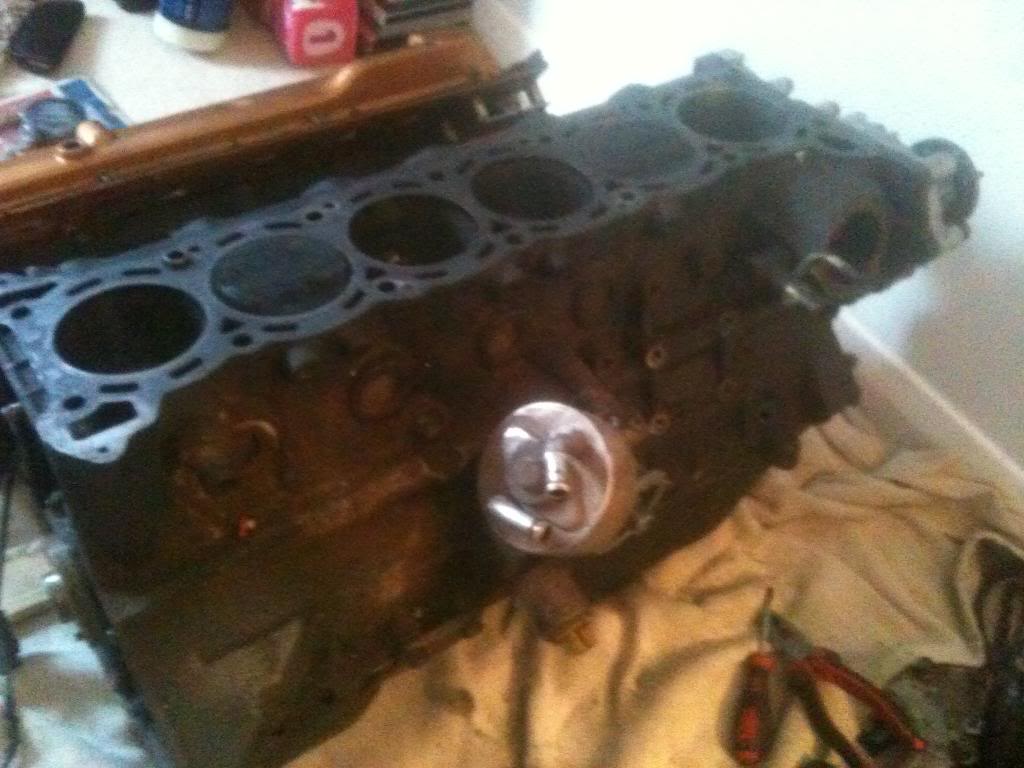
spent few hrs today in living room cleaning up the block and giving it general good going over
came with both cams covers even flywheel, crank pulley missing along with water pump pulley but for the money im pretty pleased
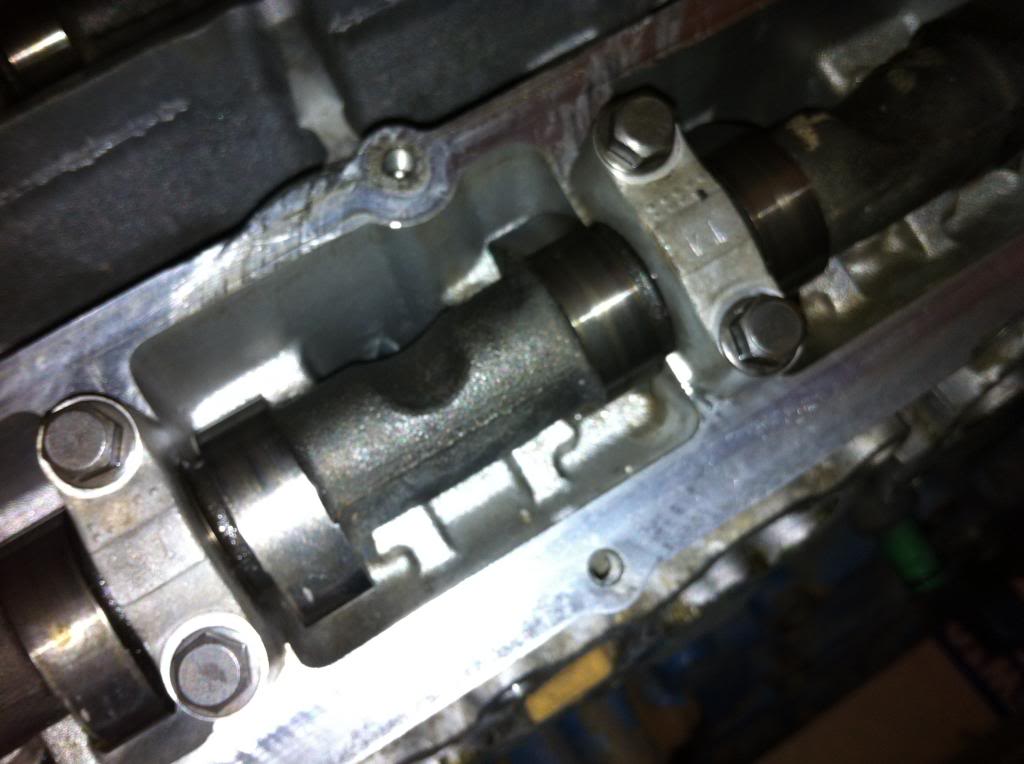
cams look to be in good condition
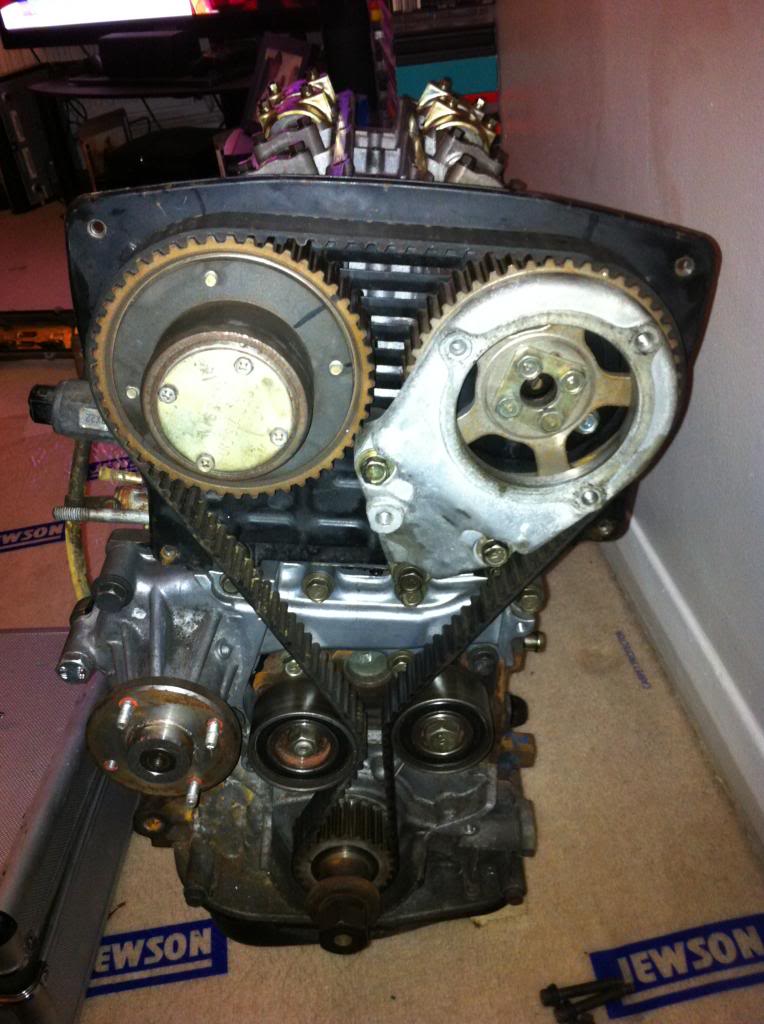
belts will be replaced but doesnt look unhealthy, no nasty leaks from anywhere
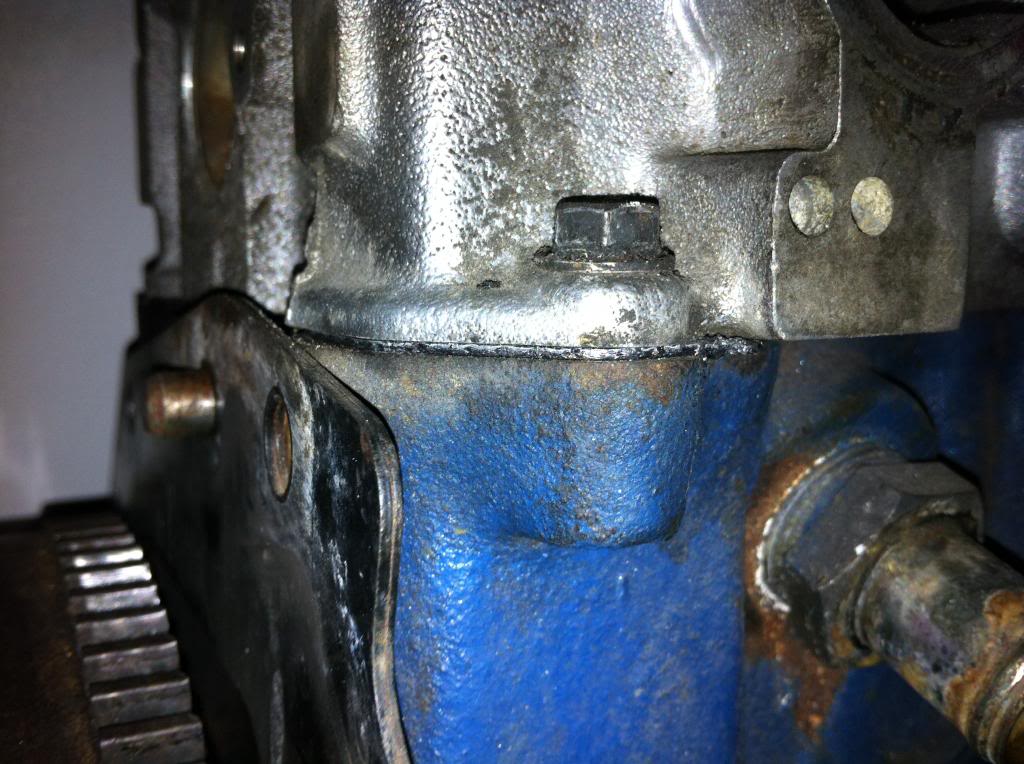
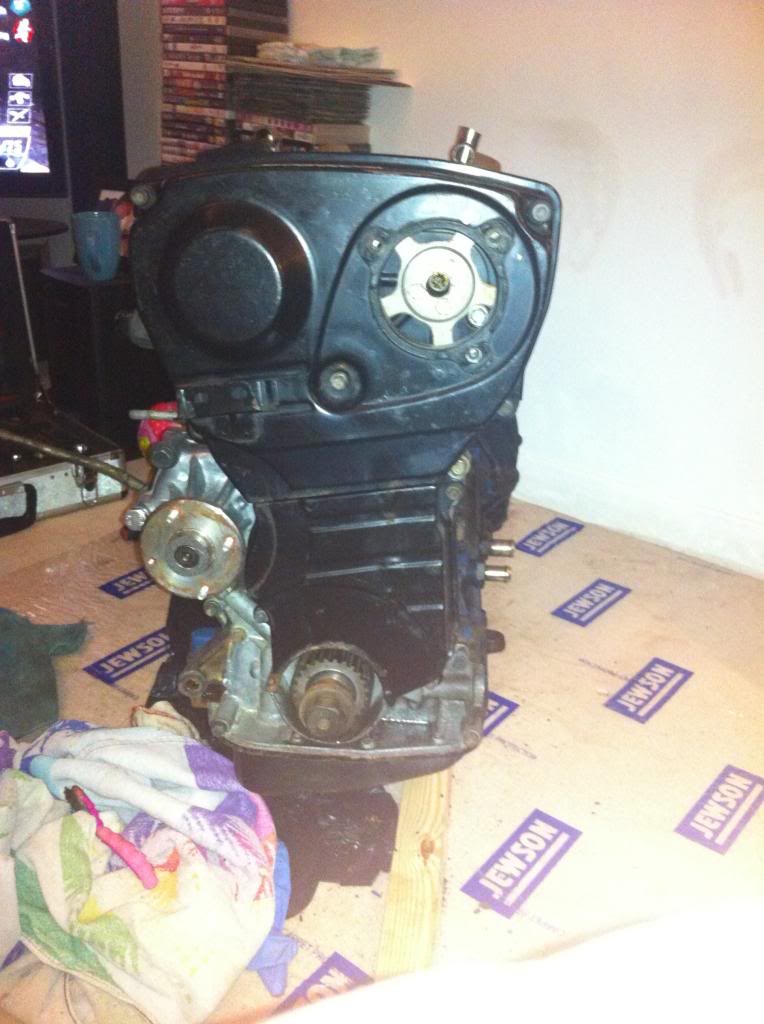
now this is hg before i cleaned the block, looks new to me??? any opinions.............
not multilayer i dont think though tbh
opinions welcome
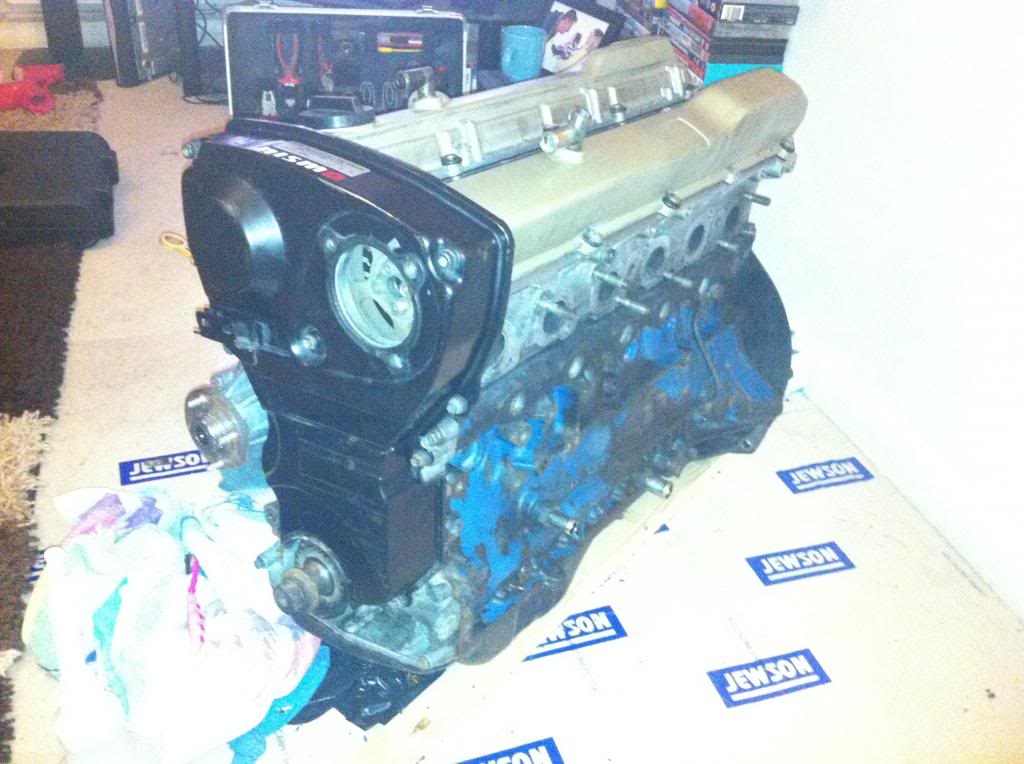
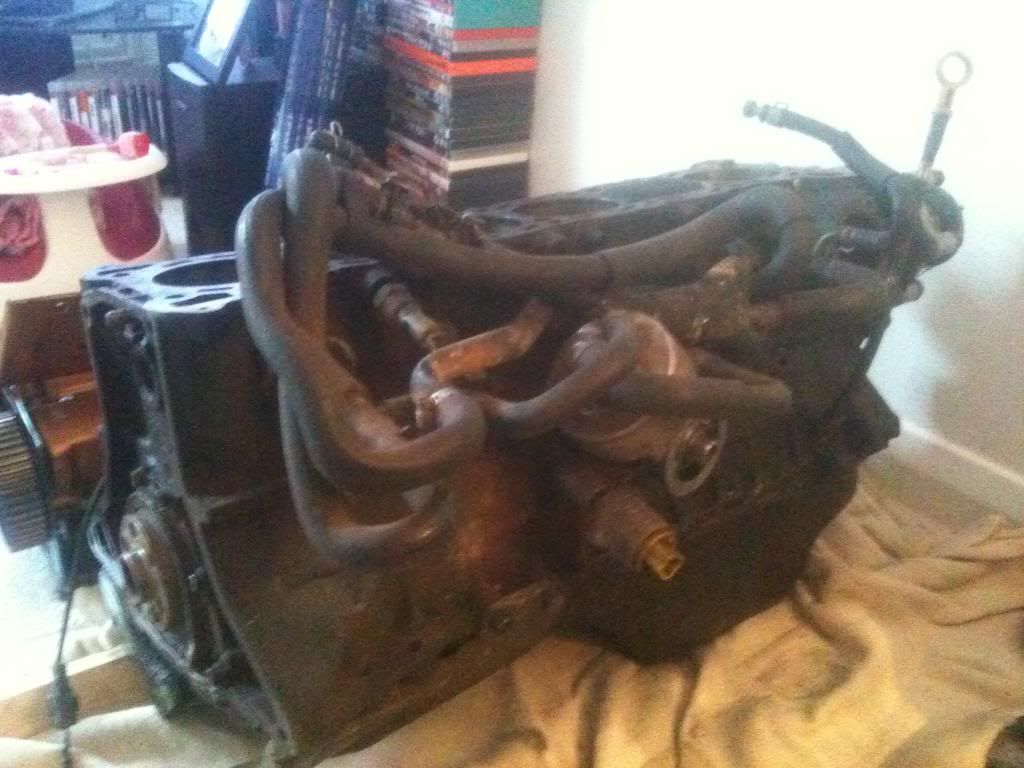
block painted blue, ive cleaned and degreased everything and block will be going back to satin black
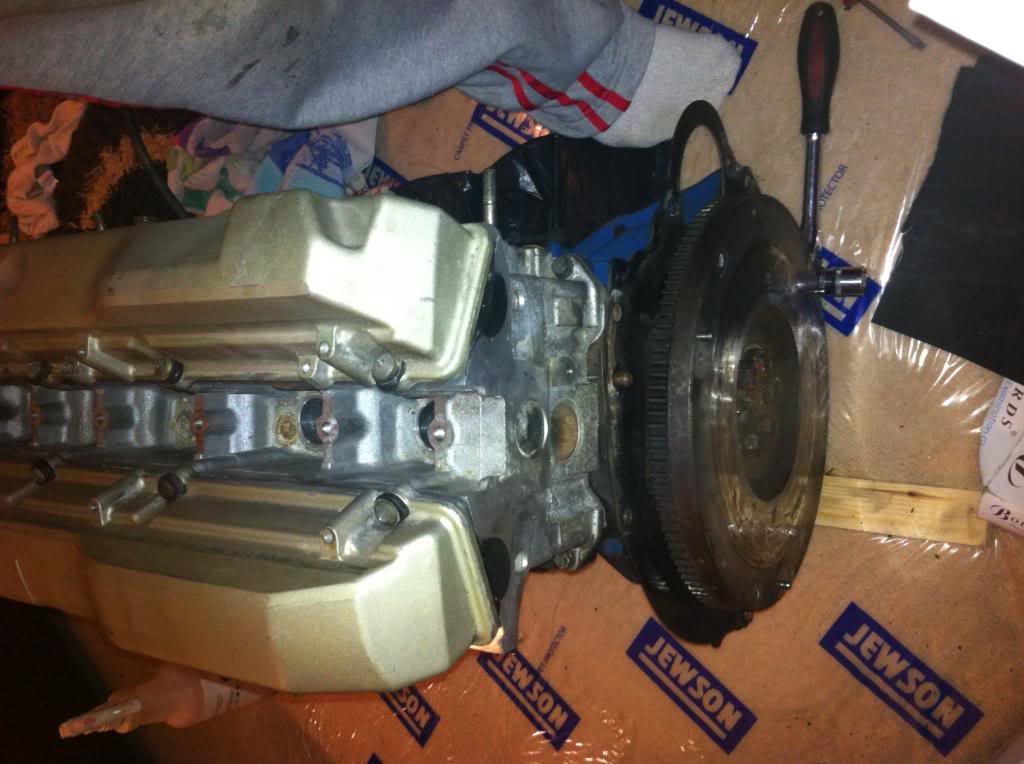
flywheel got few hotspots but not too bad, any ideas on how to lock flywheel to undo the bolts??
nowhere to jam anything lol...............
on the whole im really pleased with how clean its come up,
anything i can do to do compression test from what i have here??
anything worth checking/pulling off now its here??
im hopefully going to have the subaru engine out next weekend, will sell that on and all the running gear and start prep work for the offering up of the rb, and start modifying the front subframe.
Will update on weekly bais i hope, project is only weekend thing so is going to take some time...............
wish me luck
Anyway, broken for parts long forgotten i decided to buy a v2 jdm subaru sti!!
Always fancied a 4wd and thought maybe this would be a good cheap option to go for.
Budget was lets say very tight so either way i was going to end up with a car that needed work!!
Managed to pick this 1996 silver sti up for �1300....
Crash damage history, but had good look over it and seemed straight, no funny knocking smoking usual stuff.
got her home and was pretty happy with the performance tbh
275 out the box, weight is approx 1200kg. Short ratio box gives a book time of 0-60 in under 5 secs so not shy.
bodywork, tidy but paintwork is tatty,no rust though and a good base tbh, yh its got history but what car doesnt nowadays, my motto was well atleast i know about it!!
anyway, got on it. service kit, oil filters plugs etc
whilst plugs were out did compression test and all came back spot on
HAd to replace front callipers as piston was seized both sides!!
got to finally drive it (weekend car ) and drove it handful of times until i lost heat in heater!!
CAr got hot but didnt overheat so left it for the weekend and checked levels to find lost coolant
alarm bells ringing, i topped up the system bled it etc and left it idling for good half hr and temp was all good etc.
result i thought but wasnt totally convinced.
Drove the car and on boost it hesitated in the higher rpm,
putting all the problems together i decided to do sniffer test for hg failure!!
Yup failed!!
So was now at crossroads and decided to go all out.
For cost of repair, and future proofing it worked out that it would be just as costly if not cheaper to do an rb conversion!!
Rb25 with running gear, rwd. Super reliable, can throw anything at these and will be different to anything out there.
Took inspiriation from the jpp drift car and had alot of reading to do, but the build thread gave me good insight into the build
so....................................
2hr run up to gloucester yesterday i went to pick up a donor rb!!
got the bare engine for �255 !!!!
Bargain (if its as healthy as he said it was)
spent few hrs today in living room cleaning up the block and giving it general good going over
came with both cams covers even flywheel, crank pulley missing along with water pump pulley but for the money im pretty pleased
cams look to be in good condition
belts will be replaced but doesnt look unhealthy, no nasty leaks from anywhere
now this is hg before i cleaned the block, looks new to me??? any opinions.............
not multilayer i dont think though tbh
opinions welcome
block painted blue, ive cleaned and degreased everything and block will be going back to satin black
flywheel got few hotspots but not too bad, any ideas on how to lock flywheel to undo the bolts??
nowhere to jam anything lol...............
on the whole im really pleased with how clean its come up,
anything i can do to do compression test from what i have here??
anything worth checking/pulling off now its here??
im hopefully going to have the subaru engine out next weekend, will sell that on and all the running gear and start prep work for the offering up of the rb, and start modifying the front subframe.
Will update on weekly bais i hope, project is only weekend thing so is going to take some time...............
wish me luck
 20 January 2013, 08:27 PM
#3
Scooby Regular
Thread Starter
Join Date: Oct 2012
Location: surrey
Posts: 96
Likes: 0
Received 0 Likes
on
0 Posts
ive already been in contact with walton actually,
he drives the car for jpp, they atrted out running the rb25, have since thrown in an rb26 bottom end and throwing out around 550/600 hp now.
Car seems very capable on track, i was worried about weight distribution but tbh there car has worked really well
Im definately going to come across all sorts of problems and will no doubt be in touch with all sorts of knowledge filled gurus both here and over other forums.
Going to be a long haul but think its going to be awesome
21 January 2013, 02:08 PM
#4
Scooby Regular

Join Date: Jan 2011
Location: Stoke - on - Trent
Posts: 294
Likes: 0
Received 0 Likes
on
0 Posts
I am doing this in the next 18 months or so. Searching for the right donor car, Im either going use the RB25 or the 200sx SR20.
My friend may let me have his SR20 if he goes for an LS1, which im glad about as it's 380/400 bhp.
At the moment Im just getting the look of the car right.
My friend may let me have his SR20 if he goes for an LS1, which im glad about as it's 380/400 bhp.
At the moment Im just getting the look of the car right.
27 January 2013, 08:01 PM
#5
Scooby Regular
Thread Starter
Join Date: Oct 2012
Location: surrey
Posts: 96
Likes: 0
Received 0 Likes
on
0 Posts
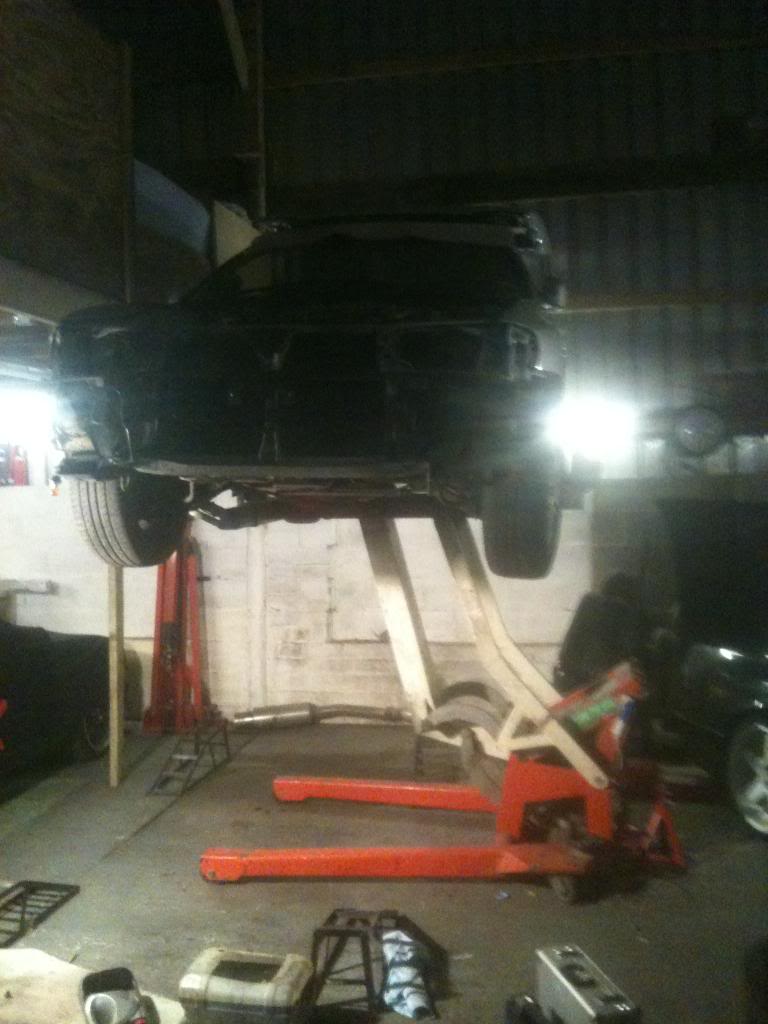
so this is where the scooby will live for the next good few months!!
its dry, got electric and good guys sharing the unit with
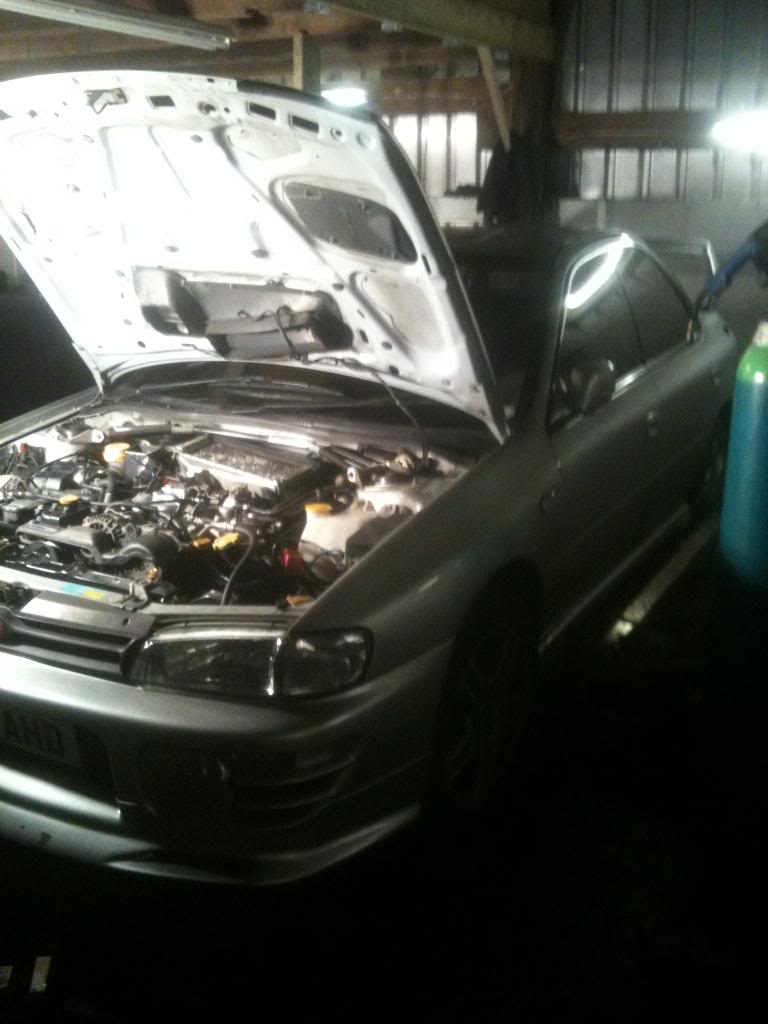
The problamitic ej20
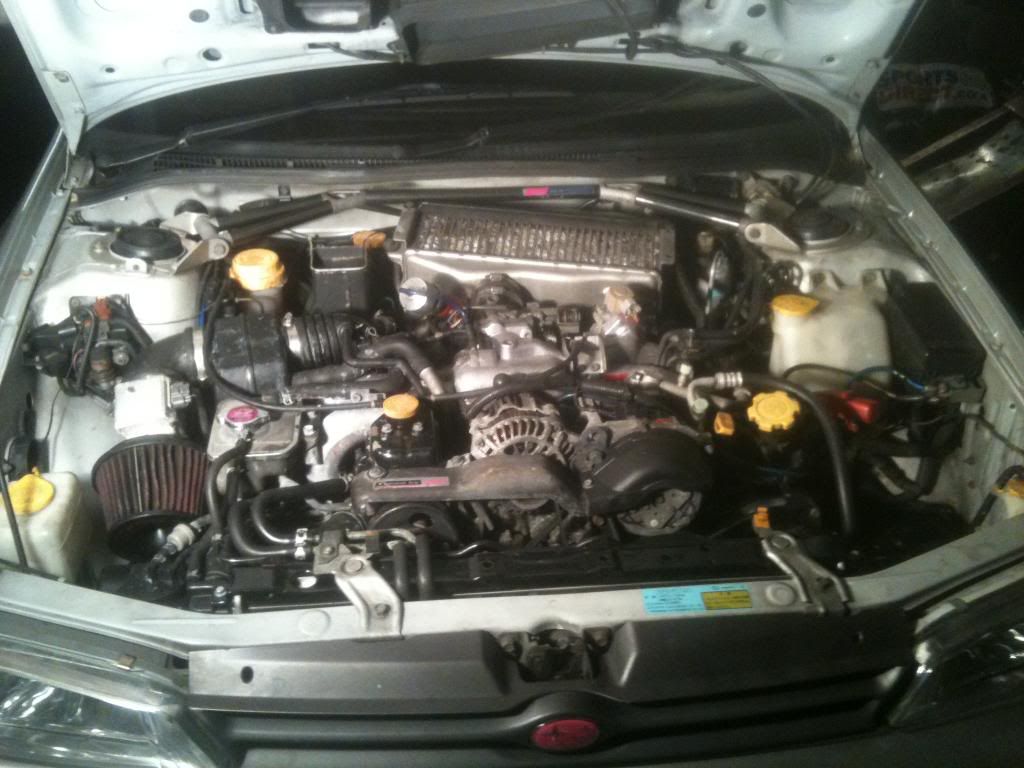
will be selling the whole lot as it still runs, doesnt seem to overheat at all but is definately letting by as sniffer test failed.
definately good strong engine as compression was great and even, just not for me!!
So spent couple hrs stripping the block down, came with few sensors, pipework etc etc.
Basically stripped back

Looks like new water pump
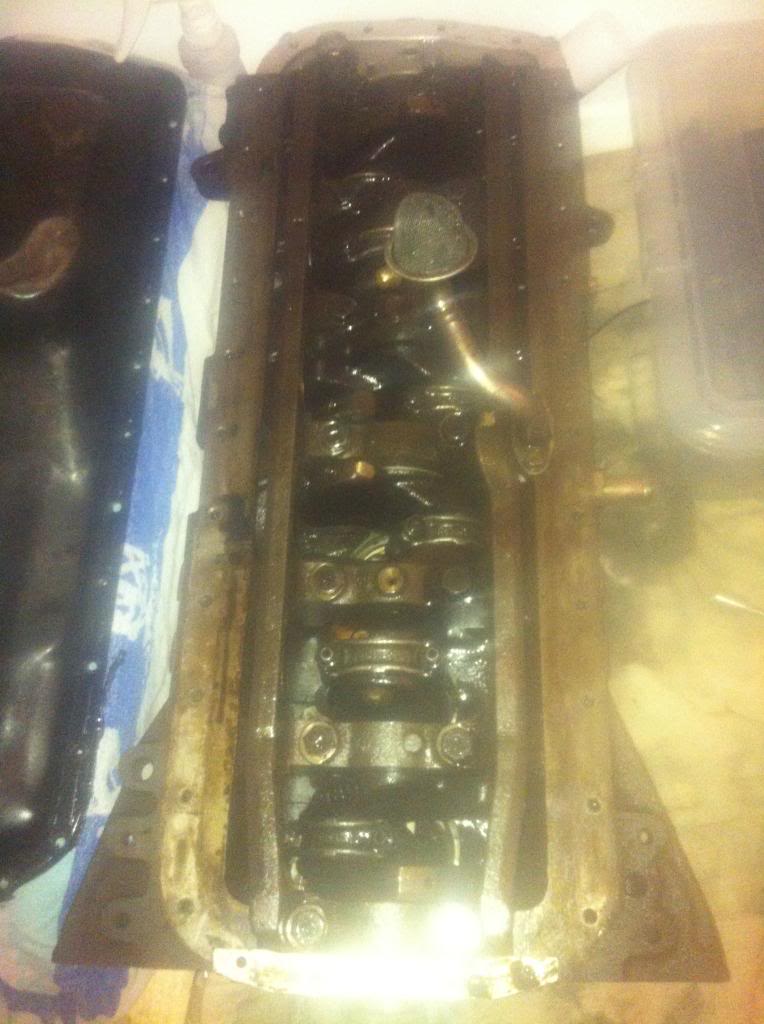
after stripping bits back, pulled sump off
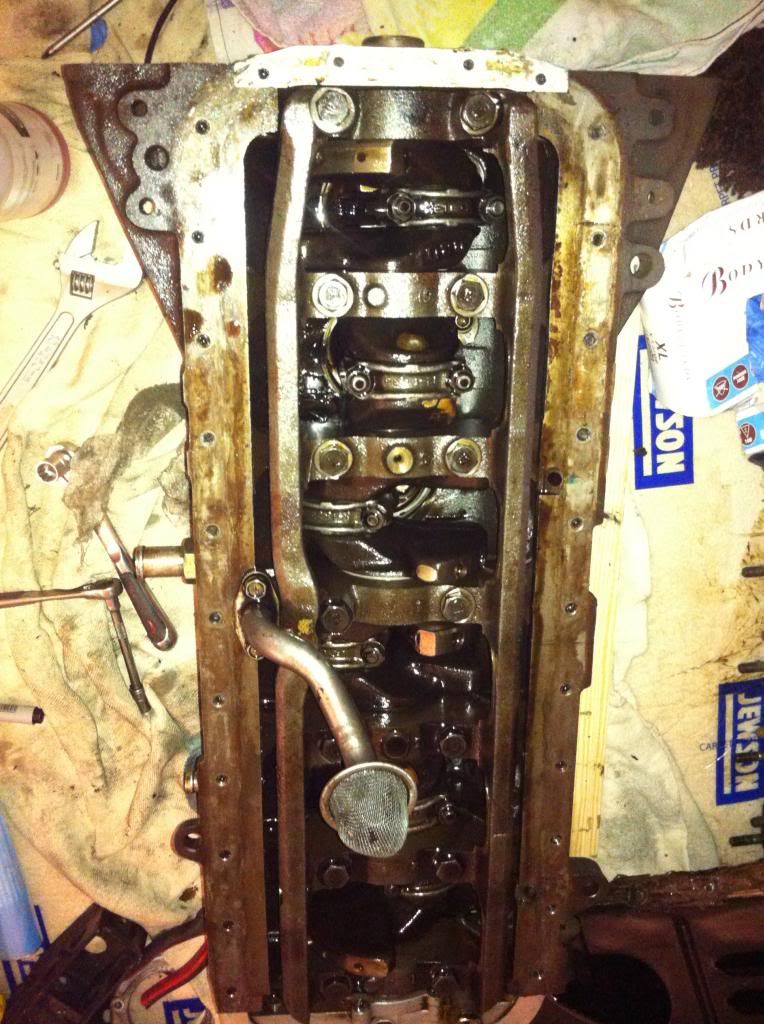
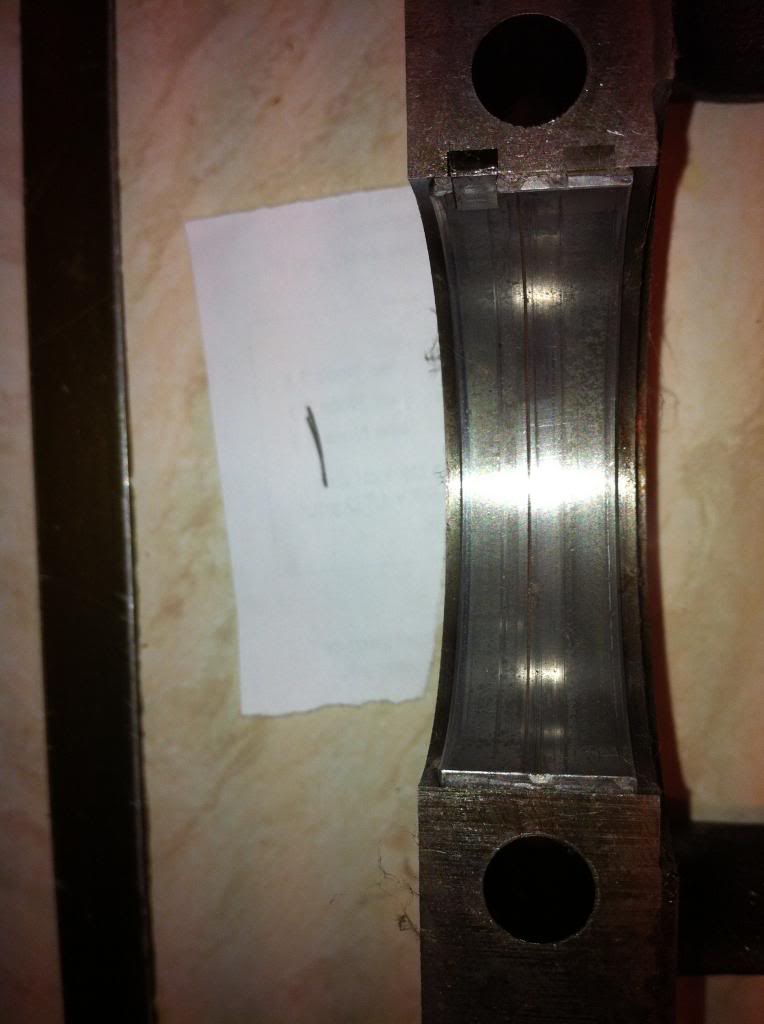
not sure what exactly im looking for play wise from the rods??
basically there are 2 rods that have little play in the bearings, didnt get chance to pull these out yet but will over the next few weeknights.
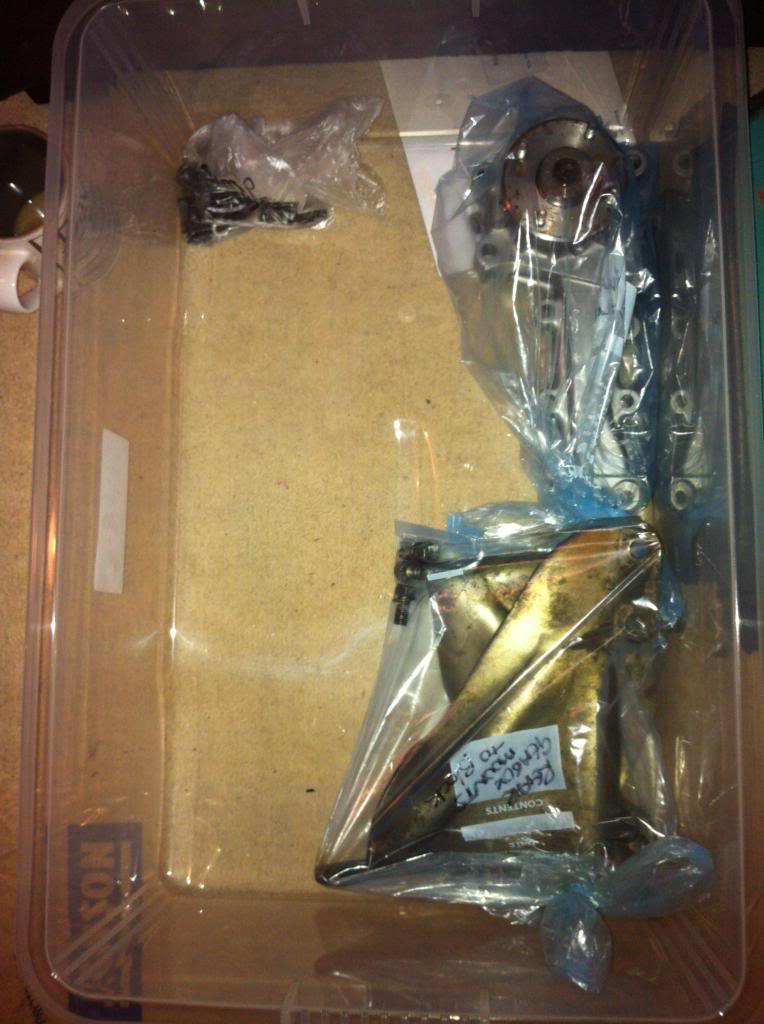
Basically was throwing everything into box ready to be cleaned, then bagged and labeled up ready for rebuilding the block when ready
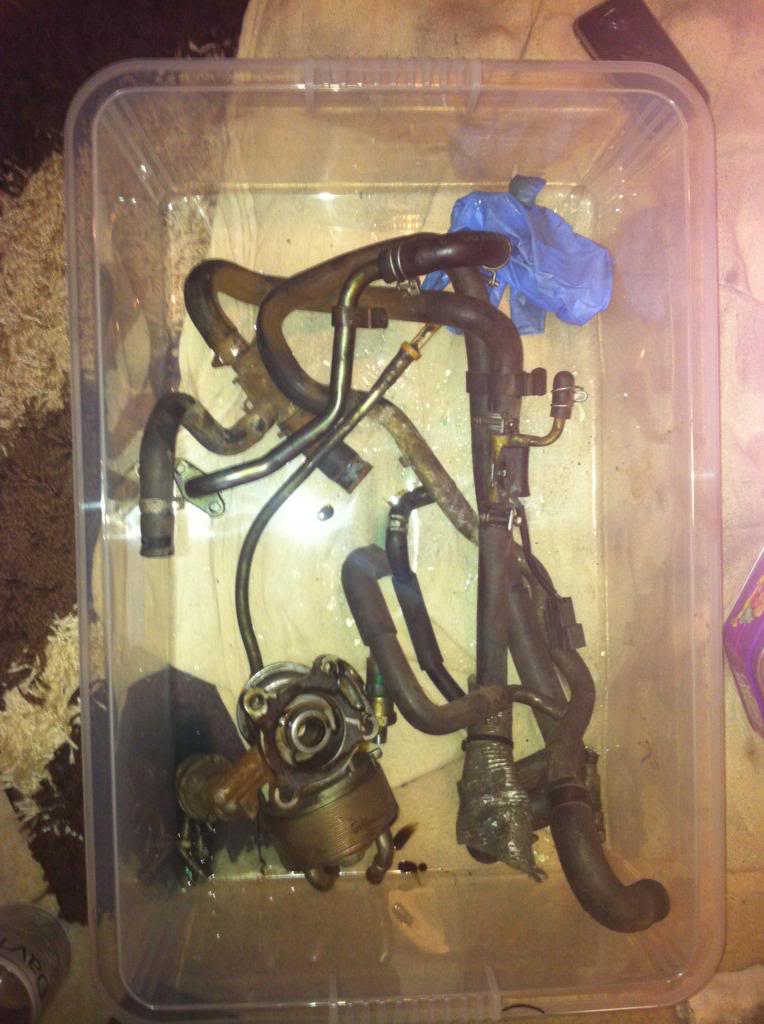
cleaned up, labeled and bagged
then had to pack it up for the evening to spend with my gorgeous daughter

will update when i have pulled rods and pistons etc out, i take it i should label these to which bore they came from along with all bolts and bearings etc??
Just wondering if anyone got any advice as to what to look for in common problem areas, also any marks i should be aware of around the crank etc etc whats normal and whats not
cheers
its dry, got electric and good guys sharing the unit with
The problamitic ej20
will be selling the whole lot as it still runs, doesnt seem to overheat at all but is definately letting by as sniffer test failed.
definately good strong engine as compression was great and even, just not for me!!
So spent couple hrs stripping the block down, came with few sensors, pipework etc etc.
Basically stripped back
Looks like new water pump
after stripping bits back, pulled sump off
not sure what exactly im looking for play wise from the rods??
basically there are 2 rods that have little play in the bearings, didnt get chance to pull these out yet but will over the next few weeknights.
Basically was throwing everything into box ready to be cleaned, then bagged and labeled up ready for rebuilding the block when ready
cleaned up, labeled and bagged
then had to pack it up for the evening to spend with my gorgeous daughter
will update when i have pulled rods and pistons etc out, i take it i should label these to which bore they came from along with all bolts and bearings etc??
Just wondering if anyone got any advice as to what to look for in common problem areas, also any marks i should be aware of around the crank etc etc whats normal and whats not
cheers
 31 January 2013, 06:46 AM
#7
Scooby Regular
Thread Starter
Join Date: Oct 2012
Location: surrey
Posts: 96
Likes: 0
Received 0 Likes
on
0 Posts
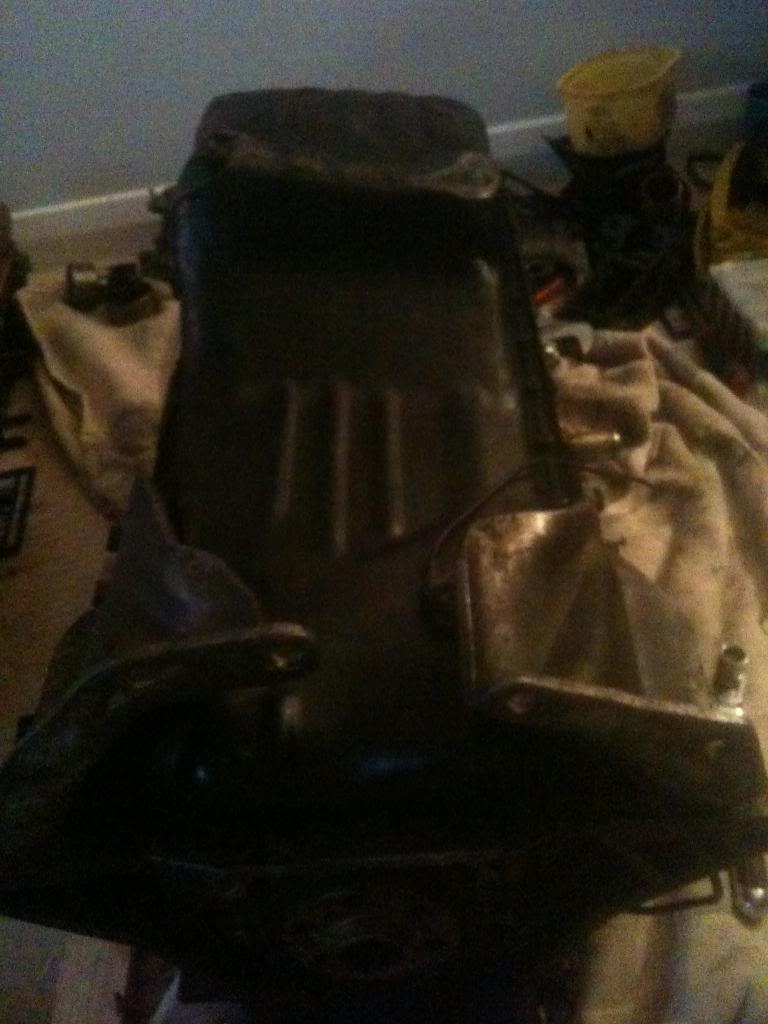
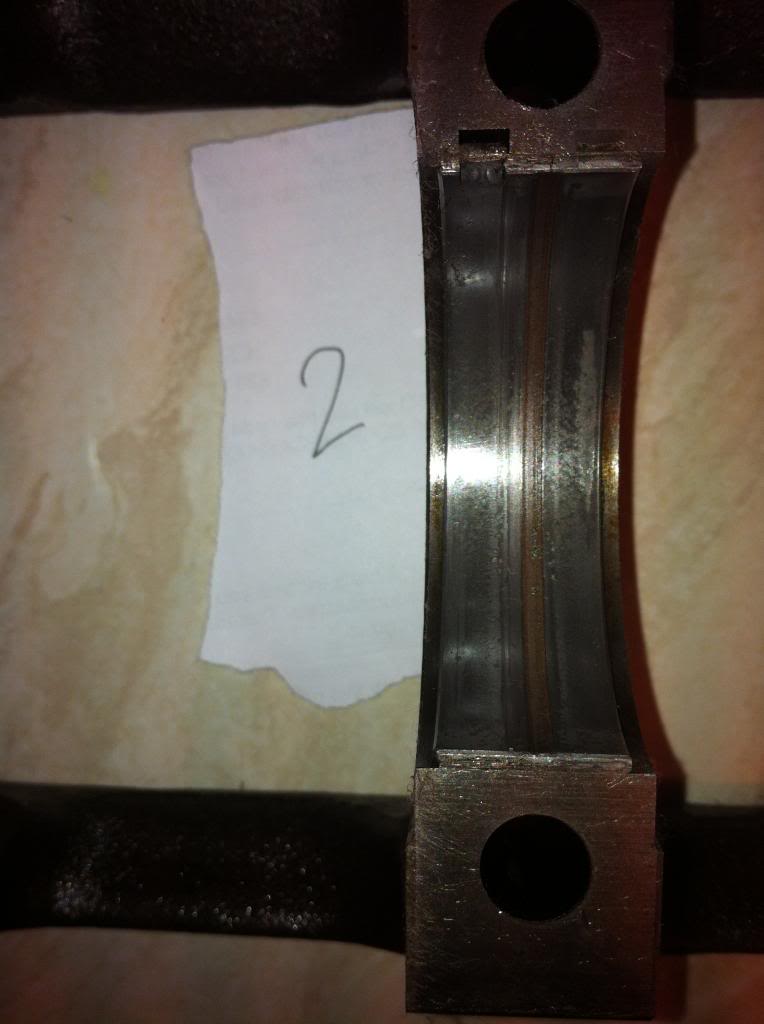
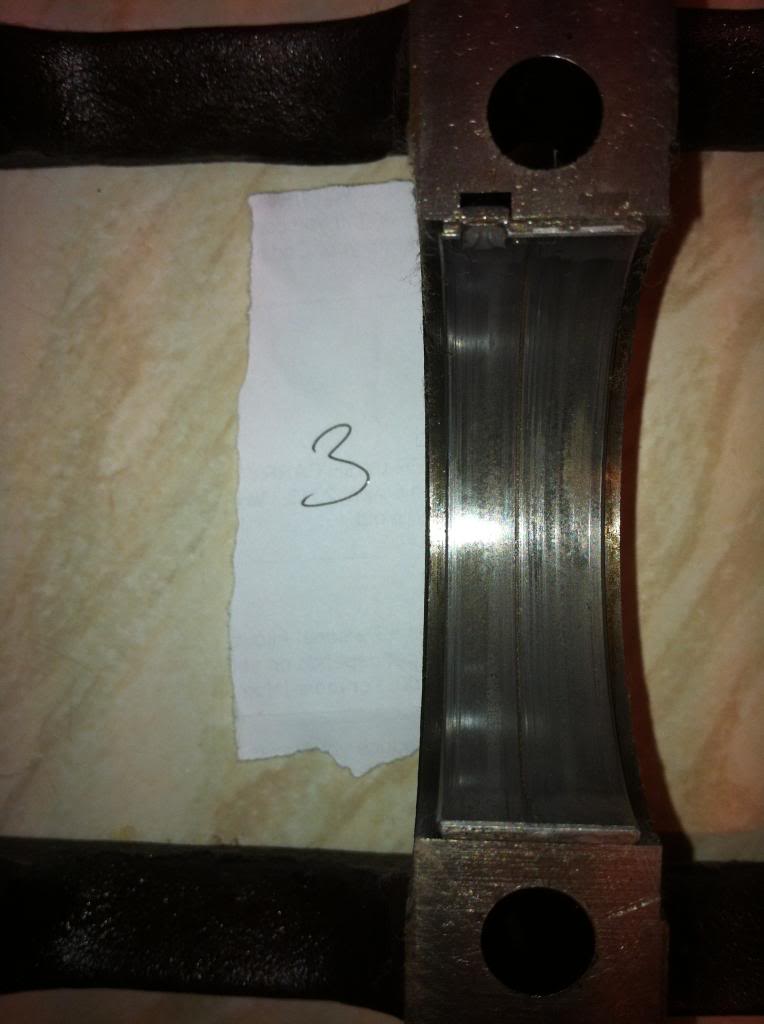
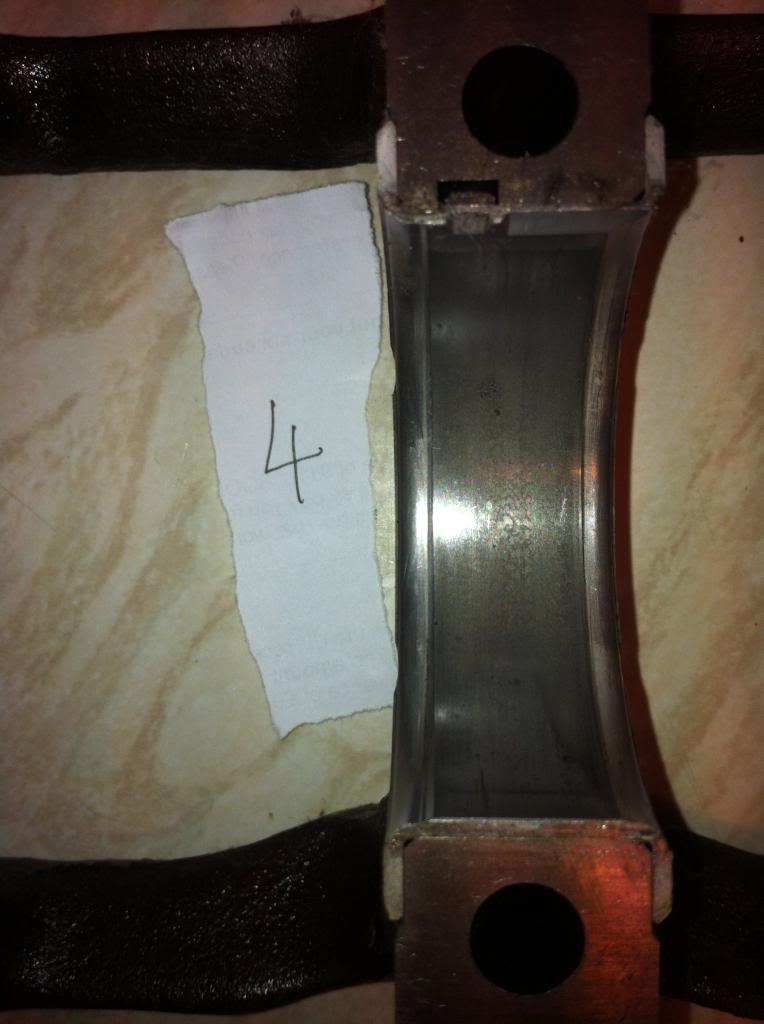
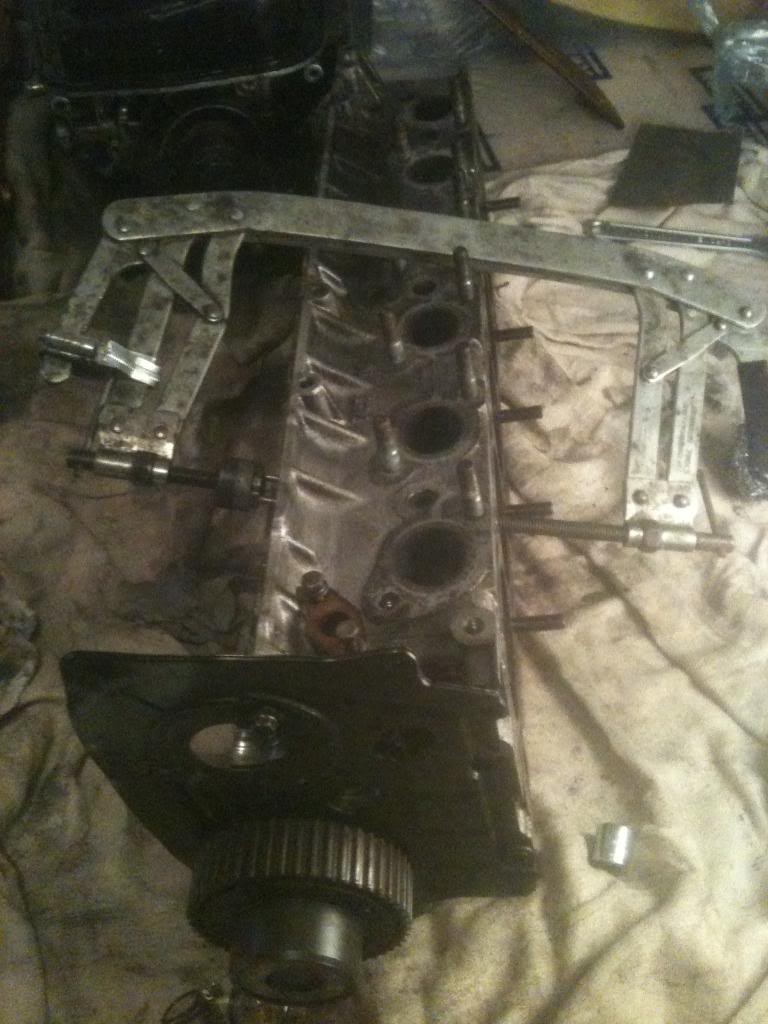
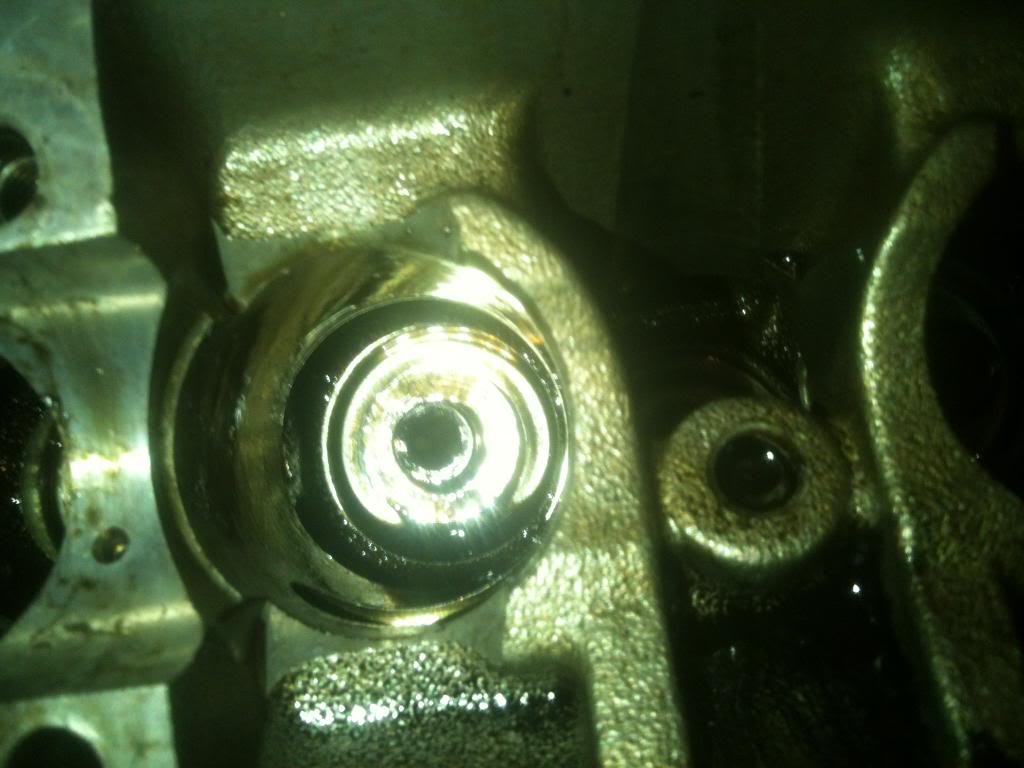
So sump off,
whipped off oil pickup, cleaned up and bagged up
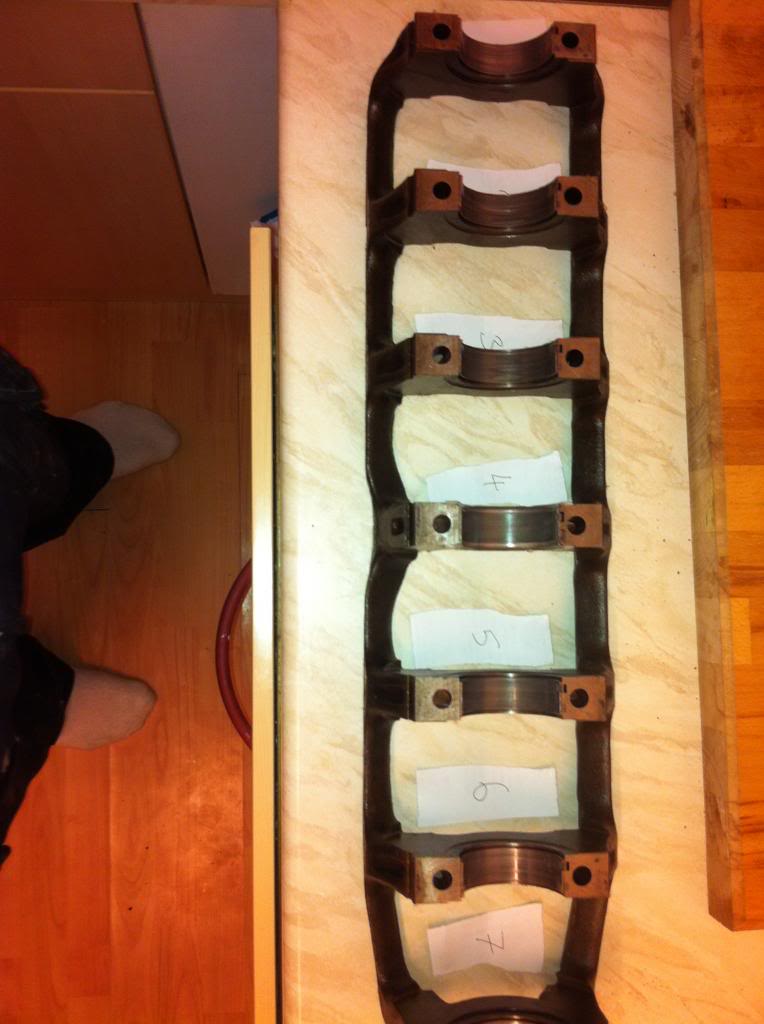
The started undoing the what i call crankshaft cradle,
i have labelled the bearings with 1 being closest to the cambelt side, ill let the pics do the talking.
whipped off oil pickup, cleaned up and bagged up
The started undoing the what i call crankshaft cradle,
i have labelled the bearings with 1 being closest to the cambelt side, ill let the pics do the talking.
Trending Topics
 03 February 2013, 09:47 PM
#11
Scooby Regular
Thread Starter
Join Date: Oct 2012
Location: surrey
Posts: 96
Likes: 0
Received 0 Likes
on
0 Posts
Little update but no0thing exciting unfortunately,
Started stripping the scooby out, managed to unplug loom etc, basically ready bar few driveshafts to pull out completely next weekend and see what space we have to play with.
Mate has spare block to mock up etc so no real urgency to get rebuilod complete.
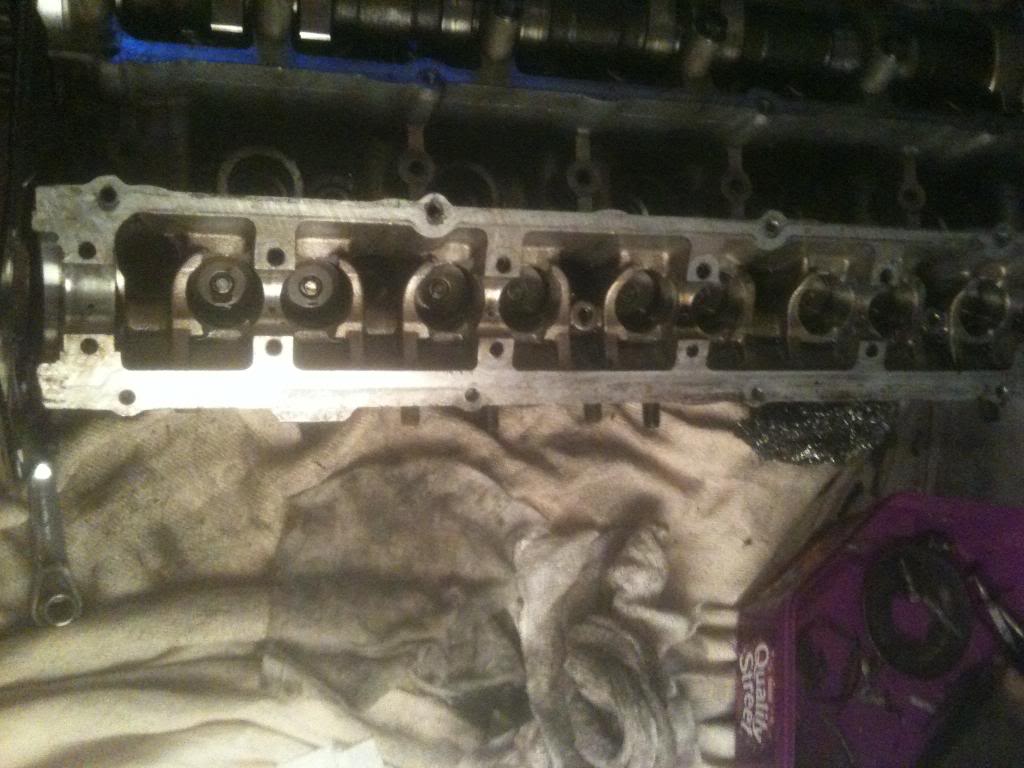
Tonight started stripping and cleaning cylinder head.
Firstly noticed that 2x exhaust manifold studs had been snapped and badly drilled out!! didnt take any pics but hoping something along lines of helicoil or similar??
anywhere more pics
Remove exhaust cam pulley

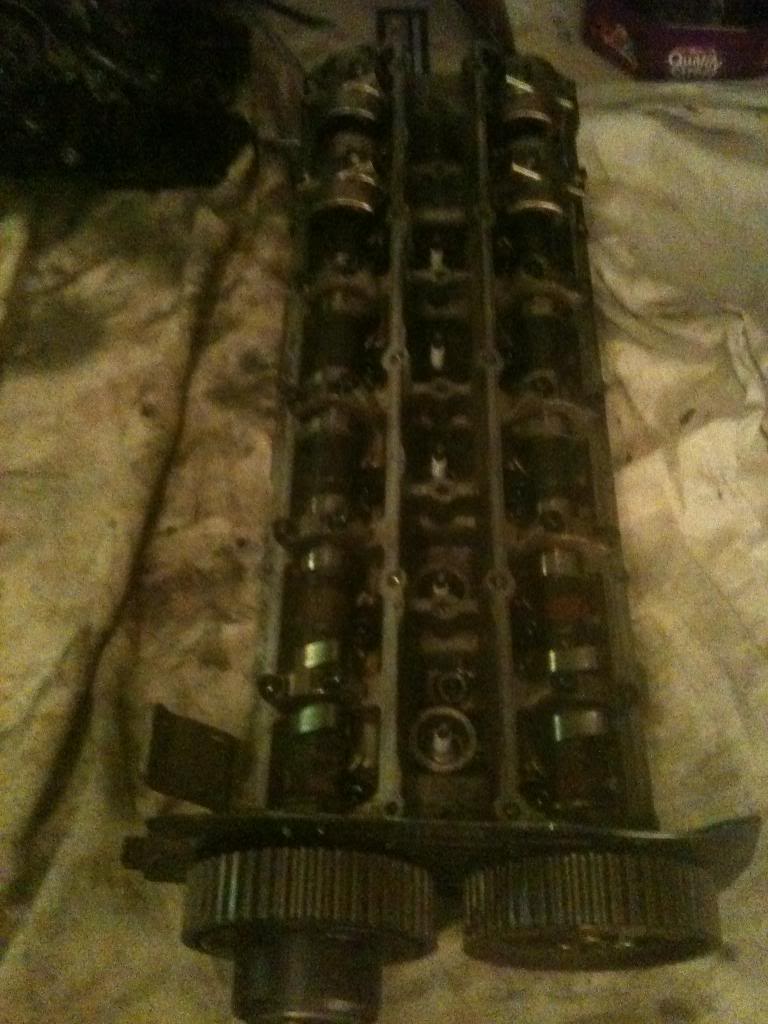
cam all labeled !
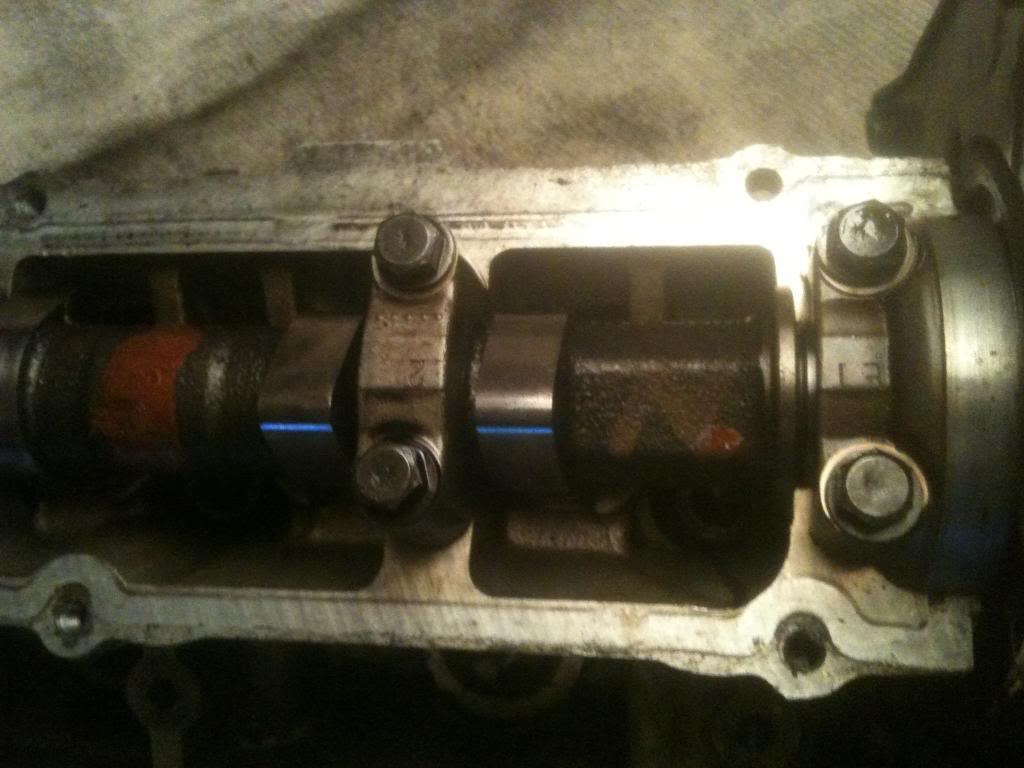
camshaft out, camshaft lookes ok to me, few marks but cant be felt under the nail, will i need to get this polished out??
just need advice
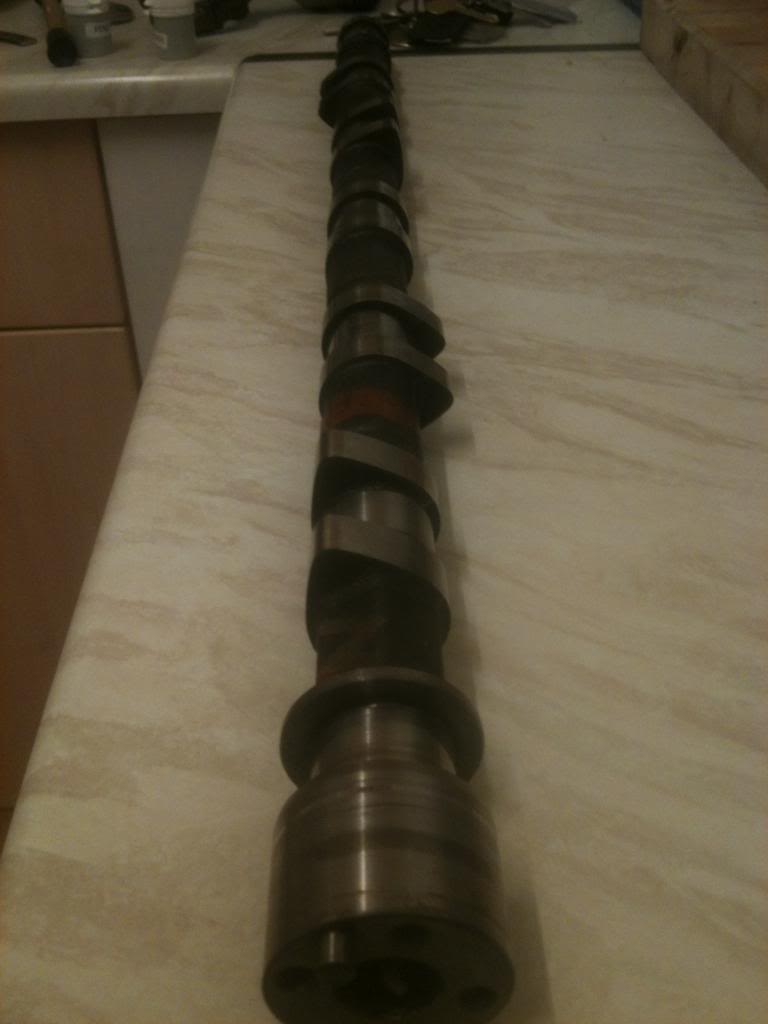
tried to get pic of the minor marks... prob nothing to worry about tbh
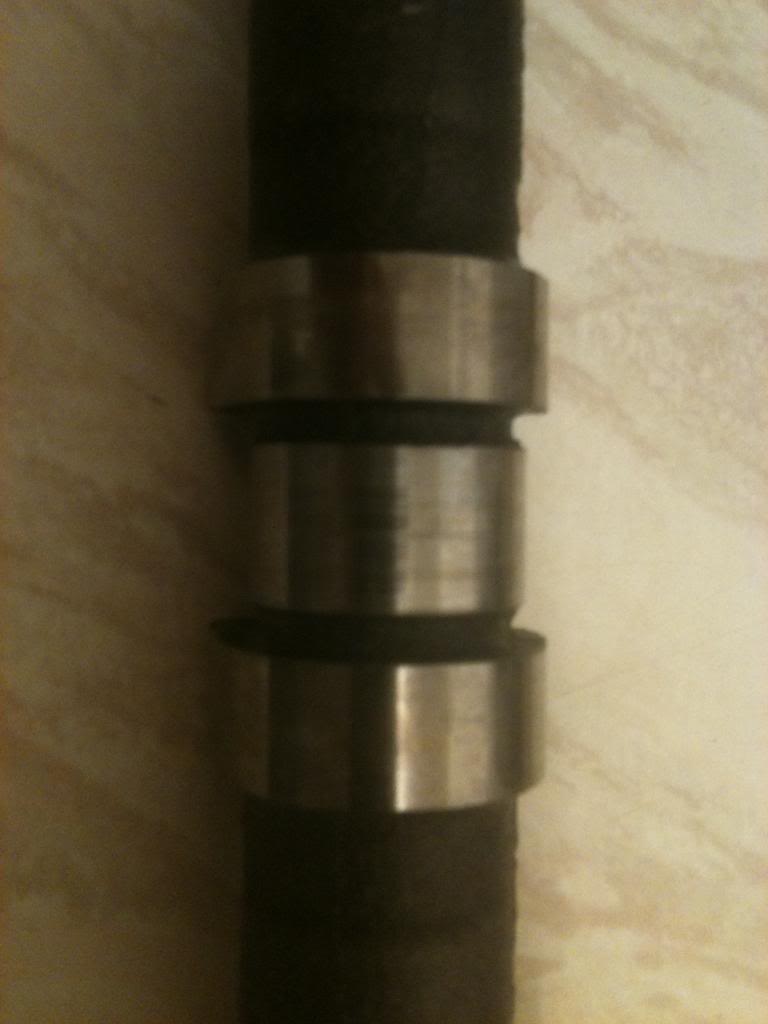
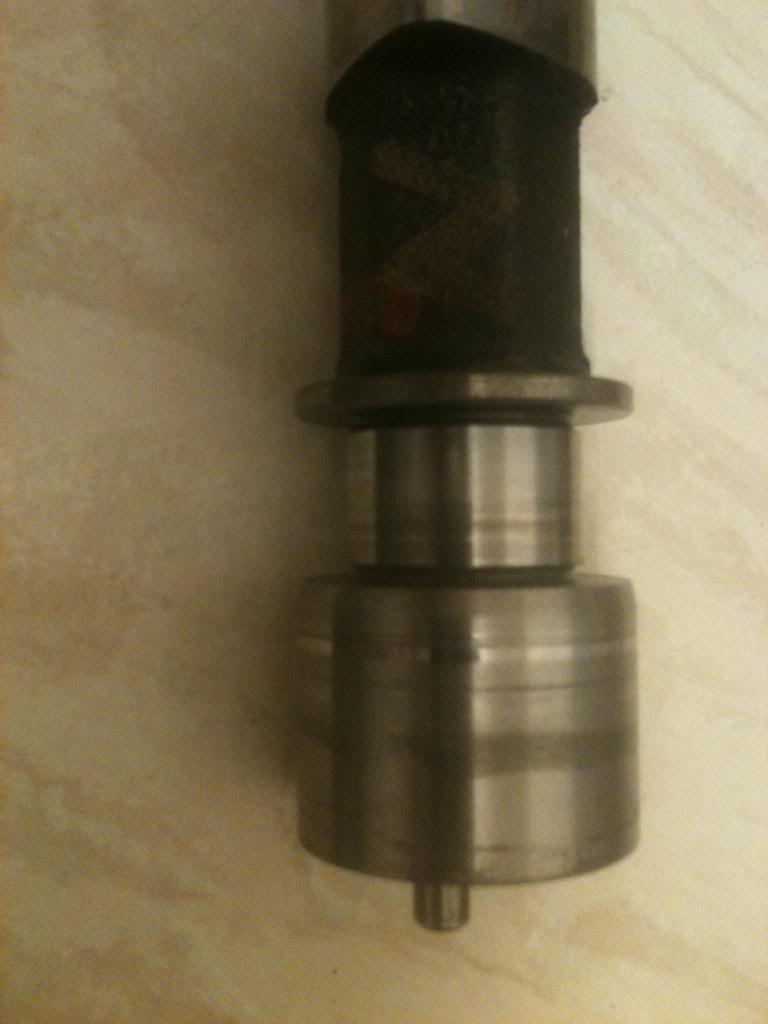
Anyway pulled buckets out and labelled
started pulling vlaves out and springs, forgot how small the collets were!!
again all cleaned and labeled up, just need to clean the vlaves up as they are quite badly carboned up tbh.
What do you guys normally recomend using??
any other advice would be great
then pulled all the vlave guide stem seals!!
cleaned up and called it a night.
I did try to pull the intake cam wheel off but couldnt undo the nut, i undid the for screws and sprung plate, is the nut bolting the wheel to the shaft screwed on clockwise ir anti as its very tight!!
Also before i go any further with reseating the valves, is it best to send the head off for cleaning etc or shall i carry out all the necessary work then send it off the be cleaned and checked??
just need general advice like this tbh, really much appreciated.
will update again in next few days
Started stripping the scooby out, managed to unplug loom etc, basically ready bar few driveshafts to pull out completely next weekend and see what space we have to play with.
Mate has spare block to mock up etc so no real urgency to get rebuilod complete.
Tonight started stripping and cleaning cylinder head.
Firstly noticed that 2x exhaust manifold studs had been snapped and badly drilled out!! didnt take any pics but hoping something along lines of helicoil or similar??
anywhere more pics
Remove exhaust cam pulley
cam all labeled !
camshaft out, camshaft lookes ok to me, few marks but cant be felt under the nail, will i need to get this polished out??
just need advice
tried to get pic of the minor marks... prob nothing to worry about tbh
Anyway pulled buckets out and labelled
started pulling vlaves out and springs, forgot how small the collets were!!
again all cleaned and labeled up, just need to clean the vlaves up as they are quite badly carboned up tbh.
What do you guys normally recomend using??
any other advice would be great
then pulled all the vlave guide stem seals!!
cleaned up and called it a night.
I did try to pull the intake cam wheel off but couldnt undo the nut, i undid the for screws and sprung plate, is the nut bolting the wheel to the shaft screwed on clockwise ir anti as its very tight!!
Also before i go any further with reseating the valves, is it best to send the head off for cleaning etc or shall i carry out all the necessary work then send it off the be cleaned and checked??
just need general advice like this tbh, really much appreciated.
will update again in next few days
10 February 2013, 02:17 PM
#12
Scooby Regular
Thread Starter
Join Date: Oct 2012
Location: surrey
Posts: 96
Likes: 0
Received 0 Likes
on
0 Posts
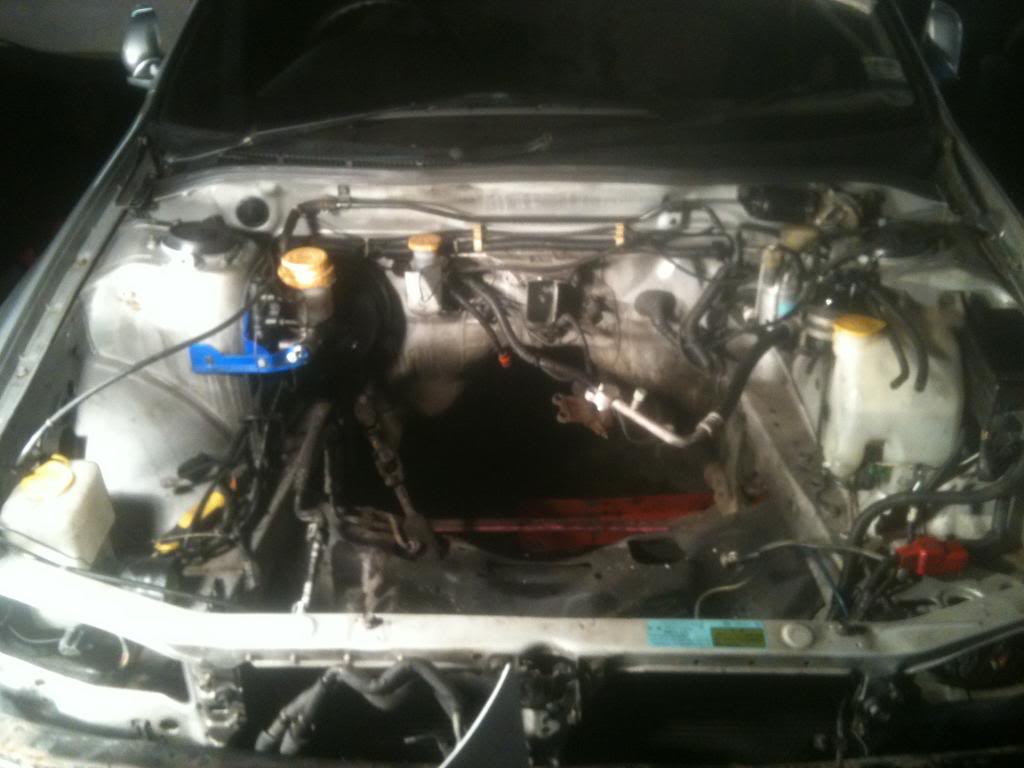
so little update
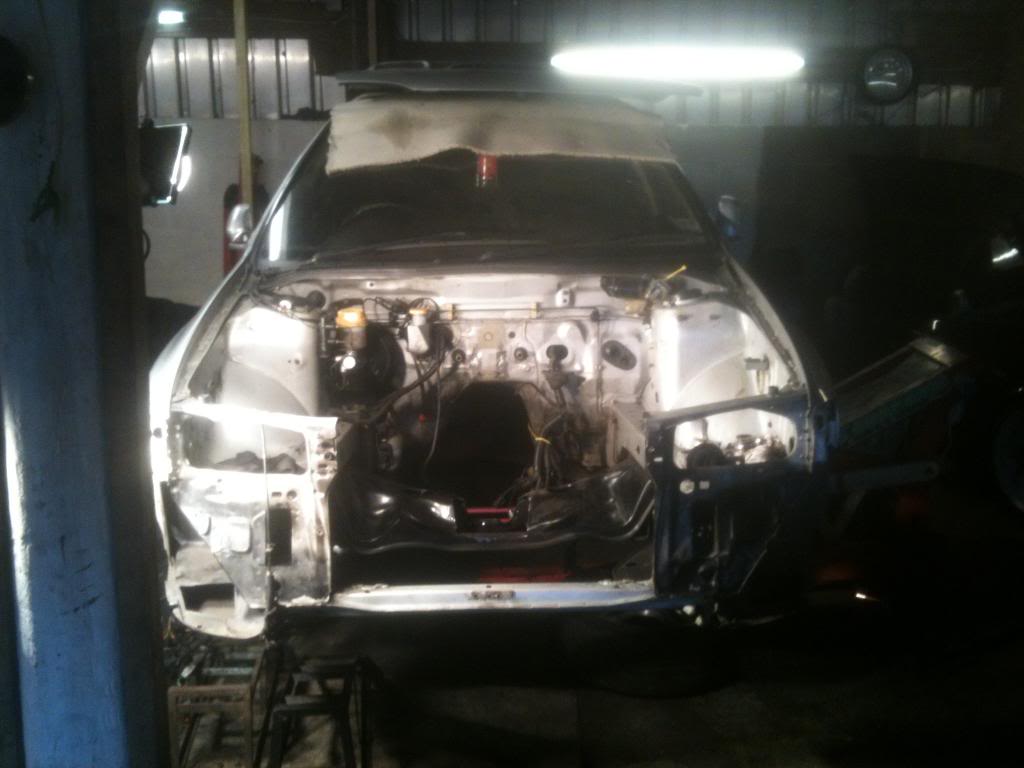
pulled off front bumper and lights

jacked her up and started unbolting gearbox and mounts, pulled out loom and stripped the engine back ready for removal
i swear to god its the most awquad engine i have ever pulled in my life, couldnt initially split the box from the engine but got there in the end,
Exhaust bolts for the turbo were a pig and all rounded off!!
give up a fight haha
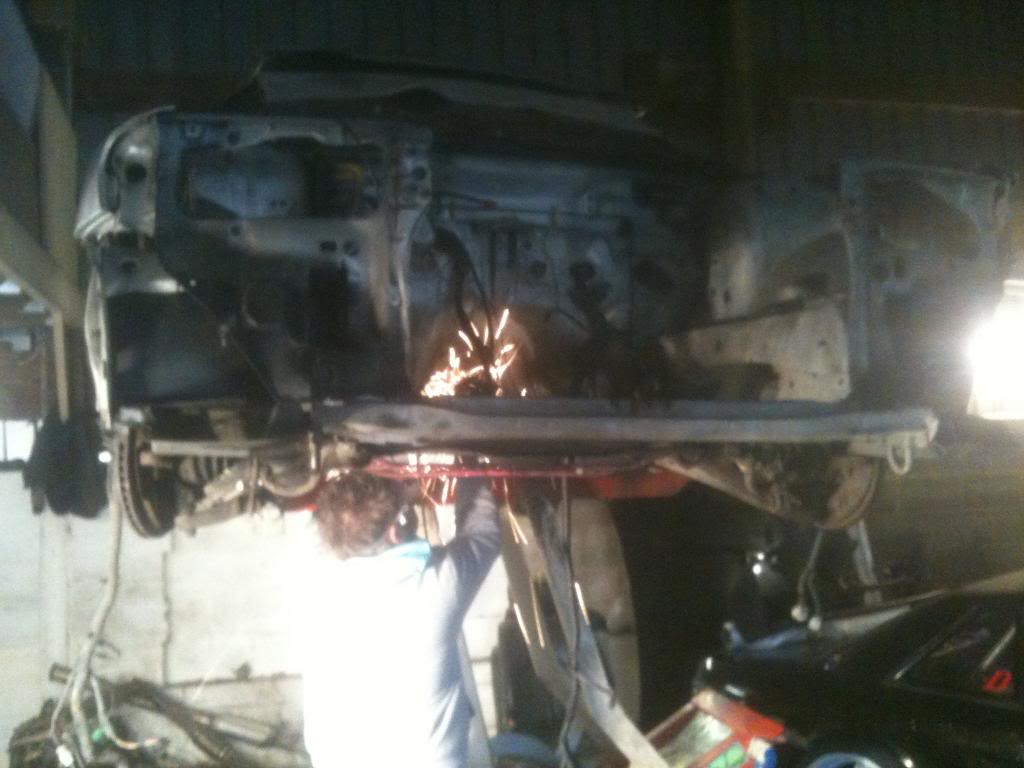
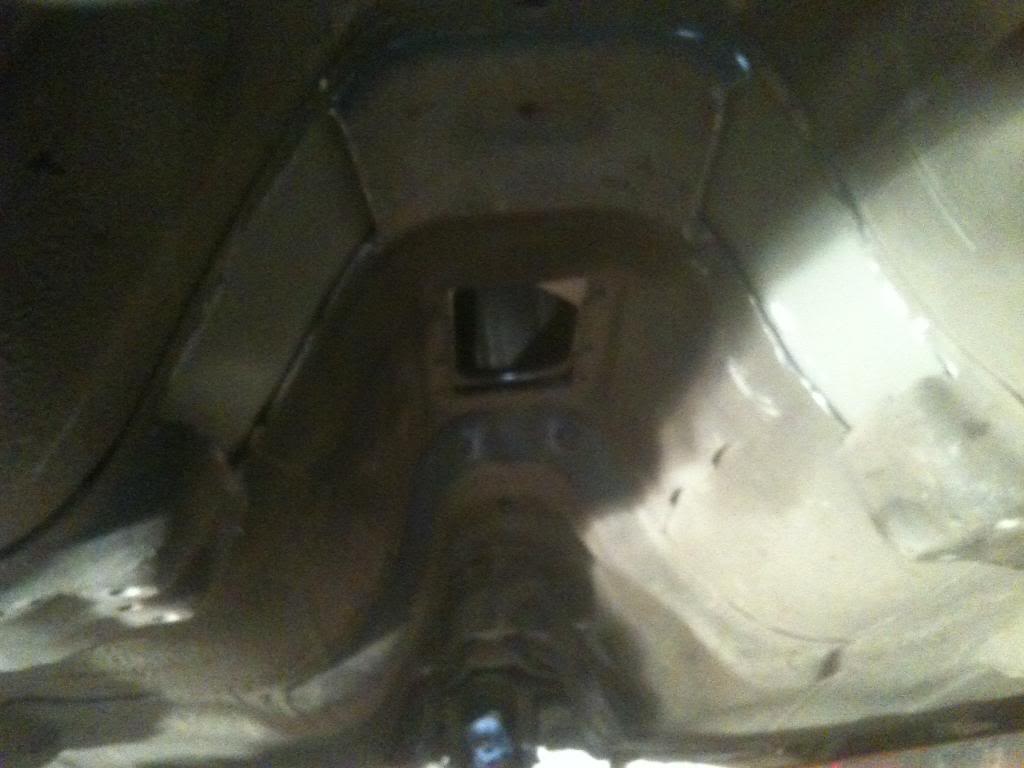
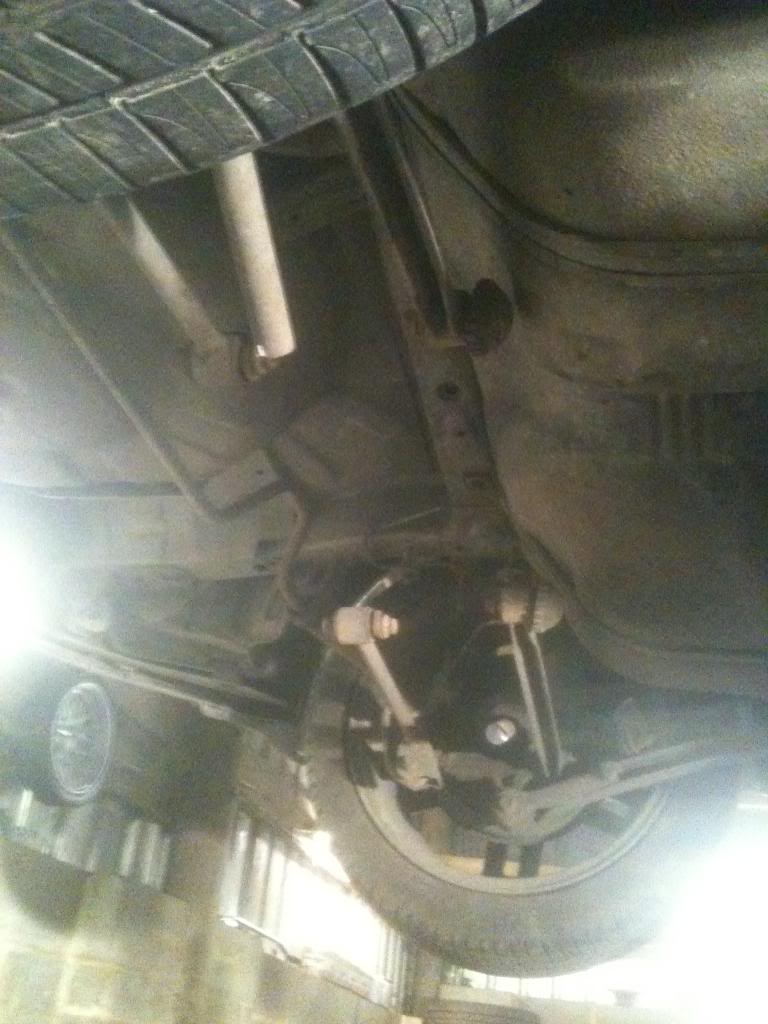
anyway now left with a fairly descent sized hiole for the RB!!
and the underside

the Ej20 is so so short its unreal, so can see why people questioned throwing in an rb when jp performance did the conversion, but tbh there loads room, should throw a 2j in if i had the �����
now just continuing to strip the head ready for rebuild!!
pulled off front bumper and lights
jacked her up and started unbolting gearbox and mounts, pulled out loom and stripped the engine back ready for removal
i swear to god its the most awquad engine i have ever pulled in my life, couldnt initially split the box from the engine but got there in the end,
Exhaust bolts for the turbo were a pig and all rounded off!!
give up a fight haha
anyway now left with a fairly descent sized hiole for the RB!!
and the underside
the Ej20 is so so short its unreal, so can see why people questioned throwing in an rb when jp performance did the conversion, but tbh there loads room, should throw a 2j in if i had the �����
now just continuing to strip the head ready for rebuild!!
16 February 2013, 06:19 PM
#13
Scooby Regular
Thread Starter
Join Date: Oct 2012
Location: surrey
Posts: 96
Likes: 0
Received 0 Likes
on
0 Posts
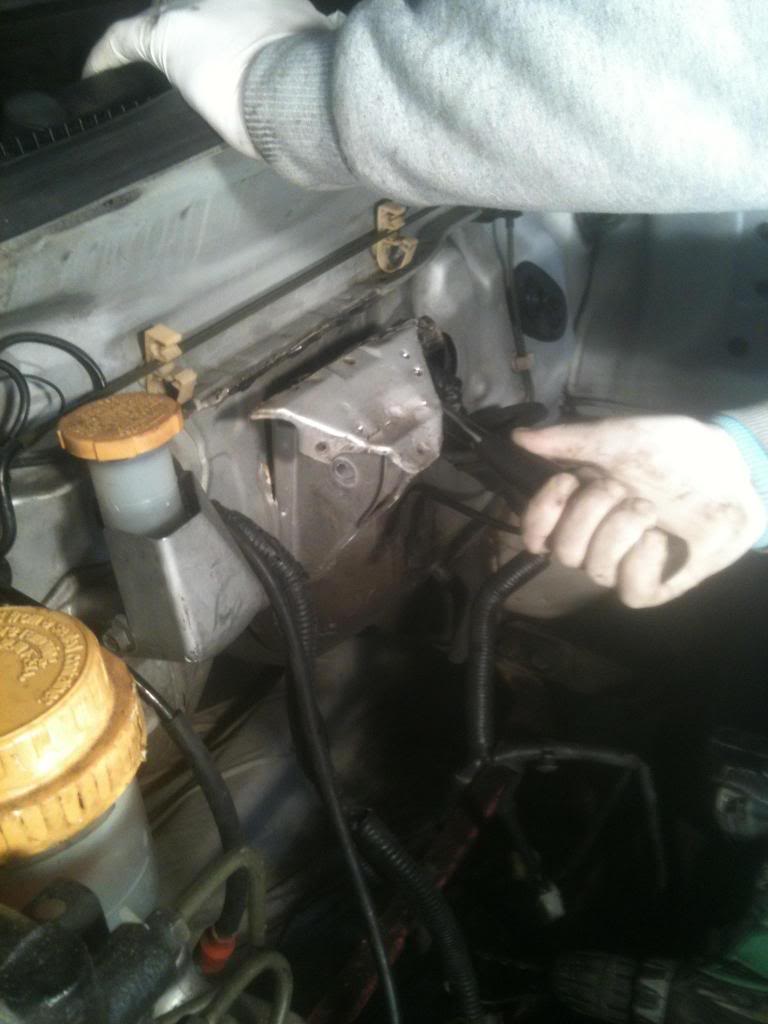
did a bit more on the scooby today
decided to remove front panel and eventually make it removeable for the future,
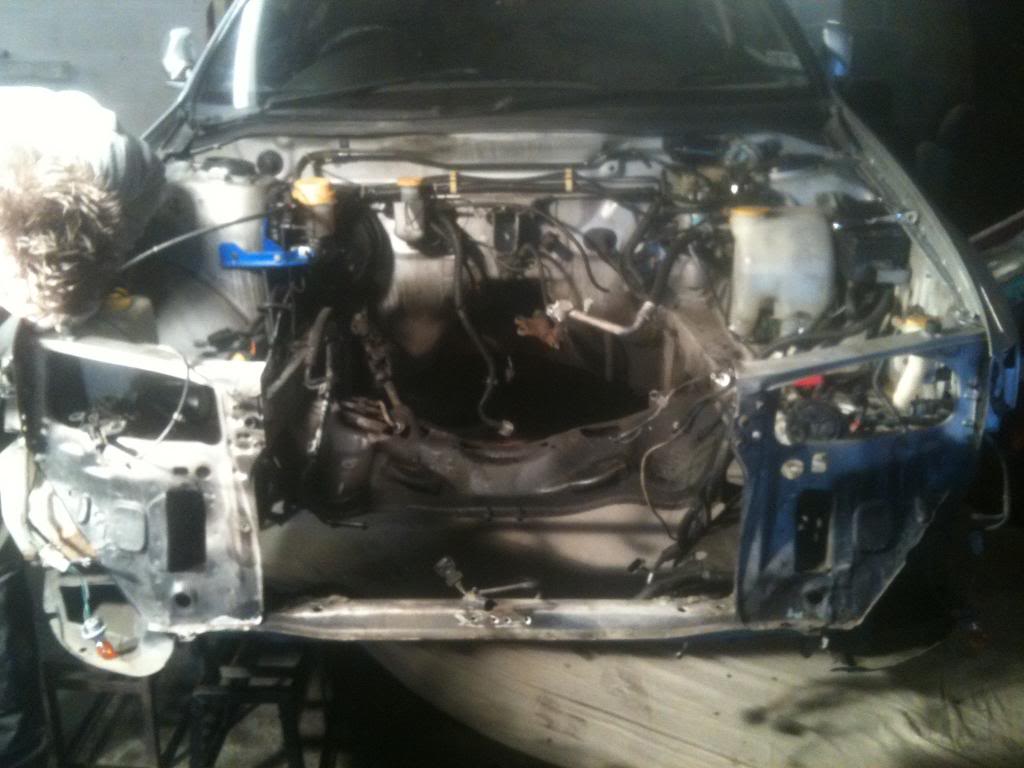
then stripped back rst of the bay, including loom!!
loom is a bundle of confusion can see it being an absolute pig to work out but will crss that when i get to it
As im currently rbuilding my rb, i dont currently have anything to offer up yet as a guide so relying on jap performance parts build thread as a rough guide.
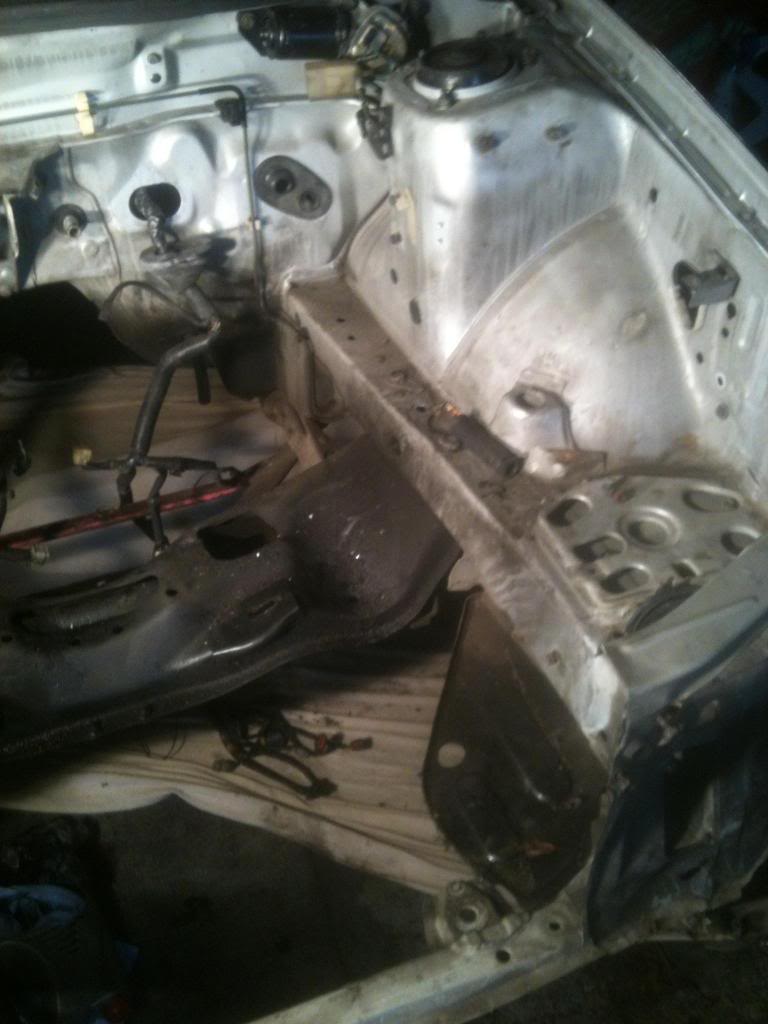
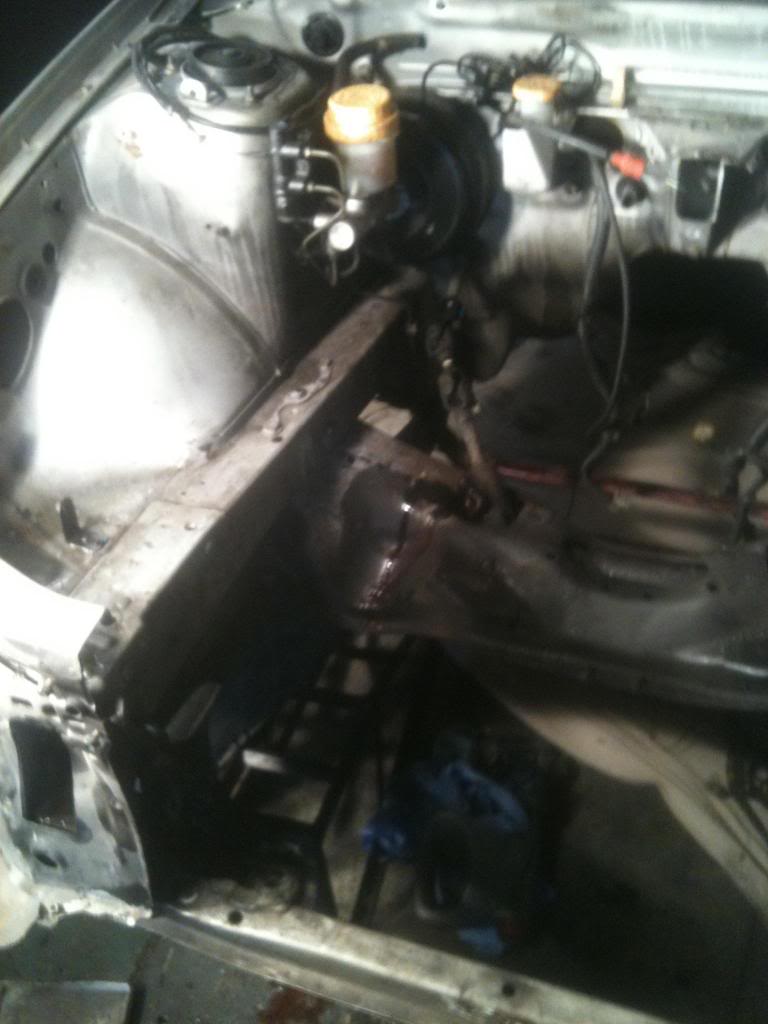
So next cut back gearbox mount to allow head to sit back flush to bulkhead
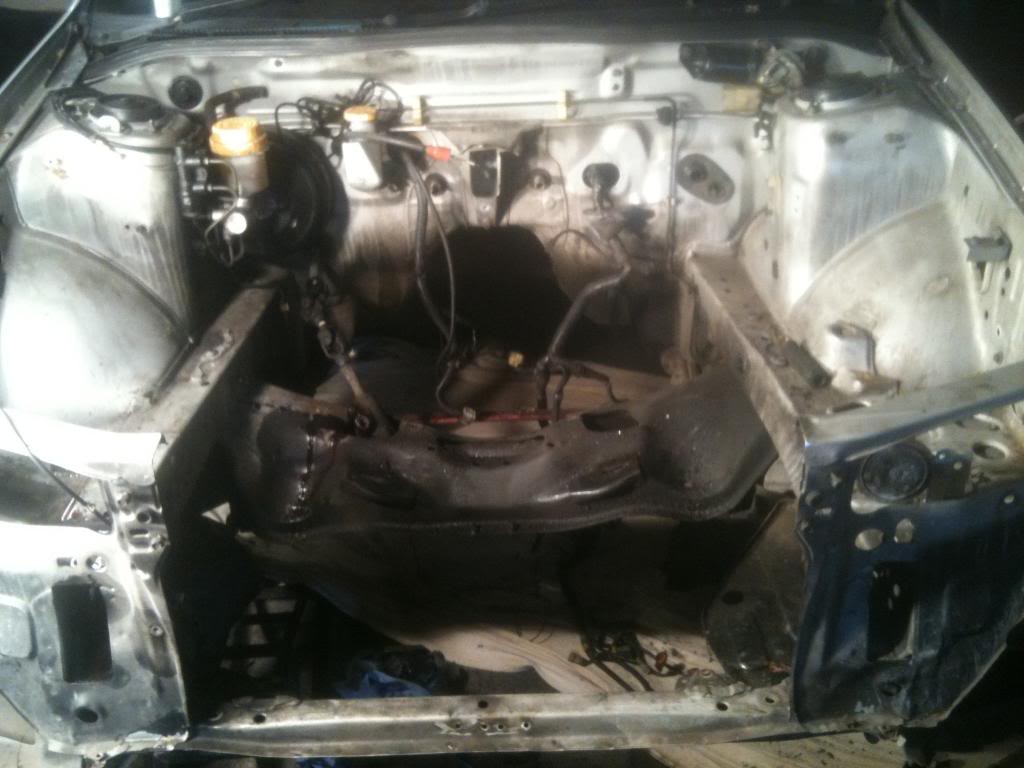
Next threw car in the air and started cutting back the stock gearbox tunnel mounts
As a guide i measured another rb sump width, and depth from back of the block to the point where it slants into the oil pickup point,
roughly marked out from plumbing down from the bulkhead and cut away trying to keep as tight to the steering rack mounts as possible, have feeling im going to have to cut alot more out and rework steering rack etc, also need to decide on how im going to deal with arb to

quick clean up of the bay and buggered off home!!
Just bagged a block and head for not alot of money and plan to use that as my "dummy engine" until mine is rebuilt
next weekend will be, offer up rb and see how much more needs pulling out of the subframe, start considering mounts and ways round to keeping it as stock as poss and restrengthening.
oh and heres my inspiration....................
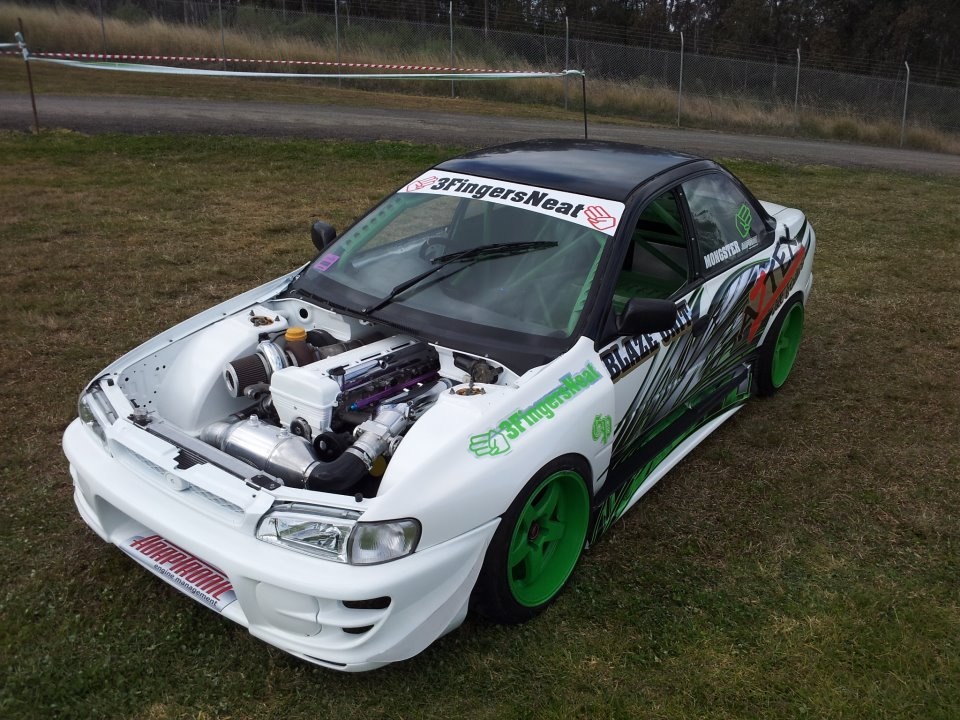
If only eh!!
decided to remove front panel and eventually make it removeable for the future,
then stripped back rst of the bay, including loom!!
loom is a bundle of confusion can see it being an absolute pig to work out but will crss that when i get to it
As im currently rbuilding my rb, i dont currently have anything to offer up yet as a guide so relying on jap performance parts build thread as a rough guide.
So next cut back gearbox mount to allow head to sit back flush to bulkhead
Next threw car in the air and started cutting back the stock gearbox tunnel mounts
As a guide i measured another rb sump width, and depth from back of the block to the point where it slants into the oil pickup point,
roughly marked out from plumbing down from the bulkhead and cut away trying to keep as tight to the steering rack mounts as possible, have feeling im going to have to cut alot more out and rework steering rack etc, also need to decide on how im going to deal with arb to
quick clean up of the bay and buggered off home!!
Just bagged a block and head for not alot of money and plan to use that as my "dummy engine" until mine is rebuilt
next weekend will be, offer up rb and see how much more needs pulling out of the subframe, start considering mounts and ways round to keeping it as stock as poss and restrengthening.
oh and heres my inspiration....................
If only eh!!
16 February 2013, 06:45 PM
#14
Scooby Regular

Join Date: Dec 2012
Location: Darlington
Posts: 166
Likes: 0
Received 0 Likes
on
0 Posts
Wow , this thread i will be keeping a eye on , you are making this seam a little too simple lol. I would love too do this too the hatch mine is a 1.5r and totally think it would do well rwd.
Question, would you need the rear diff and all the other goodies from the donor car ? Or would you be able too use the existing diff for it ?
Question, would you need the rear diff and all the other goodies from the donor car ? Or would you be able too use the existing diff for it ?
16 February 2013, 08:03 PM
#15
Scooby Regular
Thread Starter
Join Date: Oct 2012
Location: surrey
Posts: 96
Likes: 0
Received 0 Likes
on
0 Posts
Tbh the principle of the conversion is very simple, but tbh I'm only scratching the surface at the minute.
The mounting of the engine and gearbox I think is the easy bit tbh,
The standard rear subframe/diff setup is not going to be up to the job and so I plan on modifying the rear subframe to take a skyline or nissan diff of some sort, with that though hubs/driveshafts will have to be modified so will have to have long think about how I'm going to approach it.
It's going to be amazing though once finished but I'm sure there will be a few brick walls I hit along the way
Cheers buddy
16 February 2013, 08:37 PM
#17
Scooby Regular
Thread Starter
Join Date: Oct 2012
Location: surrey
Posts: 96
Likes: 0
Received 0 Likes
on
0 Posts
It's poss an option to look at and something that may be considered.
Tbh the work involved in modifying a cradle to take the rear diff isn't too involved but I certainly will look into it.
I would rather run nissan hubs with 5x114 stud pattern and brakes all round but worry its going to open a whole load more money and work.
I also need to get this ej20 up for sale too, not sure the best way to sell it is though and what they are worth tbh
16 February 2013, 09:01 PM
#18
Scooby Regular
Join Date: Dec 2012
Location: Darlington
Posts: 166
Likes: 0
Received 0 Likes
on
0 Posts
Yea see your point , I can't imagen it been too much work lol. But now iv said that its guna be hard lol. I'd love too know how it's done like . Some thing I could plan in the future like .
 17 February 2013, 05:46 AM
#20
Scooby Newbie

Join Date: Jul 2007
Location: Melbourne, Australia
Posts: 21
Likes: 0
Received 0 Likes
on
0 Posts
This might give you some idea's for the rear end set up?
http://www.rexnet.com.au/forum/index...0gx2th400r200/
Cheers Ben
http://www.rexnet.com.au/forum/index...0gx2th400r200/
Cheers Ben
17 February 2013, 08:36 AM
#21
Scooby Regular
Thread Starter
Join Date: Oct 2012
Location: surrey
Posts: 96
Likes: 0
Received 0 Likes
on
0 Posts
Awesome thread ^^^^^
Thanks for that, seems the diff is from a merc??
Quick change of subject, how do I split the ej20 block from the gearbox??
I've undone the Allen key bolt, but can't see how I pull the thing out inside?
Cheers guys
^^^^^Thanks for that, seems the diff is from a merc??
Quick change of subject, how do I split the ej20 block from the gearbox??
I've undone the Allen key bolt, but can't see how I pull the thing out inside?
Cheers guys
17 February 2013, 09:16 AM
#24
Scooby Regular
iTrader: (6)
Join Date: May 2012
Location: Cardiff
Posts: 3,221
Likes: 0
Received 0 Likes
on
0 Posts
Nissan share the r180 rear diff with Subaru don't they, what kind of power you could put directly through it though I don't know 
Good project bud, I will be following it as it progresses
Good project bud, I will be following it as it progresses
17 February 2013, 09:52 AM
#25
Scooby Regular
Thread Starter
Join Date: Oct 2012
Location: surrey
Posts: 96
Likes: 0
Received 0 Likes
on
0 Posts
Simples thanks for that buddy, can now check condition of fly and clutch before resale
Cheers Ben, my bad mate 
Not sure how different they are to say the r33 and s14 diffs??
Thanks matey,
My power goals are approx 400/450 eventually but will run the engine in stock form, then up the power gradually from there.
Managed to bag anothe rb25det complete for �50.
Crank is dead along with rod and piston but is ideal for the mockup!!
Can't wait to get this thing mounted up
thanks for that buddy, can now check condition of fly and clutch before resale Not sure how different they are to say the r33 and s14 diffs??
My power goals are approx 400/450 eventually but will run the engine in stock form, then up the power gradually from there.
Managed to bag anothe rb25det complete for �50.
Crank is dead along with rod and piston but is ideal for the mockup!!
Can't wait to get this thing mounted up

 17 February 2013, 06:30 PM
#28
Scooby Regular
Thread Starter
Join Date: Oct 2012
Location: surrey
Posts: 96
Likes: 0
Received 0 Likes
on
0 Posts
Picked up another complete rb25 engine today in bits,
It's spun bearing on number 5 pretty badly and has taken the crank and rod with it.
Other than that bores are fine, good head and few bits on it I need for my rebuild.
This will be used next week to mock up and sit in the bay, see how much more room I need from that front subframe!!
It's spun bearing on number 5 pretty badly and has taken the crank and rod with it.
Other than that bores are fine, good head and few bits on it I need for my rebuild.
This will be used next week to mock up and sit in the bay, see how much more room I need from that front subframe!!
24 February 2013, 07:51 PM
#29
Scooby Regular
Thread Starter
Join Date: Oct 2012
Location: surrey
Posts: 96
Likes: 0
Received 0 Likes
on
0 Posts
managed to squeeze few more hrs of sanity into the conversion today, slow but progressing.
Basically pickd up and block head , inlet manifokld etc etc all for silly money tbh. Bolted it together today to use as a dummy engine ready to throw into the bay. Was going to offer it in today but engine crane had gone walkabouts so got on with few other bits that i had been avoiding.
anyway we all know what an rb looks like semi assembled
Next deiced to start stripping interior out ready to pull loom into the cab, and start to work out this huge wiring nightmare out!!
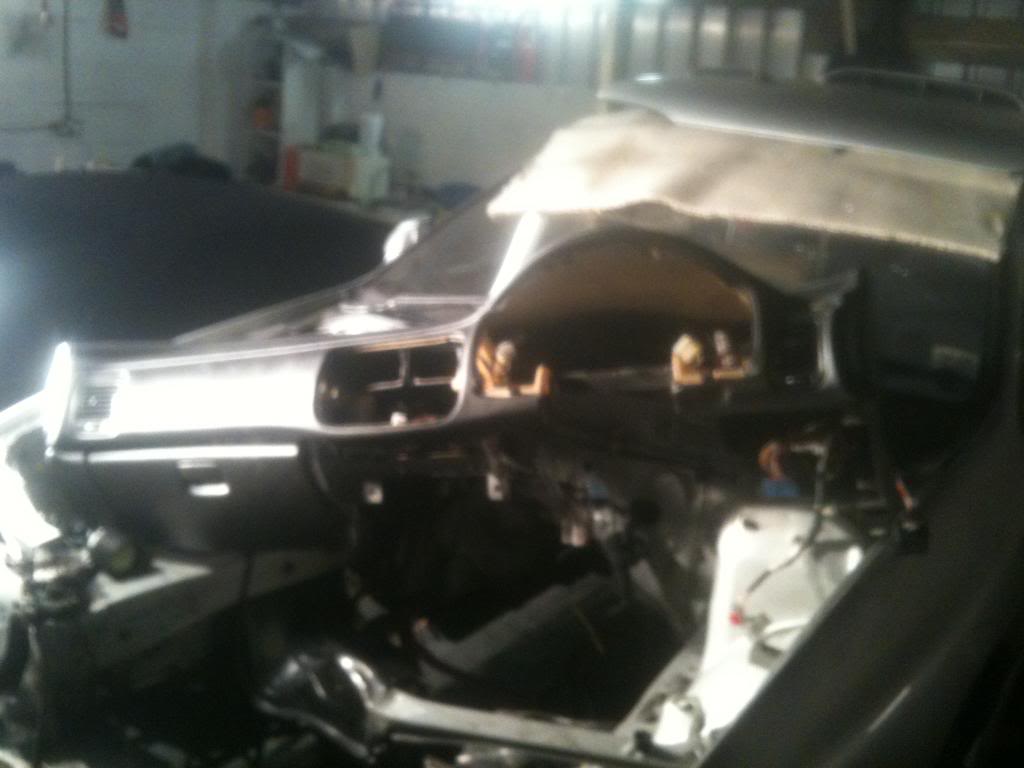
left with a bit more workspace

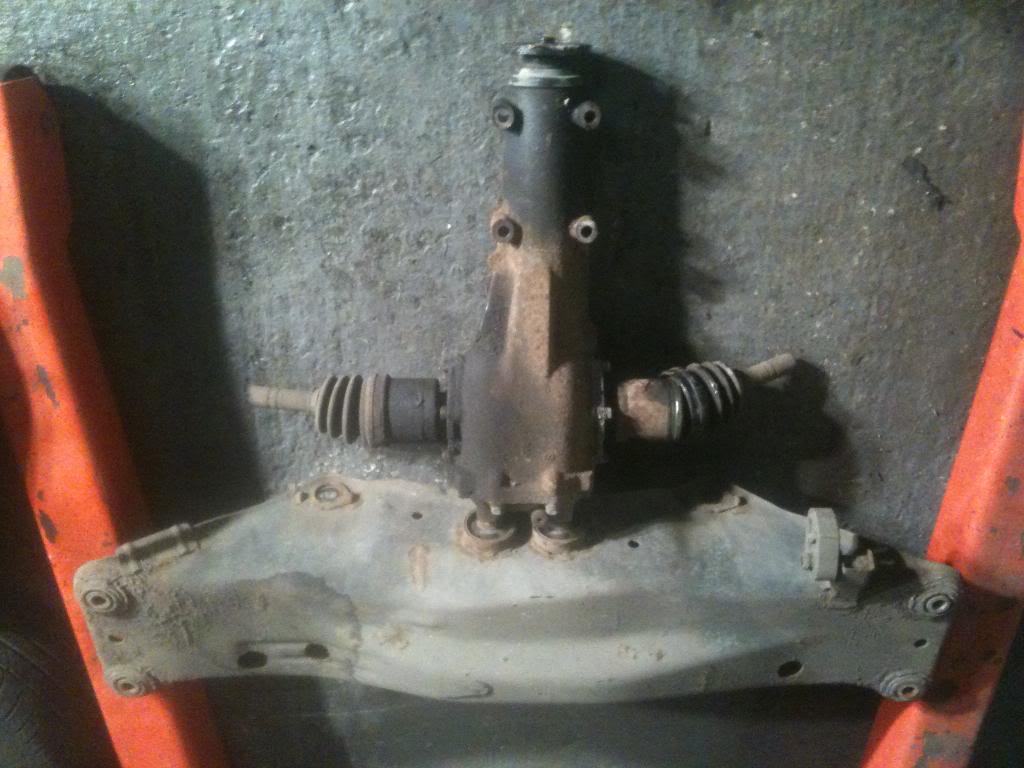
car up in the air and cut rear driveshafts, and removed rear diff, cradle and subframe
idea is to modify the rear subframe and cradle to carry either an sbody or skyline diff, looks fairly simple but wont know entirely until i have diff to offer up
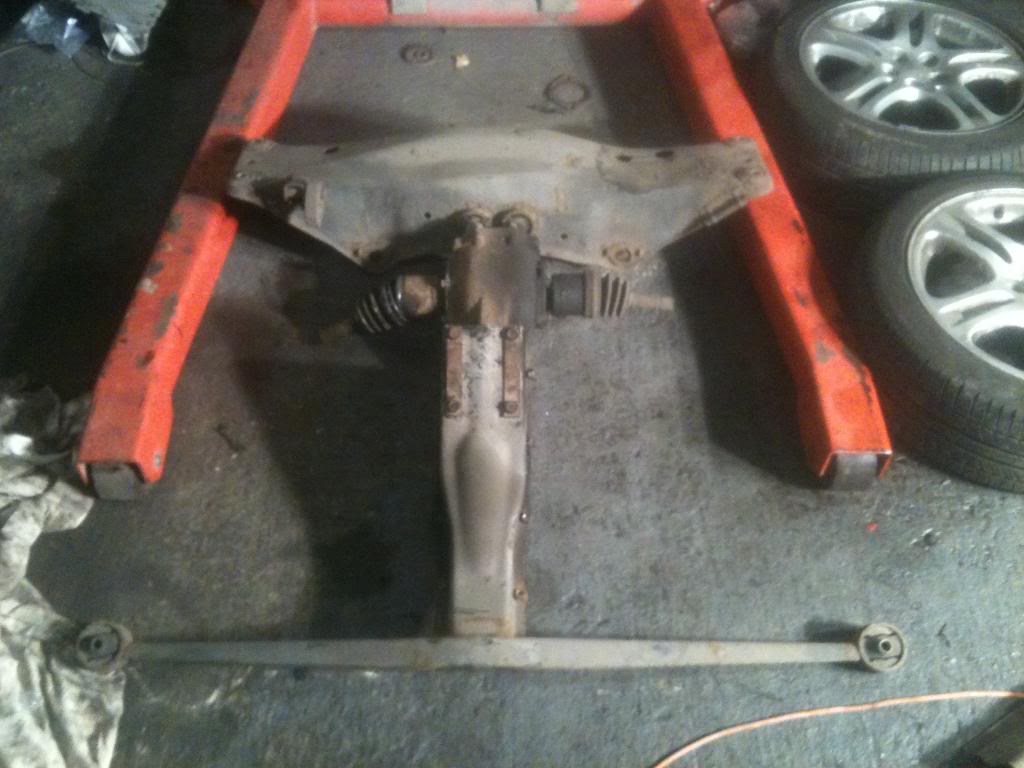
cant see it being too difficult
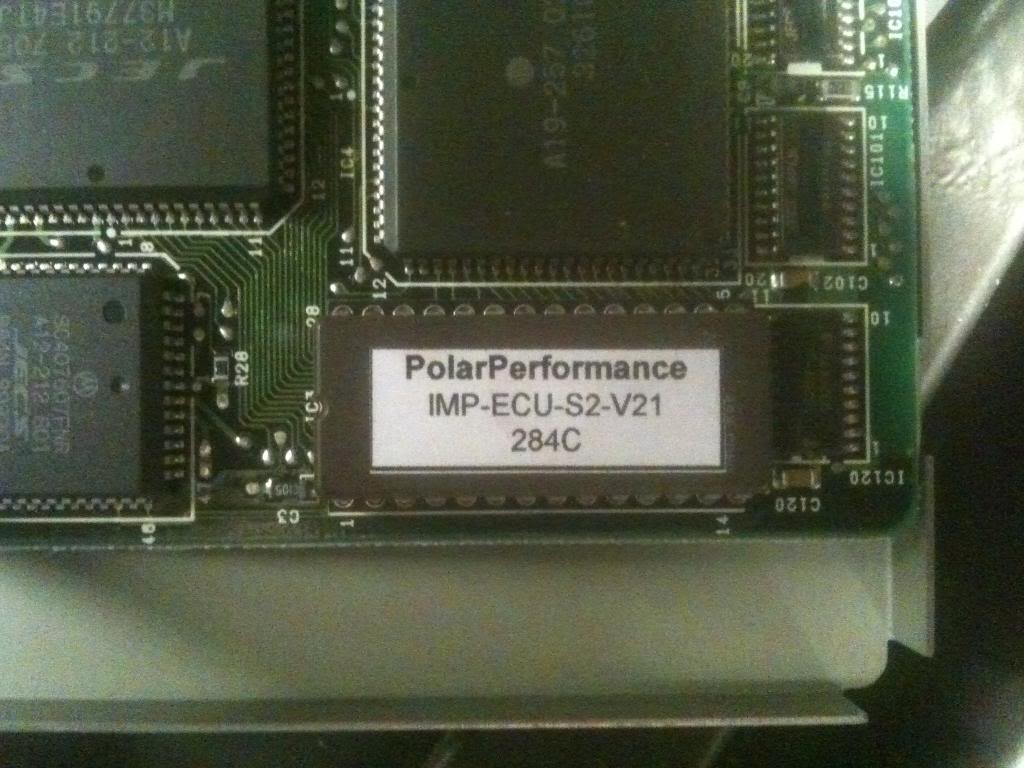
also found stock ecu to not actually be stock,
generic chip by very reputable company, should return few extra �� towards the build
so next weekend, will finally be offering up the rb and get it sat in place read to mock up mounts etc, in meantime i need to source gearbox and diff ready to throw in also.
In the next week or two ill be putting in order few bits to get this build underway too!!!
Loads to do .................
Basically pickd up and block head , inlet manifokld etc etc all for silly money tbh. Bolted it together today to use as a dummy engine ready to throw into the bay. Was going to offer it in today but engine crane had gone walkabouts so got on with few other bits that i had been avoiding.
anyway we all know what an rb looks like semi assembled
Next deiced to start stripping interior out ready to pull loom into the cab, and start to work out this huge wiring nightmare out!!
left with a bit more workspace
car up in the air and cut rear driveshafts, and removed rear diff, cradle and subframe
idea is to modify the rear subframe and cradle to carry either an sbody or skyline diff, looks fairly simple but wont know entirely until i have diff to offer up
cant see it being too difficult
also found stock ecu to not actually be stock,
generic chip by very reputable company, should return few extra �� towards the build
so next weekend, will finally be offering up the rb and get it sat in place read to mock up mounts etc, in meantime i need to source gearbox and diff ready to throw in also.
In the next week or two ill be putting in order few bits to get this build underway too!!!
Loads to do .................

Thread
Thread Starter
Forum
Replies
Last Post