The repair that has clearly turned in to a project
 06 July 2012, 06:30 PM
#1
Scooby Regular
Thread Starter

Join Date: Oct 2010
Posts: 68
Likes: 0
Received 0 Likes
on
0 Posts
I'm on a long train trip back to Geordieland that is crawling along due to flooding...somewhere, but havent seen any yet, so figured i may aswell start a project thread, and will add some initial pics tomorrow.
How do I cut a long story short, that indicates how a repair job has turned in to some kind of project? Well I'll try.
* Bought MY96 WRX in white, with Tommy Kaira front 5 years ago as a toy. Fiited new clutch, Revolution full exhaust and fitted 18" Kato Miuras. That was kind of all I wanted
* 3 years ago, engine let go, suspected big end bearing, Scoob hibernates in garage as John finds now time to fix. Plan is to strip and rebuild, possibly with uprated internals but not overly bothered.
* 2 years ago no progress, John too busy and never gets round to it, but misses the scooby rumble, so buys second hand engine from breakers and drops straight in. Engine is clearly out of an even earlier Impreza or possibly even a Legacy so decide to crack on with rebuild, car returns to hibernation but plan is now to at least spruce the paint work up.
* 1.95 years ago, serious injury, nothing occurs until last month or so.
So, I'm back to working on the Scoob, but have spent too much time on here, firstly I have been seduced by a 'built' EJ25 and a straight entry turbo, but that inevitably means ECU, inlet mods which also mean p/s mods, fuel mods, swirl pots, different gearbox, etc etc. The missus says 'well if you are spending that much on an old car you may aswell get it fully resprayed and the interior retrimmed!" and on it goes.......
So, all I originally wanted was the thing running again as a 4.7 V8 may make for fun on the motorway but the 22" wheels make for a rubbish weekend back road flyer.
But looks like I've started a proper project now, god willing it wont last for years like some on here, but as every planned mod seems to lead to two more and those to two more each too, I suspect it may!
So the headline plans......
EJ25 with forged pistons, rods and nitrided crank
Straight entry turbo and associated mods to inlet etc
Bigger injectors, parallel fuelling, swirl set up etc
FMIC, Simtek
A few bodywork and styling tweaks, I'll keep those secret as long as possible
Some more new wheels
Fresh paintwork
So I'll start with some pics of "so far" and post them tomorrow. As bits come off (such as the wheels and current working long block) I'll fire them up for sale here.
I also plan on a few RonsonRacing esq DIY jobs like a gauge holder etc, stripping and repainting as many brackets as possible and replacing as many of the rusty old bolts and fittings as poss, though hell knows where from.
JH

 07 July 2012, 08:53 PM
#3
Scooby Regular
Thread Starter
Join Date: Oct 2010
Posts: 68
Likes: 0
Received 0 Likes
on
0 Posts
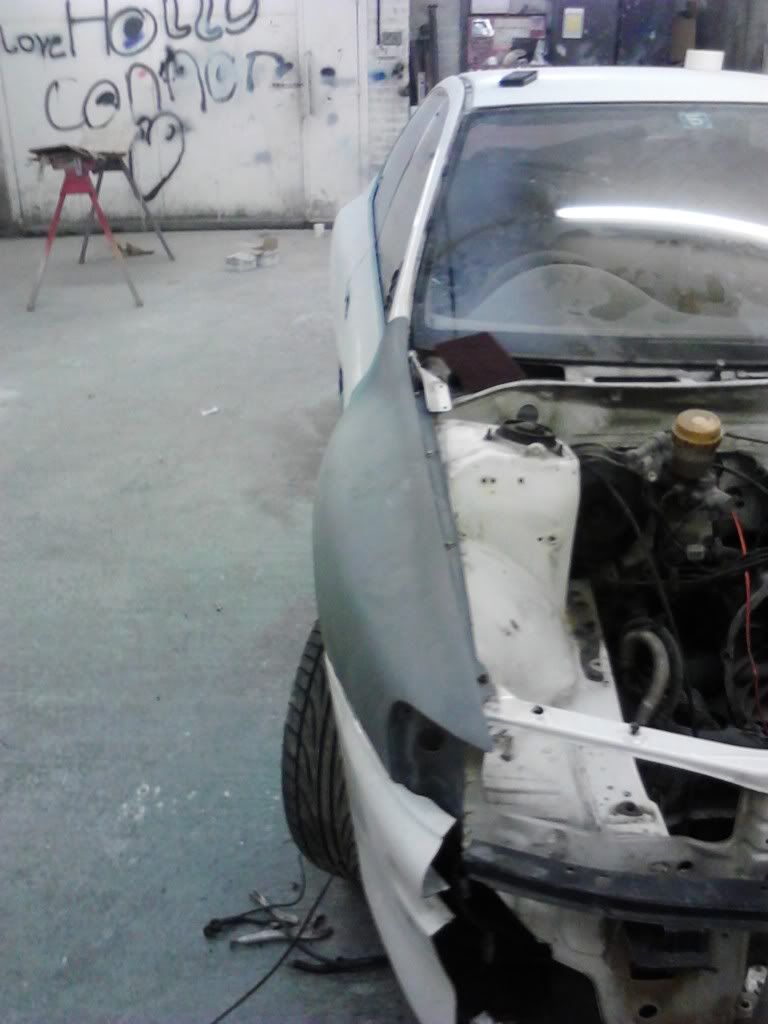
Some initial pics, rain permitting I'll get the car out of the garage tomorrow and take some proper ones.
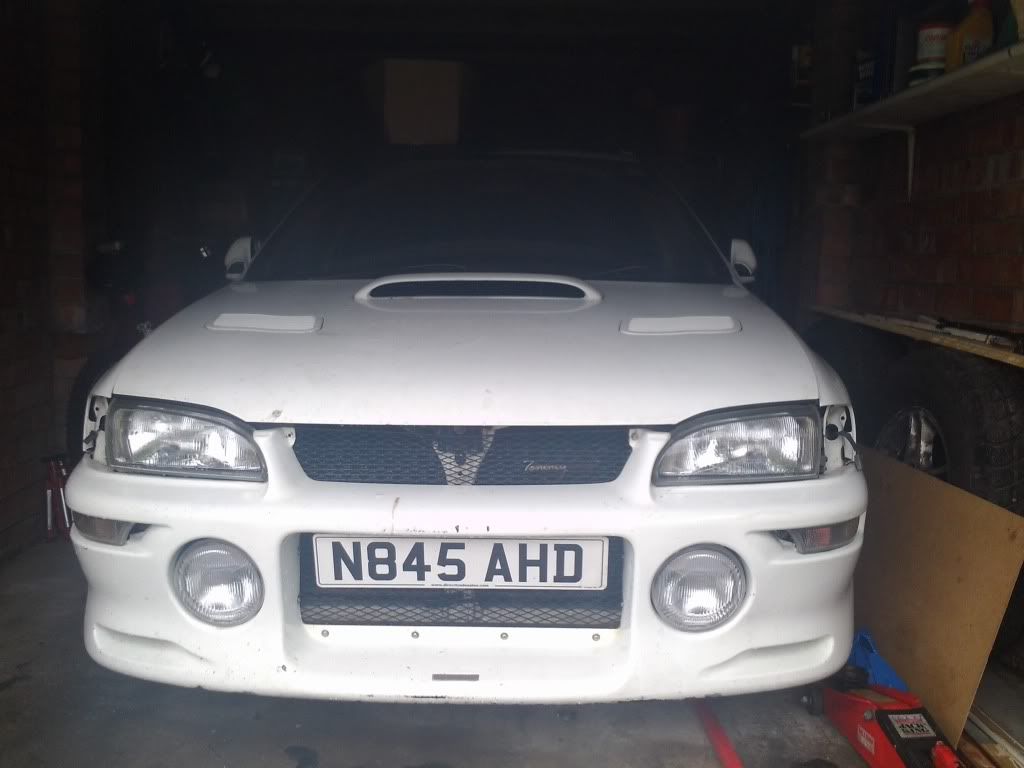
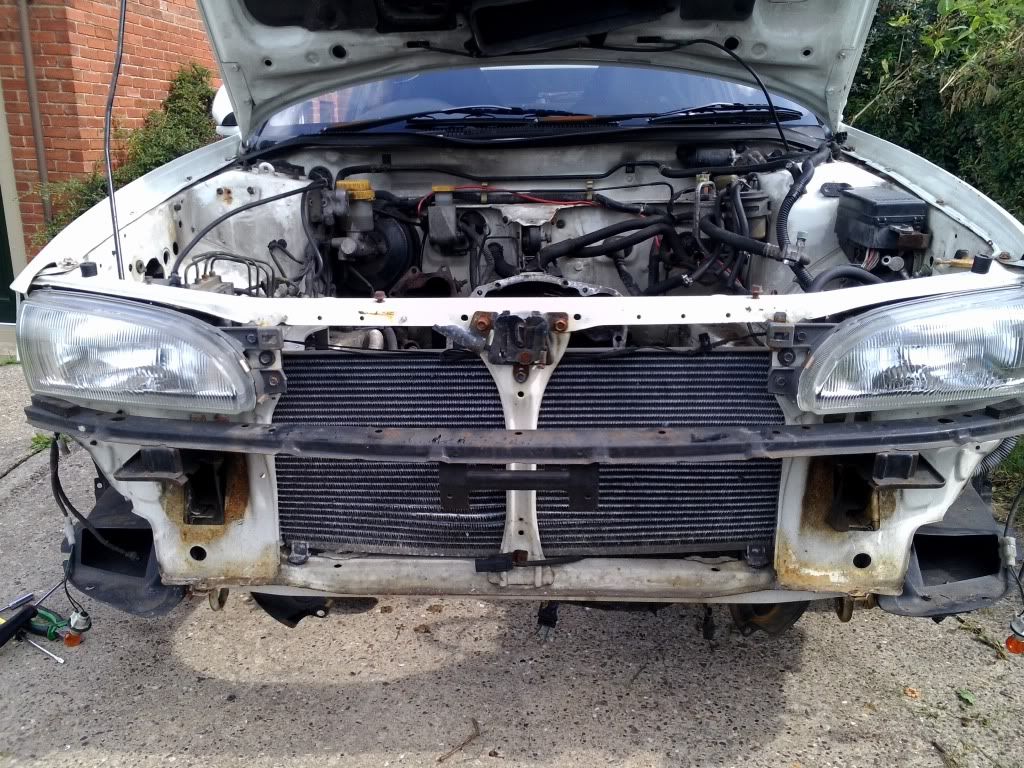
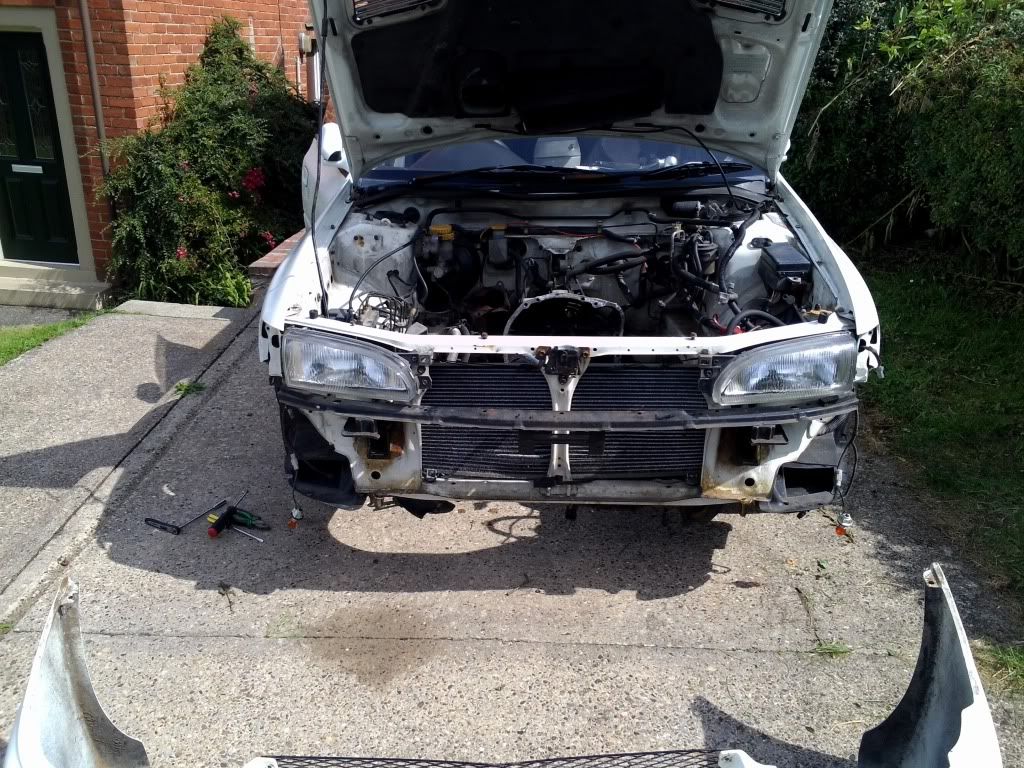
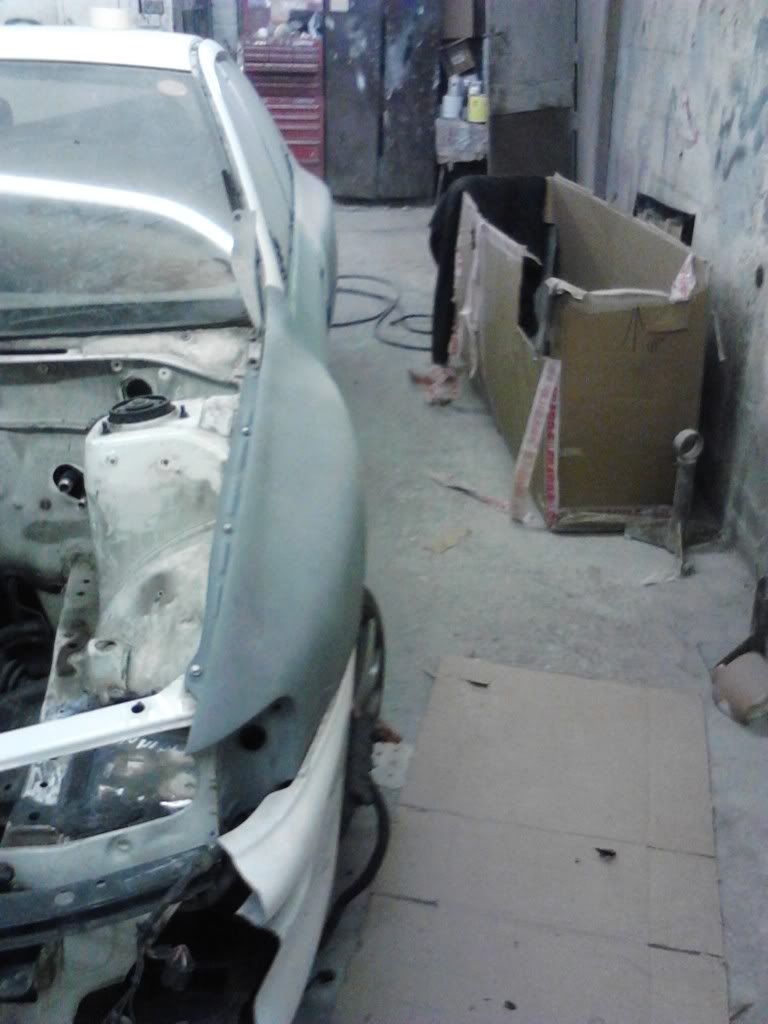
A slightly 'looking sorry for itself' Tommy Kaira front end
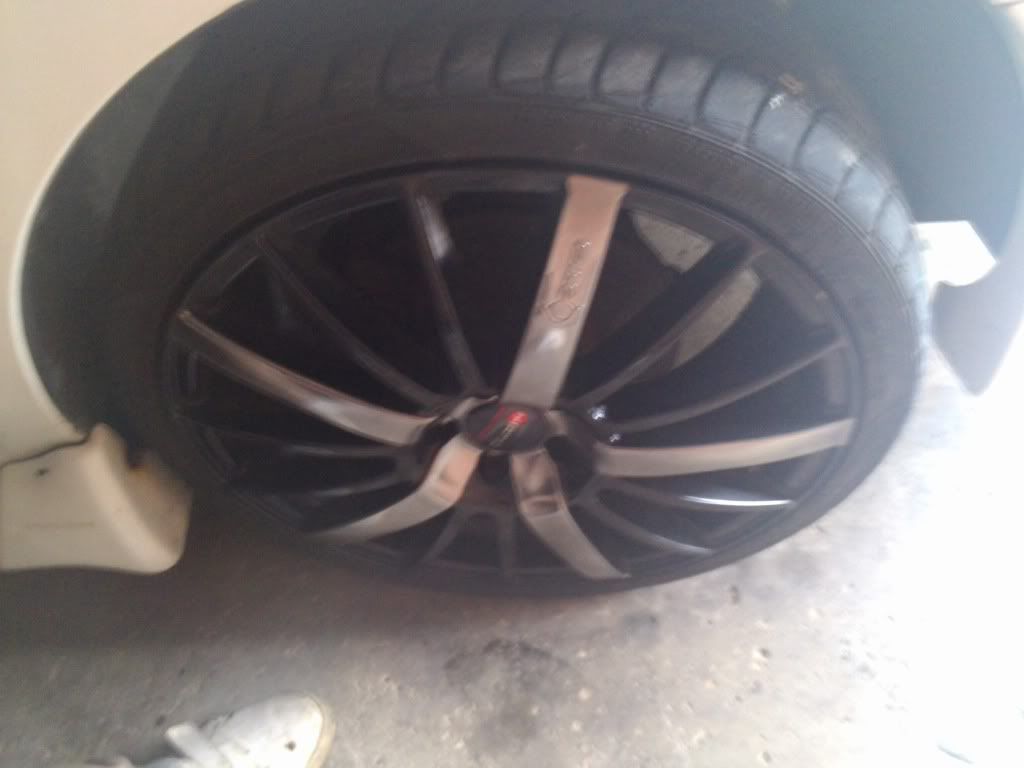
A hopeless shot of the wheels as there wasnt room for camera
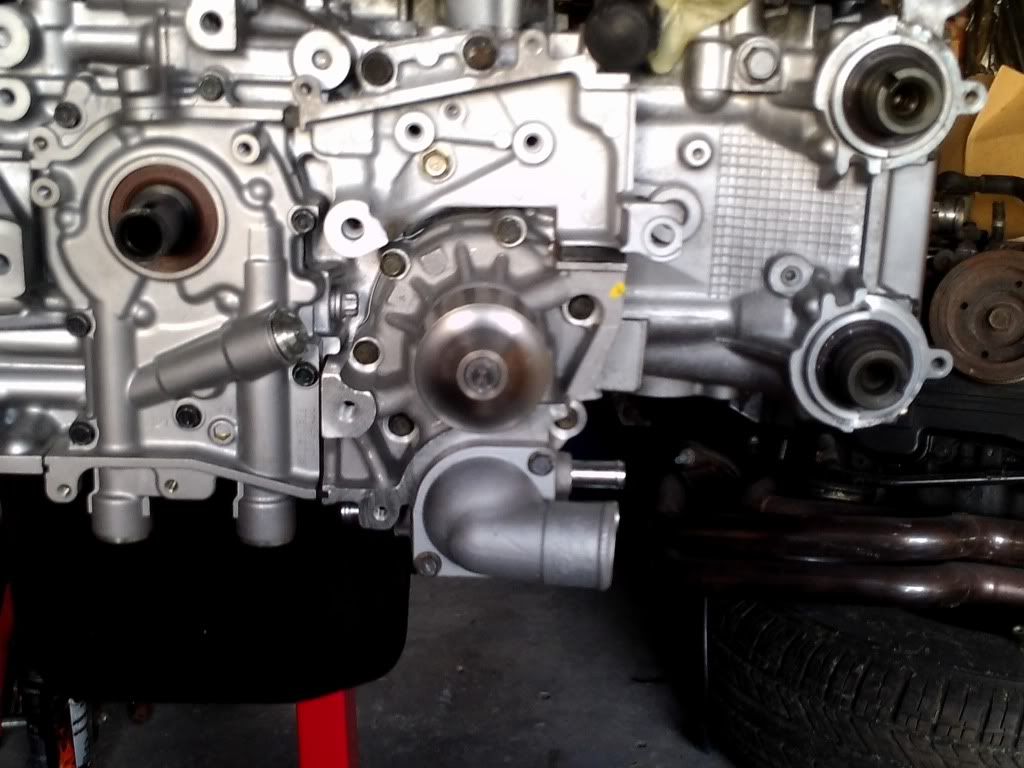
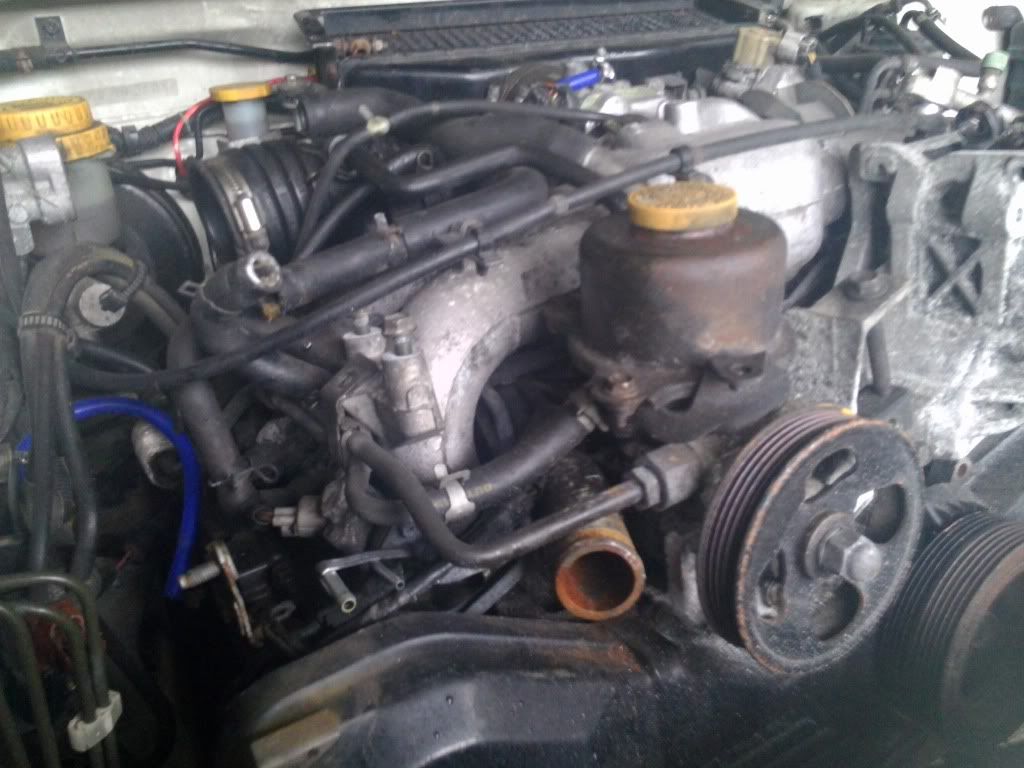
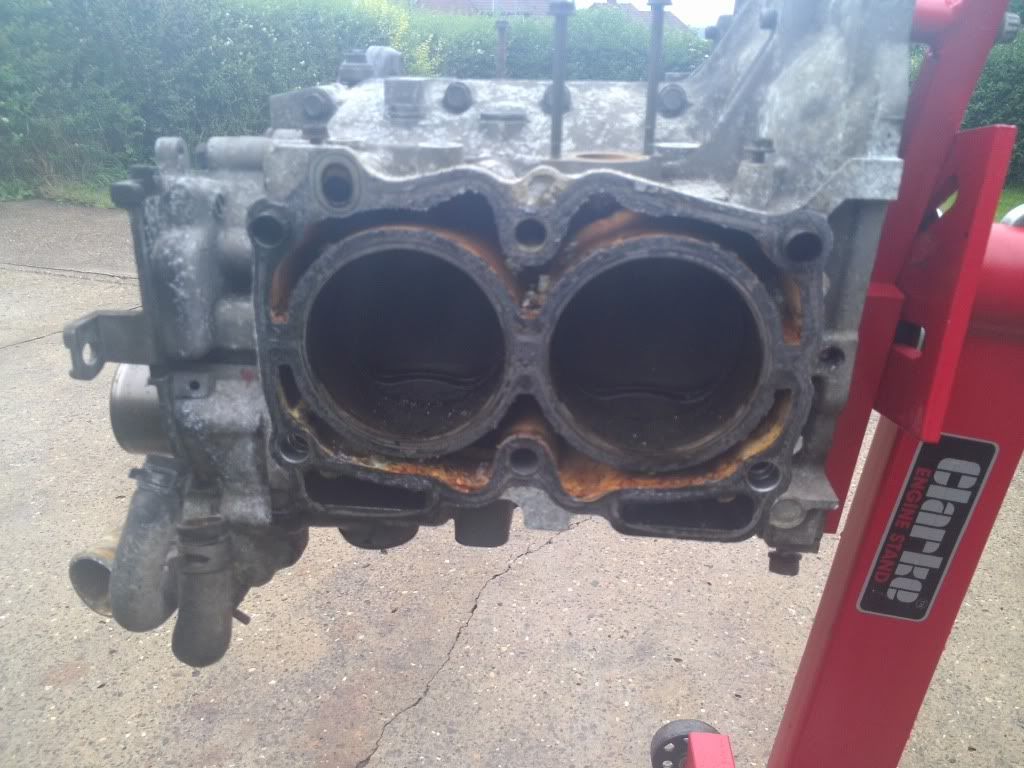
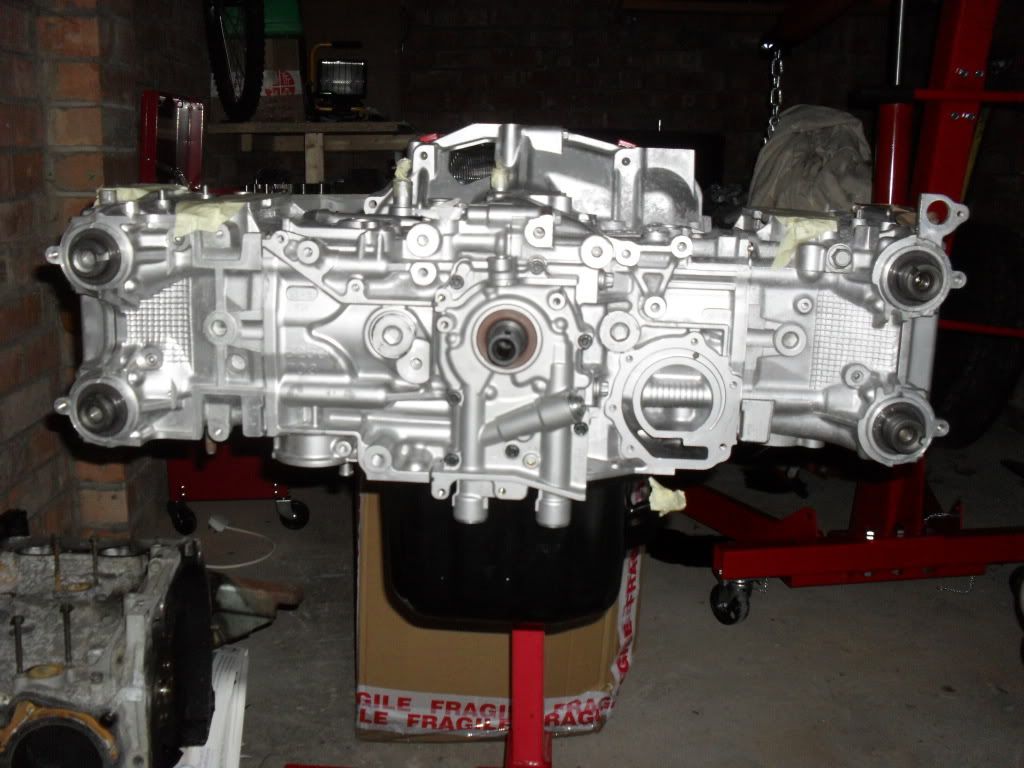
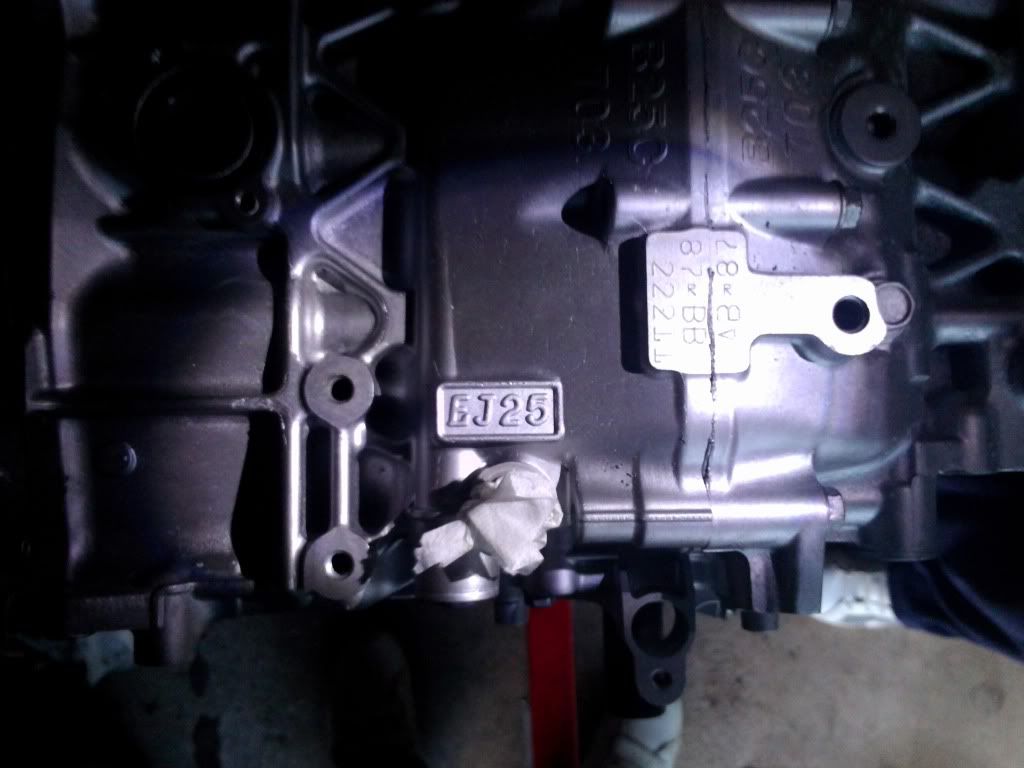
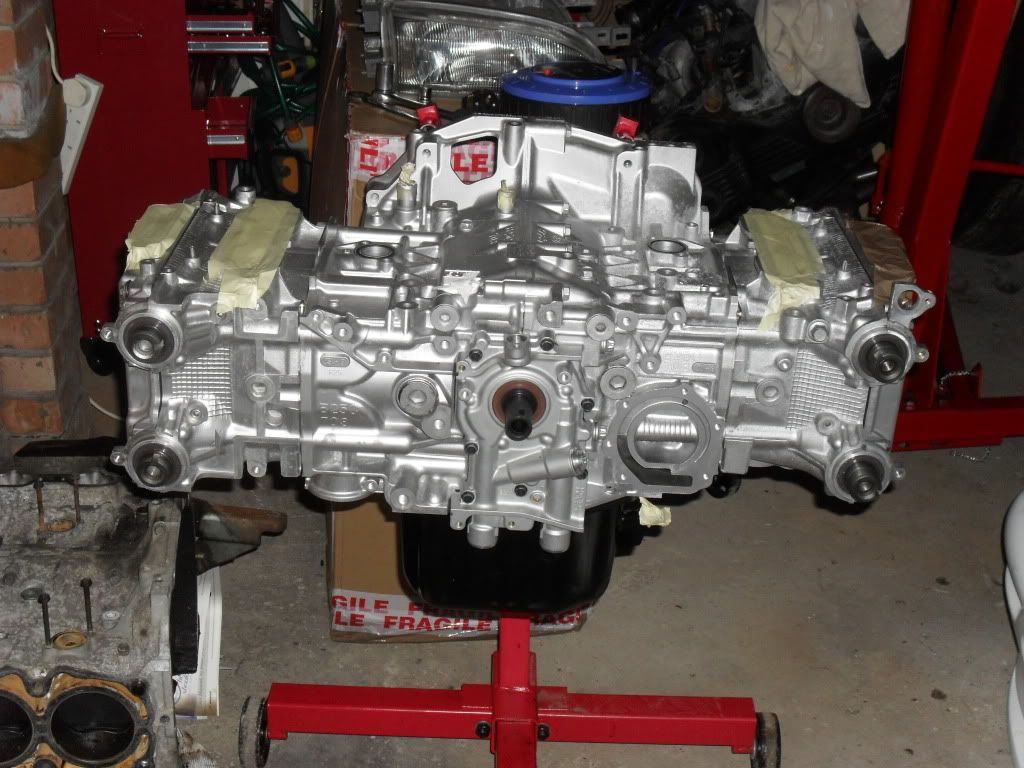
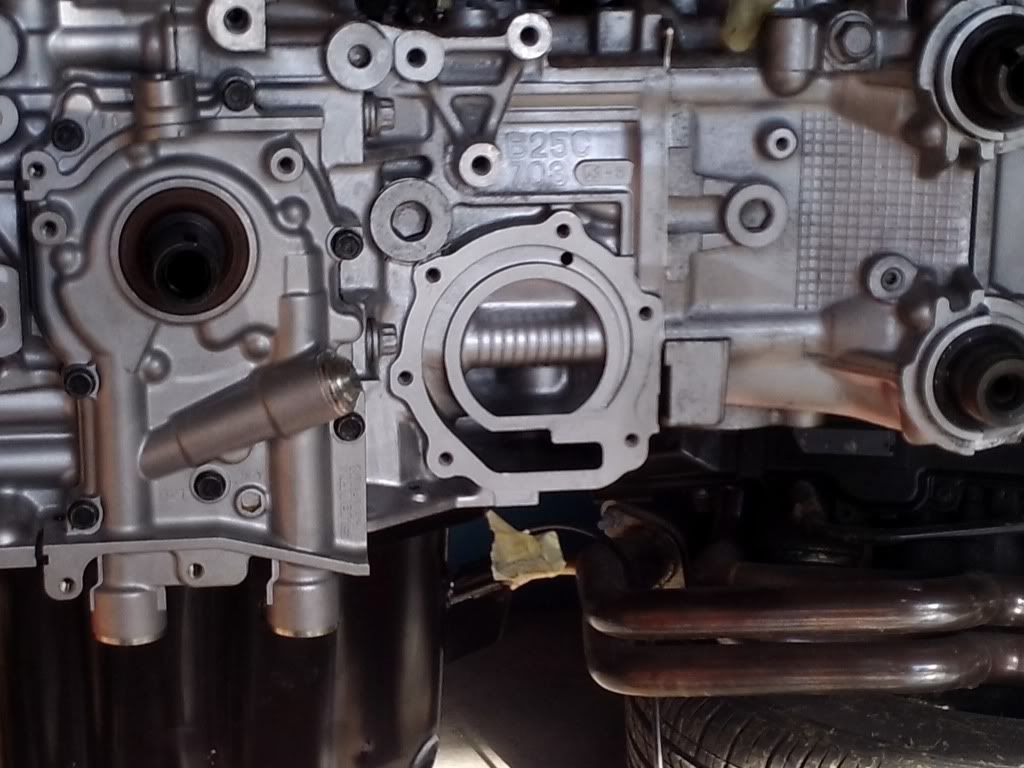
The second engine/long block that has probably done about 4 miles before I decided to start 'playing'
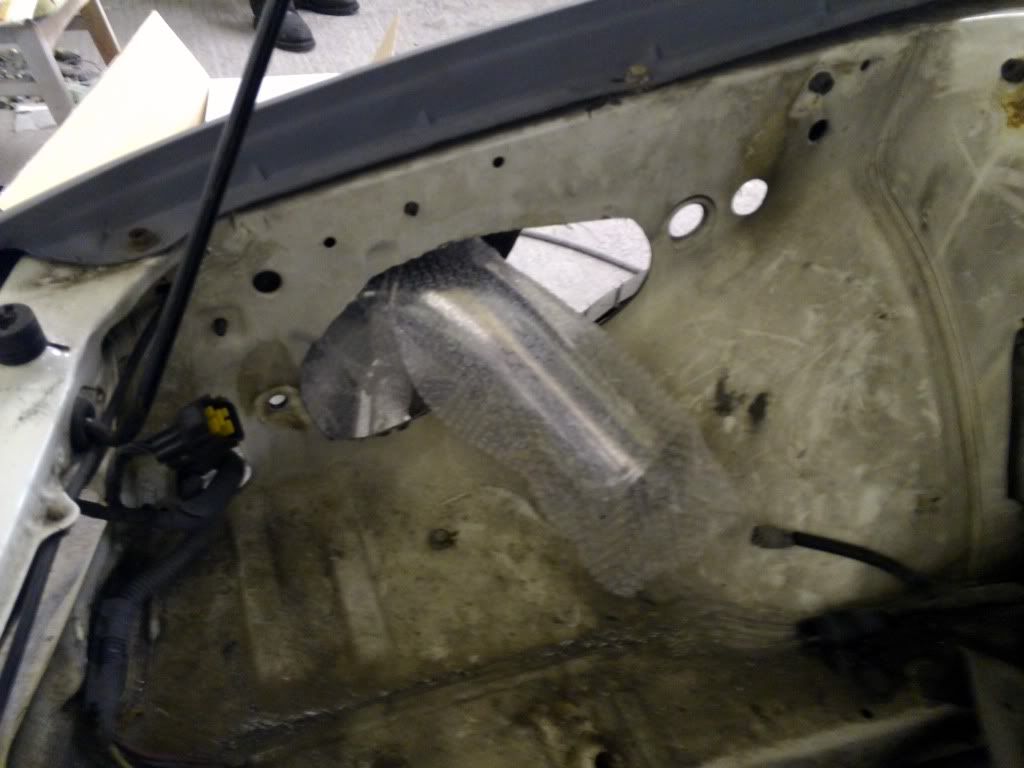
I have to admit, even with the manifold raised and the power steering moved I'm struggling to see how there will be enough room for a turbo intake pipe through here
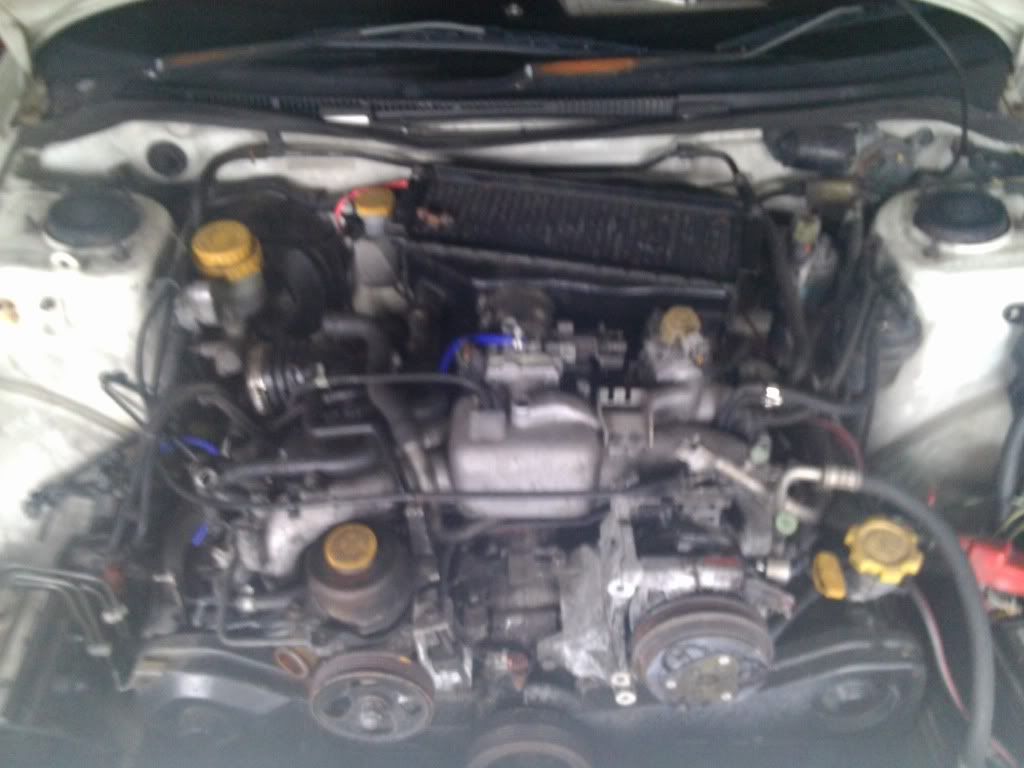
The original engine that 'let go', rocker cover off from right hand side but struggling to grip cam to remove pulleys, may have to concede and buy a proper sprocket wrench.
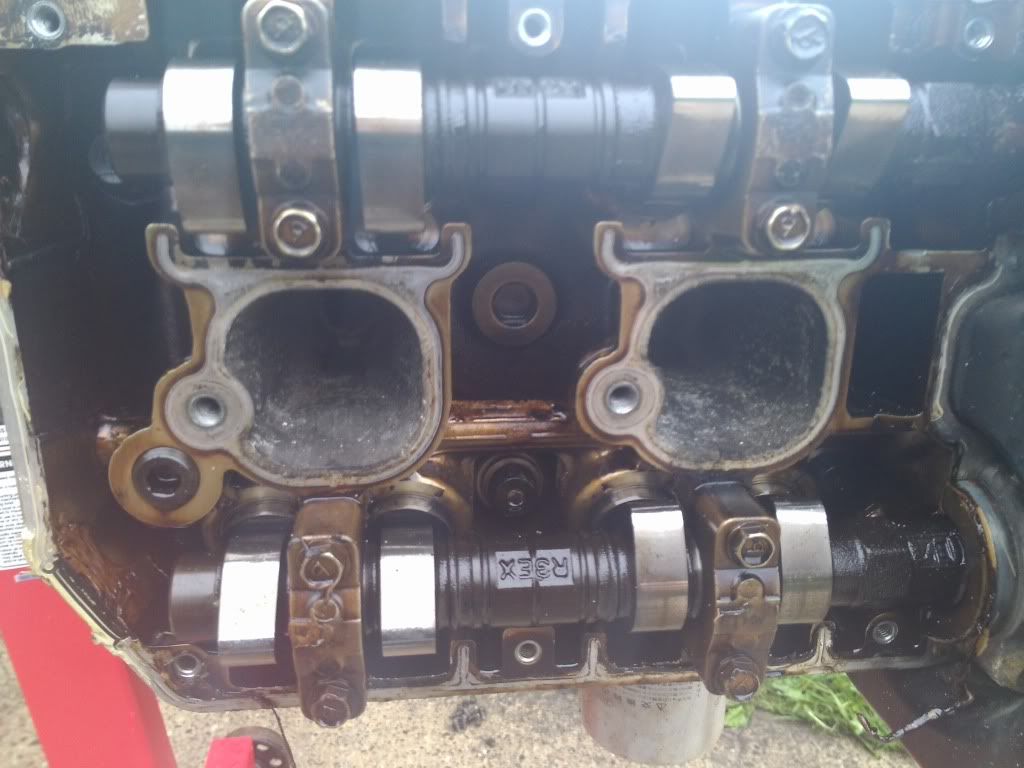
Left hand side was much easier (though it did cost me a huge lump of flesh from my thumb's knuckle )
)
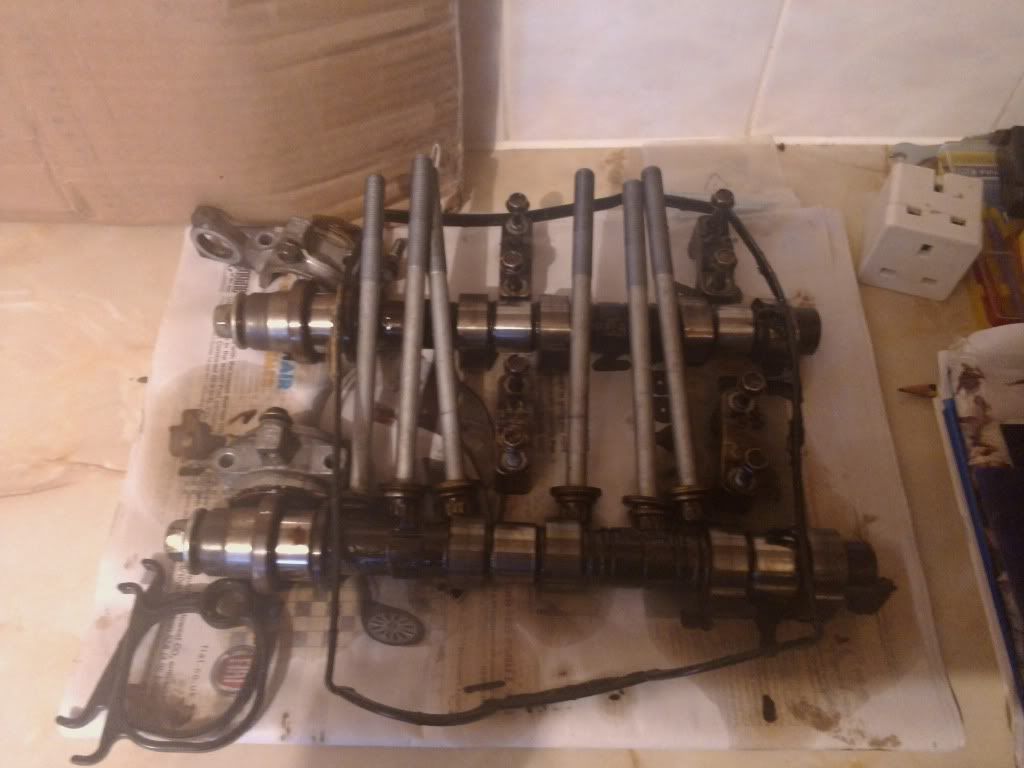
Cams and bolts etc kept neatly to one side.........................in the utility room, where else?
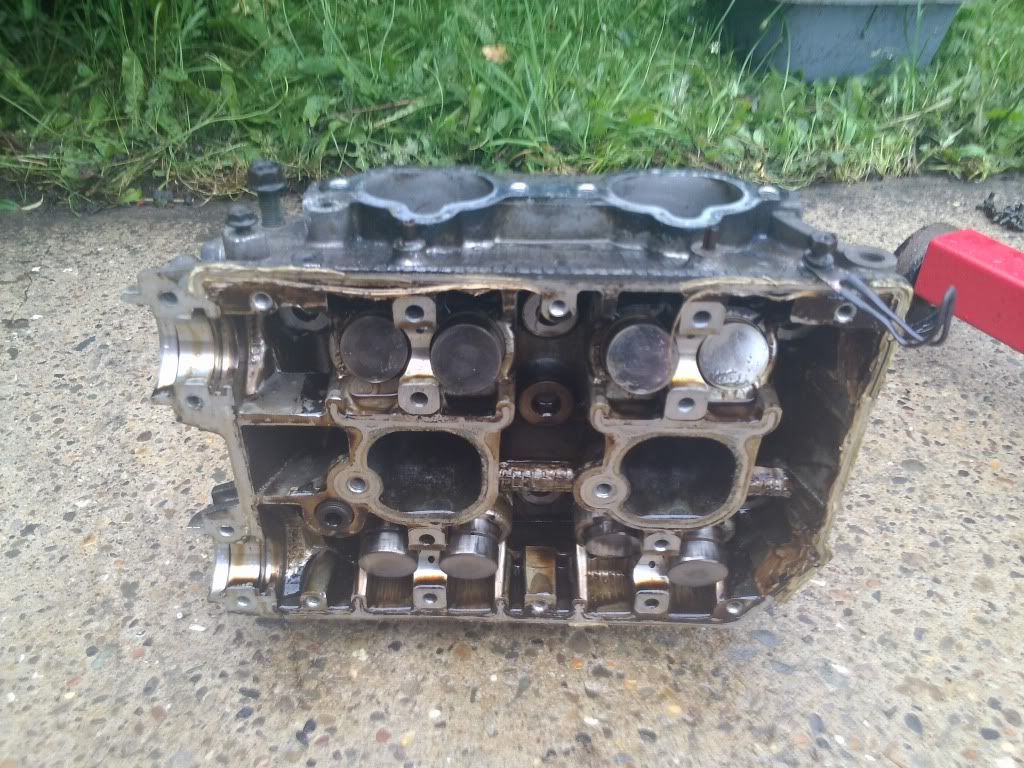
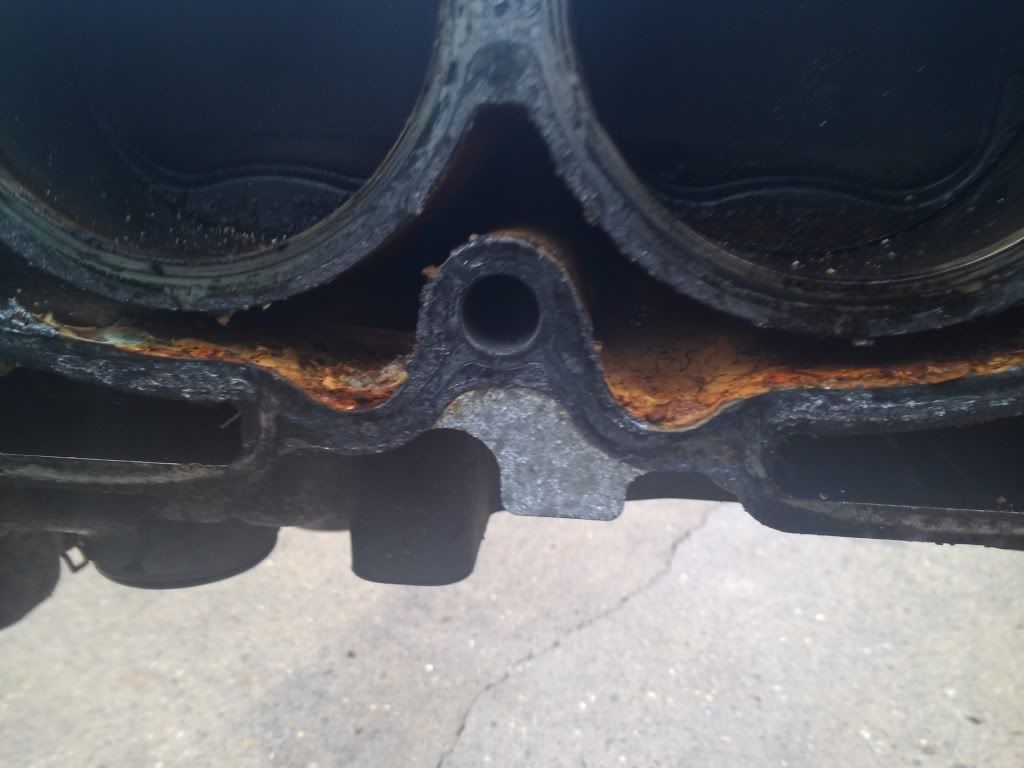
Looks like the first engine may have had some cooling issues in the past!!
Sump was an inch deep in what can only be described as 'gloop', more like tar than oil. So I gave it a damned good jet wash.
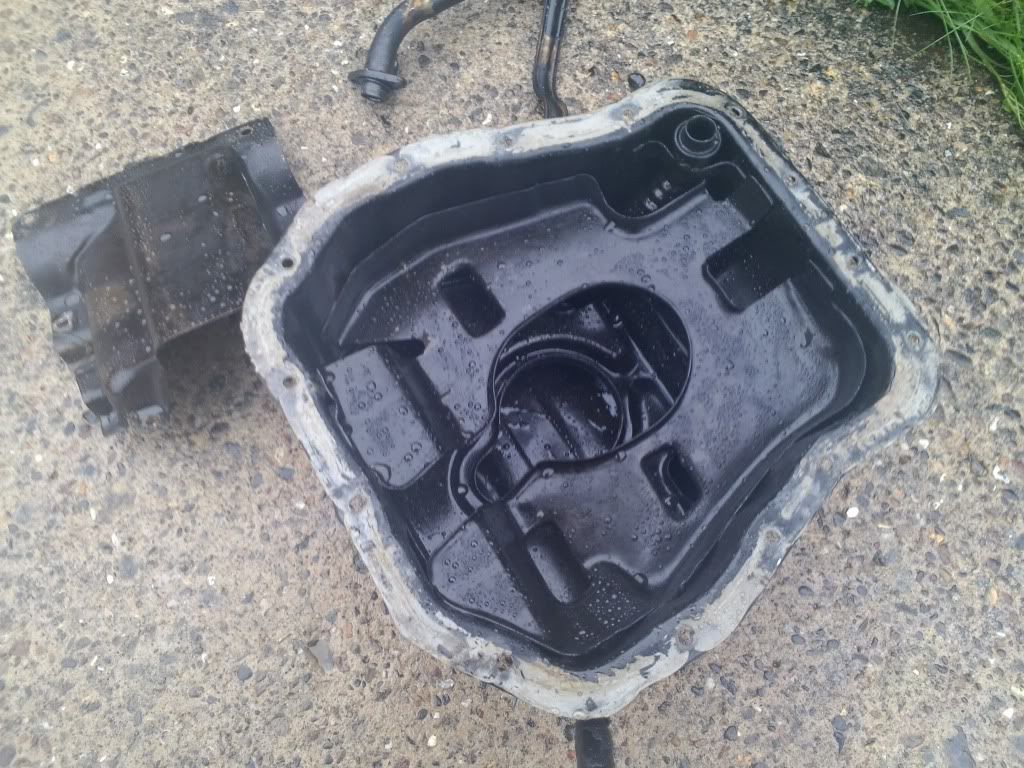
The pan edge has a slight warp/bend to it, despite using a proper sump pan cutter it was still slightly unwilling to come off and I must have bent it slightly, hopefully it can be bent back otherwise I'll get a new one. If it can be straightened then I will give this a nice glossy repaint!
Unfortunately jetwashing the sump left annoying 'clean' streaks on the drive, so I ended up spending the rest of today jetwashing the entire drive and path so it didn't look like somebody had graffiti'd the drive! Hence the subsequent lack of progress, or the car ever making it out of garage.
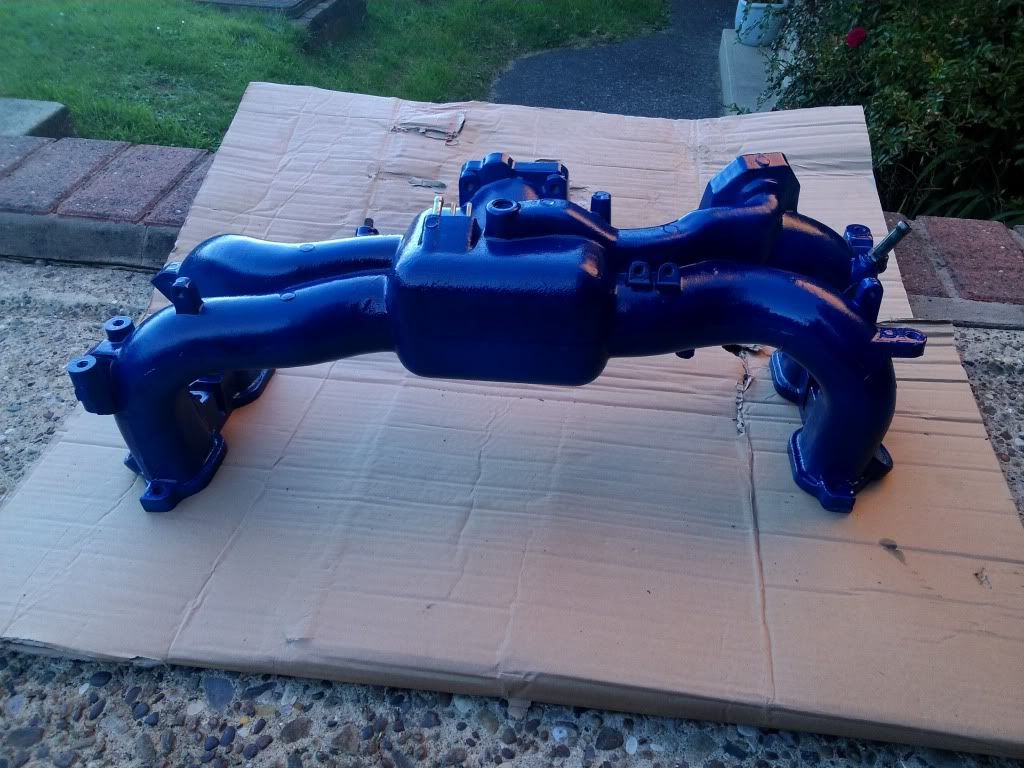
I did however do a little trial painting. I plan on gloss black painting the brackets etc, and using a sparkle crackle grey on the inlet manifold and alternater. To test paint though i tried it out on the water pipe.
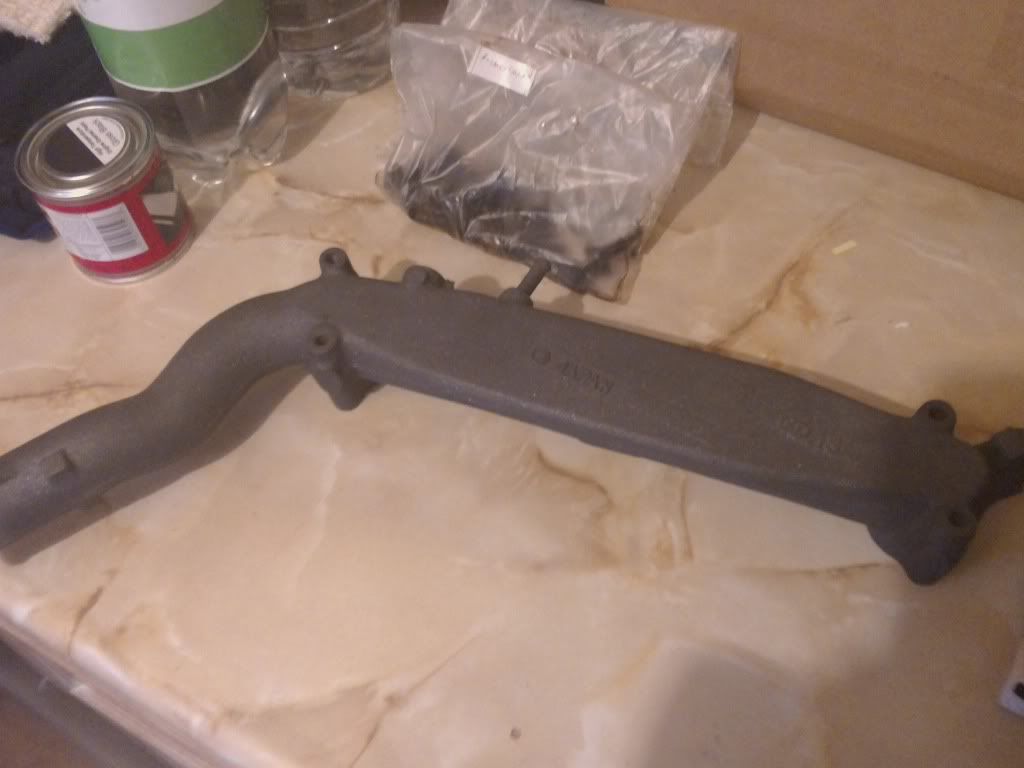
Unfortunately the picture doesnt do the finish justice. I'll test the black gloss on the feeder pipe
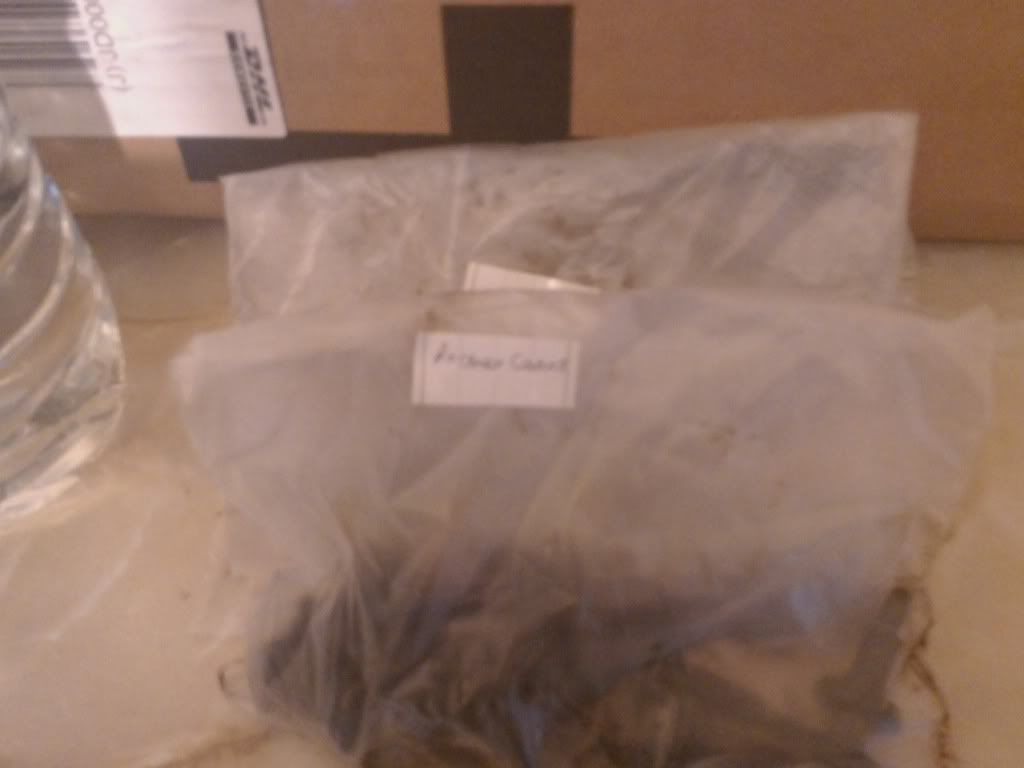
I was worried about removing so many bolts/fittings and not knowing where they came from, so my cunning idea is to 'bag and tag'.........though i've already missplaced a bag lol
Lots of goodies have already arrived so i'll take some pics of those later.
A slightly 'looking sorry for itself' Tommy Kaira front end
A hopeless shot of the wheels as there wasnt room for camera
The second engine/long block that has probably done about 4 miles before I decided to start 'playing'
I have to admit, even with the manifold raised and the power steering moved I'm struggling to see how there will be enough room for a turbo intake pipe through here
The original engine that 'let go', rocker cover off from right hand side but struggling to grip cam to remove pulleys, may have to concede and buy a proper sprocket wrench.
Left hand side was much easier (though it did cost me a huge lump of flesh from my thumb's knuckle
)Cams and bolts etc kept neatly to one side.........................in the utility room, where else?
Looks like the first engine may have had some cooling issues in the past!!
Sump was an inch deep in what can only be described as 'gloop', more like tar than oil. So I gave it a damned good jet wash.
The pan edge has a slight warp/bend to it, despite using a proper sump pan cutter it was still slightly unwilling to come off and I must have bent it slightly, hopefully it can be bent back otherwise I'll get a new one. If it can be straightened then I will give this a nice glossy repaint!
Unfortunately jetwashing the sump left annoying 'clean' streaks on the drive, so I ended up spending the rest of today jetwashing the entire drive and path so it didn't look like somebody had graffiti'd the drive! Hence the subsequent lack of progress, or the car ever making it out of garage.
I did however do a little trial painting. I plan on gloss black painting the brackets etc, and using a sparkle crackle grey on the inlet manifold and alternater. To test paint though i tried it out on the water pipe.
Unfortunately the picture doesnt do the finish justice. I'll test the black gloss on the feeder pipe
I was worried about removing so many bolts/fittings and not knowing where they came from, so my cunning idea is to 'bag and tag'.........though i've already missplaced a bag lol
Lots of goodies have already arrived so i'll take some pics of those later.
07 July 2012, 09:16 PM
#4
Scooby Regular
Thread Starter
Join Date: Oct 2010
Posts: 68
Likes: 0
Received 0 Likes
on
0 Posts
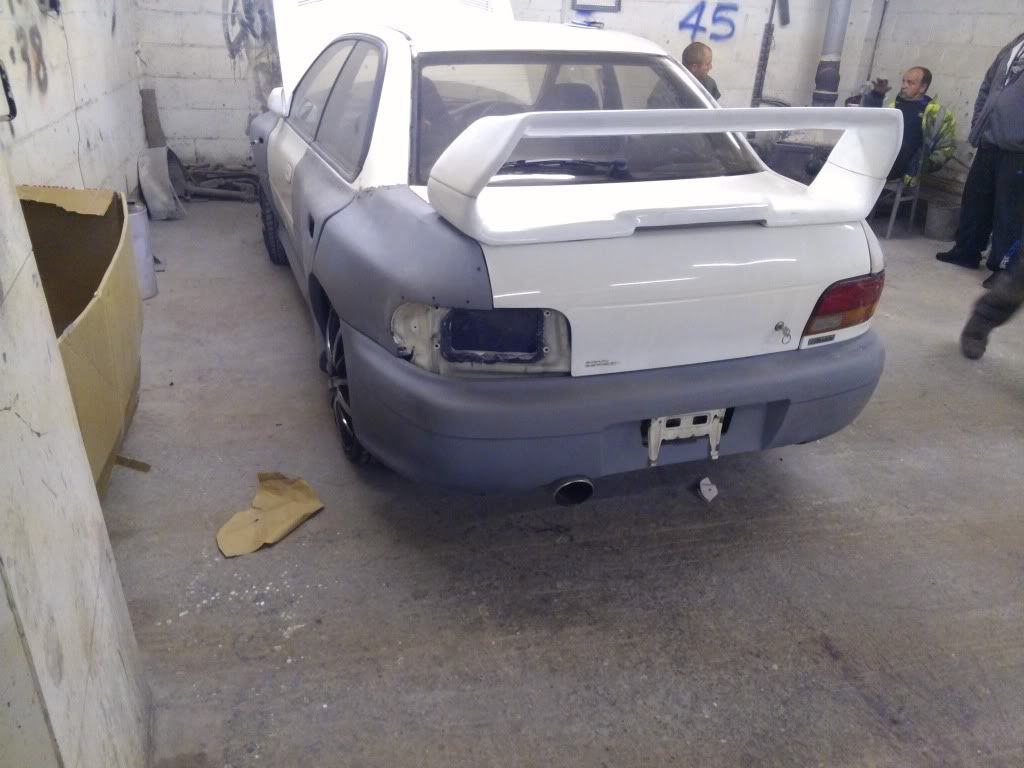
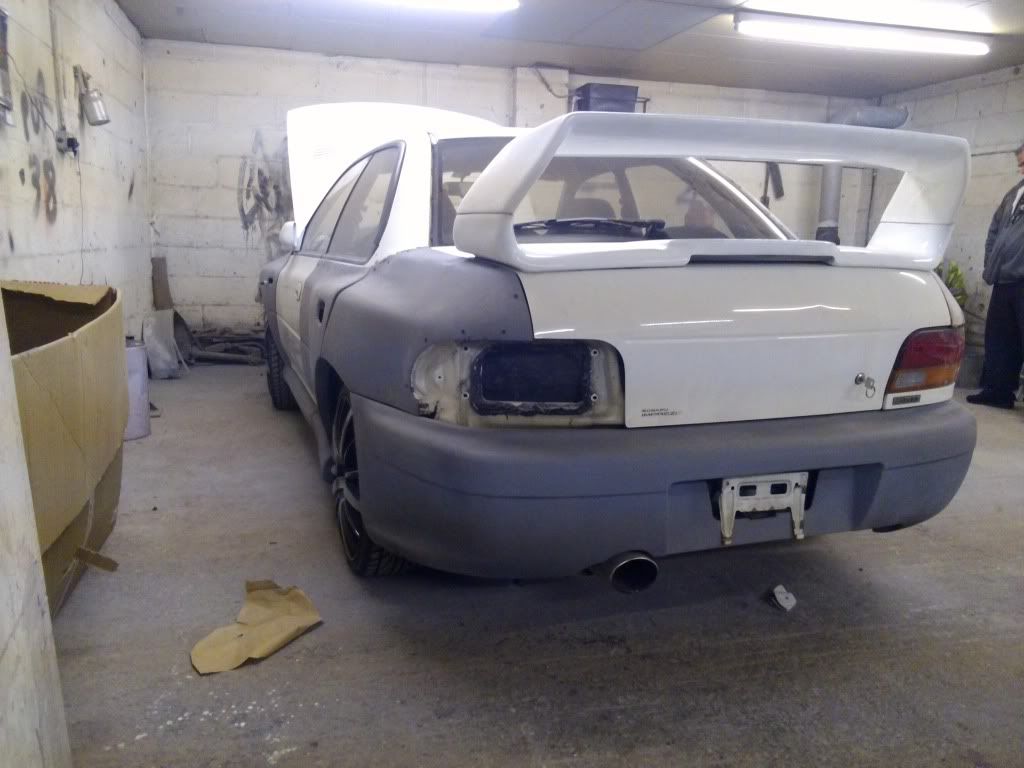
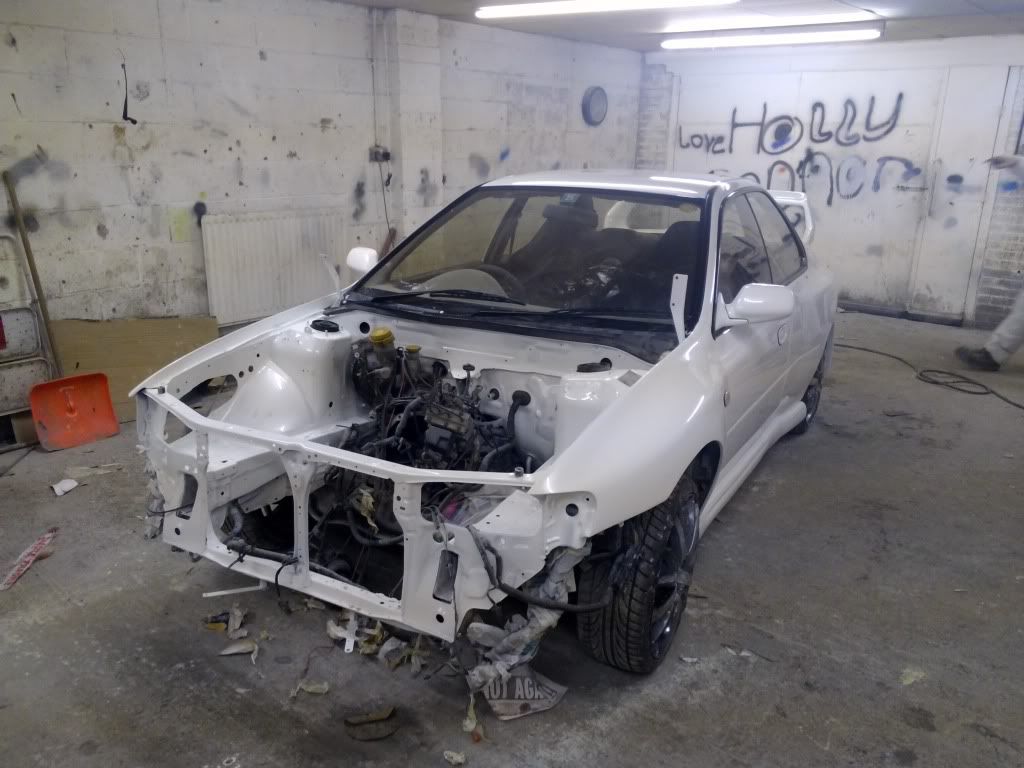
Forgot to mention, need to remove engine from car before tuesday/wednesday as car is off to the bodyshop. I'll take some more pics now so you can see why. (apart from it currently looking worse for wear)
07 July 2012, 09:52 PM
#5
Scooby Regular
Thread Starter
Join Date: Oct 2010
Posts: 68
Likes: 0
Received 0 Likes
on
0 Posts
daren't unpack or unwrap this until I've got it to the bodyshop
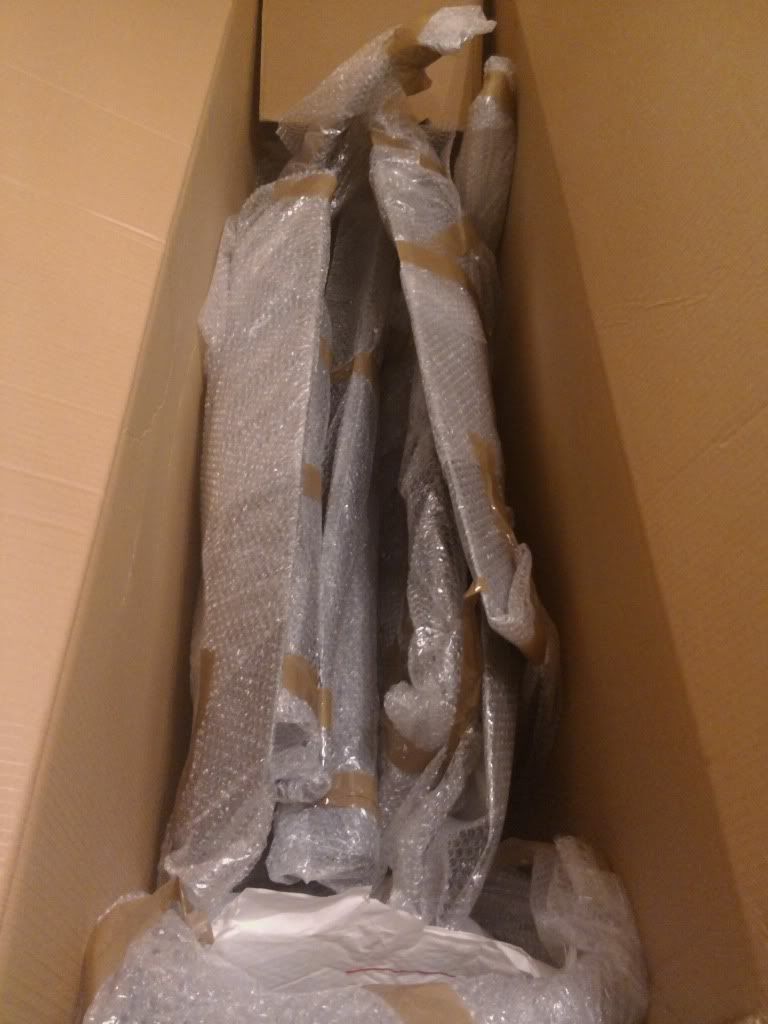
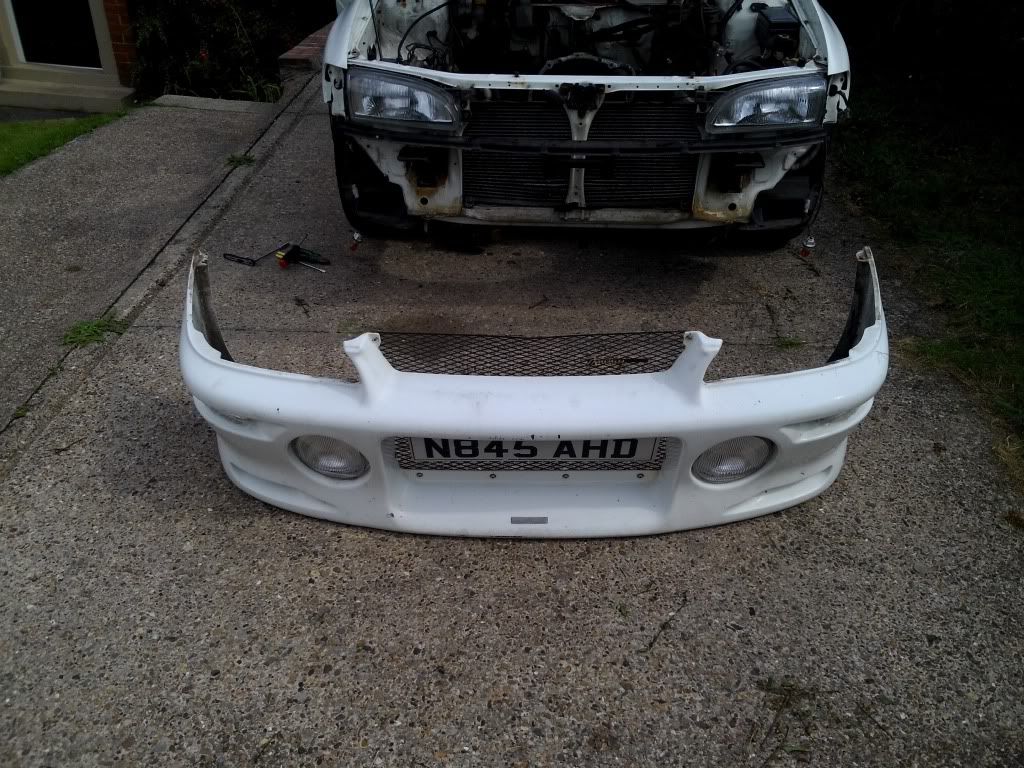
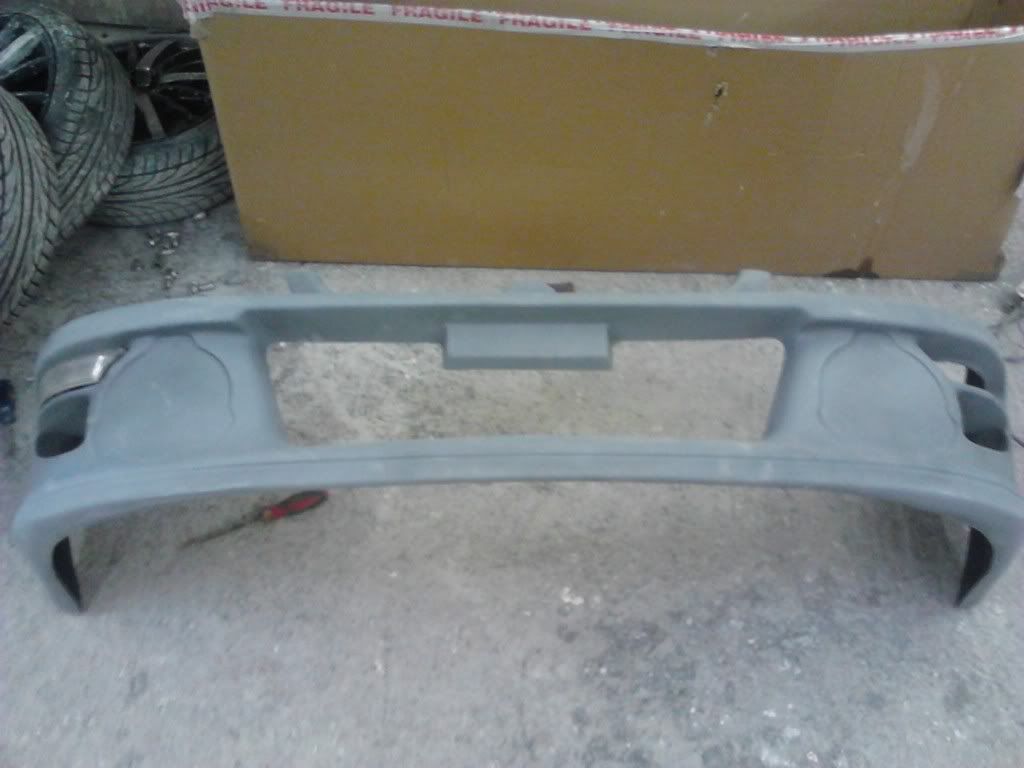
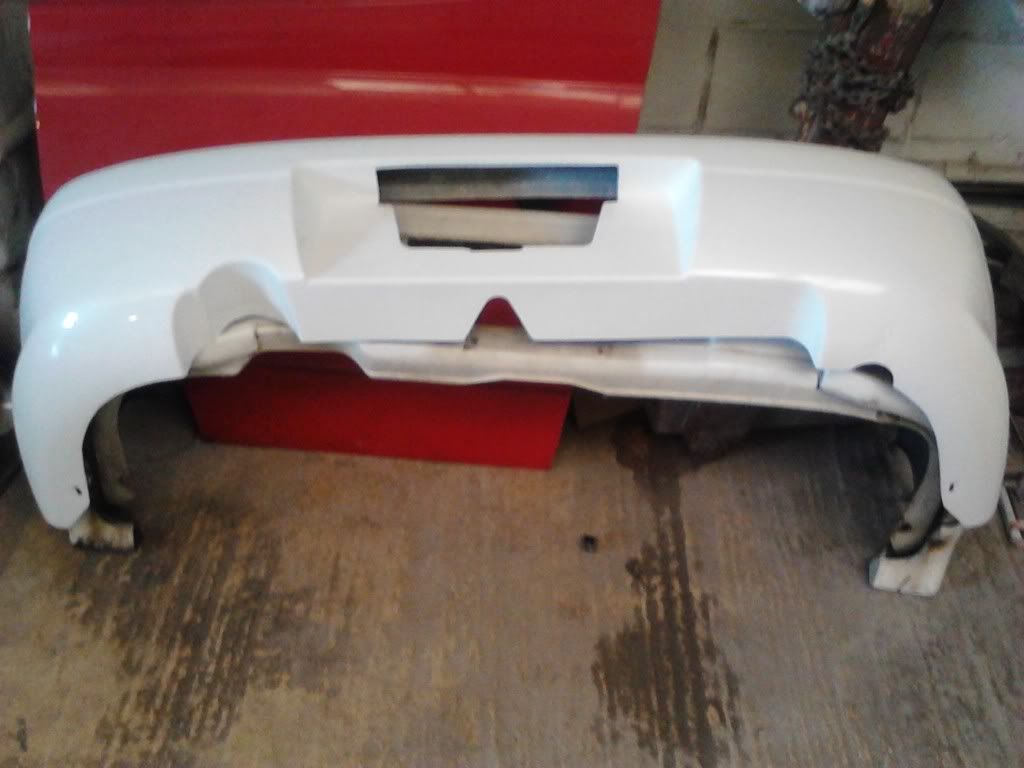
4 door 22B kit, including the rear bumper. I'm keeping the Tommy Kaira front bumper though and will be flaring it out to suit.
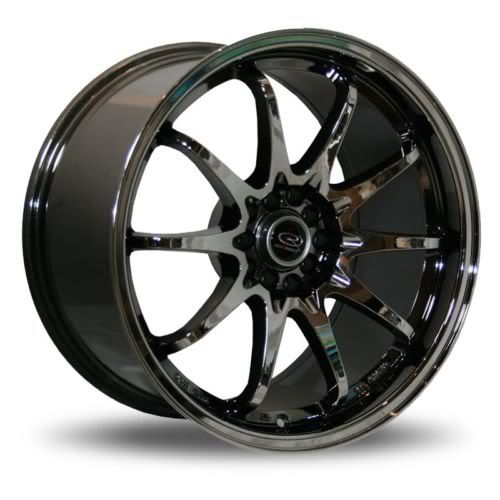
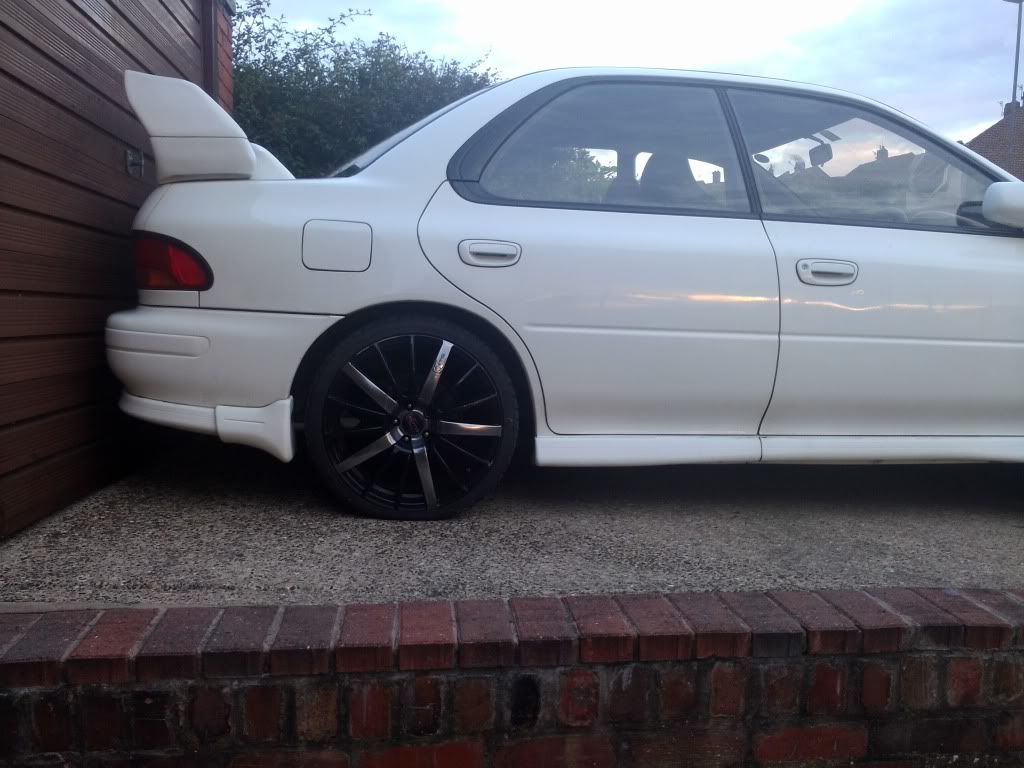
Kit means (sadly) the Kato's have to go and after scratching around for some ET30 8.5's I bought these badboys
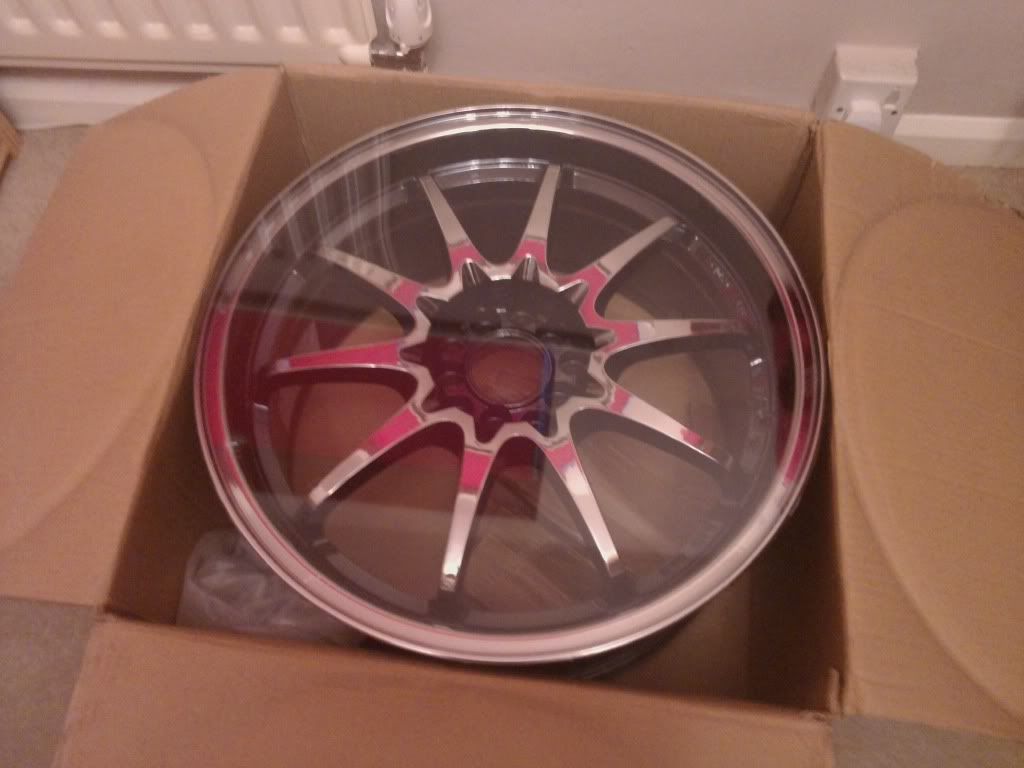
18x8.5 Rota Drift Fighter in Titanium Chrome. I'm hoping the wrap is making them look overly light/silver as they are meant to look like this
Also have a Japspeed catch can, looks nice
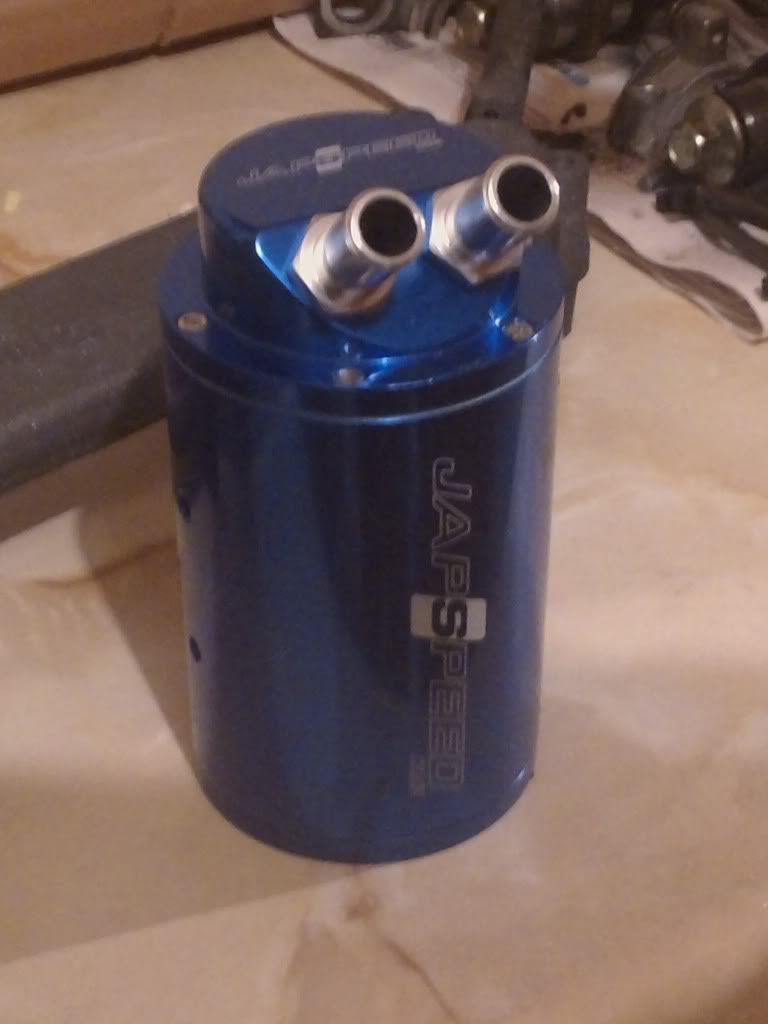
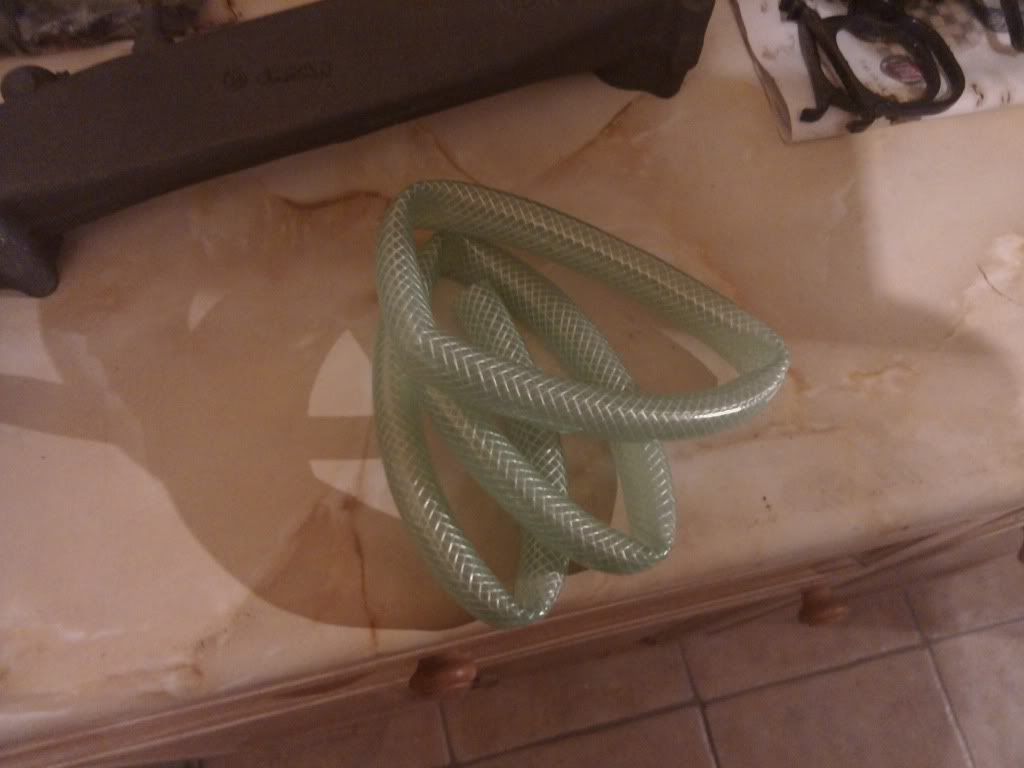
Not sure about the piping though, may want a replacement if anybody can make a suggestion?
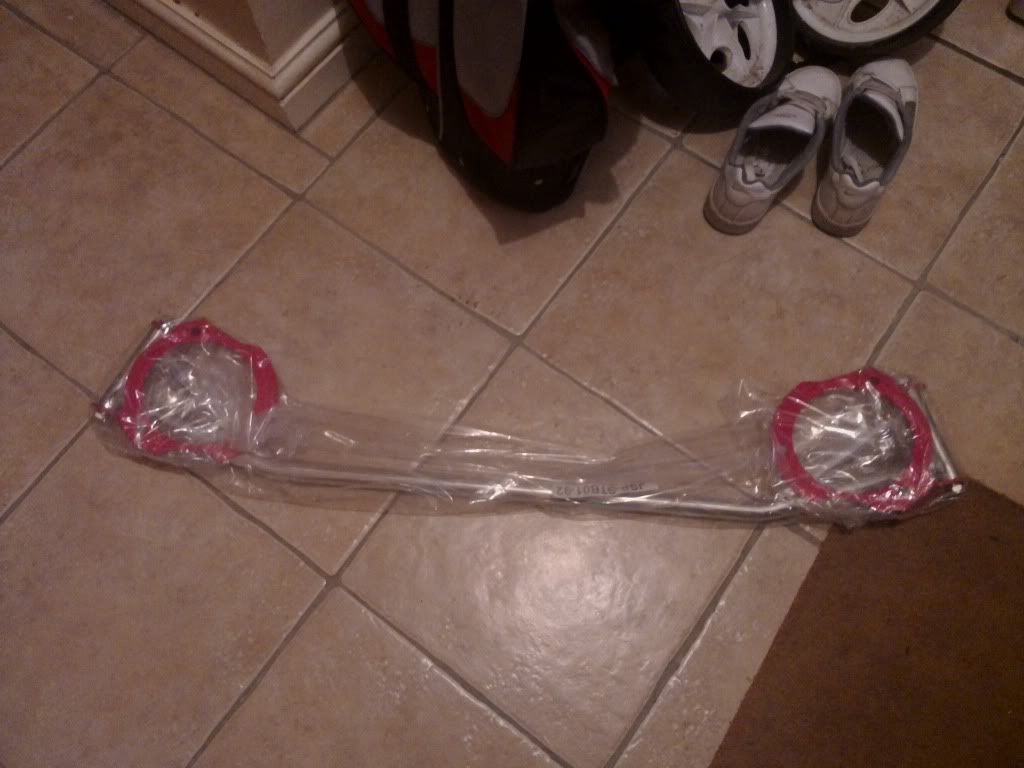
Front Strut, pink ends though, so will look to get these powder coated the same colour as catch can, again recommendations in Newcastle area welcome
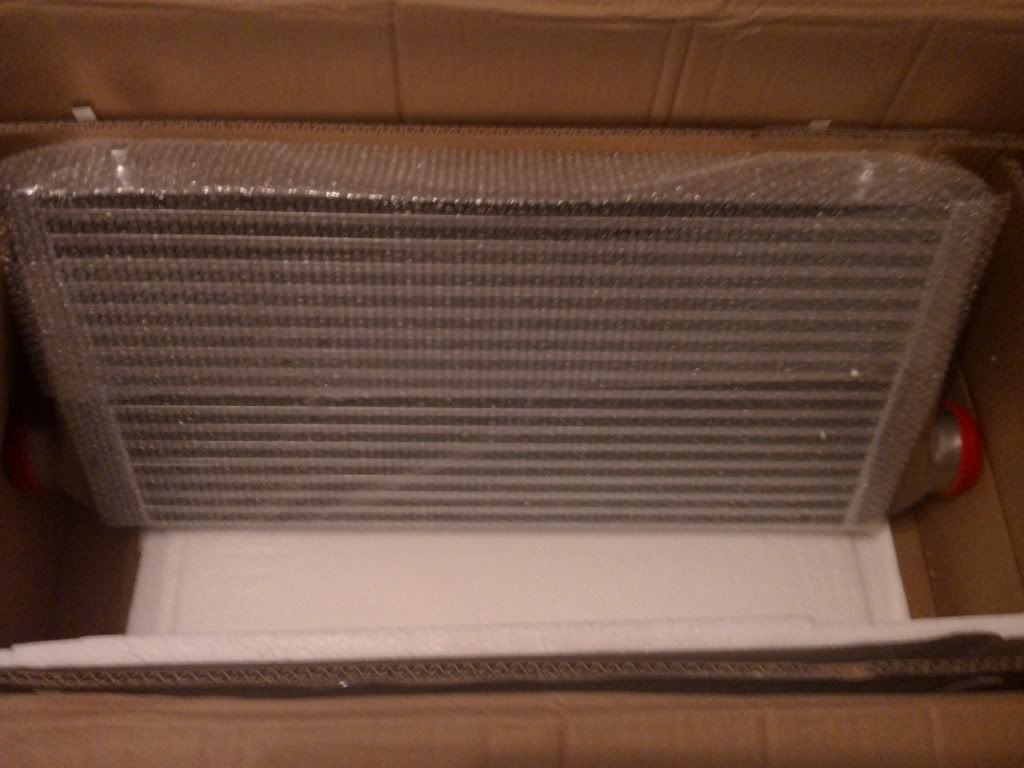
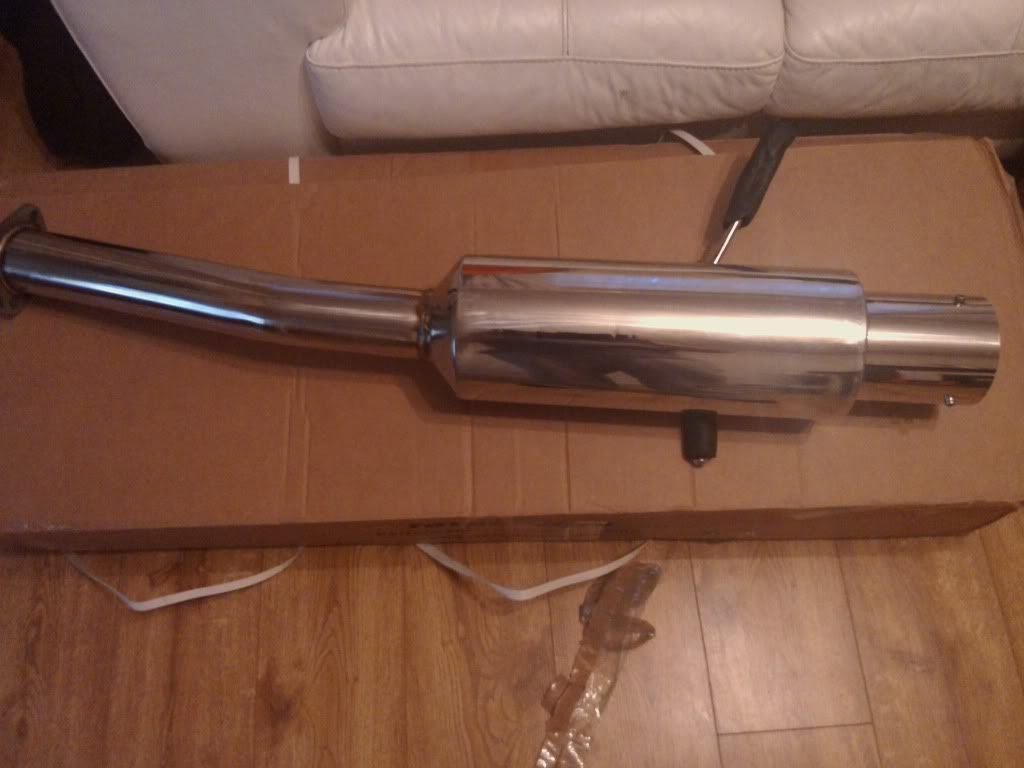
Front Mount and Exhaust (full 3" system, the rest is in box)
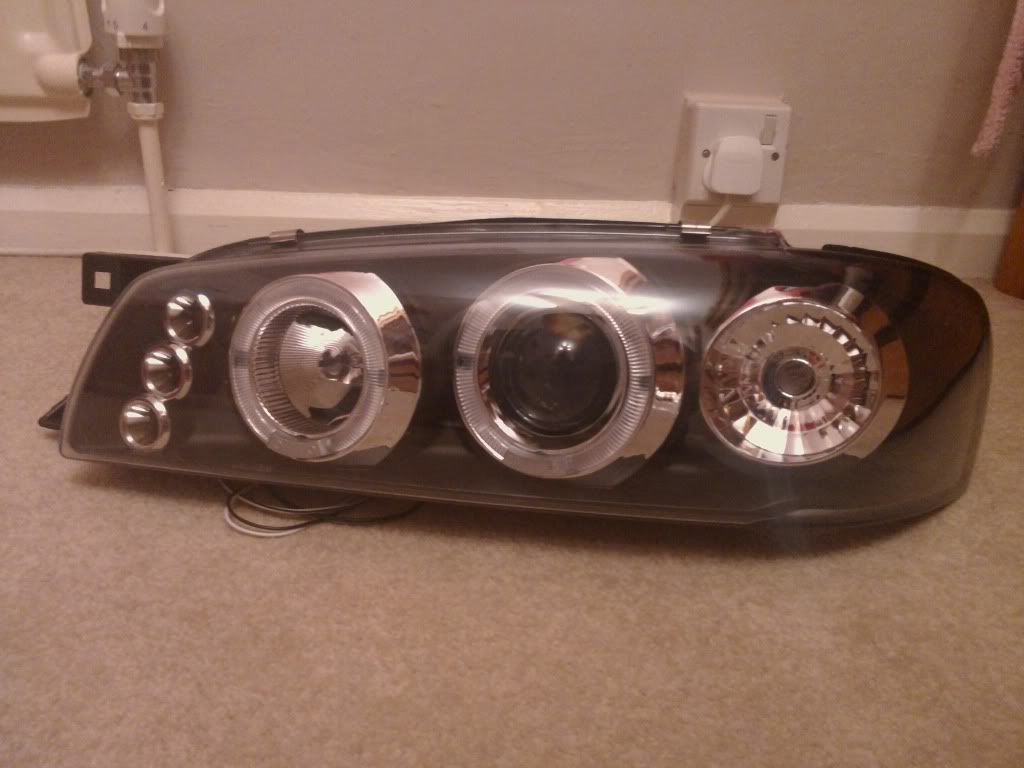
Plus these
4 door 22B kit, including the rear bumper. I'm keeping the Tommy Kaira front bumper though and will be flaring it out to suit.
Kit means (sadly) the Kato's have to go and after scratching around for some ET30 8.5's I bought these badboys
18x8.5 Rota Drift Fighter in Titanium Chrome. I'm hoping the wrap is making them look overly light/silver as they are meant to look like this
Also have a Japspeed catch can, looks nice
Not sure about the piping though, may want a replacement if anybody can make a suggestion?
Front Strut, pink ends though, so will look to get these powder coated the same colour as catch can, again recommendations in Newcastle area welcome
Front Mount and Exhaust (full 3" system, the rest is in box)
Plus these
07 August 2012, 09:48 PM
#6
Scooby Regular
Thread Starter
Join Date: Oct 2010
Posts: 68
Likes: 0
Received 0 Likes
on
0 Posts
So quick update.
Before going on holiday I was able with the help of a friend to whip the engine out in the space of 4 hours, though much of that was spent building the new engine hoist that had arrived that day. Unfortunately we were both working late so didnt start till nearly 9pm, which meant we were slowling wheeling the hoist with engine in to the garage at 1am which despite being brand new still sqeaked like crazy!
Imagine how gutted I was the next morning when the bodyshop revealed they were 'full' and couldn't take it until the following week, when of course I'd be sunning it in Cuba!!!
So holiday completed I called them again, arranged to ring on friday to arrange collection this week. Cool......... Nope, apparently not, rang then was told to ring on saturday morning and then told the main guy was going on holiday for a fortnight so still couldn't take it in! Arrggghhh
So, after a few requests in different places I have been in contact with another local bodyshop/workshop and god willing its going in next week. The bonus is that I should be able to help fit the kit myself and work on some other tasks whilst its there.
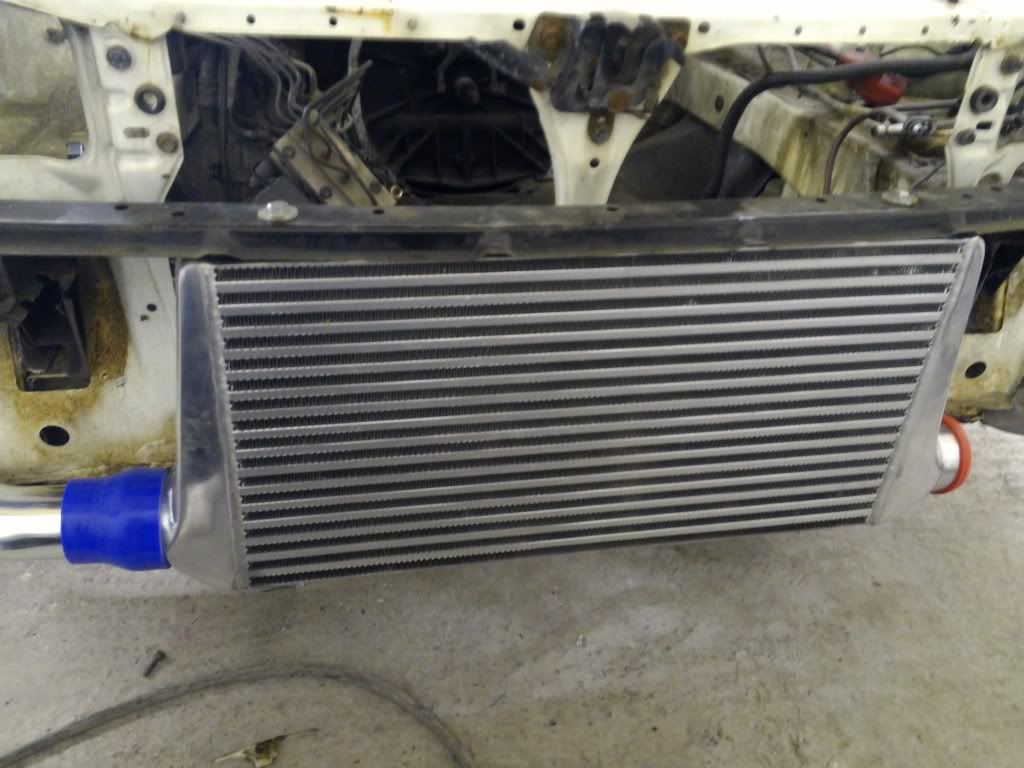
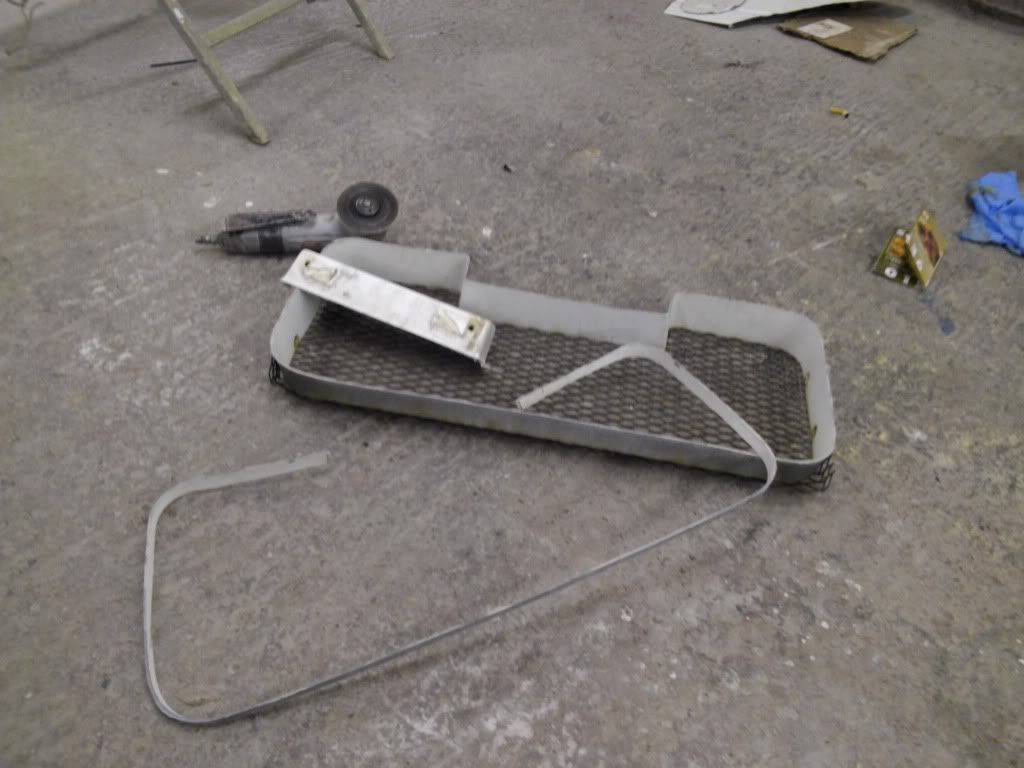
Anyway. Removed bumper and then bumper from bumper bar ready to test mount intercooler

I managed to drill required mounting holes in the bumper bar and then the bottom brackets for intercooler, but unfortunately there is a bracket attached in the middle (use or purpose unknown) which interferes, so I will have to remove this at the bodyshop next week.
So until then the car itself will have to remain immobile on the drive (garage is now full of new parts and old engines lol).
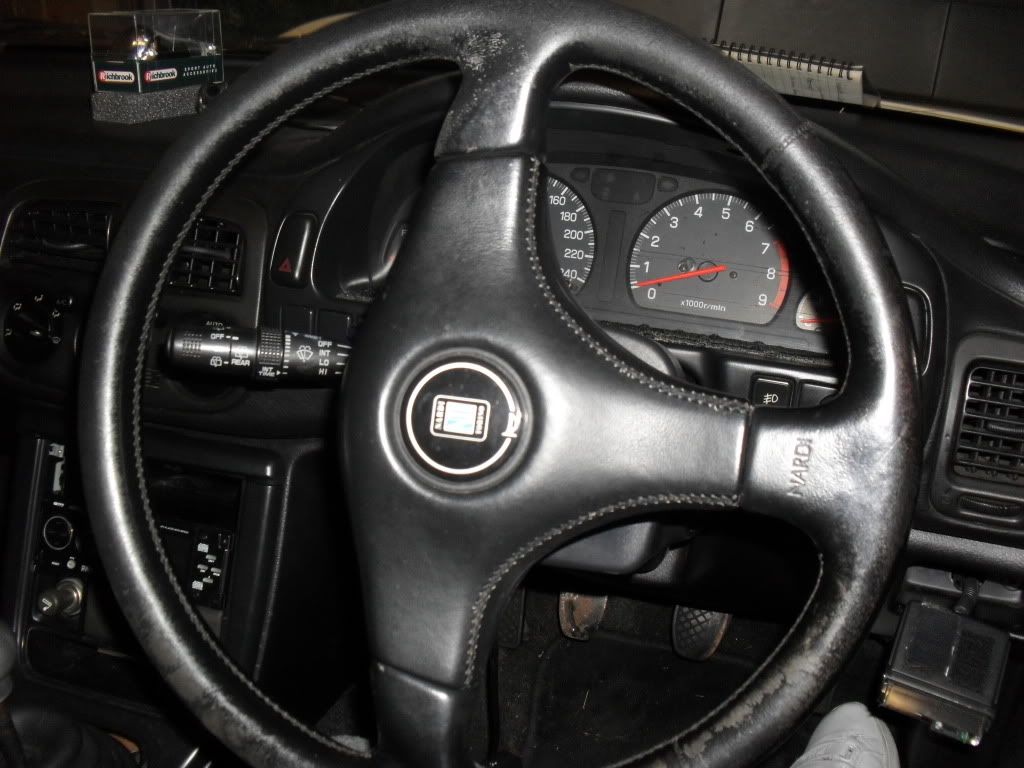
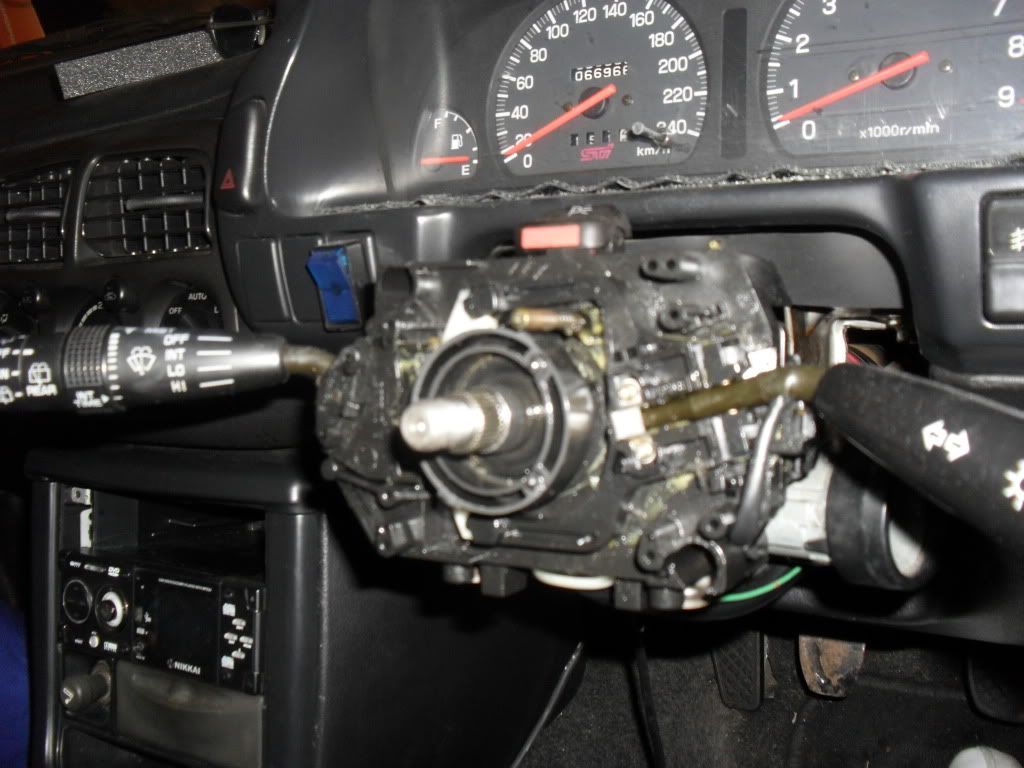
The young nephew helped me start on a few of the internal tweaks, such as removing the old nardi steering wheel and miserable gearknob.
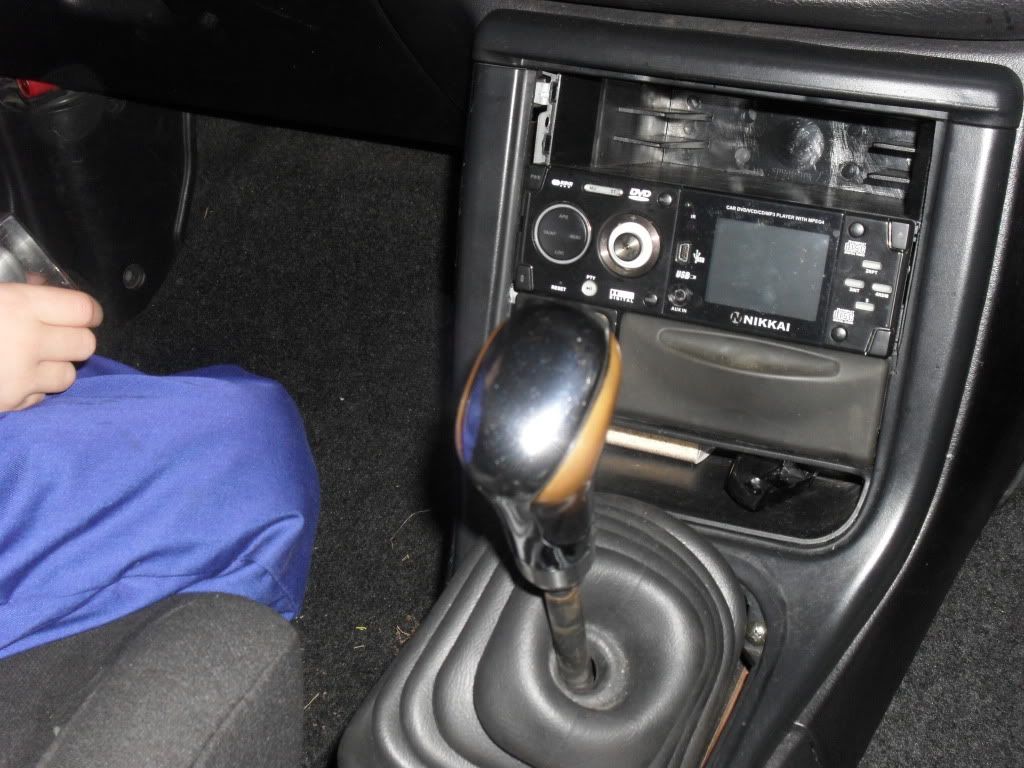
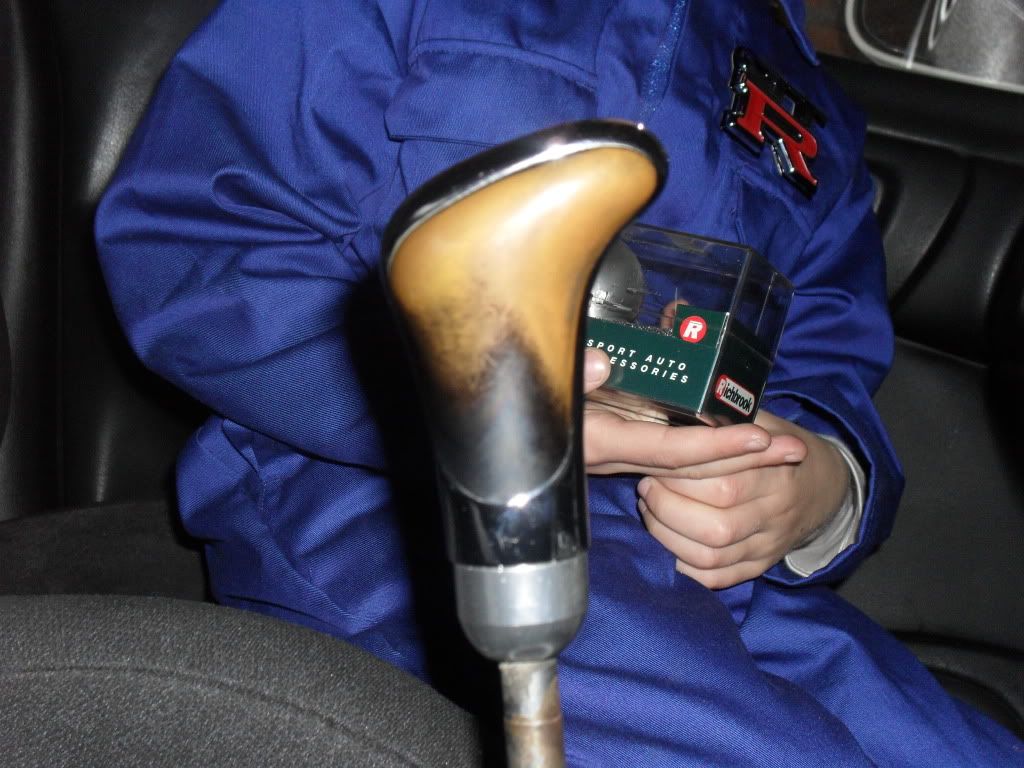
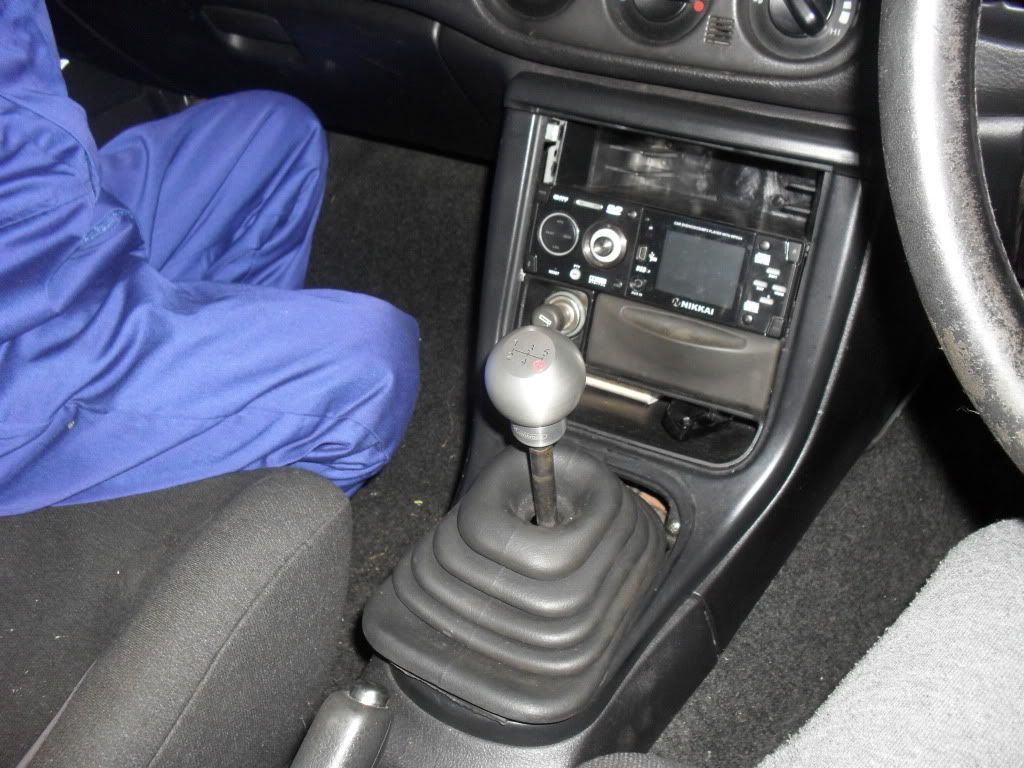
Test fitted new ****, but new gearbox etc to come so it came back off, plus i'll need a new one as box will be a six-speed..doh .
.
Unfortunately it started getting a little dark so called a halt.
Off to see Andy Williams tomorrow for some serious goodies!!!
Before going on holiday I was able with the help of a friend to whip the engine out in the space of 4 hours, though much of that was spent building the new engine hoist that had arrived that day. Unfortunately we were both working late so didnt start till nearly 9pm, which meant we were slowling wheeling the hoist with engine in to the garage at 1am which despite being brand new still sqeaked like crazy!
Imagine how gutted I was the next morning when the bodyshop revealed they were 'full' and couldn't take it until the following week, when of course I'd be sunning it in Cuba!!!
So holiday completed I called them again, arranged to ring on friday to arrange collection this week. Cool......... Nope, apparently not, rang then was told to ring on saturday morning and then told the main guy was going on holiday for a fortnight so still couldn't take it in! Arrggghhh
So, after a few requests in different places I have been in contact with another local bodyshop/workshop and god willing its going in next week. The bonus is that I should be able to help fit the kit myself and work on some other tasks whilst its there.
Anyway. Removed bumper and then bumper from bumper bar ready to test mount intercooler
I managed to drill required mounting holes in the bumper bar and then the bottom brackets for intercooler, but unfortunately there is a bracket attached in the middle (use or purpose unknown) which interferes, so I will have to remove this at the bodyshop next week.
So until then the car itself will have to remain immobile on the drive (garage is now full of new parts and old engines lol).
The young nephew helped me start on a few of the internal tweaks, such as removing the old nardi steering wheel and miserable gearknob.
Test fitted new ****, but new gearbox etc to come so it came back off, plus i'll need a new one as box will be a six-speed..doh
.Unfortunately it started getting a little dark so called a halt.
Off to see Andy Williams tomorrow for some serious goodies!!!
Trending Topics
 08 August 2012, 06:40 PM
#9
Scooby Regular
Thread Starter
Join Date: Oct 2010
Posts: 68
Likes: 0
Received 0 Likes
on
0 Posts
On a standard bumper? thought so. On the Tommy Kaira the plate is mounted to the bumper skin.
I'll unpack the car and take some pics of todays goodies shortly.
I'll unpack the car and take some pics of todays goodies shortly.
Last edited by JohnHey; 08 August 2012 at 06:41 PM. Reason: spelt like a two yr old!
08 August 2012, 09:39 PM
#11
Scooby Regular
Thread Starter
Join Date: Oct 2010
Posts: 68
Likes: 0
Received 0 Likes
on
0 Posts
Anyway. Took a 400mile round trip to see the incredibly helpful Andy Williams (Williams Motorsport) today. To pick up these below.
EJ257 semi closed deck block re-bored to 100mm
Mahle Pistons
Williams Rods & ARP bolts
ACL race series bearings
Nitrided cross drilled crank
High capacity oil pump
New sump and pick up
ARP headstud converstion
Cometic 1.6mm headgaskets
...plus he worked his magic on some STI V4 heads, valves relapped and new seals
Plus a set of his RS3 headers and uppipe.
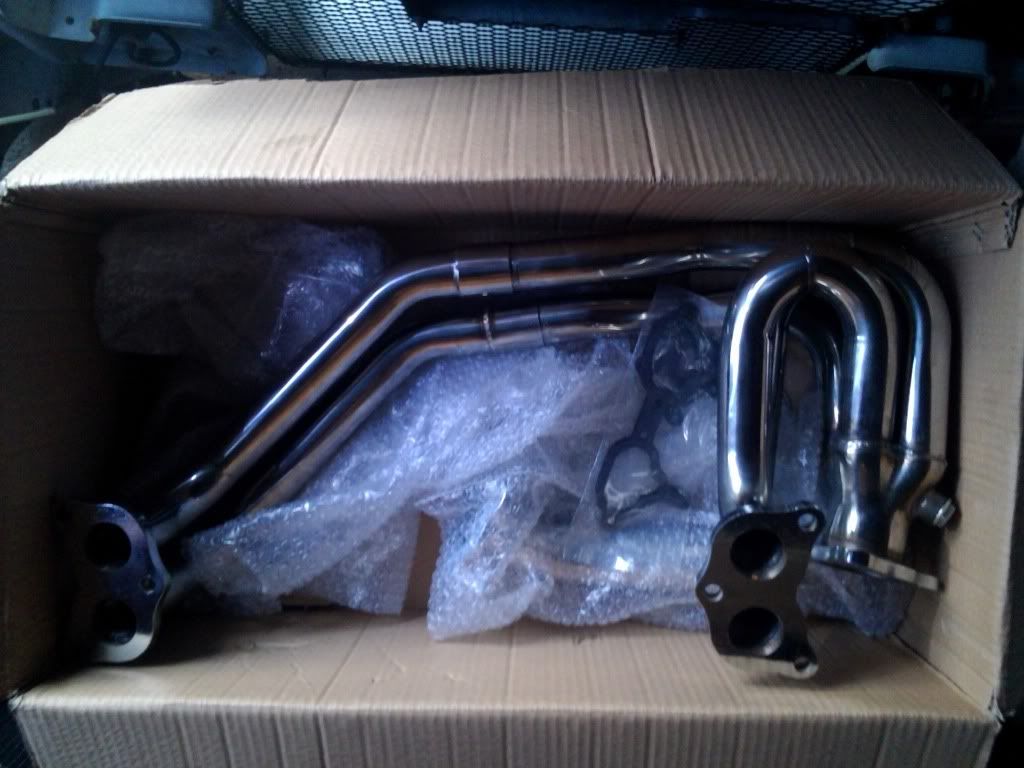
Time to start putting things together now!!!!
09 August 2012, 11:18 AM
#13
Scooby Regular
Thread Starter
Join Date: Oct 2010
Posts: 68
Likes: 0
Received 0 Likes
on
0 Posts
14 August 2012, 01:24 PM
#14
Former Sponsor

Join Date: Aug 2012
Location: Holywell
Posts: 571
Likes: 0
Received 0 Likes
on
0 Posts
LOL, it's the only **** I get time for  Glad you like the look of it, the hard works inside I can assure you
Keep up the good work (and questions) a 2.5 in a classic always goes well
Glad you like the look of it, the hard works inside I can assure you Keep up the good work (and questions) a 2.5 in a classic always goes well
14 August 2012, 04:44 PM
#15
Scooby Regular
Thread Starter
Join Date: Oct 2010
Posts: 68
Likes: 0
Received 0 Likes
on
0 Posts
LOL
Indeed it is, but it does look so good it has created a raft of little cleaning or painting jobs to make everything attached to it look suitably perfect.
Yes I'm looking forward to when it 'goes' so to speak, unfortunately I have caught the dreaded scoobynet desease of dreaming up an ever more expanding list of mods first!
Yes I'm looking forward to when it 'goes' so to speak, unfortunately I have caught the dreaded scoobynet desease of dreaming up an ever more expanding list of mods first!
 14 August 2012, 07:46 PM
#18
Former Sponsor
Join Date: Aug 2012
Location: Holywell
Posts: 571
Likes: 0
Received 0 Likes
on
0 Posts
I can pin the blocks and supply a closed deck ej257 conversion as well, more info in the traders area asap.
23 September 2012, 04:48 PM
#20
Scooby Regular
Thread Starter
Join Date: Oct 2010
Posts: 68
Likes: 0
Received 0 Likes
on
0 Posts
OK, so its been a while since my last update (well and truly suffering project drift), mainly down to a combination of work commitments, other new car and forgetting to take pics whilst getting things done.
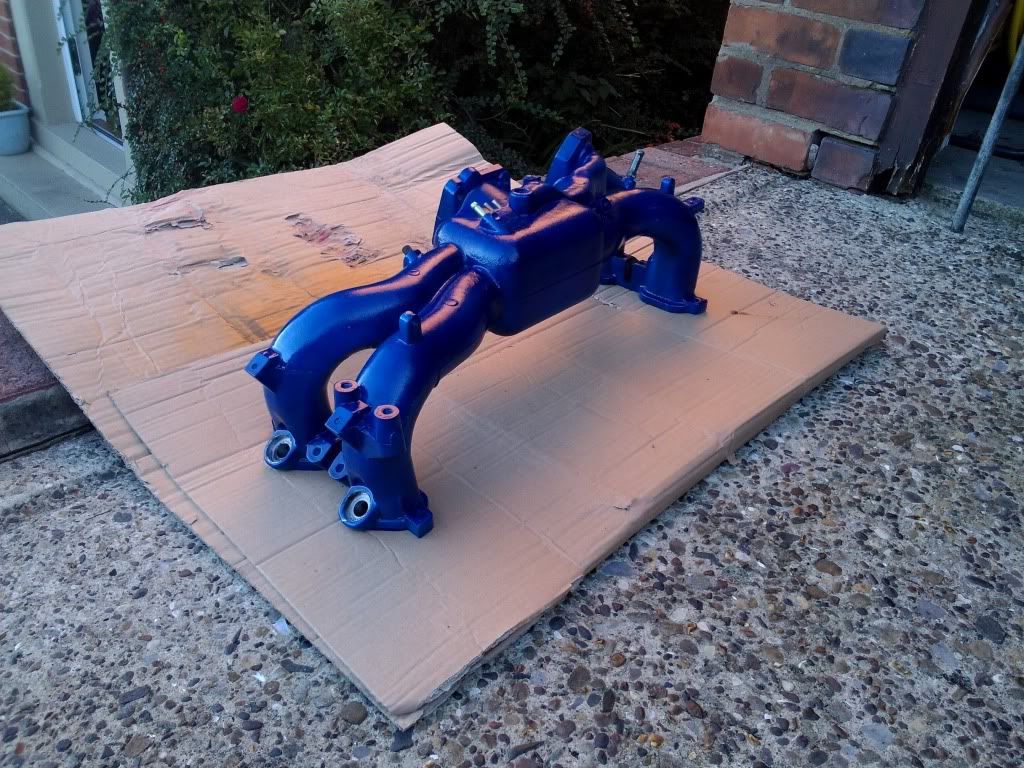
However, I removed the inlet manifold from the old engine and stripped off the wiring loom, fuel lines/rails etc and various pipes, plus throttle etc.
After much prep and cleaning, a silver base coat and some patient top coat and laquer it looks like thus....
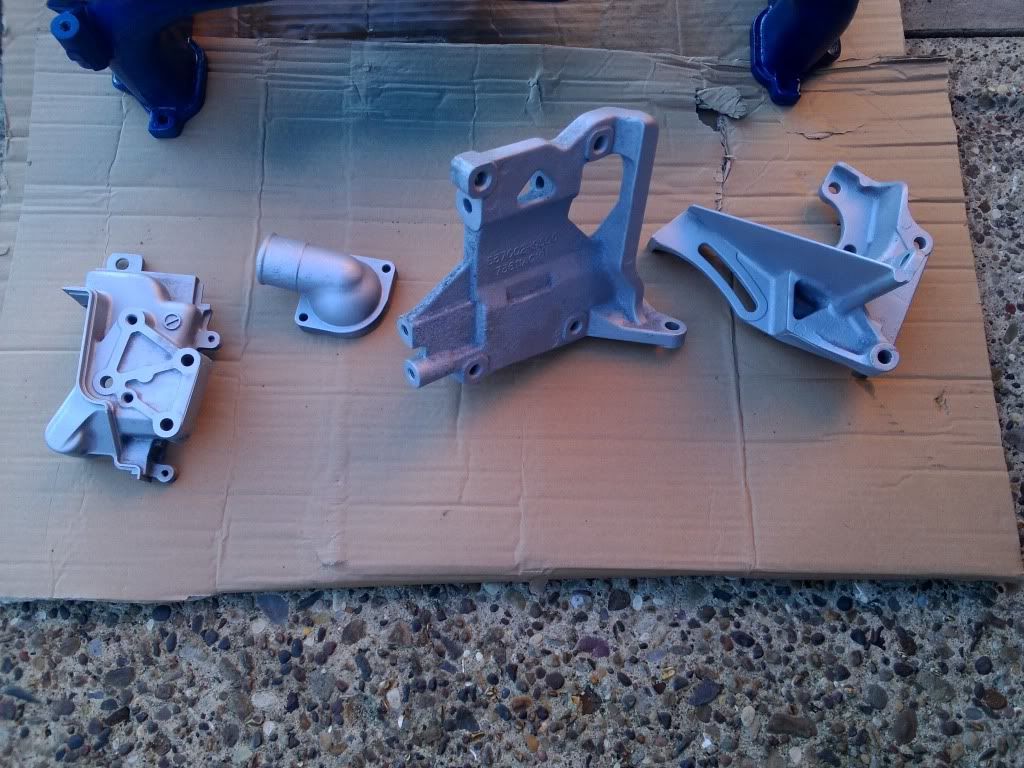
I also cleaned and sprayed up various brackets and pipes, some are below
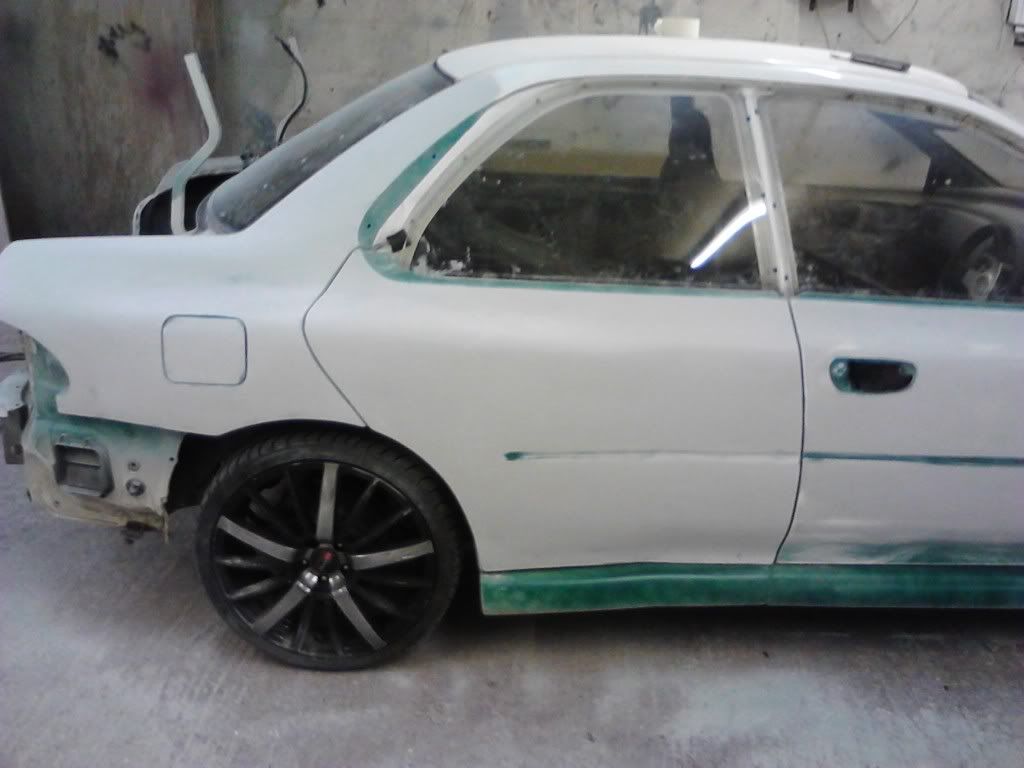
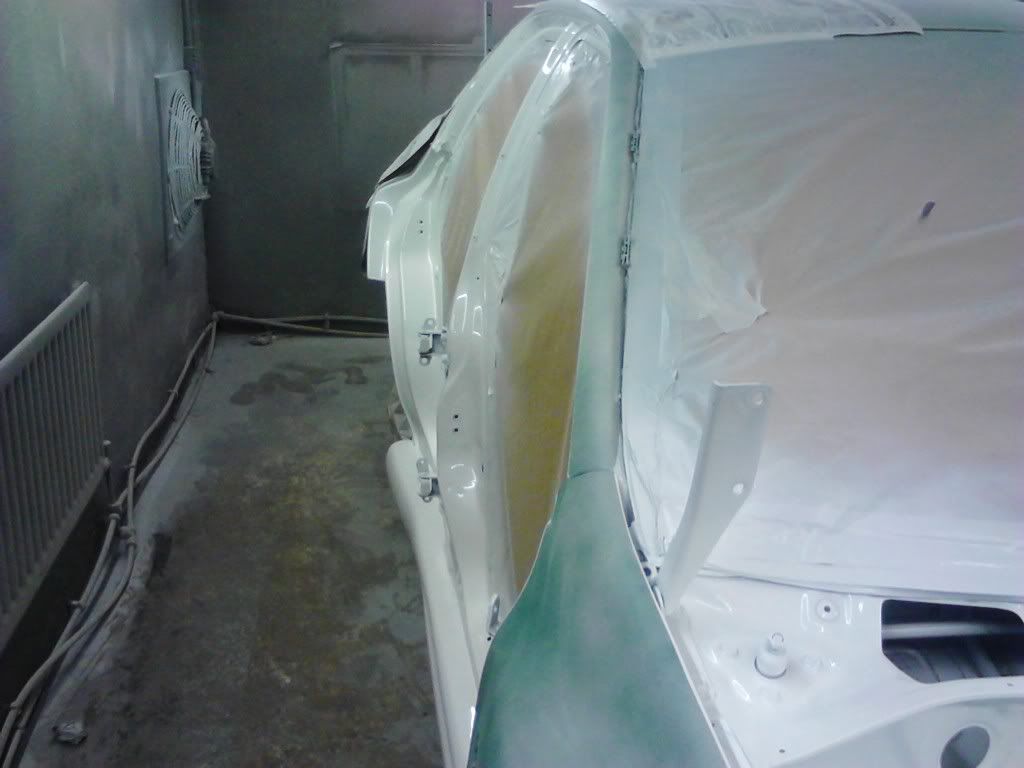
Most importantly though the car finally made its way to the bodyshop. It has been waaaaaaayyyyy over schedule on that front but after just 4 days hard graft its getting there
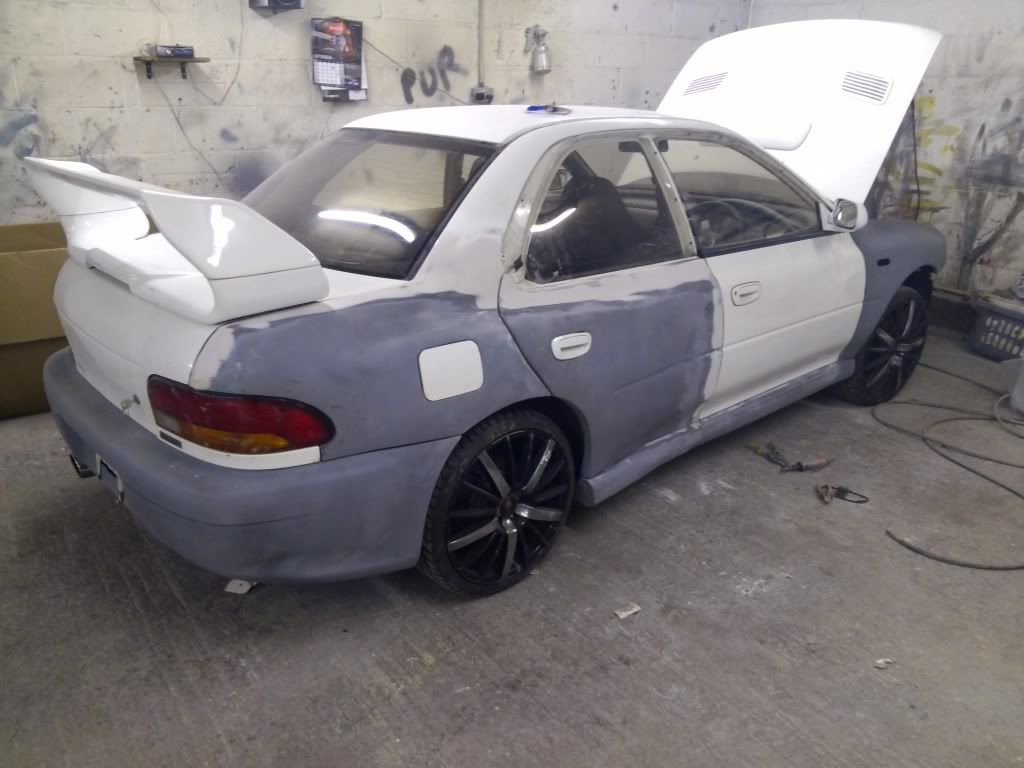
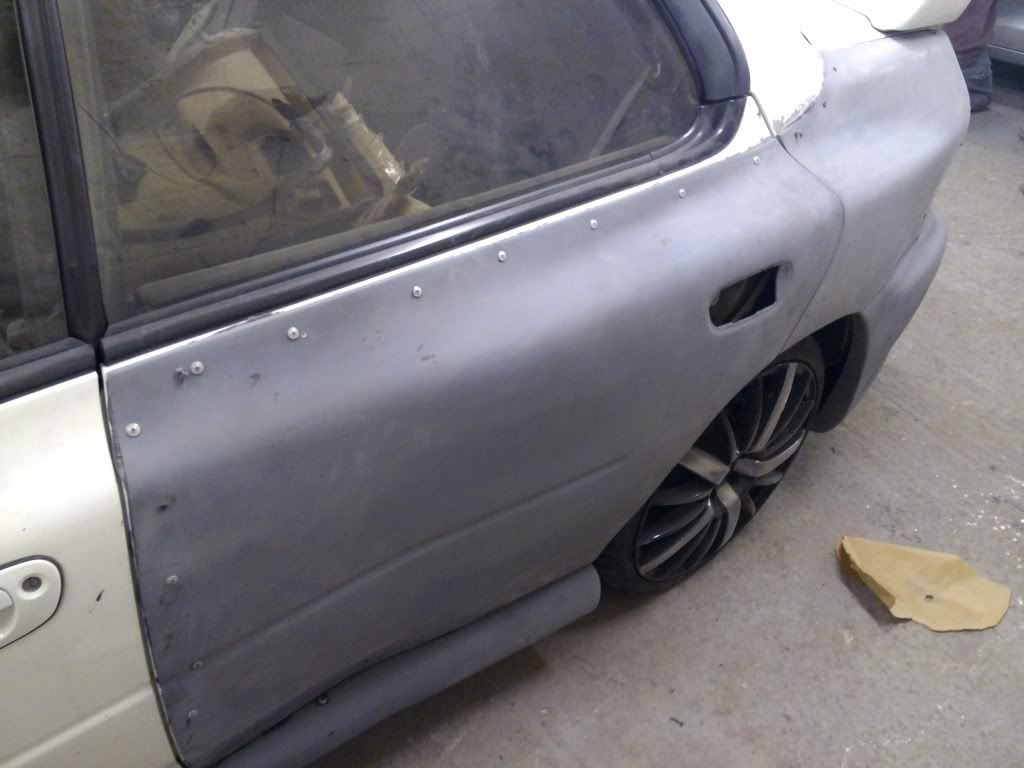
The drivers side is virtually done, a little more smoothing down to go. The rear handle (front of) points down slightly so I've decided to remove it and go for a full smooth door.
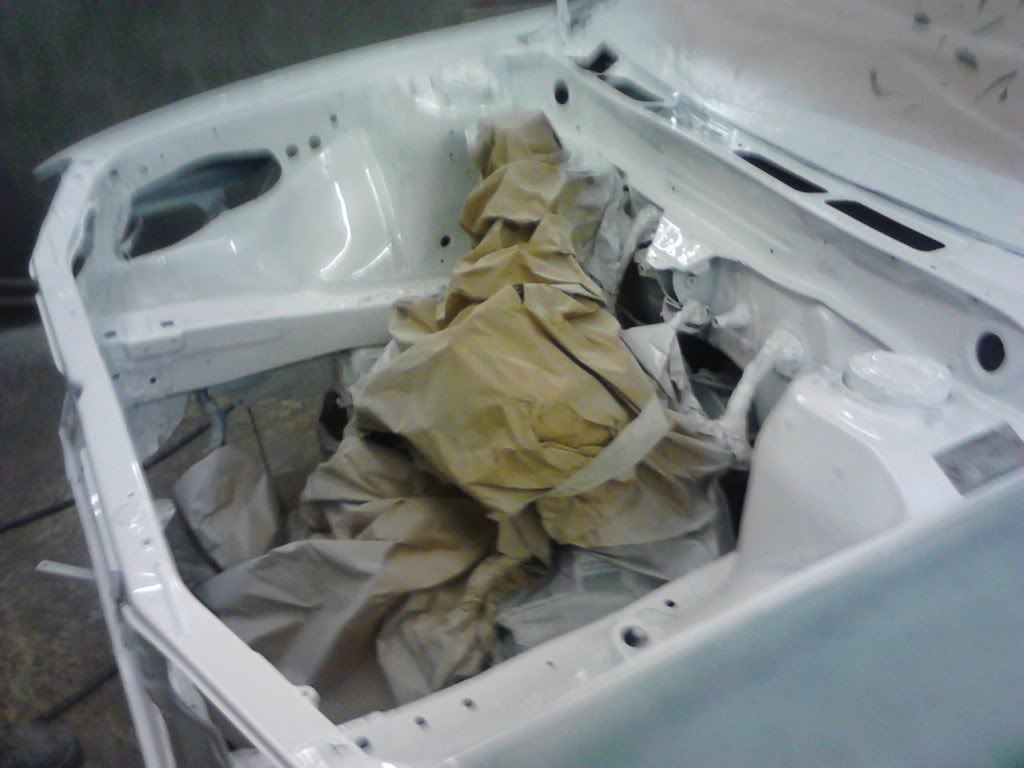
The passenger side riveted on whilst the bonding dries.

So with the number plate bracket removed the FMIC was test fitted. The under brackets weren't a great fit but within literally 2 mins Michael had created a custom replacement and it fitted fine.
2 more mins with the cutting blade on the Tommy Kaira bumper..
cutting blade on inner wing
And the bumper fitted perfectly over the FMIC.
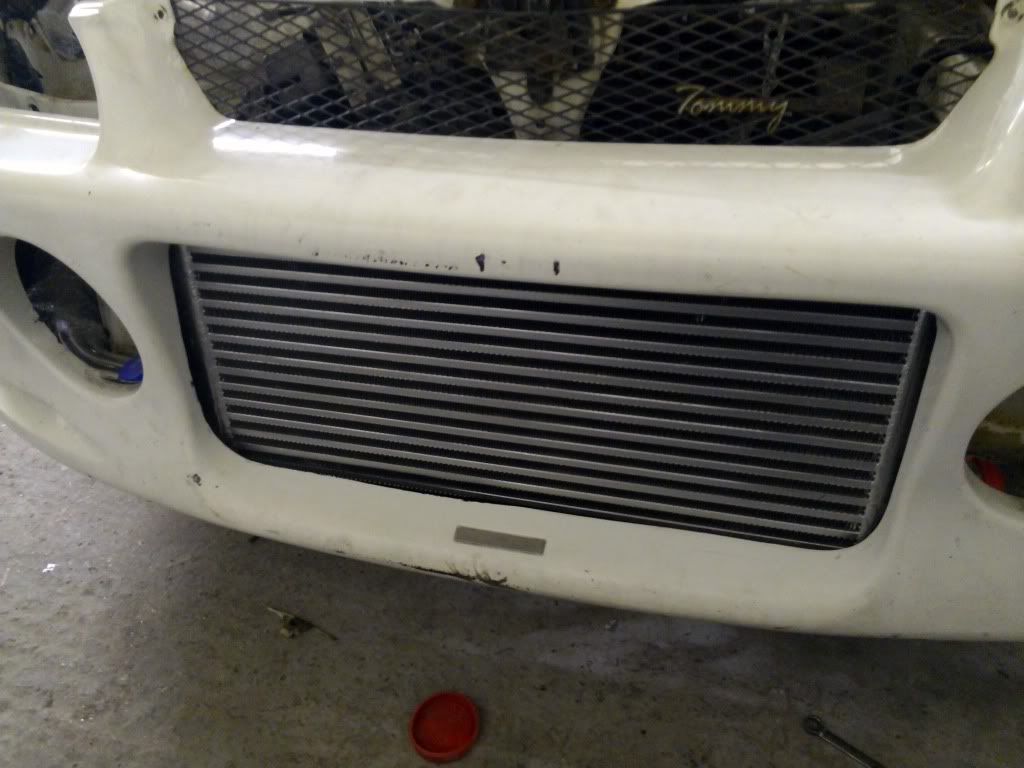
Some modification of fog light inlets will be required as they do slightly interfere with pipework. The fog light brackets do not fit so the fogs themselves will be jettisoned, not sure how to replace them. Possibly a cold air feed from drivers side.
Lots of other goodies have arrived so will post another update shortly.
However, I removed the inlet manifold from the old engine and stripped off the wiring loom, fuel lines/rails etc and various pipes, plus throttle etc.
After much prep and cleaning, a silver base coat and some patient top coat and laquer it looks like thus....
I also cleaned and sprayed up various brackets and pipes, some are below
Most importantly though the car finally made its way to the bodyshop. It has been waaaaaaayyyyy over schedule on that front but after just 4 days hard graft its getting there
The drivers side is virtually done, a little more smoothing down to go. The rear handle (front of) points down slightly so I've decided to remove it and go for a full smooth door.
The passenger side riveted on whilst the bonding dries.
So with the number plate bracket removed the FMIC was test fitted. The under brackets weren't a great fit but within literally 2 mins Michael had created a custom replacement and it fitted fine.
2 more mins with the cutting blade on the Tommy Kaira bumper..
cutting blade on inner wing
And the bumper fitted perfectly over the FMIC.
Some modification of fog light inlets will be required as they do slightly interfere with pipework. The fog light brackets do not fit so the fogs themselves will be jettisoned, not sure how to replace them. Possibly a cold air feed from drivers side.
Lots of other goodies have arrived so will post another update shortly.
Last edited by JohnHey; 23 September 2012 at 04:57 PM.
23 September 2012, 07:56 PM
#21
Unmapped 12.4s @ 105
iTrader: (29)
Join Date: Apr 2005
Location: Newcastle. 330bhp-289lb/ft @ 1bar boost - 12.4s @ 105mph
Posts: 11,776
Likes: 0
Received 4 Likes
on
4 Posts
Fat bitch! 
Make sure you put some edge trim around the hole you've cut in the wing. Silicon vac pipe will suffice, if you don't have any.
http://www.cbsonline.co.uk/category/...e_Trims,b.html
Make sure you put some edge trim around the hole you've cut in the wing. Silicon vac pipe will suffice, if you don't have any.
http://www.cbsonline.co.uk/category/...e_Trims,b.html
24 September 2012, 07:35 AM
#22
Scooby Regular
Thread Starter
Join Date: Oct 2010
Posts: 68
Likes: 0
Received 0 Likes
on
0 Posts
24 September 2012, 01:54 PM
#23
Scooby Regular
Thread Starter
Join Date: Oct 2010
Posts: 68
Likes: 0
Received 0 Likes
on
0 Posts
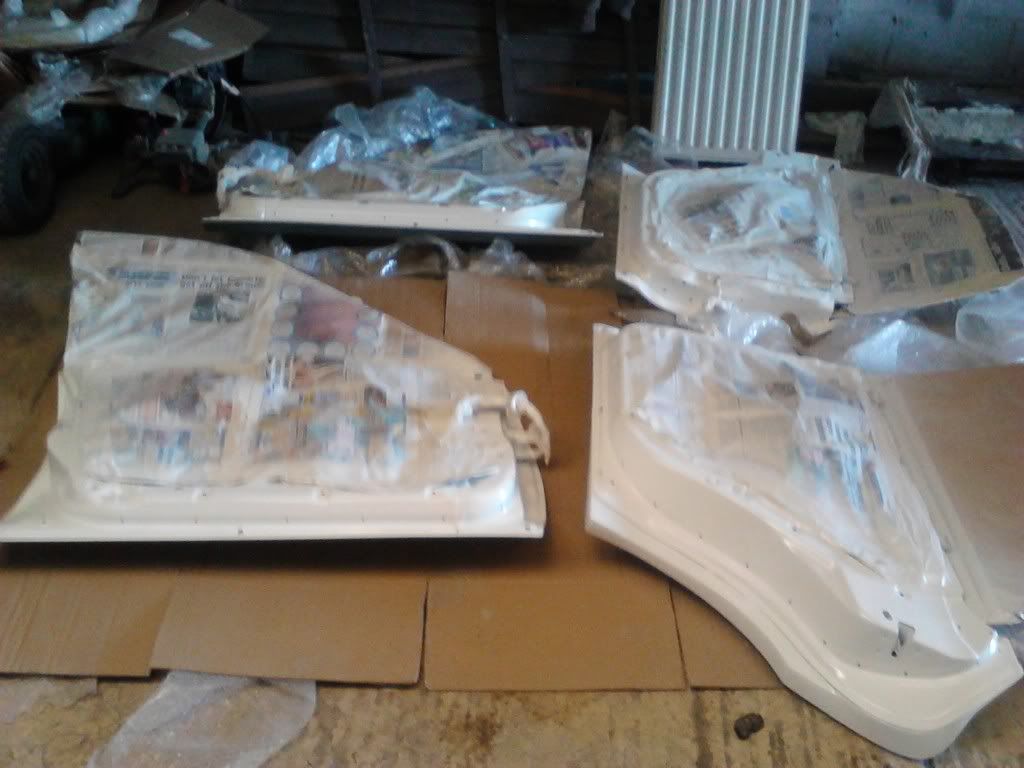
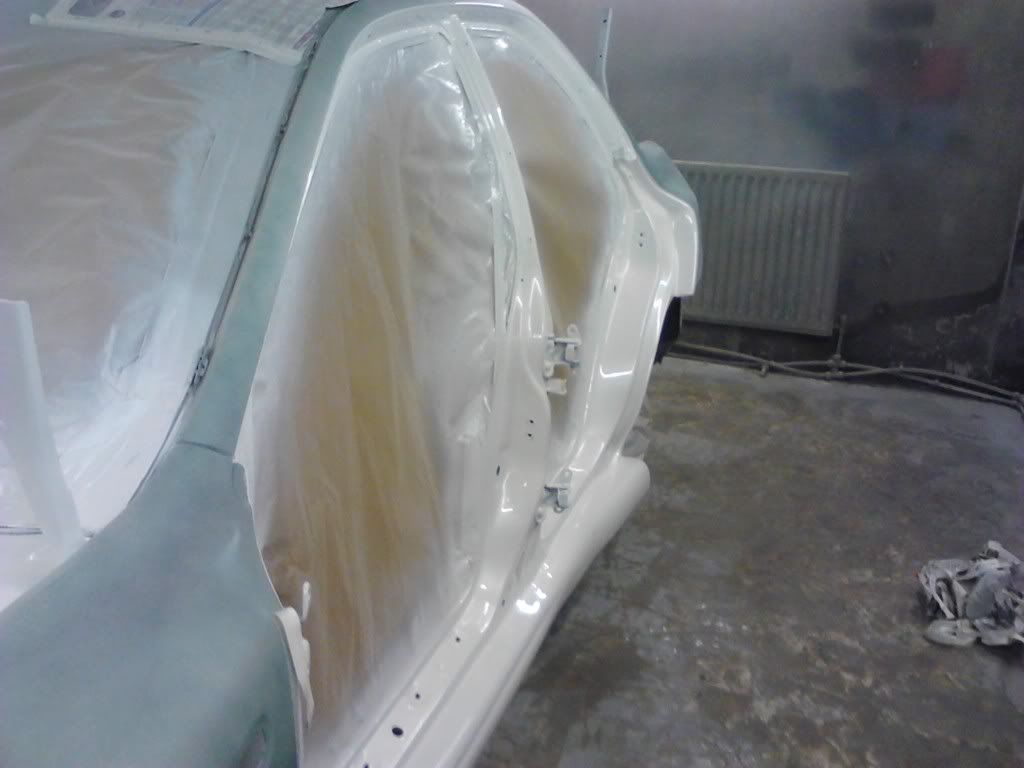
A few more pics of the wings after a little more fettling
And of the rear door, handle removed and door filled and smoothed
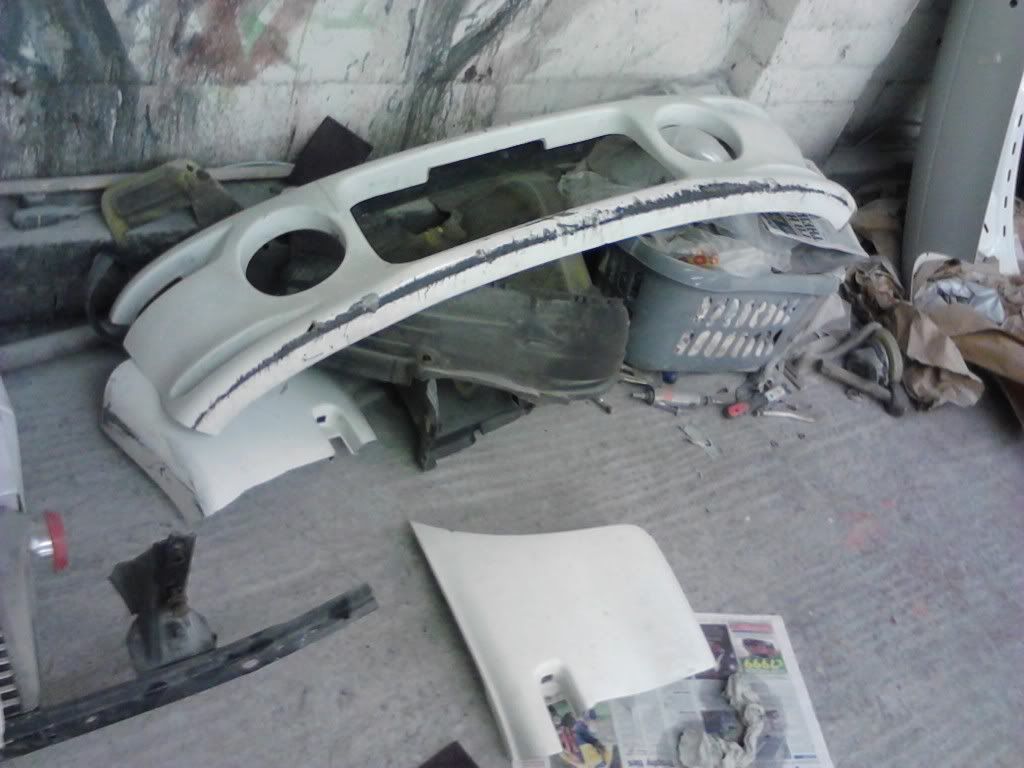
Unfortunately we just cant get the front bumper to flare out neatly enough to suit the front wings, whilst still fitting around lights etc. So its off to the scrapheap, and a 22B replica has been ordered along with grill and facelift bonnet.
More project drift! LOL
And of the rear door, handle removed and door filled and smoothed
Unfortunately we just cant get the front bumper to flare out neatly enough to suit the front wings, whilst still fitting around lights etc. So its off to the scrapheap, and a 22B replica has been ordered along with grill and facelift bonnet.
More project drift! LOL
30 September 2012, 11:35 AM
#24
Scooby Regular
Thread Starter
Join Date: Oct 2010
Posts: 68
Likes: 0
Received 0 Likes
on
0 Posts
Bit more progress, but its not a great update (visually) as battery died on tablet so pics are from phone and are a little duff. (which is fine as it doesnt give the paint finish away)
As previously mentoned the Tommy Kaira just wouldn't fit the arches and the lights (well not at the same time), so it now lies in bits and its next destination is looking like the scrap heap!
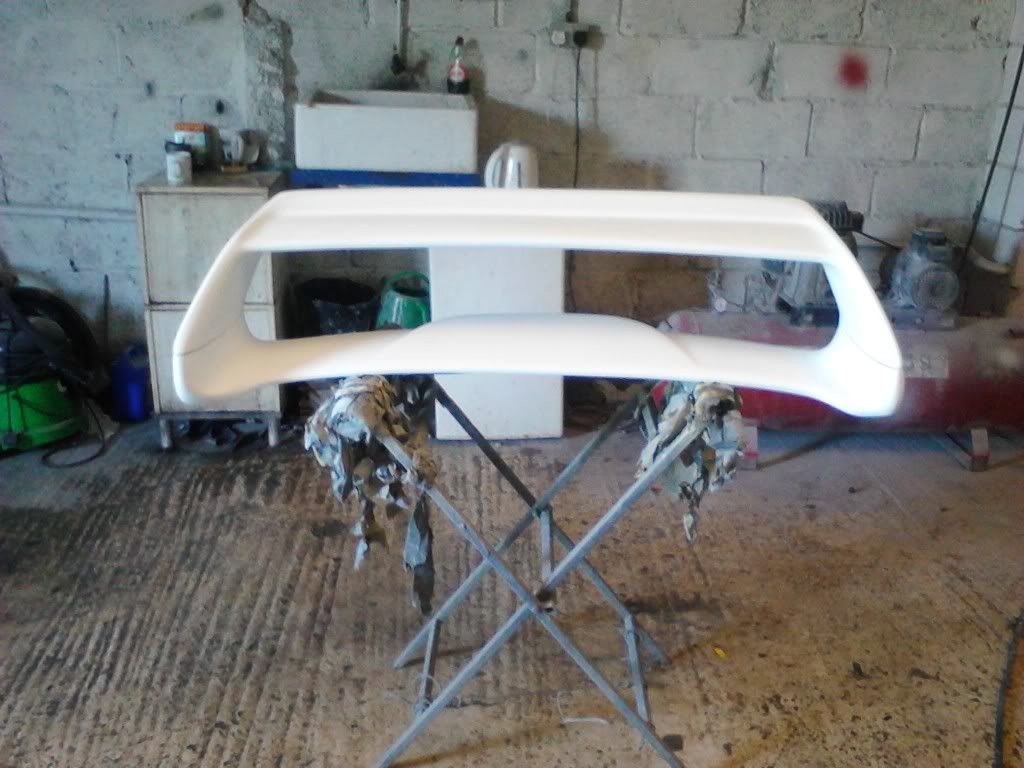
And a 22B replica made up and sent out in super quick time by HT Autos.
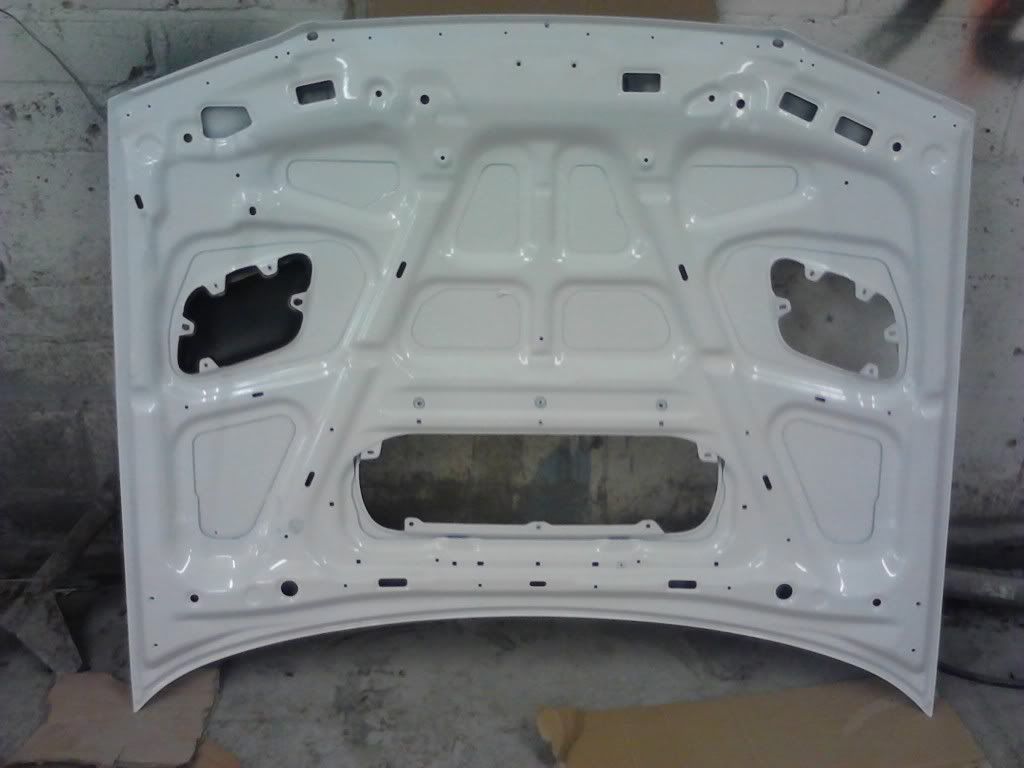
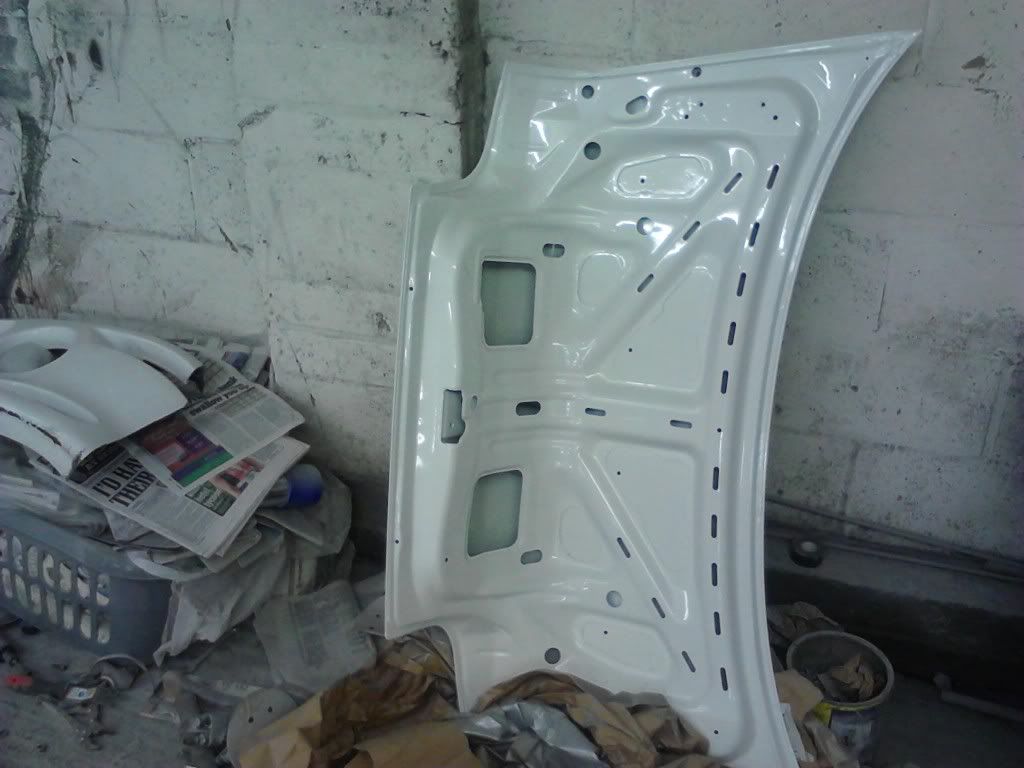
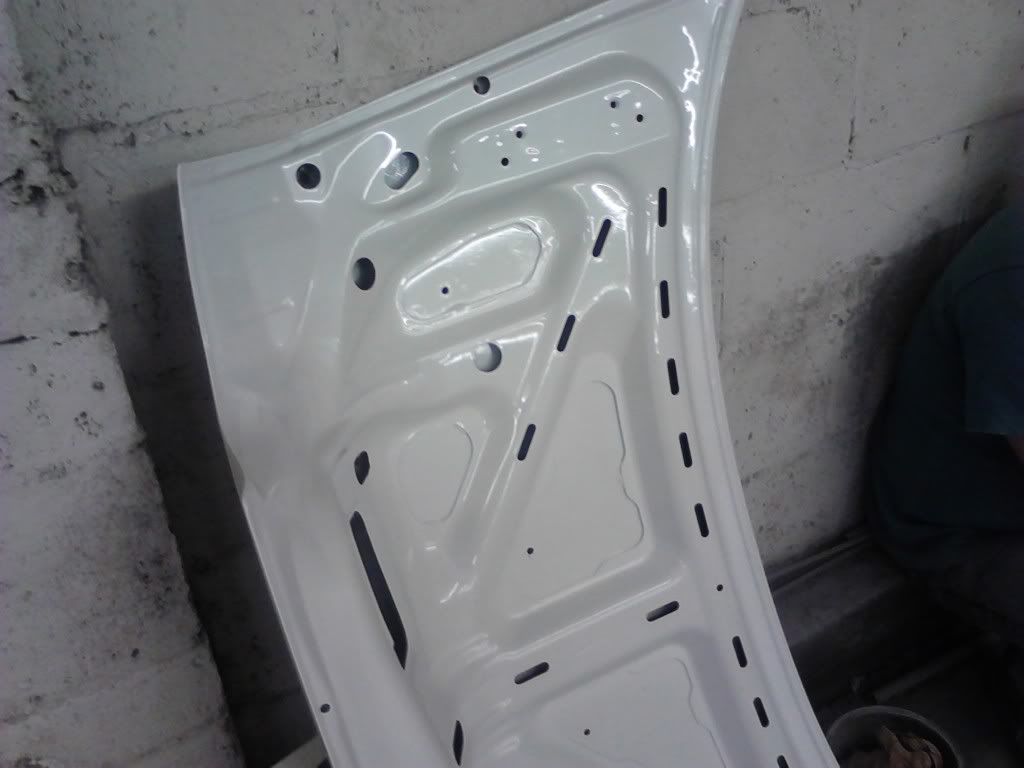
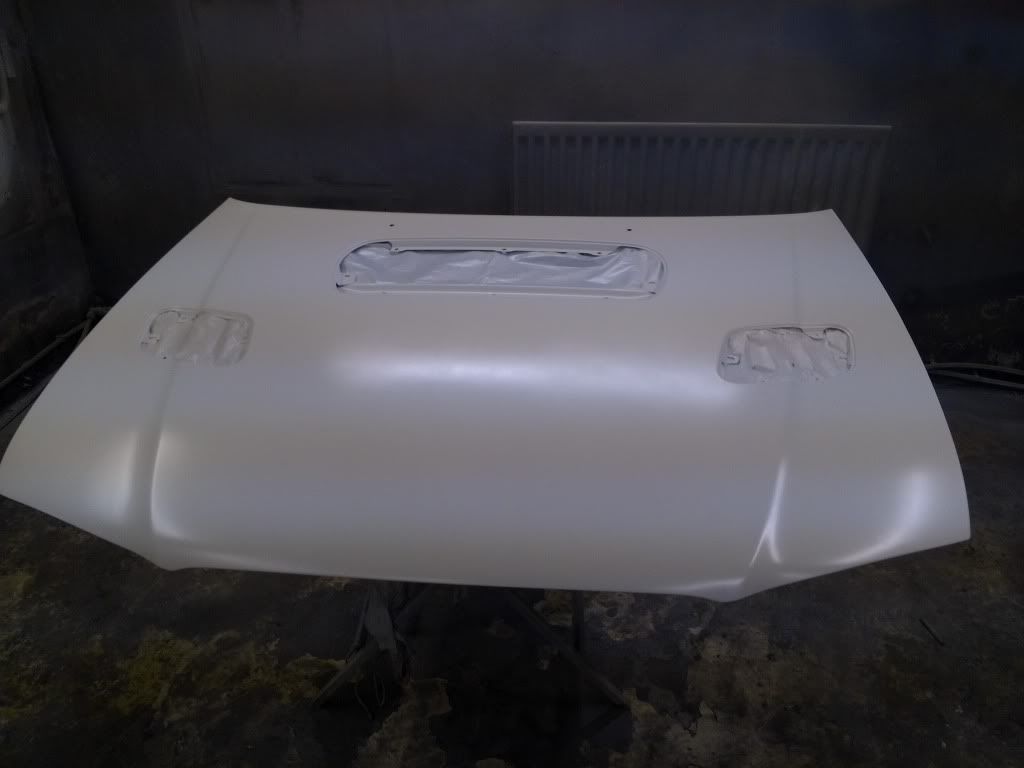
As the above was now being used, I decided to get a facelift bonnet to go with it, which was the first part to get rubbed down and a few licks of paint.
Then some other bits
And a few rubbed down and with base only

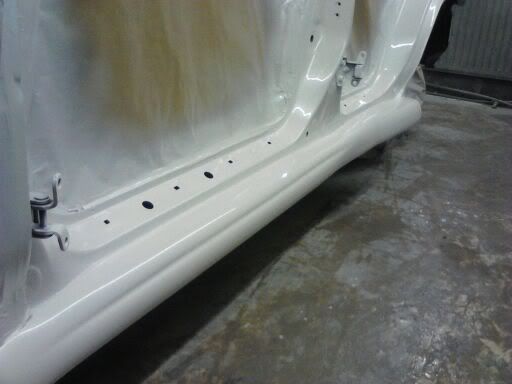
Car is in paint booth and all 'internal' areas have been sprayed. I have to say what a great job the guys at MK Autos have done and blending the two piece side skirts in to one, and then of blending that in to the chassis as if the chassis and skirts came out of the factory as one single piece. Will take better pics with tablet when next up
As previously mentoned the Tommy Kaira just wouldn't fit the arches and the lights (well not at the same time), so it now lies in bits and its next destination is looking like the scrap heap!
And a 22B replica made up and sent out in super quick time by HT Autos.
As the above was now being used, I decided to get a facelift bonnet to go with it, which was the first part to get rubbed down and a few licks of paint.
Then some other bits
And a few rubbed down and with base only
Car is in paint booth and all 'internal' areas have been sprayed. I have to say what a great job the guys at MK Autos have done and blending the two piece side skirts in to one, and then of blending that in to the chassis as if the chassis and skirts came out of the factory as one single piece. Will take better pics with tablet when next up
09 October 2012, 10:24 AM
#25
Scooby Regular
Thread Starter
Join Date: Oct 2010
Posts: 68
Likes: 0
Received 0 Likes
on
0 Posts
Time for an update me thinks. Hopefully bodywork is nearer completion and then that just leaves mainly mechanical and interior jobs, though they are probably harder still with my skill set lol.
09 October 2012, 10:46 AM
#26
Scooby Regular
Thread Starter
Join Date: Oct 2010
Posts: 68
Likes: 0
Received 0 Likes
on
0 Posts
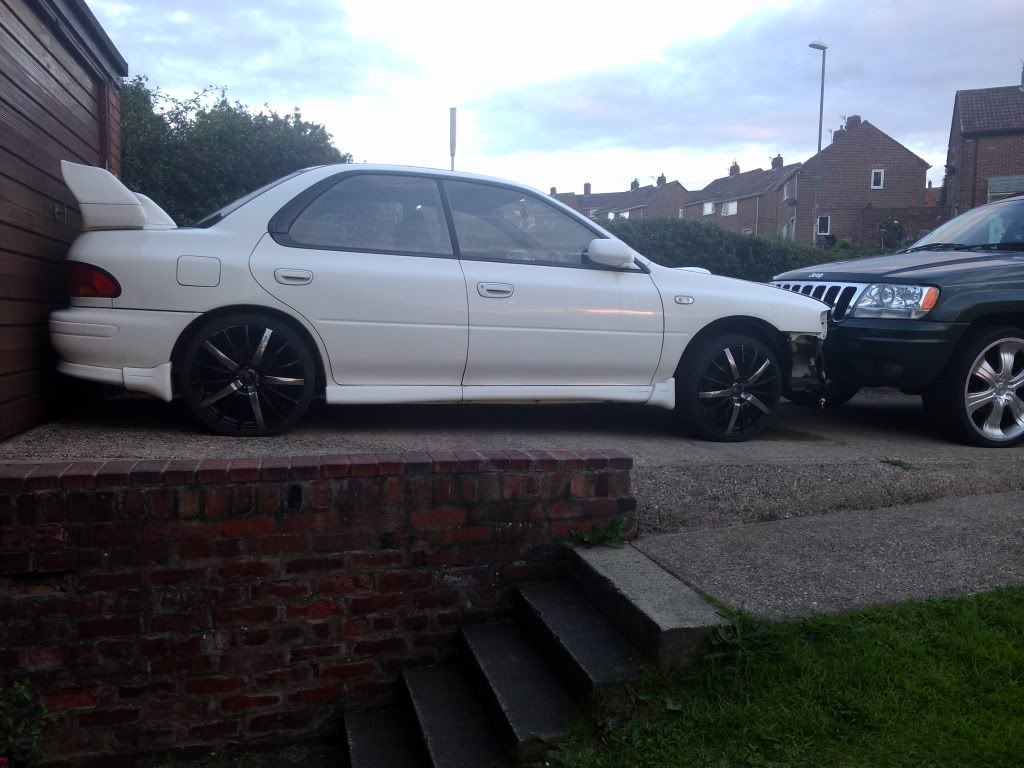
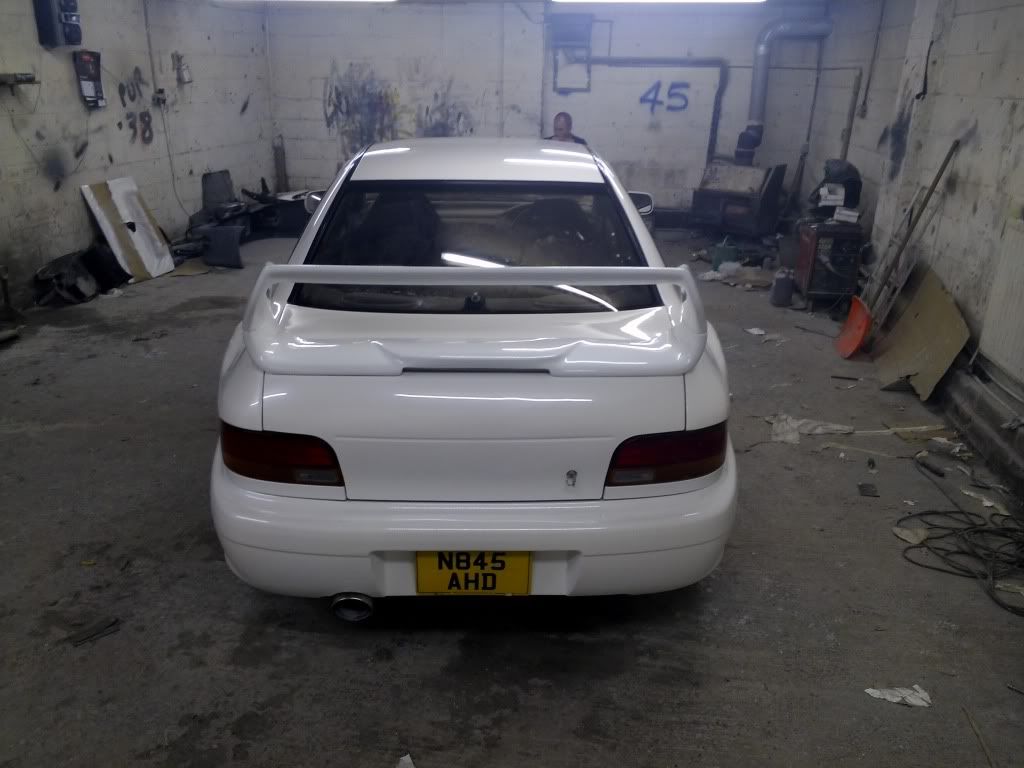
So most of the car has been fully painted, still needs a polish and wax.
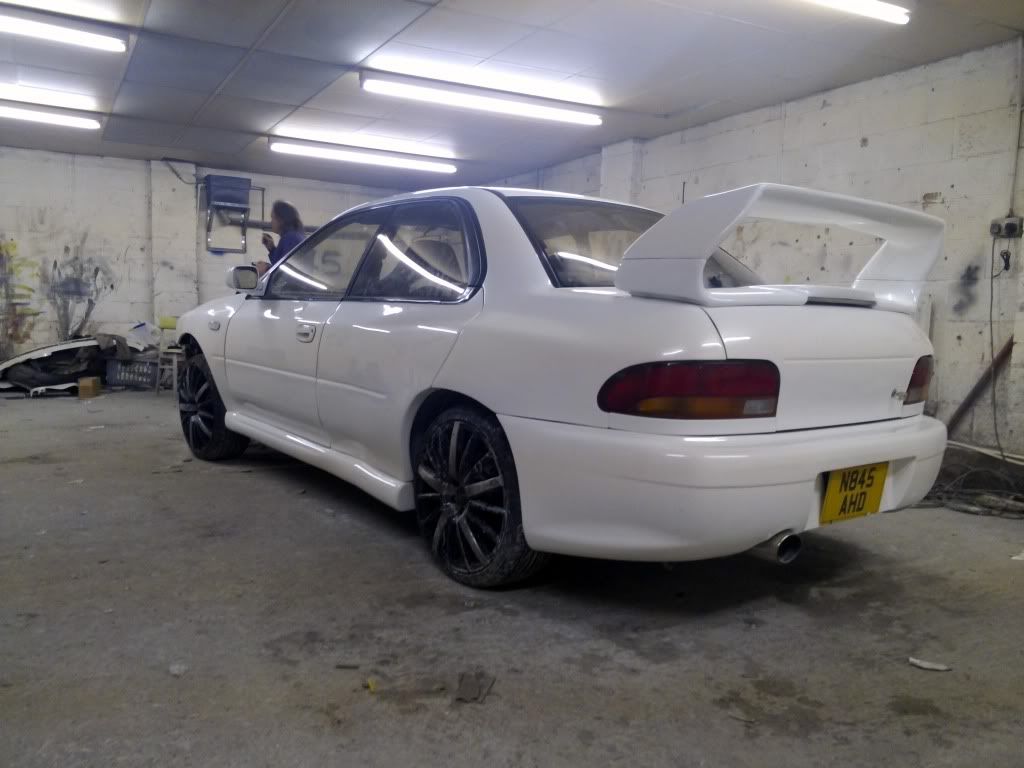
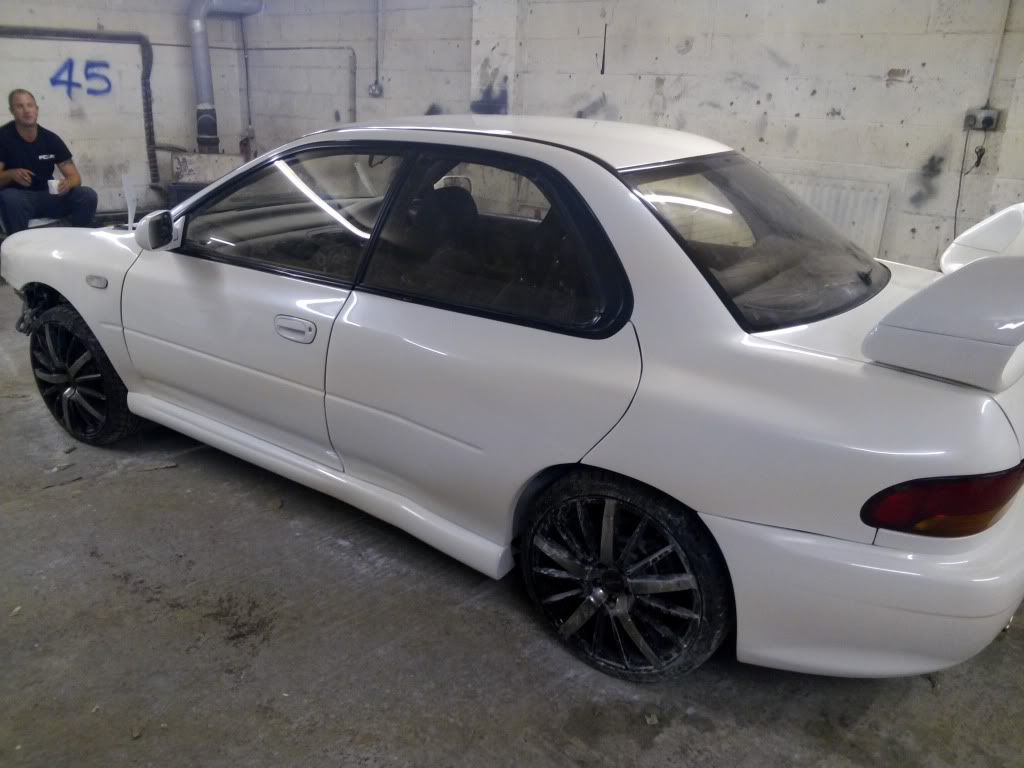
Wide boy!
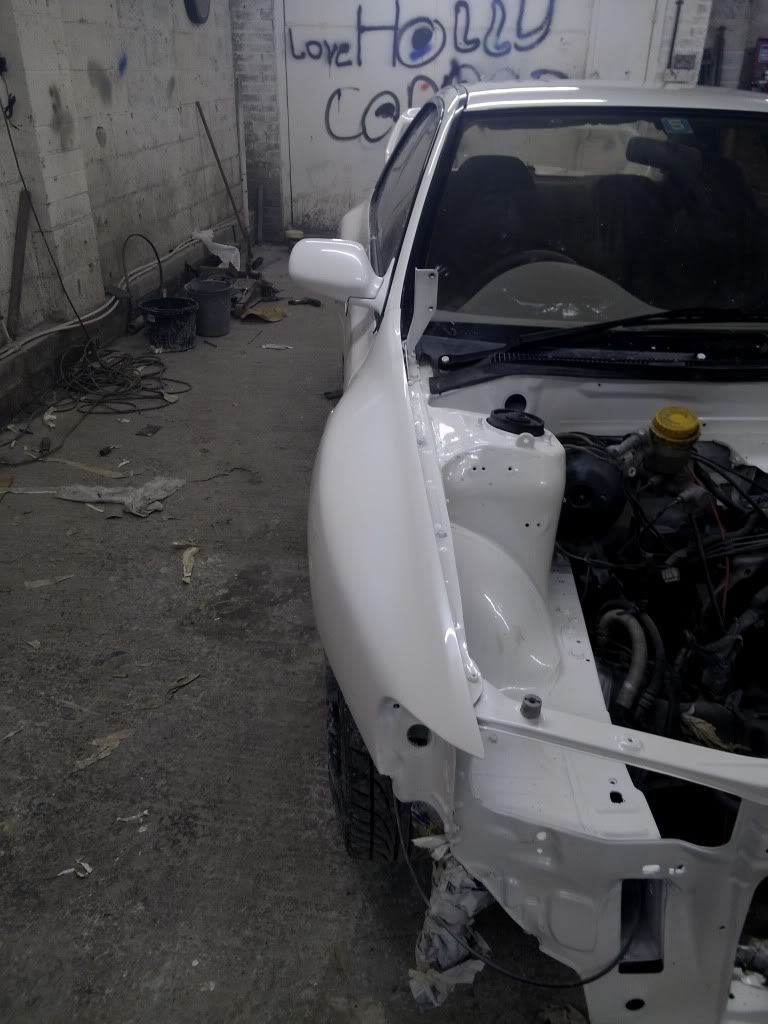
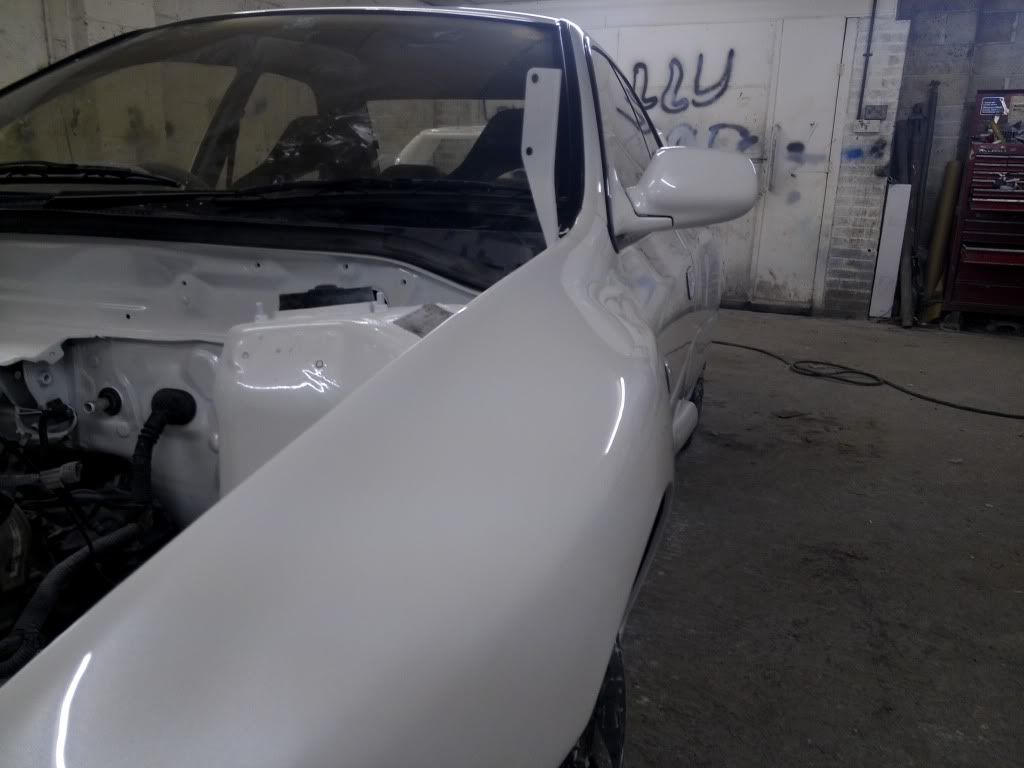
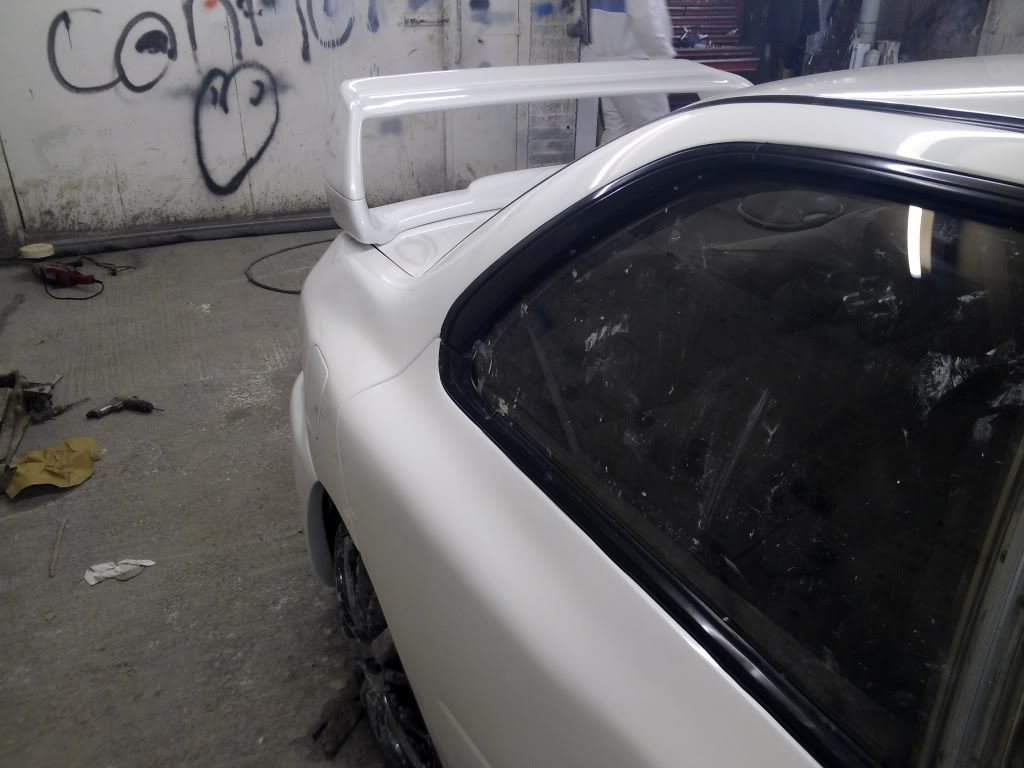
Possibly the best pic that shows the finish, but clearly indoor environment not condusive.
Bonnet before clear coat, should have left it like this lol
Wide boy!
Possibly the best pic that shows the finish, but clearly indoor environment not condusive.
Bonnet before clear coat, should have left it like this lol
09 October 2012, 10:53 AM
#27
Scooby Regular
Thread Starter
Join Date: Oct 2010
Posts: 68
Likes: 0
Received 0 Likes
on
0 Posts
Time to start a building the engine etc back up ready to drop in at some point after car returns.
First job was to fit Roger Clark waterpump, bought a thermos seperately and fitted
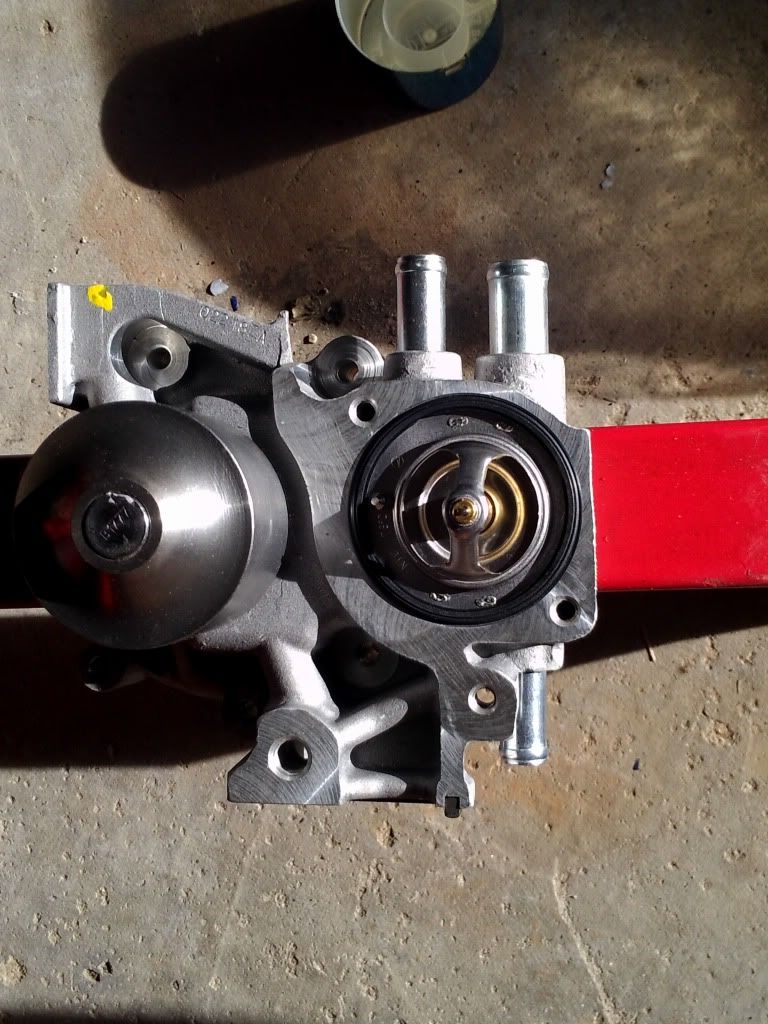
Then fitted to block.
Annoyingly I didn't have a 1/2" drive 10mm socket thin enough to get to all bolts, so have to pop out today and grab an adapter that will allow me to fit 1/4" socket to my torque wrench and tighten up properly.
Bit of a false start dammit!
First job was to fit Roger Clark waterpump, bought a thermos seperately and fitted
Then fitted to block.
Annoyingly I didn't have a 1/2" drive 10mm socket thin enough to get to all bolts, so have to pop out today and grab an adapter that will allow me to fit 1/4" socket to my torque wrench and tighten up properly.
Bit of a false start dammit!
09 October 2012, 10:18 PM
#29
Scooby Regular
Thread Starter
Join Date: Oct 2010
Posts: 68
Likes: 0
Received 0 Likes
on
0 Posts
Cheers mate, appreciate it. Front bumper, vents and bonnet painted and fitted now. It was too dark for pics as it has been moved outside for a welding job on something else. But it looks great, even with the 'marmite' lights. I just need an extra lip for the bumper as the FMIC hangs lower but hopefully that will be sorted this week