When you click on links to various merchants on this site and make a purchase, this can result in this site earning a commission. Affiliate programs and affiliations include, but are not limited to, the eBay Partner Network.
Since buying the new house last year I’ve really missed having a car to tinker with and something with a manual box. I sold both my pride and joy, one to help buy the house and one because the new house doesn’t have a garage...yet. So gone but much missed.
Anyway, onwards and upwards as they say.
I have an F10 M5 as my daily driver which is an awesome car and does family duties and road trips across Europe very well. But it has 2 major flaws in that I can't tinker with it and it's not a manual! It's also a bit of a handful in the depths of a snowy icy winter.
The Scratch
I knew I needed something to keep me occupied, the itch was getting worse and a daily occurrence. I was going blind from reading Autotrader and Pistonhead classifieds ads. I had to act, and act fast.
The brief was simple. Procure a cheap, fun and 4x4 car in manual flavour.
Audi S3? Nah, been there, boring.
Lancia Delta Intergrale? Yes please, no garage...damn it.
Subaru Impreza? Always been intrigued, perhaps I should I try one of those...
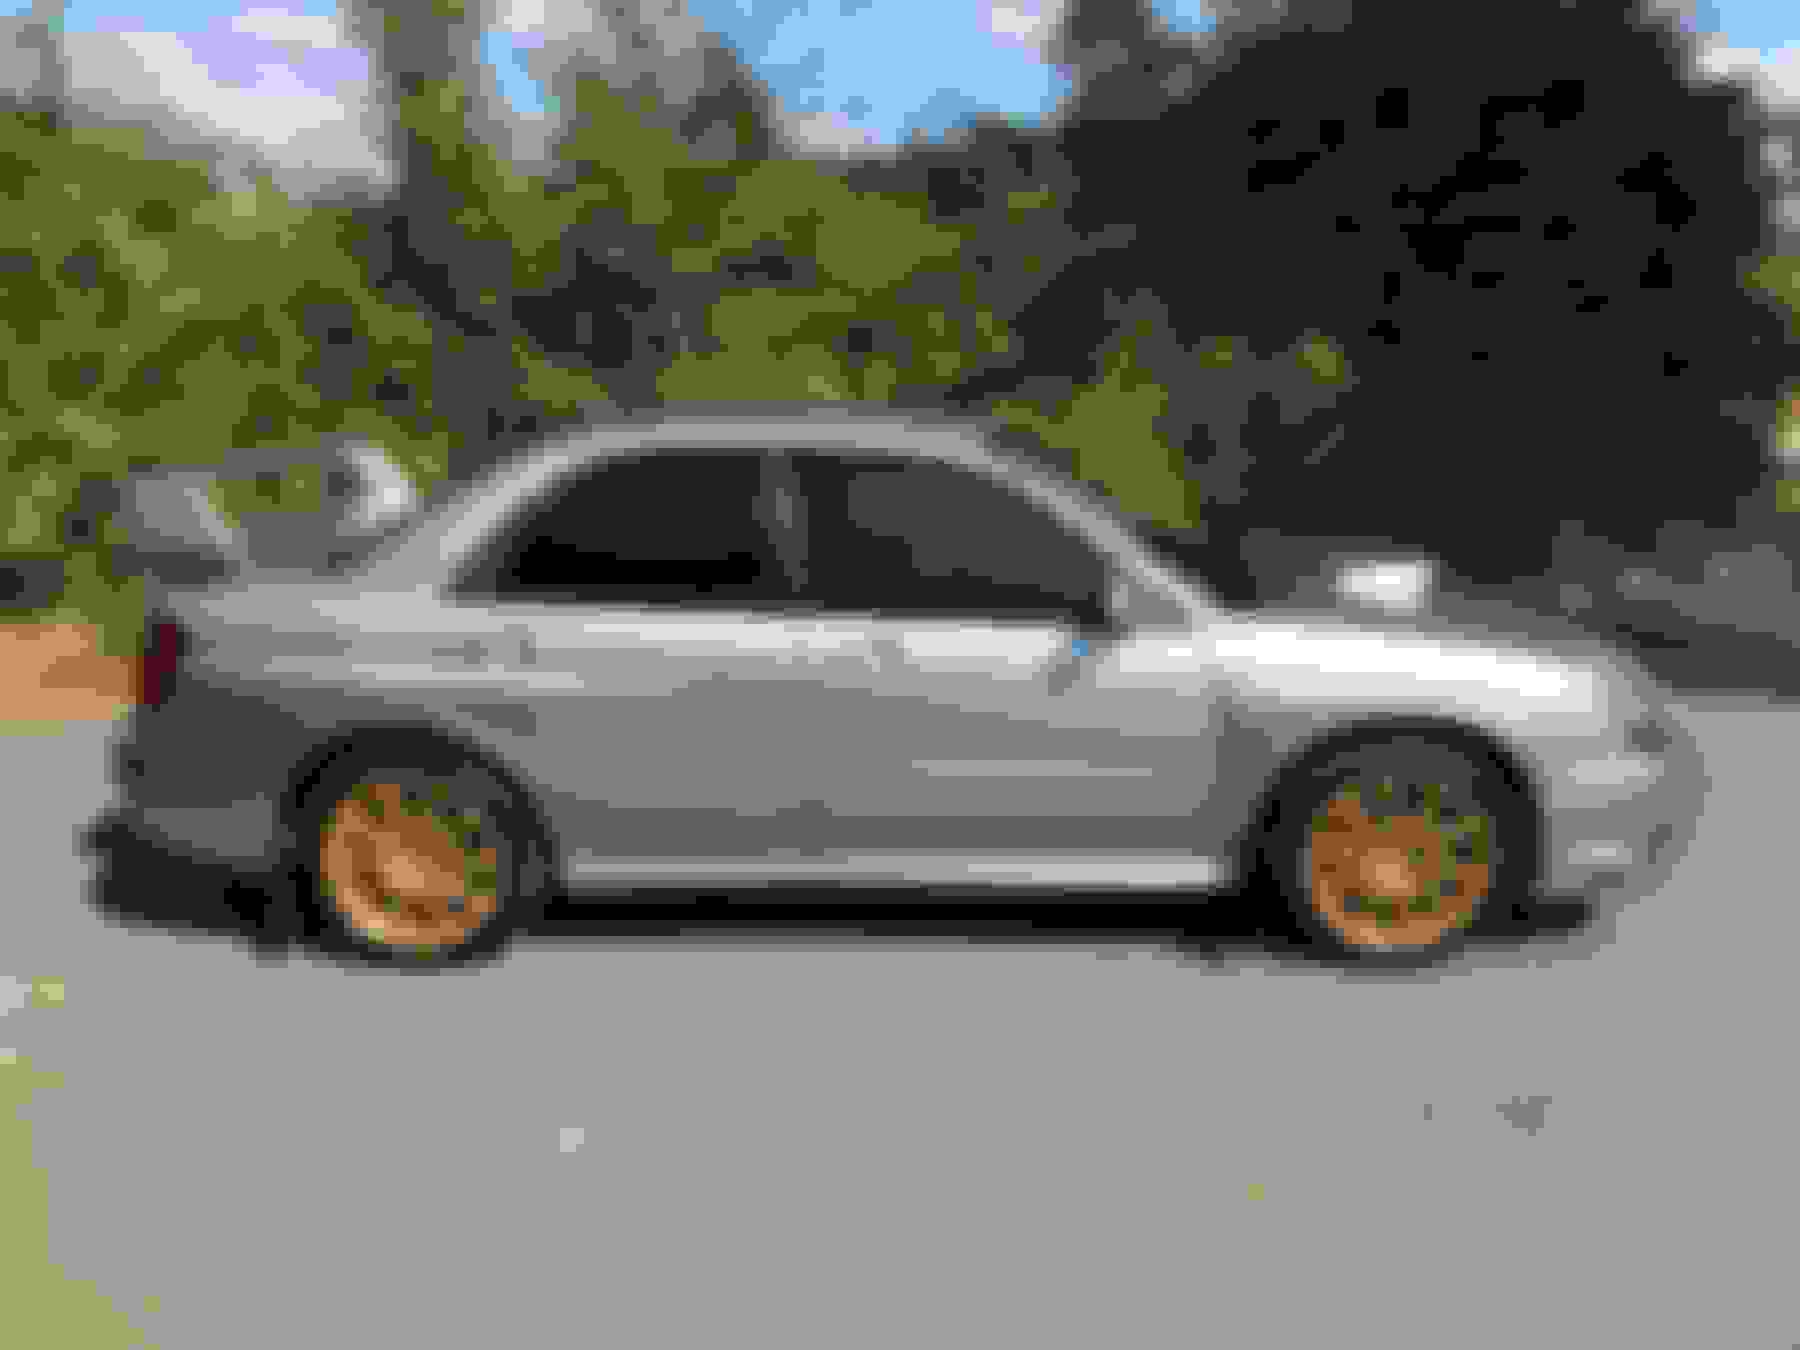
I knew I preferred the hawkeye shape, but after deliberating for at least 3 days I decided I couldn't be bothered with waiting for the head gaskets to give up. I managed to get over the look of the blob eye and went hunting for a half decent STi. Didn't want blue, black is a pain, grey it was.
A 2005 wide body with 70k miles, 3 owners and full service history with recent new tyres and brakes all-round. Lightly modified with a Miltek exhaust, fuel pump and a map to c.330hp (apparently). I have to say it, it does feel quite nippy so I suspect it's not far off that kind of number.
Plenty of bits to do on the car, bit of a knocking which I suspect it the front ARB bushes. Needs a decent radio, some soundproofing, wheels re-furbed in dark silver, de-tango and decent headlights etc...etc.
The fun starts here
Last edited by beanoir; 07 September 2018 at 07:17 PM.
I was pretty eager to get out today and give the car some TLC. I wanted to do the de-tango, so that was job number one, replaced all of the bulbs too. LED sidelights make a big difference and indicators, just some decent halogen bulbs for the main and dipped. Polished up the lenses too whilst I was at it and the result is pretty good, pleased with that. I did use the oven method (shh..don't tell the other half!)
I'm sure you've all seen this a thousand times, but for posterity...
Whilst I had half the front end apart and perched over the bonnet I kept spying grubby bits in the engine bay, so out came the steam machine and I set to work with a soak of G101, a tooth brush and the steam cleaner. Careful to avoid electricals and the alternator, but managed most bits. Finished the black plastics off with a coat of Instafinish Trim Magic. Looks a lot cleaner.
I told myself I could live with FM radio and CDs and even a few SA90s i've still got kicking around in the loft...but who was I kidding, there is only so may times I can pull a tape out and wind it on with a pencil after being chewed up. If you were born after 1990 you won't have clue what i'm wittering on about I realise, but in a nutshell I decided the standard stereo is beyond rubbish. Such that I decided i'd be happy to pay a 20 quid premium for a decent radio from Halfords and fitted it this afternoon. The difference in sound is vast even with the factory speakers, not that i'm surprised as i've had the same experience on other cars. I might change the speakers at some point but at the moment I can now hear music and play obscure DAB radio stations. Fit was ok, but the facia needed trimming to fit which was a bit of a pain and i'm still not entirely happy with the way it's gone back on, but for now it will do.
The interior needs a bit more TLC, i'll probably steam clean the seats, carpets door cards tomorrow. Need some new mats which i'm struggling to find a decent set, so any recommendations appreciated.
I also ordered a steering wheel from jack at Royal Steering Wheels today, nothing fancy just a letter recovered as per the orginal but with blue stitching to match the blue interior.
I managed to sort my indicator issue since replacing with LED lamps, TECHNOPUG very helpfully had already solved the issue and pointed me in the right direction for the correct flasher relay. Installed that last night and it works perfectly - here ends the embarrassing hyper flash!
The road noise in the car has been a bit tiresome on my frequent 160mile trips down to Bristol, so i've ordered a soundproofing kit with various different pre-cut pieces of different grades of sound proofing materials. Will report back on how easy the installation is and how much difference it makes.
I'm not a fan of the silver/grey plastic on the centre console, so I ordered some 3M Gloss/Piano black vinyl to try my hand at wrapping and wanted to try something different to carbon fibre look which is a bit done to death now.. A few Youtube vids later i'm a god damn expert - nothing will be safe from being wrapped now!!
Anyway, gave one section a go tonight, the top sections will be a weekend job and i'm still not happy with the way the surround fits after the headunit install so will shave some more plastic off the back of that whilst i'm at it. I'm quite pleased how its turned out.
Last edited by beanoir; 13 September 2018 at 09:06 PM.
Nice job that mate. Those aluminium surrounds come up really nice if you strip them back to bare metal and polish them.
I did wonder about the surround, thats good tip! I'm also not warming to the gloss black vinyl, thinking of spraying the plastic trim instead now, maybe a satin finish. The small vent for the AC sensor is so small you can't cut the vinyl and it looks crap - well at least my version of it does!
Gave the car a good detail this weekend. Decon, clay and polish the paint and then finished off with a sealant (Poorboys EX-P). Steam cleaned the interior and headlining and now it's looking and smelling much fresher.
Met up with a mate for breakfast at Shuttleworth who's just finished restoring an old 944 which was pretty sweet. Great day and good drive out round the lanes this morning before the grannies were out in force. Getting to know the car a bit better now, the grip in the corners is unbelievable - f***k me I was laughing so hard, it's a riot to drive.
I did wonder about the surround, thats good tip! I'm also not warming to the gloss black vinyl, thinking of spraying the plastic trim instead now, maybe a satin finish. The small vent for the AC sensor is so small you can't cut the vinyl and it looks crap - well at least my version of it does!
That's the problem I had. I had a go at wrapping first but didn't like it. Ended up spraying it satin black.
That's the problem I had. I had a go at wrapping first but didn't like it. Ended up spraying it satin black.
That does look tidy, I like that.
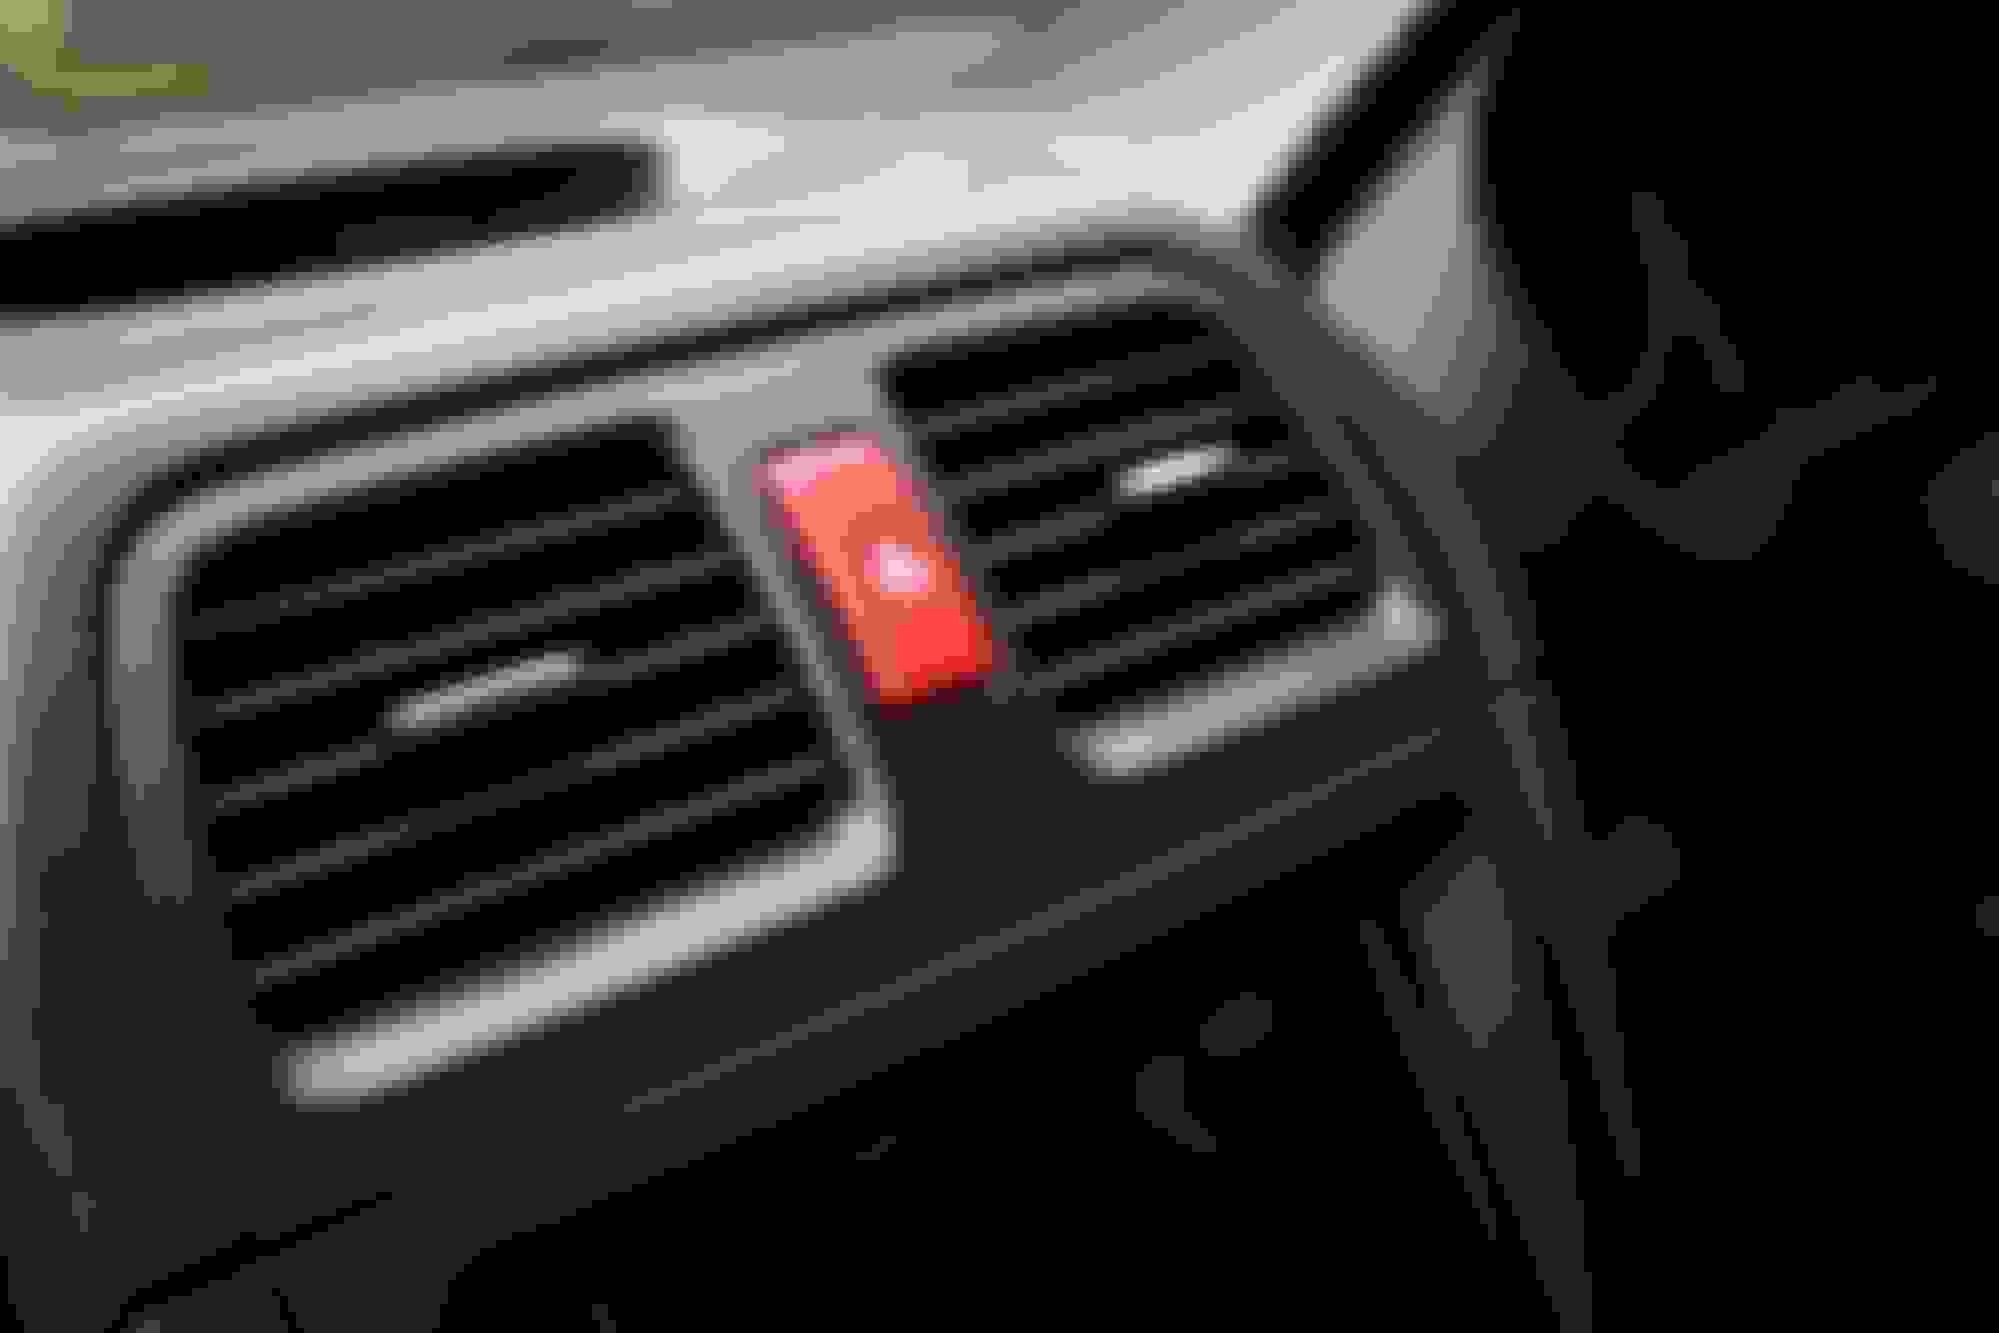
I’ve ordered some of plasti-dip and also the hard coating for the final layer. Also a red JDM hazard switch. Weekend job already and it’s only Monday...
Off to Royal Steering Wheels this morning...quite excited 😉
Went with non-coloured stitch for the wheel and it’s slightly thicker (1mm) which makes a difference but not too fat. I really like the subtle look and the feel of a new leather steering wheel is awesome!
before:
after:
Last edited by beanoir; 22 September 2018 at 03:19 PM.
small world! I hope he’s getting on ok with it, he said his plan was to take it off the road and get the bodywork re-done. Labour of love that car, I had it 11 years, bought it from the original owner down in Dorset.
Plasti Dip bits arrived so will be spending the weekend doing the dash trim again in place of the vinyl wrap.
Found somewhere that had genuine Subaru mats in stock so bit their hand off and will pick up on Saturday.
Have booked the car in at TD Racing to have a few bits sorted out mechanically, check the map and give the car a once over. There’s a couple of annoying knocking noises so I suspect some bushes need replacing and some of the PU items already on the car either replacing with stock or re-greasing. Also discussed the merits of upgrading some choice parts like ARBs. I’m looking for a decent road car with a sports car ride rather than a rock solid bone shaker for the track and nowhere else. I’ve been down the road of replacing bushes with PU in the past and every time I end up regretting it, particularly with gearbox and diff bushes etc.
I’m finding the STI seats a bit uncomfortable because the seat base is quite short and not much support under my thighs. I know this is a typical Jap car thing so I’m considering options with aftermarket seats. The Sparco R600 feature high on my list so will look at trying those for size if I can find somewhere with them in stock. Anybody replaced their seats with aftermarket recliners?
Last edited by beanoir; 20 September 2018 at 09:50 AM.
Set to work yesterday with the dash parts, used Plastic Dip and their sanitiser product which gives it a satin finish, then their sealant product which hardens the finish.
Polished the gearshift surround as suggested by Jon T - looks great mate! Installed my JDM flasher too and then all the parts back in the car after drying overnight.
Also picked up my new mats from Subaru Cambridge today. They don't have the STI logo, just 'IMPREZA' but actually I quite liked them, so they went in too. With the wheel re-trimmed it's starting to feel like it's coming together although I just realised I haven't done the air vent surrounds to match!!
Last edited by beanoir; 22 September 2018 at 03:20 PM.
Been busy lately but had the time to do a few bits.
Finished off the interior sound deadening, also did the front doors and whilst I was at it stuck some new speakers in the doors. I used a dynamat material on the door skins and the inner panel too and it's really made a difference to the sound of the front speakers.
I had to remove the seats to put the front sound deadening in around the tunnel and in the footwells. Was quite straightforward, the only issue was the curing rain which made the job a whole lot less enjoyable! The result is perfect, so much less noise in the cabin on the motorway which unfortunately I have spend a fair amount of time on each week and needed the car to be bearable. "But what about the extra weight" - it's ok, i've removed the spare wheel and replaced with an emergency tin of gunk, which is rubbish but i've survived without a spare wheel in my last 5 cars so i'm ok with this.
Gave the carpet a good clean too while the seats were out, I swear there was a piece of doner meat under the drivers side, covered in congealed hot sauce...
I had to revisit the headlights this weekend, i'd not resealed them very well after i'd de-tangoed them. So I found a Youtube video of some dude resealing his headlights and had sourced the butyl rubber they use from the factory (the horrible black sticky stuff) and bought a roll of that for a tenner on Amazon. it comes ready to use in a long rolled up piece and you just stretch it a bit and run it around the channel on the unit, put it back together, in the oven at 140 degrees for 10 minutes and clamp it together. That has worked a treat and no more condensation inside the headlights.
I'm still not that impressed with the headlights even with all the new bulbs, have swapped out again for GE Megalight +130. I think the problem is they are too low, so I need to look into adjusting them up a bit I think.
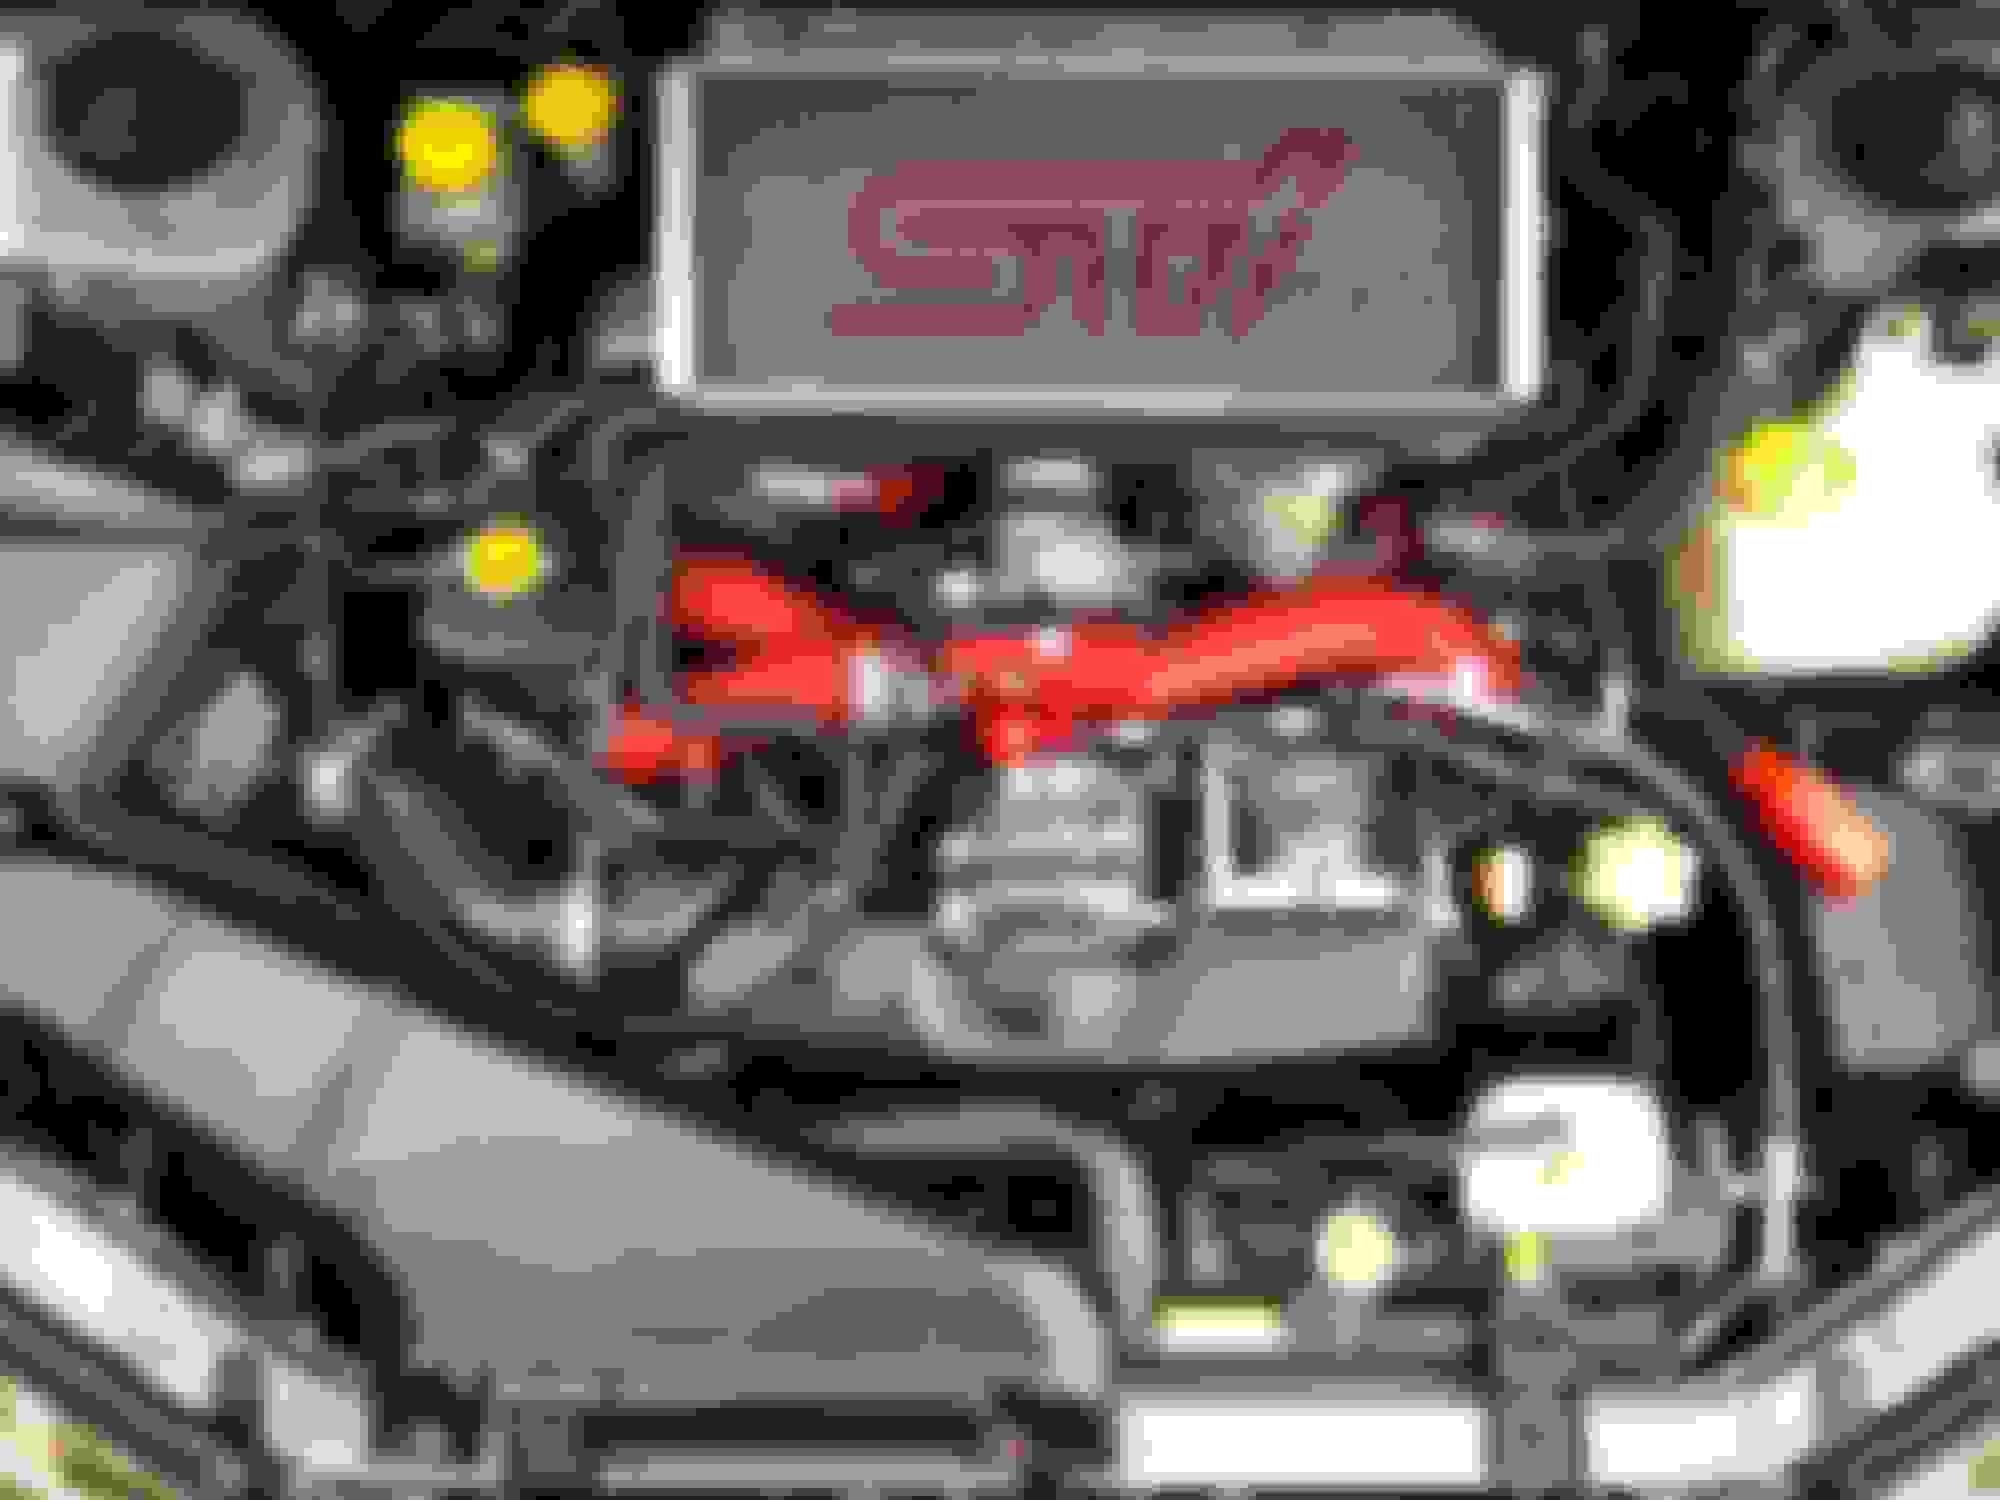
Today was TDR day - i've been quite looking forward to getting the car up there and on the ramps to have a good nose about. I wanted to make sure the car was generally ok, check the map, understand what mods had been done and find the source of the clunking noise.
Up on the ramps, underneath of the car is really clean, no corrosion and just generally very dry which is great. A bit of weeping form the drivers side rocker gasket which i'll have done at some point but not urgent. All bushes ok and no parts needing replacement.
Mods appear to be a high flow fuel pump, Cosworth panel filter, turbo back non-res Miltek system and thats about it. Nothing done to the suspension so may at some point look at a few choice mods, but to be honest it's good at the moment and i'm not keen to ruin the ride as it's a road car rather than for track.
Asked Mark to do a RR to check the map and see how it was performing as I was told it should be about 300bhp by the guy I bought it from. After a few runs...
Better than I expected I have to say although not totally surprising as it does feel pretty quick compared with other similar power cars i've had. Mark said the map was very well done and in the way he'd do it and thee was nothing to change or tweak, perfect basically. All a bit surprised but very pleased, the guys reckon i've got a good car and I left there having not really added to the car - almost disappointed!
Only possible recommendation is the car feels a bit light on the front end at 70mph+ and so a full wheel alignment to tweak the front to correct that. Need to find a decent place locally which is tricky.
Last edited by beanoir; 09 October 2018 at 02:47 PM.
 07 September 2018, 07:02 PM