When you click on links to various merchants on this site and make a purchase, this can result in this site earning a commission. Affiliate programs and affiliations include, but are not limited to, the eBay Partner Network.
I've finally got round to buying myself a "nice car that needs a little work". Originally I wasn't even looking at getting a Classic Impreza but a random conversation with my supervisor at work had me making a trip to pick up a 1996 import WRX.
First, I'll start with a bit of my car history. My last car was a 2000 import Integra DC2.
The DC2 was a great car that suffered from the usual import problem of rust. I had just finished restoring it with new arches and a full respray when it had an unfortunate meeting with a field.
Fast forward a year and I'm having a conversation with my supervisor at work about looking for a new project. It turns out he has a few too many cars and he'd be tempted to let one go. I go along to his workshop and have a look. Half an hour later I'm the proud owner of my first Impreza.
Alot of the details I got were quite vague, but the rough parts list is as follows:
Fully forged
Closed deck
VF22 turbo
eBay front mount
Straight through JapSpeed exhaust
Simtek ECU mapped to 360bhp by Andy Forrest with Anti lag
Hawkeye STI front calipers
"a blow off valve that sounds good"
Unknown brand of fuel pressure regulator
Greddy turbo timer
There's alot more goodies on the car which I'll find out what they are when I start to strip it down. The problem is there are 2 "small" problems. The engine has a knock from the bottom end and every panel has either rust or dents. One of the rear arches has been repaired before but the rust is back with a vengeance
So I've got a fun task ahead of me. I'm looking forward to getting cracked into it over the winter and restoring a classic to a high standard!
Last edited by Badgie; 17 February 2018 at 08:51 PM.
Reason: Photobucket being ****e
Quick update on the project
As it usually goes, things don't always go to plan. This time though, it's a good thing. I managed to find a clean, low mileage V3 STI rolling shell at a good price.
Rear arches are a lot better than the WRX
Going to be stripping the WRX and using all the good parts to build the STI instead. I've saved myself a good bit of bodywork with the shell being so clean but I'll no doubt find something else to do.
The Dc2 looked super clean! Nearly cried when I saw the second picture of it in the field.
nice classic also!
Cheers, I had just put the car back on the road 2 months before I rolled it. Best car I've ever owned and it'll be hard to beat. Looking forward to building the Classic up. Needed a new project to get started on. The STI will be going a different colour. Leaning towards the Grey that the RB5 comes in.
Thanks to the Easter Weekend, I finally had some time to strip down the WRX to get the parts I need off it.
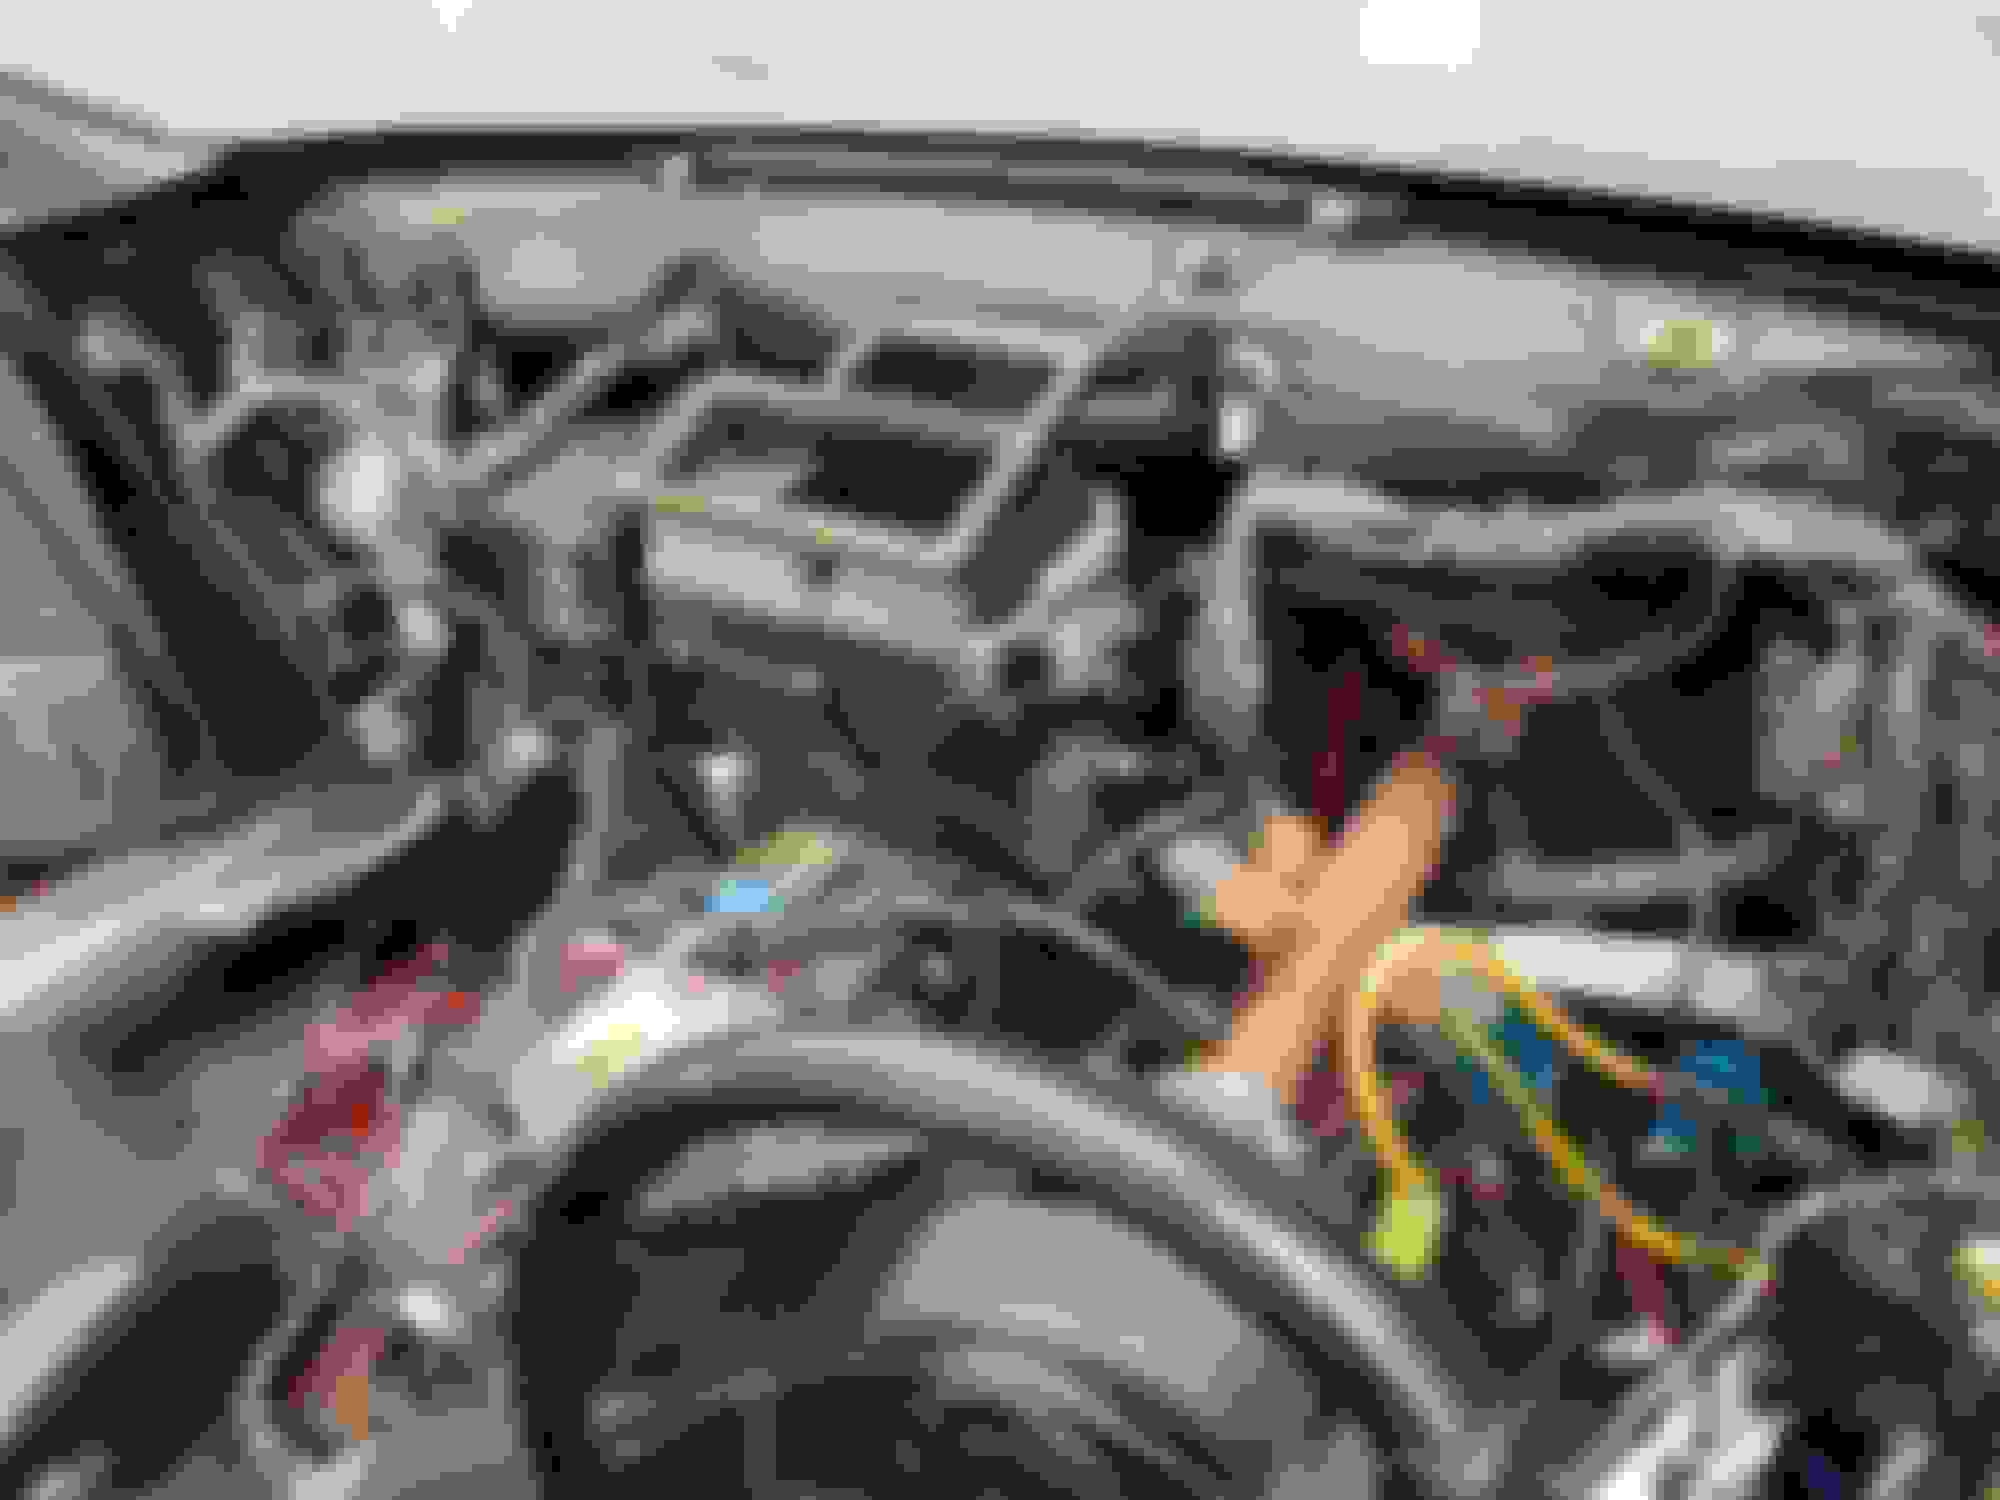
Started by ripping the dash out
Looks like someone thought they could do the electrical work themselves. Looks ****e
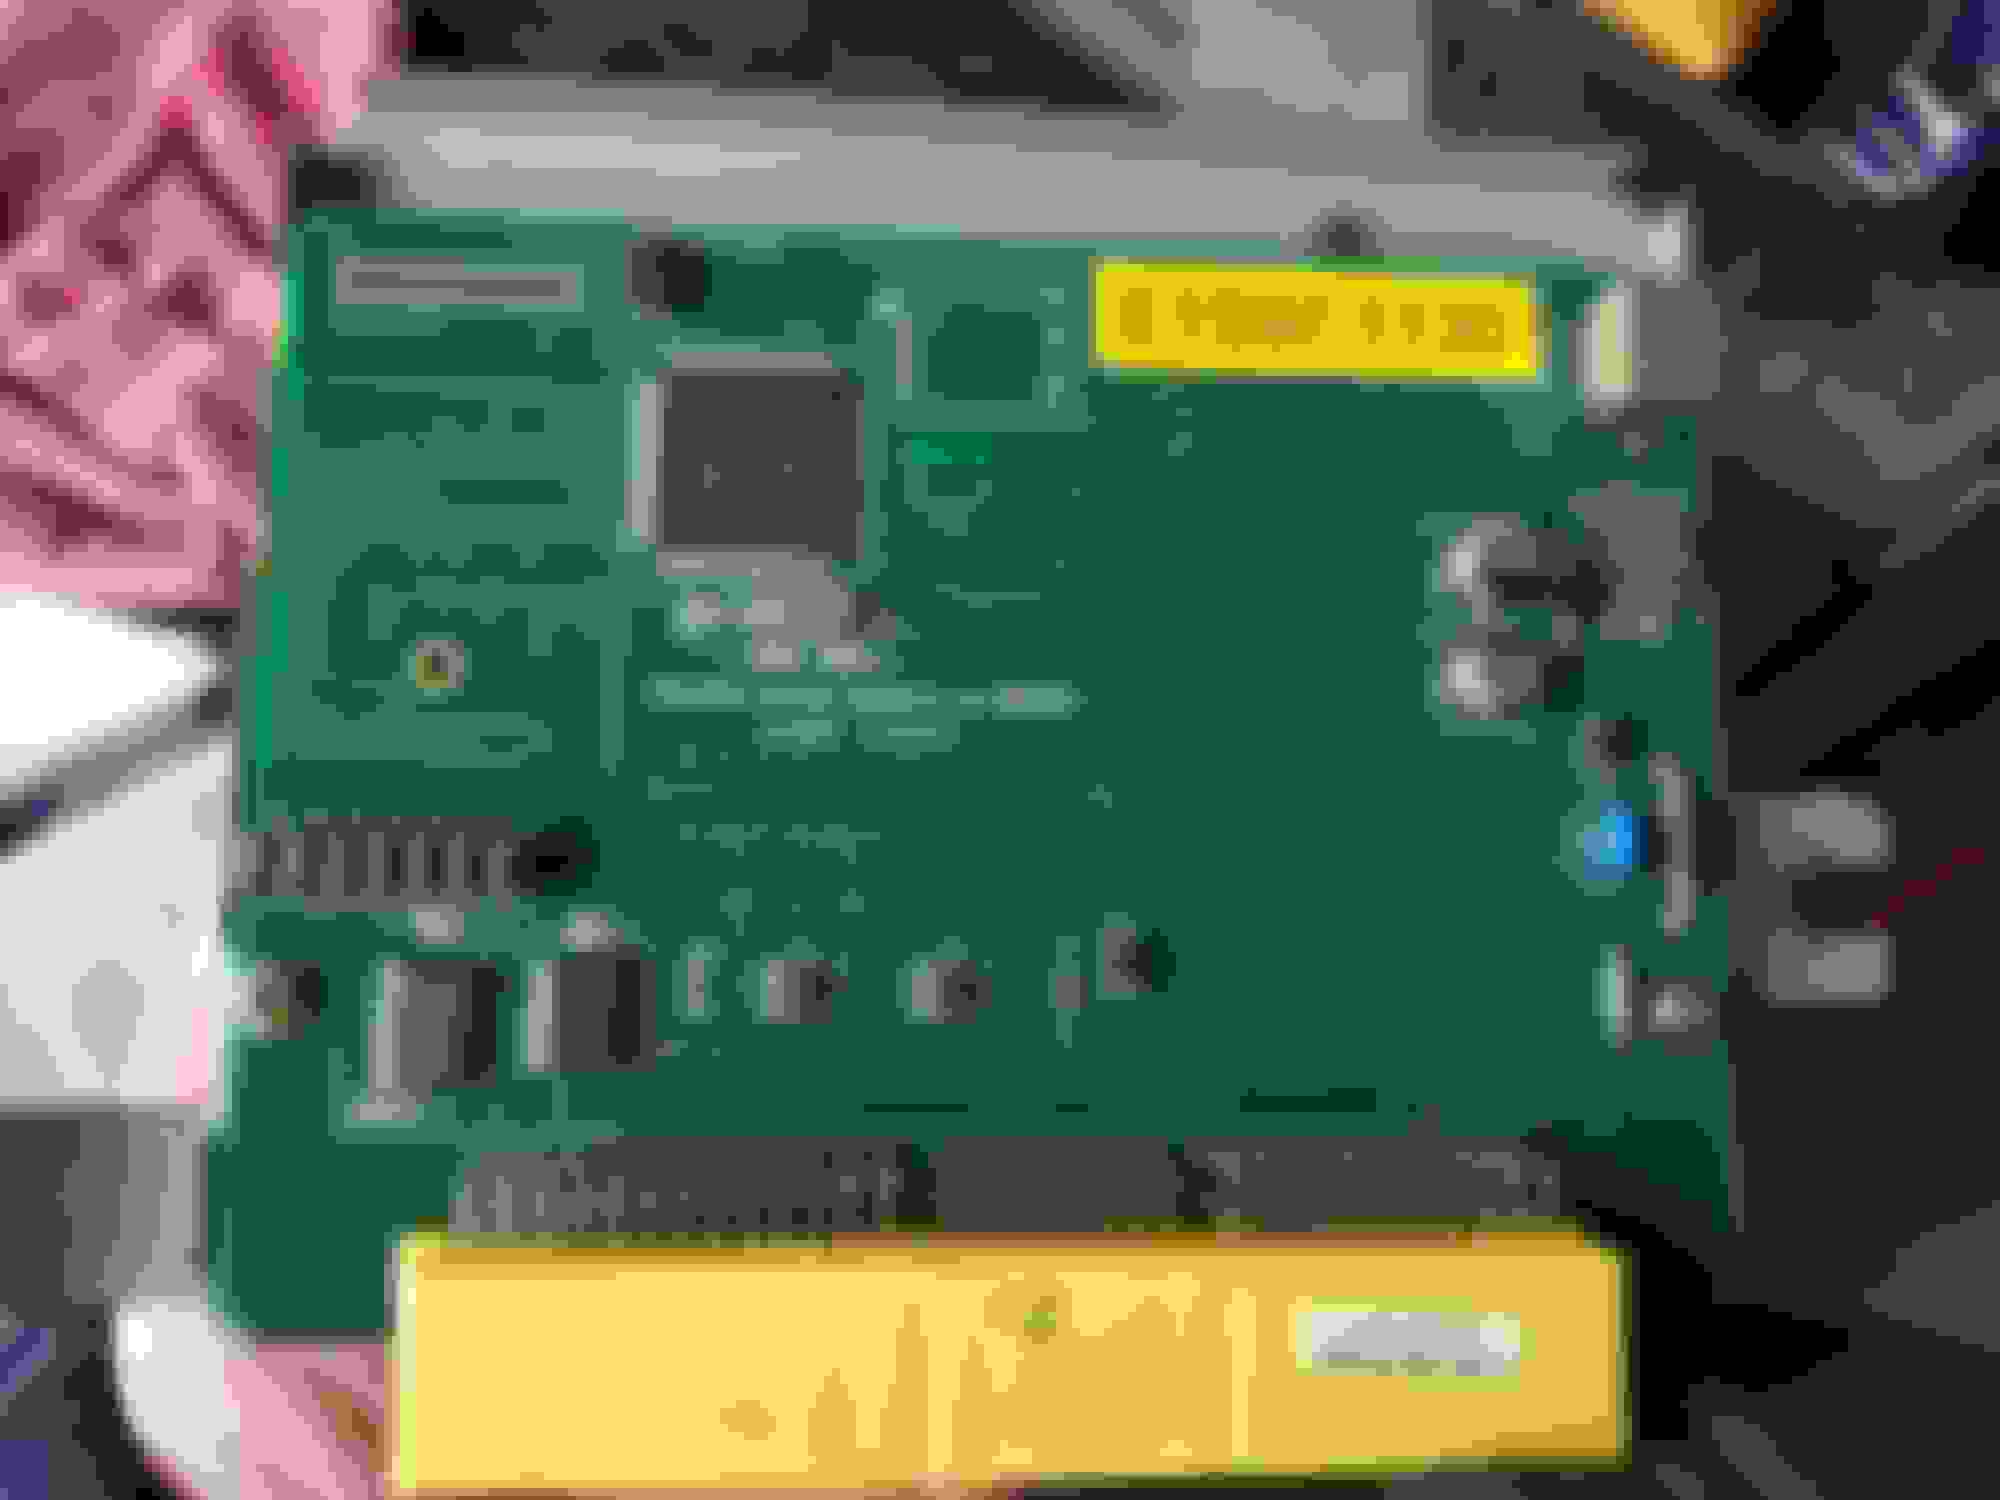
Got the ECU out, turns out it's an early Simtek (AlcaTek)
Got the Brembos off. Only 1 of the bolts was a problem.
One of the advantages of having a 2 post lift. Makes it really easy to drop the Engine and Gearbox.
Got a nice big pile of parts now. Just need to find time to put them into the STI
Pulled the fuel pump out as well. Always handy to have a spare.
Now that everything is out that I need, the shell is going to the scrapyard tomorrow. Unsure on what to do next. It will either be rebuilding the engine or painting and under sealing the shell. I'll see what I feel like doing first.
Cheers, main problem now is I'm into the expensive part of buying parts for fixing the engine. Motivation drops when it comes to spending money, haha
Originally Posted by joz8968
What led to you rolling the DC2? An unfamiliar corner, whose radius kept on tightening, for example?
Do tell... lol
Off camber corner and speed. Went into the corner a bit too fast, rear of the car started to slide, tried to catch it and it snapped the other way. Car dug in when it left the road and started to roll. Gave me my best lesson for driving. Don't try to push your limits on a public road.
Seems like a smart thing to do. Go from crashing a car that's widely regarded as one of the best handling cars ever made into a car that's got a reputation for being crashed.
My mate let me have a go on his UKDM DC2. And yes, whilst it's LSD gives it scalpel sharp turn-in and excellent handling generally (you could almost feel every tiny stone under its wheels), I was left underwhelmed by the amount of ultimate grip it could provide. Plus, because of the turn-in, if you backed off mid bend, the tail would wag - albeit it was quite benign and catchable. Other petrolhead friends of mine, agreed.
The reason I bother mentioning this, is that car mags of the time led you to believe that it was the most amazing handling car ever. For sure, as a decent-powered FWD of the day, it no doubt was (superseding the FWD Elan in the process). But - for me at least - it wasn't the 'Holy Grail' they led you to believe it was.
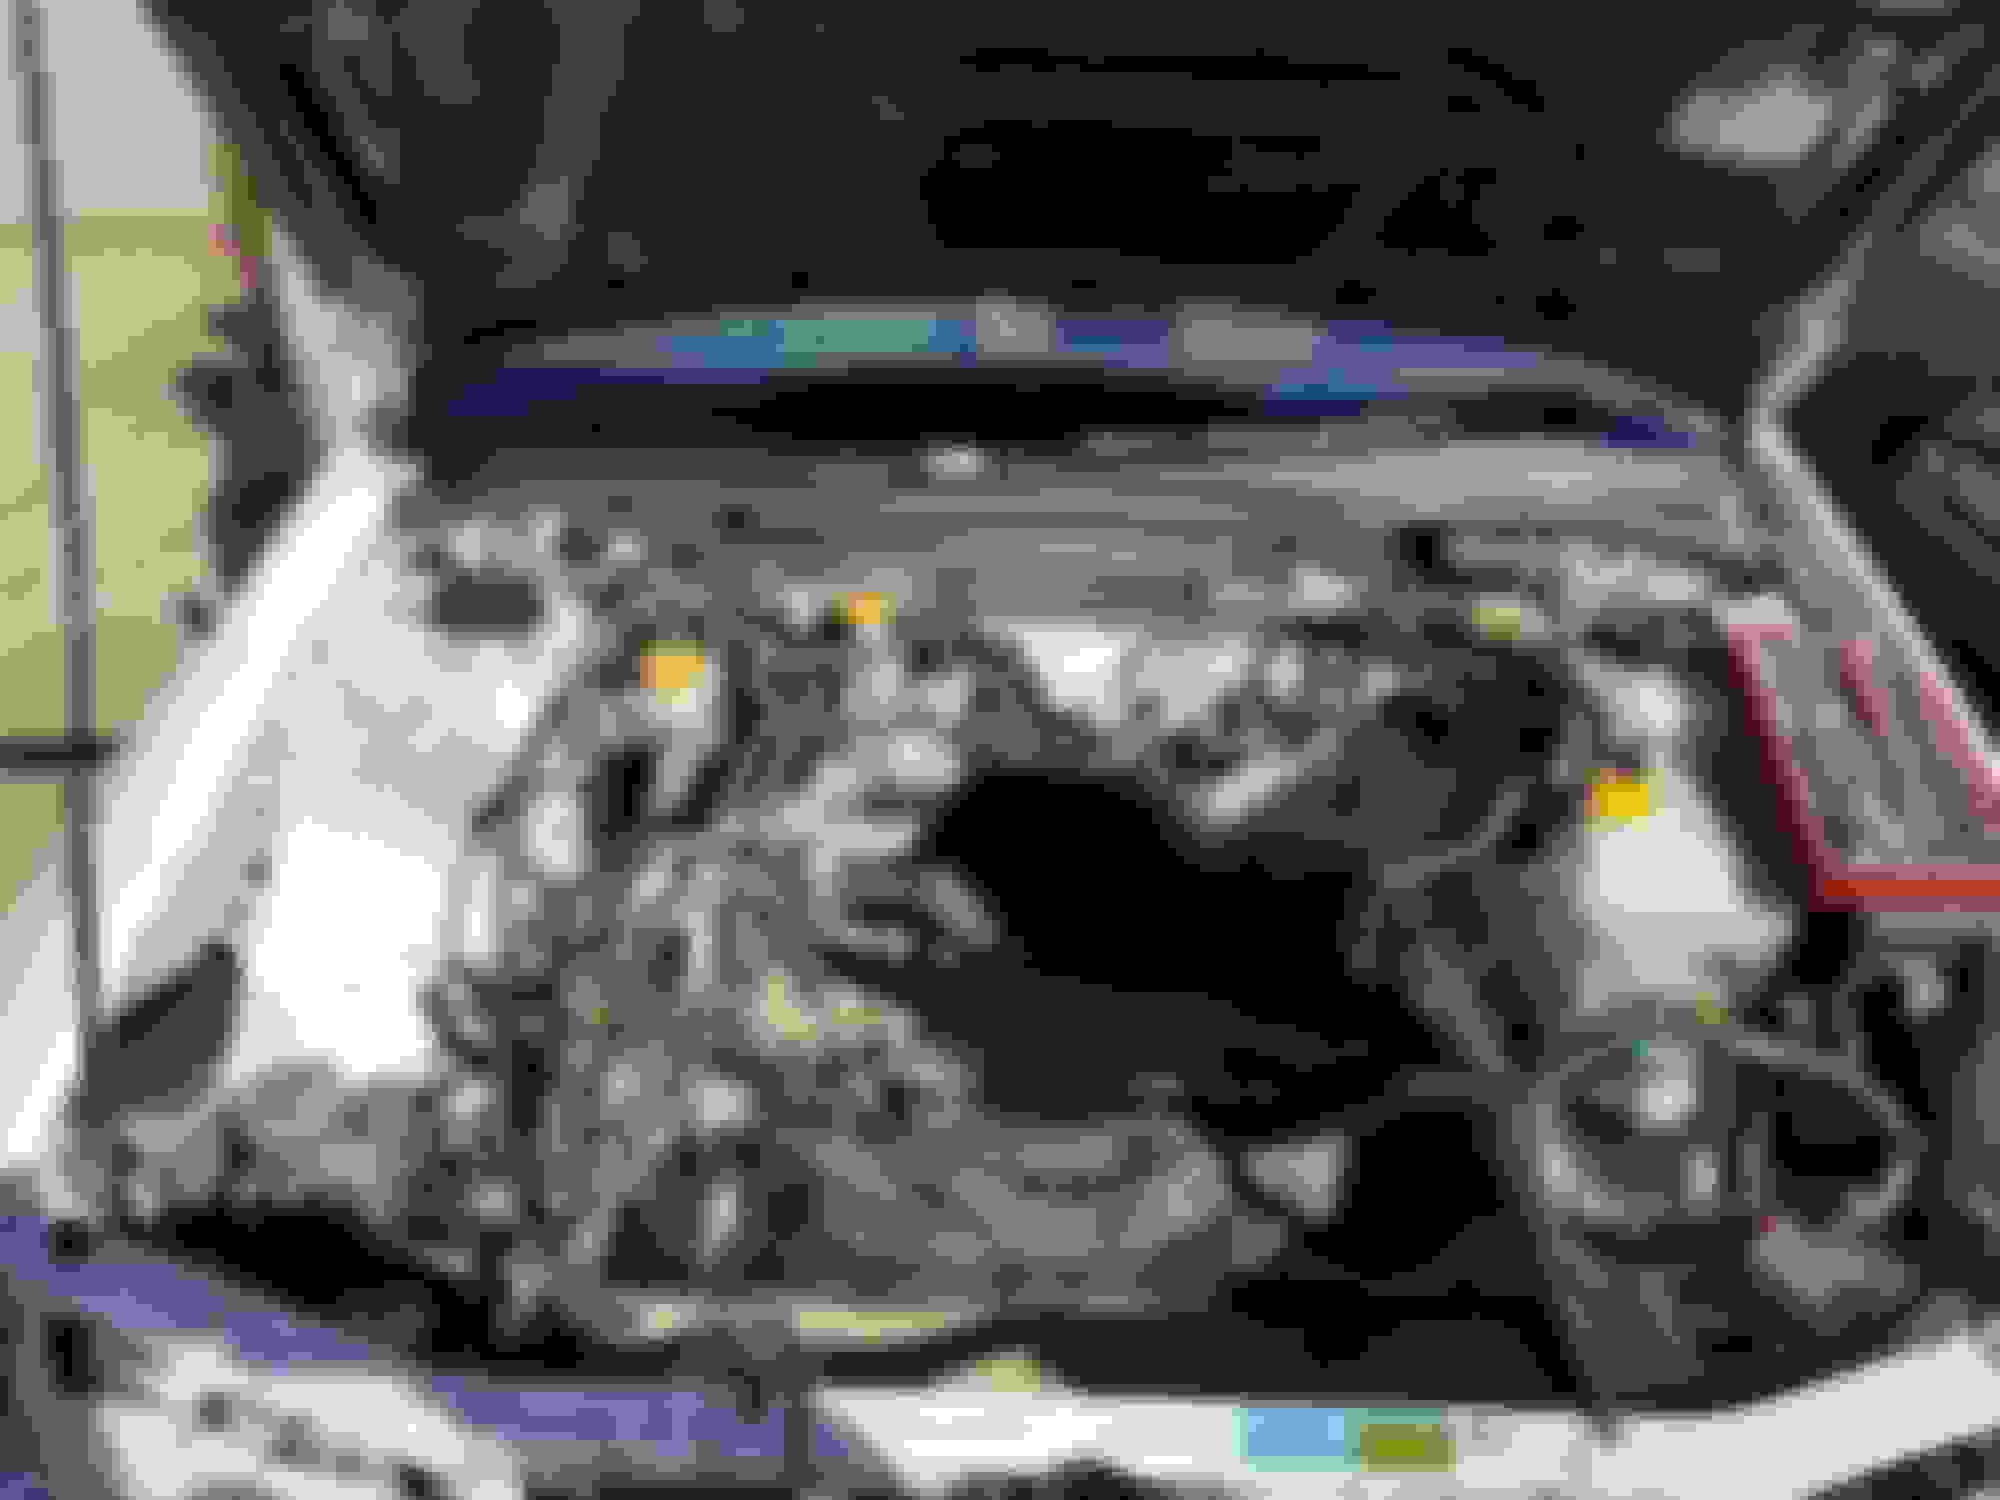
So thought I'd take advantage of the Scottish summer to strip and clean the engine bay before painting it.
First thing I done was take the fuel pump out to see what sort of pump was in the shell I bought. To my surprise, it's a RCM fuel pump. Nice little find.
After that I started to strip everything out the engine bay.
I then gave it a quick wash with a pressure washer to try get some of the loose dirt and oil off.
Then I sprayed the engine bay with Jizer to loosen off the rest of the oil and grime. After it had sat for a while I got to work with a scotchbrite pad to clean it all up.
Quick before and after of one of the worse areas
And that's the engine bay done. Cleaned up rather well. Next job will be to start sanding it down ready for paint whenever I have some spare time again.
looks like tha is coming along nicely and a few nice goodies there to play with. still trying to get over the shock of the before and after pics of the Teg!
Thought I'd take advantage of the sunny weather to hide inside and get started on the engine. First of all I had to try and create a "work space"
Got a nice bit of space. Looks a lot smaller after moving everything in though
After that I got started on stripping the engine. First to come off was the alternator. Managed to spill the remaining power steering fluid everywhere while I was at it.
Then it was the turbo, clutch and flywheel
Bolt for the coolant line to the turbo is a bit full of rust and a few metal pieces.
Hard to see but it's a VF22
Took the exhaust manifold and uppipe off as 1 piece.
Then I got the inlet manifold and fuel lines off. I'll be looking for a new intake pipe as this one has a split in it where it joins onto the turbo.
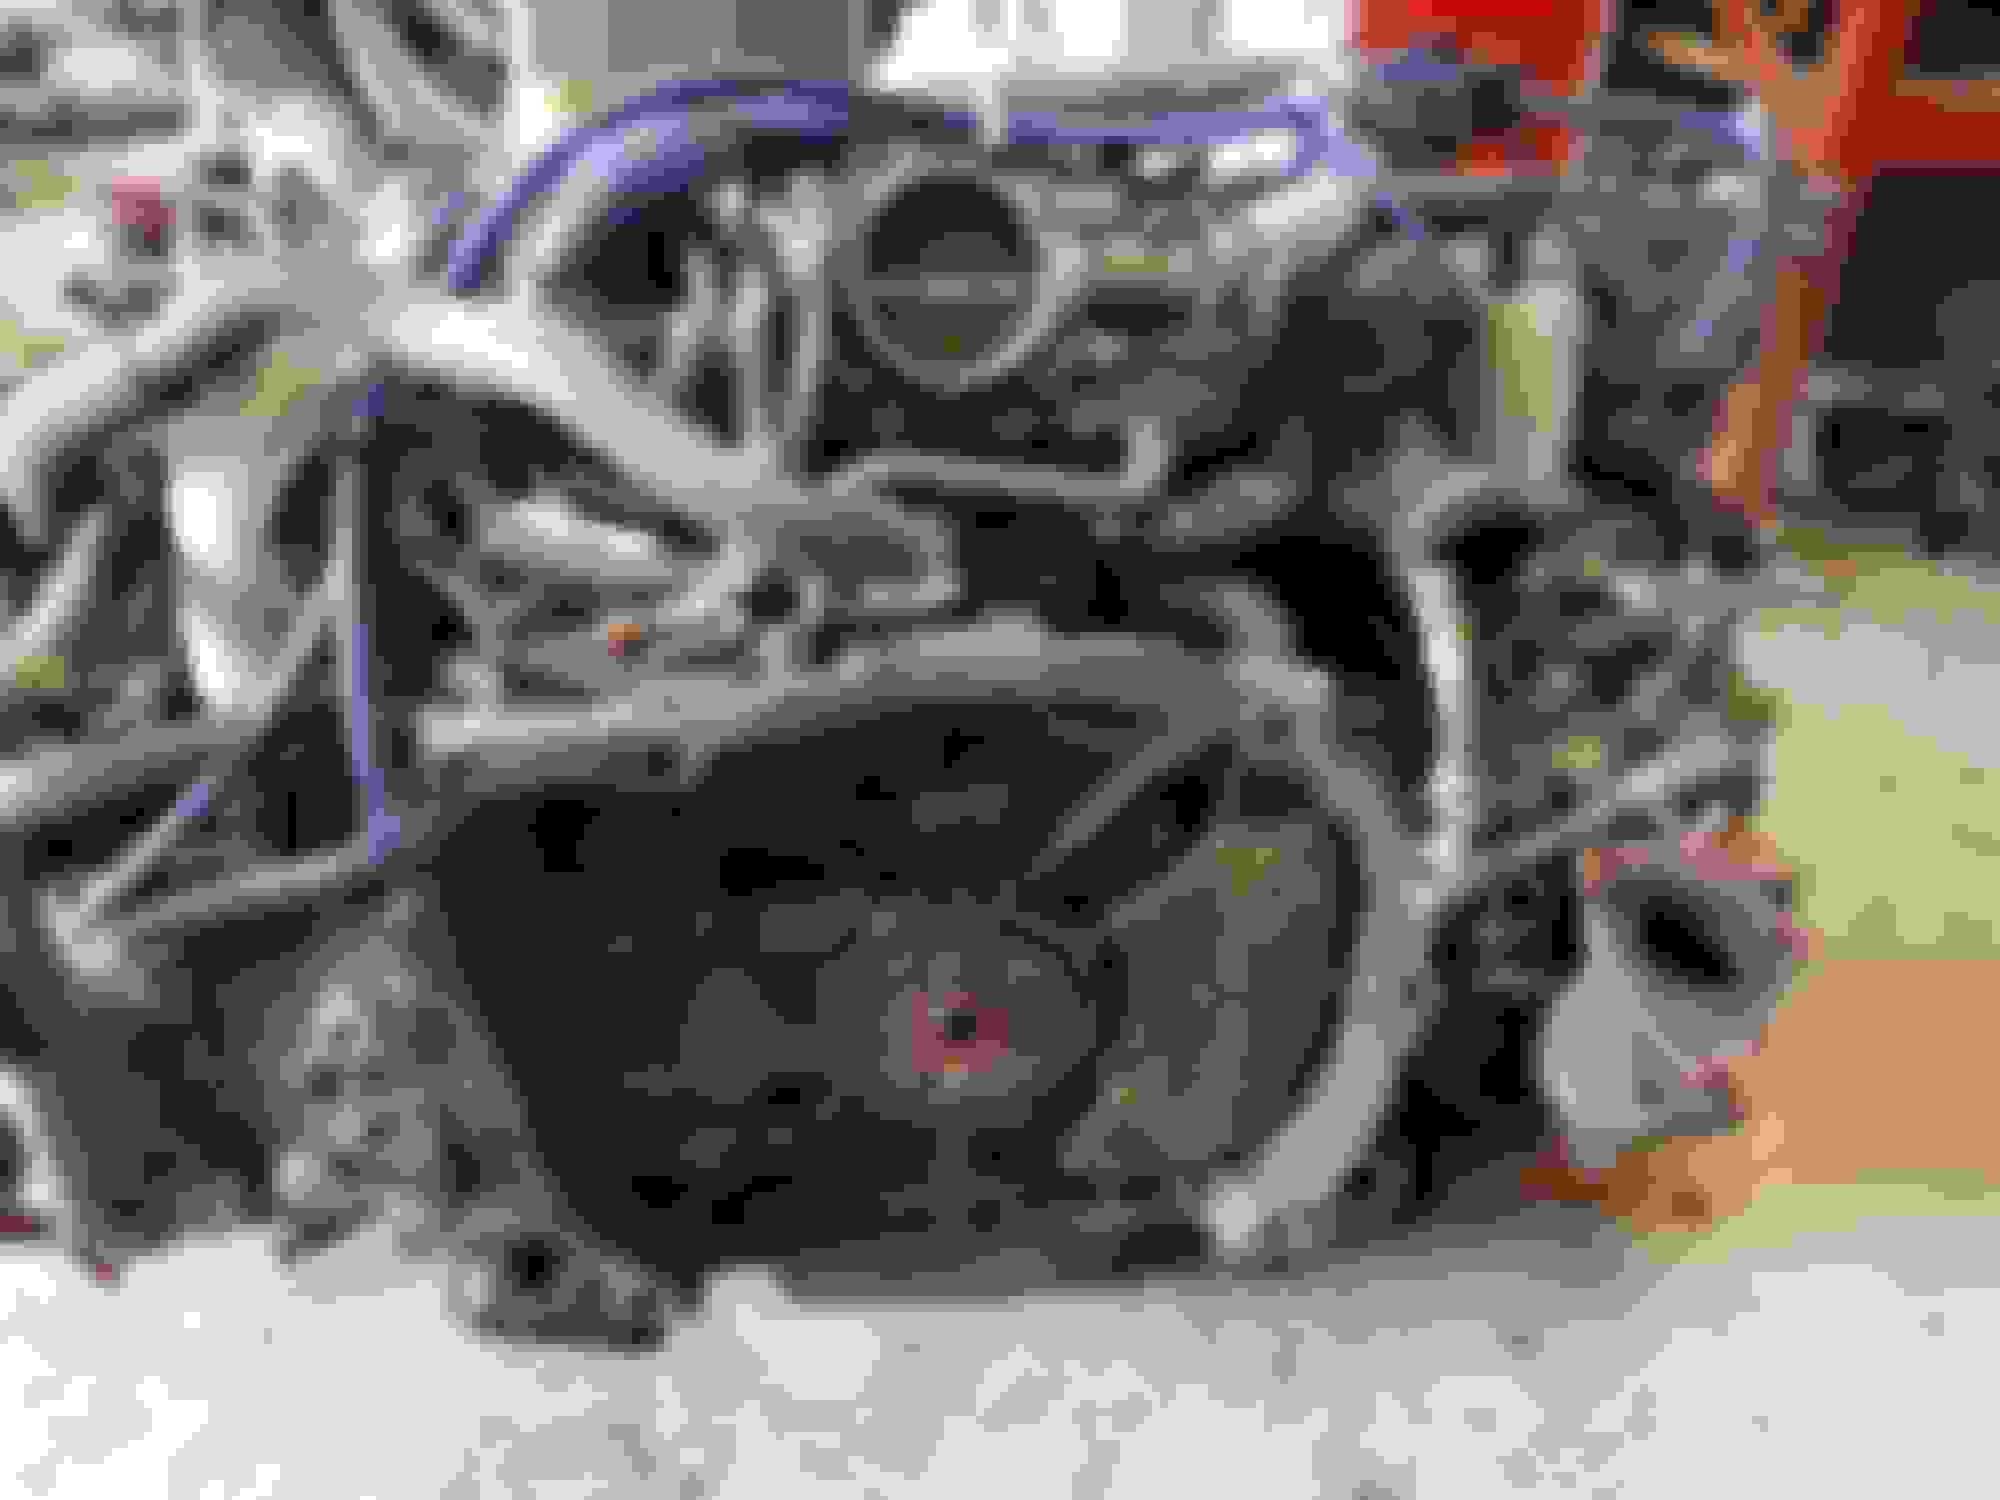
How the engine now sits.
Next job will be to get the engine up onto the engine stand when it arrives. Off to Finland for a "business" trip on Thursday so hopefully it'll be here before then. The turbo shaft feels like there is no play but I think I might send it off to get checked just to be safe especially since there was all the rust and metal in the coolant lines.
Love threads like this, keep these classics a live and on our roads. Good on you buddy, keep up the good work.
Pete.
It's a hard job but someone has to do it.
I'm lucky that I have access to a ramp, a family member who does body work and the space to do the work in. If I was trying to do it out of my garage at home then I wouldn't have bought the car. Just wouldn't have been worth the time and money I'd have to put it in.
Another thing that's good is I'm willing to learn. Never stripped down and rebuild an engine before so every day is a school day I'm working on the car. Just need to hope I don't break anything else
Not made any use of it so far. Currently sat in the airport waiting to fly back from Helsinki. Been enjoying the 20-25� weather and beautiful women all courtesy of the company credit card.
I'll probably get started on the rest of the engine tomorrow if I've recovered enough.
You got those trim pieces in the car yet? Hopefully they're all good
woukd yoy recommend upgrading any arbs on the classic? Would I need to get tracking done again after an install?
Thanks again
I think with ARBs most people go for the adjustable 22mm front and adjustable 24mm rear. You shouldn't need to get the tracking done after installing them.
Originally Posted by mellinator2k
Also mate - only bit I don�t have in is the large radio sorround bit. Any idea how your I get that out? Lol cheers
I can't remember 100% but I'm quite sure it's most of the centre console out including the trim around the handbrake lever.
So now that I'm back from Finland, I thought I'd best get started on stripping the engine. First job was to get it up on the stand.
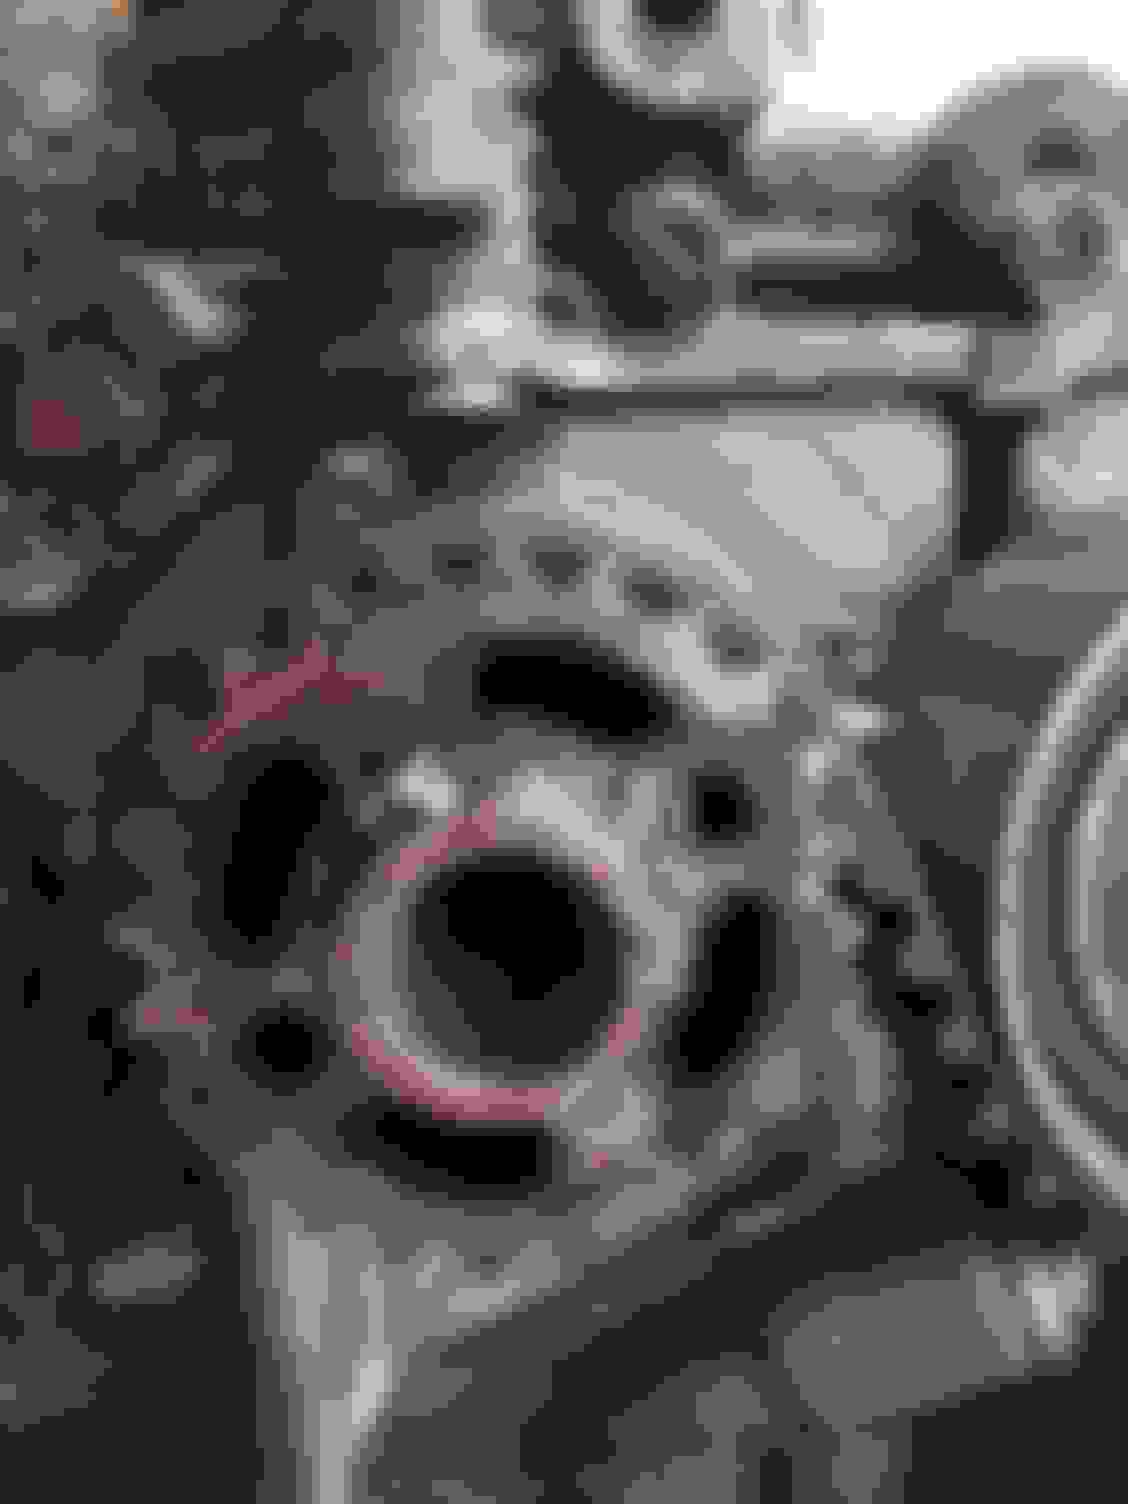
After taking a few thing off the top of the engine, I turned the block over to take the sump off and I found something that shouldn't be there.
So after that shock, I moved onto the front of the engine. Started with the cover and the timing belt.
Crank pulley key has definitely seen better days. Half of it is missing and it's all twisted and worn.
Took the Cam pulleys off next. Noticed one of the intake pulleys has a dent in it. I think it's maybe been hit when being put on by one of the previous owners.
Another point of concern is the state of the water pump when I removed it. Looks like the engine has had little to no antifreeze in it which has let a lot of the inside get a little rusty.
With that, I left the engine like this for today. I'll be back over tomorrow to get the heads off and split the block to find out the extent of the damage on the inside. I'm hoping that the rods and pistons are still good. If not, then I may be leaning towards a 2.1 stroker build.
I would love love to have that level of knowledge and abaility mate. keep it up!
I am doing spark plugs next - hardly taking an engine out difficulty lol
It's surprising how easy cars are to work on. You can find guides for everything on the internet. I've never stripped down an engine before but I'm just following a guide I found on RS25.
One of the big things is just remembering how to put it back together. I'm very particular when working on stuff. I put everything in labelled bags and take photos of where plugs go. Takes a while longer but makes it a lot easier.
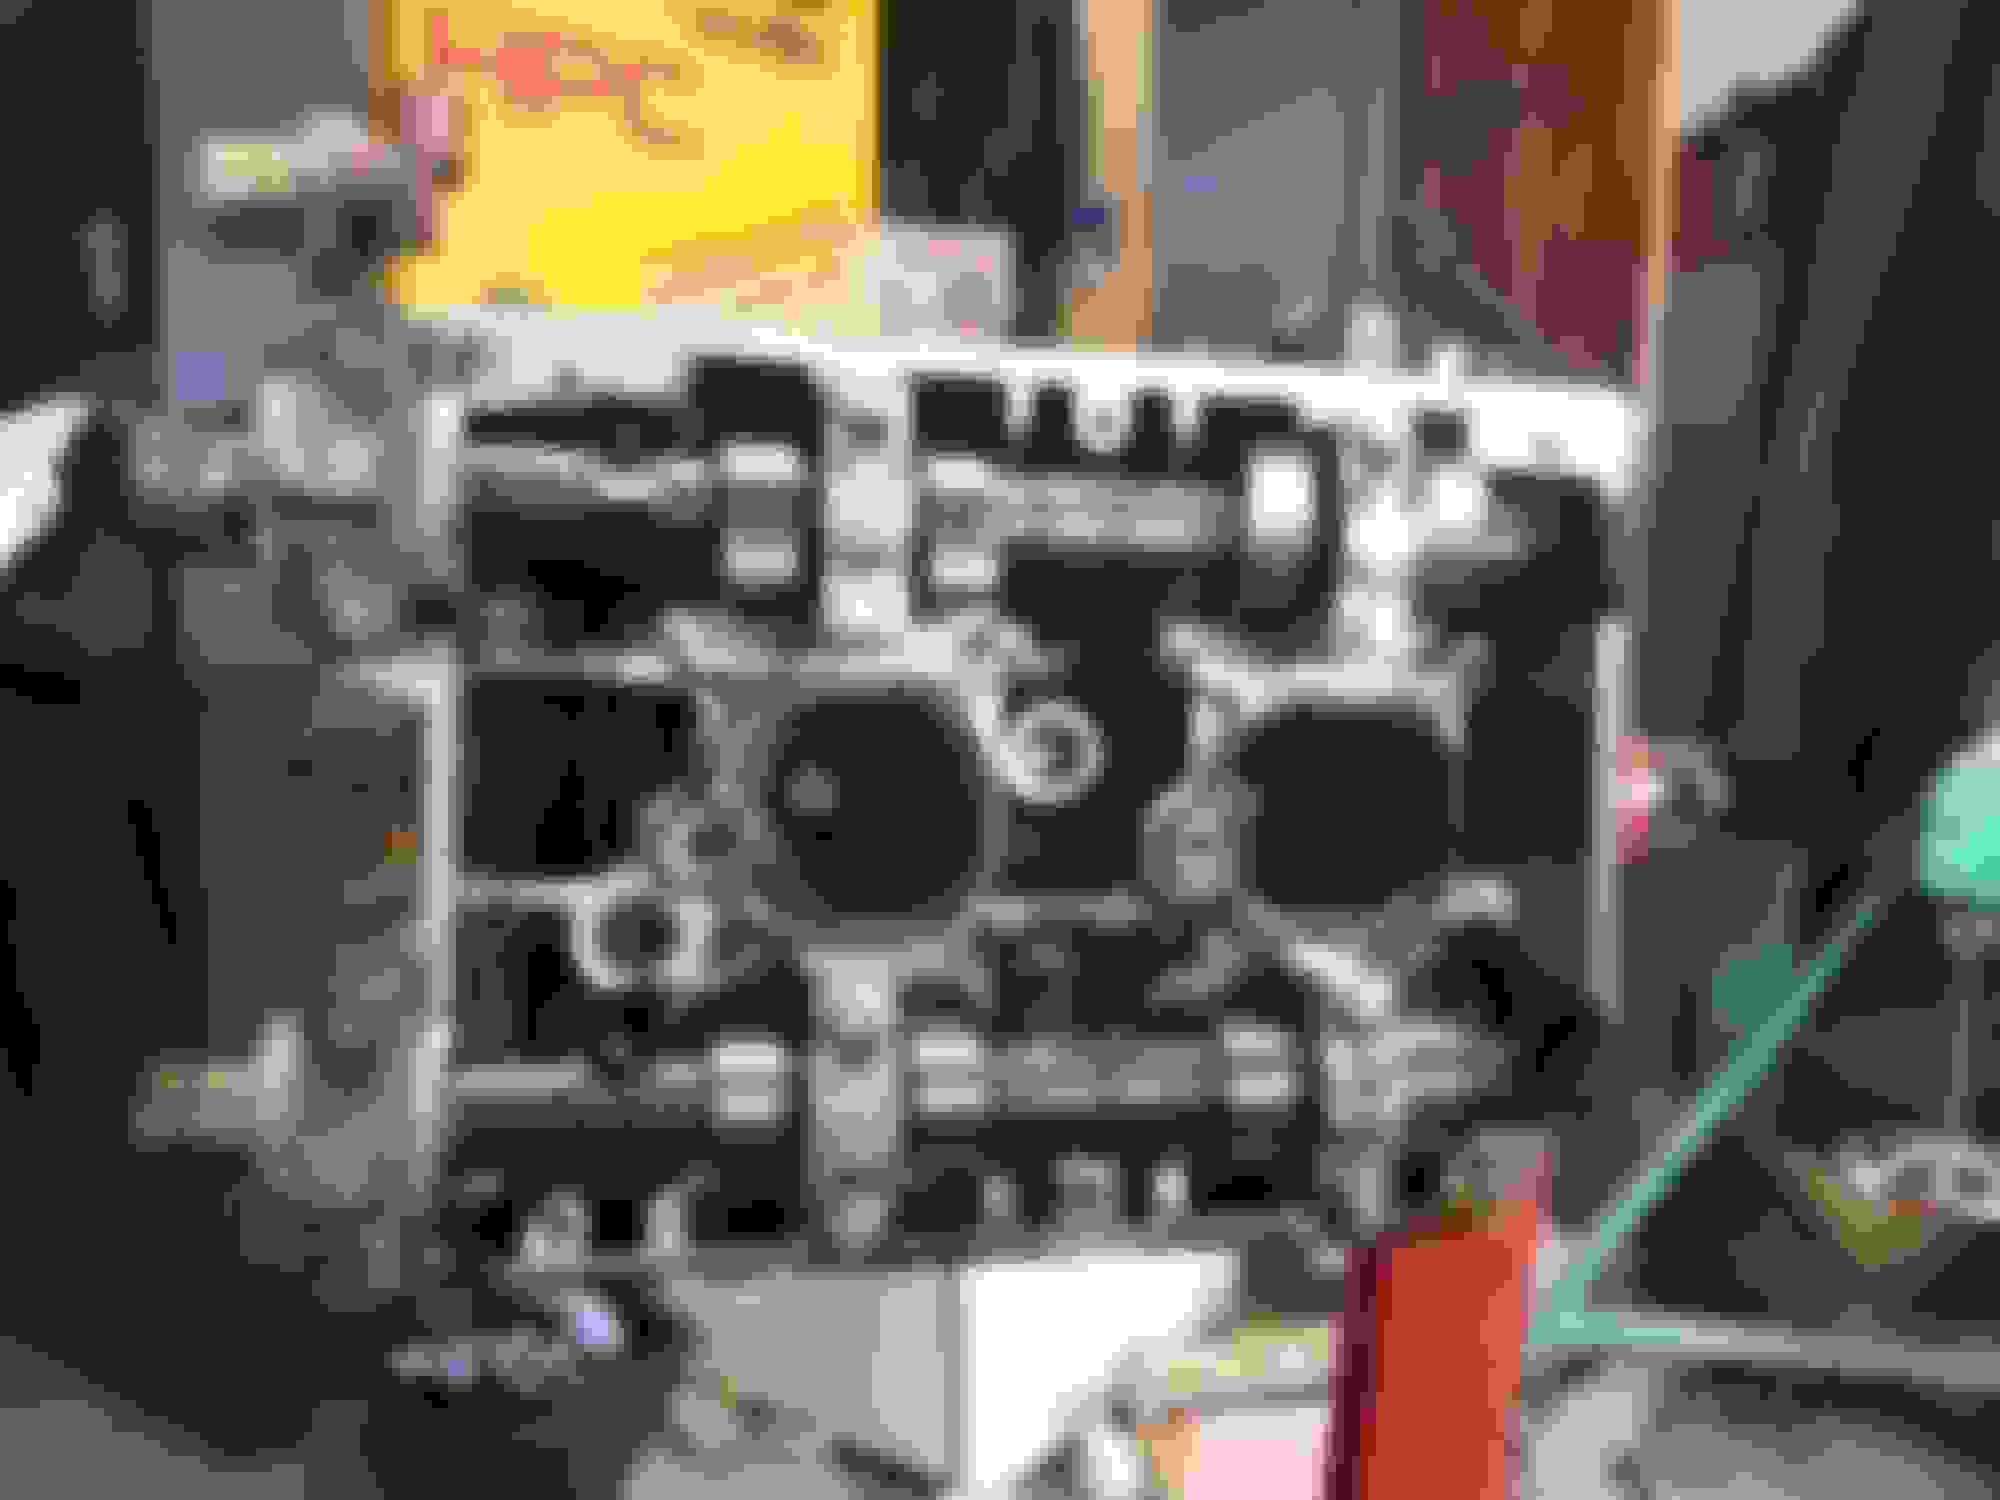
So continuing on from yesterday, I started by taking the covers for the heads off.
Keeping the cams in a labelled bag so they stay clean and I don't get them mixed up.
Heads off and put to the side. I'm not 100% sure but I think these are V1-2 heads. If someone knows, let me know.
Put the crank bolt back in so I could rotate the pistons.
Bit of carbon build up on the pistons. I think these are standard pistons. Couldn't see any brand markings on the inside.
Forgot to take some more photos but here's the block split
So now I've got a fun decision to make. Do I just rebuild it as a 2.0, do I go for a 2.1 Stroker or a 2.5 bottom end conversion. Luckily there doesn't look like there's any damage to the cylinder bores. Can still see the cross hatching on them.
Probably wont be any more updates until July as I'll be doing a lot of overtime to get more money together for the rebuild. Got a nice 2 week break where work is shut so I'll be aiming to do as much work as I can in that time.
Just a quick update. Block and heads have been dropped off at AS Performance for some machine work. Rear thrust conversion and bored out as I'm going for a 2.1 stroker. I'll be picking it back up in a month or 2 so my next job will be the underside of the car.
 08 October 2017, 10:06 PM