When you click on links to various merchants on this site and make a purchase, this can result in this site earning a commission. Affiliate programs and affiliations include, but are not limited to, the eBay Partner Network.
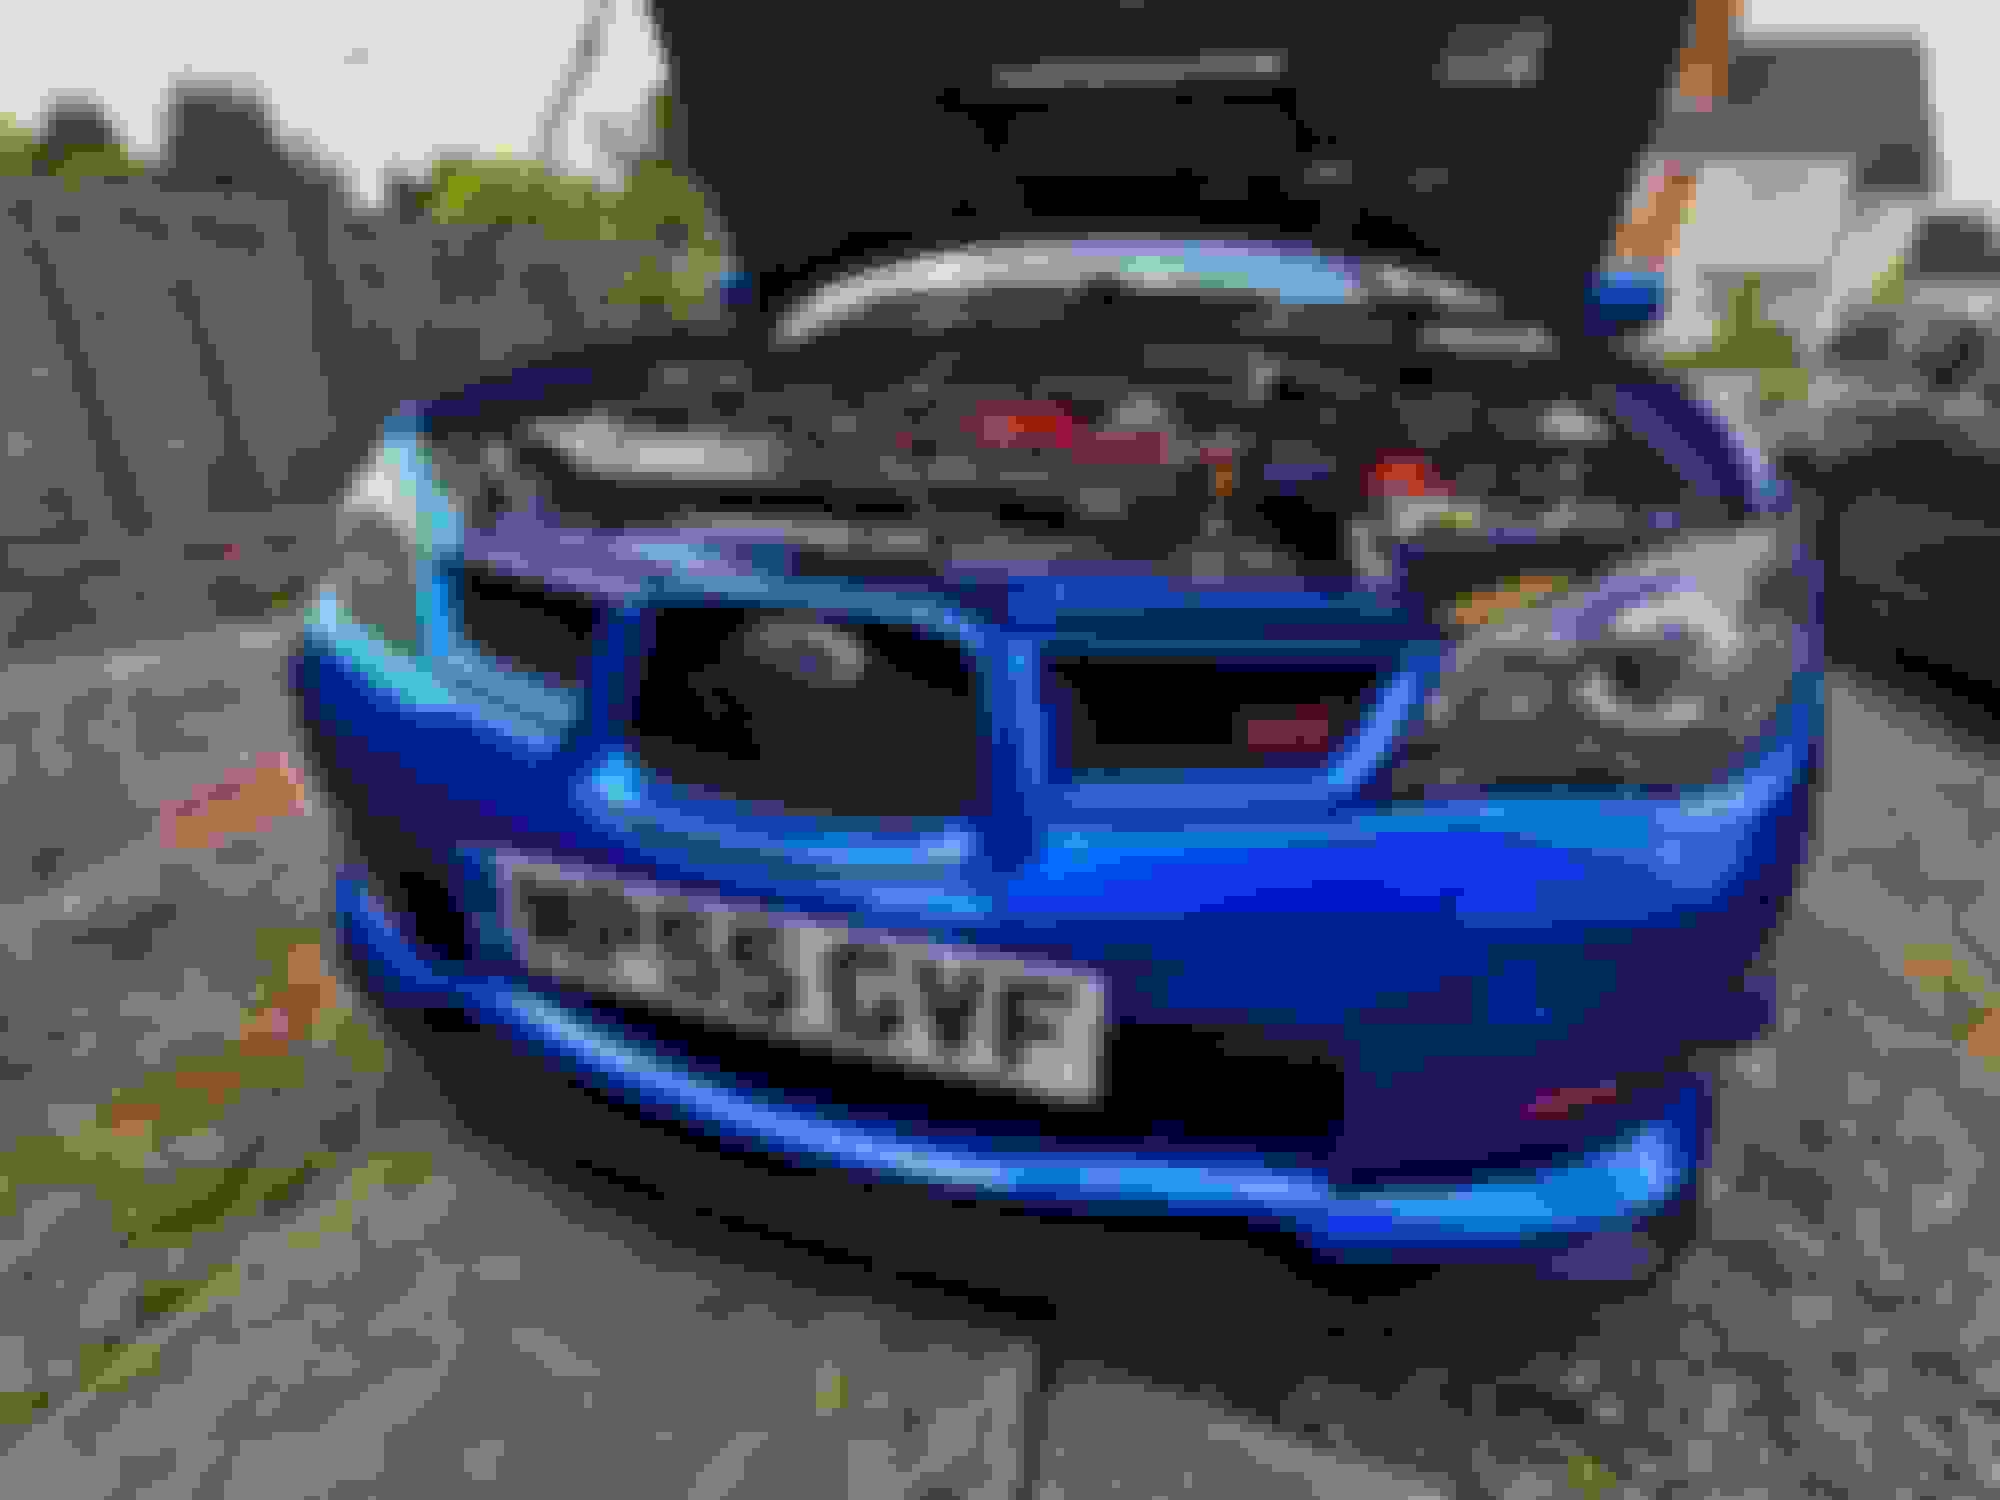
Welcome all to my build thread of my 2005 JDM Hawkeye WRX STI. I picked her up back in May of 2018, with a few mods already done to it! It had also had all the fluids and a few hoses replaced at RCM for Ł700. It has been well looked after with a extensive history folder. Since coming from a Clio 197 F1 edition, the power delivery and AWD handling was something else! I've been mostly just enjoying the car how I bought it and getting more confident in driving it spiritedly. Now I want to put my own touch on the car and over the next year I have plenty of plans for it!
Spec as I bought it:
Claimed 340bhp/350ft/lb
Cusco Coilovers
HKS silent hi power
Walbro 255
Perrin Battery Hold down
Perrin Radiator Surround
Defi Triple centre Gauges and Boost Pillar Pod
Front Splitter, side skirts and rear spats
Alcantara Steering wheel
The day I picked her up!
One of the first thing I have done to it was replacing the water filled tail lights to the JDM style, I feel like they suit the car better and just a generally cleaner look!
I have also replaced the interior and Plate builds from the dated yellow to crisp white LEDs, these also output way more light in the cabin! The reg housings where sorry looking so gave them a quick clean up too!
Last edited by farrow101; 25 March 2019 at 10:46 PM.
Up next was a post winter decontamination to get rid of all that winter muck! I also had all the wheels off to clean the inner arches and to add Carbon Collectives Platinum wheels to the faces and inner barrels of the alloys.
Lovely car you have there mate, where in Warwickshire are you? there is a really good specialist in Warwick called thwaites if you dont wanna come to stinkley every time.
Good choice with auto finesse mate, I use their stuff on my hawk with great results.
+1
spec c roof and few other s204 and sti bits will finish it
Yeah defiantly more things i want for the car! I quite like the chargespeed parts and some carbon wouldn't go a miss
Originally Posted by pjarvis6666
looks great!!
Thanks Man! Loving it!
Originally Posted by Marky1968
Really nice car mate, looks lovely and shiny
Good work with what you have done so far, the rear light cluster looks
much better than the lexus lights look
Haha thanks, took quite a few hours to give it a proper once over, absolutely filthy again now though... Yeah those lights look way better!
--
Does anyone know why some posts it allows me to reply fine and others it has to get "approved by a administrator"? Keeps coming up when i try and reply... just deletes the post
Last edited by farrow101; 18 March 2019 at 08:54 PM.
Lovely car you have there mate, where in Warwickshire are you? there is a really good specialist in Warwick called thwaites if you dont wanna come to stinkley every time.
Good choice with auto finesse mate, I use their stuff on my hawk with great results.
Thanks Man, I'm Worcestershire based. I have had the car MOT'd, a general health check and a oil, filter and coolant change since owning it, I took it to Pole Position and they did a great job! Car went through without an issue, They did say it is a tidy example which is always nice when you buy a new car!
Last edited by farrow101; 19 March 2019 at 12:43 PM.
Thanks Man, I'm Worcestershire based. I have had the car MOT'd, a general health check and a oil, filter and coolant change since owning it, I took it to Pole Position and they did a great job! Car went through without an issue, They did say it is a tidy example which is always nice when you buy a new car!
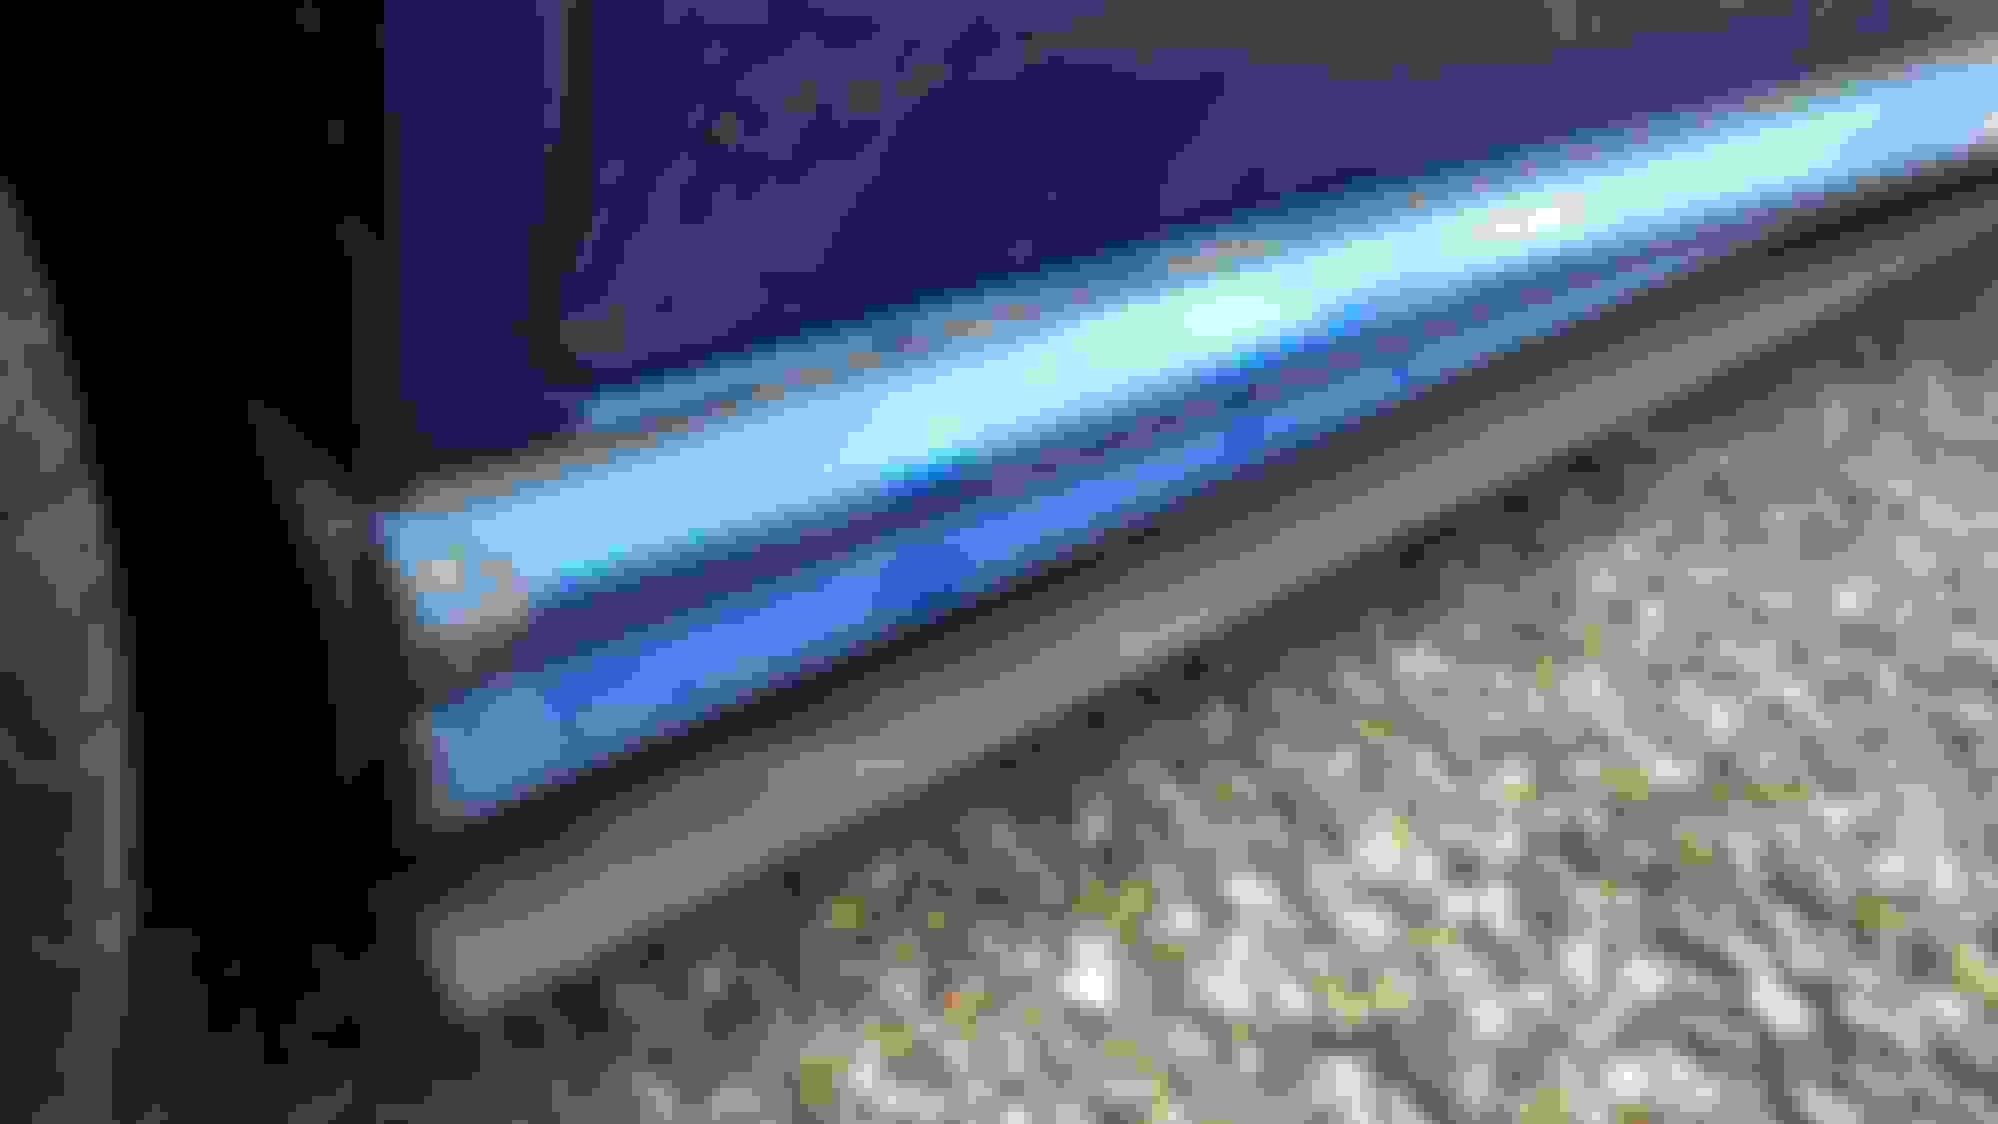
Made use of the lighter weather, gave the car a clean and also polished up the exhaust! Love the look of it, but it's just to quiet for my tastes, something to add onto the wish list Also tested a pad and compound for a future paint correction!
Hard to capture on camera with the late afternoon lighting. But definately an improvement on the small areas i tested.
That's what I need to do to my exhaust too lol
Yours looks fantastic mate
Thanks man, yeah those little jobs can make the whole car look cleaner! I just used a microfiber cloth, and got the polish from Halfords. An metal polish would do the trick really!
Lovely car, I would have done the same with the rear lights, blobeye lights look nicer than the hawkeye ones in my opinion. The Jdm’s with those lights are wired differently to Uk. Tail lights are on the small round inside lights and brake lights are on the outside. Should be easy to swap over. Keep up the great work and I’ll look forward to seeing any updates!
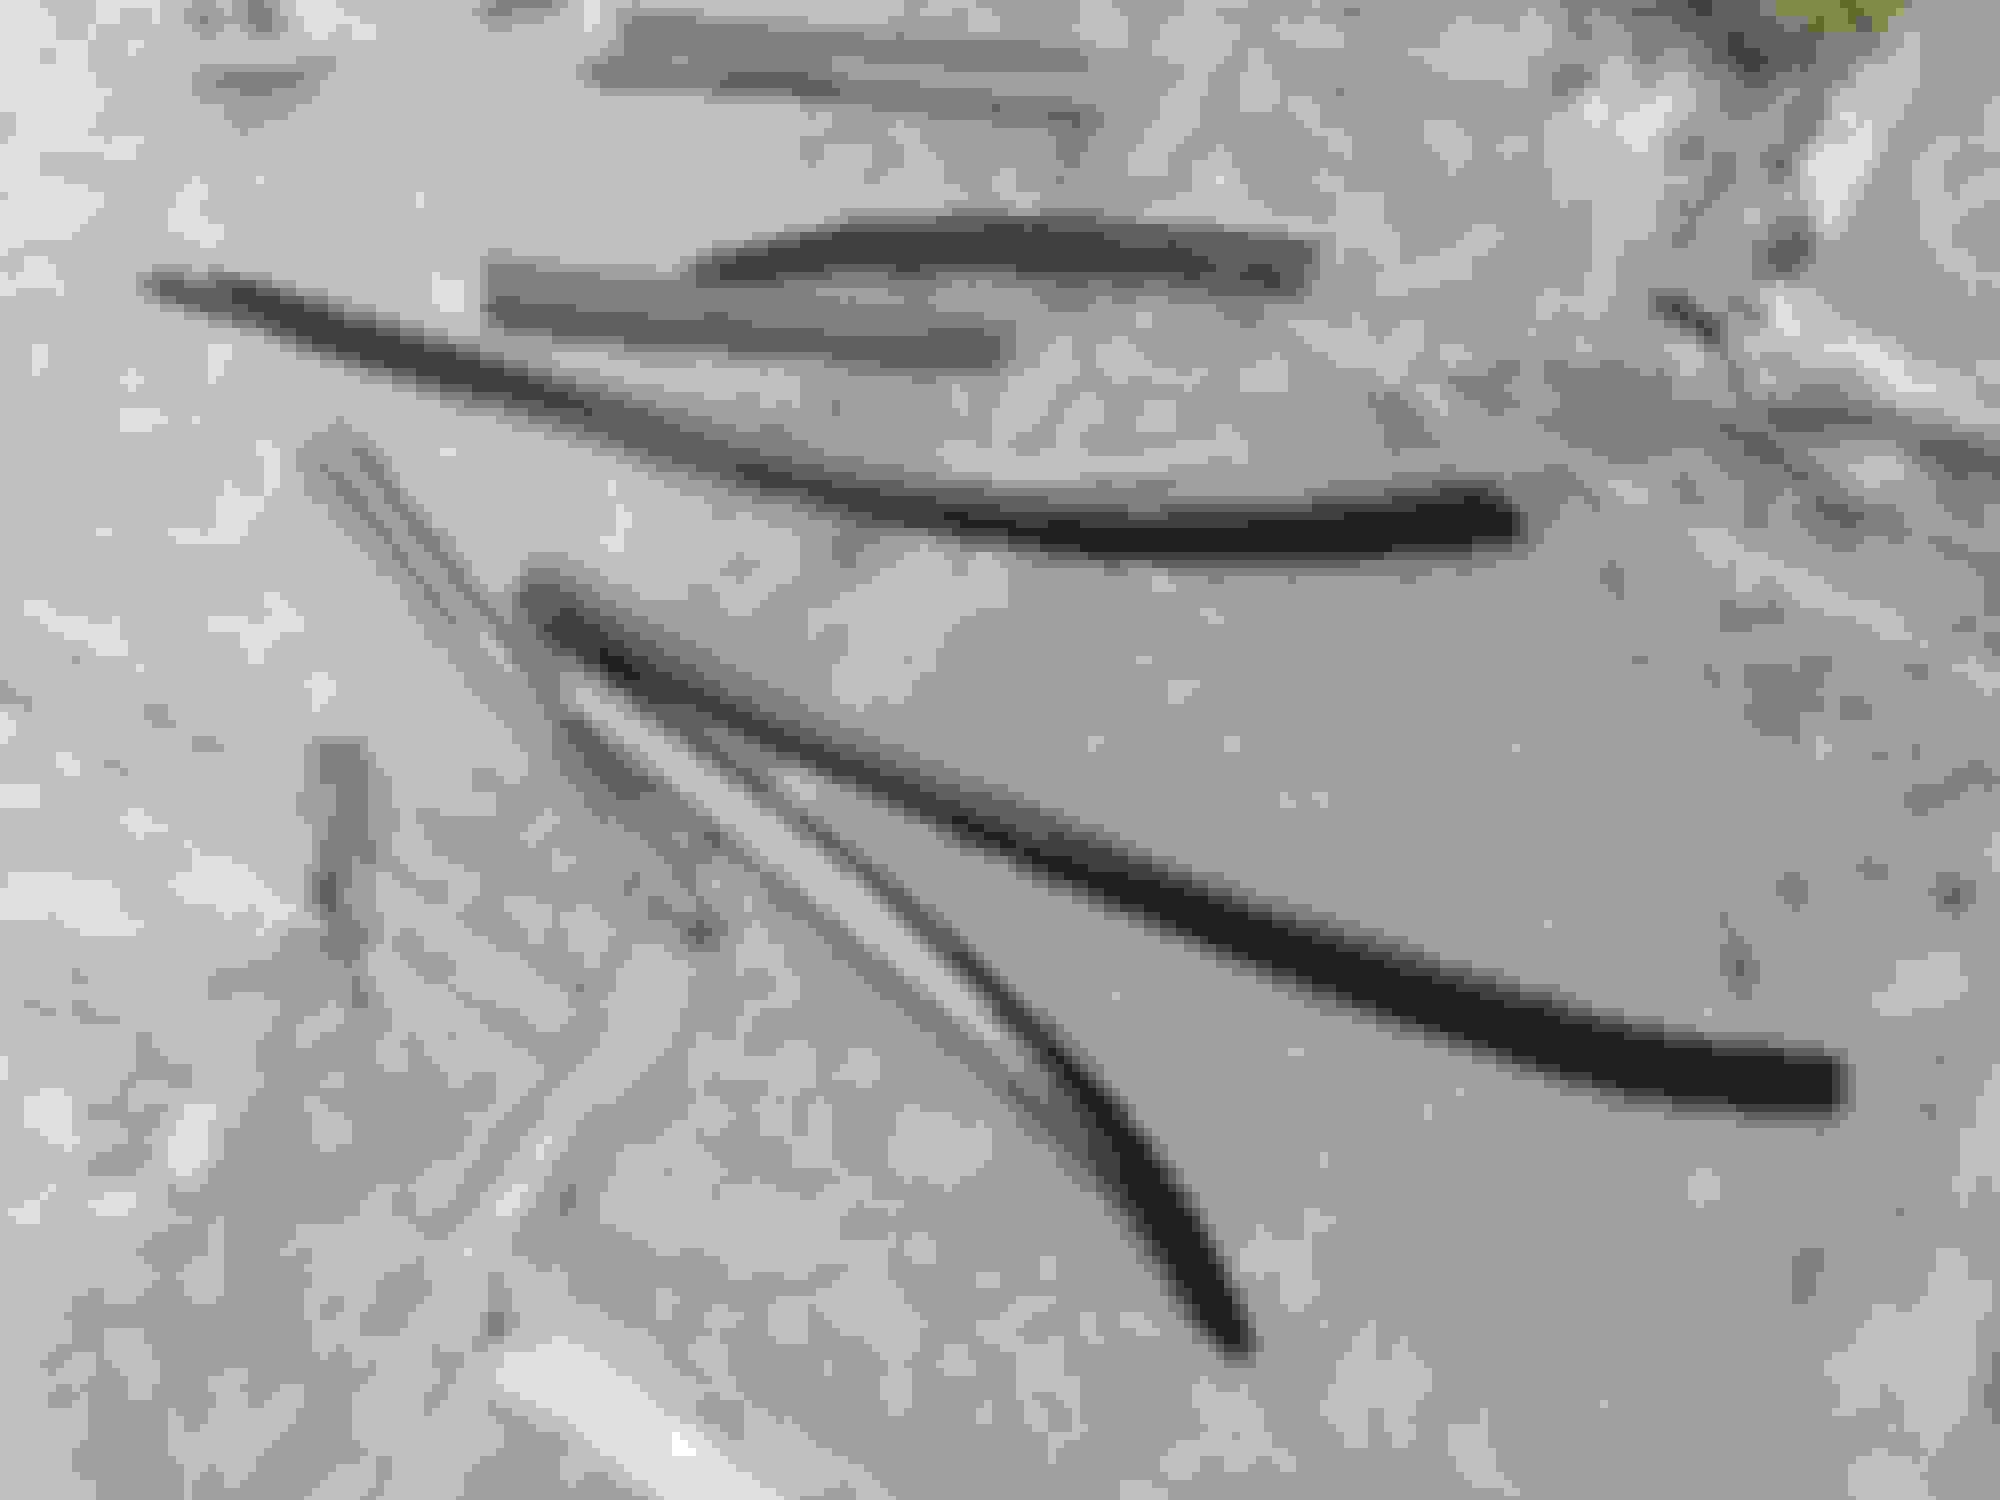
A little update, One of the wind deflectors was unfortunately cracked and with the window open it made the most annoying noise... So i had the fun job of removing them and the foam adhesive. Heat gun, rubbing alcohol, adhesive remover and a lot of swearing and scrubbing finally got it all off! Those window trims and on the to paint list now
Up next was something I've been meaning to do for a while! Restoring the headlights and removing the yellowed look. I attacked them with the follow 600, 800, 1000, 1500, 2000, 3000 grit sand paper. Each grade changing direction. Then machine polished with compound and then finally a polish! What a difference it has made!
Finally gave her a wash and got some more water beadage shots
 15 March 2019, 01:37 PM


 Also tested a pad and compound for a future paint correction!