When you click on links to various merchants on this site and make a purchase, this can result in this site earning a commission. Affiliate programs and affiliations include, but are not limited to, the eBay Partner Network.
Right, started pulling the engine. You Tube videos make it look sooooo simple. Most of the YouTube vids are on LHD cars so when you come to try and remove the turbo heat shield they don't have the steering coloumn and the brake servo in the way. Doused everything in WD40 but what an awful job! Got most of the bolts out some with difficulty. I did snap one. However, the bolt next to the brake servo was seized solid. I have various different socket sets, spanners and grips but couldn't fit anything in the gap to get on the bolt head except a spanner which wouldn't budge this damn bolt. I managed to round it off so my only option was to cut it off. I tried to get a junior hacksaw in the gap to cut it off but I could only cut it at an angle leaving some of the head in place. An hour and a half later I realised that it wasn't coming off and so punched a hole in the shield and had to smash it off. Not what I wanted to do but there was no alternative.
Next is the up pipe to turbo bolts. Three out no problem, one a bit tricky and again one under the turbo which is just difficult to get at even on the lift.
Sorted now but again not an easy job.
Bellhousing bolts next. Again top ones no problem, one a bit tricky as there is limited space.
A couple of the bolts underneath the car again were quite difficult to get at but I eventually did manage.
So for those people who remove an engine in an hour, BRAVO!! It took me 3 hours today to remove the heatshield, disconnect to up pipe and remove the bellhousing bolts!
Starter is now out, oil drained, I need to remove the clutch fork, O2 sensor, fuel lines and wiring and I should be good to get the lump out.
I eventually insured the STi for the weekend to asses it on the road properly. First time out it was basically undriveable due to a really sticky accelerator pedal. I was kangarooing it all morning.
So I got it home and checked out the pedal, nope that's OK, Throttle body nope that's OK. So disconnected the cable and put some WD40 Advanced Silicone lube down it and although it didn't feel that stiff there was a very noticeable difference straight away.
Threw it back on the car and WOW what a totally different experience. It drives really well. Bit tricky to get off the line quickly due to the clutch but once on the move everything was brilliant.
I do think I'm still going to do the swap into the wagon though as that was my plan all along and getting another cheap STi would lead to divorce and parking wars with the neighbours!!
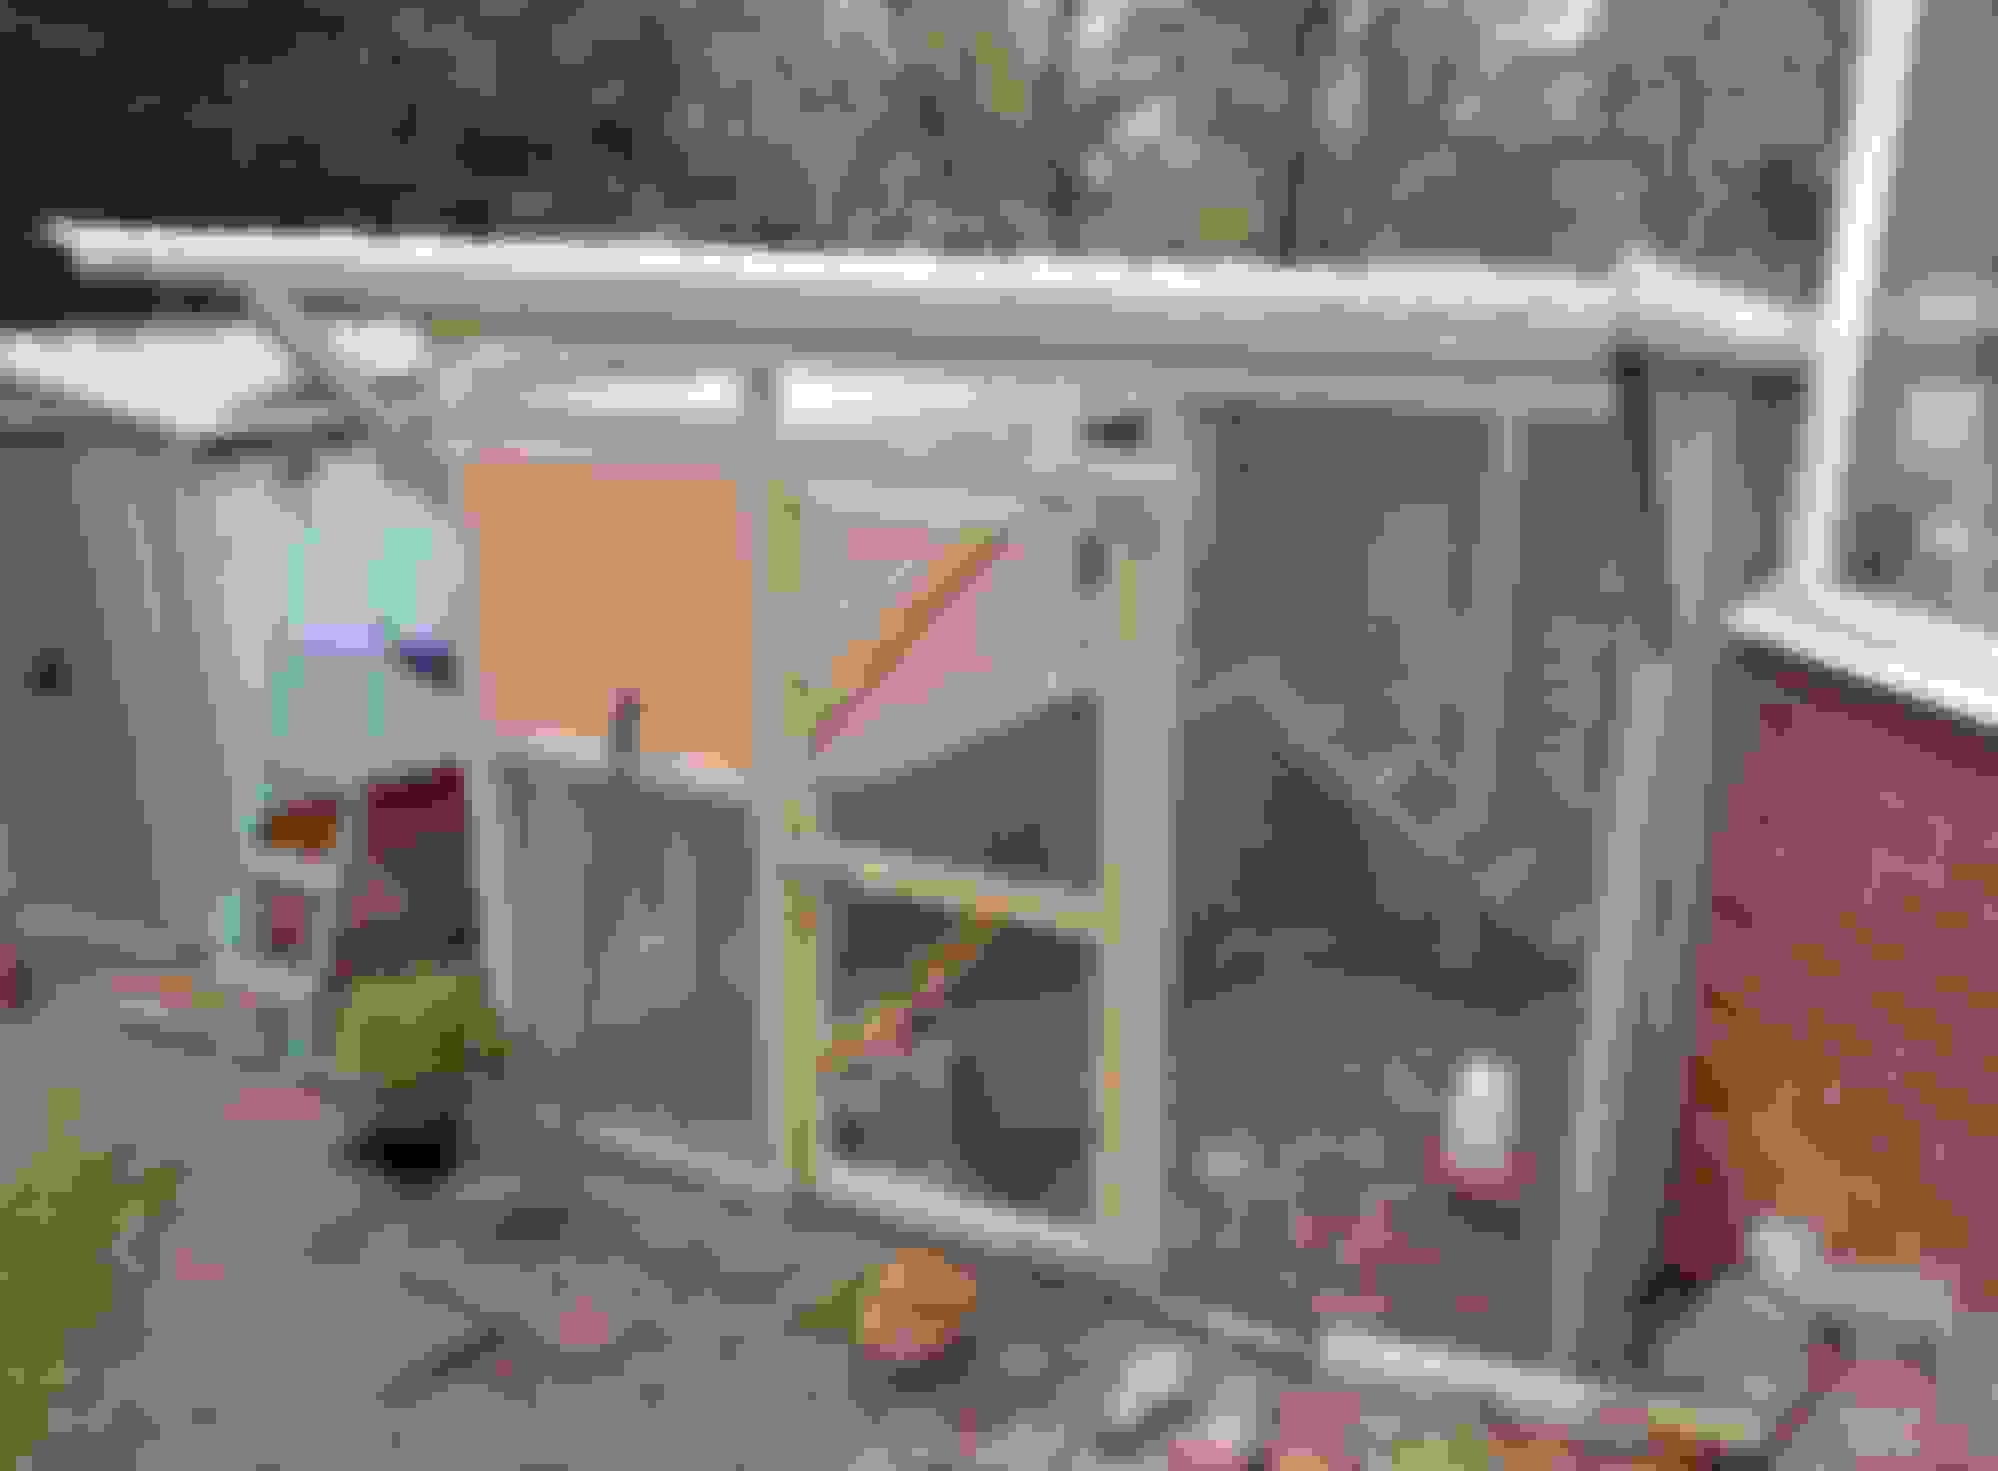
Work on stripping the wagon has slowed as the Mrs. needs a new Chicken coop building so I'm on with that at the moment. Engine is ready to come out but all the wood for the coop is stored in front of the car.
OK Chicken coop is finished so back to the car.......
To get the engine out I still needed to remove the two nuts at the bottom of the bellhousing. One is really easy next to where the starter was but the other is a b@stard to get at. I tried my 1/2" socket set, driveshaft in the way, 1/4" Socket set didn't have the right size extension bar. I tried wobble bars, the works but just couldn't get a socket onto it. I tried my offset box spanners, subframe in the way. I just couldn't get at the damned thing.
Is there a special tool to get at this?
Eventually I decided to remove the driveshaft as it had to come out anyway. Guess what, seized bolts everywhere! This is supposed to be enjoyable.
I fought the bolts and eventually got them with loads of penetrating fluid and a meter long breaker bar but what a job.
I've just ordered one of these for the rest of the car. Always wanted one and I already have the batteries for it. The reviews of it are very positive so I thought why not, if it is like the rest of my DeWalt stuff it should last a long time.
Couple of hours free today so engine came out. It took some persuasion to split it from the gearbox but I just knocked a couple of paint scrapers into the joint and gradually opened up the gap then a screwdriver and last of all a breaker bar.
Not difficult to get out with a crane.
Gearbox next to come out after the other driveshaft and the prop are removed.
Everything soaked in penetrating fluid ready for me getting my new Impact gun. Looking forward to giving them some "Ugga Duggas"
Had a good run today.
Got the exhaust, prop, gearbox front suspension and subframe removed as well as a chunk of the engine bay wiring.
I'm taking my time and really enjoying the process.
The impact gun is amazing, just need a couple of longer extensions for it. I tried using a standard socket extension and it just sheared it!
Gonna have to sort out the rear suspension soon. Not looking forward to that as it is RUSTY as hell.
I've been soaking it in WD40 for the last few days but some of the nuts and bolts have really deteriorated so I'll probably end up cutting them off.
The flu has halted any progress for the past week, not covid (I did get a test), so I've been in bed watching Netflix and sleeping for a week. Could do with retiring I think.
Not been able to get in the garage for a while, firstly was REALLY ill and then I needed to move a shed so that I could build another one for all the parts off this car.
Of course when I tried to move the shed the whole base was rotten so I had to empty it into the garage and then rip it apart and store the sides and roof in the garage as well. So, bugger all room to do any work on the car.
Eventually managed to make a new base and get the thing treated and reassembled with new felt on the roof yesterday after waiting for some decent weather.
So after putting all the crap back into it once again I had some room to do car stuff.
Rest of the rear suspension came off. I had to drop it like this because I couldn't undo a couple of the bolts. I think I may drop it as a whole assembly in future, subframe, diff, driveshafts and hubs all together. Probably easier than messing about under the car trying to undo bolts that are a nightmare to get undone!
Not sure what the rubber bits do on this but one is missing.
Rear anti-roll bar is shot and the mountings also rotten.
Then I found the fuel filler neck and breather pipe. Oh dear!
Breather Pipe.
Next job is to drop the fuel tank (seems to be a lot to disconnect!) and then that is it on the underside, all the major parts stripped.
I'm going to be taking the parts off the STi to put in the wagon so none of this will be needed. I'll sort through it and see what is worth trying to sell on.
I've not had the STi up in the air yet to have a proper look under that but will probably be going aftermarket for suspension anyway eventually.
Will you be getting the subframes, diff cradle & arms etc powdercoated? Makes sense too while it�s all apart as well as uprated bushes
It is scary that the car had 12 months MOT but the filler neck leaked like a sieve! I guess that isn't part of the MOT but the front lower arms are and both of those had rust holes in them. Makes you think how bad some cars are!
I didn't check this car over much as I knew I was stripping it but if it had been bought by someone who wanted to use it as a daily there would have been some big bills!
I got fed up of shifting all the parts around the garage so decided to build another shed. That is now done except the shelving inside which I was going to get done this week but one of my household has had a positive covid test so I can't go and get the bloody wood to finish it!! AAAGGHHHH!!!!!
May as well get on with the stripping then.
So, today, I cracked on. After a late start I got the fuel tank out and the fuel vapor canister. All the brackets for that were shot and the high pressure fuel pipe on the left of the tank just crumbled on the end when I tried to disconnect it!!
Was sick of crawling about under the car then so whipped out the sunroof next. Then out came the dash, not a job that I'd been looking forward to but surprisingly easy!
After that I wanted to start taking the wiring out from inside the car. It is a crap job but I got one of the looms stripped out to the rear of the car and the tailgate is ready to be removed now as well. Why can't companies standardize connectors and clips?
This is the inside now, next job is to remove everything behind the dash and finish taking the wiring out.
Having to store things in the boot now because I've run out of room!
Just got to drag the wires through from the engine bay now and sort out the immobiliser. The casing around it has security screws so I can't take it off the steering coloumn BUT the wires from inside the unit are attached to the main loom and the plugs to disconnect are in the unit.... which is sealed. Oh well, never mind it's easy enough to sort but not today.
Been thinking about colour options for the project.
I've pinched a picture of Gary Peskett's wagon, my favorite, hope you don't mind Gary. The actual colour is the first picture but I don't want to copy Gary although I do love the colour.
So I've quickly masked it and altered the colour.
I've put my own score out of 10 before each picture. Let me know which you like best.......
Original grey. Love this colour. Suits the car REALLY well. (10)
Aqua, I've seen a wagon a similar colour but Not sure if it's for me or not. (4)
Black, not matt. We already have 2 black cars so don't know. (5)
Traditional World Rally Blue. My old wagon that my son now has is this colour. Common. (5)
This is supposed to be British Racing Green but it's a bit light. Wife hates this but I quite like it. (6)
Burgundy. Quite like this. Looks classy. (8)
Olive green matt. Loving this. I remember seeing a 911 in this colour and it looked AWESOME. Also a bit different. (10)
Orange. Love orange cars. My sons favorite colour so he might try and nick it. (8)
Purple. Love the colour but don't know if I could live with it. (7)
Bright Red. Again, not a brilliant representation. Do like a nice red car though. (7)
Classic Impreza Mica Blue, again not a brilliant representation! My first Impreza (a 1999 WRX Wagon) was that colour. (9)


 Engine is ready to come out but all the wood for the coop is stored in front of the car.


")