1994 Version Sti RA.... Restoration Project.
 17 May 2015, 12:25 PM
#1351


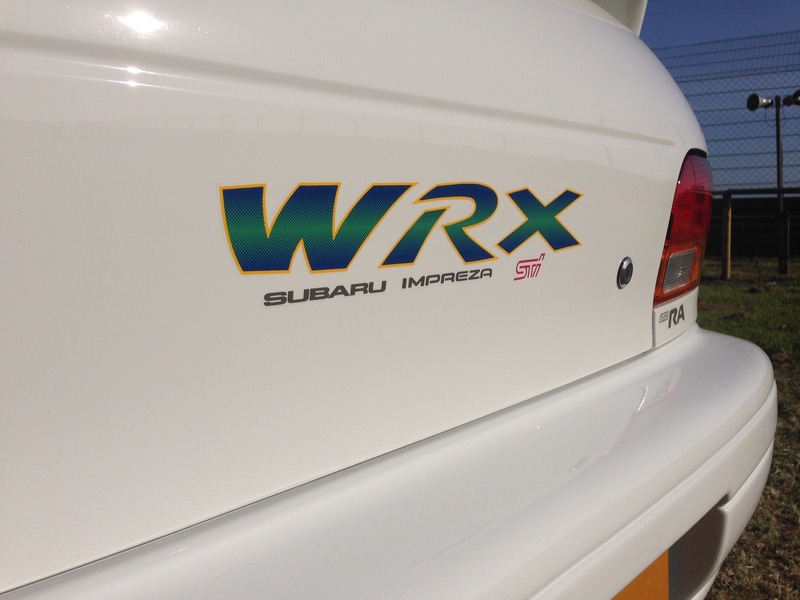
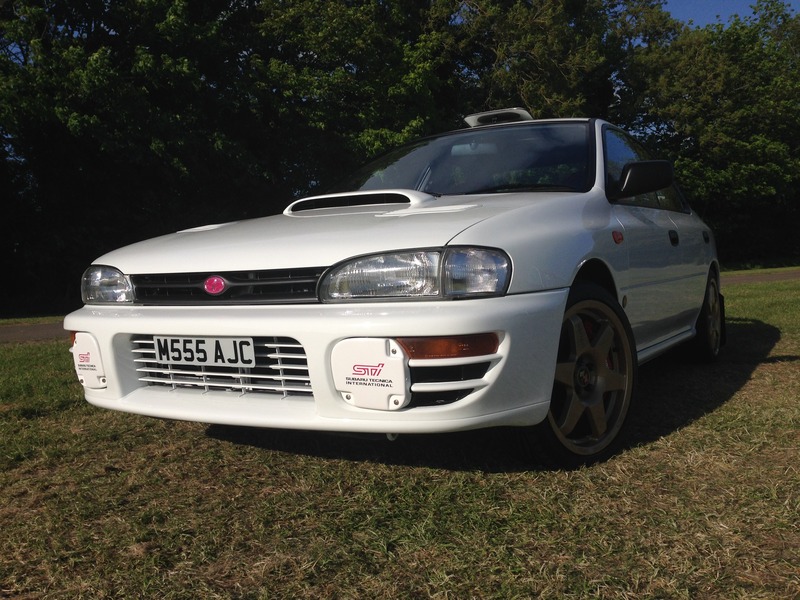
A couple more finishing touches which for me have made a massive difference in the look of the car, I've run the machine over it twice using Scholl Concepts machine polish and finish and the paint has now got great depth then DoDo Juice wax to seal it... Well worth the effort. Also sourced a suitable Sti logo for the boot lid.
It's not a show I've been to for many years but decided a day out at Japfest was on the list this year so I took a few pictures yesterday... Strange show in regard I did talk to one or two but it was rammed and it really a show that many people I know do not go to, I had a day with the Drivers Club (SIDC) and a very good day it was so many thanks to them for organising the stand.
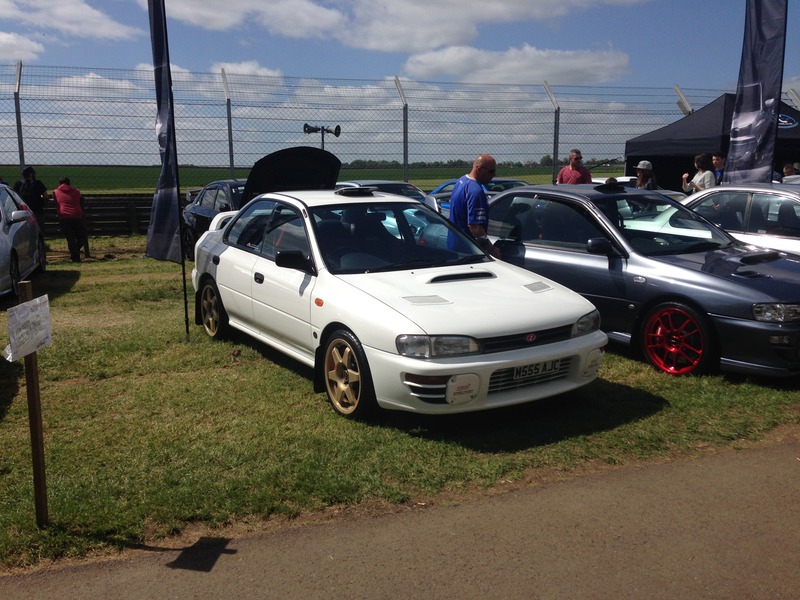

That makes a change from rusty pictures !
Last edited by Silver Scooby Sport; 17 May 2015 at 12:28 PM.
 23 May 2015, 10:14 PM
#1352
Getting my windows tinted was always the plan and it was more a case of when so after calling for a quote I found myself there this morning for it to be carried out.
When I turned up he took one look at the car and said my god you have been busy and I ran through the work that had been carried out, hmm was the reply then he said right in going to do spend some time on this and get it 100% right and asked if he could strip the car apart a little so out with the door cards rear seats and parcel shelf to gain full access.

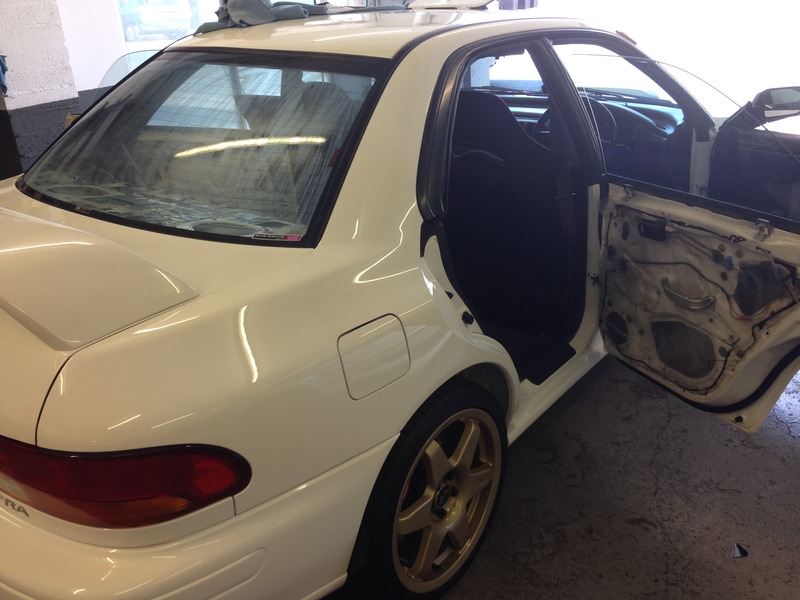

Then he set to work....
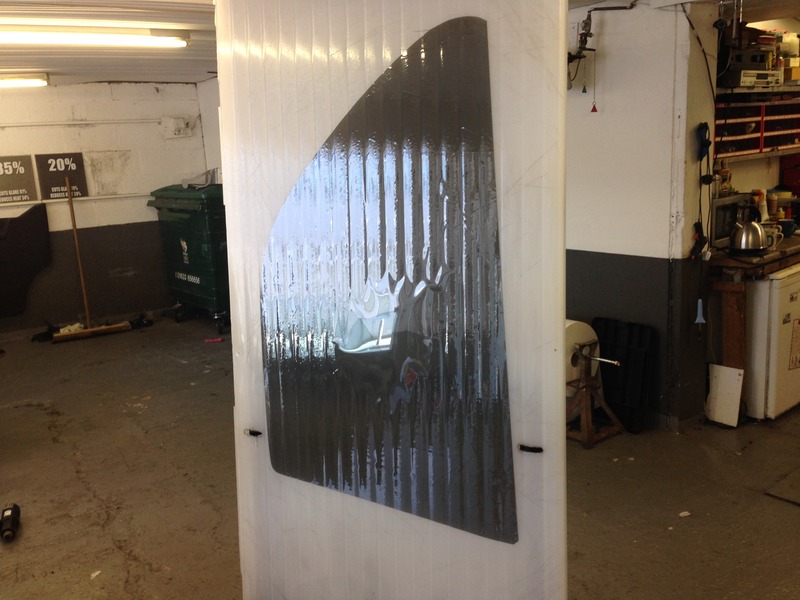
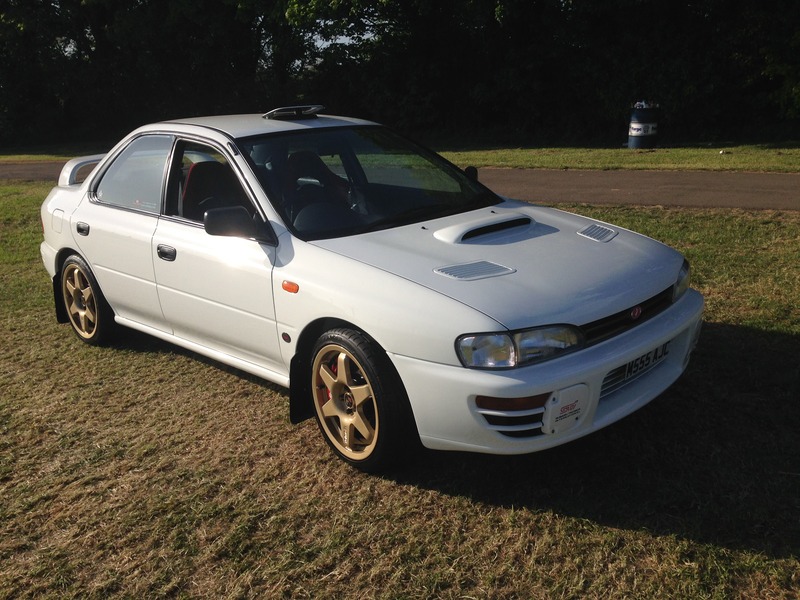
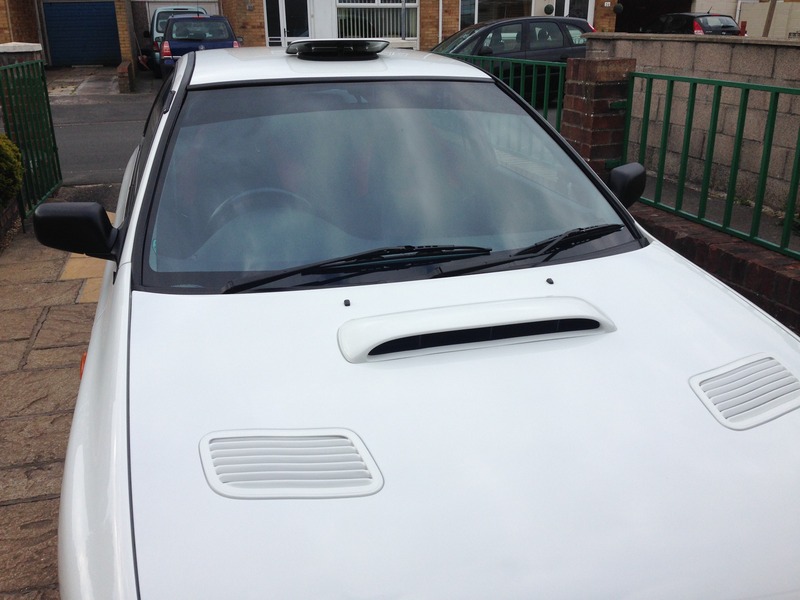
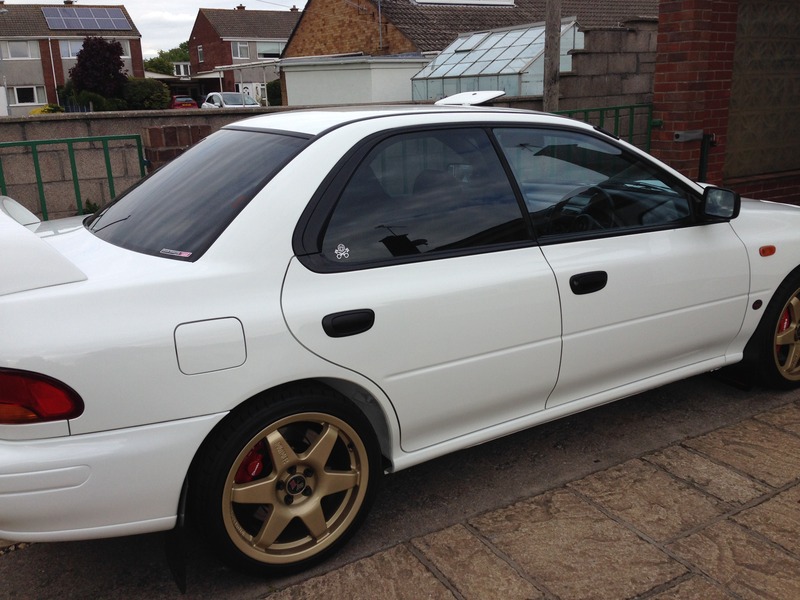
I went for the 35% tint which is more than enough for me it just gives the level I like plus he fitted a tinted sunstrip as well.
Not the best picture but you get the idea, I let the car bake all day in the sun which should have started helping then dry out.
I had them done by NewportAutoTint and I have to be honest and say they are highly recommended by me and after seeing the attention to detail and again jumping on board with the aims of my project I am very happy indeed.
Not the best of pictures granted but it gives you the idea.
When I turned up he took one look at the car and said my god you have been busy and I ran through the work that had been carried out, hmm was the reply then he said right in going to do spend some time on this and get it 100% right and asked if he could strip the car apart a little so out with the door cards rear seats and parcel shelf to gain full access.


Then he set to work....

I went for the 35% tint which is more than enough for me it just gives the level I like plus he fitted a tinted sunstrip as well.

Not the best picture but you get the idea, I let the car bake all day in the sun which should have started helping then dry out.

I had them done by NewportAutoTint and I have to be honest and say they are highly recommended by me and after seeing the attention to detail and again jumping on board with the aims of my project I am very happy indeed.
Not the best of pictures granted but it gives you the idea.
 24 May 2015, 08:22 AM
#1355
Cheers Frayz yes it's all coming together now these final visual steps are important to get right.... I know what your saying about tints sometimes they work sometimes they just don't and I think a lot of that is due to the level you go for, just imagine how bad limo black would look 
Indeed Ian this will keep it cooler and at night stop the glare from headlights following plus they look good

Indeed Ian this will keep it cooler and at night stop the glare from headlights following
plus they look good
 25 May 2015, 08:20 PM
#1358
Time for a gauge update today.....
My mate came down to have a look at them as he seems to be able to see electric because it all looks like spagetti to me !
First off where we were....
Boost gauge ok
Volt meter ok
Oil temp & Oil pressure... new old Lamco gauges purchased as senders supplied with the first lot were incorrect.
I had a service a few weeks ago so had both senders fitted at that point, this temp sender I now have is a very early one and fits where the sump plug is located.
First off we wired the oil temp gauge up and that now works fine.
The pressure gauge on the other hand still refused to play ball so we found several wiring diagrams on the net and checked and double checked and all was wired correctly. We then got the spare gauge tried that and it still was the same zero movement, so that's both showing nothing !
Next step was simply to plug the temp gauge onto the pressuge sender and the needle moved so we then acertained that we was getting a signal back from the sender. Checked the wiring and tried the volt meter and all should be working but still no joy on both pressure gauges.
A short term solution was to dismantle the spare temp gauge along with the spare pressure gauge and swap faces ( yes we know this is not accurate as the calibration is going to be different but for now the gauge shows at least something.
Now I need some assistance can anyone please advise me on a company or individual that can check and service my original pressure gauge as it needs a service then all being well I can re fit swap then re build and send the second one off because the only conclusion we can get to is both gauges are not working.
Frustrating.com !
Also can I see some pictures from you guys of gauges holding working temp and pressure so I can compare and see where I am at present please.
Last edited by Silver Scooby Sport; 25 May 2015 at 08:39 PM.
26 May 2015, 12:18 AM
#1359

i have the lamco gauges fitted to mine as standard , i'll try getting pics up of them working tomorrow , do you only want the dials showing temps and pressure ?
if i remember right the pressure sits at 2 on idle once warmed up ,goes up to 6 when revving, i think.and the temp sits at 70, its been a long time since i drove the car but pretty sure thats right.
inspring job youve done on your car btw
if i remember right the pressure sits at 2 on idle once warmed up ,goes up to 6 when revving, i think.and the temp sits at 70, its been a long time since i drove the car but pretty sure thats right.
inspring job youve done on your car btw
Last edited by gary77; 26 May 2015 at 12:20 AM.
26 May 2015, 07:36 AM
#1360
Thanks Gary  and yes just pressure and temp, just so I can get an understanding visually. My temp was holding at 70 as well when I took the car out yesterday but from the fluctuation described of the pressure gauge I know mines still not correct for sure.
The other option I have is if there is someone out there with a spare pressure gauge from a split set.. Just thought I'd mention that on the off chance
In retrospect there must be cheaper better options than Lamco oem but having taken one step then finding a problem I had no choice but to take a second but if I had to start again it would be something else.
and yes just pressure and temp, just so I can get an understanding visually. My temp was holding at 70 as well when I took the car out yesterday but from the fluctuation described of the pressure gauge I know mines still not correct for sure. The other option I have is if there is someone out there with a spare pressure gauge from a split set.. Just thought I'd mention that on the off chance
In retrospect there must be cheaper better options than Lamco oem but having taken one step then finding a problem I had no choice but to take a second but if I had to start again it would be something else.

 27 May 2015, 01:12 PM
#1370
the cars not been started for about a month, recharged the battery overnight, started first time , oil pressure was wobbling around .6 ,going upto .7 when revving lightly
i'll take another pic when its warmed up
i would post a video if i knew how
Last edited by gary77; 27 May 2015 at 01:37 PM.

 27 May 2015, 01:48 PM
#1373
http://vid42.photobucket.com/albums/...psjfx6rjzk.mp4
http://vid42.photobucket.com/albums/...pshlvm4ac6.mp4
http://vid42.photobucket.com/albums/...pswwbhtbxh.mp4
not sure if anyone can see those videos
http://vid42.photobucket.com/albums/...pshlvm4ac6.mp4
http://vid42.photobucket.com/albums/...pswwbhtbxh.mp4
not sure if anyone can see those videos
Last edited by gary77; 27 May 2015 at 02:04 PM.
03 June 2015, 08:06 PM
#1376
Cheers Gary
Ok another little job is to get my sills and part of the inner lining in the boot full of clear wax oil... On closer inspection I've just realised how easy this is going to be to do.
Remove trim..
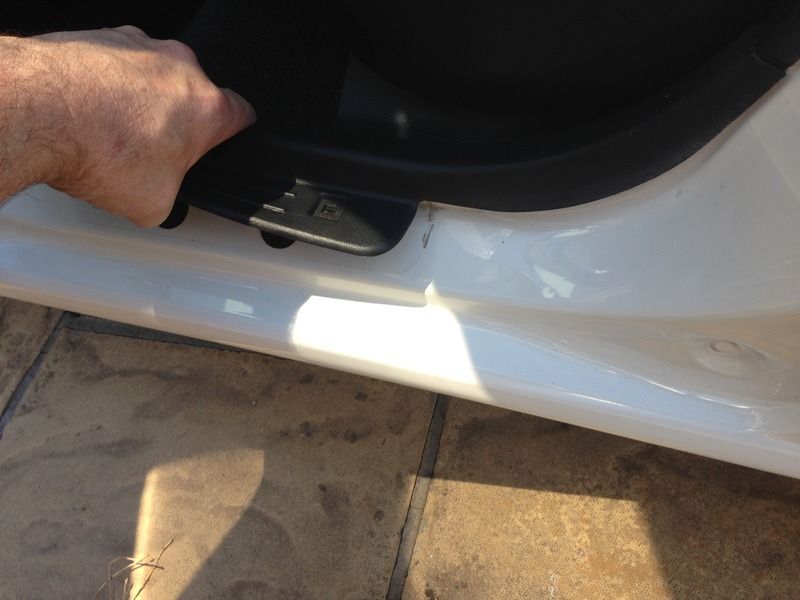
Peel stickers back...
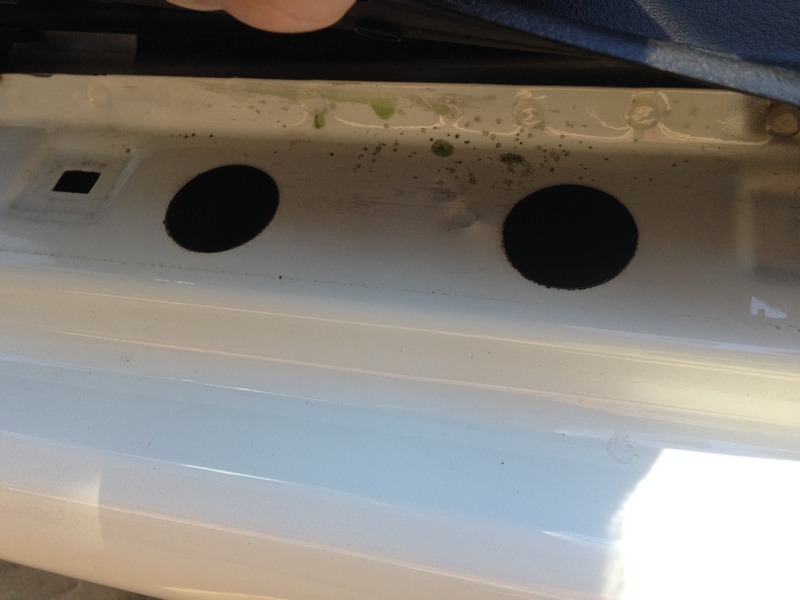
And your right in there !
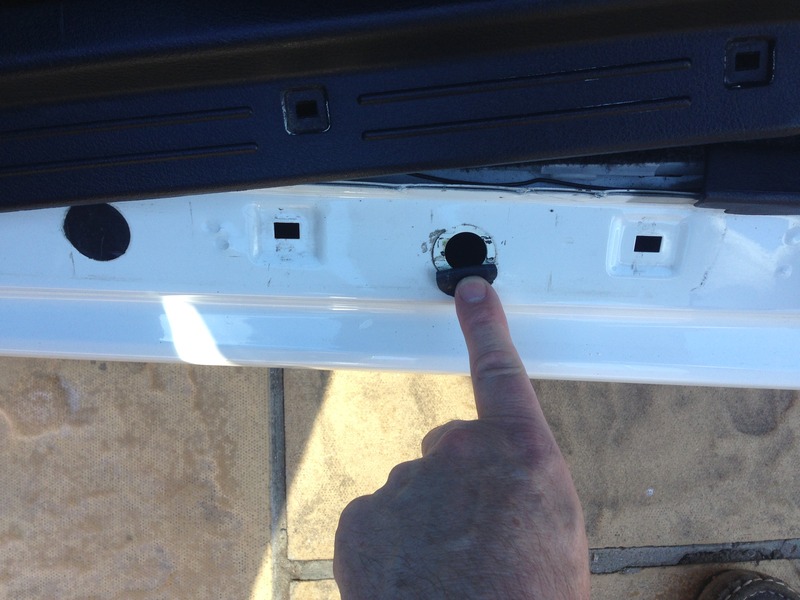
Just need to decide which product to use now and how much required.

