'Back to original' hawk STi
 14 July 2015, 09:51 PM
#1
Scooby Regular
Thread Starter
iTrader: (4)
Join Date: Jun 2009
Location: W / London
Posts: 2,168
Likes: 0
Received 0 Likes
on
0 Posts
Hey guys,
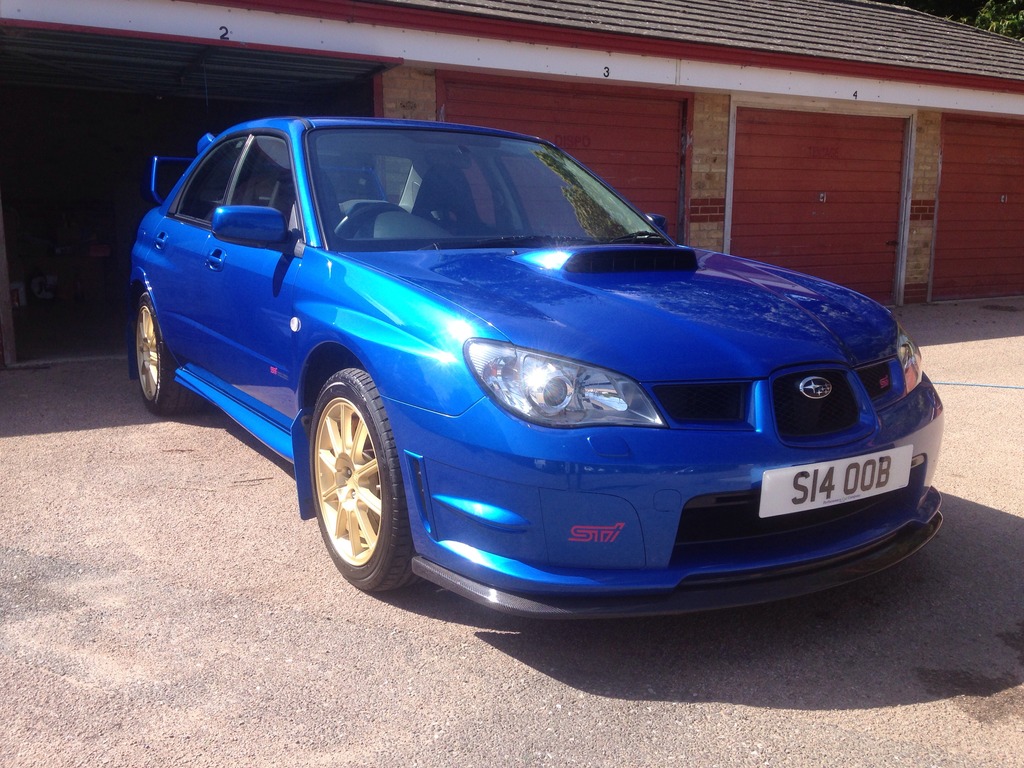
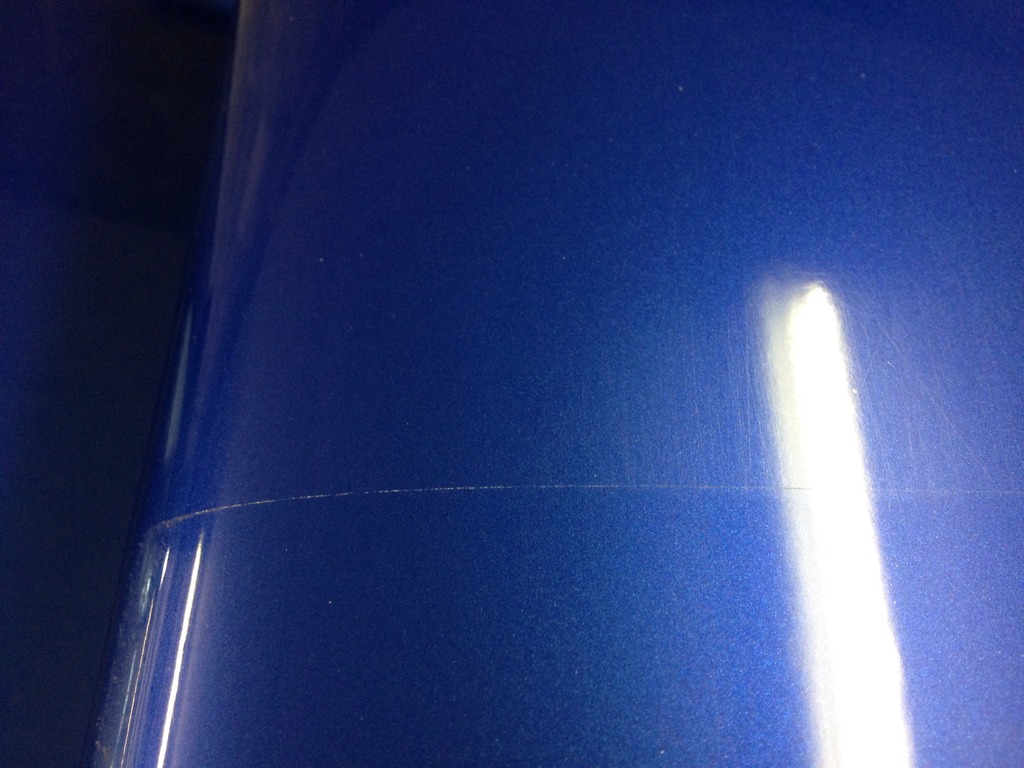
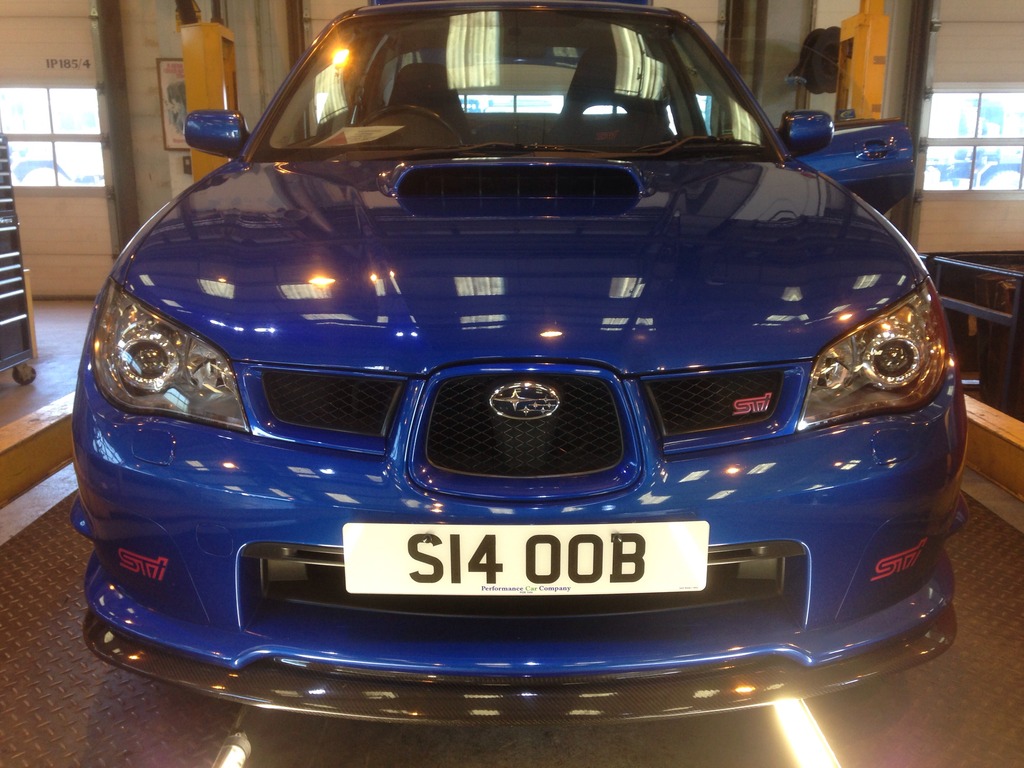
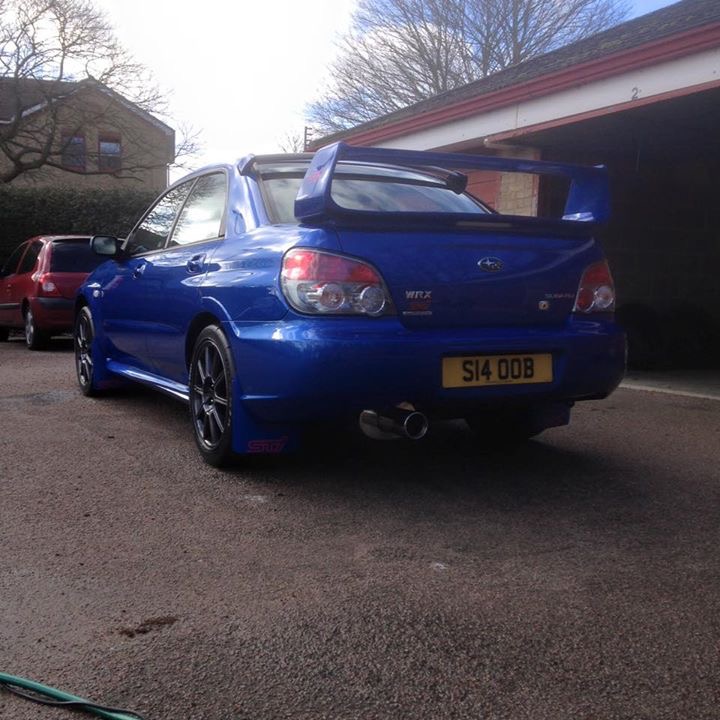
Back to Subaru's after a small break (and a few hot hatch itches scratched!). I decided on a low mileage, as-standard-as-possible Hawk STi. After searching for a fair while, this little gem popped up. I didn't want it to be 'mint' as such as I was after something that needed a little work, especially on the body. I'm a keen detailer and really wanted to put my skills to the test. The paint is badly swirled but it's a rough gem and with some hours pumped into it, it's going to be pretty good (hopefully!)
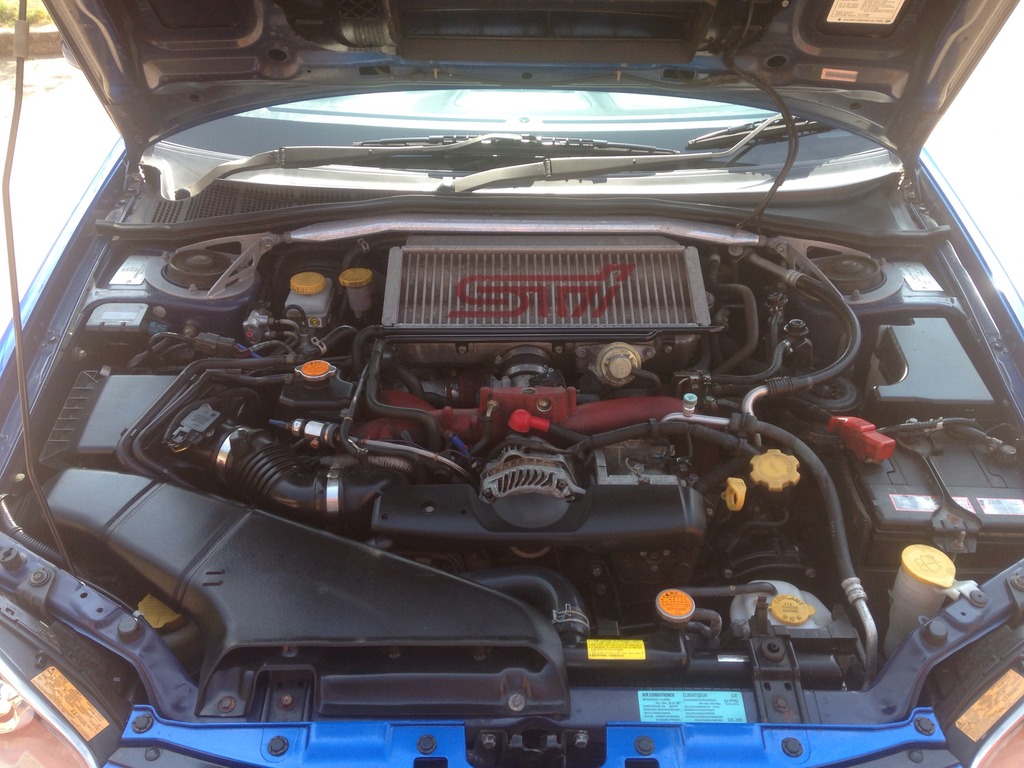
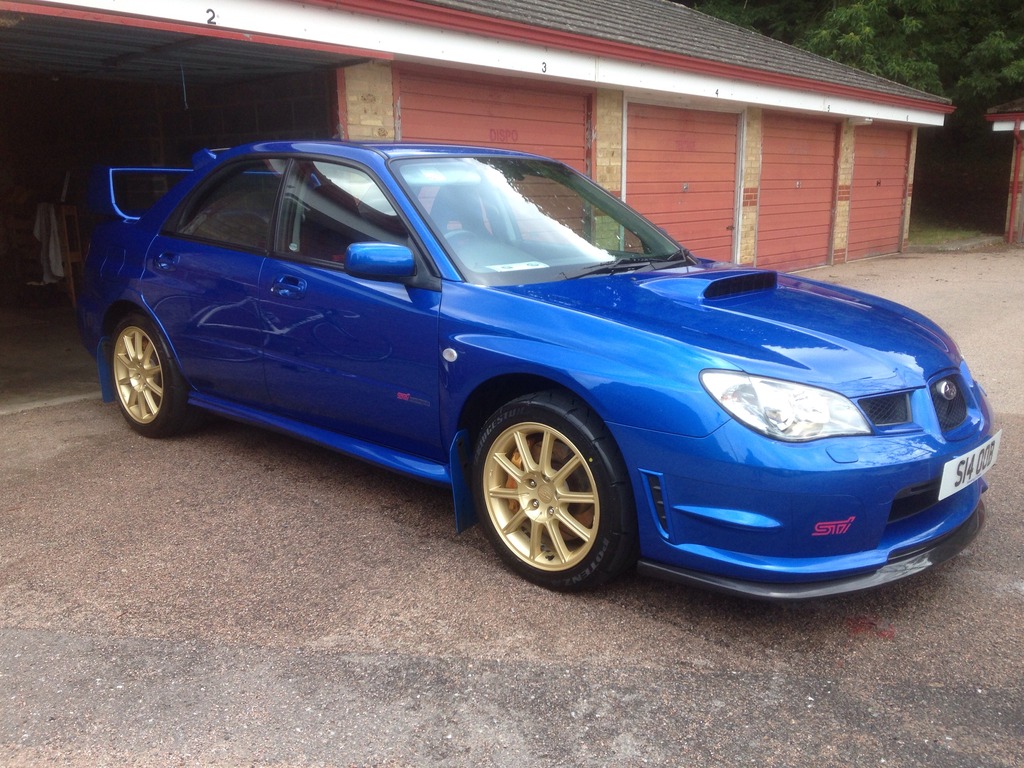
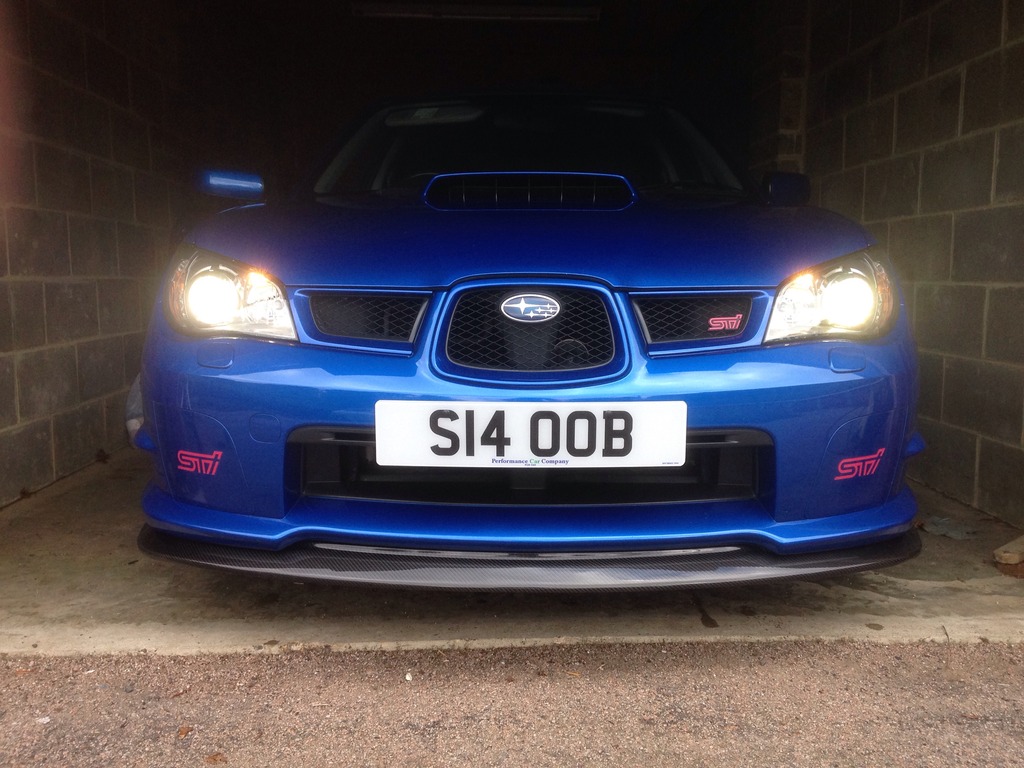
Having only covered 30,000, it's not been used to much (2 owners). Only upgrades are a carbon splitter, which will come off soon, and a set of mudflaps, which I'm debaiting on wether or not to keep on. Engine is standard bar a K+N panel filter (and defi connections which have been left in, which is handy in a way).
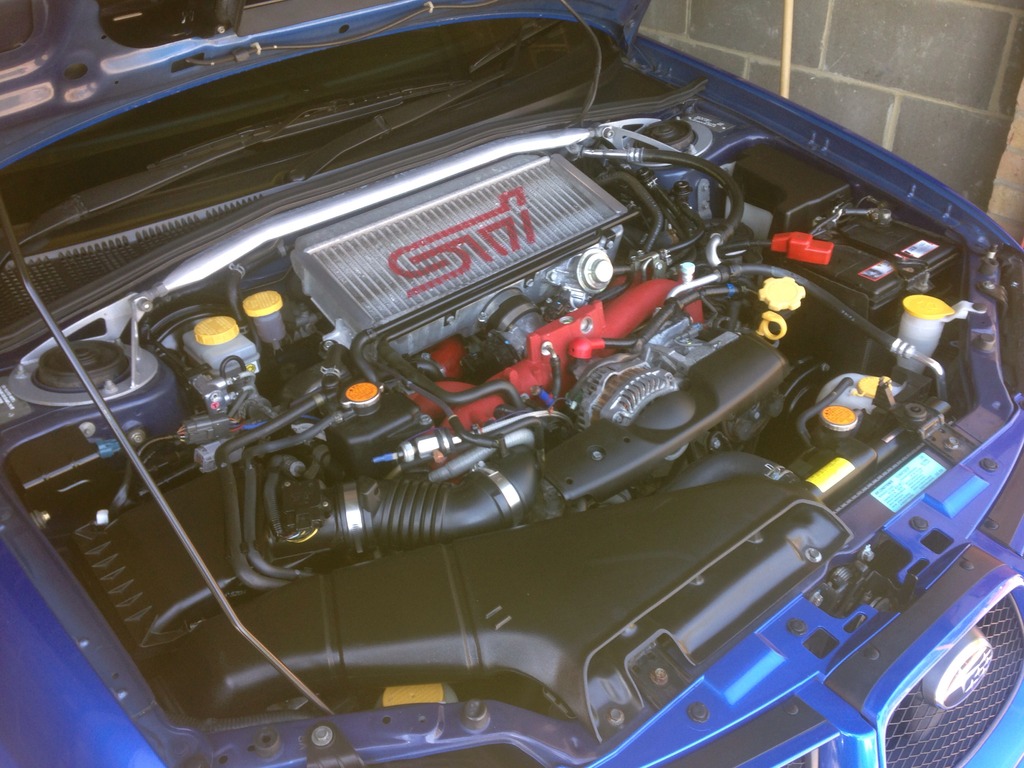
So far, I have fully cleaned a decontaminated the car, blitzed the engine bay and am currently carrying out a full correction.
Future plans.....
1). The wheels badly need refurbing, so these are going in in a couple of weeks to be fully refurb'd in the standard gold color.
2). It currently has RE070's on the rear and new bridgestones on the front (not sure what model). I have 2 brand new RE070's sat waiting to go on the front when the wheels have been refurb'd. It will have original RE070's all round.
3). carbon fibre splitter to be removed
4). if I decide to keep the mudflaps, new 'sti' stickers will be put on as the current ones are looking dated
5). Wait for the inevitable HG failure and get it in for a rebuild lol! I have budgeted for this :-).
Before....
After.....
Before.....
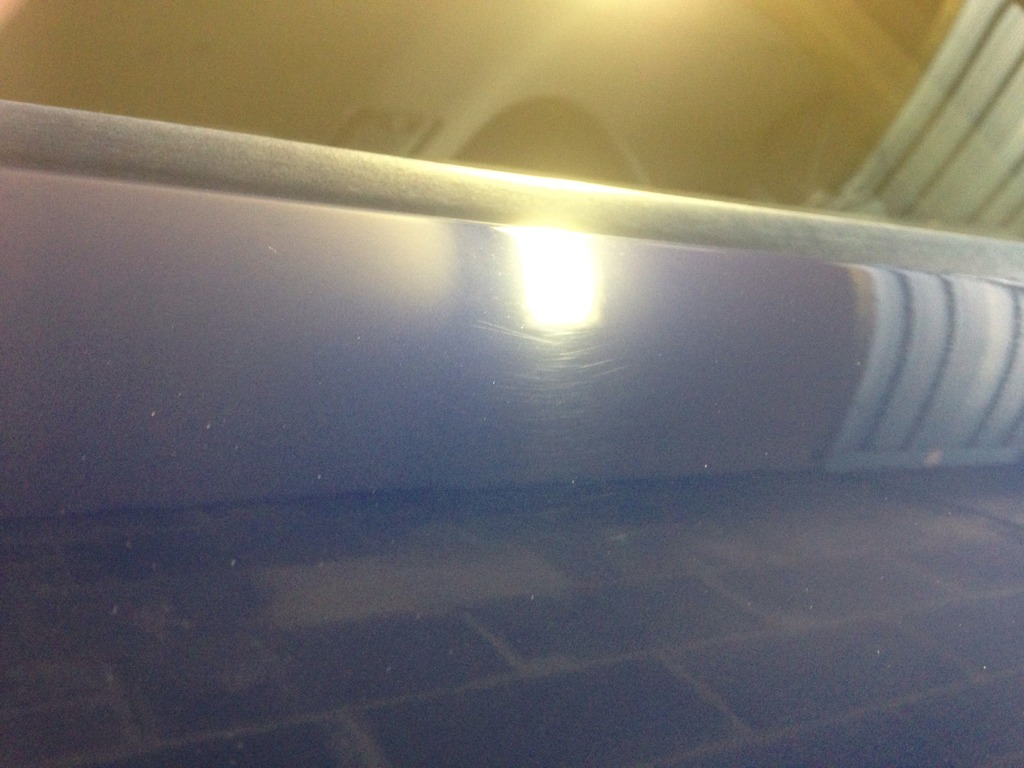
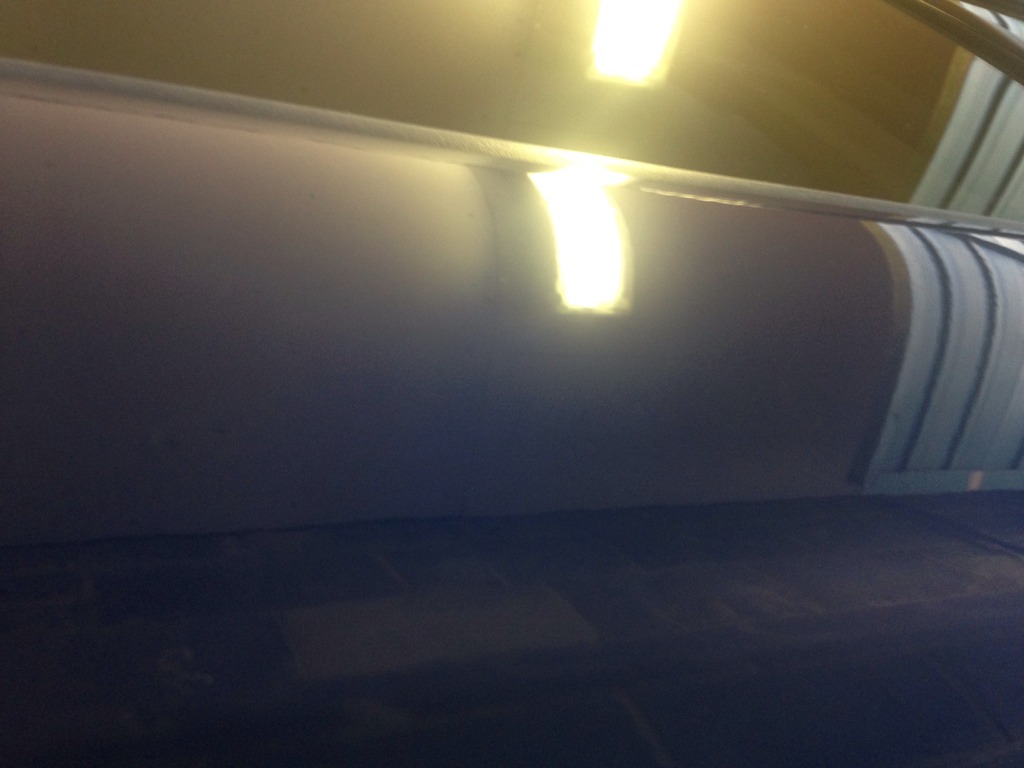
50/50
Back to Subaru's after a small break (and a few hot hatch itches scratched!). I decided on a low mileage, as-standard-as-possible Hawk STi. After searching for a fair while, this little gem popped up. I didn't want it to be 'mint' as such as I was after something that needed a little work, especially on the body. I'm a keen detailer and really wanted to put my skills to the test. The paint is badly swirled but it's a rough gem and with some hours pumped into it, it's going to be pretty good (hopefully!)
Having only covered 30,000, it's not been used to much (2 owners). Only upgrades are a carbon splitter, which will come off soon, and a set of mudflaps, which I'm debaiting on wether or not to keep on. Engine is standard bar a K+N panel filter (and defi connections which have been left in, which is handy in a way).
So far, I have fully cleaned a decontaminated the car, blitzed the engine bay and am currently carrying out a full correction.
Future plans.....
1). The wheels badly need refurbing, so these are going in in a couple of weeks to be fully refurb'd in the standard gold color.
2). It currently has RE070's on the rear and new bridgestones on the front (not sure what model). I have 2 brand new RE070's sat waiting to go on the front when the wheels have been refurb'd. It will have original RE070's all round.
3). carbon fibre splitter to be removed
4). if I decide to keep the mudflaps, new 'sti' stickers will be put on as the current ones are looking dated
5). Wait for the inevitable HG failure and get it in for a rebuild lol! I have budgeted for this :-).

Before....

After.....

Before.....


50/50

Last edited by Peedee; 14 July 2015 at 10:07 PM.
 14 August 2015, 11:30 PM
#3
Scooby Regular
Thread Starter
iTrader: (4)
Join Date: Jun 2009
Location: W / London
Posts: 2,168
Likes: 0
Received 0 Likes
on
0 Posts
Quick update,
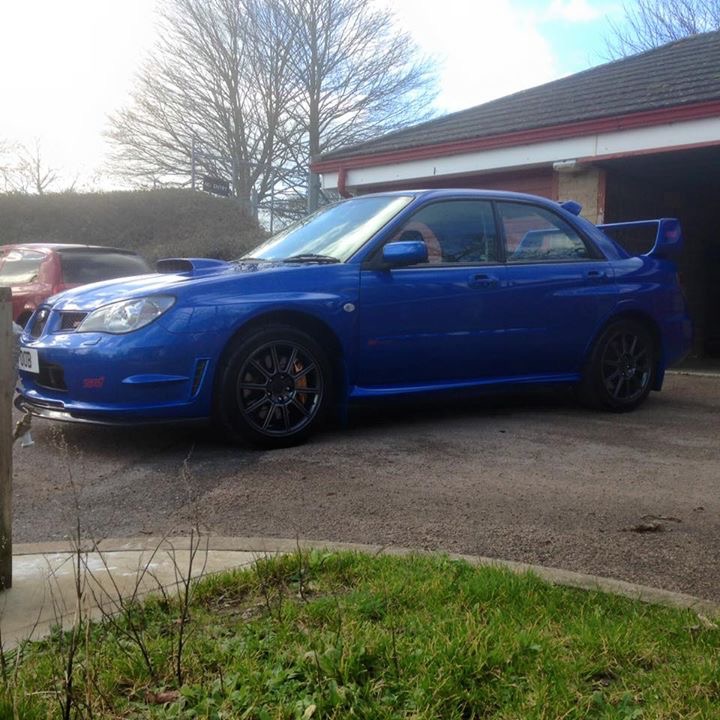
Replaced the fronts with original RE070's today. Also had a full geometry setup carried out. Still unsure whether to keep the splitter on or not?
Tucked away for a few weeks now as I'm away with work
Replaced the fronts with original RE070's today. Also had a full geometry setup carried out. Still unsure whether to keep the splitter on or not?

Tucked away for a few weeks now as I'm away with work

Last edited by Peedee; 14 August 2015 at 11:35 PM.
Trending Topics
15 August 2015, 07:17 PM
#8
Scooby Regular
Thread Starter
iTrader: (4)
Join Date: Jun 2009
Location: W / London
Posts: 2,168
Likes: 0
Received 0 Likes
on
0 Posts
Thanks for the compliments guys,
Since I got the car, something has been rattling on the RHS door speakers whenever bass is put through them. I checked everything first to make sure nothing was loose I.e nothing rattling around in the door compartment, the door card was on properly etc.....still got the same, annoying rattling. Had to be something inside. So, I took the door card off and had a nice little surprise....some Edge speakers. Unfortunately, the previous owner had only put two of the three required bolts in the adapter to hold it onto the door.....
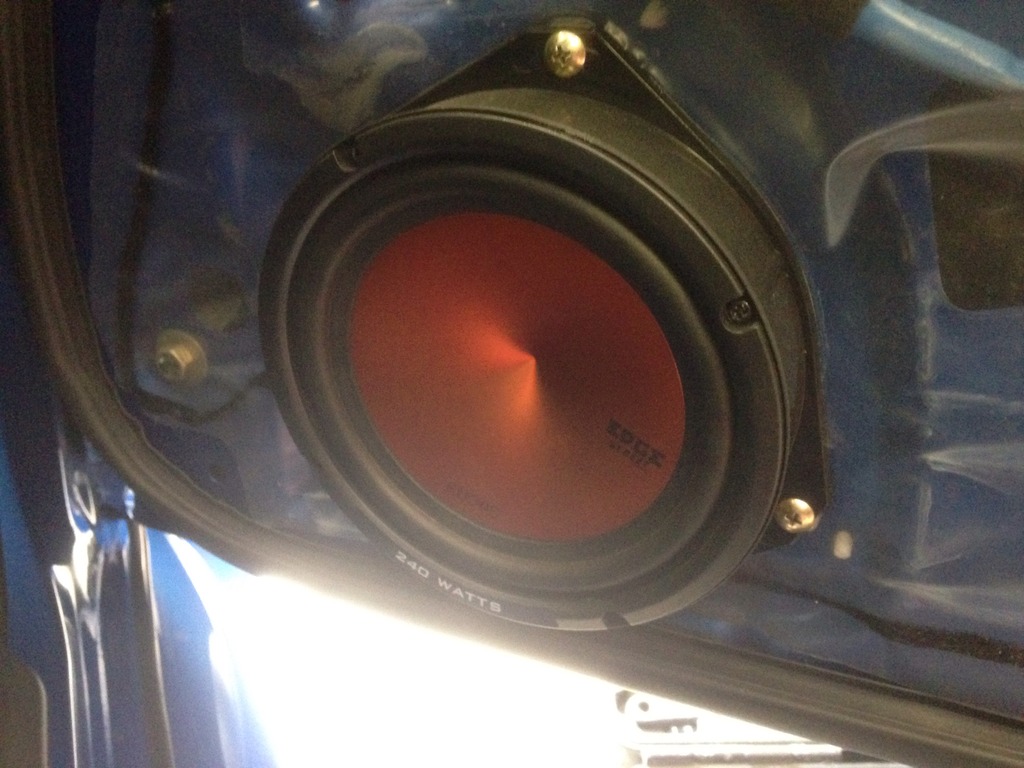
Anyhow, i didn't really want to go drilling more holes into the door and the speaker was pretty secure already, so I bought some sticky pads to place in the small gap between the speaker and the door (which was causing the rattle I.e the speaker vibrating off the door) and bobs your uncle, a nice cheap easy fix and no more rattling.
15 August 2015, 08:03 PM
#10
Scooby Regular
Thread Starter
iTrader: (4)
Join Date: Jun 2009
Location: W / London
Posts: 2,168
Likes: 0
Received 0 Likes
on
0 Posts
Thanks mate,
So, the whole process in a nutshell without loads of info......
1). Rinse
2). Snowfoam
3). Rinse
4). Wash
5). Dry
6). De-contaminate / De-tar (followed by another rinse and dry)
7). Clay
8). Take off all old polish / wax using AF rejuvinate
9). Cut
8). Polish / wax / sealant
To cut, I use a G220 DA with Megs 105 compound and green hexlogic pads (6 inch and 3 inch with relevant backing plates)
16 August 2015, 10:39 AM
#11
Scooby Regular

Join Date: Mar 2015
Location: South Wales
Posts: 59
Likes: 0
Received 0 Likes
on
0 Posts
sounds so simple when you lay it out like that 
Interesting step that I hadn't considered was removing the old wax. I had assumed (based on nothing at all) that the clay bar; or in my case the mitt would remove some of the old wax along with contaminants but I'll look into that some more. More money to spend! I do like the idea of using AF but it's overwhelming the amount of brands on the market. Trying to stick with Meguiars for most things.
DA for me next, das-6 seems to be the favorite
Again; great to see yours, gives some real inspiration
Those tyres too
16 August 2015, 11:38 AM
#12
Scooby Regular
Thread Starter
iTrader: (4)
Join Date: Jun 2009
Location: W / London
Posts: 2,168
Likes: 0
Received 0 Likes
on
0 Posts
Hi mate,
I think the stage of removing any old polish / wax etc is more personal preference. Some folk say it's not really worth it, but if you're going to do a full correction, why not start with a totally blank canvas.
You're right though, there are so many products, it's a ridiculously over-saturated market. I think on the best part, it comes down to personal preference, although some products are clearly better than others, for example, I thought AF iron-out was good.......until I used Iron-X!!!
I would recommend 2 products over anything though......Iron-X and Tar-X. Simply brilliant products IMO.
Thanks mate
09 October 2015, 05:38 PM
#13
Scooby Regular
Thread Starter
iTrader: (4)
Join Date: Jun 2009
Location: W / London
Posts: 2,168
Likes: 0
Received 0 Likes
on
0 Posts
Little update,
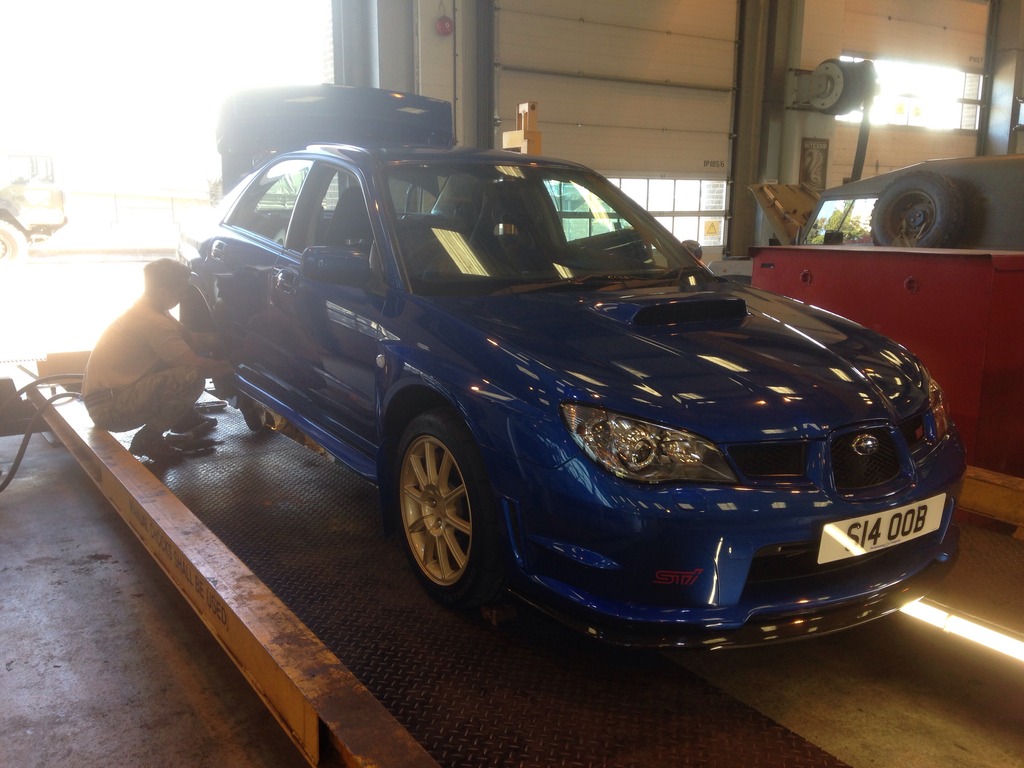
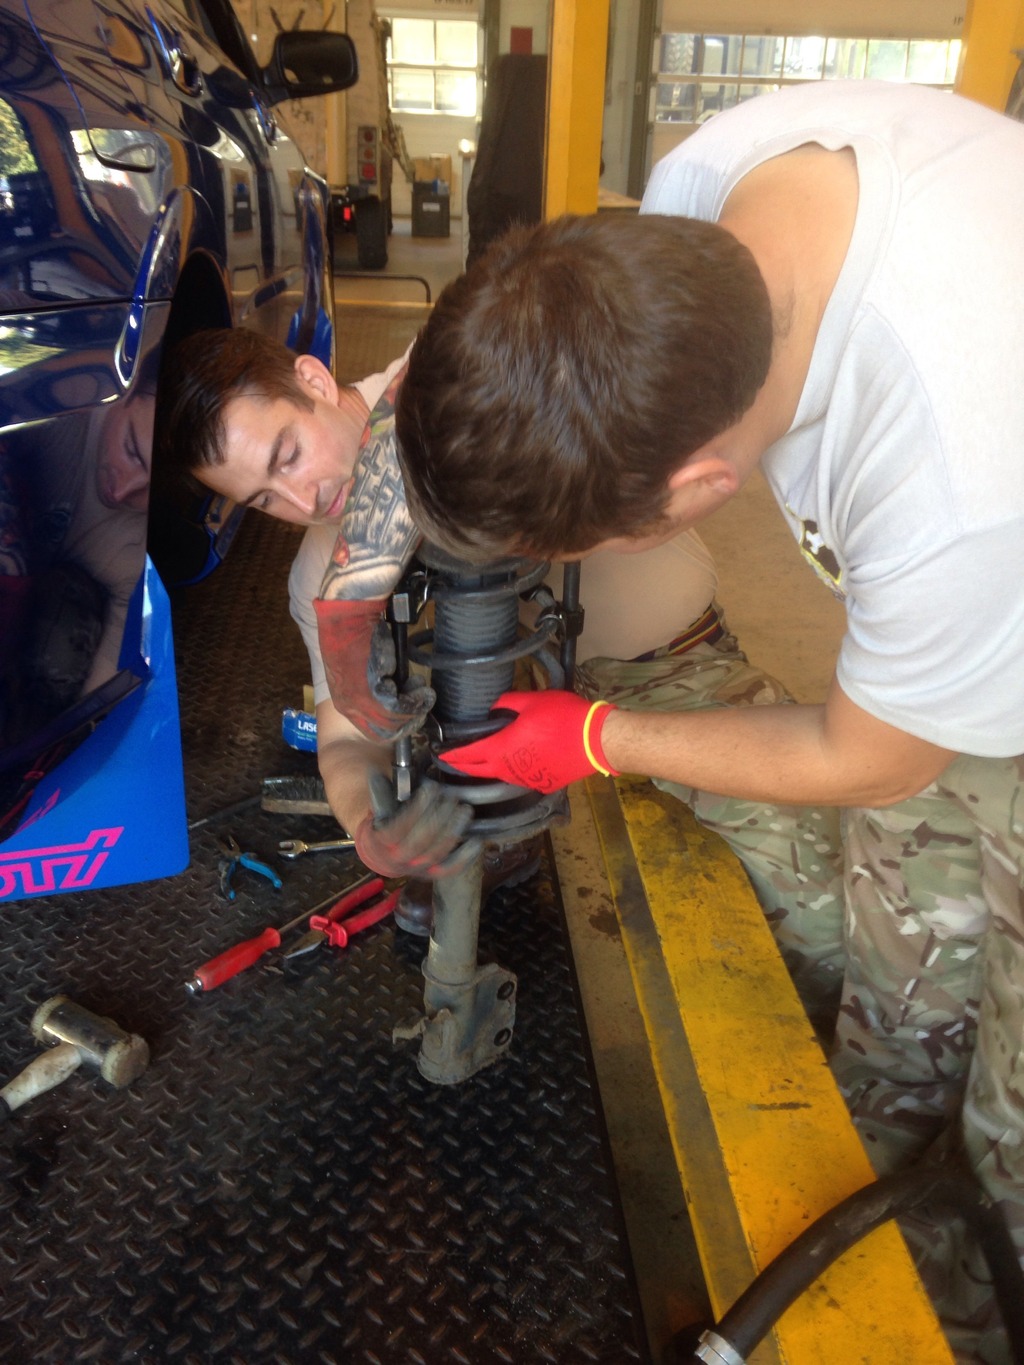
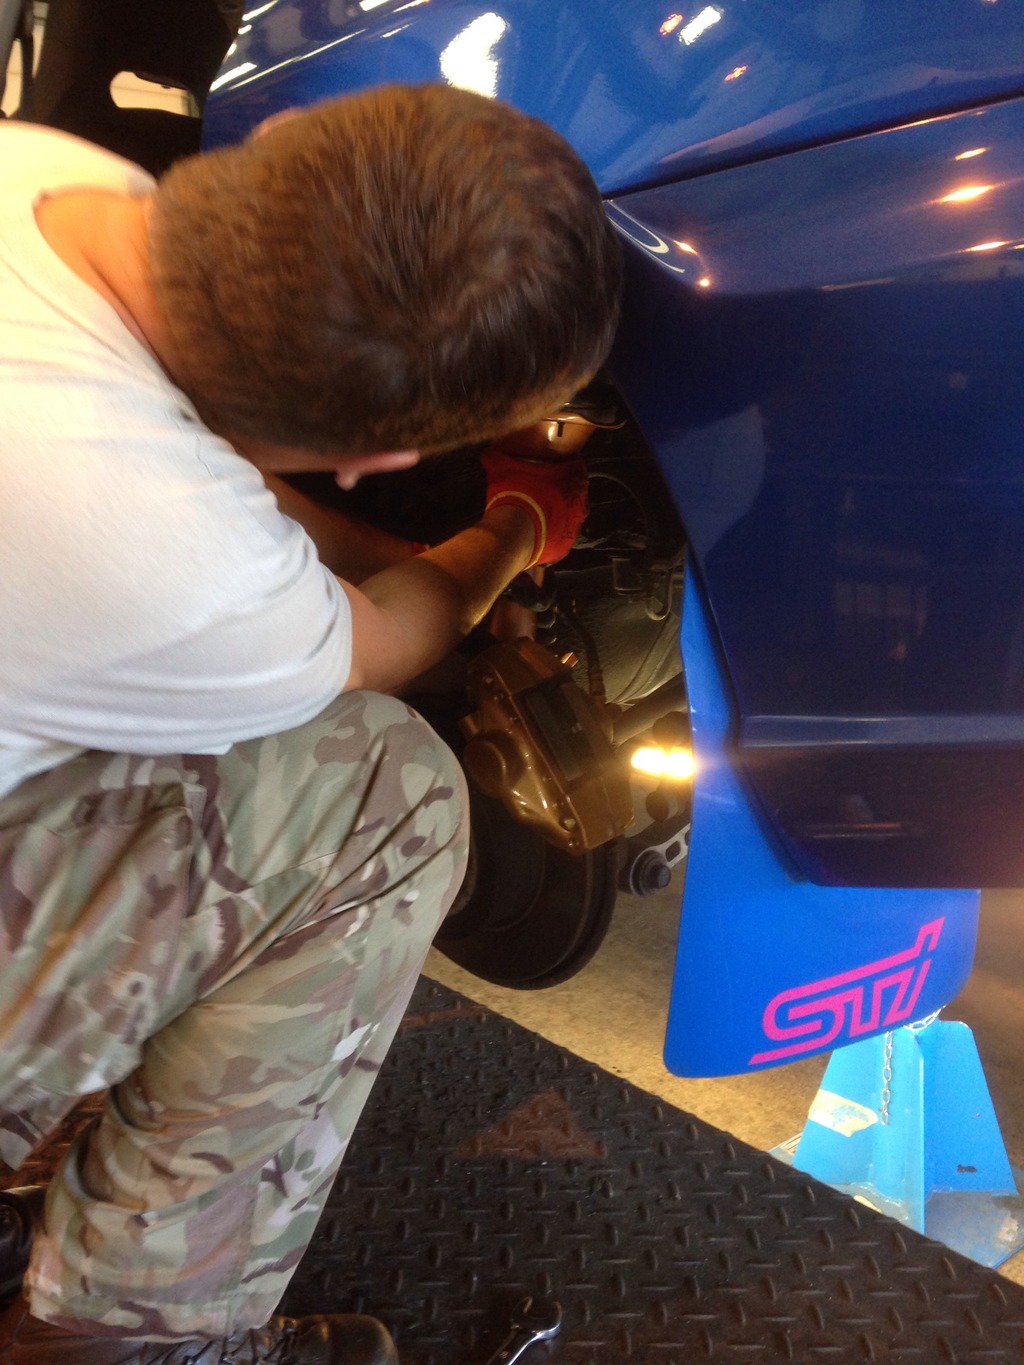
So, the rear started knocking a few weeks ago, and after a bit research, I put it down to the rear shocks, which are prone to going. I'm not interested in coilovers as I want to keep the car as standard as possible, so, after a lot of recommendations, I went for KYB units. Fortunately, I have a few mates who are excellent mechanics and have a big ol' workshop with almost any tool imaginable, so it was mates rates :-)
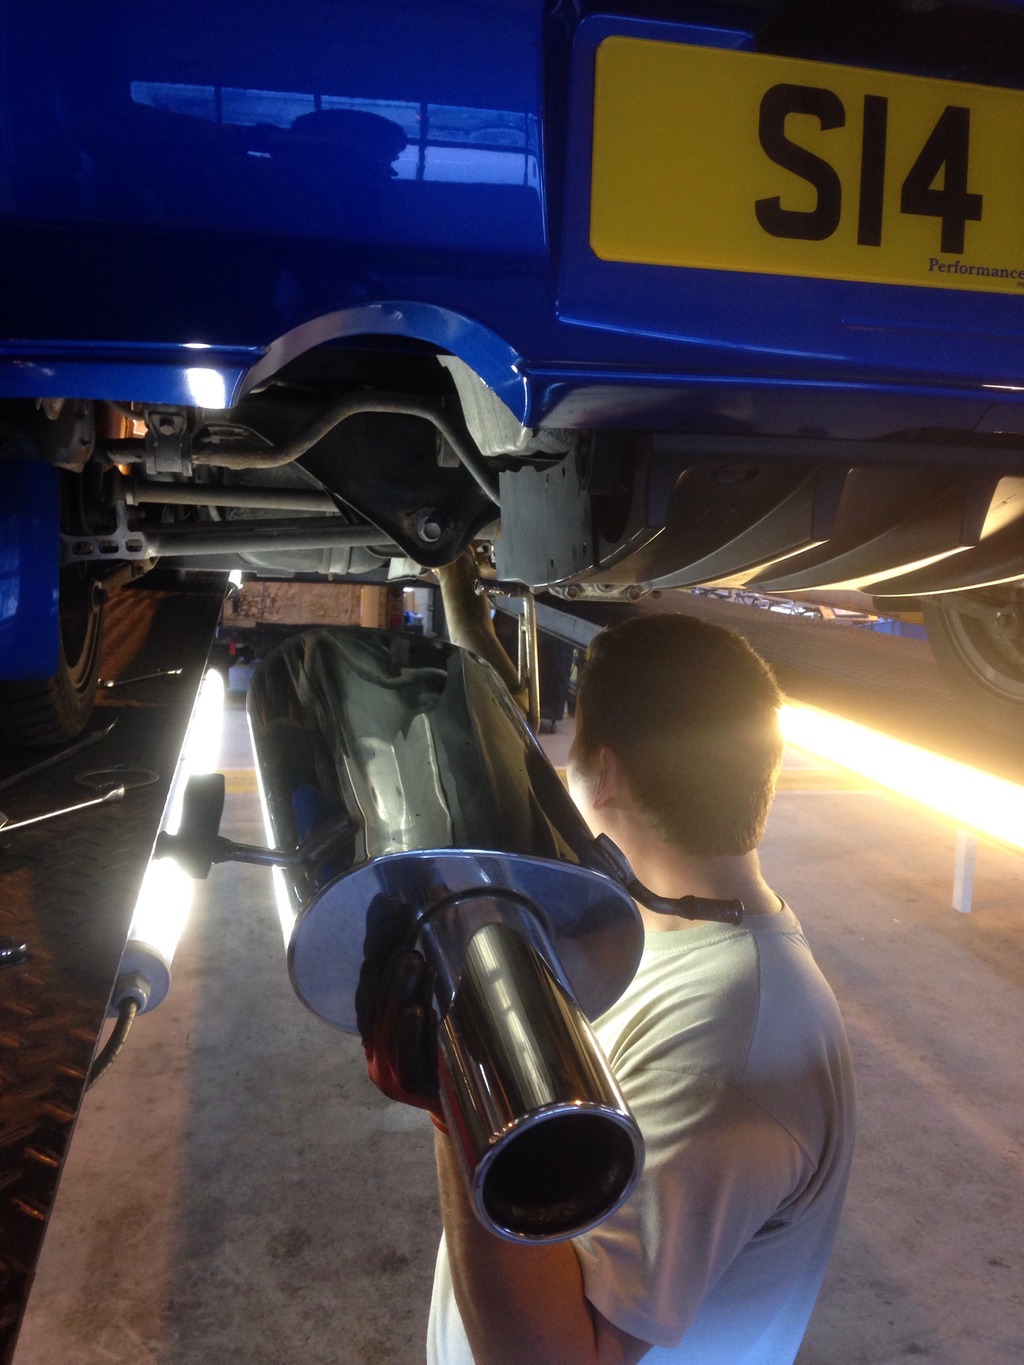
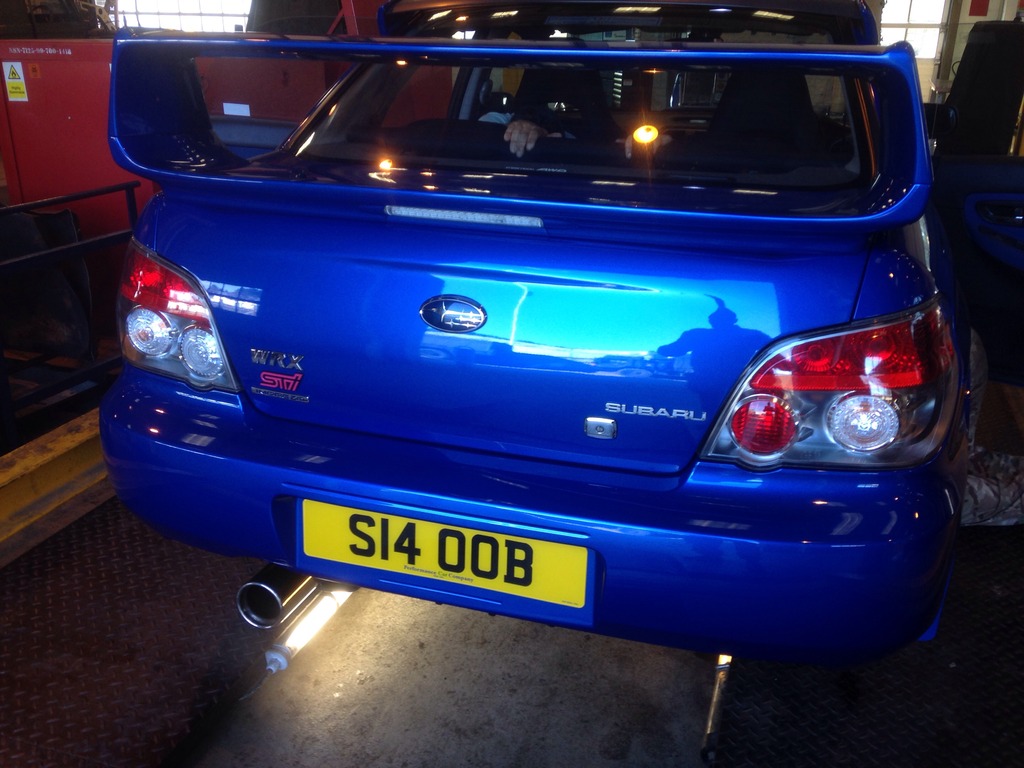
I also wanted just a tiny bit more noise from the back box, but nothing ridiculous. I went for a scoobyworld racebox bought from a nice guy on here. I have to say, it's perfect. Just a little bit louder but still completely un-intrusive and looks very similar to a prodrive backbox. I didn't want any angled 'jap' style boxes etc.

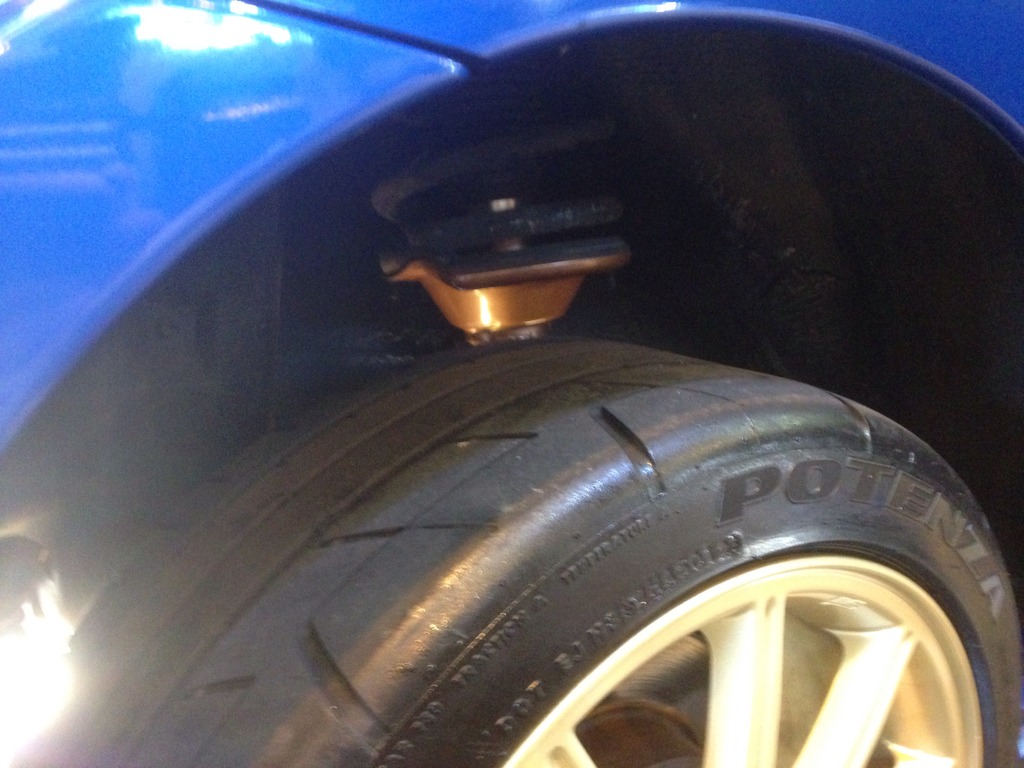
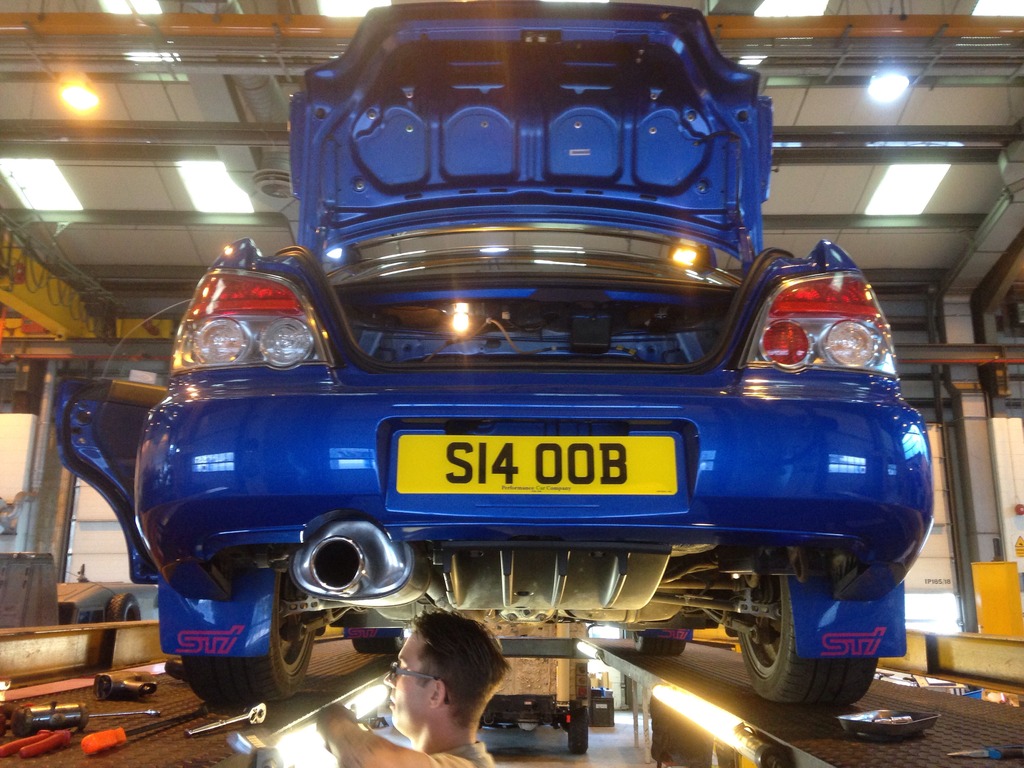
So, the rear started knocking a few weeks ago, and after a bit research, I put it down to the rear shocks, which are prone to going. I'm not interested in coilovers as I want to keep the car as standard as possible, so, after a lot of recommendations, I went for KYB units. Fortunately, I have a few mates who are excellent mechanics and have a big ol' workshop with almost any tool imaginable, so it was mates rates :-)
I also wanted just a tiny bit more noise from the back box, but nothing ridiculous. I went for a scoobyworld racebox bought from a nice guy on here. I have to say, it's perfect. Just a little bit louder but still completely un-intrusive and looks very similar to a prodrive backbox. I didn't want any angled 'jap' style boxes etc.


Last edited by Peedee; 09 October 2015 at 05:51 PM.
 09 October 2015, 07:30 PM
#15
Scooby Regular
Thread Starter
iTrader: (4)
Join Date: Jun 2009
Location: W / London
Posts: 2,168
Likes: 0
Received 0 Likes
on
0 Posts
Unfortunately my 'Type UK' badge has failed to turn up this week which is annoying, unless it comes tomorrow. I received replacement 'Sti' decals for the mudflats to replace the tatty ones on there at the mo, but still waiting on the 'Type UK'.


 07 February 2016, 03:20 PM
#21
Scooby Regular
Thread Starter
iTrader: (4)
Join Date: Jun 2009
Location: W / London
Posts: 2,168
Likes: 0
Received 0 Likes
on
0 Posts
Got some nicely refurbed enkei's to go on. They came with brand new rainsport 3's all round so first job was to get those off and get the RE070's on. Once done and back from the tyre place, I completely cleaned and decontaminated them (as well as cleaning the tyres to remove all the old tyre shine and the white stuff they use when changing over the tyres), then polished, waxed and finally sealed off. They are stunning to be honest. They are gunmetal with silver fleck as well as a slight multicoloured fleck in direct bright sunshine.
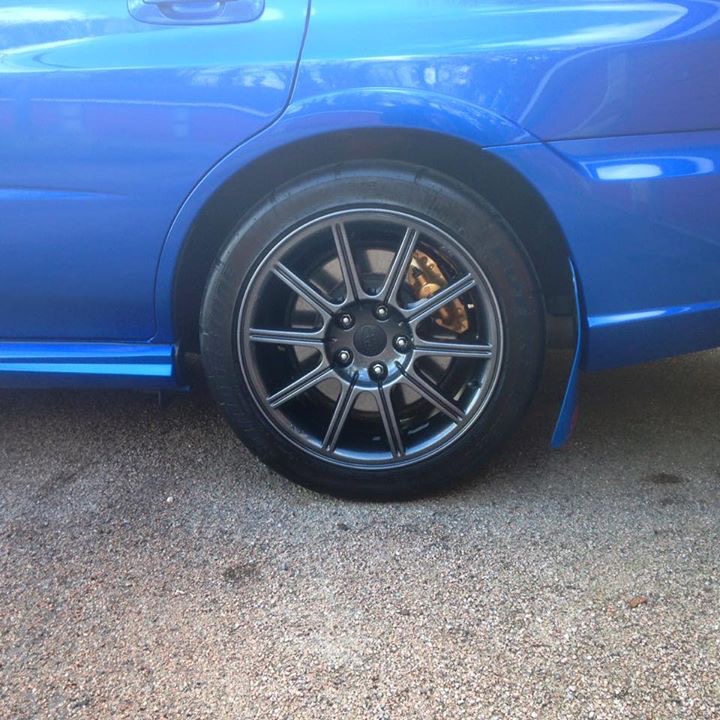
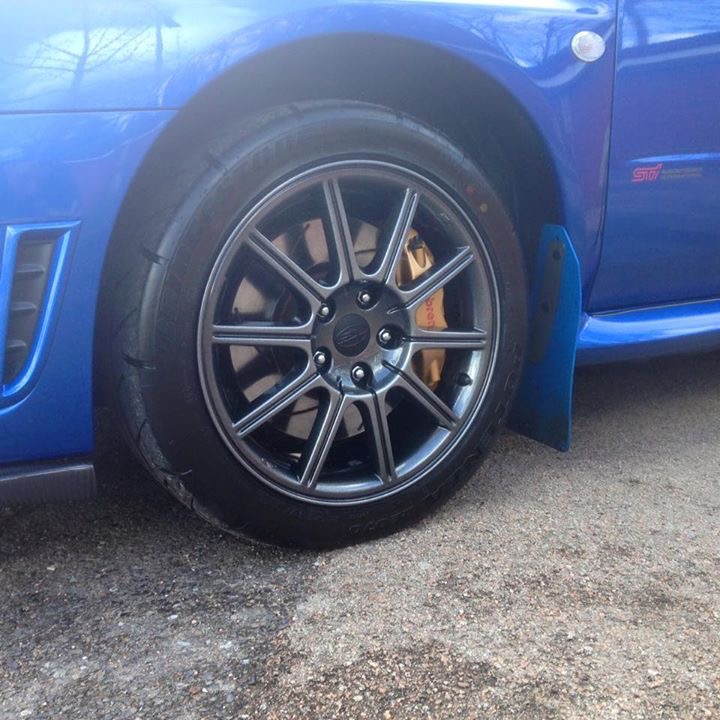
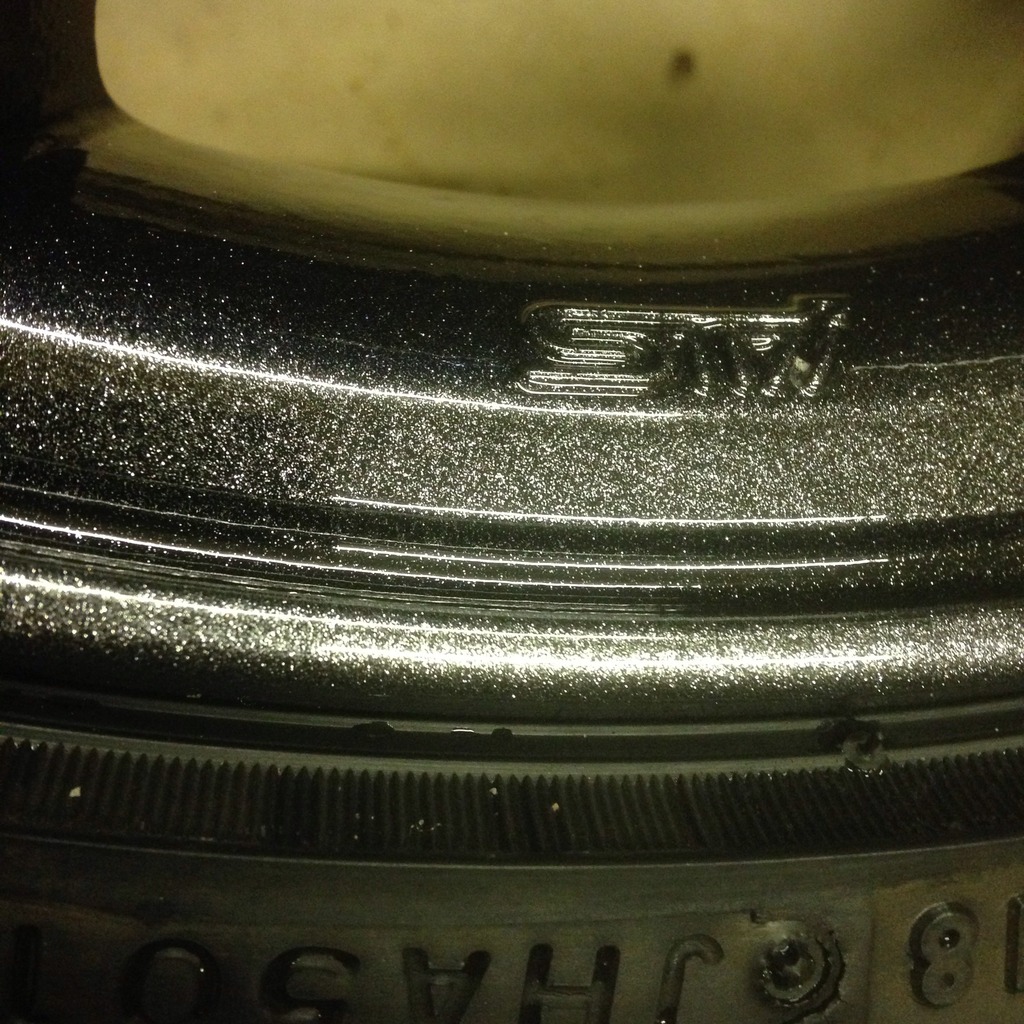
Hopefully you can make out the coloured flecks. Very cool!
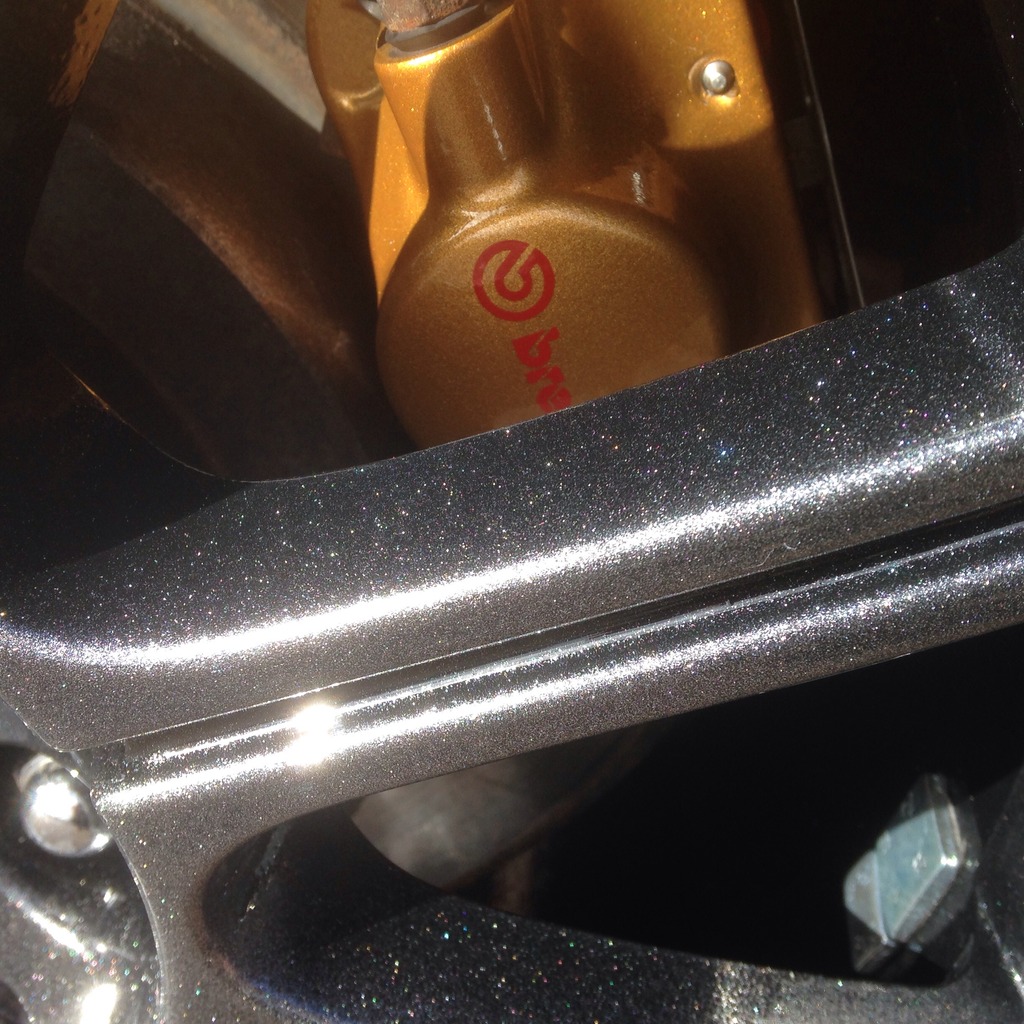


Hopefully you can make out the coloured flecks. Very cool!

Last edited by Peedee; 07 February 2016 at 03:34 PM.

Thread
Thread Starter
Forum
Replies
Last Post
Mattybr5@MB Developments
Car Parts For Sale
1
18 November 2015 07:49 AM

