My paintwork correction guide
 30 January 2015, 04:21 PM
#1
Scooby Regular
Thread Starter
Join Date: Aug 2012
Location: Kent
Posts: 286
Likes: 0
Received 0 Likes
on
0 Posts
I created this guide a few years ago but have just updated it. A few other forums have added this as a sticky and been using it as a step by step guide.
I've spent several years teaching myself how to correct/improve most things on cars and thought I'd share this with forum members who might be worried about attempting certain things on their own cars.
I've kind of settled on the following method for everything from washing to full paintwork correction and have used experience, mistakes, youtube videos, trial and error and detailing forums to get there. I'm not a professional detailer but I have been practicing on cars over an almost 10 year period and now have it bang on every time I detail. If I were brave I'd leave my well paid teaching job and do this full time.
Washing
If the car is heavily soiled, I use my Karcher and a detergent bottle attached to the hose. In the detergent bottle, I use Snow Foam. I spray this onto the car, leave for 10 mins, then rinse with the jetwash.
If the car is only dusty, like in summer, I just hose with a normal hose pipe, then begin the following.
I use two 20 litre buckets with grit guards. I've labelled these with Dodo Juice 'wash and 'rinse' stickers bought from ebay. The idea is you fill one bucket with warm water and shampoo, and the other bucket is filled with plain warm water. When washing the car, you dip the sponge/mitt into the shampoo water, wash one single panel, then dip the sponge/mitt into the rinse water. At the base of the rinse bucket is a grit guard which you should rub the mitt against to dislodge the grit from the sponge/mitt. The grit then sinks to the bottom of the bucket and it trapped by the grit guard. I also have a grit guard in the wash bucket.
I personally am using Chemical Guys maxi suds as it's mild which ensures you don't strip off your wax each time you wash the car and its extra lubricated making the mitt slippery on the car surface.
I use a lambs wool mitt to wash the car, as it traps grit/dirt deep in the fur piles meaning you're not rubbing grit all over the panel of the car. You do have to look after it to get it to do more than one wash.
If the rinse bucket gets particularly dirty, I will often replace the water half-way through the wash process. The wash bucket should remain clean throughout if you're using the rinse bucket properly.
Once washed, I hose off with a steady stream of water (open ended hose pipe with no spray nozzle)
To dry before polishing I use a meguiars drying towel. This is a microfibre towel the size of a beach towel. The idea is to lay it on each panel and pat the panel dry rather than wiping the car dry. If you wipe the car dry, even a microscopic piece of grit picked up along the way will create swirl marks/scratches. Once paintwork correction is done I dry with lots of microfibre buffing cloths as they don't scratch the paintwork.
For washing the wheels, I replace all water in both buckets and use the same shampoo in a fresh bucket of water.
I use Bilberry wheel cleaner in a spray bottle from Homebase. The Billberry comes neat, so you can dilute it in the spray bottle and it lasts much longer than off the shelf stuff.
I use the same steps as above for each wheel, but will do the wash/dry process fully on one single wheel before moving on to the next wheel.
My Wash Kit List:
2 grit guard buckets labelled with Dodo Juice wash and rinse stickers
Chemical guys maxi suds
Billberry wheel cleaner diluted in spray bottle
Meguiars drying towels or buffing cloths
Claying and machine polishing
The clay and machine polish process should only be done once or twice in the car's lifetime. Once you've removed all the swirl marks from the car and have used a sealant or wax to 'lock in' the newly polished paint, it can be preserved by using a safe wash process as above to save the need to ever have to do a machine polish again. It's said that the paint can only handle a maximum of 3 machine polishes in it's lifetime roughly but this depends on the car.
The idea of clay after washing is it pulls out contaminants from the paintwork before you subject the panels to a fast-spinning polishing machine. If you rub your finger tips up and down washed paintwork you can feel slight bumps and what almost feels like grains of sand on the paintwork. The clay pulls these bumps out of the paint, and leaves it as smooth as glass.
I use Meguiars Clay and detailer spray. After the car has been washed, spray a jet or two of the detailer spray onto a small section of a panel. Gently rub the clay in an up/down/left/right motion, using the detailer spray as a lubricant to help it slide on the paint. After one panel, look at the clay and it'll be brown from the dirt it's collected. Rip the clay apart, remould it and move on to the next panel.
After the clay process, the car should be washed again.
Machine polishing is the only way to remove swirls that can be seen worst under petrol station lights, street lights or direct sunlight. Swirls are scratches in the car laquer causing the light to bounce off the car in several different directions, dulling the finish. Hand polishing simply cannot be done at enough revolutions per minute to get the polish to work effectively.
I currently use a kestrel dual action polisher. A DA polishers spins the polishing head in random 'wobbly' directions rather than round and round which means that amateurs like me are less likely to burn a hole in the paint.
I use 2 different Lake country polishing pads. White is aggressive and gets rid of bad swirls but I rarely use this. Orange is medium and is quite good for a one-step fix, and black is light and is good for a final finish.
The polishes I use are mainly menzerna and meguiars. Each menzerna polish has it's own cut level rating and generally the higher the cut the lower the final gloss you're left with. The machine polishing is a multi stage process. Using an aggressive polish will remove deep scratches and swirls but at the same time adds fine swirls of its own. That's where you'd then drop to a less aggressive polish to remove the next set of swirls, and finish off with the black polishing pad and a Meguiars finishing polish.
I generally use the orange pad with all polishes followed by the black pad and finishing polish.
I won't bore you with the process. Search for dual action polisher or machine polishing on YouTube. That's how I learnt ho to use one - best thing I ever did.
To buff off the polish residue I use monster purple buffing cloths. They're the best I've found so far.
Now hand pushing produces lovely shiny results but try looking at the car under amber street lights at night, or under the lights of a petrol station. you'll see thousands of swirls and blemishes. A machine polisher actually removes the swirls. The end product is paintwork that looks factory new and under lighting there are no swirls that actually exist. Seeing this in the flesh especially when you've done it yourself is massively satisfying and you'll find yourself keep looking at the car under lights, not quite believing you have no swirl marks in the paint!
My Clay/polish Kit List:
Meguiars Detailing Clay
Meguiars Detailing Spray (clay and spray available together as a kit)
Kestrel Dual Action Machine Polisher
Menzerna Machine Polishing Pads (White - aggressive, Orange - medium, Black - mild)
Menzerna polishes and meguiars finishing polish.
Monster purple buffing cloths
Paintwork clean/seal/protection
Once the clay and polishing has been done, your paintwork is effectively naked. It needs protection primarily from rain and the contaminants rain brings with it.
Before waxing or sealing you need a wipe on wipe off paintwork cleaner. If you have machine polished the car and removed swirls then use something like dodo juice lime prime lite which has no abrasive particles in it. It removes residue and makes sure wax sticks properly.
I used to use wax only. Wax simply wipes on using an applicator (foam pad or soft cloth) dries to a haze, then buffs off with buffing cloths.
The more wax you layer on, the better the protection - and Dodo Juice recommend 24 hours being left between each coat of wax if you can leave your car in a garage whilst curing.
Recently though I've switched to using a synthetic sealant. This is more runny liquid which is wiped onto the freshly polished panels, left to dry to a haze, then buffed off. The sealant doesn't bring the car to as deep a lustre as wax, but offers a better and longer protection.
It's suggested wax lasts around 6 weeks, whereas polymer sealant lasts 6 months. Once protected, when the car rains the beads of water should stand really tall on the surface of the paint. The taller the beads the better the protection.
There are a variety of waxes and some are even dependant on colour of your car. If I use wax I use Chemical Guys Pete's 53 black pearl. It has a really wet looking shine. You can pay over �1000 for wax and generally the more you pay the better, but waxes around the �60 mark are usually noticeably good.
I use Meguiars professional polymer sealant number 20. This is a wipe on, let dry to a haze, buff off process. I also use this on my alloy wheels.
My Sealant Kit List:
Any wax - Pete's 53 is my favourite at the moment.
Meguiars Polymer Sealant (my personal choice)
Clean your car.co.uk monster purple polishing cloths (several as they get clogged up with residue)
This is just my personal opinion and the method that I've finally settled on after testing so many different things. Machine polishing isn't daunting if you watch lots of youtube videos etc.
The average cost of this process is �600+ which is mainly labour costs. If interested I would carry out this process for around �200 if you are in or around Kent.
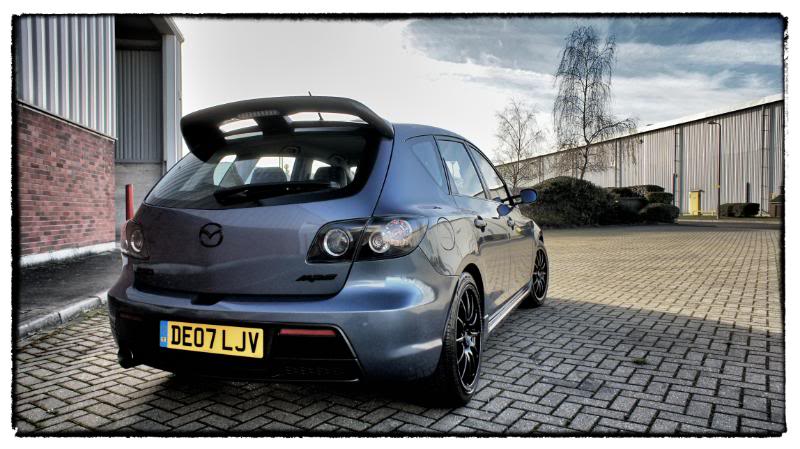
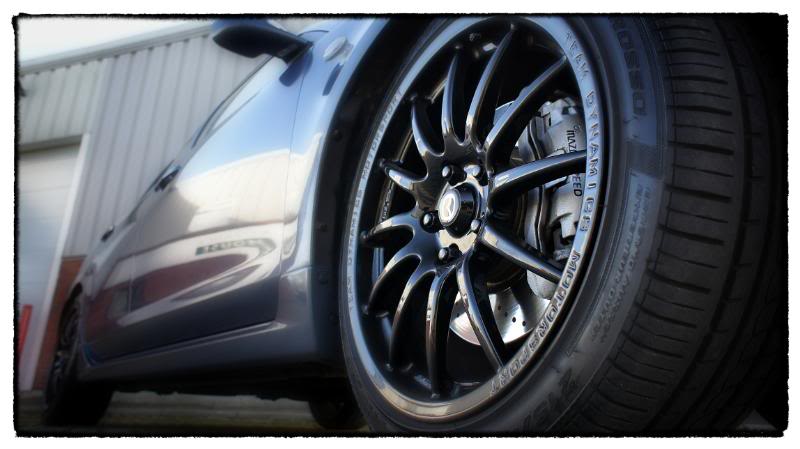
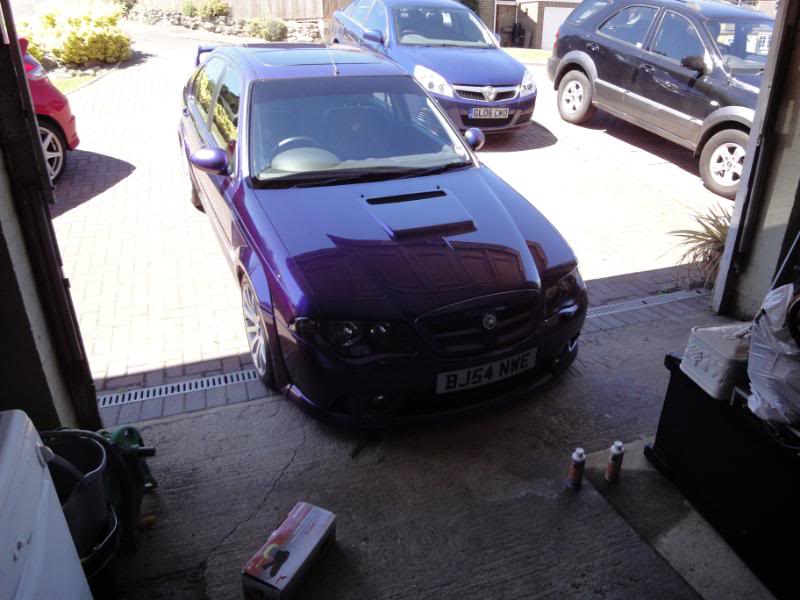
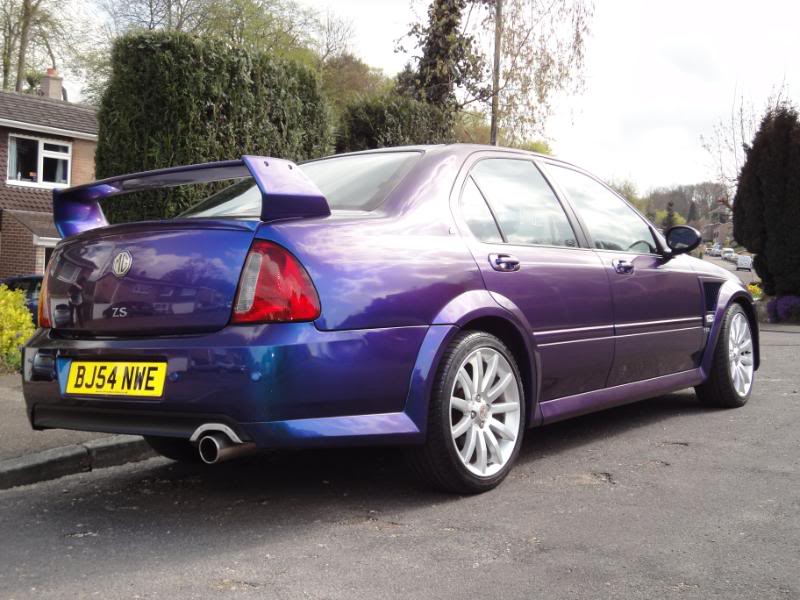
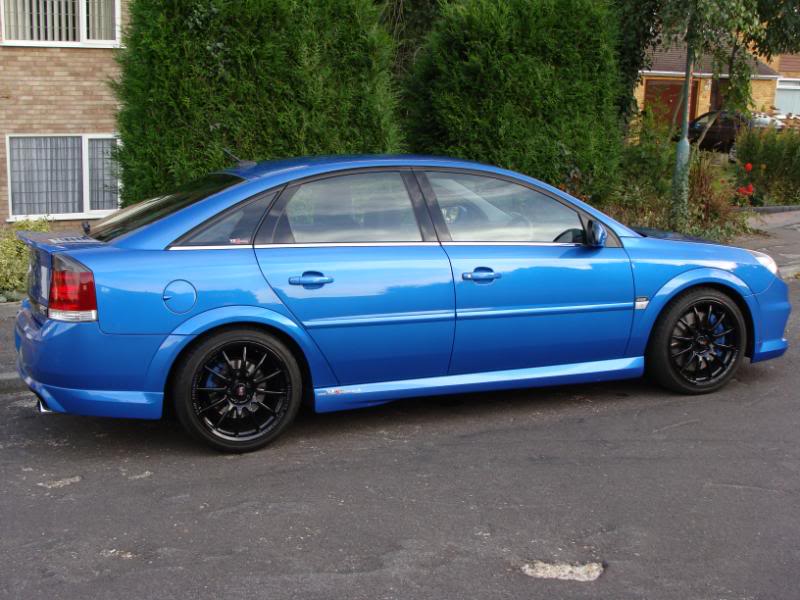
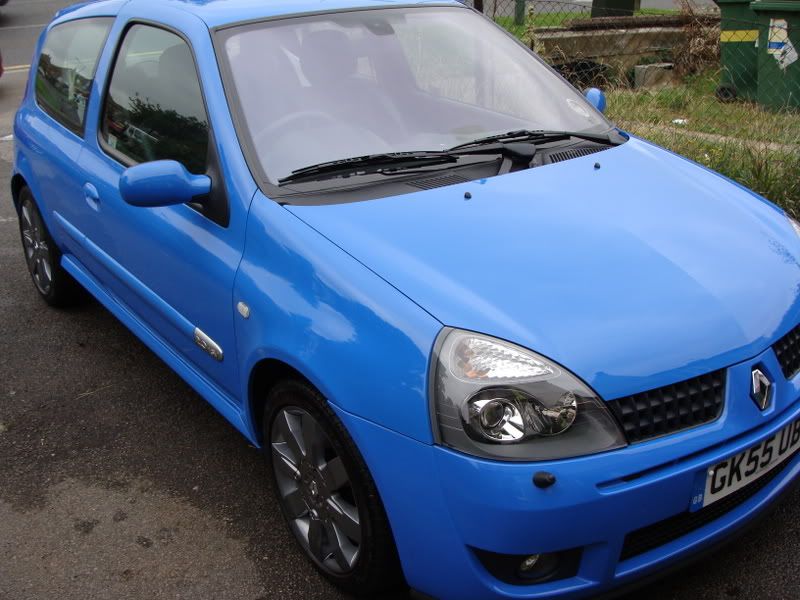
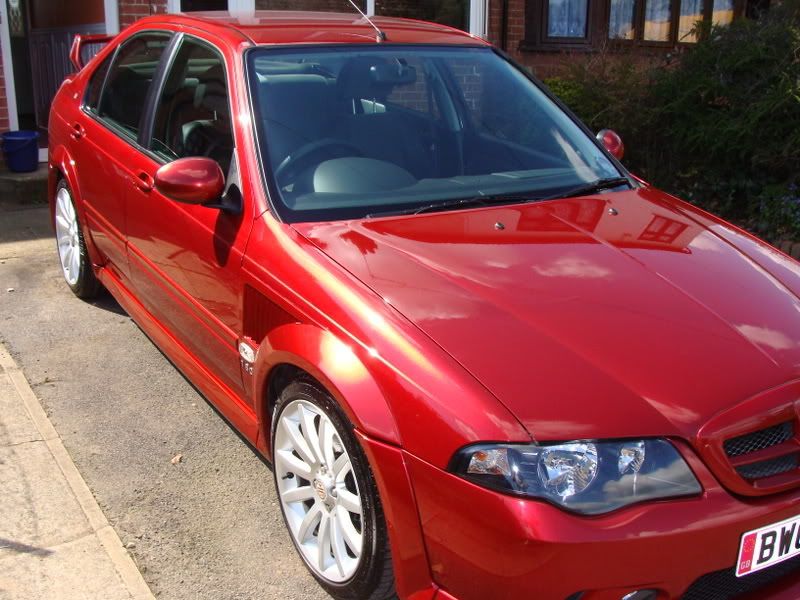
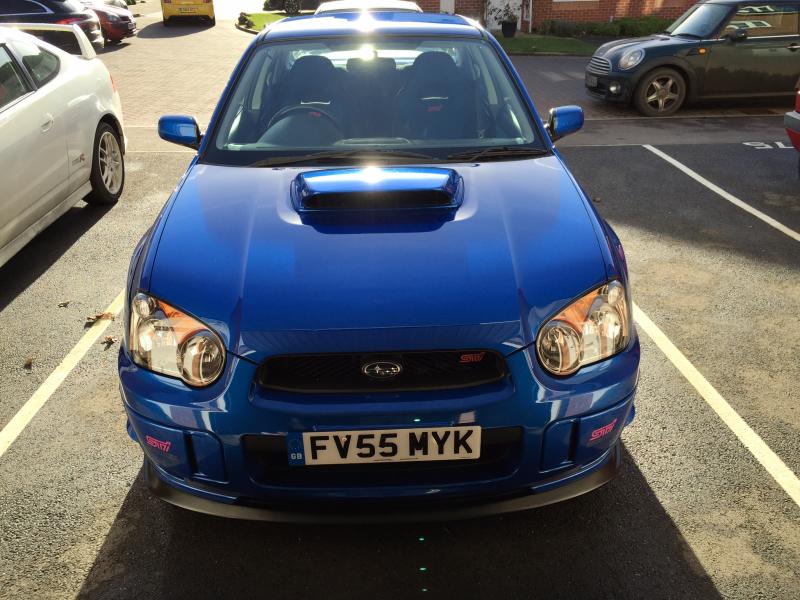
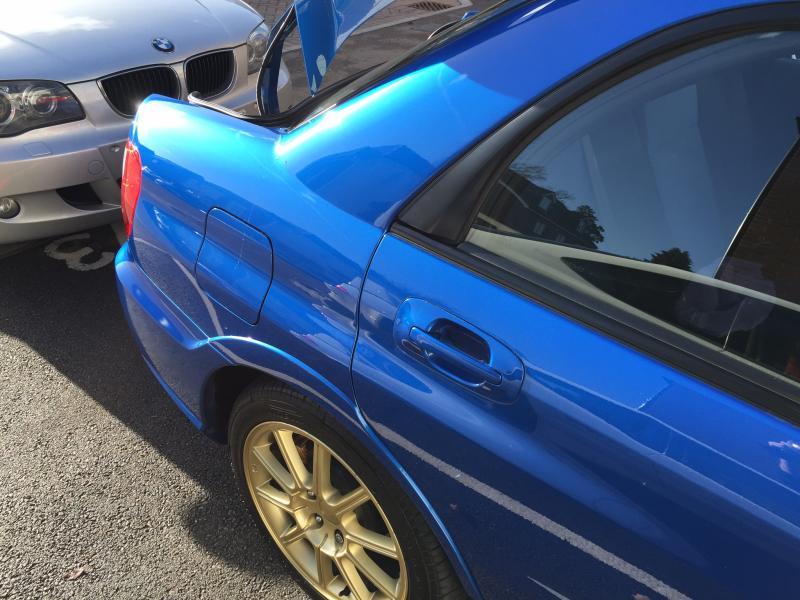
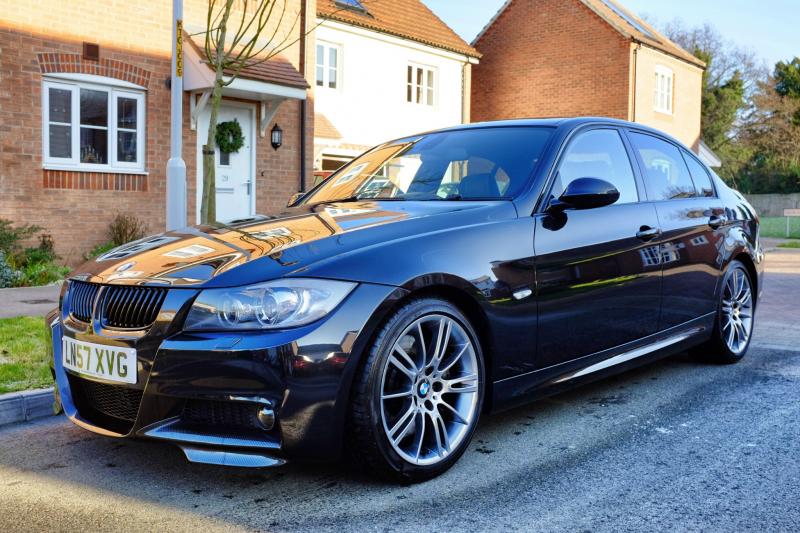
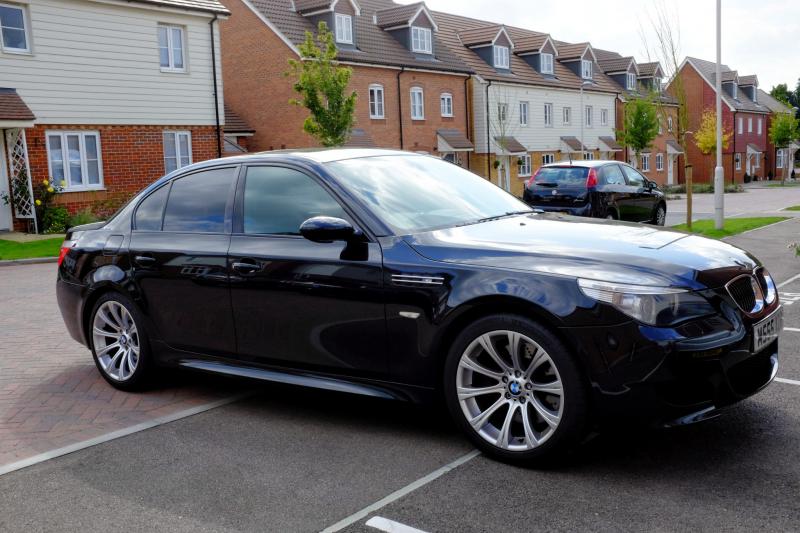
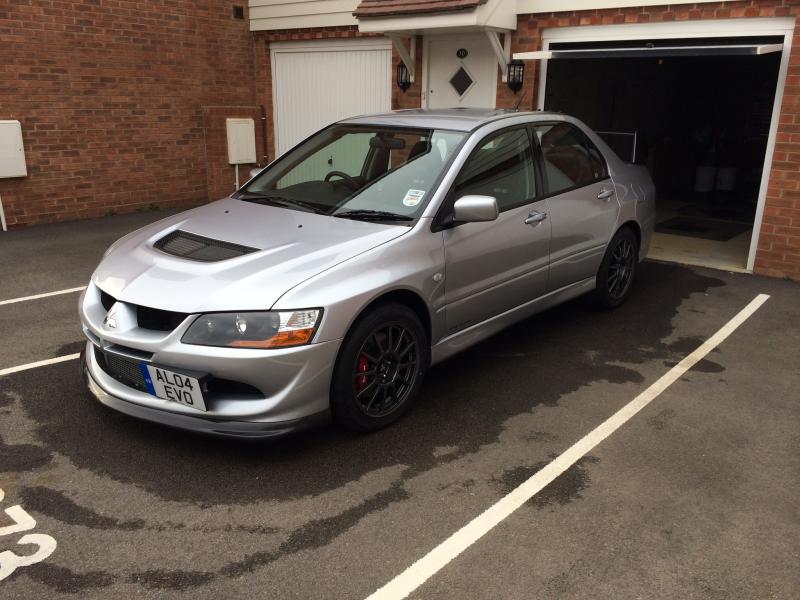
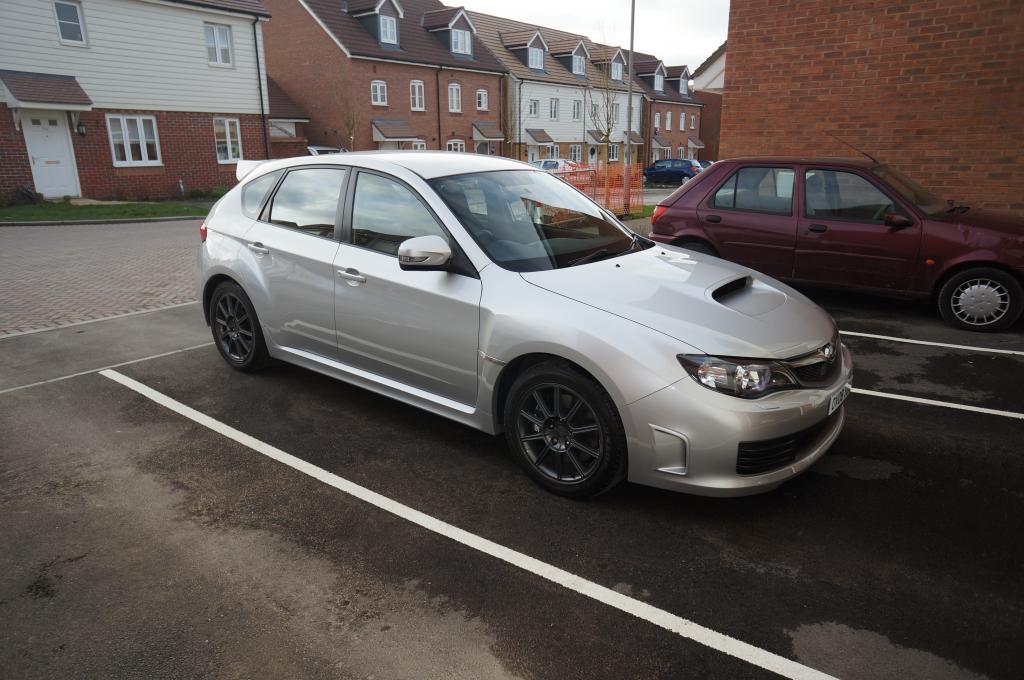
Here's some photos of the cars I've done so far:

I've spent several years teaching myself how to correct/improve most things on cars and thought I'd share this with forum members who might be worried about attempting certain things on their own cars.
I've kind of settled on the following method for everything from washing to full paintwork correction and have used experience, mistakes, youtube videos, trial and error and detailing forums to get there. I'm not a professional detailer but I have been practicing on cars over an almost 10 year period and now have it bang on every time I detail. If I were brave I'd leave my well paid teaching job and do this full time.
Washing
If the car is heavily soiled, I use my Karcher and a detergent bottle attached to the hose. In the detergent bottle, I use Snow Foam. I spray this onto the car, leave for 10 mins, then rinse with the jetwash.
If the car is only dusty, like in summer, I just hose with a normal hose pipe, then begin the following.
I use two 20 litre buckets with grit guards. I've labelled these with Dodo Juice 'wash and 'rinse' stickers bought from ebay. The idea is you fill one bucket with warm water and shampoo, and the other bucket is filled with plain warm water. When washing the car, you dip the sponge/mitt into the shampoo water, wash one single panel, then dip the sponge/mitt into the rinse water. At the base of the rinse bucket is a grit guard which you should rub the mitt against to dislodge the grit from the sponge/mitt. The grit then sinks to the bottom of the bucket and it trapped by the grit guard. I also have a grit guard in the wash bucket.
I personally am using Chemical Guys maxi suds as it's mild which ensures you don't strip off your wax each time you wash the car and its extra lubricated making the mitt slippery on the car surface.
I use a lambs wool mitt to wash the car, as it traps grit/dirt deep in the fur piles meaning you're not rubbing grit all over the panel of the car. You do have to look after it to get it to do more than one wash.
If the rinse bucket gets particularly dirty, I will often replace the water half-way through the wash process. The wash bucket should remain clean throughout if you're using the rinse bucket properly.
Once washed, I hose off with a steady stream of water (open ended hose pipe with no spray nozzle)
To dry before polishing I use a meguiars drying towel. This is a microfibre towel the size of a beach towel. The idea is to lay it on each panel and pat the panel dry rather than wiping the car dry. If you wipe the car dry, even a microscopic piece of grit picked up along the way will create swirl marks/scratches. Once paintwork correction is done I dry with lots of microfibre buffing cloths as they don't scratch the paintwork.
For washing the wheels, I replace all water in both buckets and use the same shampoo in a fresh bucket of water.
I use Bilberry wheel cleaner in a spray bottle from Homebase. The Billberry comes neat, so you can dilute it in the spray bottle and it lasts much longer than off the shelf stuff.
I use the same steps as above for each wheel, but will do the wash/dry process fully on one single wheel before moving on to the next wheel.
My Wash Kit List:
2 grit guard buckets labelled with Dodo Juice wash and rinse stickers
Chemical guys maxi suds
Billberry wheel cleaner diluted in spray bottle
Meguiars drying towels or buffing cloths
Claying and machine polishing
The clay and machine polish process should only be done once or twice in the car's lifetime. Once you've removed all the swirl marks from the car and have used a sealant or wax to 'lock in' the newly polished paint, it can be preserved by using a safe wash process as above to save the need to ever have to do a machine polish again. It's said that the paint can only handle a maximum of 3 machine polishes in it's lifetime roughly but this depends on the car.
The idea of clay after washing is it pulls out contaminants from the paintwork before you subject the panels to a fast-spinning polishing machine. If you rub your finger tips up and down washed paintwork you can feel slight bumps and what almost feels like grains of sand on the paintwork. The clay pulls these bumps out of the paint, and leaves it as smooth as glass.
I use Meguiars Clay and detailer spray. After the car has been washed, spray a jet or two of the detailer spray onto a small section of a panel. Gently rub the clay in an up/down/left/right motion, using the detailer spray as a lubricant to help it slide on the paint. After one panel, look at the clay and it'll be brown from the dirt it's collected. Rip the clay apart, remould it and move on to the next panel.
After the clay process, the car should be washed again.
Machine polishing is the only way to remove swirls that can be seen worst under petrol station lights, street lights or direct sunlight. Swirls are scratches in the car laquer causing the light to bounce off the car in several different directions, dulling the finish. Hand polishing simply cannot be done at enough revolutions per minute to get the polish to work effectively.
I currently use a kestrel dual action polisher. A DA polishers spins the polishing head in random 'wobbly' directions rather than round and round which means that amateurs like me are less likely to burn a hole in the paint.
I use 2 different Lake country polishing pads. White is aggressive and gets rid of bad swirls but I rarely use this. Orange is medium and is quite good for a one-step fix, and black is light and is good for a final finish.
The polishes I use are mainly menzerna and meguiars. Each menzerna polish has it's own cut level rating and generally the higher the cut the lower the final gloss you're left with. The machine polishing is a multi stage process. Using an aggressive polish will remove deep scratches and swirls but at the same time adds fine swirls of its own. That's where you'd then drop to a less aggressive polish to remove the next set of swirls, and finish off with the black polishing pad and a Meguiars finishing polish.
I generally use the orange pad with all polishes followed by the black pad and finishing polish.
I won't bore you with the process. Search for dual action polisher or machine polishing on YouTube. That's how I learnt ho to use one - best thing I ever did.
To buff off the polish residue I use monster purple buffing cloths. They're the best I've found so far.
Now hand pushing produces lovely shiny results but try looking at the car under amber street lights at night, or under the lights of a petrol station. you'll see thousands of swirls and blemishes. A machine polisher actually removes the swirls. The end product is paintwork that looks factory new and under lighting there are no swirls that actually exist. Seeing this in the flesh especially when you've done it yourself is massively satisfying and you'll find yourself keep looking at the car under lights, not quite believing you have no swirl marks in the paint!
My Clay/polish Kit List:
Meguiars Detailing Clay
Meguiars Detailing Spray (clay and spray available together as a kit)
Kestrel Dual Action Machine Polisher
Menzerna Machine Polishing Pads (White - aggressive, Orange - medium, Black - mild)
Menzerna polishes and meguiars finishing polish.
Monster purple buffing cloths
Paintwork clean/seal/protection
Once the clay and polishing has been done, your paintwork is effectively naked. It needs protection primarily from rain and the contaminants rain brings with it.
Before waxing or sealing you need a wipe on wipe off paintwork cleaner. If you have machine polished the car and removed swirls then use something like dodo juice lime prime lite which has no abrasive particles in it. It removes residue and makes sure wax sticks properly.
I used to use wax only. Wax simply wipes on using an applicator (foam pad or soft cloth) dries to a haze, then buffs off with buffing cloths.
The more wax you layer on, the better the protection - and Dodo Juice recommend 24 hours being left between each coat of wax if you can leave your car in a garage whilst curing.
Recently though I've switched to using a synthetic sealant. This is more runny liquid which is wiped onto the freshly polished panels, left to dry to a haze, then buffed off. The sealant doesn't bring the car to as deep a lustre as wax, but offers a better and longer protection.
It's suggested wax lasts around 6 weeks, whereas polymer sealant lasts 6 months. Once protected, when the car rains the beads of water should stand really tall on the surface of the paint. The taller the beads the better the protection.
There are a variety of waxes and some are even dependant on colour of your car. If I use wax I use Chemical Guys Pete's 53 black pearl. It has a really wet looking shine. You can pay over �1000 for wax and generally the more you pay the better, but waxes around the �60 mark are usually noticeably good.
I use Meguiars professional polymer sealant number 20. This is a wipe on, let dry to a haze, buff off process. I also use this on my alloy wheels.
My Sealant Kit List:
Any wax - Pete's 53 is my favourite at the moment.
Meguiars Polymer Sealant (my personal choice)
Clean your car.co.uk monster purple polishing cloths (several as they get clogged up with residue)
This is just my personal opinion and the method that I've finally settled on after testing so many different things. Machine polishing isn't daunting if you watch lots of youtube videos etc.
The average cost of this process is �600+ which is mainly labour costs. If interested I would carry out this process for around �200 if you are in or around Kent.
Here's some photos of the cars I've done so far:


Last edited by staccato; 30 January 2015 at 04:24 PM.
 02 February 2015, 12:40 PM
#2
Nice write up.
Couple of bits I picked up on
Wheels before paintwork is always my choice.
No mention of fallout remover for iron and then tar before the claying process?? No mention of Iron fallout removal for the wheels?
IPA Wipedown, CarPro Eraser or Envy Filler Killer are what's required after your final machine polishing stage. Dodo Lime Prime contains oils, which in itself inhibit the bonding process. All you're looking to do is remove the polishing reside and leave a spotlessly clean surface.
Waxes can and do last between 1 - 12 months depending on the wax and the environmental fallout they're subjected to and the process by which they were applied.
Taller the beads the better the protection is also no entirely true. Some waxes will actually bead poorly but sheet the water off instead. The fact the beading is poor doesn't always mean the protection is lacking.
�600 would be nice! Do you have the necessary insurance in place to be working on other peoples cars?
02 February 2015, 05:35 PM
#3

Thanks for this write up, I have picked up some helpful tips. Wondered if you could explain a few points please.
When cleaning the car with 2 bucket method what temperature is the water for eg, do you use cold water, tepid or warm & why.
Can you explain the reason for this because I normally rinse off with the nozzle spray - Once washed, I hose off with a steady stream of water (open ended hose pipe with no spray nozzle
Thanks
 04 February 2015, 12:46 PM
#5
I agree with B0DSKI regarding the wheels. I use Carlack Excellence wheel cleaner which is ph neautral and no where near as harsh as some other so takes a little time to work it's magic. I tend to treat each wheel then move onto the Foam/Pre wash shampoo and normally time it just right so it can all be rinsed at the same time.
Again, in agreement with B0DSKI regarding fallout remover and tar remover. These will easily remover chemically bonded contaminants from the paint and save them being dragged back and forth with a lump of clay.
To answer the question about rinsing with an open ended hose, this is for two reasons. Firstly any debris that may have escaped the wash mitt will rinse away with the flow instead of being pummelled into the paint with the jet wash. The second reason is that most good shampoo's contain waxes and drying agents. The wax lays down during the washing process but needs time to bond so rinsing with an open ended hose causes the least disturbance during this adhesion stage.

Thread
Thread Starter
Forum
Replies
Last Post